
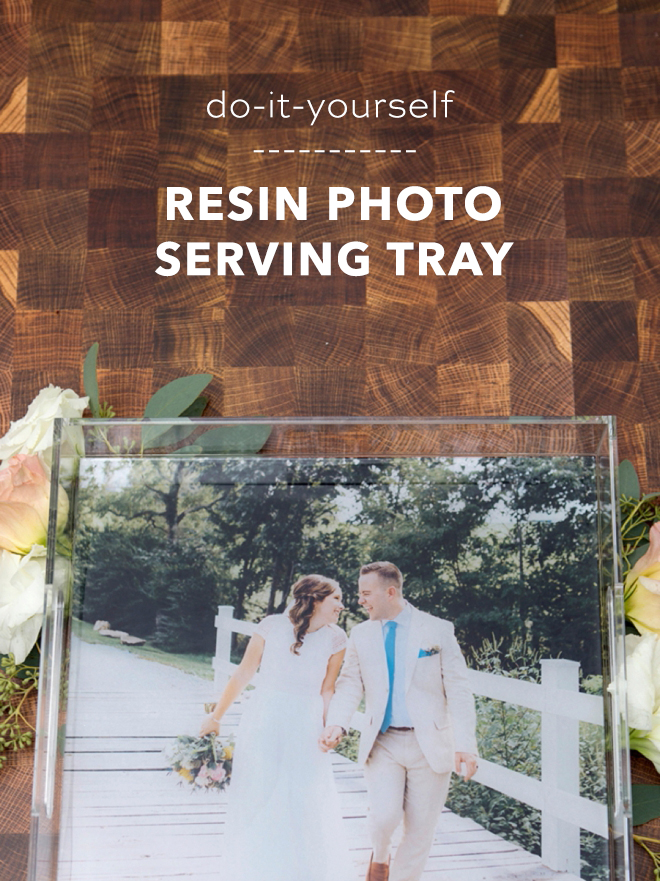
DIY Resin Photo Serving Trays With Canon
This is a sponsored post written by me on behalf of Canon. All opinions are 100% mine.
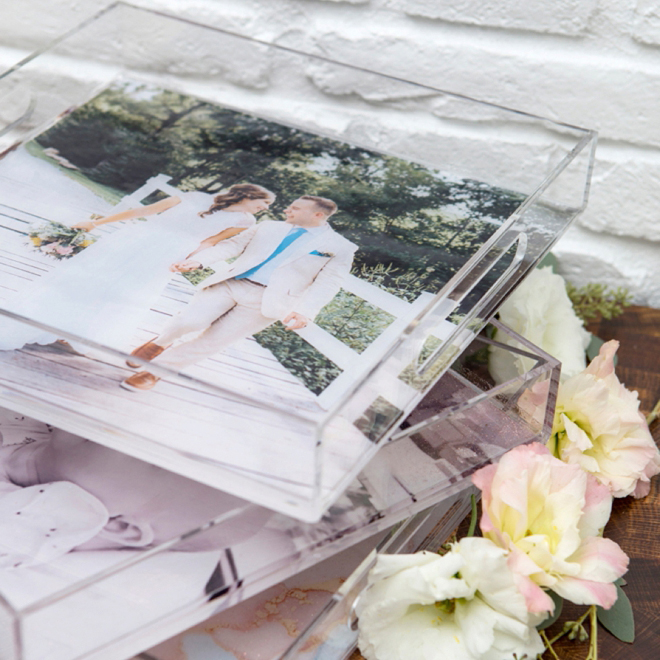
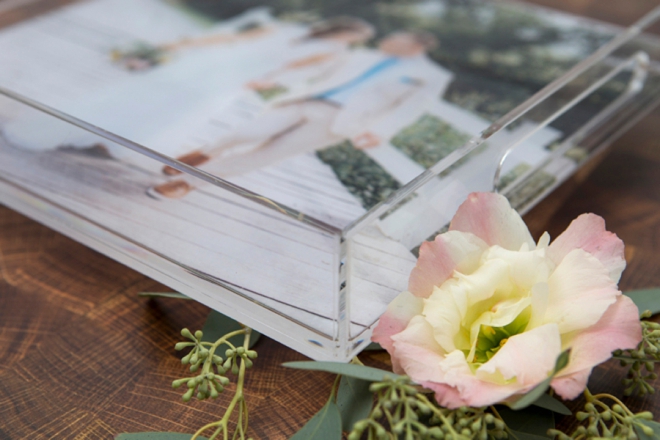
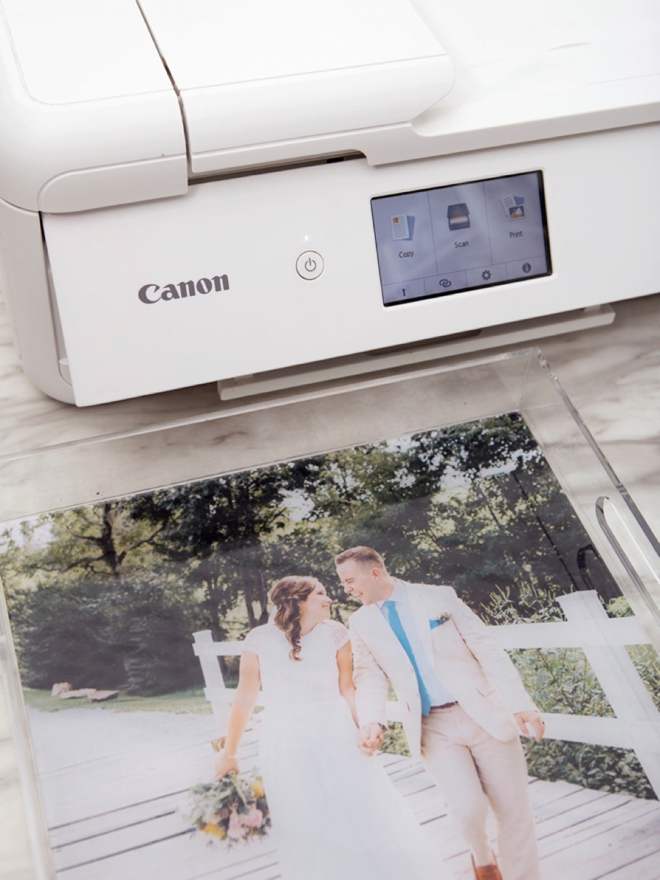
I absolutely LOVE having the ability to print extra-large, gorgeous photos of my family and friends for projects and home decor. When shopping for a printer, it’s always been important to me that it can print larger than the typical 8.5″ x 11″ and that it has rear feed capabilities for thicker papers – and the Canon PIXMA TS9521C Crafting Printer does both and more. Today I’ve partnered with Canon to bring you a beautiful gift/project idea using larger photos you can print at home. These beautiful resin-covered photo trays would be perfect holiday gifts, terrific grand-parent gifts, or even a wonderful addition to your desk!
Calling All Your Favorite Photos
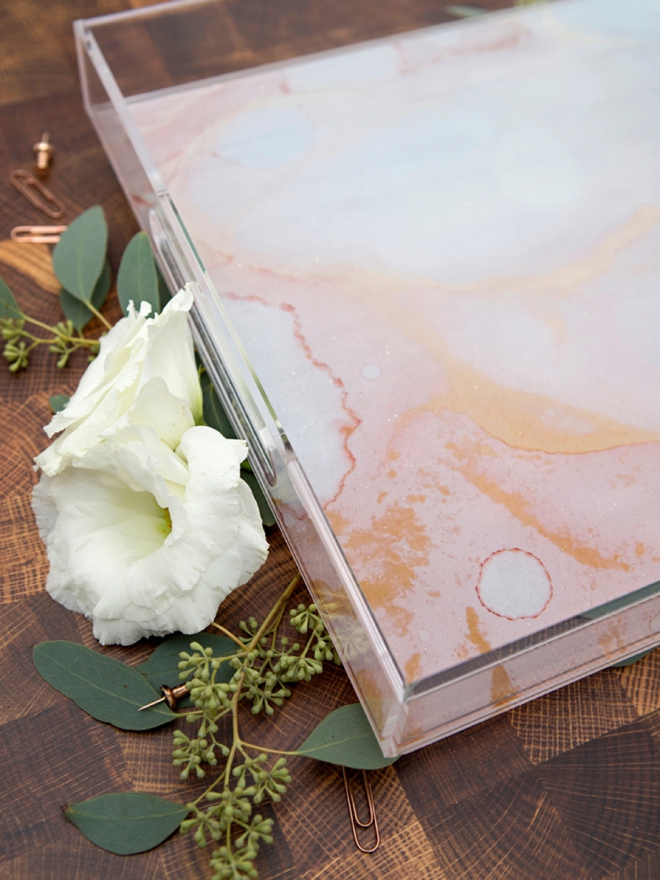
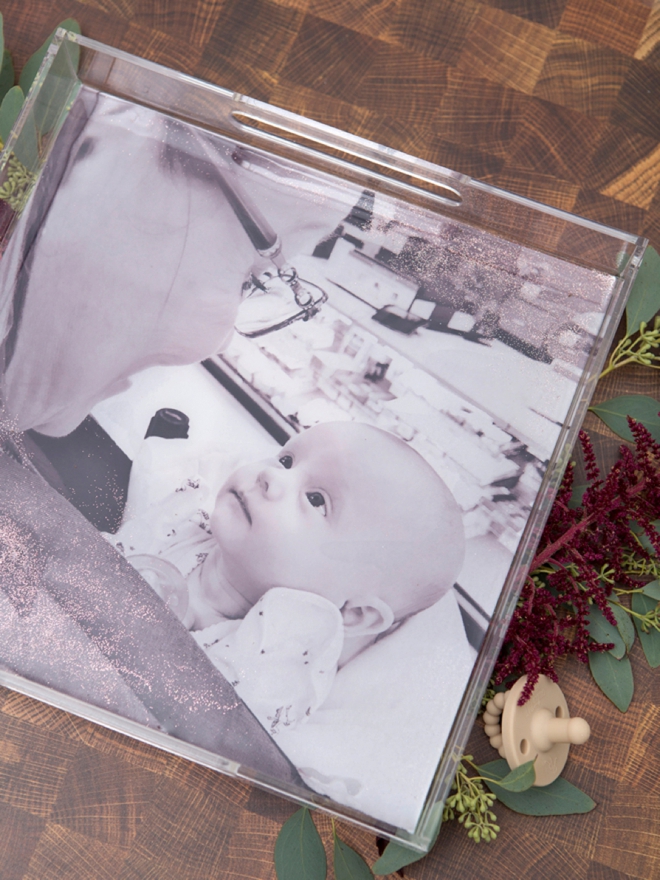
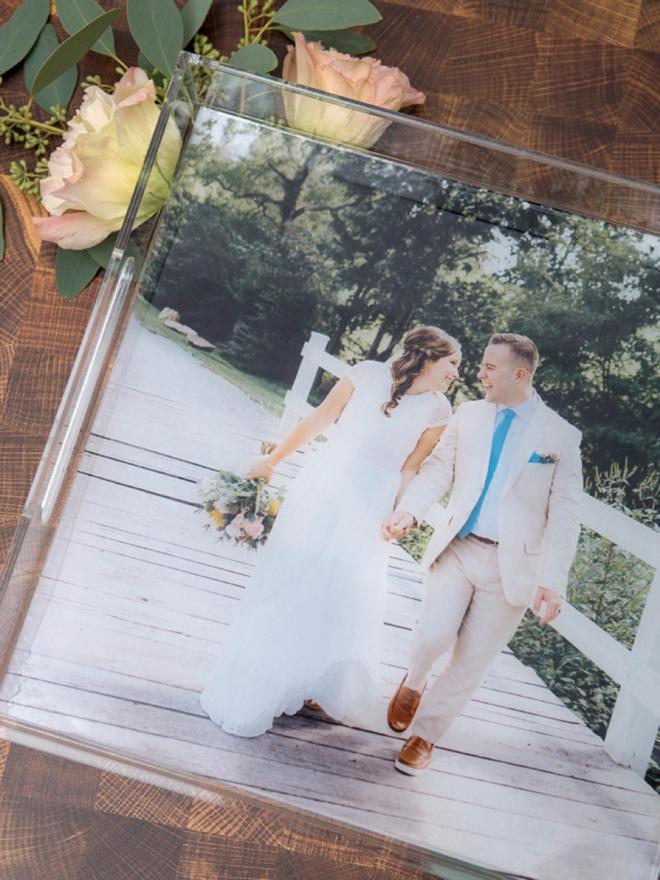
This picture of my tiny Hadley Jane looking up at my Mom in the baby carrier at Target is my absolute favorite EVER. She’s only 2.5 months old and already so attached to MeMaw, and still is. So of course this photo in a tray for my Mom was an easy choice. Narrowing down my favorite from Tanner Bell’s wedding, was more difficult. For the office tray, I found a beautiful pink and gold marble design that I know my sweet Shea O’Quinn will love. I can’t wait to give these gifts to my favorites!
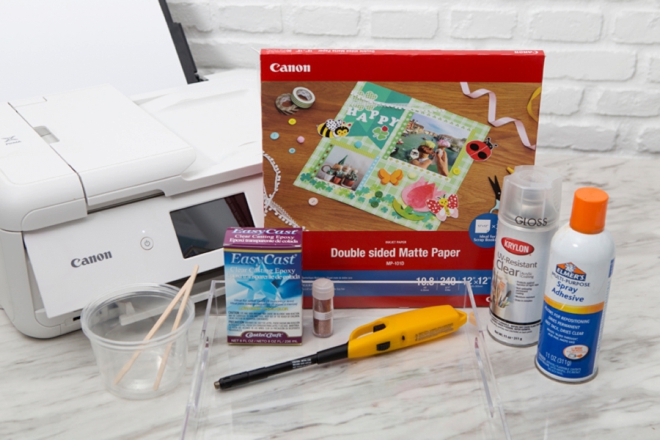
SUPPLIES:
- Canon PIXMA TS9521C Crafting Printer
- Canon 12×12 Double Sided Matte Paper
- EasyCast 2-part Epoxy, (8oz. total per tray)
- 12×12 Acrylic Tray
- Clear Spray Sealer
- Spray Adhesive
- Mixing Cups
- Lighter or Heat Gun
- Glitter, optional
Print Your Oversized Photos
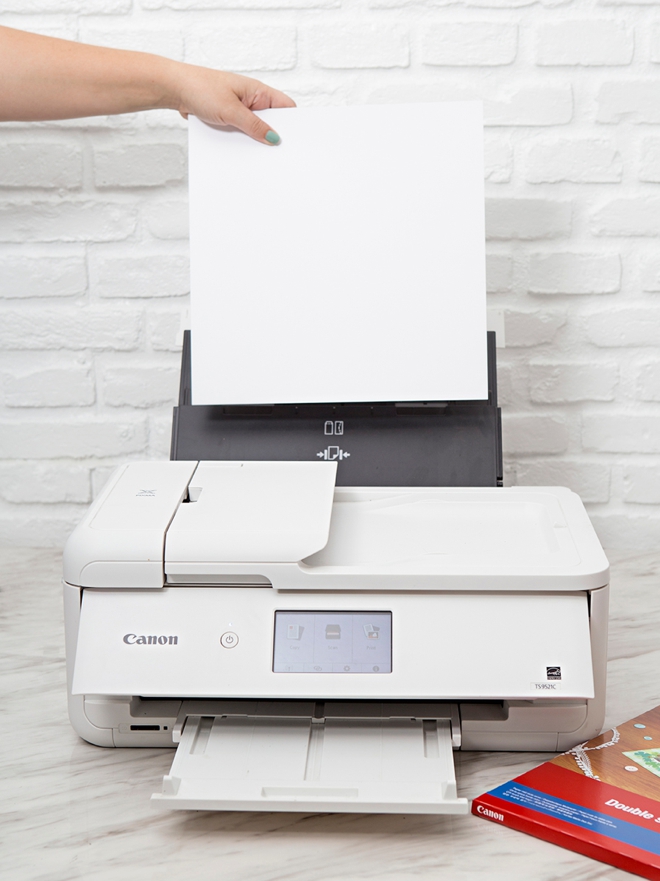
Canon now makes this awesome double-sided craft photo paper that comes in 8.5″x11 and 12″x12″, which we are using here. The prints turn out stunning and the heavier paper is ideal for crafting projects, I just love it. Add the paper to the rear tray and get ready to print.
Printer Settings
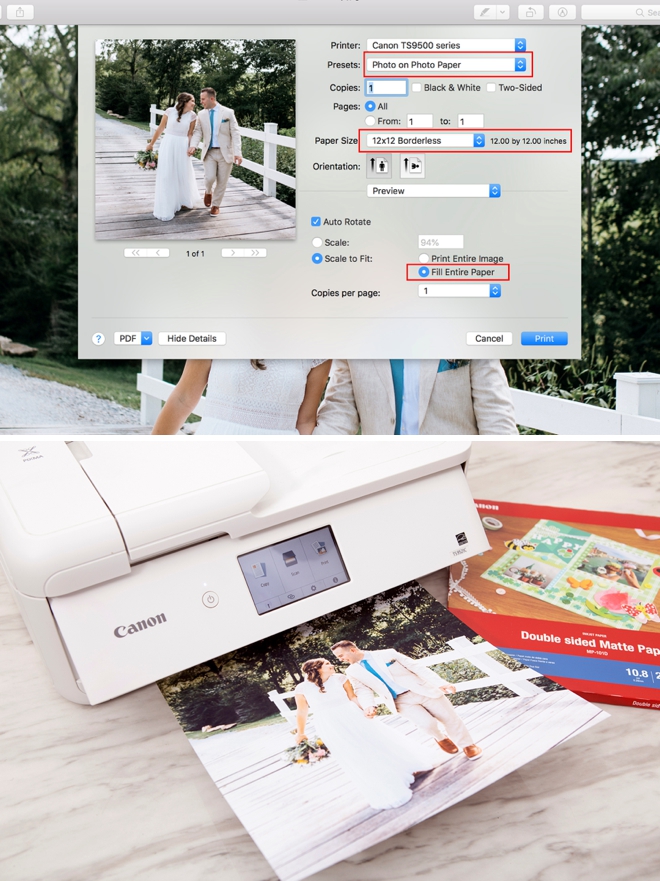
To print your photo on a Mac simply double click to open the photo and then hit Command+P to print. Select the Canon TS9521C Printer, the Photo on Photo Paper, the paper size as 12×12 Borderless, and also the Fill Entire Paper from the drop-downs. I pre-cropped my images to a square to make things easy but you don’t have to. Then click print and watch your beautiful photo appear!
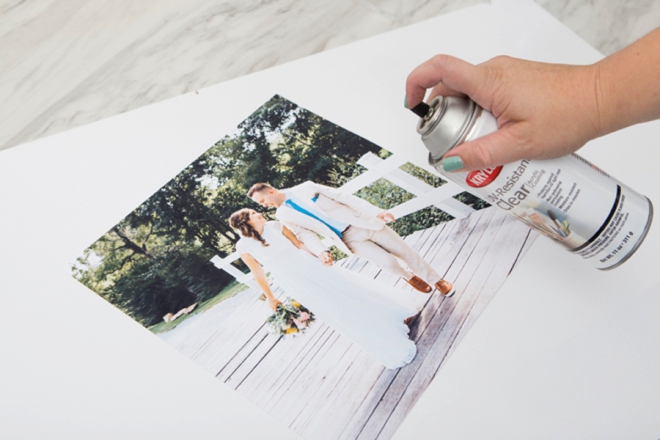
Seal
Some types of 2-part epoxy or resin will actually make your ink bleed, so it’s best to seal the ink on your photo first by using a spray sealer. Make sure your sealer is ok to use on paper, like this one from Krylon.
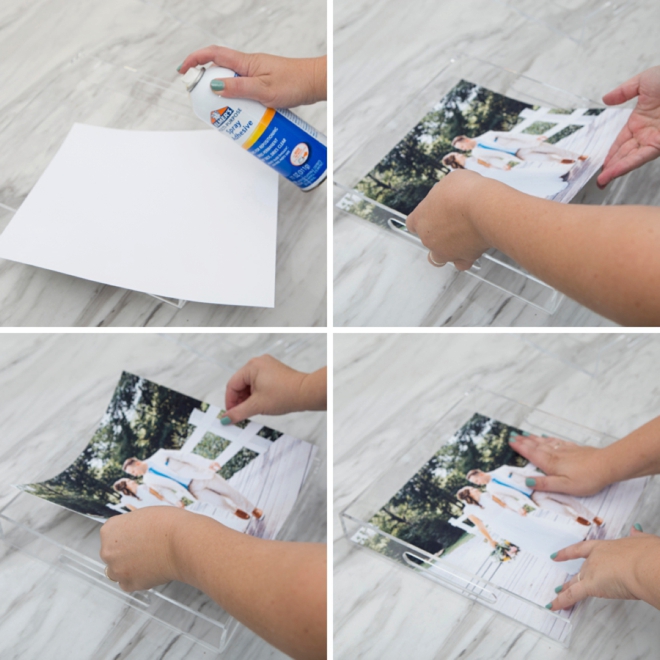
Glue
Next up, use a spray adhesive to glue your photo down to the bottom of the clear acrylic tray. I found it best to wait a few hours, if not overnight before pouring the epoxy over the photo. If there is any wetness left from the glue the photo could float up to the top of the epoxy.
Let glue dry fully.
Pour The Epoxy
Now the fun part! Mix your epoxy/resin by following the instructions on the box. Then pour over your photo. A full 8oz application of epoxy was perfect for this tray. Tilt the tray towards all corners to make sure the epoxy covers everything.
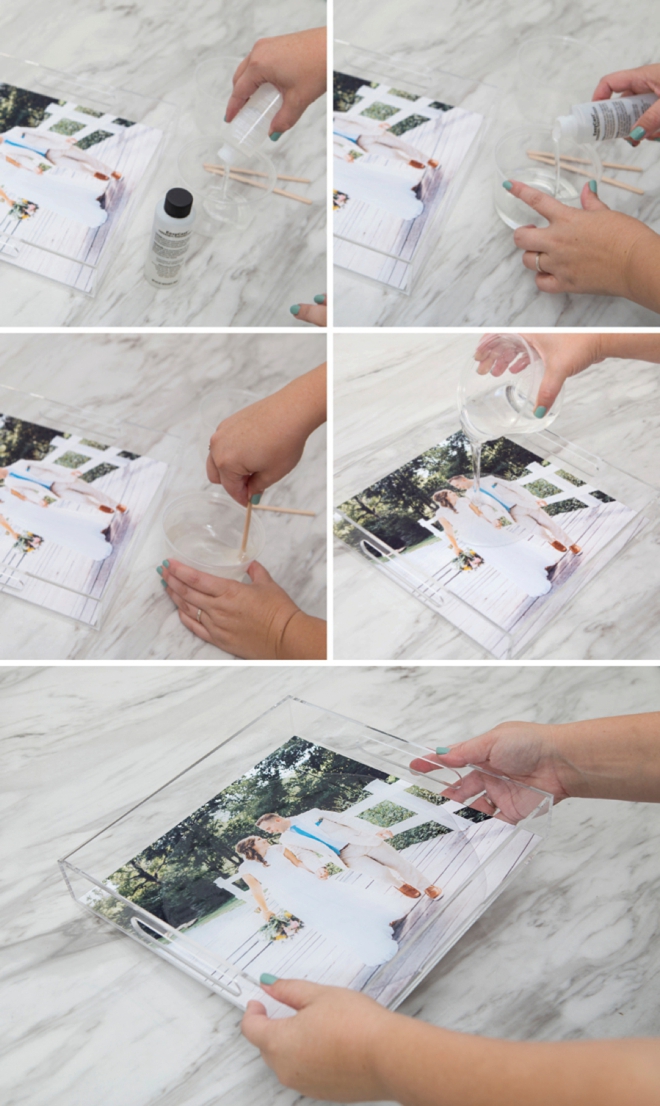
Pop The Bubbles
Use a lighter to pop any bubbles. Look closely for them and pop by gently and quickly touching them with the flame. They will not go away on their own so this step is necessary.
Level + Let Cure
It’s important that you find a level surface for your tray to cure, if not the epoxy will pool up on one side of your tray!
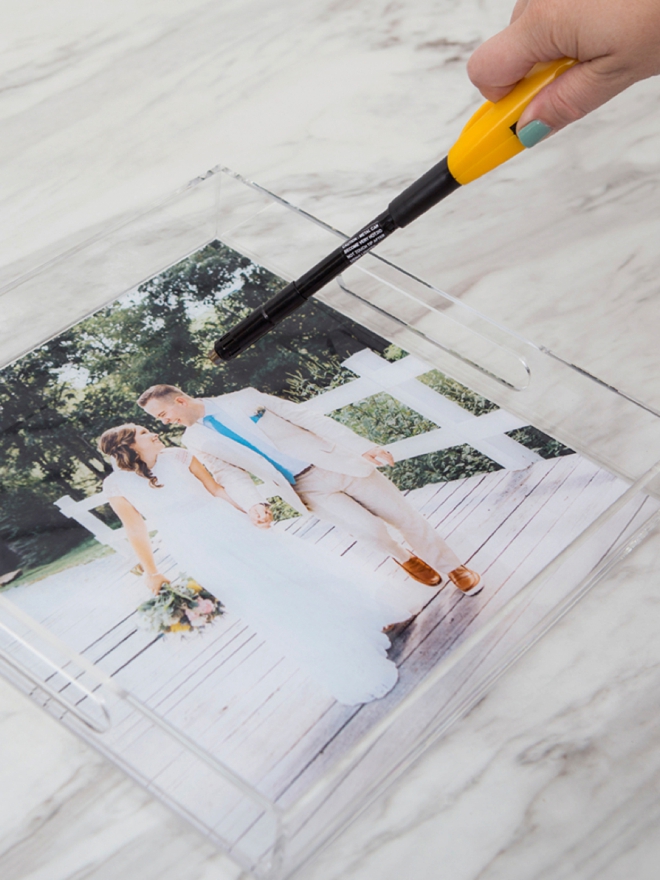
Adding Glitter
If you’d like you can add a little bit of glitter! Less is more when it comes to glitter in epoxy over photos, I ruined one tray by adding way to much glitter, I couldn’t even see the photo. Two gentle taps from the container is sufficient, then mix, mix, mix, and pour like normal. Don’t forget to use the lighter to pop bubbles!
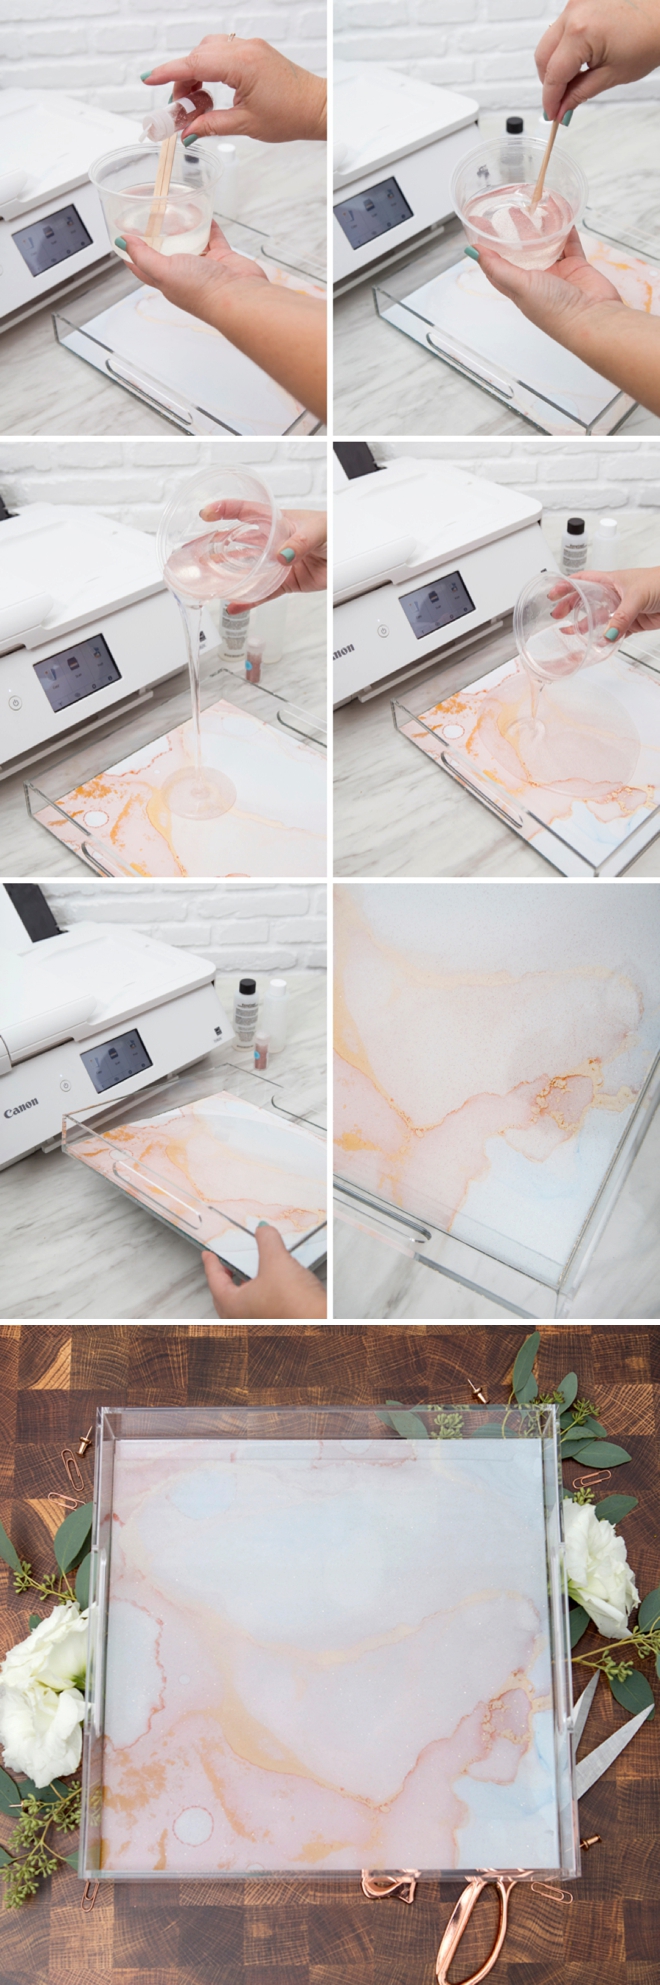
Sprinkle of Glitter
Right after I poured the resin for my Mom’s tray, I gently sprinkled on some glitter in two of the corners… so you can mix the glitter in or just sprinkle some on, both totally optional.
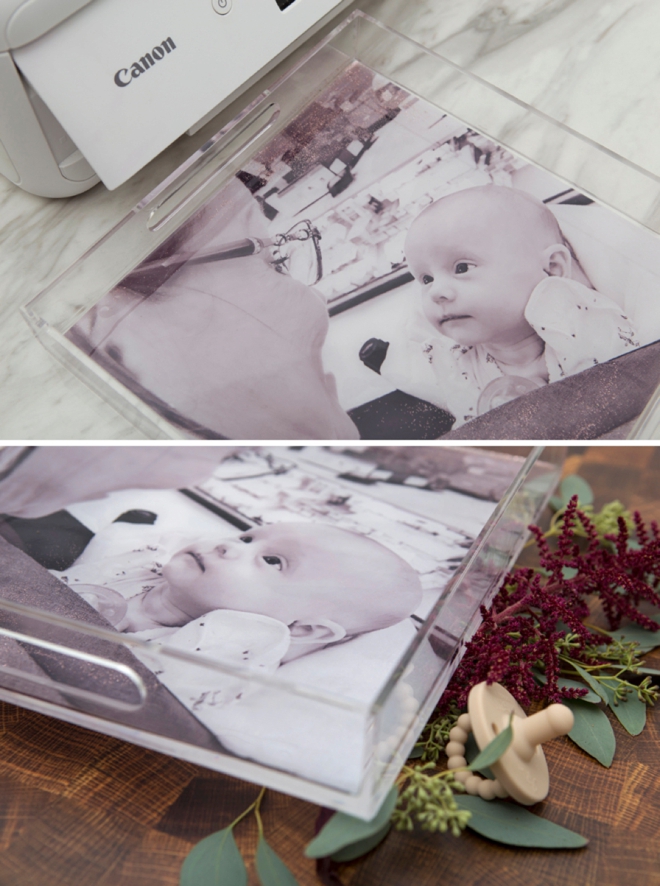
Photo Gifts Are The Best
I’m kind of obsessed with giving + making photo gifts. If you love them like I do, you’ll want to check out some of our past DIY photo gifts!
- DIY Photo Ornaments
- DIY Photo States
- DIY Photo Jewelry Boxes
- DIY Photo Baby Book
- DIY Photo Makeup Bags
- DIY Photo Baby Puzzle
- DIY Photo Coasters
- DIY Photo Snow Globes
- DIY Photo Ultrasound Embroidery Hoop
- DIY Photo Tie Patches
All printed with our amazing Canon printers!
DIY TUTORIAL SPONSORED BY:
Canon U.S.A., Inc. prides itself on allowing consumers to create and preserve beautiful imagery, from capture to print. With wireless technology and seamless printing capabilities, you can print your photos and printables with precision and ease.

If you create one of our projects, please share a picture with us on Instagram or Twitter using the hashtag #somethingturquoisediy, we regularly reshare our favorites! Your profile will need to be public for us to see it otherwise, you can always DM us!
DIY Tutorial Credits
Photography + DIY Tutorial: Jen Causey of Something Turquoise // Canon PIXMA TS9521C Wireless Inkjet All-in-One Printer: courtesy of Canon // 8oz EasyCast Epoxy: Amazon // 12″ x 12″ Acrylic Serving Tray: Amazon // Spray Adhesive: Amazon // Clear Spray Sealant: Amazon //
Shop The Supplies:
Find the supplies you’ll need for this project from our affiliate links below:

Comments