
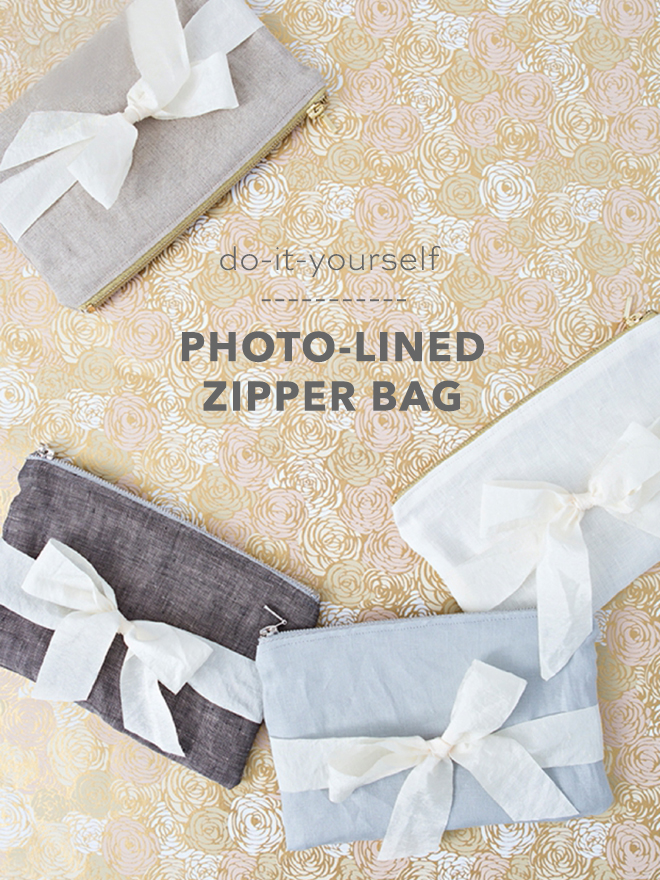
DIY Mother of the Bride Photo Makeup Bag
-Sponsored Post-
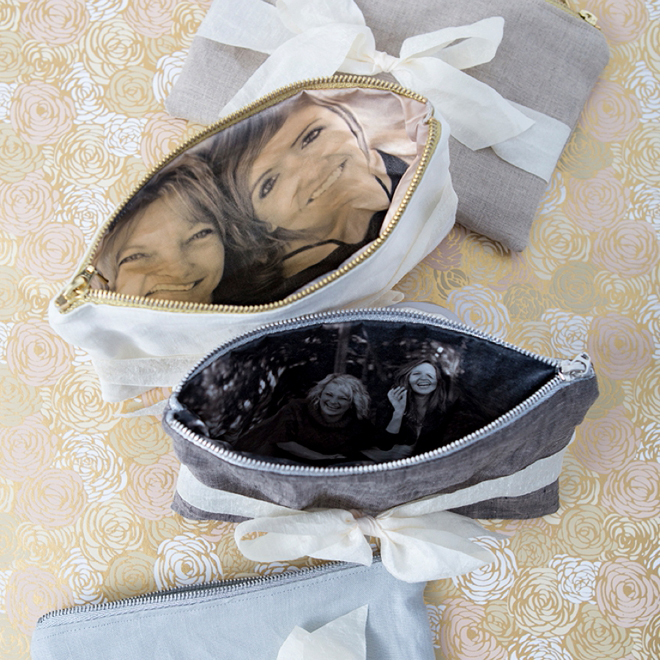
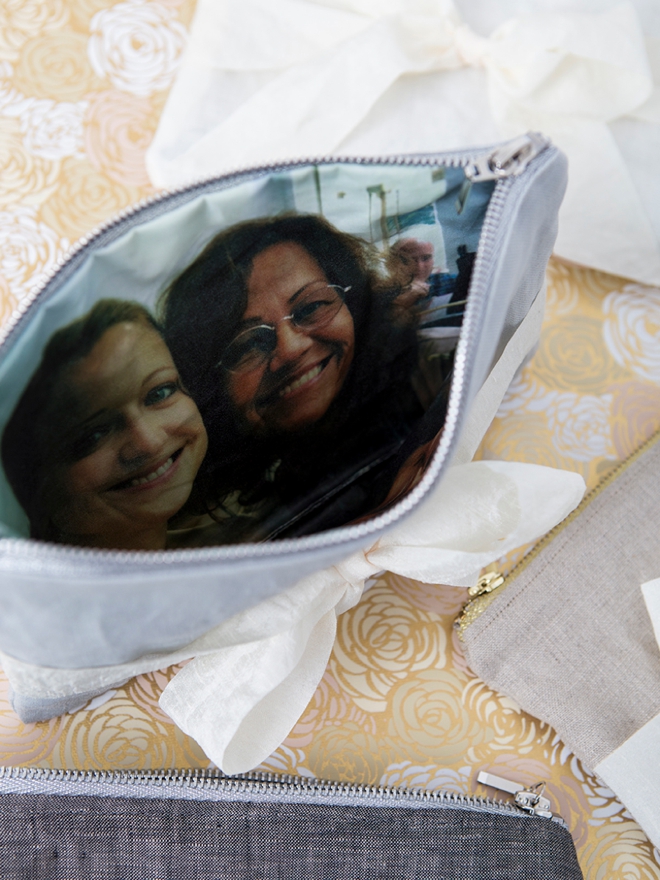
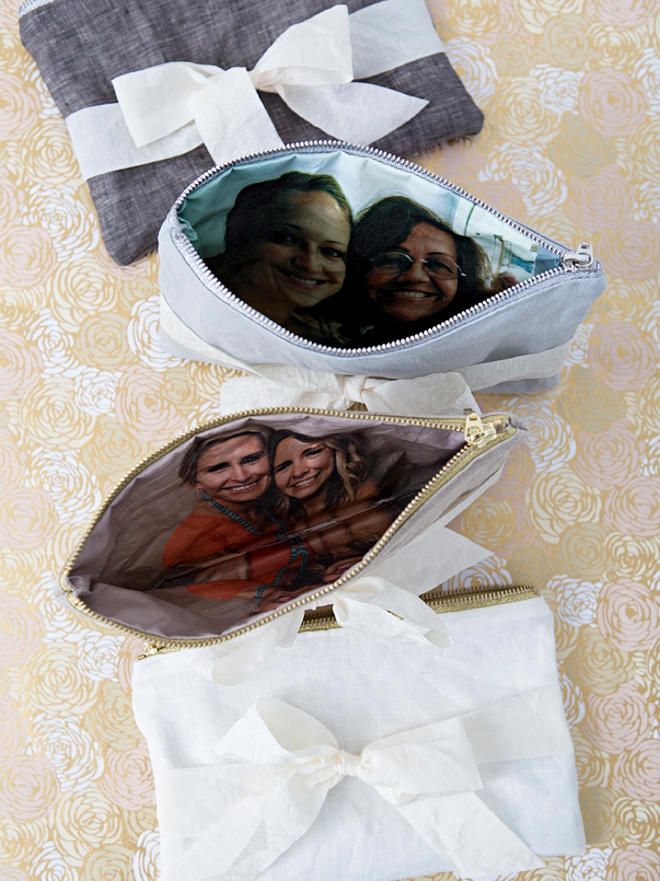
Mother of the Bride gifts are very special and wonderful projects to make yourself because you know yo’ Mama will love anything you make her! LOL, no but really, making something sweet as a wedding day gift for your Mom is a total must. These photo-lined zippered pouches would make an amazing mother of the bride or mother of the groom gift, bridesmaids too! My Canon TS9020 is responsible for the fabulous photo print and the texture of the iron-on transfer paper makes it feel like oilcloth, making it an ideal choice for a makeup bag. While this is not a “beginner” sewing project it is fairly easy and one bag can be completed in under an hour. Huge thanks to Shea, Carli, and Shea for letting me use the darling photos of you and your Mom’s… aren’t they all so cute!?
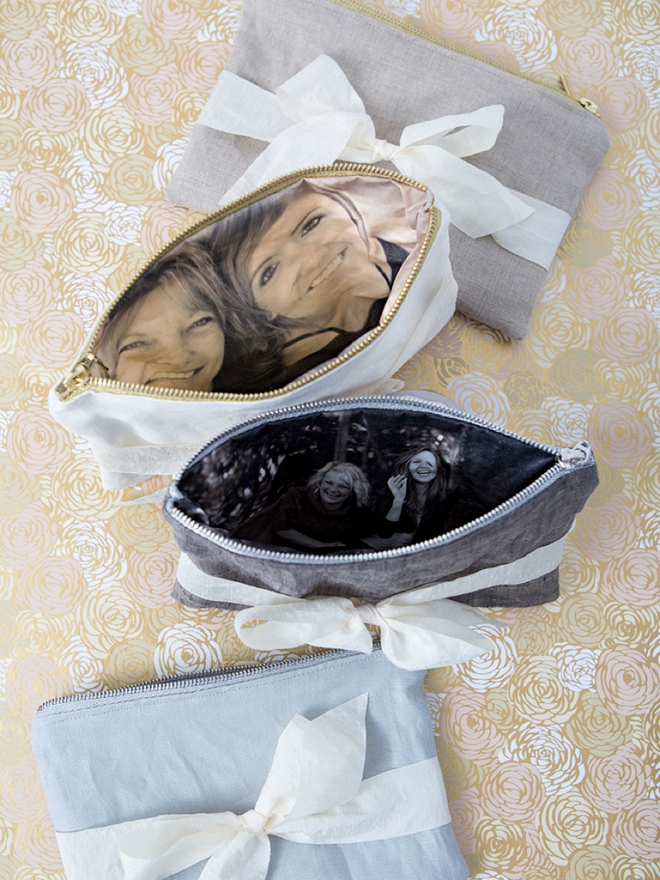
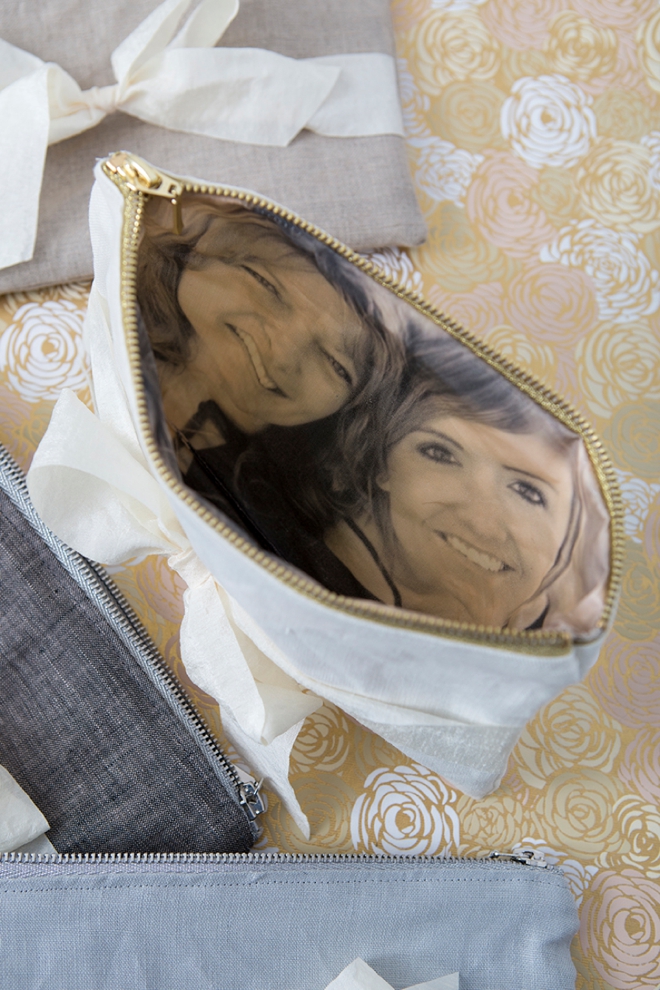
Mirrored Image
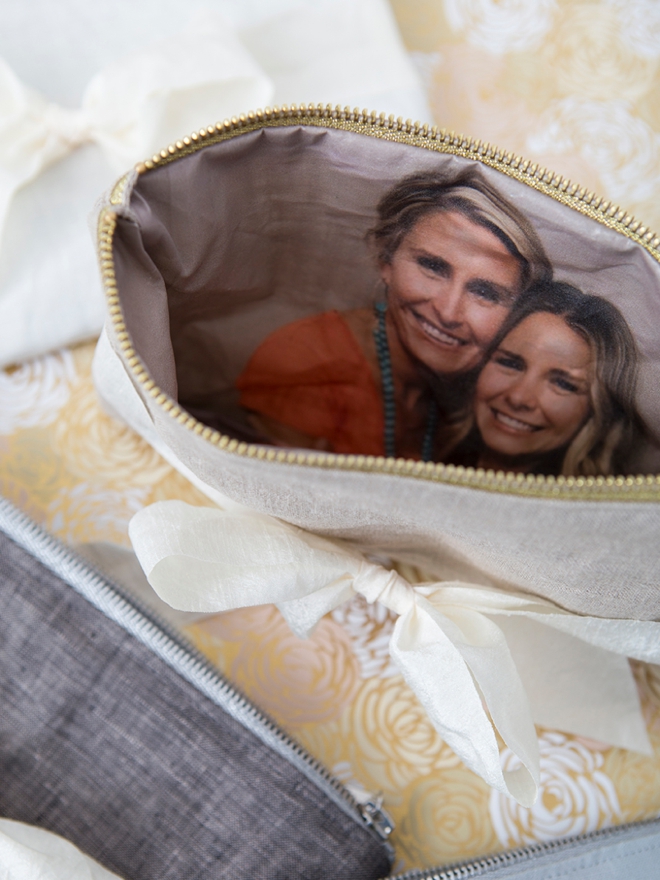
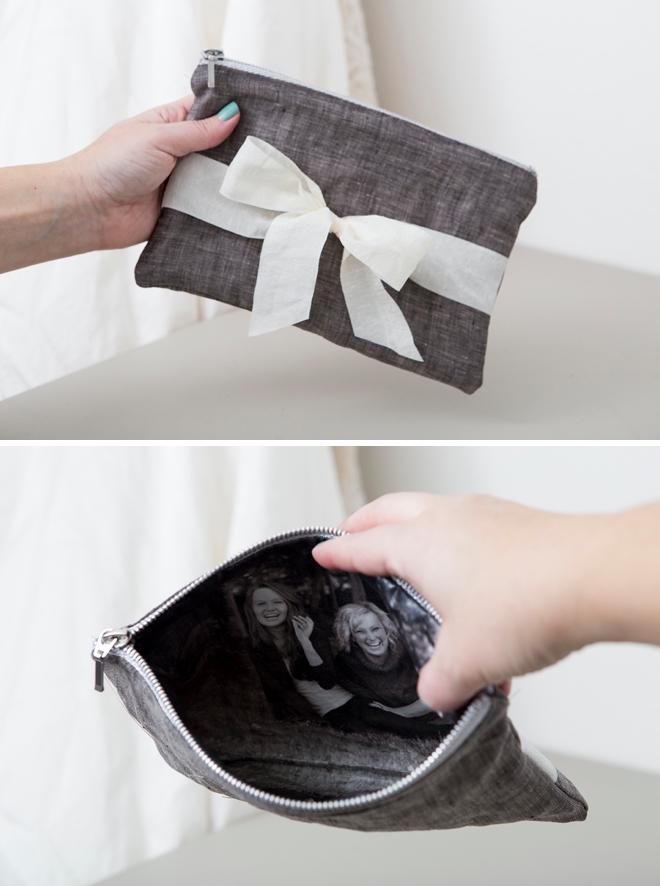
These darling handmade bags can be lined with any special photos you have… be it of you and your mom for a wedding gift or you and your child for a diaper bag insert. What makes the lining ultra-cute is that we’ve mirrored the image, so it reflects itself on the inside!
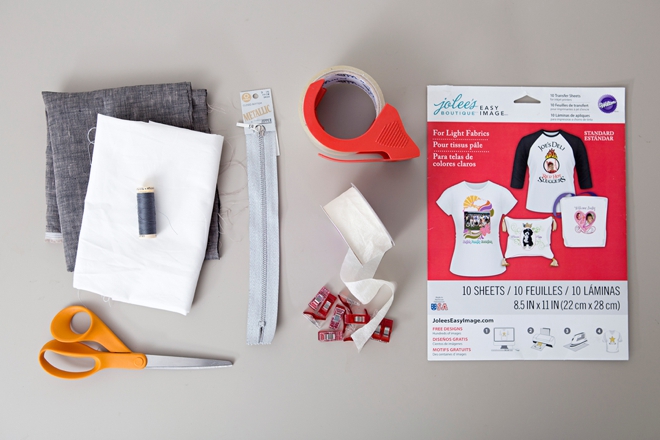
SUPPLIES:
- Canon TS9020 All-In-One Printer
- 8.5″ x 11″ Inkjet Photo Transfer Sheets
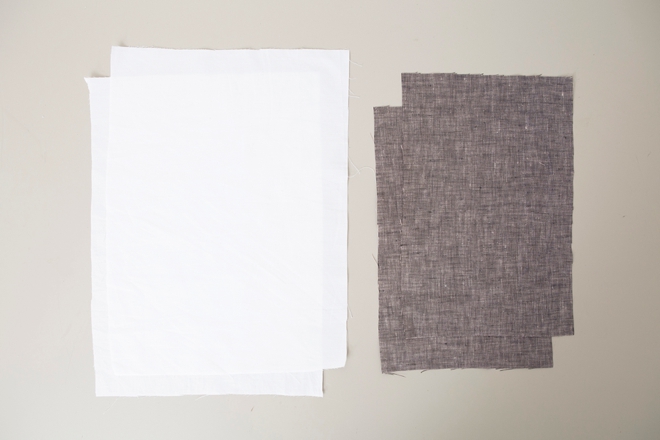
- Pretty Fabric; I’m using Faux Linen
- White Muslin
- 9″ Zipper
- Thread
- Ribbon
- Sewing Machine
- Scissors
- Sewing Clips or Pins
- Tape
- Iron (or EasyPress!)
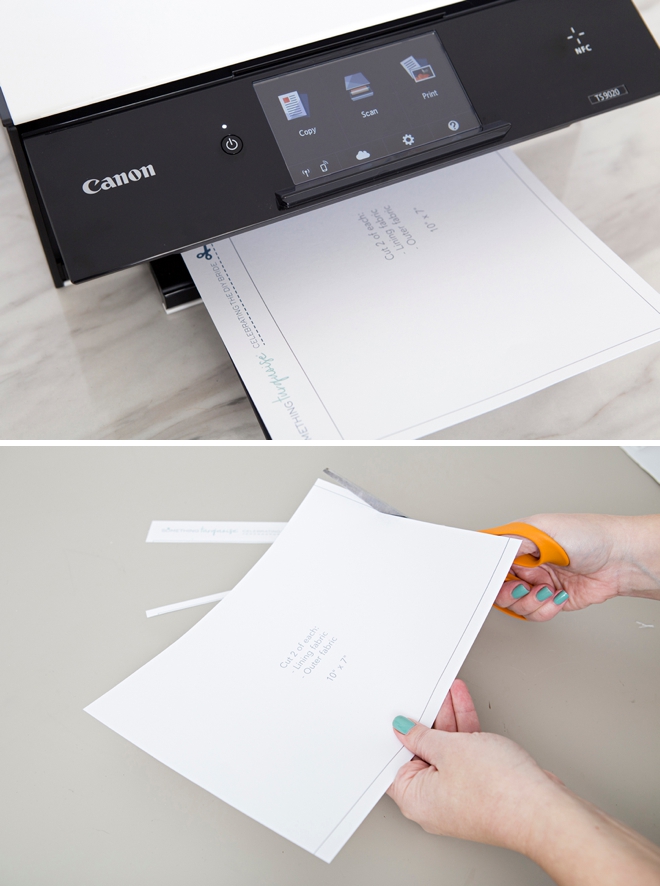
Print Our Pattern
At the end of the post you can download and print the 10″ x 7″ bag pattern. Print and trim, set aside.
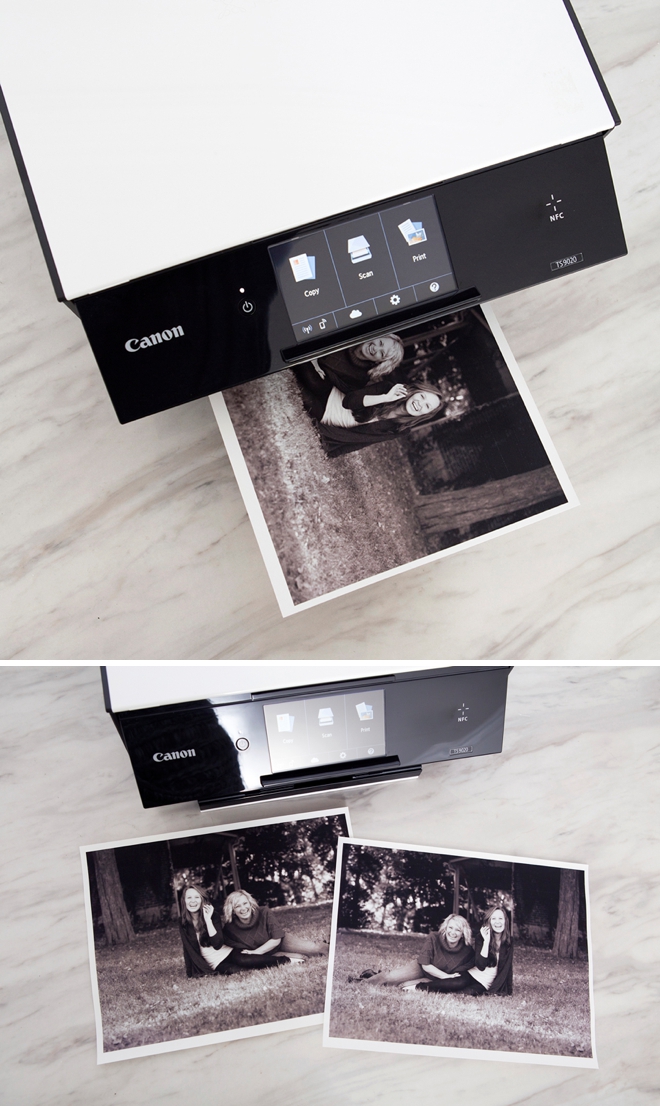
Print Your Photos
Using the “Photo Paper Plus Glossy II”, “Rear Tray”, and “High Quality” print settings on your Canon Printer, print your photo onto 8.5″ x 11″ Inkjet Transfer Sheets. Print two; one mirrored image and one regular. That will make the lining of the bag look mirrored!
Your photo needs to be at least 10″ x 7″.
Want To See The Sewing In Action?
Watch me make one of these bags from start to finish here in this quick video. The fabric photo transferring and cutting took about 15 minutes and the actual sewing also took about 15 minutes, so for me from start to finish for each bag it was 30 minutes… but the video is about 3 minutes!
Cut Your Fabric
- Liner Fabric (Muslin): 12″ x 9″, cut two
- Outer Fabric (Faux Linen): 10″ x 7″, cut two
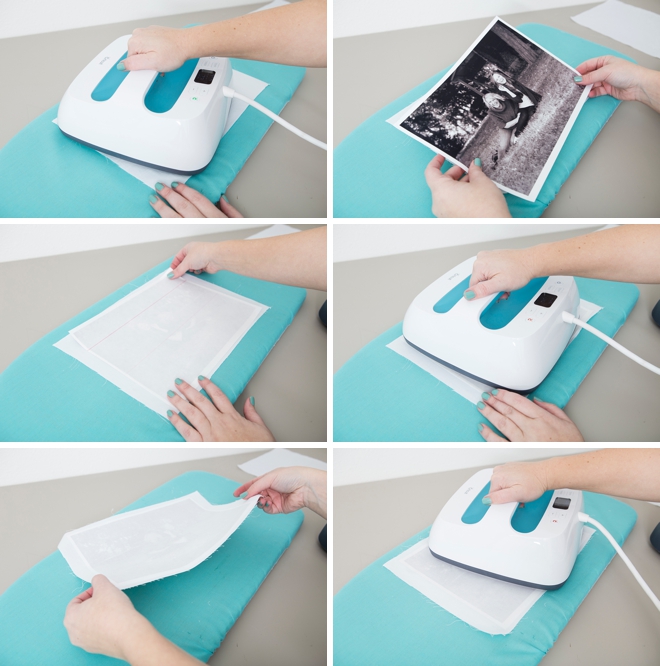
Iron-On The Photos
Ok, so I’m not using an iron and that’s because I have the Cricut Easy Press and it’s WAY better than an iron. You can use either. Iron your photo onto the muslin!
Warm up the fabric, getting all the wrinkles out. Iron the front for 30 seconds and then the back for 30 seconds, do that twice for a total of 2 minutes. Do that for both pieces.
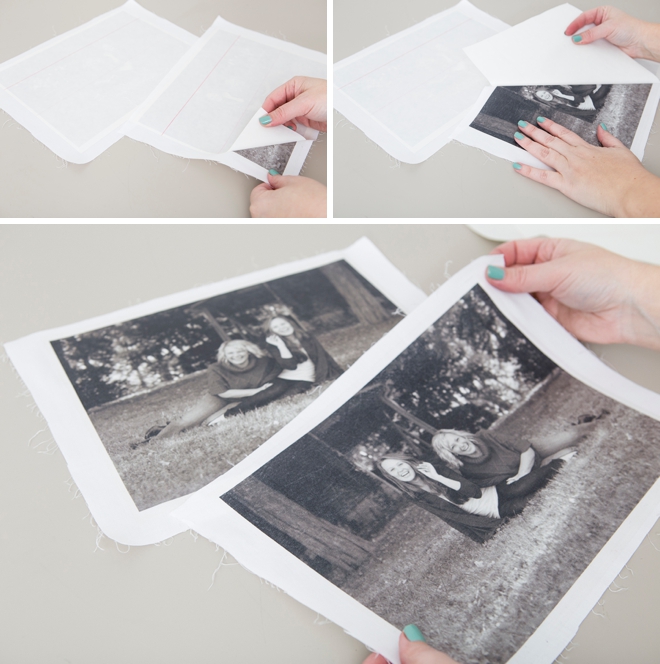
Remove The Backing
After the fabric has cooled down completely, peel the backing off the photo to reveal your new photo fabric!
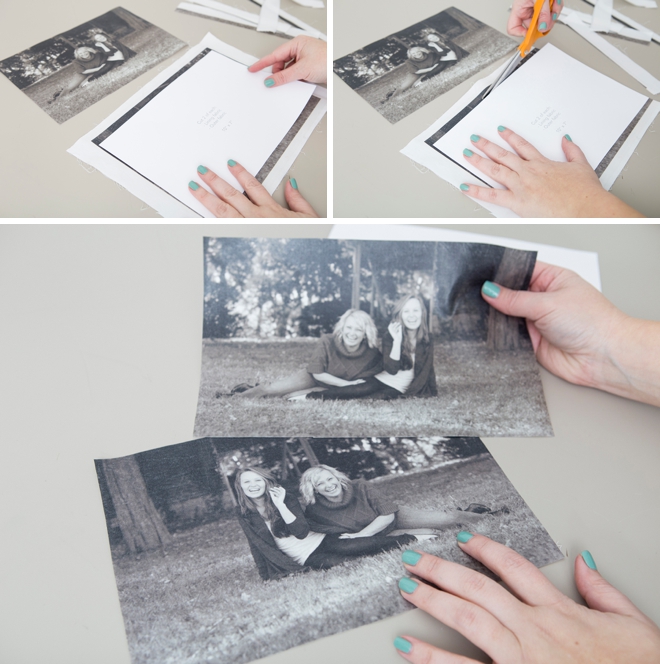
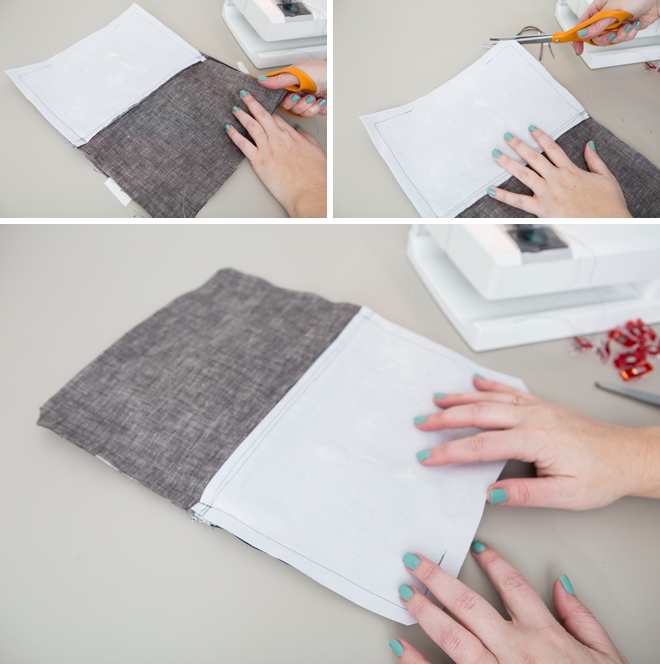
Trim
Use the 10″ x 7″ pattern to help you trim the photo fabric down to 10″ x 7″. Try to crop them the same so they match inside the bag!
Sew: Step 1
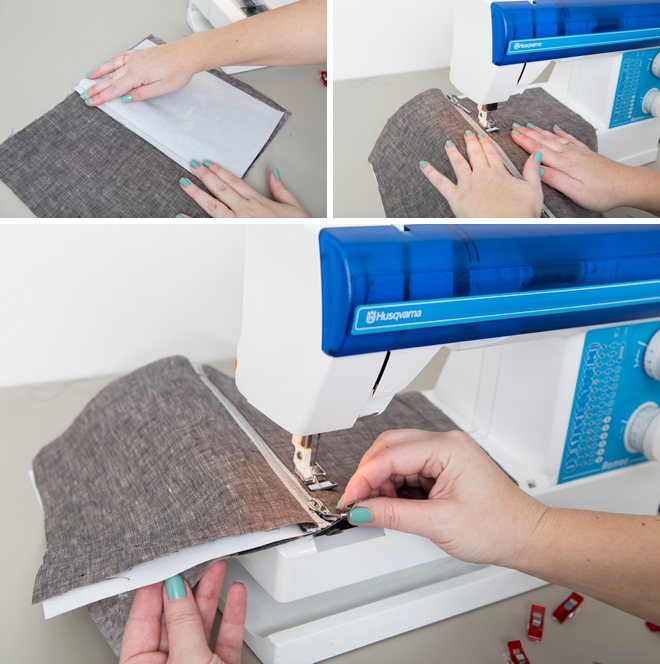
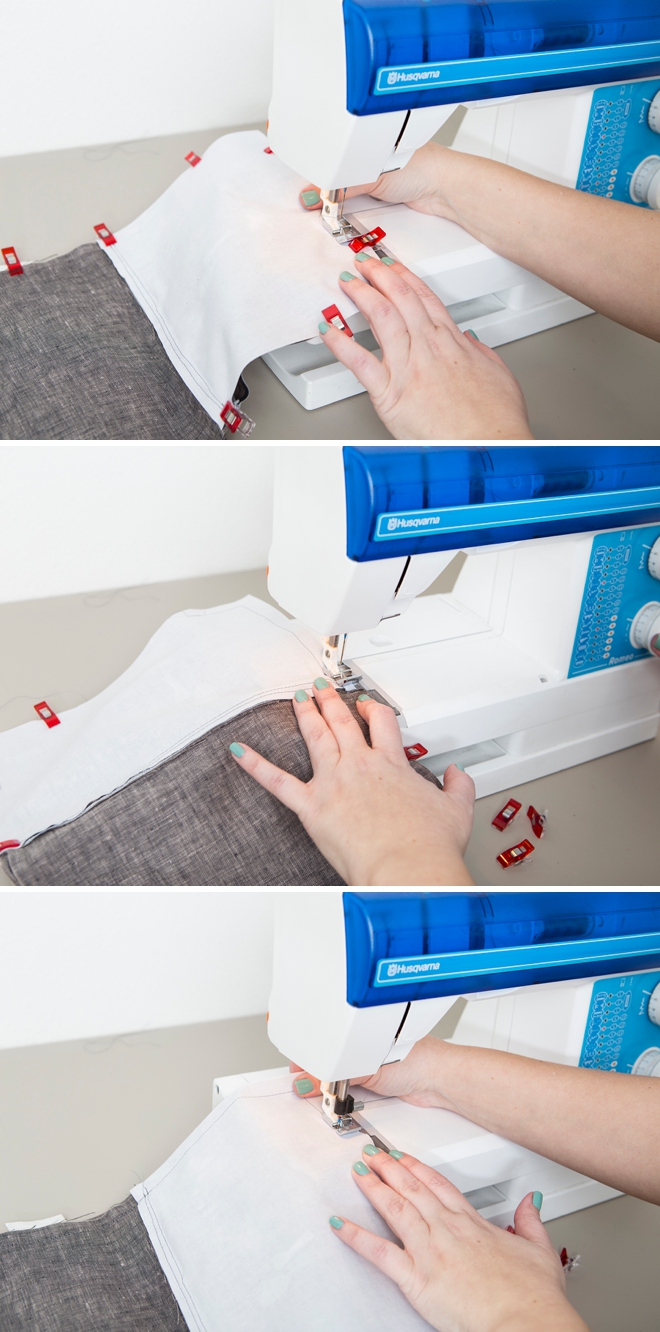
Layer the photo fabric face up, then the zipper face up with pull on the right side, then the outer fabric face down on top of the zipper. Clip (or pin) in place across the top.
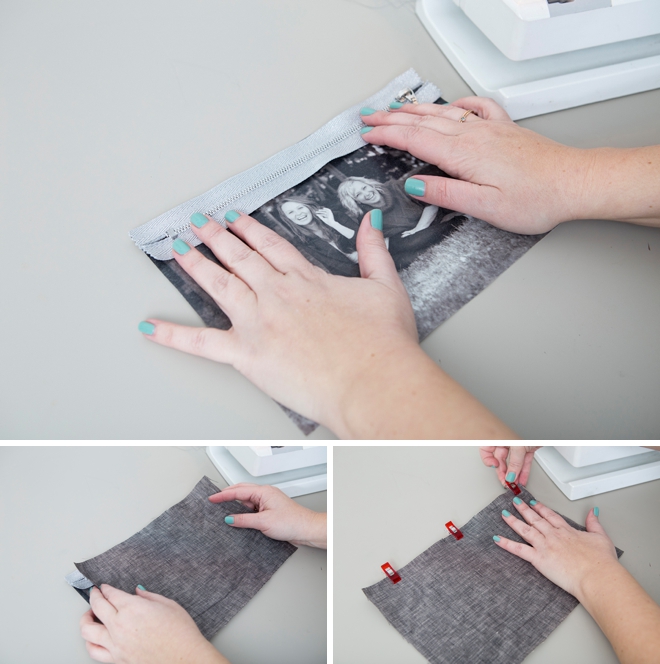
Sew: Step 2
Next, sew a straight line down the side of the fabric where you just pinned it. Using a 1/2″ seam allowance, meaning sew 1/2″ from the edge of the fabric. Then fold the backside of the photo fabric to touch the outer fabric.
Zipper: Once you get about an inch from the zipper you’ll need to stop sewing, make sure your needle is in the fabric and release the presser foot. Then carefully pull the zipper backwards away from the area you’re sewing to give you space for a straight seam.
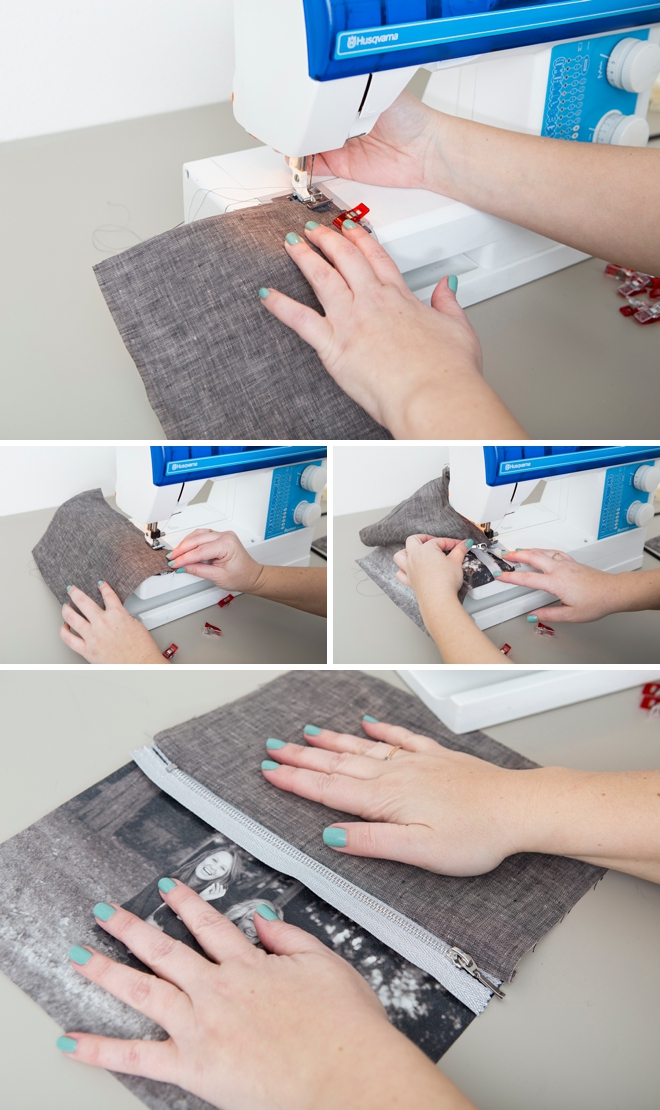
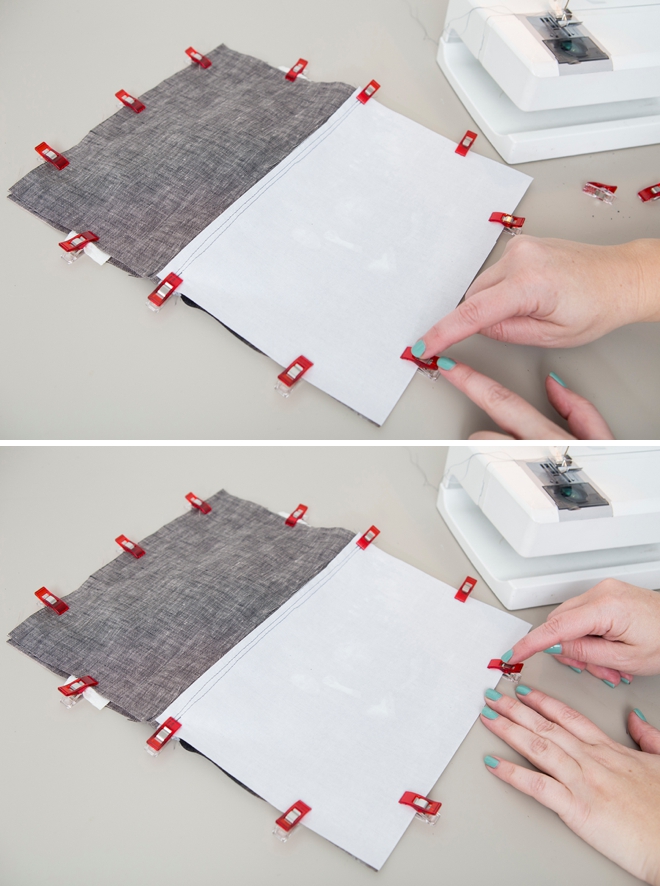
Sew: Step 3
Next, we’re going to add the other two pieces of fabric. Place the photo fabric face up on the table and layer it with the zipper (with the other two pieces attached) and then the outer fabric, just like we did before. It’s helpful to start sewing with the zipper in the middle, so move it there before you start.
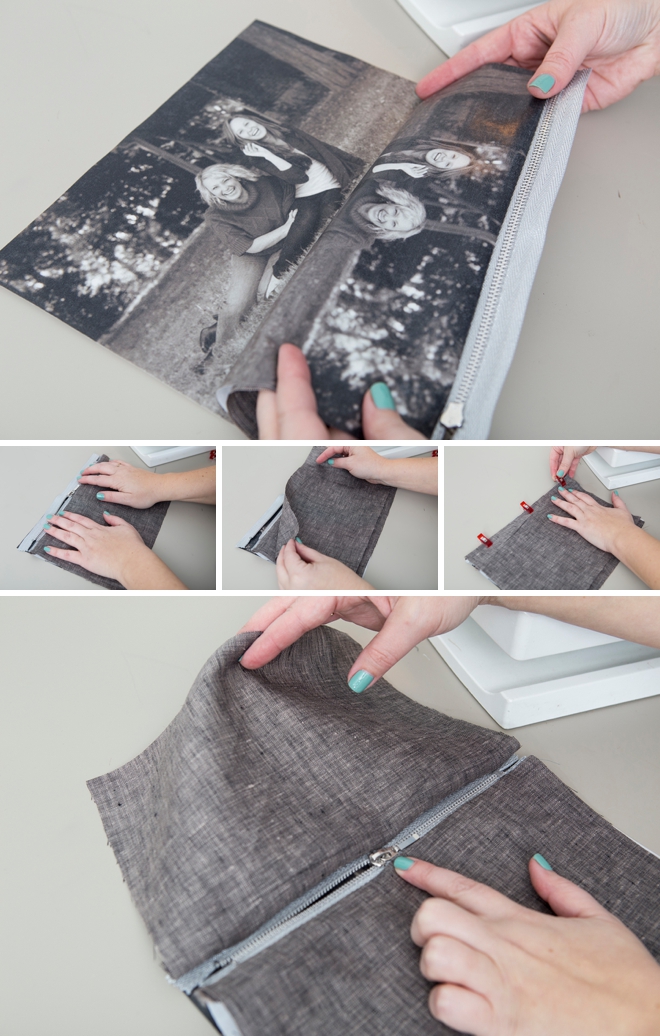
Sew: Step 4
Sew down the side of the fabric that you just pinned, just like we did before. Now you can see that both photo fabrics should be sewn on the same side of the zipper and the same goes for both outer fabrics.
Sew: Step 5
Add a top stitch along both sides of the zipper. To do this, start with one side of the outer fabric facing up, pull the other three pieces of fabric to the opposite side and pin in place if needed. Then add a seam 1/4″ away from the zipper along the edge of the outer fabric, to finish the top edge of your bag. Do this same step to both sides.
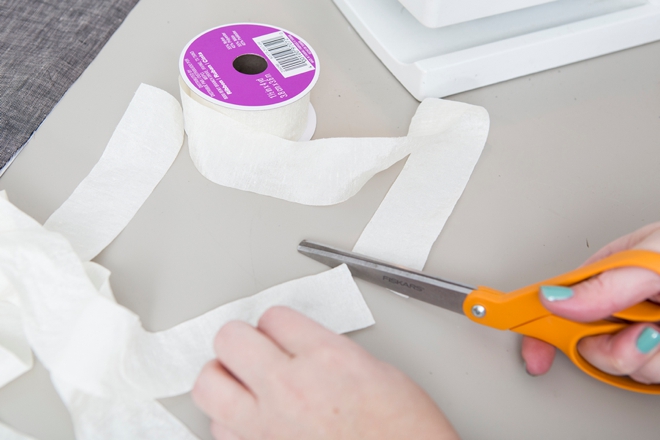
Cut Ribbon
Adding a ribbon bow to your pouch is optional but super cute. Cut about 40″ of ribbon to start.
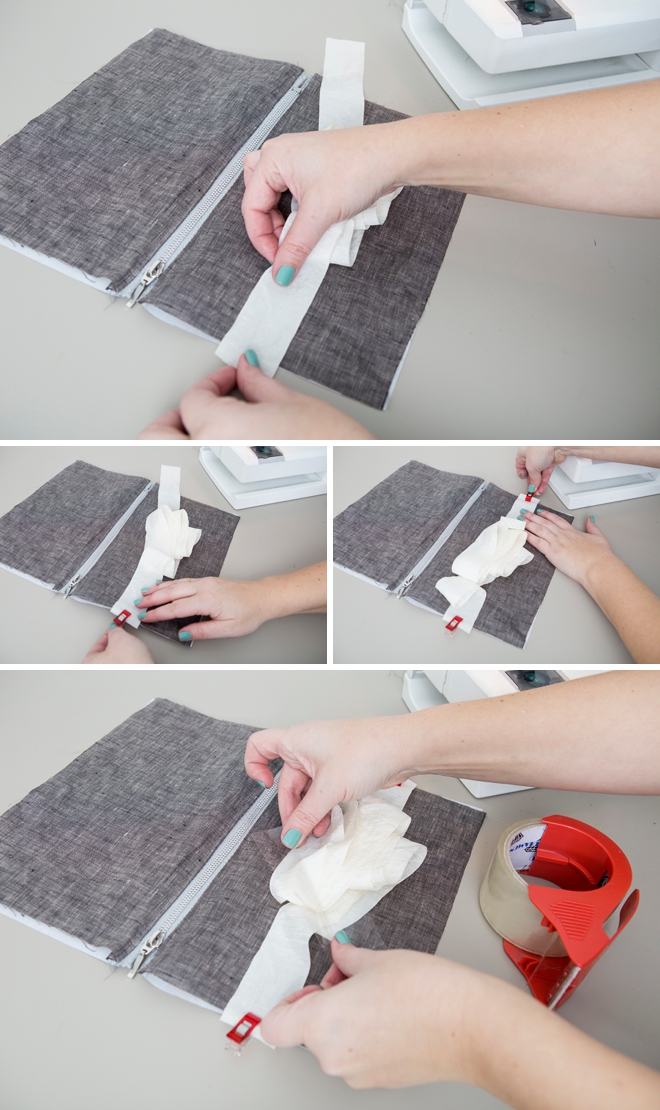
Sew: Step 6
Pin the ribbon to the outer fabric, about 2.5 inches from the zipper on each side. Let the ribbon hang over the edge about 1/3″ and tape the rest of the ribbon to the middle of that outer piece of fabric. Again, adding the ribbon is optional.
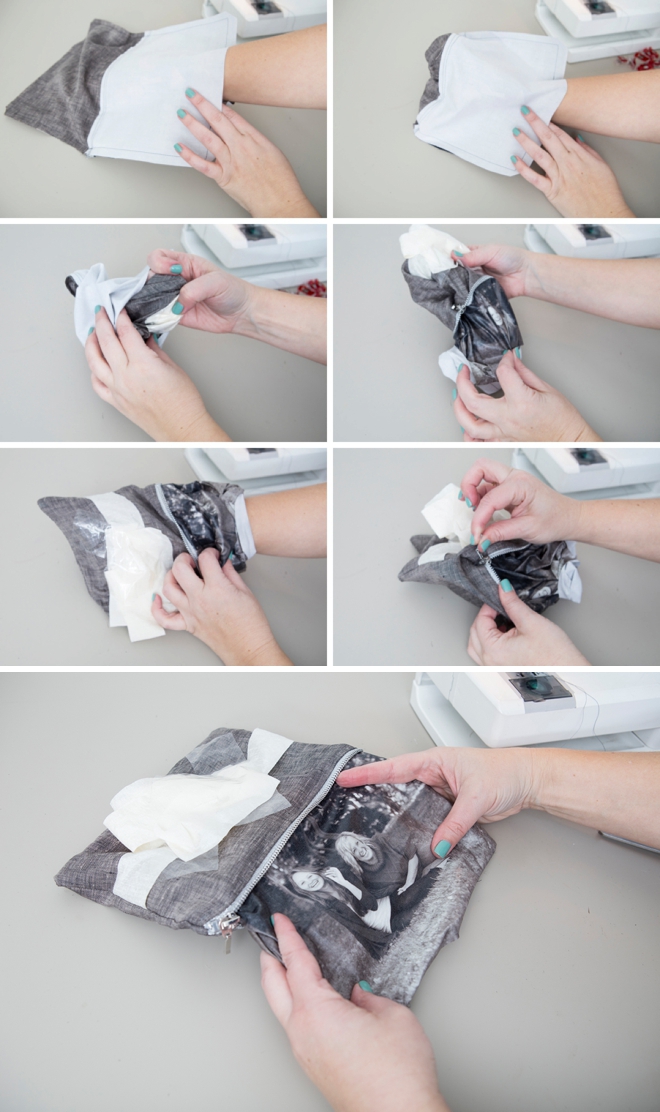
Sew: Step 7
Pin the bag together… we’re almost to the end! Start by opening the zipper 3/4″ of the length, if you don’t do this step your bag will be sewn shut! Place the two outer fabrics together by facing each other and making the zippered ends fold together to meet in the middle. You will force the edges of the zipper towards the photo liner with the zipper metal touching itself, remember one side is open. Pin edges in place. Pin the outer fabrics and the photo fabrics together to meet.

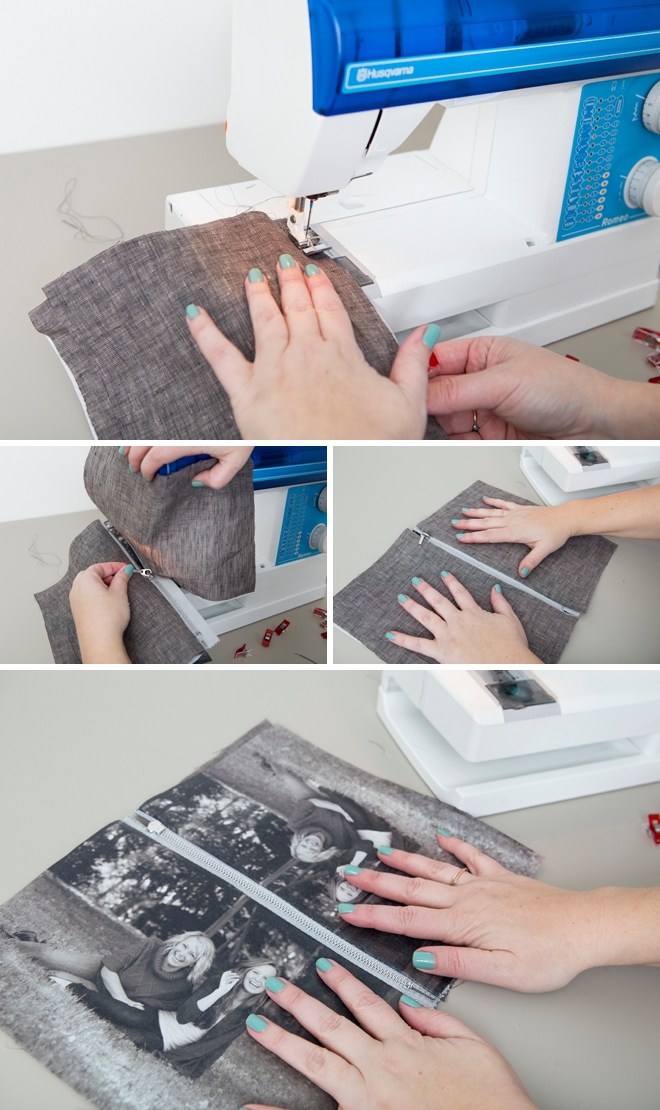
Sew: Step 8
Now sew around the entire bag using a 1/2″ seam allowance, minus about 5″ within the points of my fingers. That area is how we will turn the bag inside out!
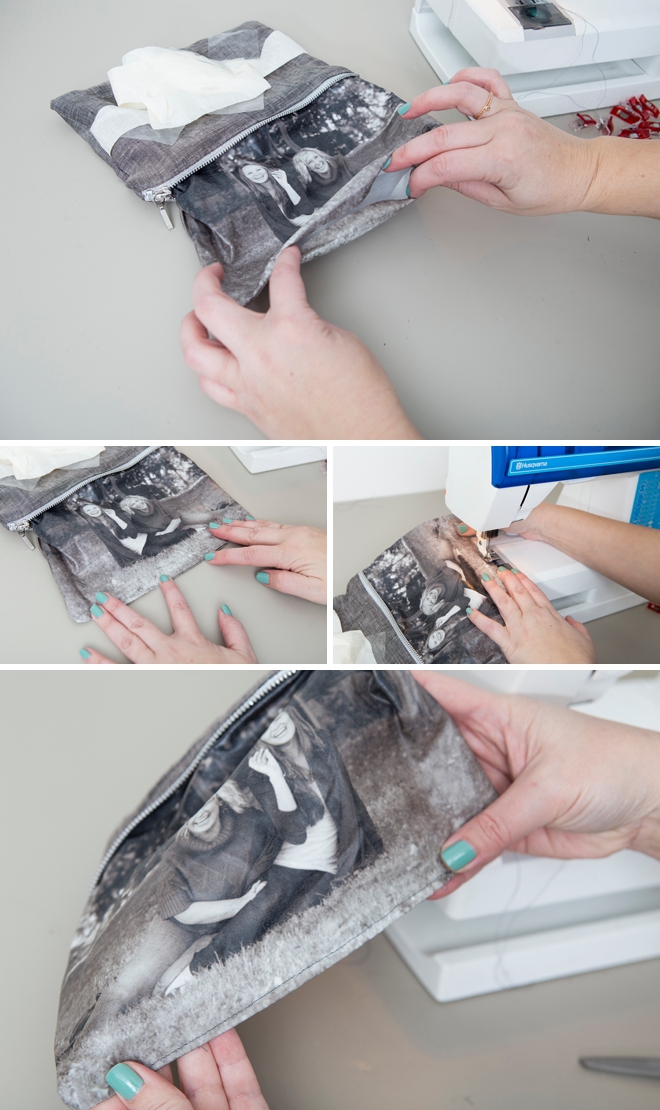
Sew: Step 9
Trim excess fabric, thread and notch each corner. Trimming excess material helps the bag fold easier and notching the corners helps the corners poke out.
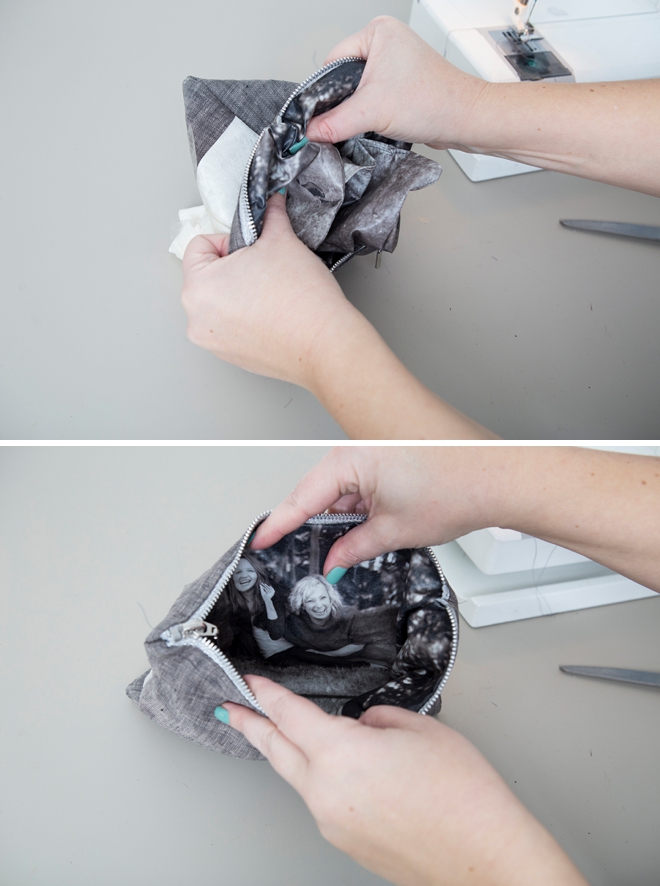
Sew: Step 10
Turn the bag right-side out! Stick your hand inside the hole you left in the bag, through the zipper, and grab all the outer fabric in your hand and pull it through the hole. Push out the corners, open the zipper all the way and check out your cute bag!
Sew: Step 11
Last sewing step, seal the bag! The hole you left in the bottom of the photo fabric now needs to be stitched up. Fold the ends inward to follow the line of the seam and stitch across to seal using a 1/4″ seam allowance. Then push the lining into its final resting place inside the bag!
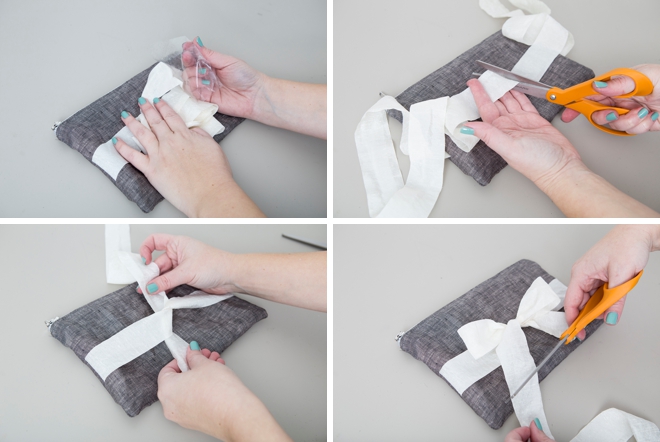
Tie The Bow
Remove the tape from the ribbon. Find the middle of the ribbon and cut it, then tie a pretty bow and trim the excess ribbon.
…And Your Photo Bag Is Complete!
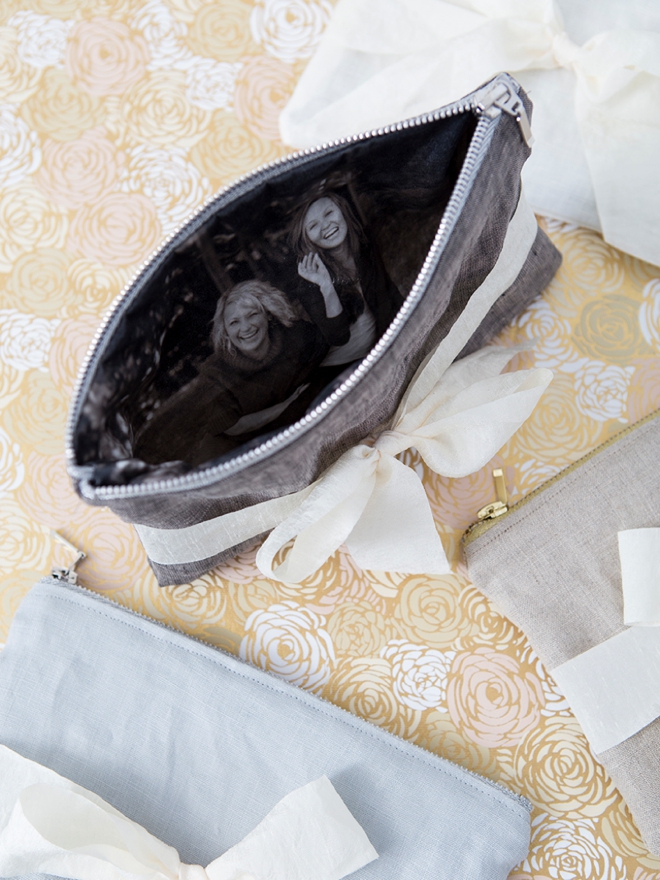
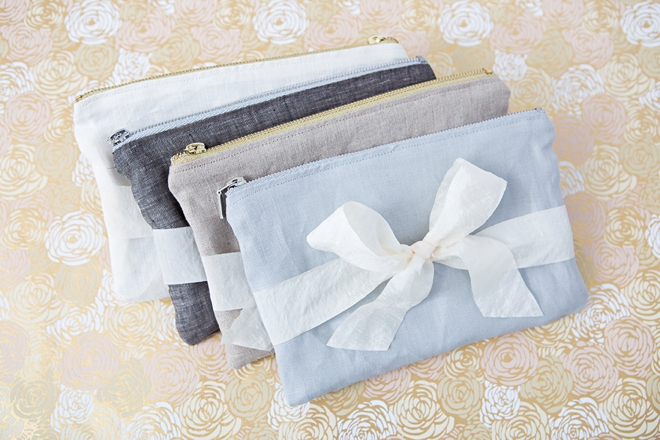
Matchy, Matchy
There are so many different color combination options for this project! I recommend going shopping for fabric with a copy of the image you’re going to use so you can see what looks best. From the color of the fabric to the ribbon and even the zippers – the choice is all yours!
DIY TUTORIAL SPONSORED BY:
Canon U.S.A., Inc. prides itself on allowing consumers to create and preserve beautiful imagery, from capture to print. With wireless technology and seamless printing capabilities, you can print your photos and printables with precision and ease.

As with all our DIY tutorials, if you create one of our projects please send us a picture – We Love Seeing Your Creativity! If you use Instagram or Twitter please use the hashtag #SomethingTurquoiseDIY and it will show up on our Get Social page. Happy Crafting!
DIY Tutorial Credits
Photography + DIY Tutorial: Jen Causey of Something Turquoise // Canon PIXMA TS9020 Photo Printer: courtesy of Canon // 8.5″ x 11″ Inkjet Photo Transfer Sheets: Amazon // Fabric and Zippers: JoAnn // Fabric Clips: Amazon // Ribbon: Michaels // Nail Polish: OPI – Withstands the Test of Thyme
Shop The Supplies:
Find the supplies you’ll need for this project from our affiliate links below:

Comments