
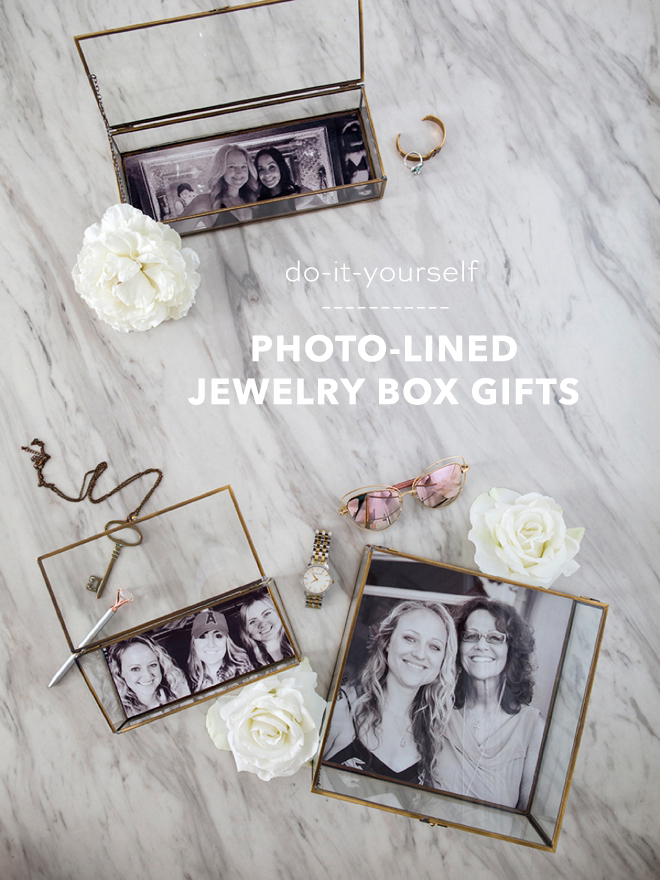
DIY Photo-Lined Jewelry Boxes
-Sponsored Post-
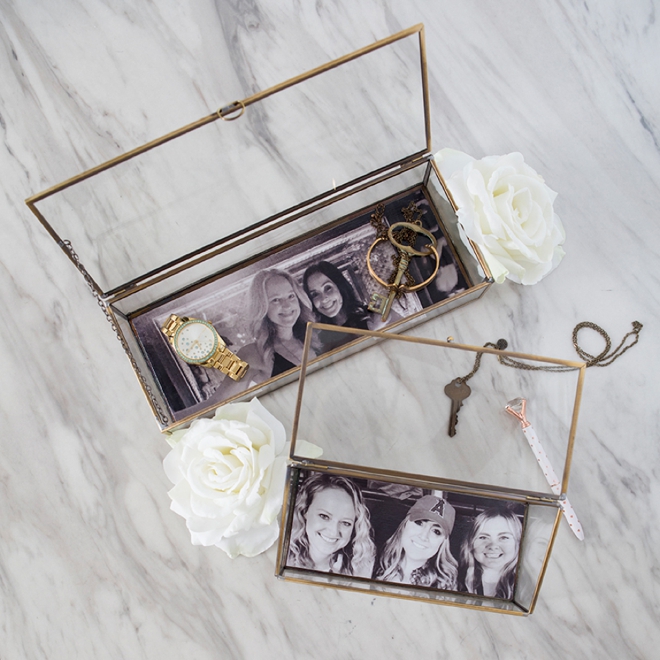
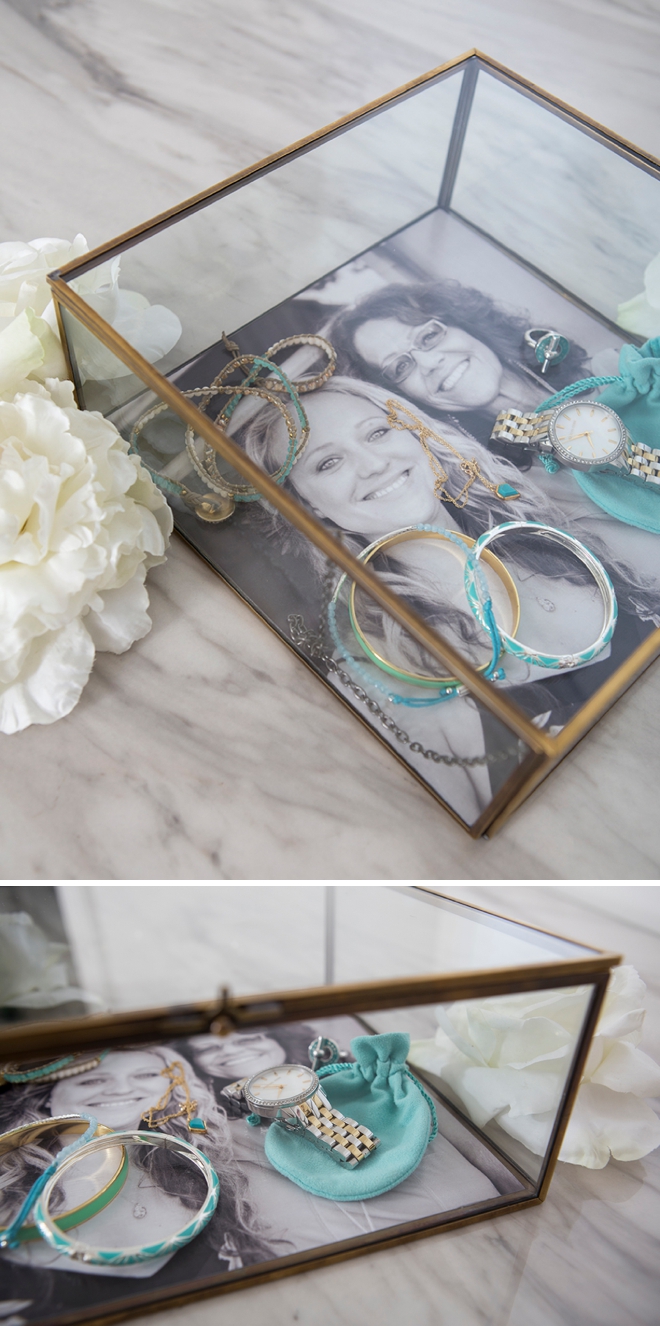
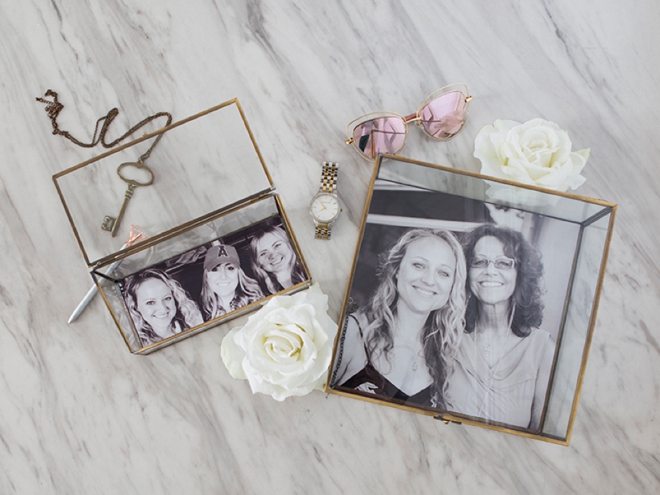
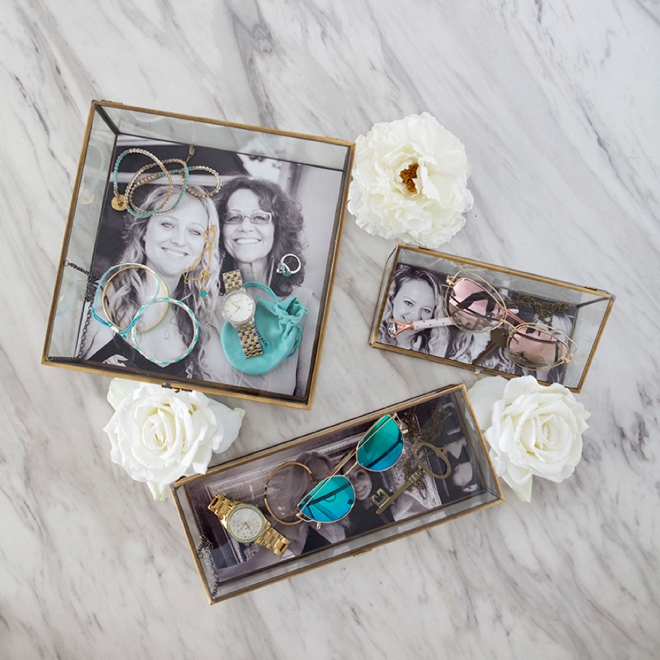
It’s finally DIY Friday and we’re playing with our favorite photos today! Learn how to turn pretty photos of you and your besties or you and your family, into the sweetest DIY wedding gift: photo-lined jewelry boxes! This project is super easy, the only skill required is measuring properly. A terrific idea for bridesmaid gifts, mother-of-the-bride gifts, or the perfect project to make with your wedding photos after your special day! My Canon iP8720 Crafting Printer is doing the heavy lifting today, printing the large pretty photos that lined these boxes… I hope my friends and my Mom like them!
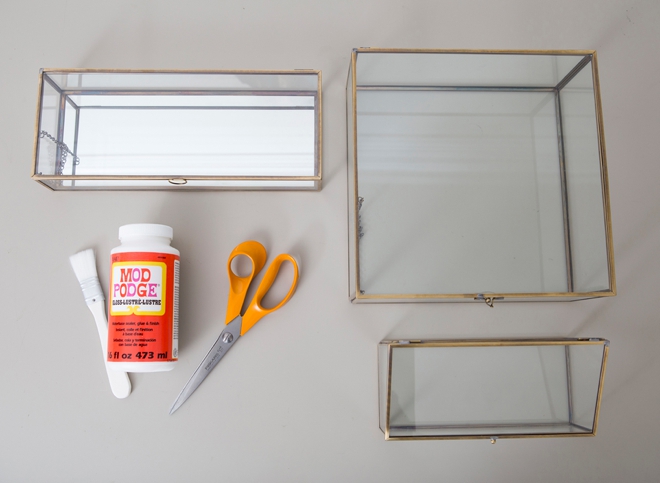
Any Glass Box Will Do
I purchased all three of these beautiful glass jewelry boxes on Amazon and the links are at the end of the post… but you can use ANY glass jewelry boxes that you find! From mirrored bottoms to hexagon shapes, even plexiglass will work – so get your shop on!

SUPPLIES:
- Canon iP8720 Crafting Printer
- Canon Photo Paper Pro-Luster, in the right size for your box
- Pretty Glass Jewelry Boxes
- Mod Podge, Gloss
- Paint Brush
- Scissors or Paper Trimmer
- Ruler
Watch How Easy These Are To Make:
Print + Cut
The most time consuming part of this entire project will be choosing the perfect photos and getting them sized correctly. All three jewelry boxes, and I’m sure the ones you are going to use, will be different sizes. I used my favorite editing software called The Print Shop to properly size, crop and print my photos; after I measured each box for the specific sizing.
Print your special photos onto Canon Photo Paper Pro Luster, or your other favorite Canon photo paper, (make sure you have paper large enough to fit the jewelry box). Two of the boxes I used were larger than 8.5″ x 11″, meaning my fabulous Canon iP8720 Crafting Printer was the perfect choice for this project, since it can print up to 13″ x 19″. Trim your photo down to size.
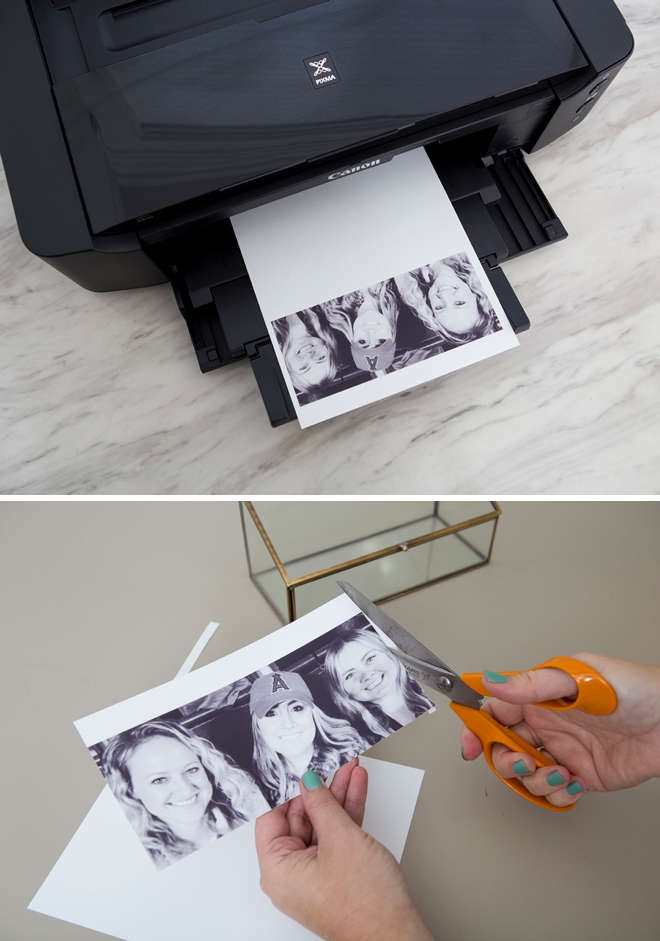
Make Sure It Fits
Before you decoupage the photo in place, set it inside the jewelry box and make sure you’re happy with the fit. Trim until you are.

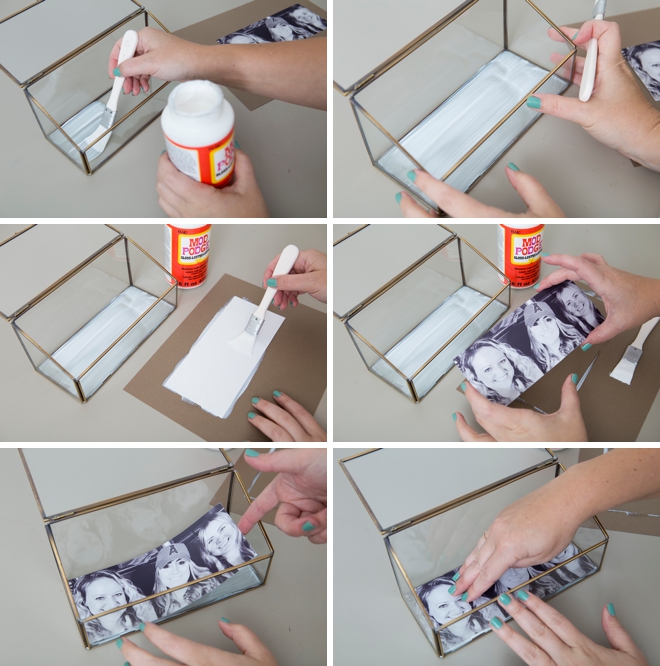
Decoupage Time
Apply a liberal amount of Mod Podge to the bottom of the glass jewelry box and then to the backside of your photo print. It helps to apply the glue to the photo on top of another piece of scrap paper. Then place the photo inside the box and carefully smooth it down to the glass.
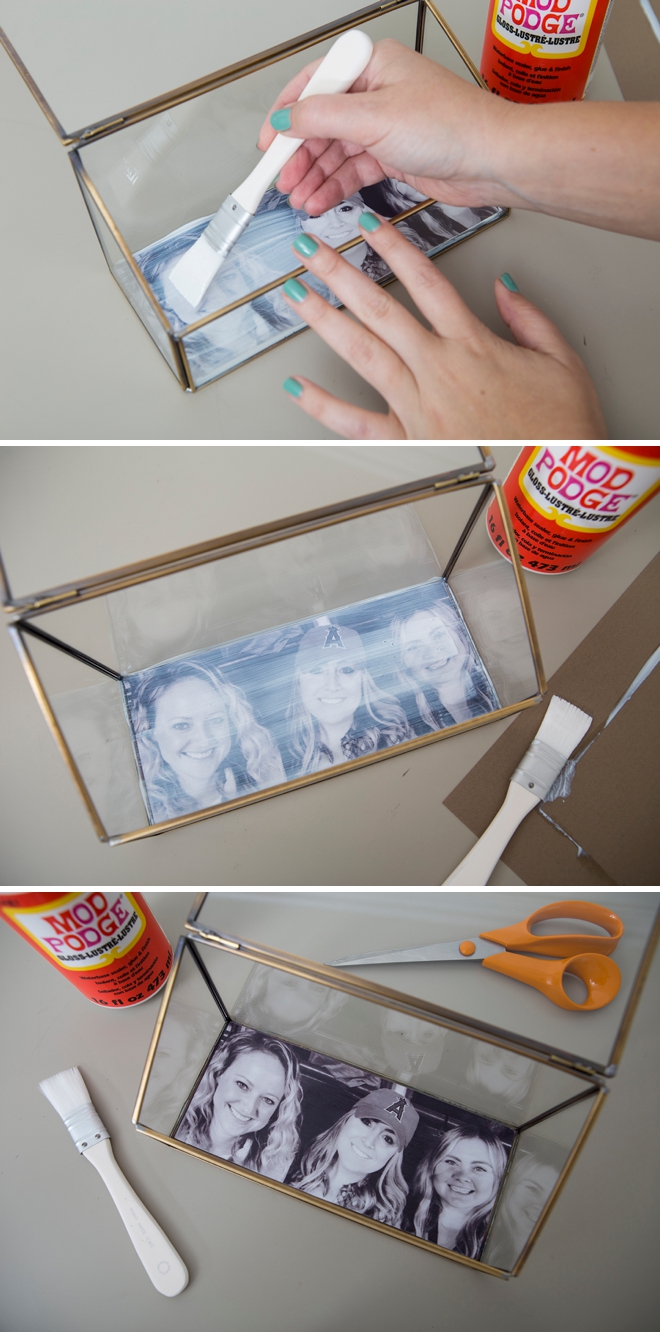
Seal
Apply a liberal amount of Mod Podge across the entire photo, being careful not to scratch the photo, brush too hard, or brush with not enough glue on the brush – all can damage the photo print on this coat. After the first coat dries, which could be a few hours; apply at least two more coats with a few hours of dry time in between. That’s it, that’s all there is to this super sweet gift project!

Fully Dry
The Mod Podge coats will be a tad bit tacky at first, even after it’s dry. If you add jewelry to the box too soon, the weight and texture can damage the print. My advice is to let these boxes dry for about 10 days before wrapping and/or gifting to your friends and family!
DIY TUTORIAL SPONSORED BY:
Canon U.S.A., Inc. prides itself on allowing consumers to create and preserve beautiful imagery, from capture to print. With wireless technology and seamless printing capabilities, you can print your photos and printables with precision and ease.
As with all our DIY tutorials, if you create one of our projects please send us a picture – We Love Seeing Your Creativity! If you use Instagram or Twitter please use the hashtag #SomethingTurquoiseDIY and it will show up on our Get Social page. Happy Crafting!
DIY Tutorial Credits
Photography + DIY Tutorial: Jen Causey of Something Turquoise // Canon PIXMA iP8720 Crafting Printer and Photo Paper: courtesy of Canon // Glass Jewelry Boxes: Amazon // Mod Podge Gloss: Amazon // Paint Brushes: Amazon // Nail Polish: OPI – Withstands the Test of Thyme
Shop The Supplies:
Find the supplies you’ll need for this project from our affiliate links below:

Comments