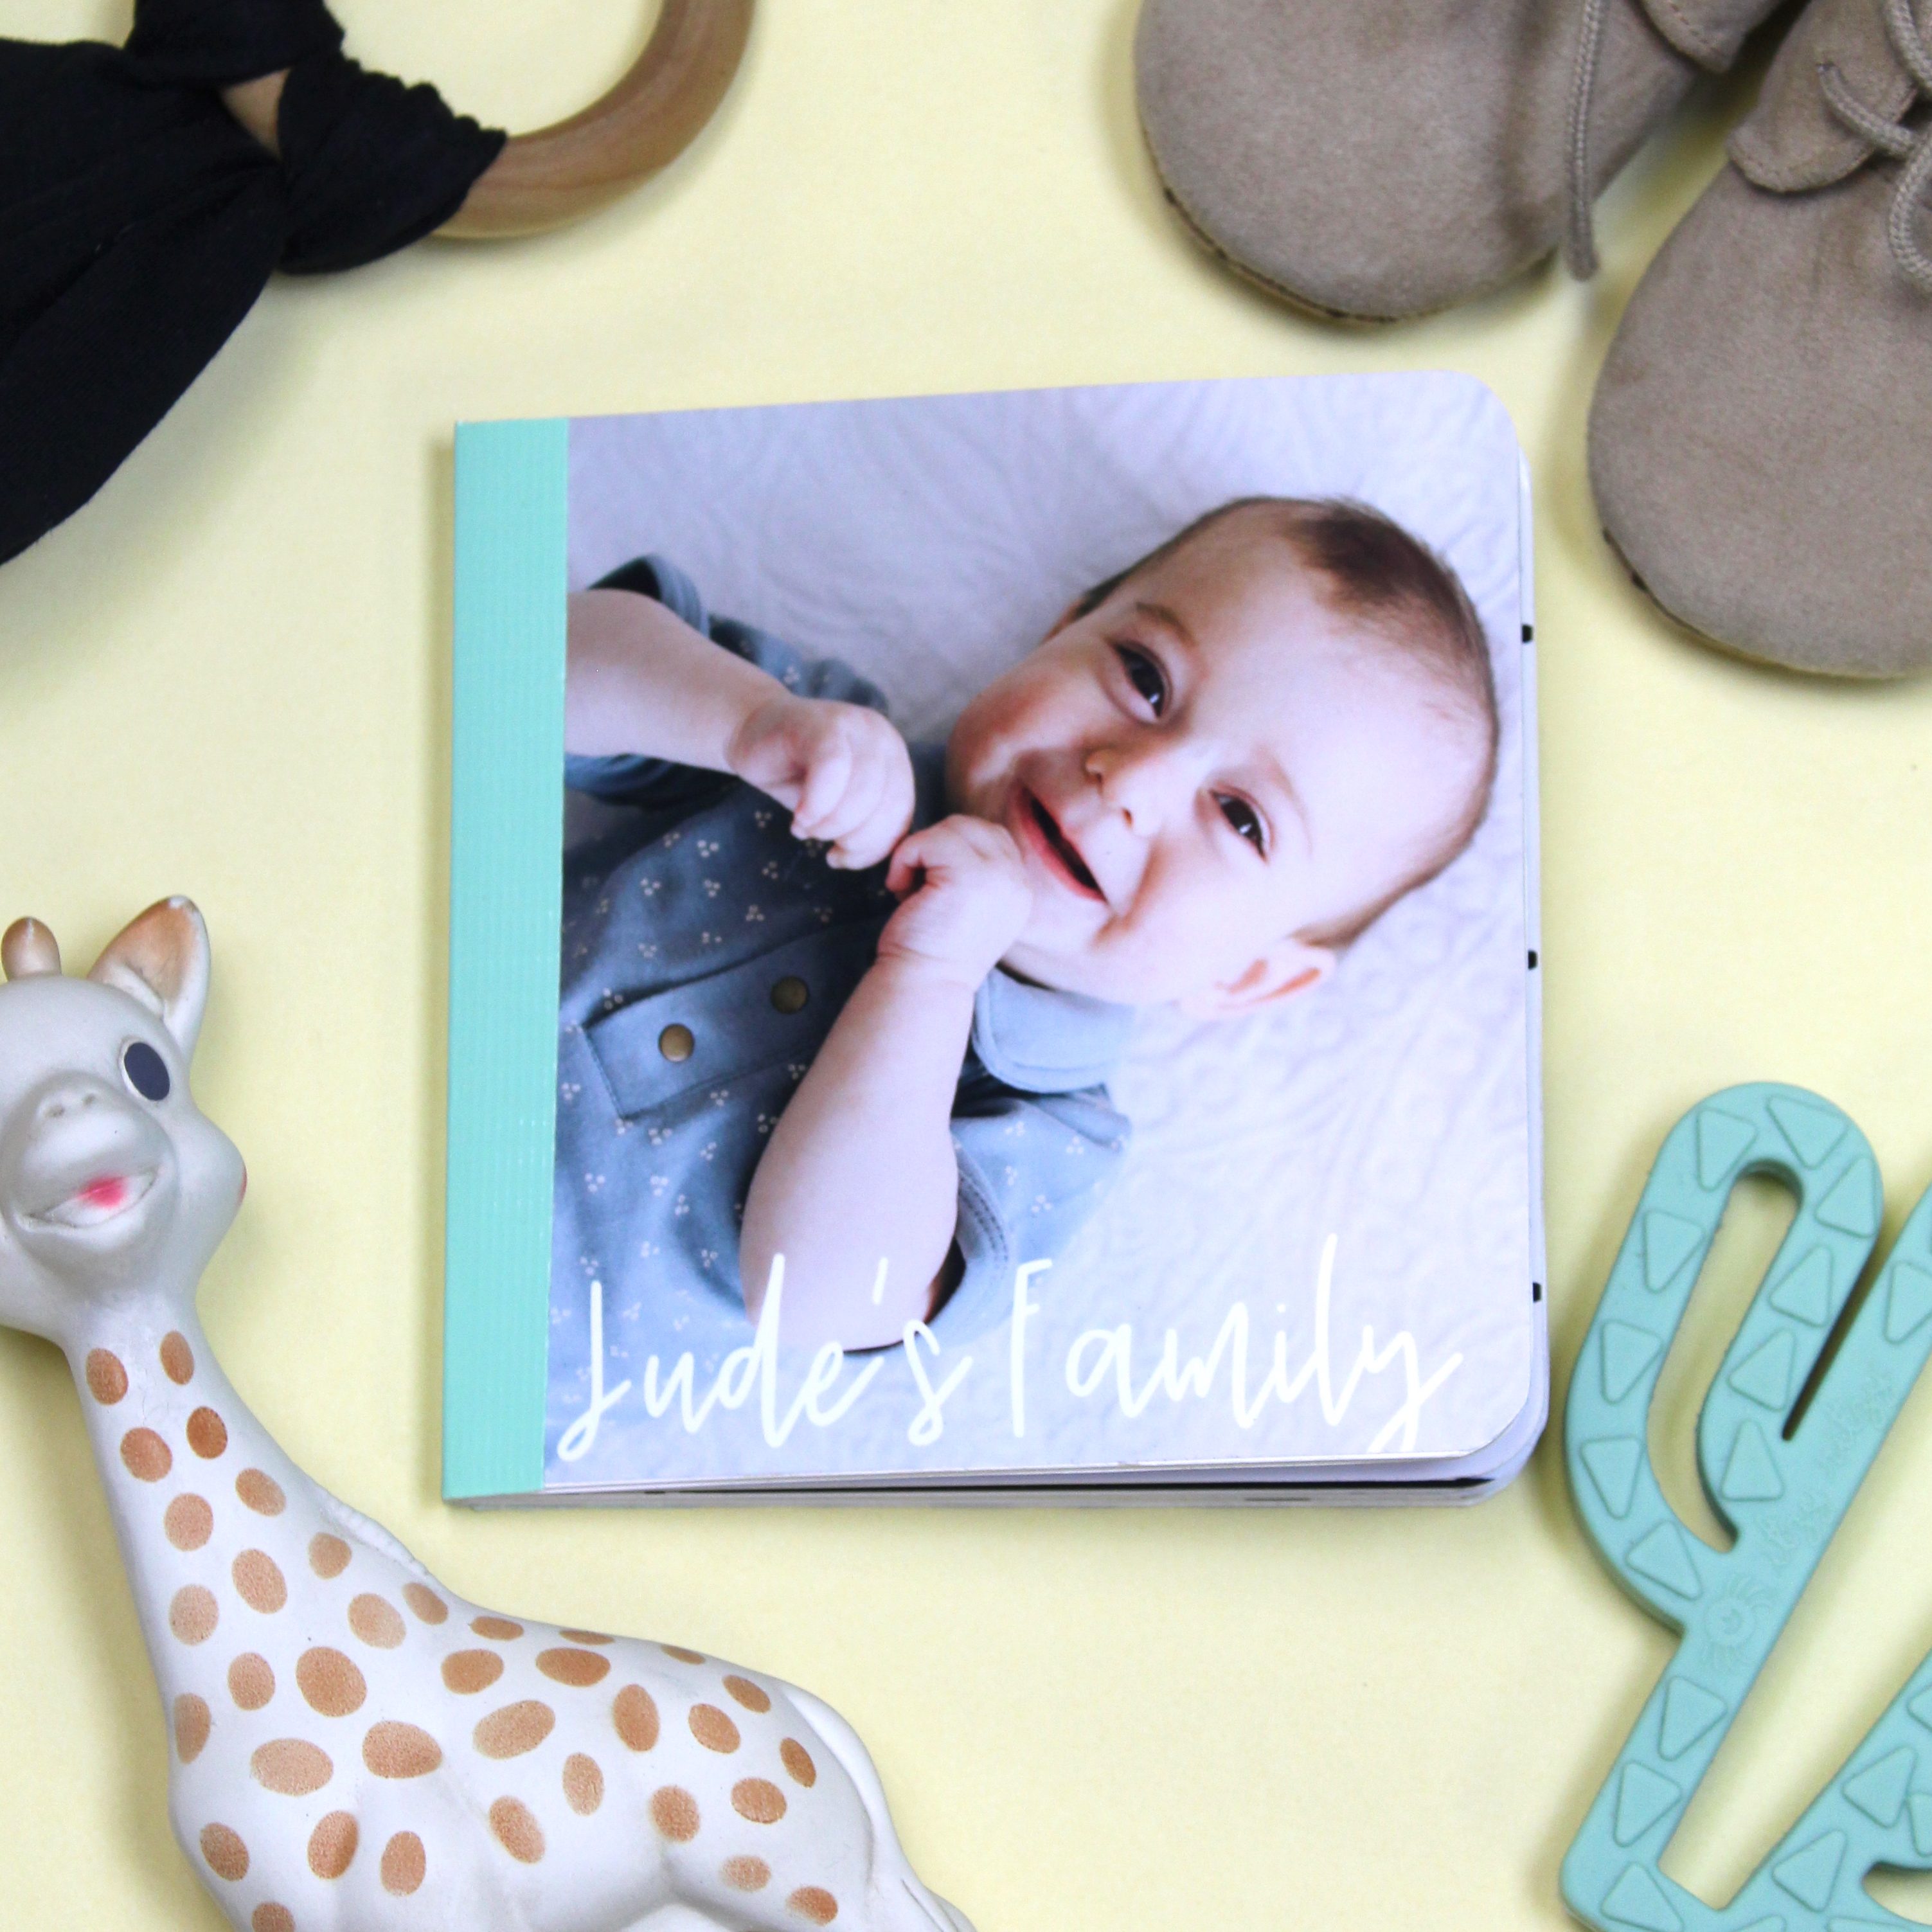

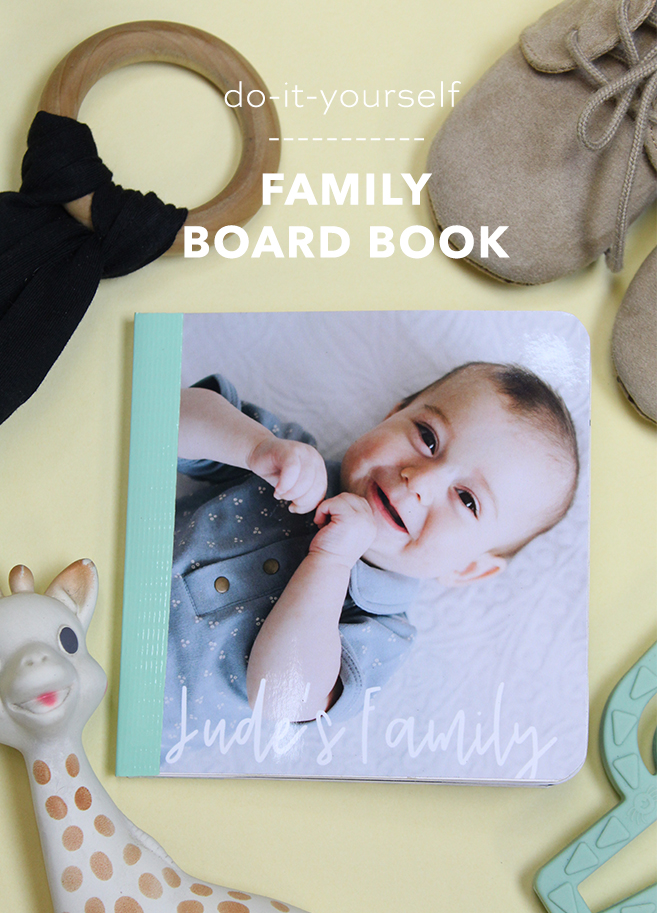
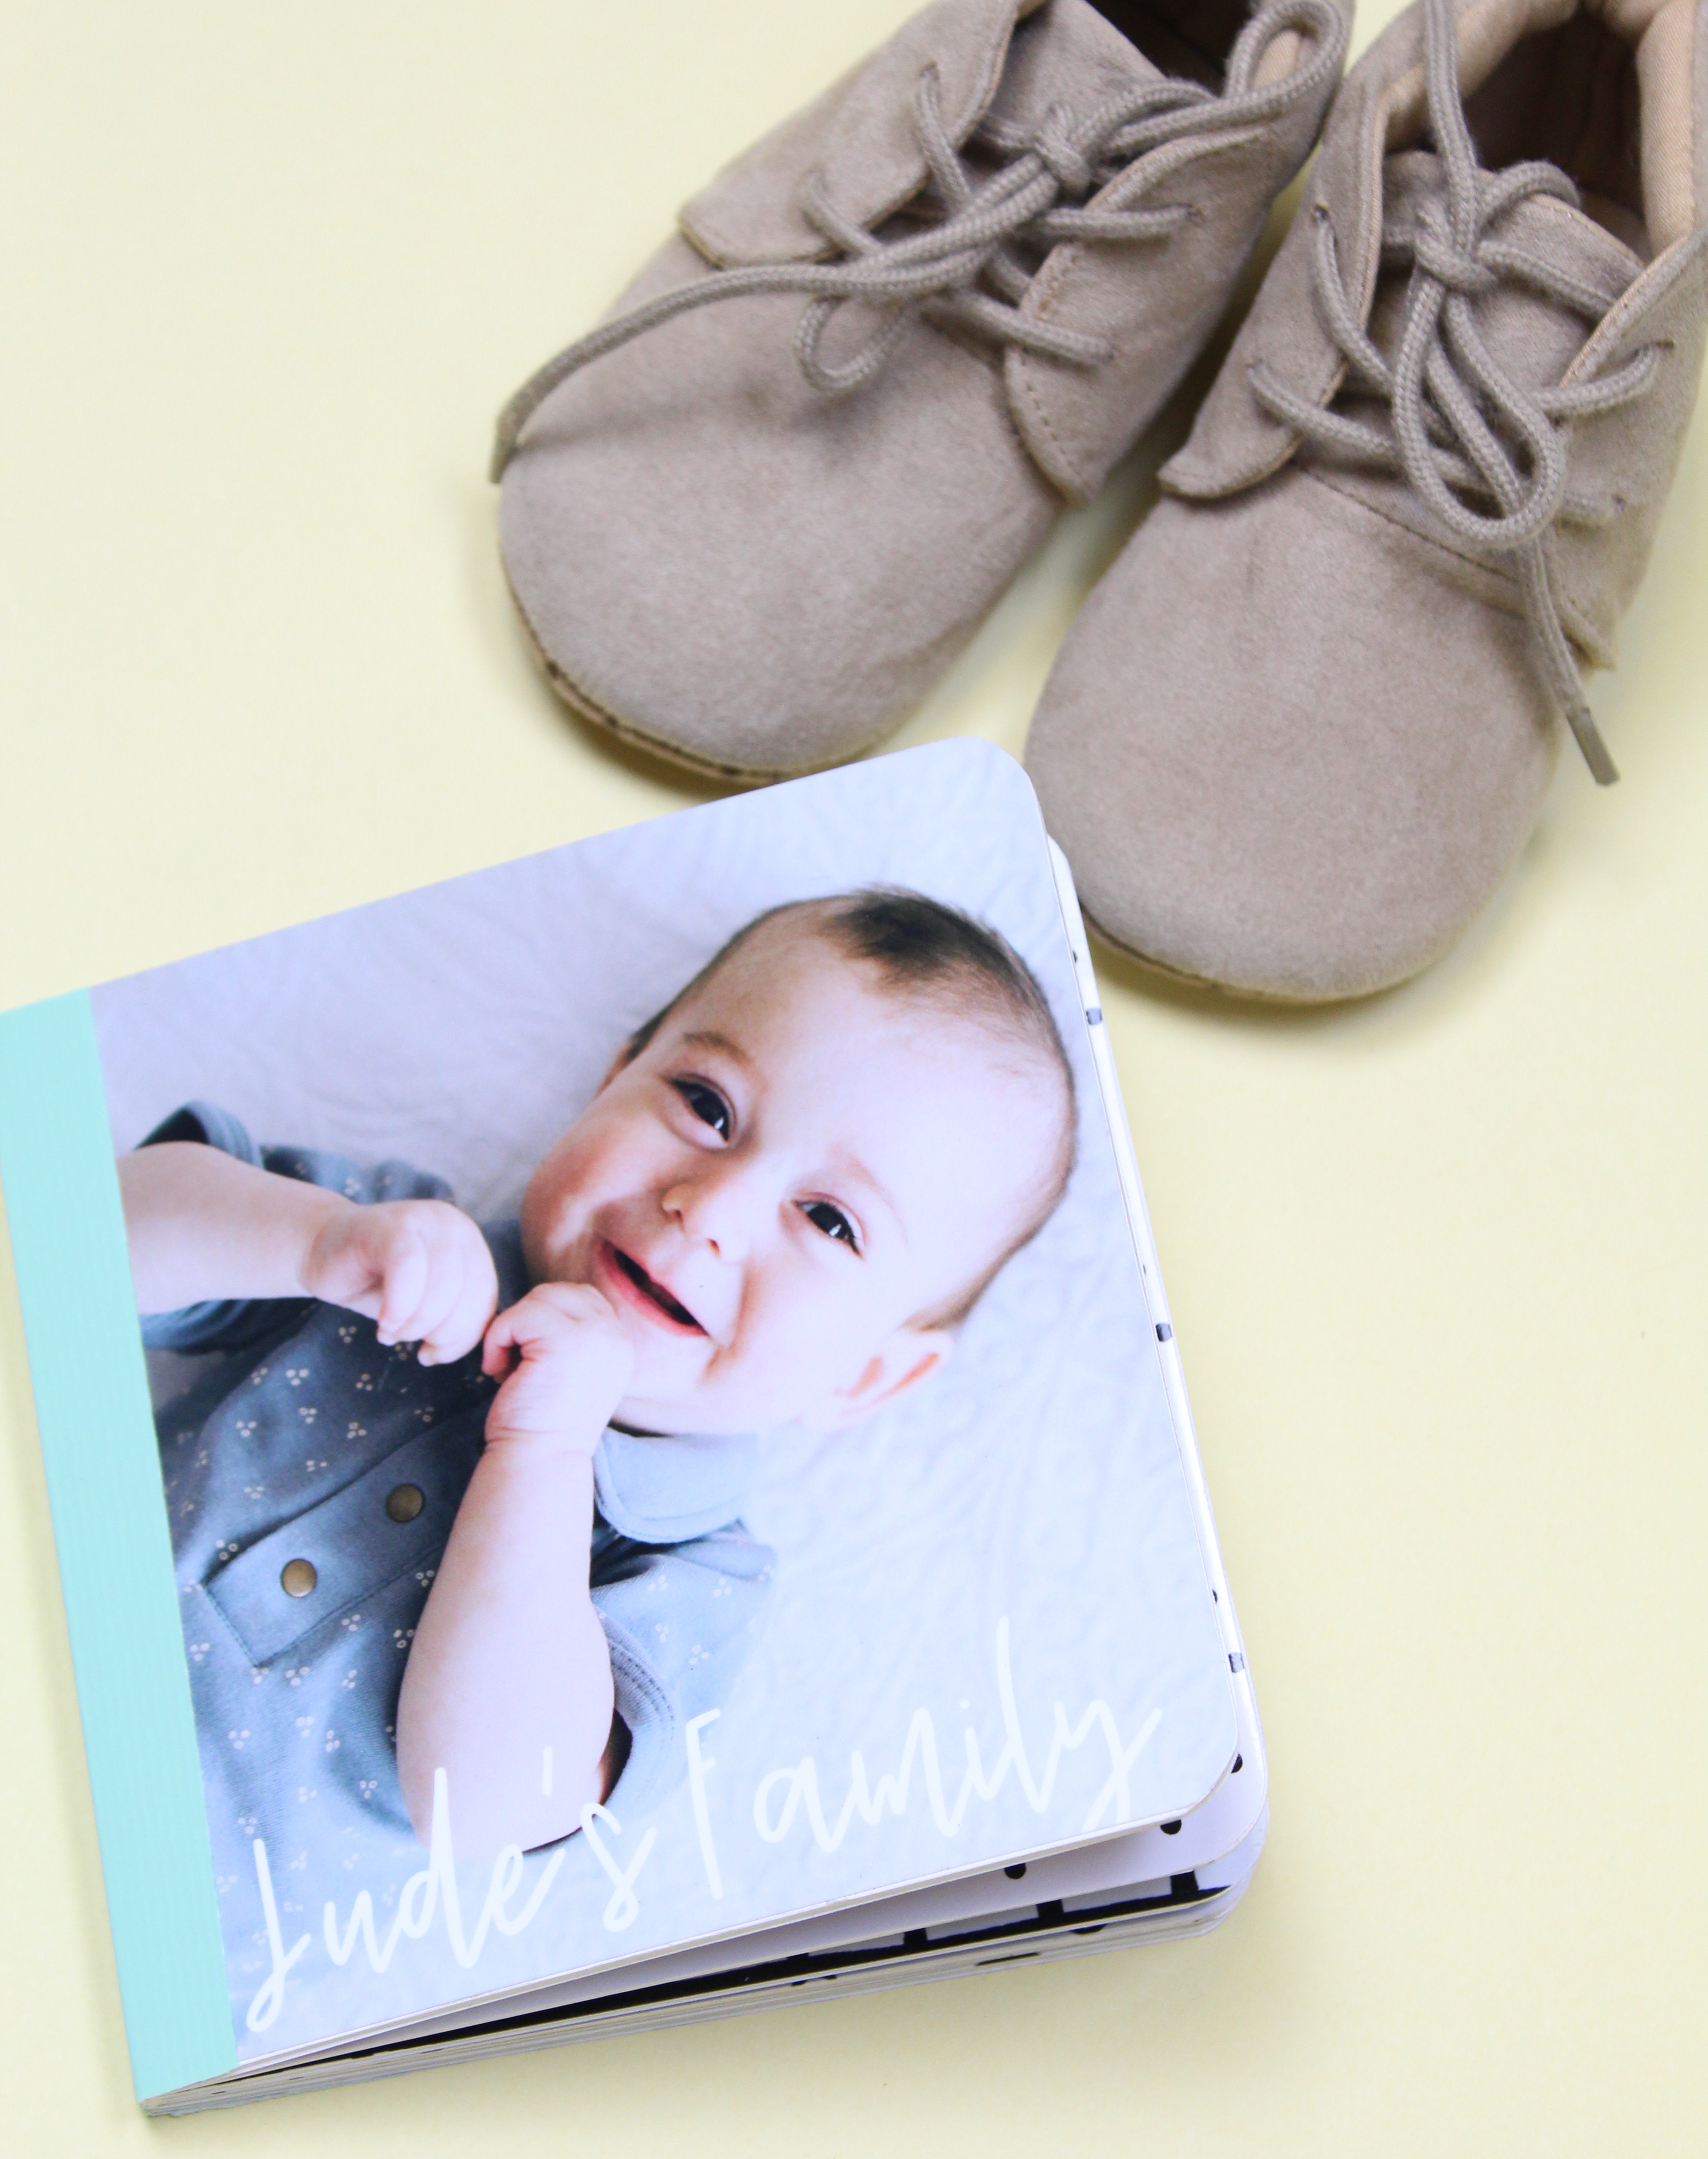
DIY Family Board Book
Hey friends! It’s Shea from Not So Cli-Shea and I’m back with another adorable DIY. I’m super excited about this one and think it might be my new go-to baby shower gift (although you can really make one for anyone and any occasion).
I feel like my little one is on the cusp of talking and as such I am hammering “mama” into his little head every chance I get. I decided to make this book though to make sure he knows the names of all the other important people in his life too (but mostly mama haha).
Supplies:
- 5 Inch Board Book
- Spray Adhesive
- Scissors
- Fine Point Sharpie
- Pencil
- Duct Tape in a fun color
- 10mm Corner Rounder (optional)
- Brayer (optional)
- One piece of Cardstock (for template)
- Printer (I use the Canon PIXMA TS8120)
- Photo Paper

Design Your Book
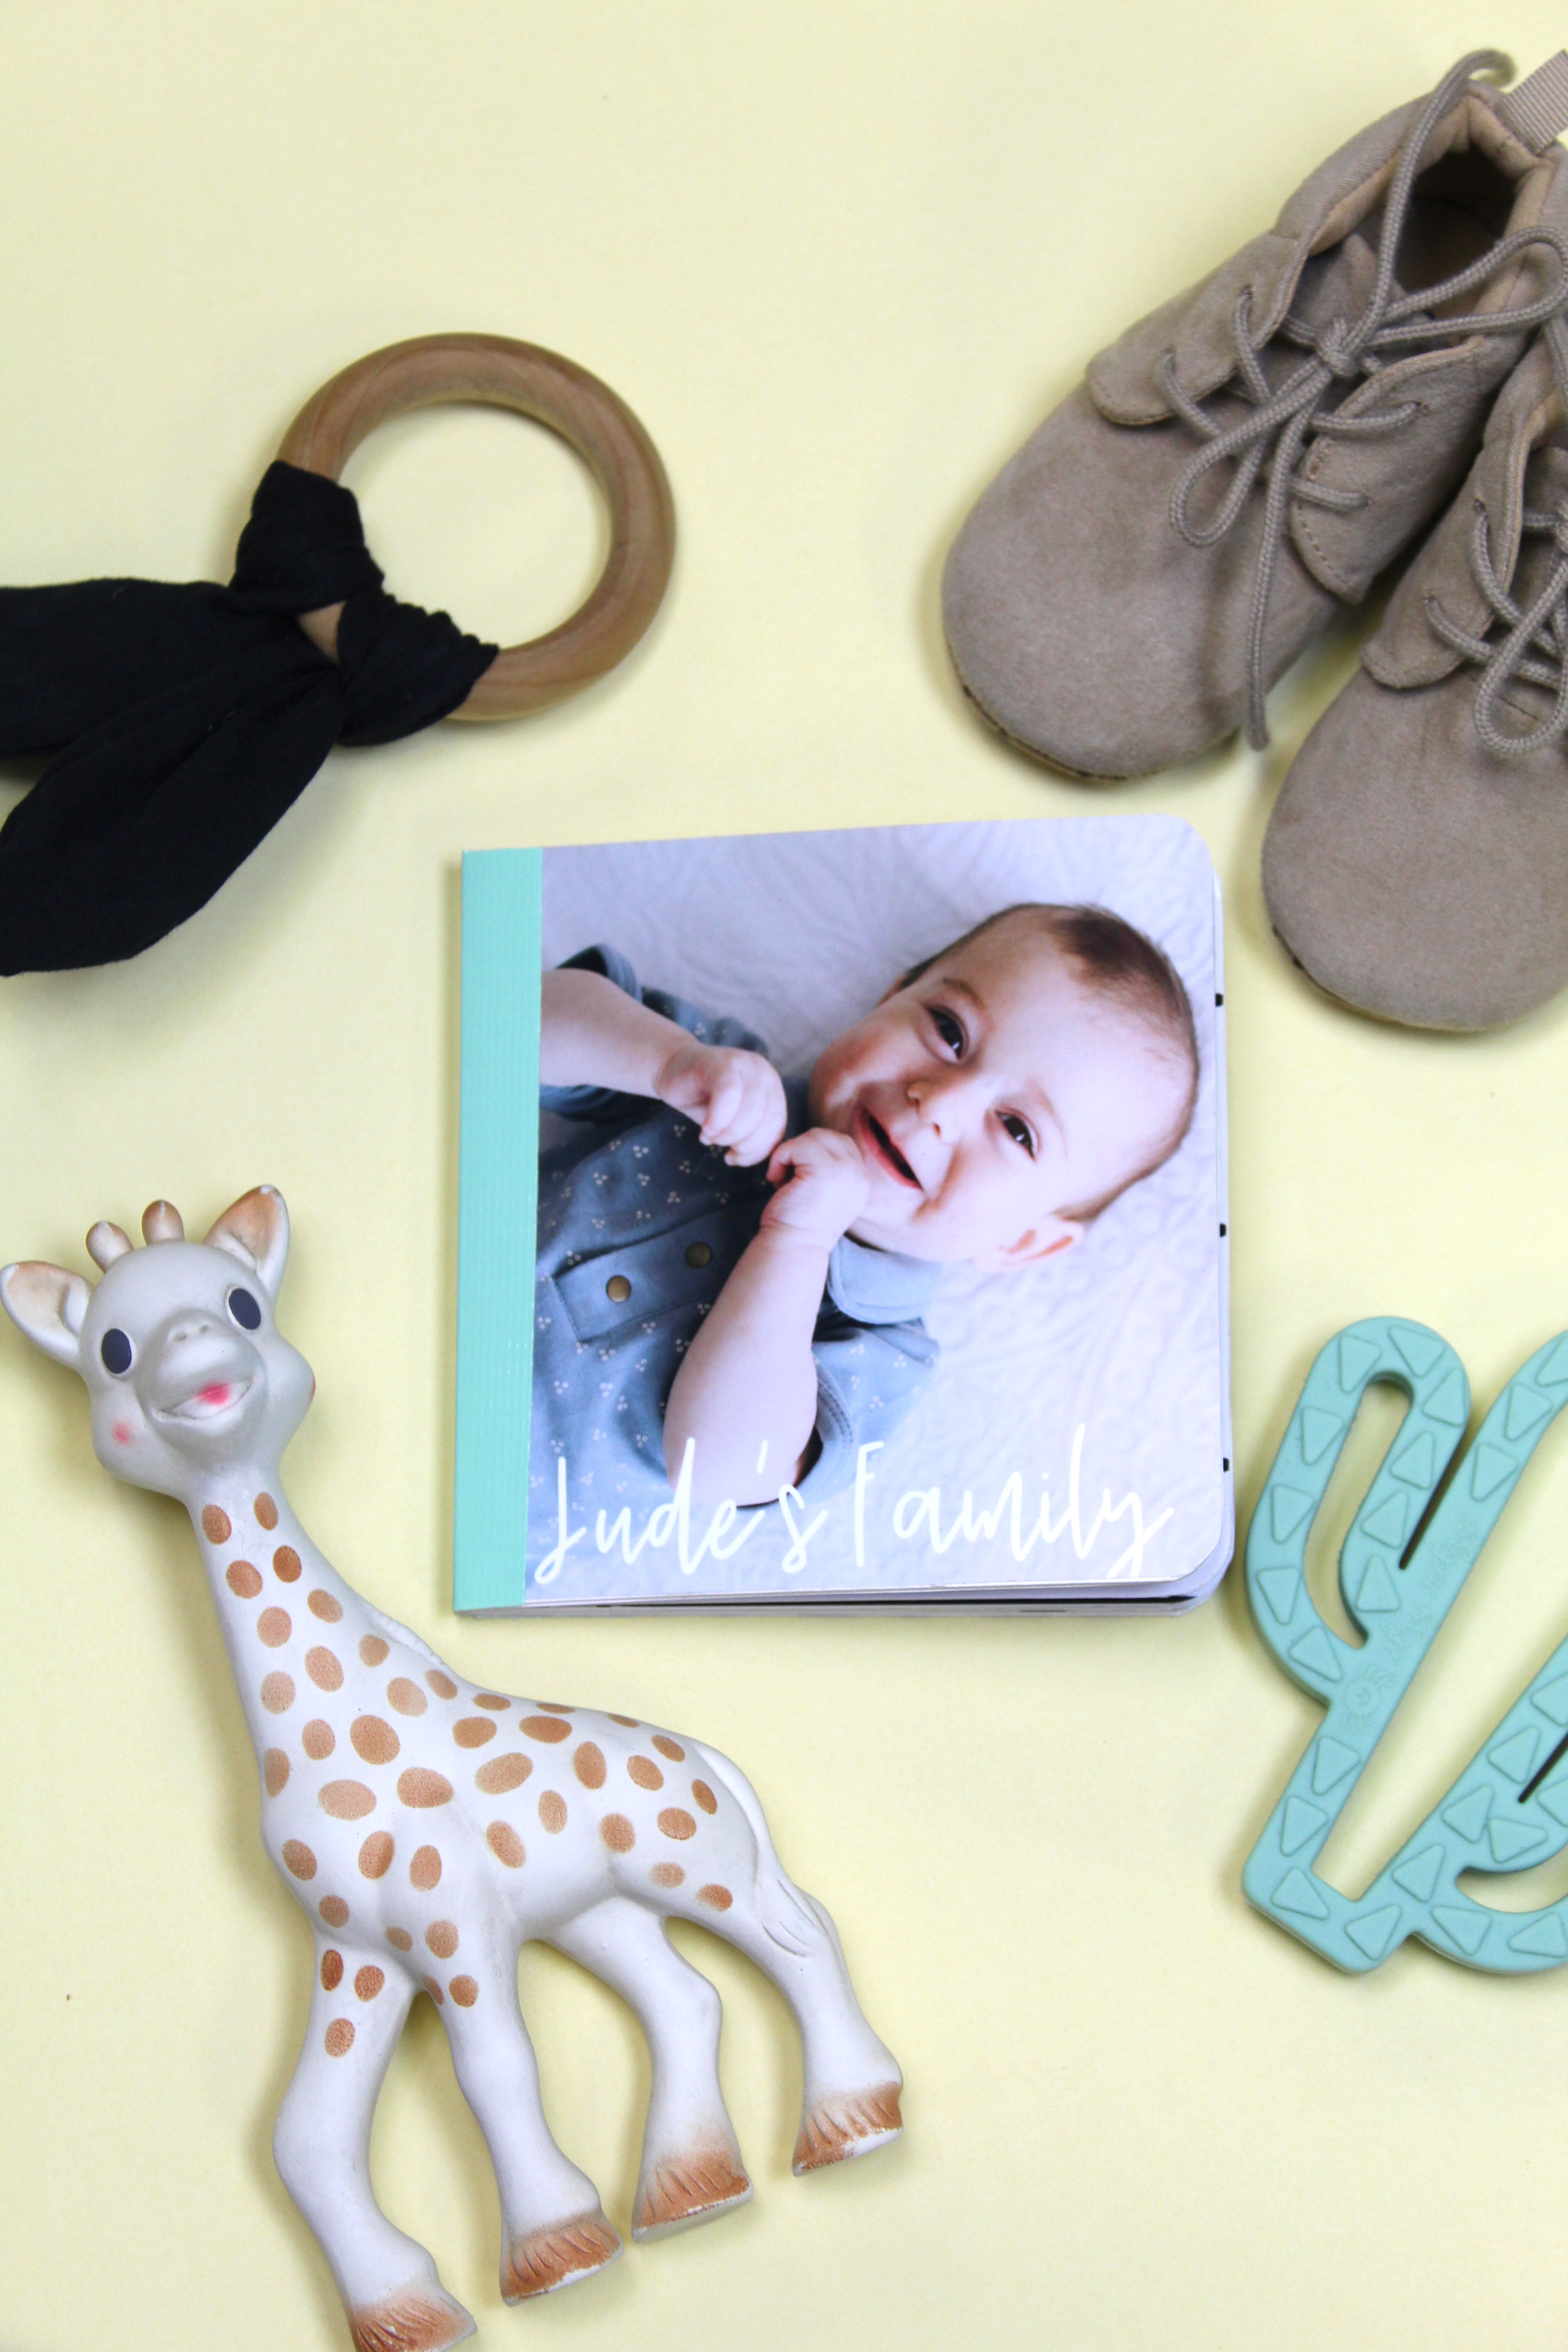
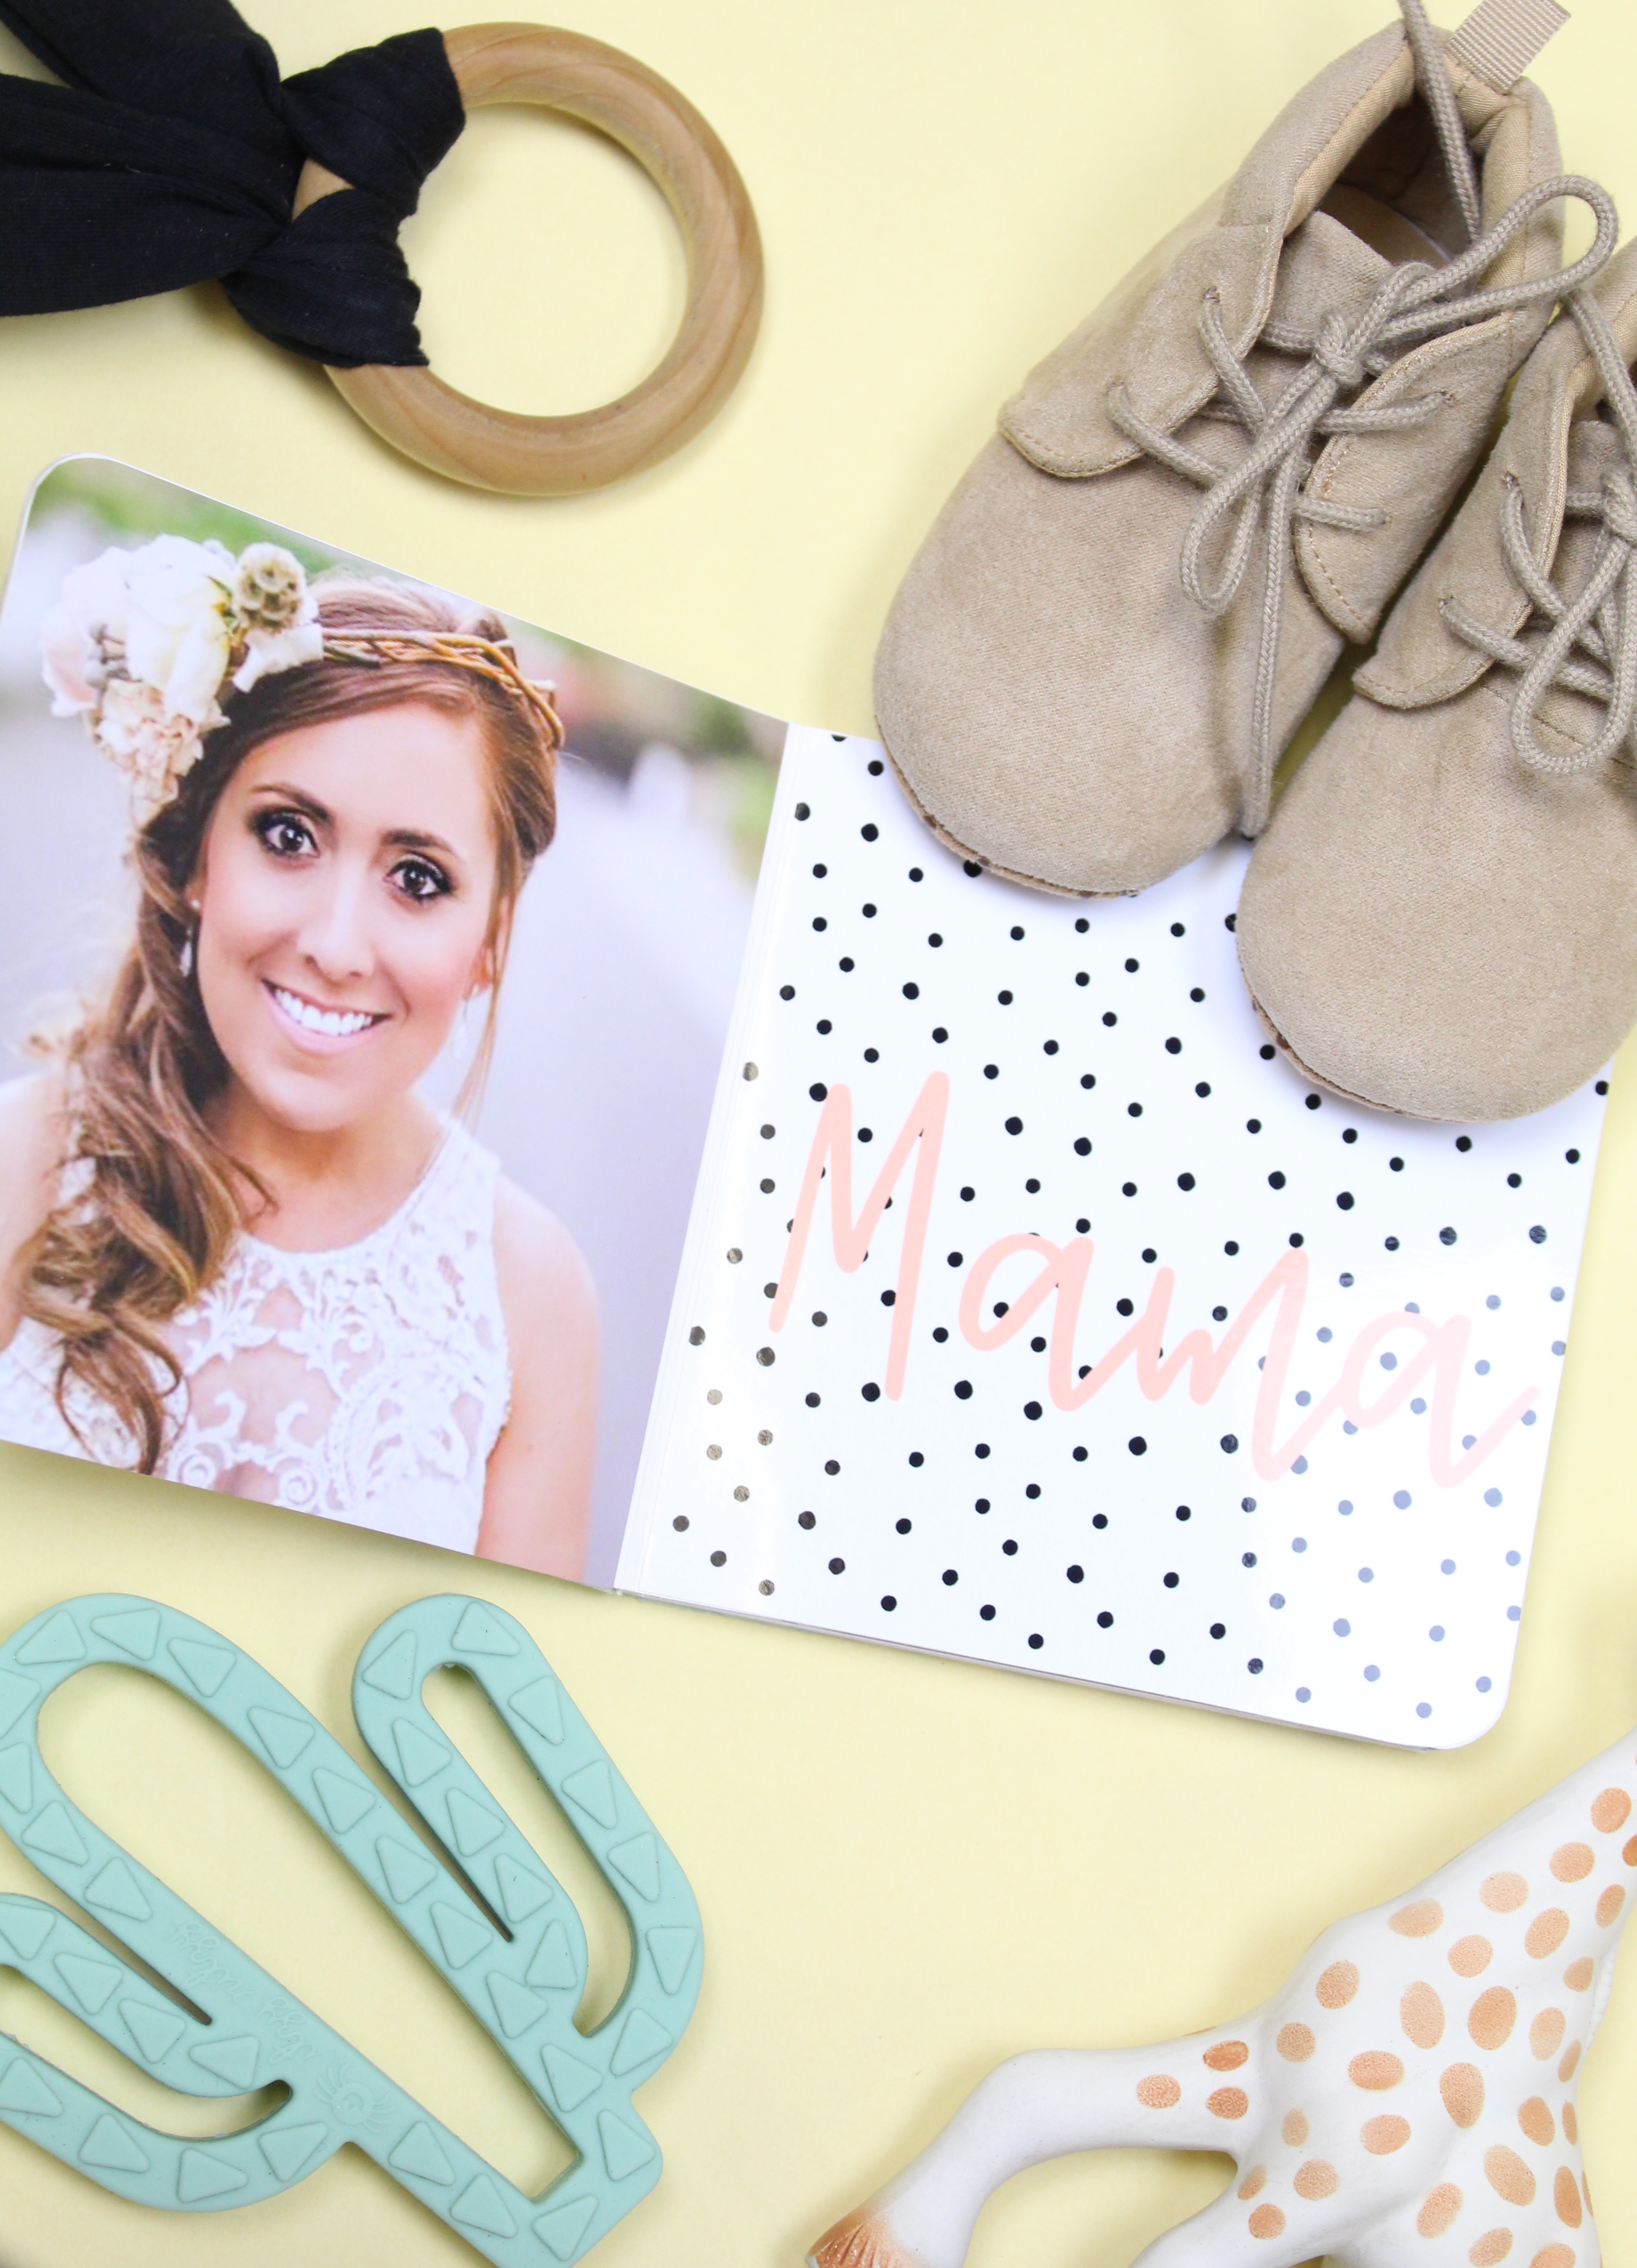
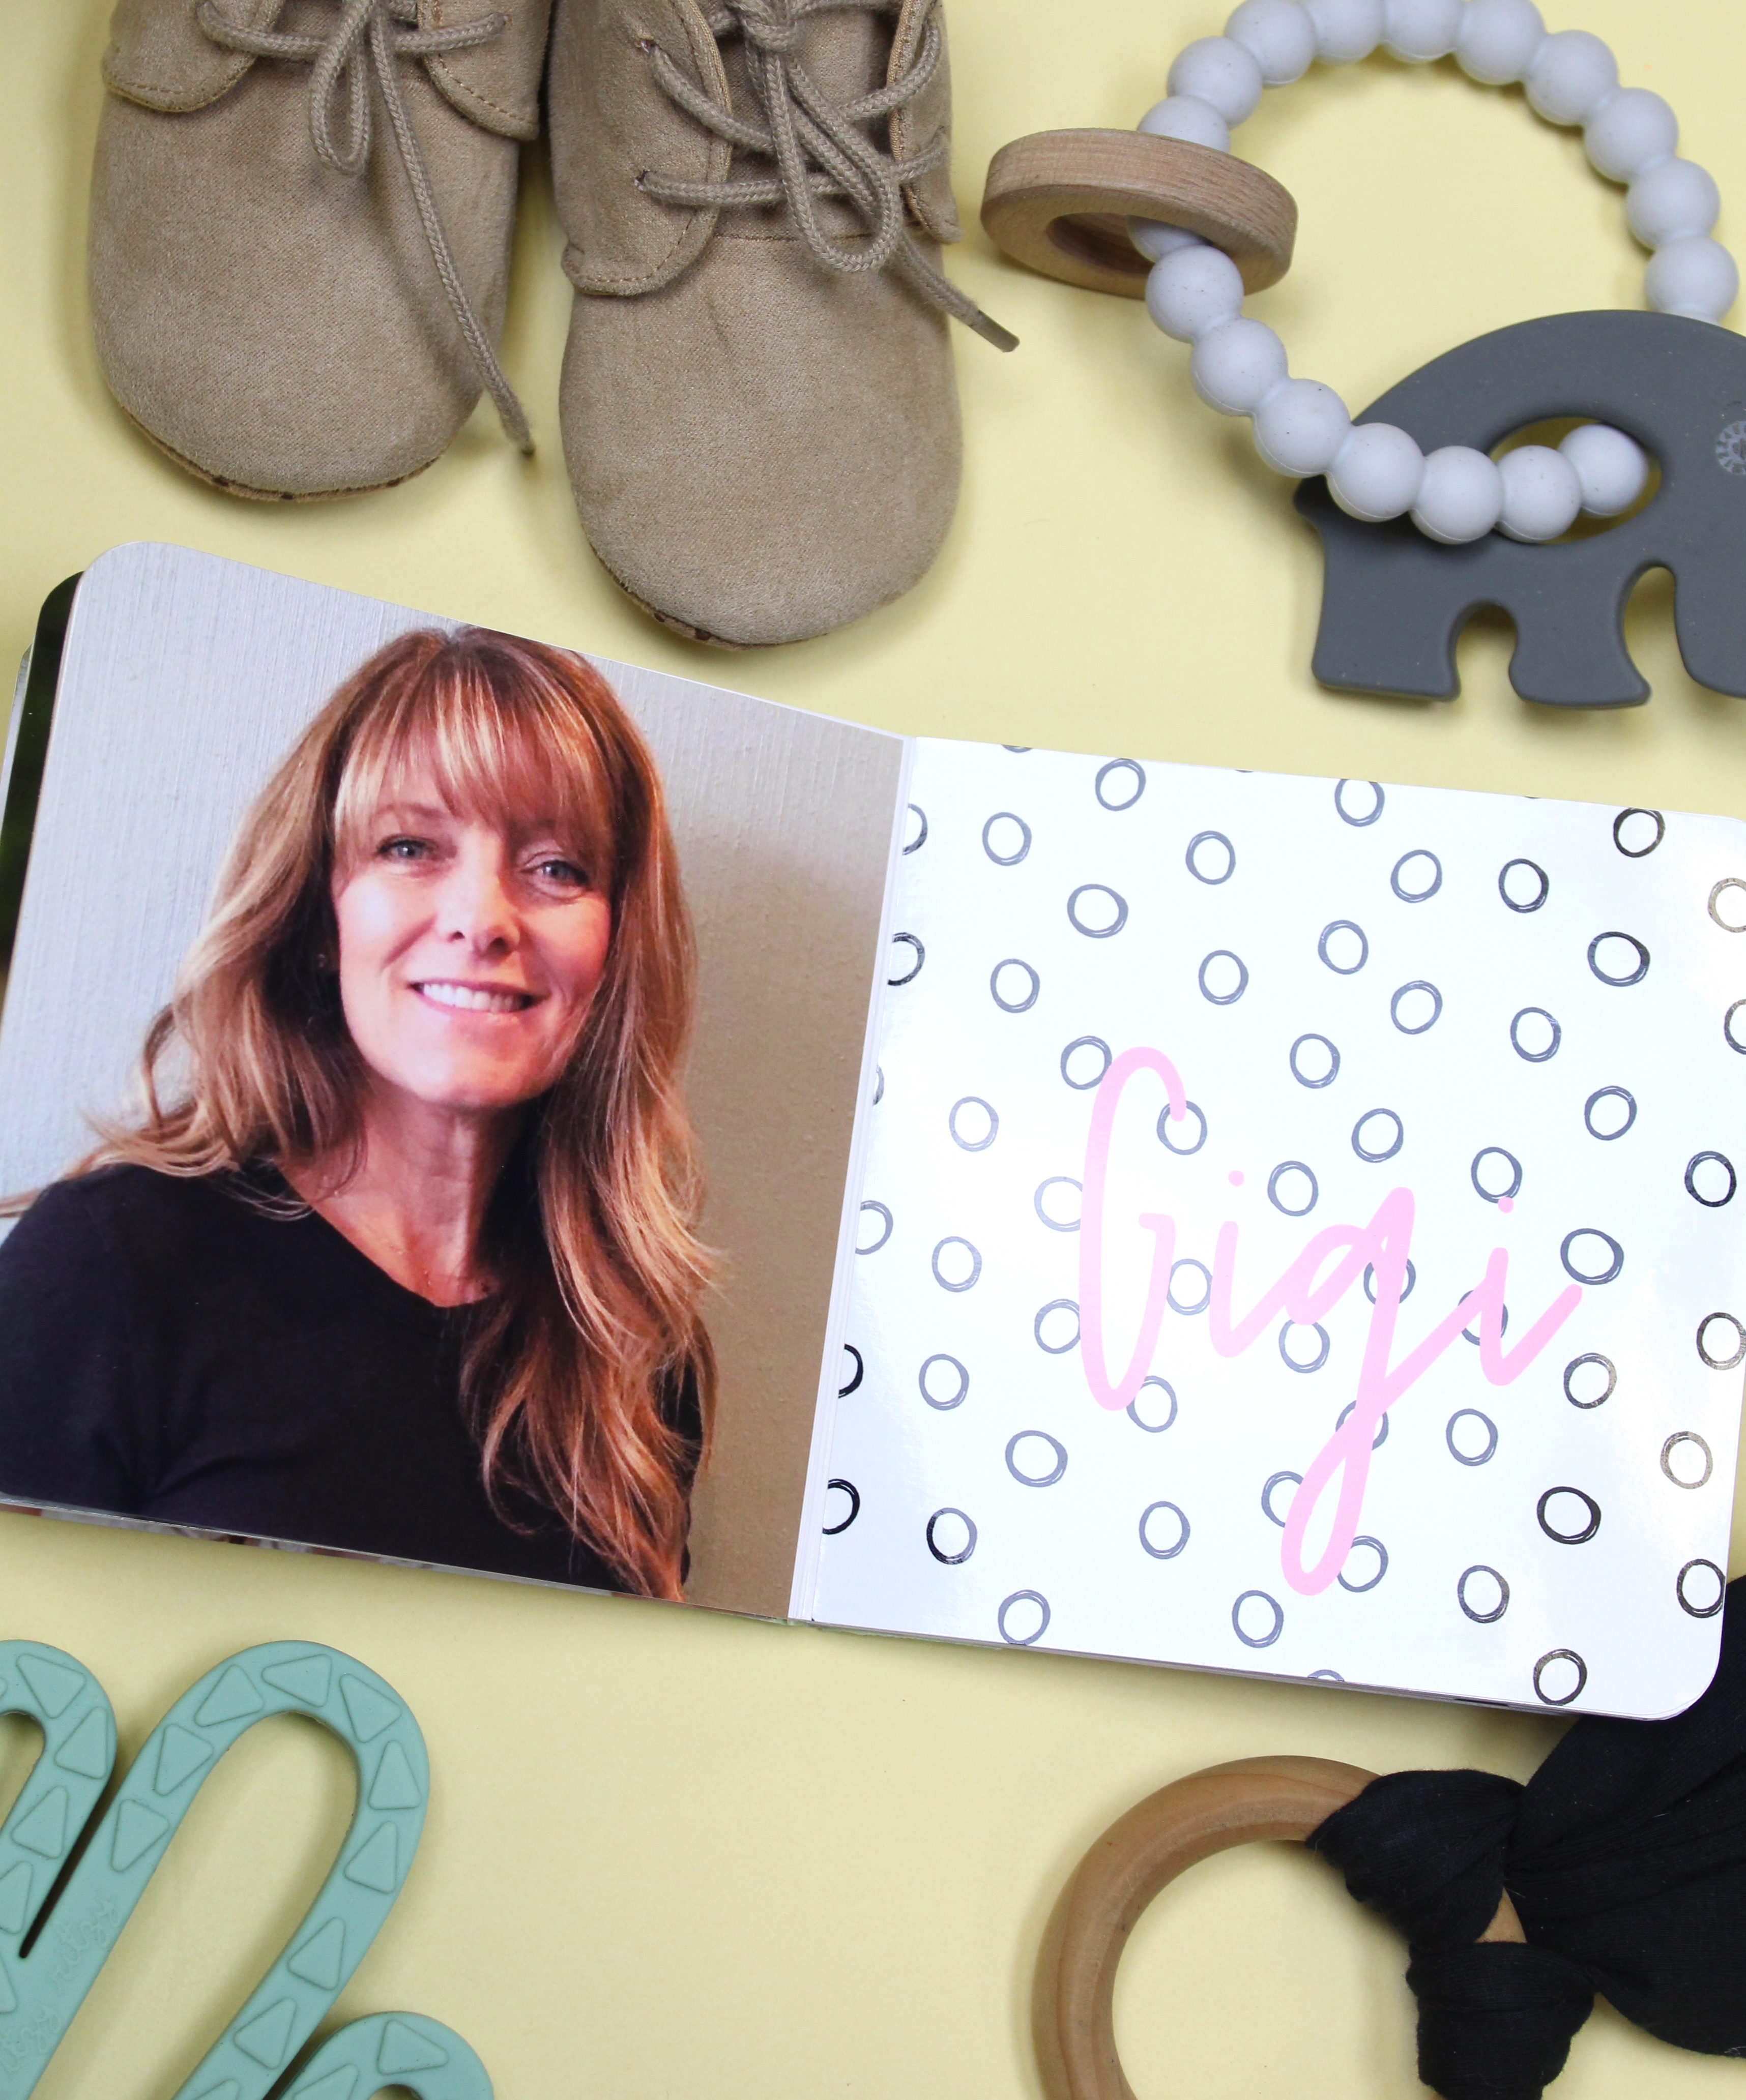
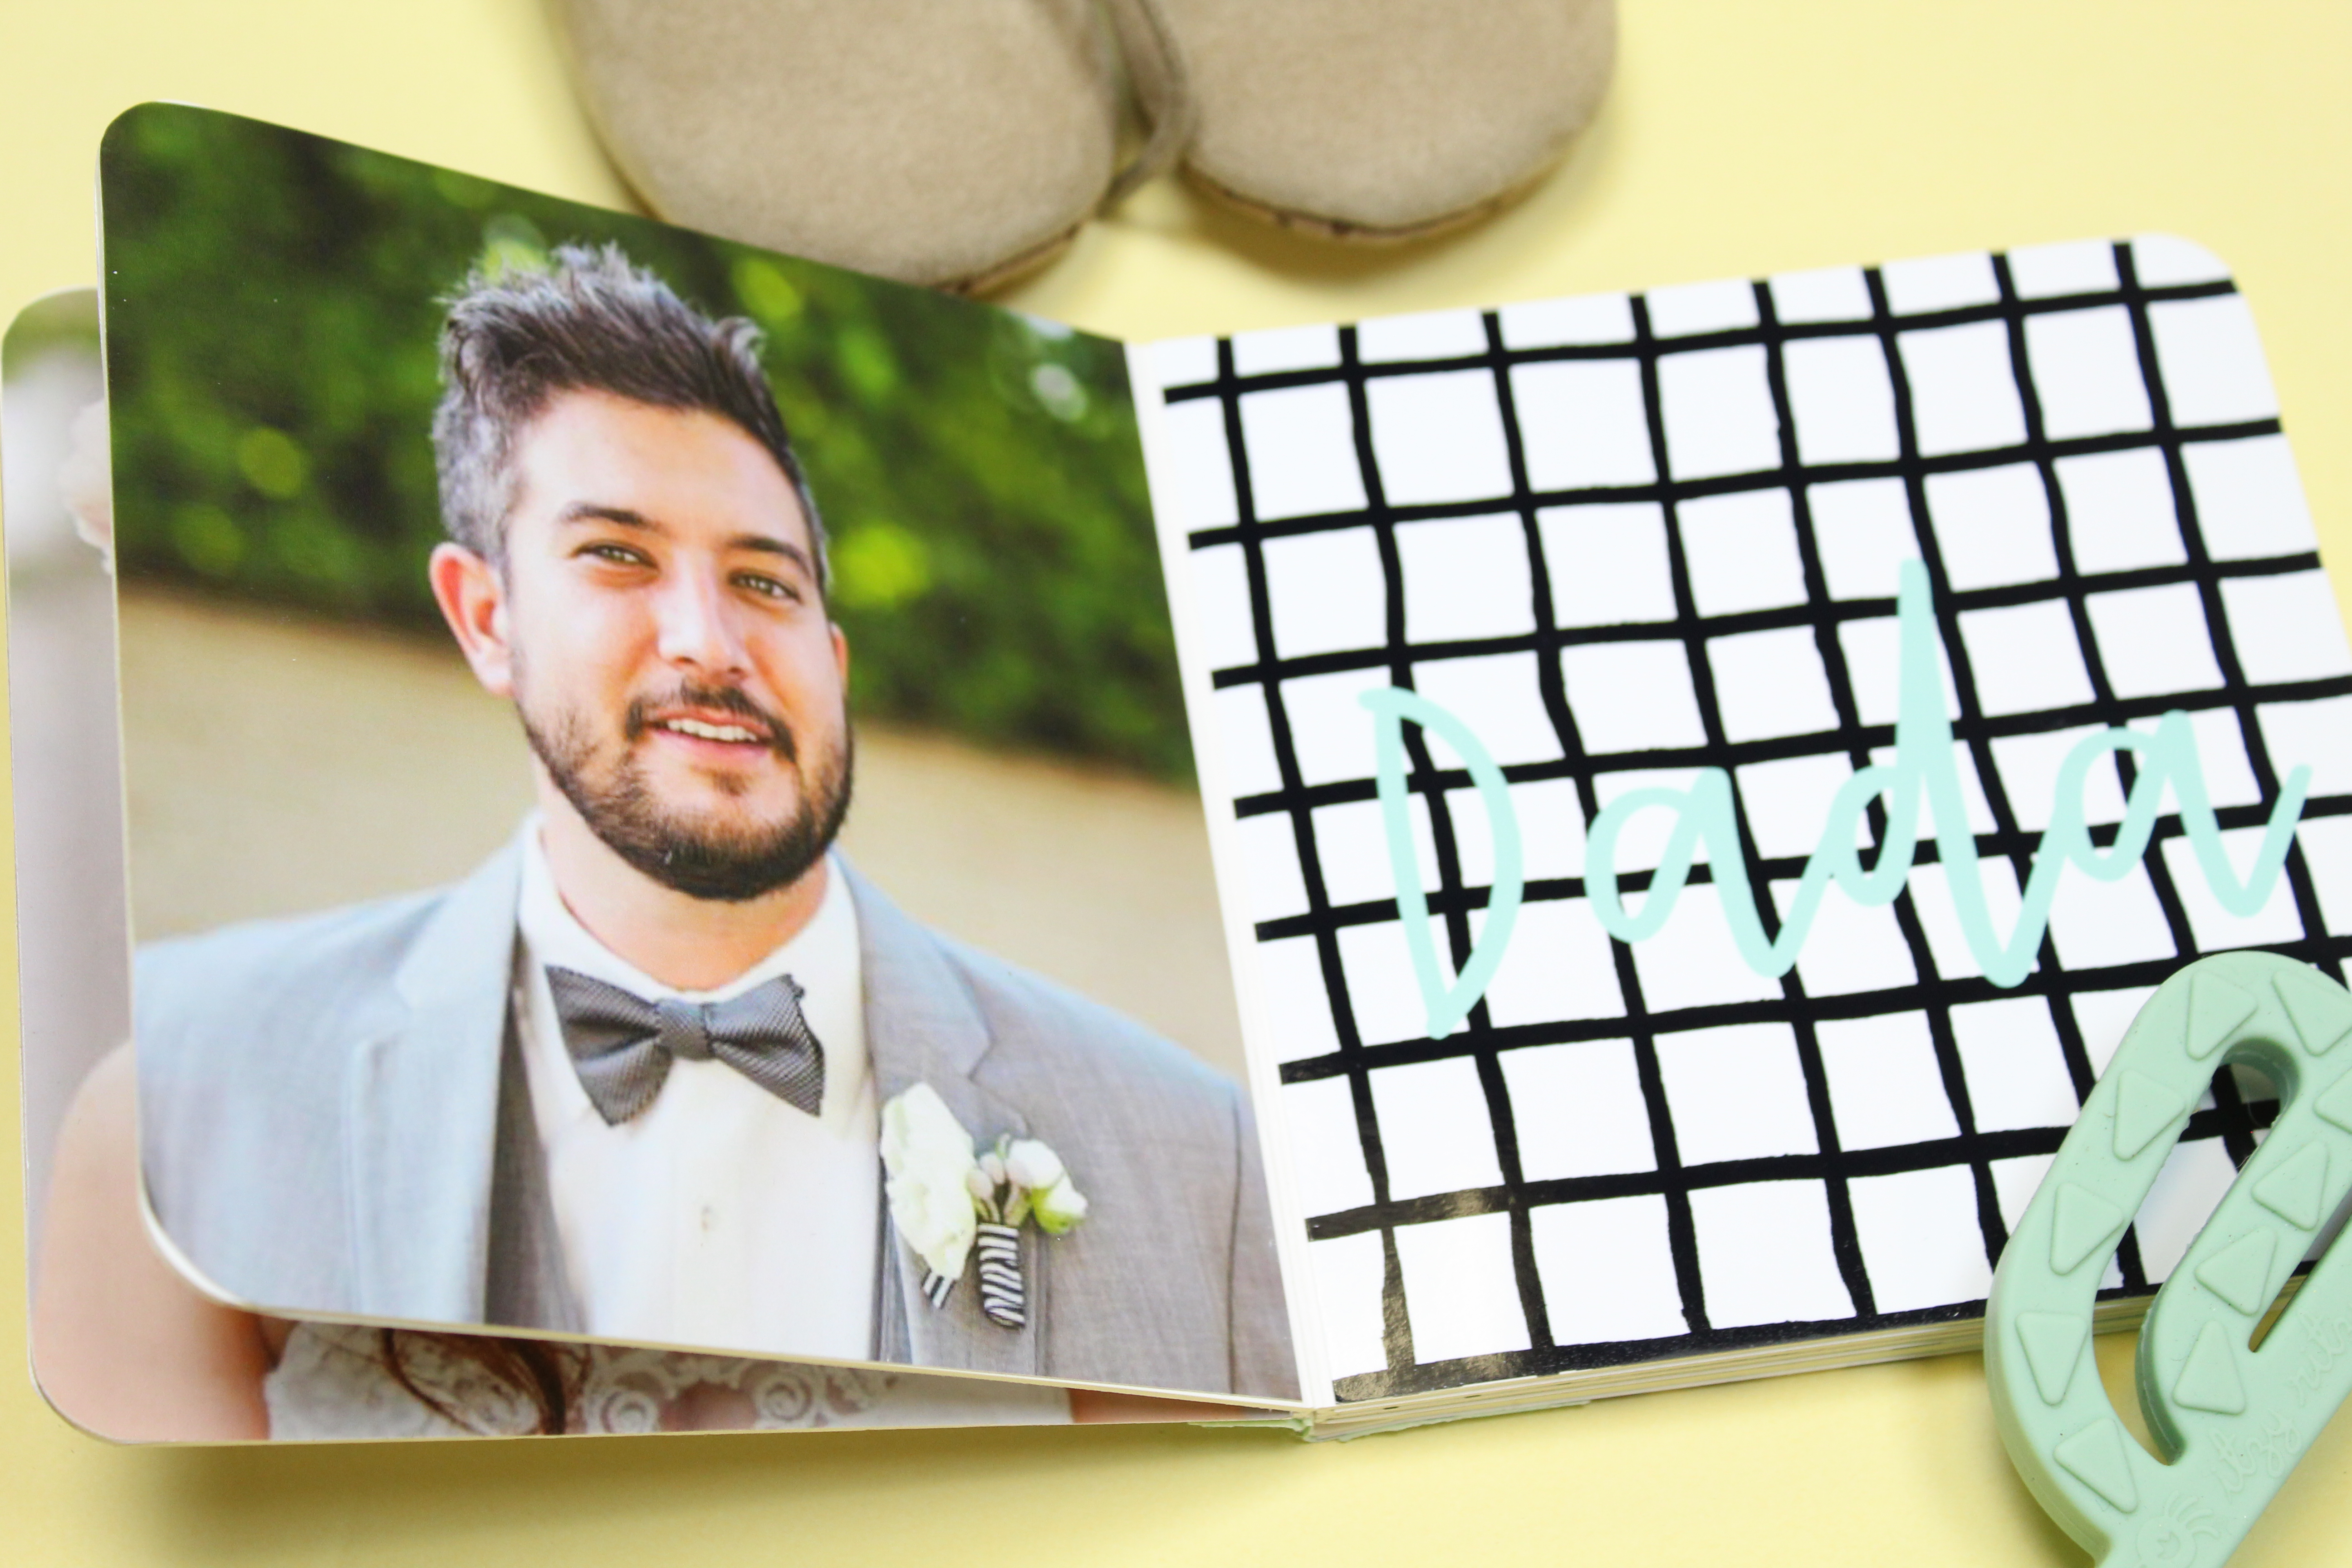
Start by designing your book. Use whatever software you’re comfortable with. I admit that I HAVE Photoshop, but I’m way more comfortable using PowerPoint, so that’s what I did! I decided that each layout would have the photo of the person on the left page, and their name (with a cute patterned backdrop) on the right. So I designed my book accordingly.
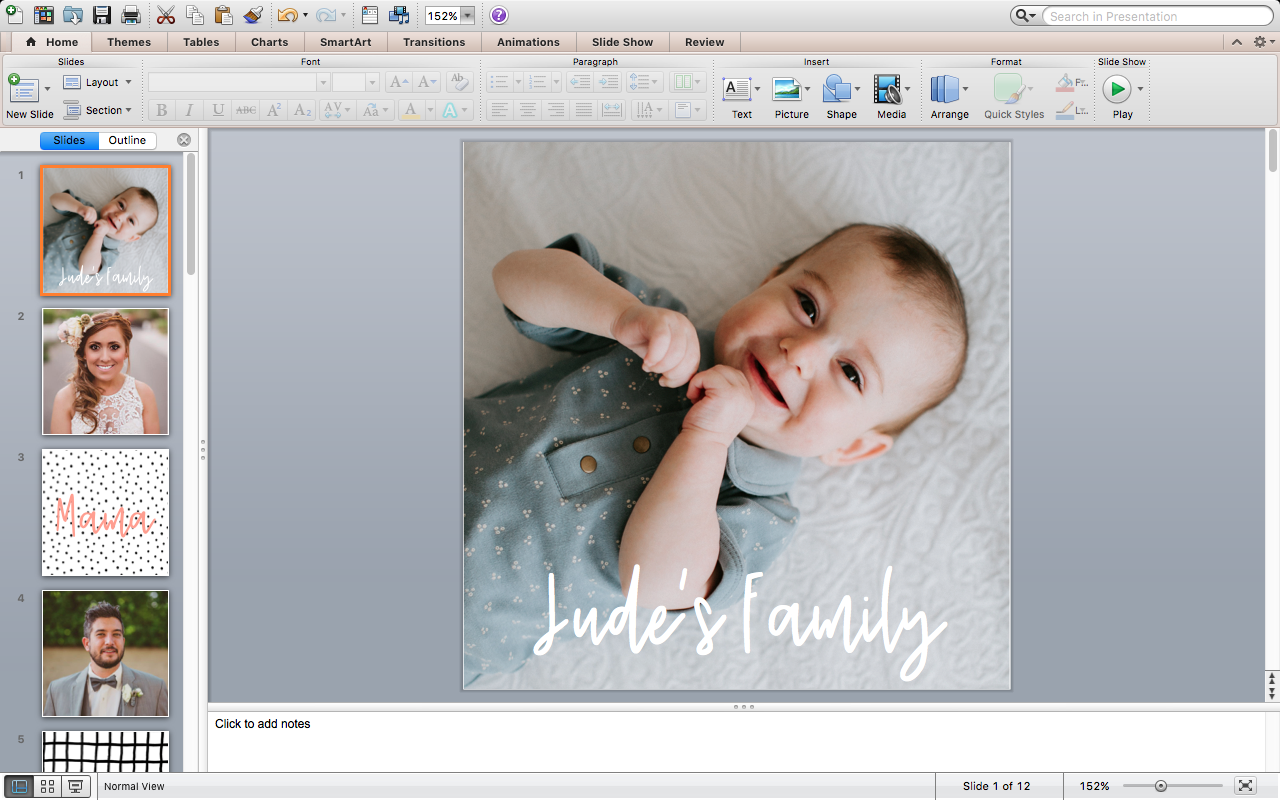
Insider Tip: I definitely recommend getting on the Creative Market mailing list. Every Monday, they offer a handful of awesome (and FREE!) downloads. It’s where I’ve gotten a lot of my favorite fonts and patterns, the patterns for todays project being one of them!
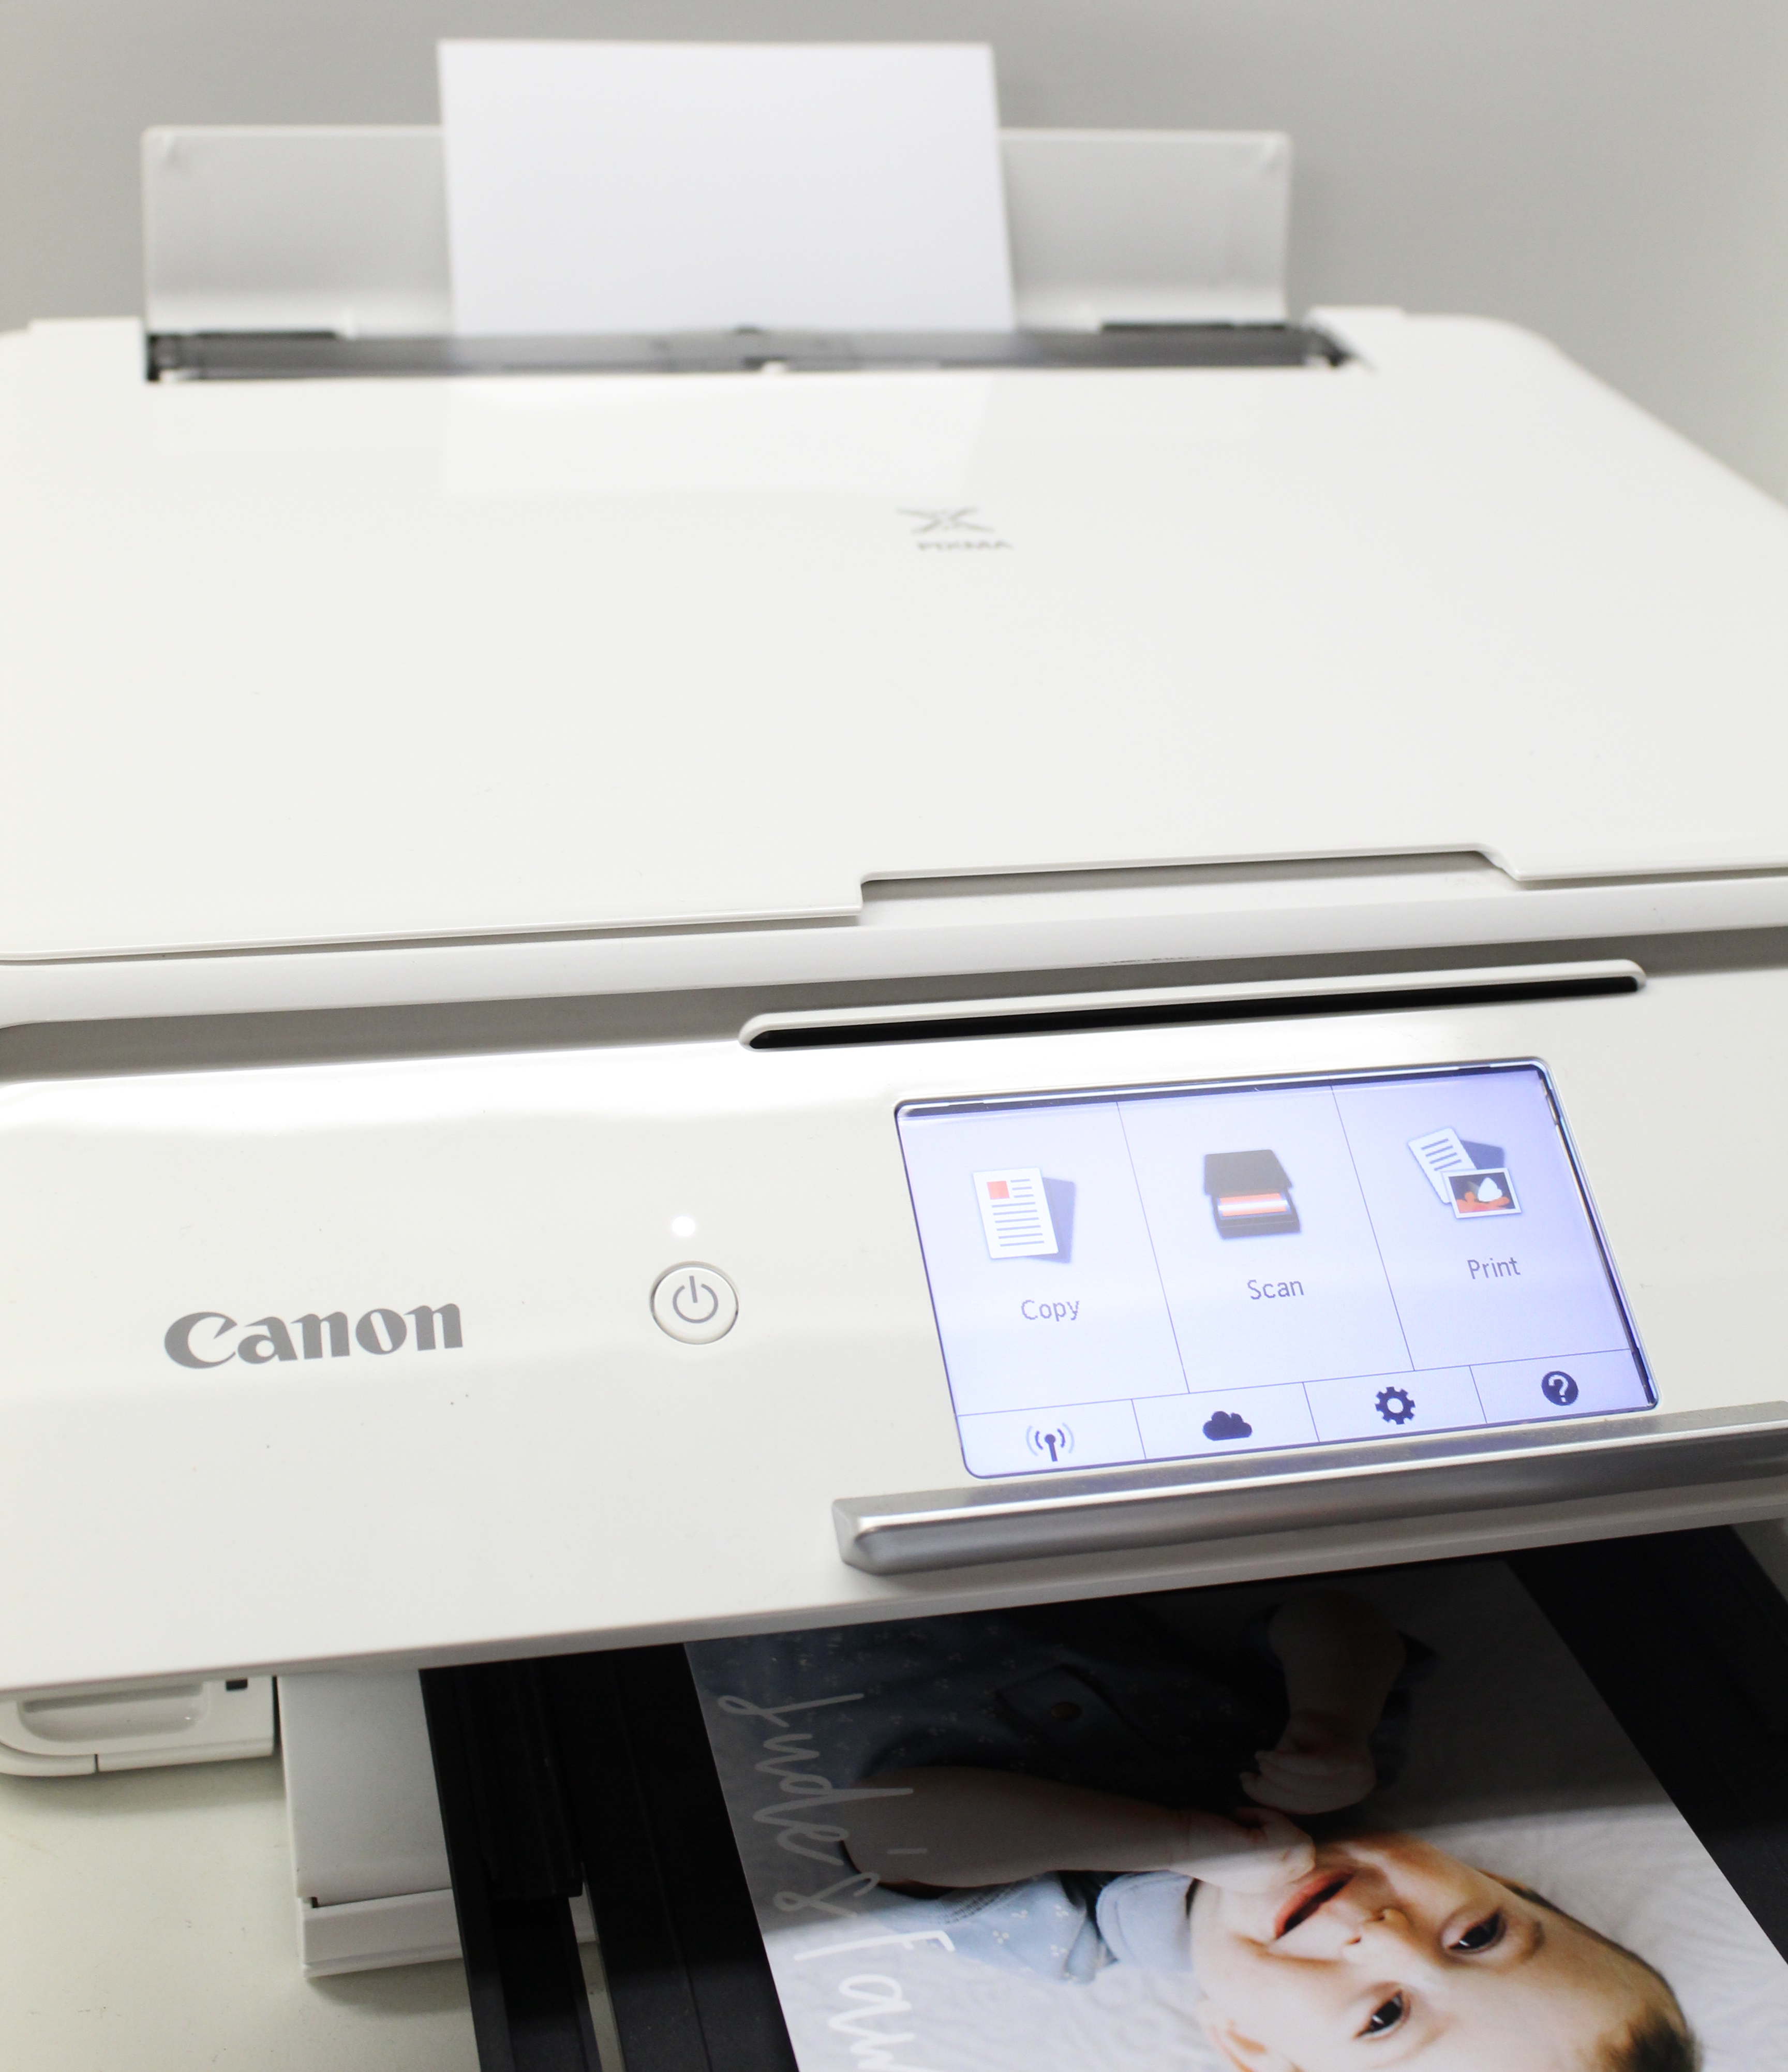
Print Your Photos
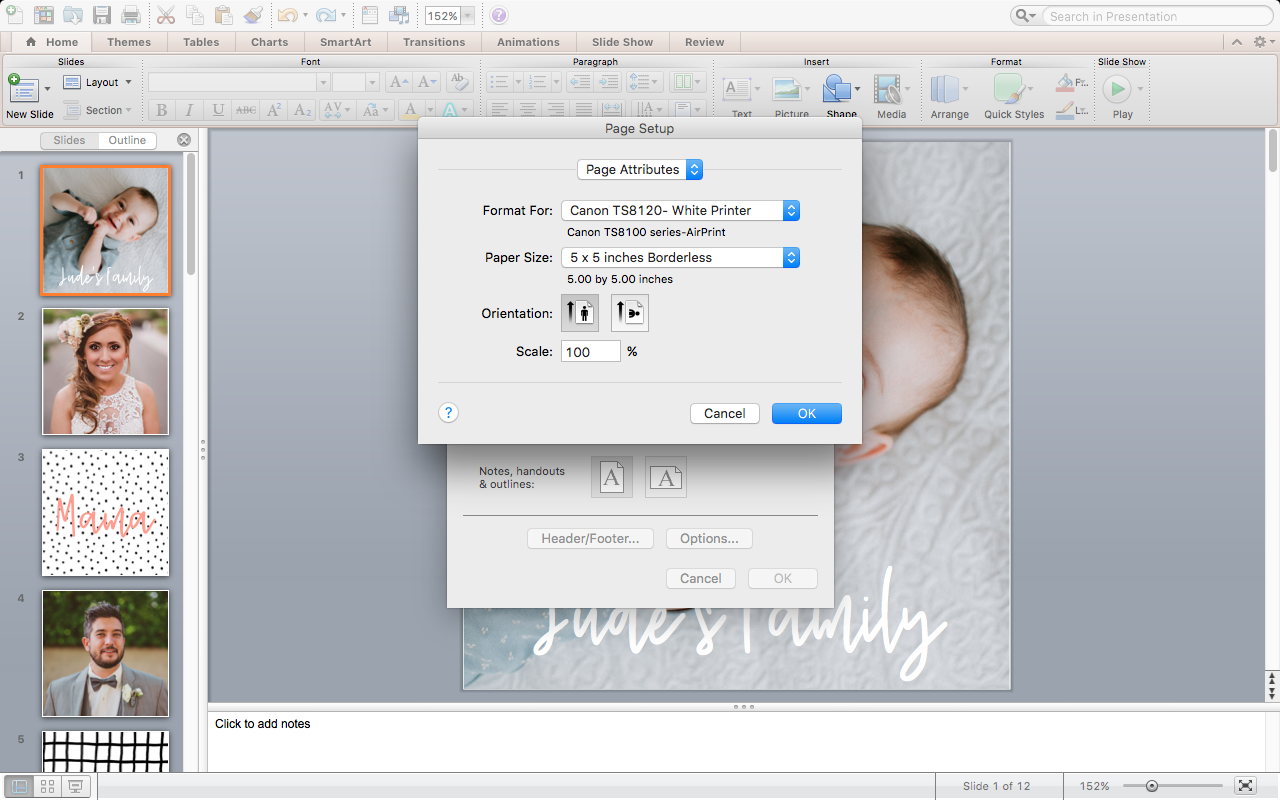
It’s super important to make sure you familiarize yourself with your printer. I bet your home printer can do a lot more than you think it can. Being on the Something Turquoise team and having the awesome opportunity to work for companies like Canon has opened my crafting world more than I ever thought possible. Honestly, I had never even attempted to print photos at home but now that I have, I realize they turn out just as good if not better than when I have it done professionally! But back to what I was saying. Be sure that your print settings are correct and that your printer knows you will be feeding 5×5 photo paper into the rear tray (depending on your printer). Every printer is different but here is what my settings look like.
Cut Your Photos
So while this board book claims to be 5″x5″, it’s definitely not so, using a piece of cardstock, place the book on top and create a template for your photo size. 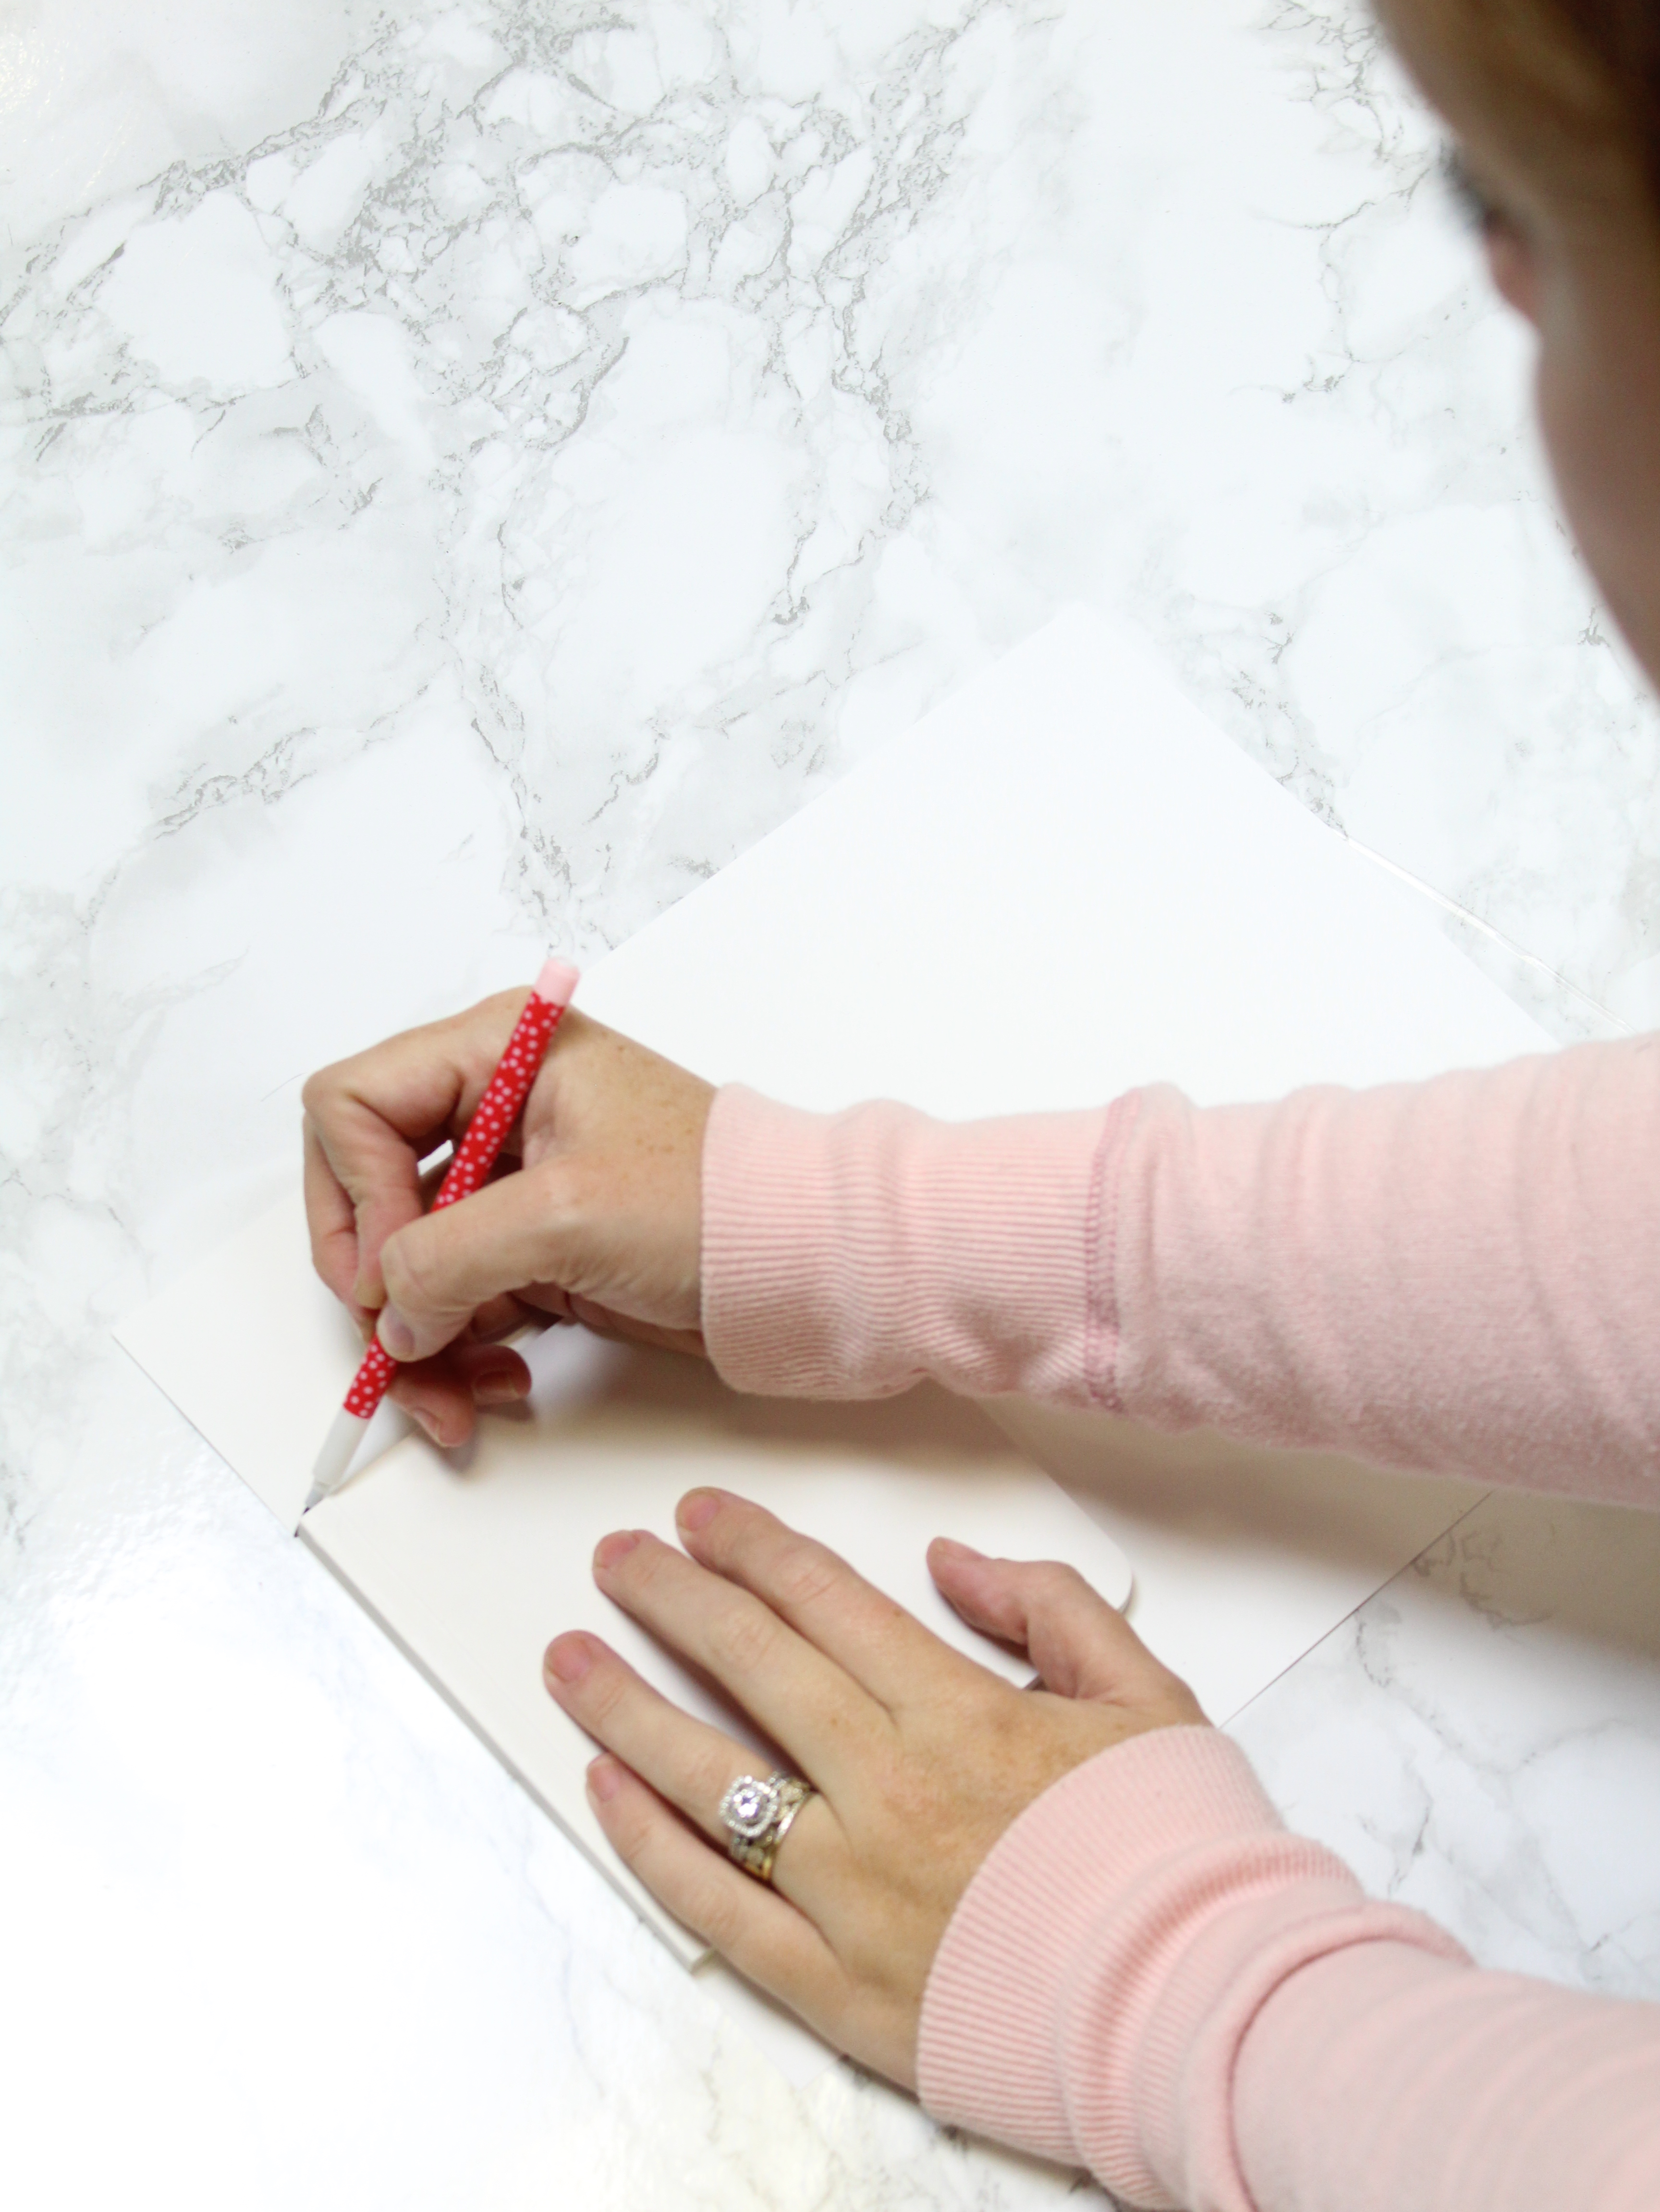
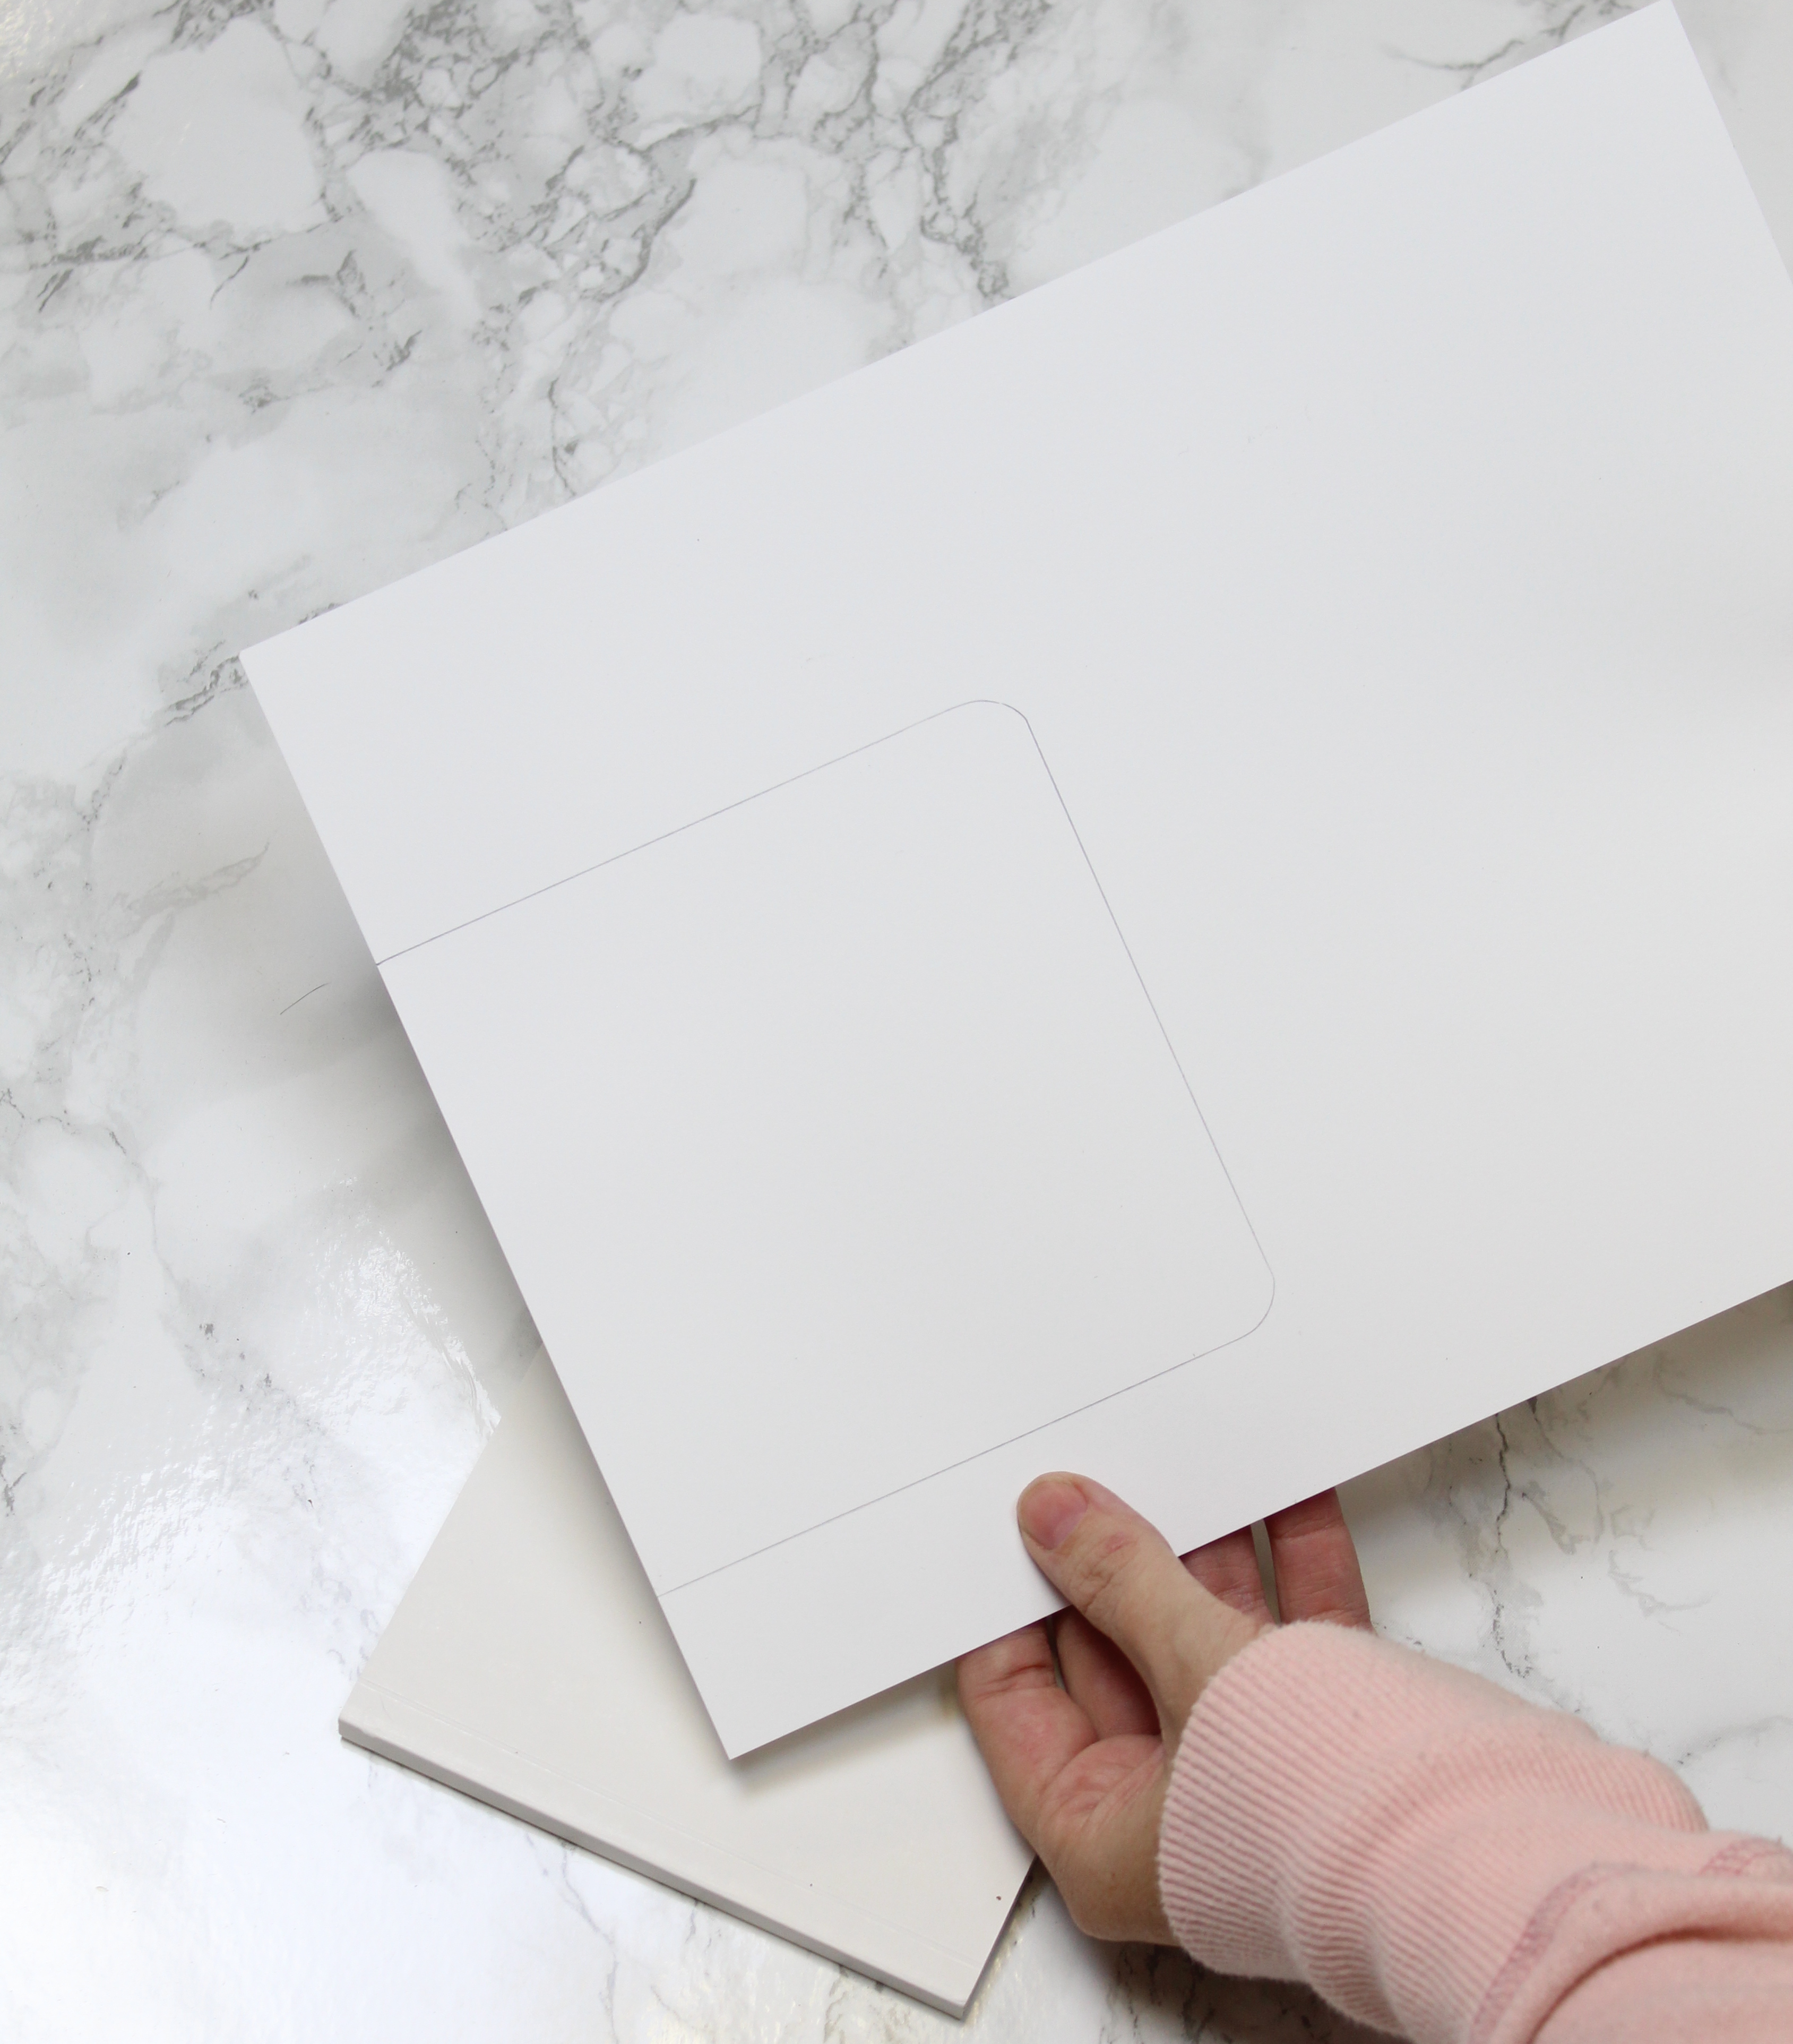
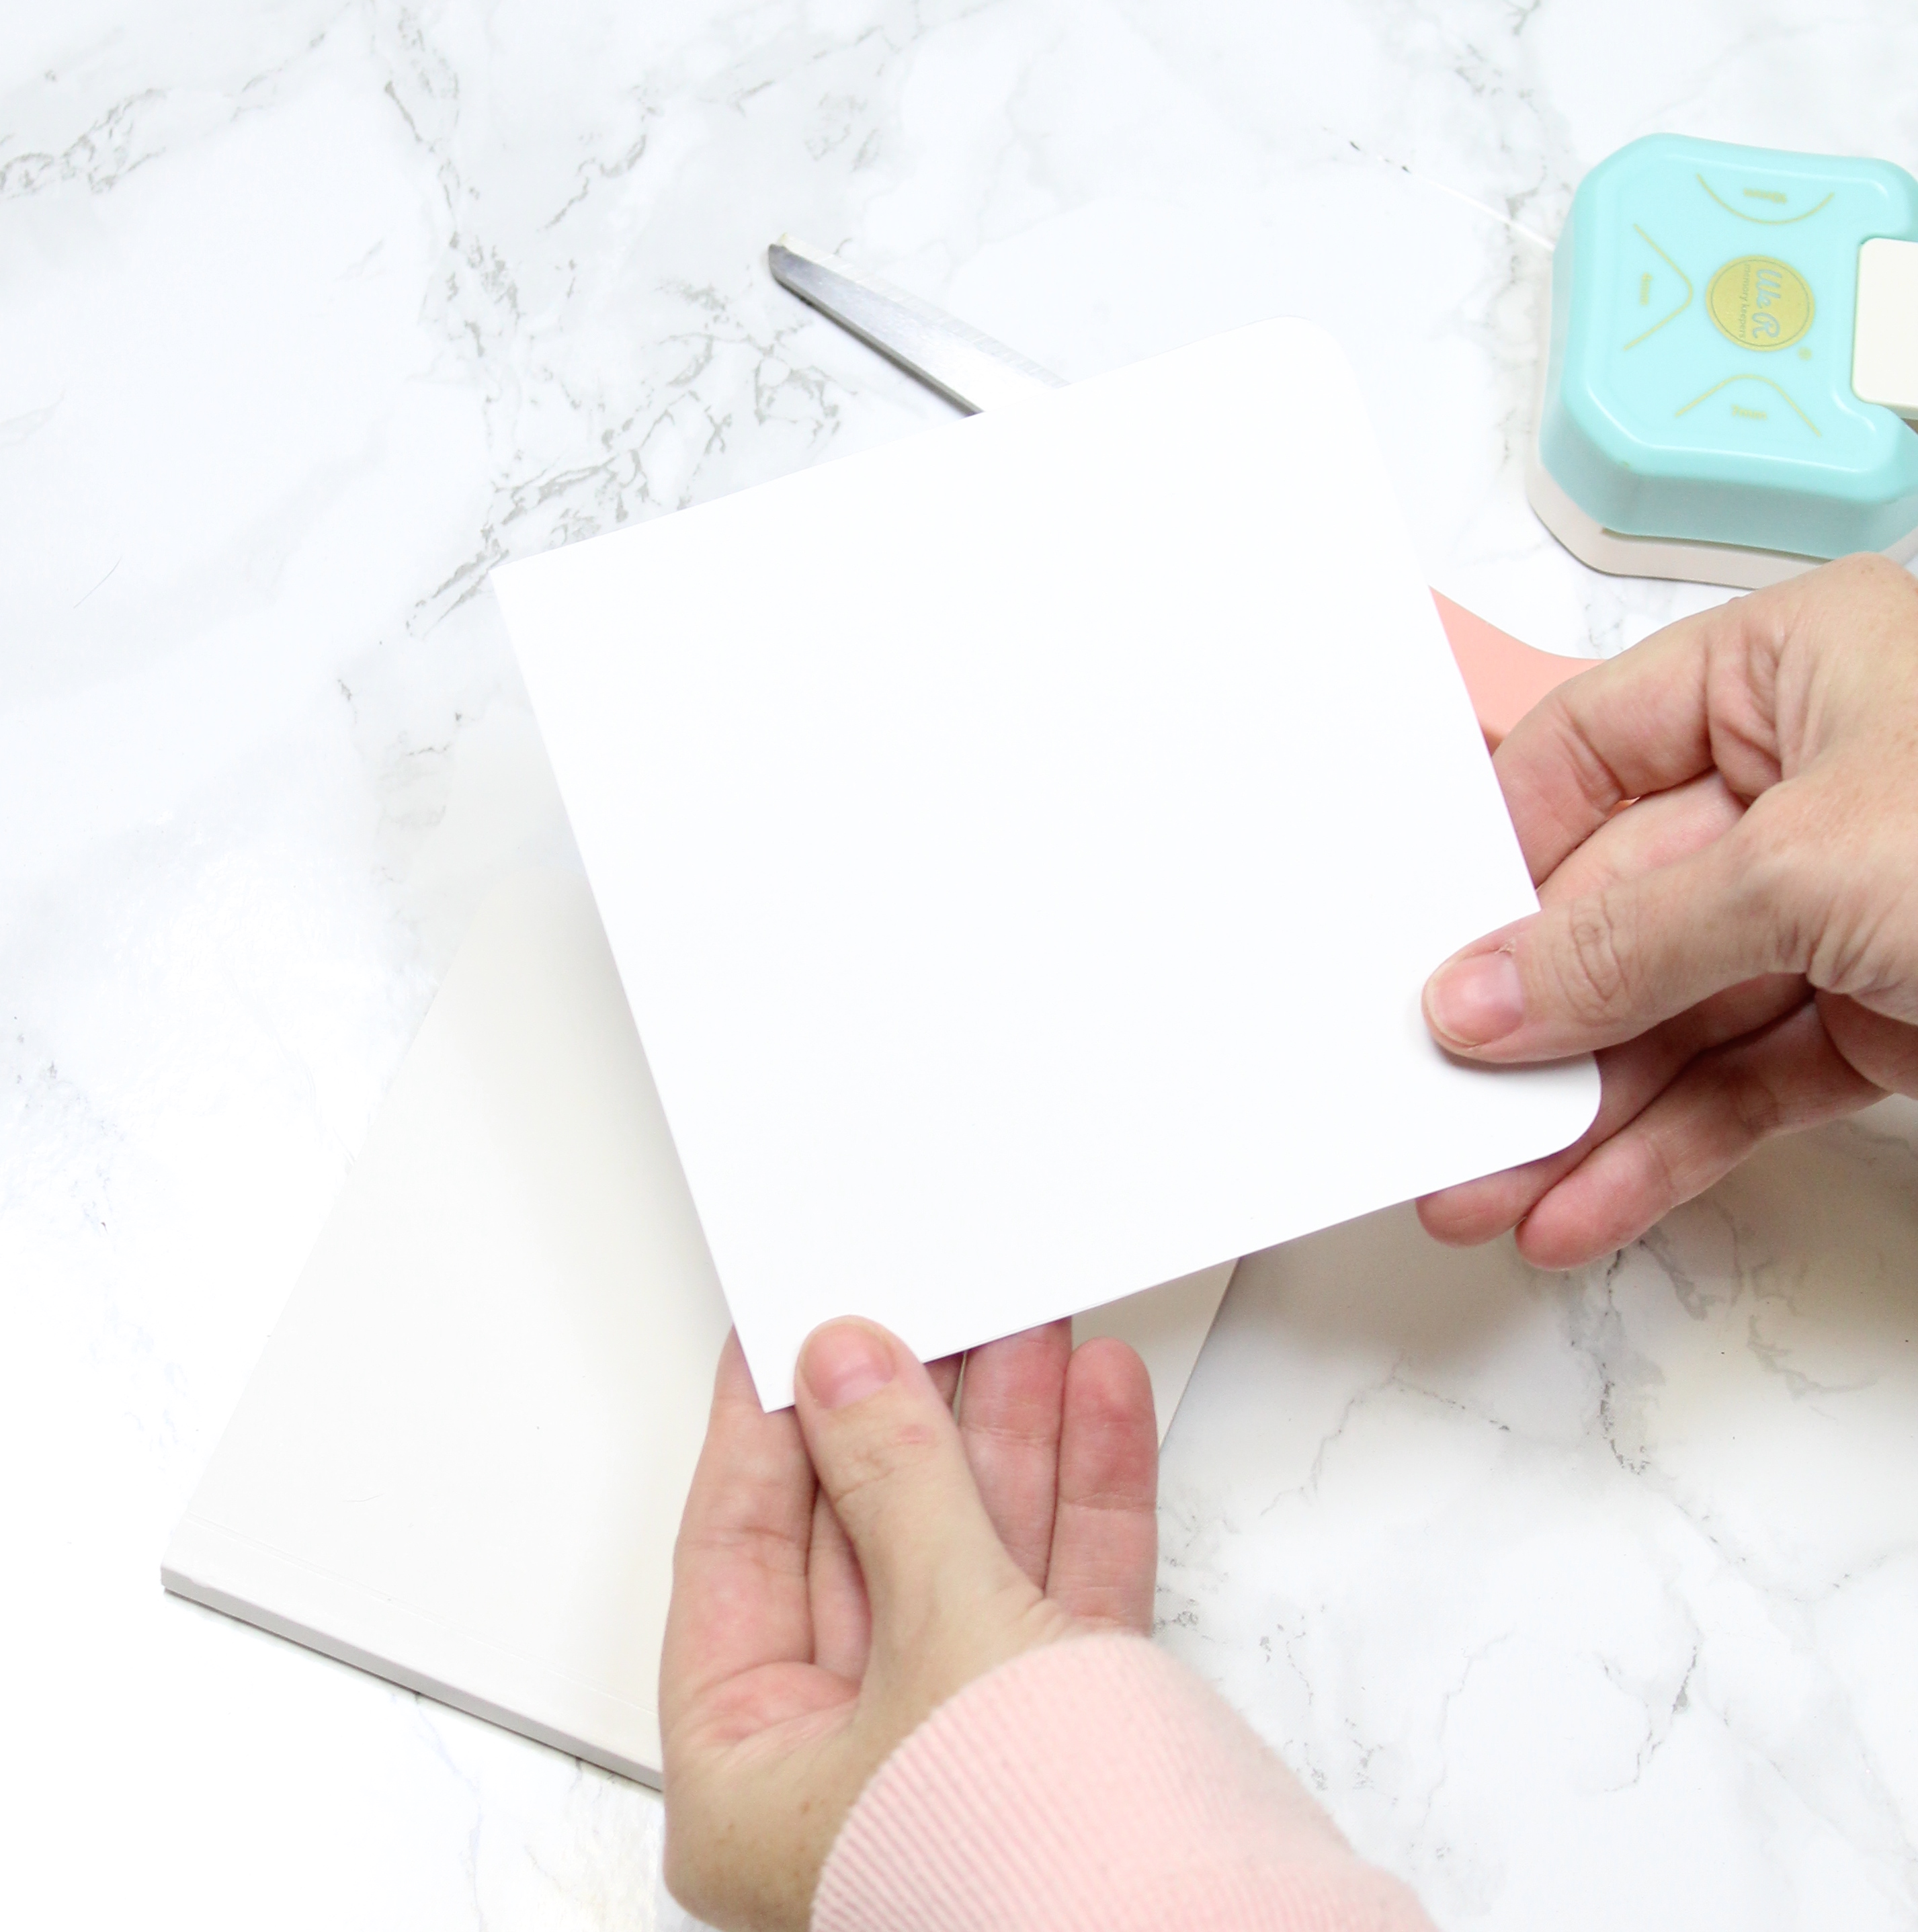
Using that template, cut your photos down to the correct size. (I used the Sharpie for this step, I found it transfers onto the photo paper better.)
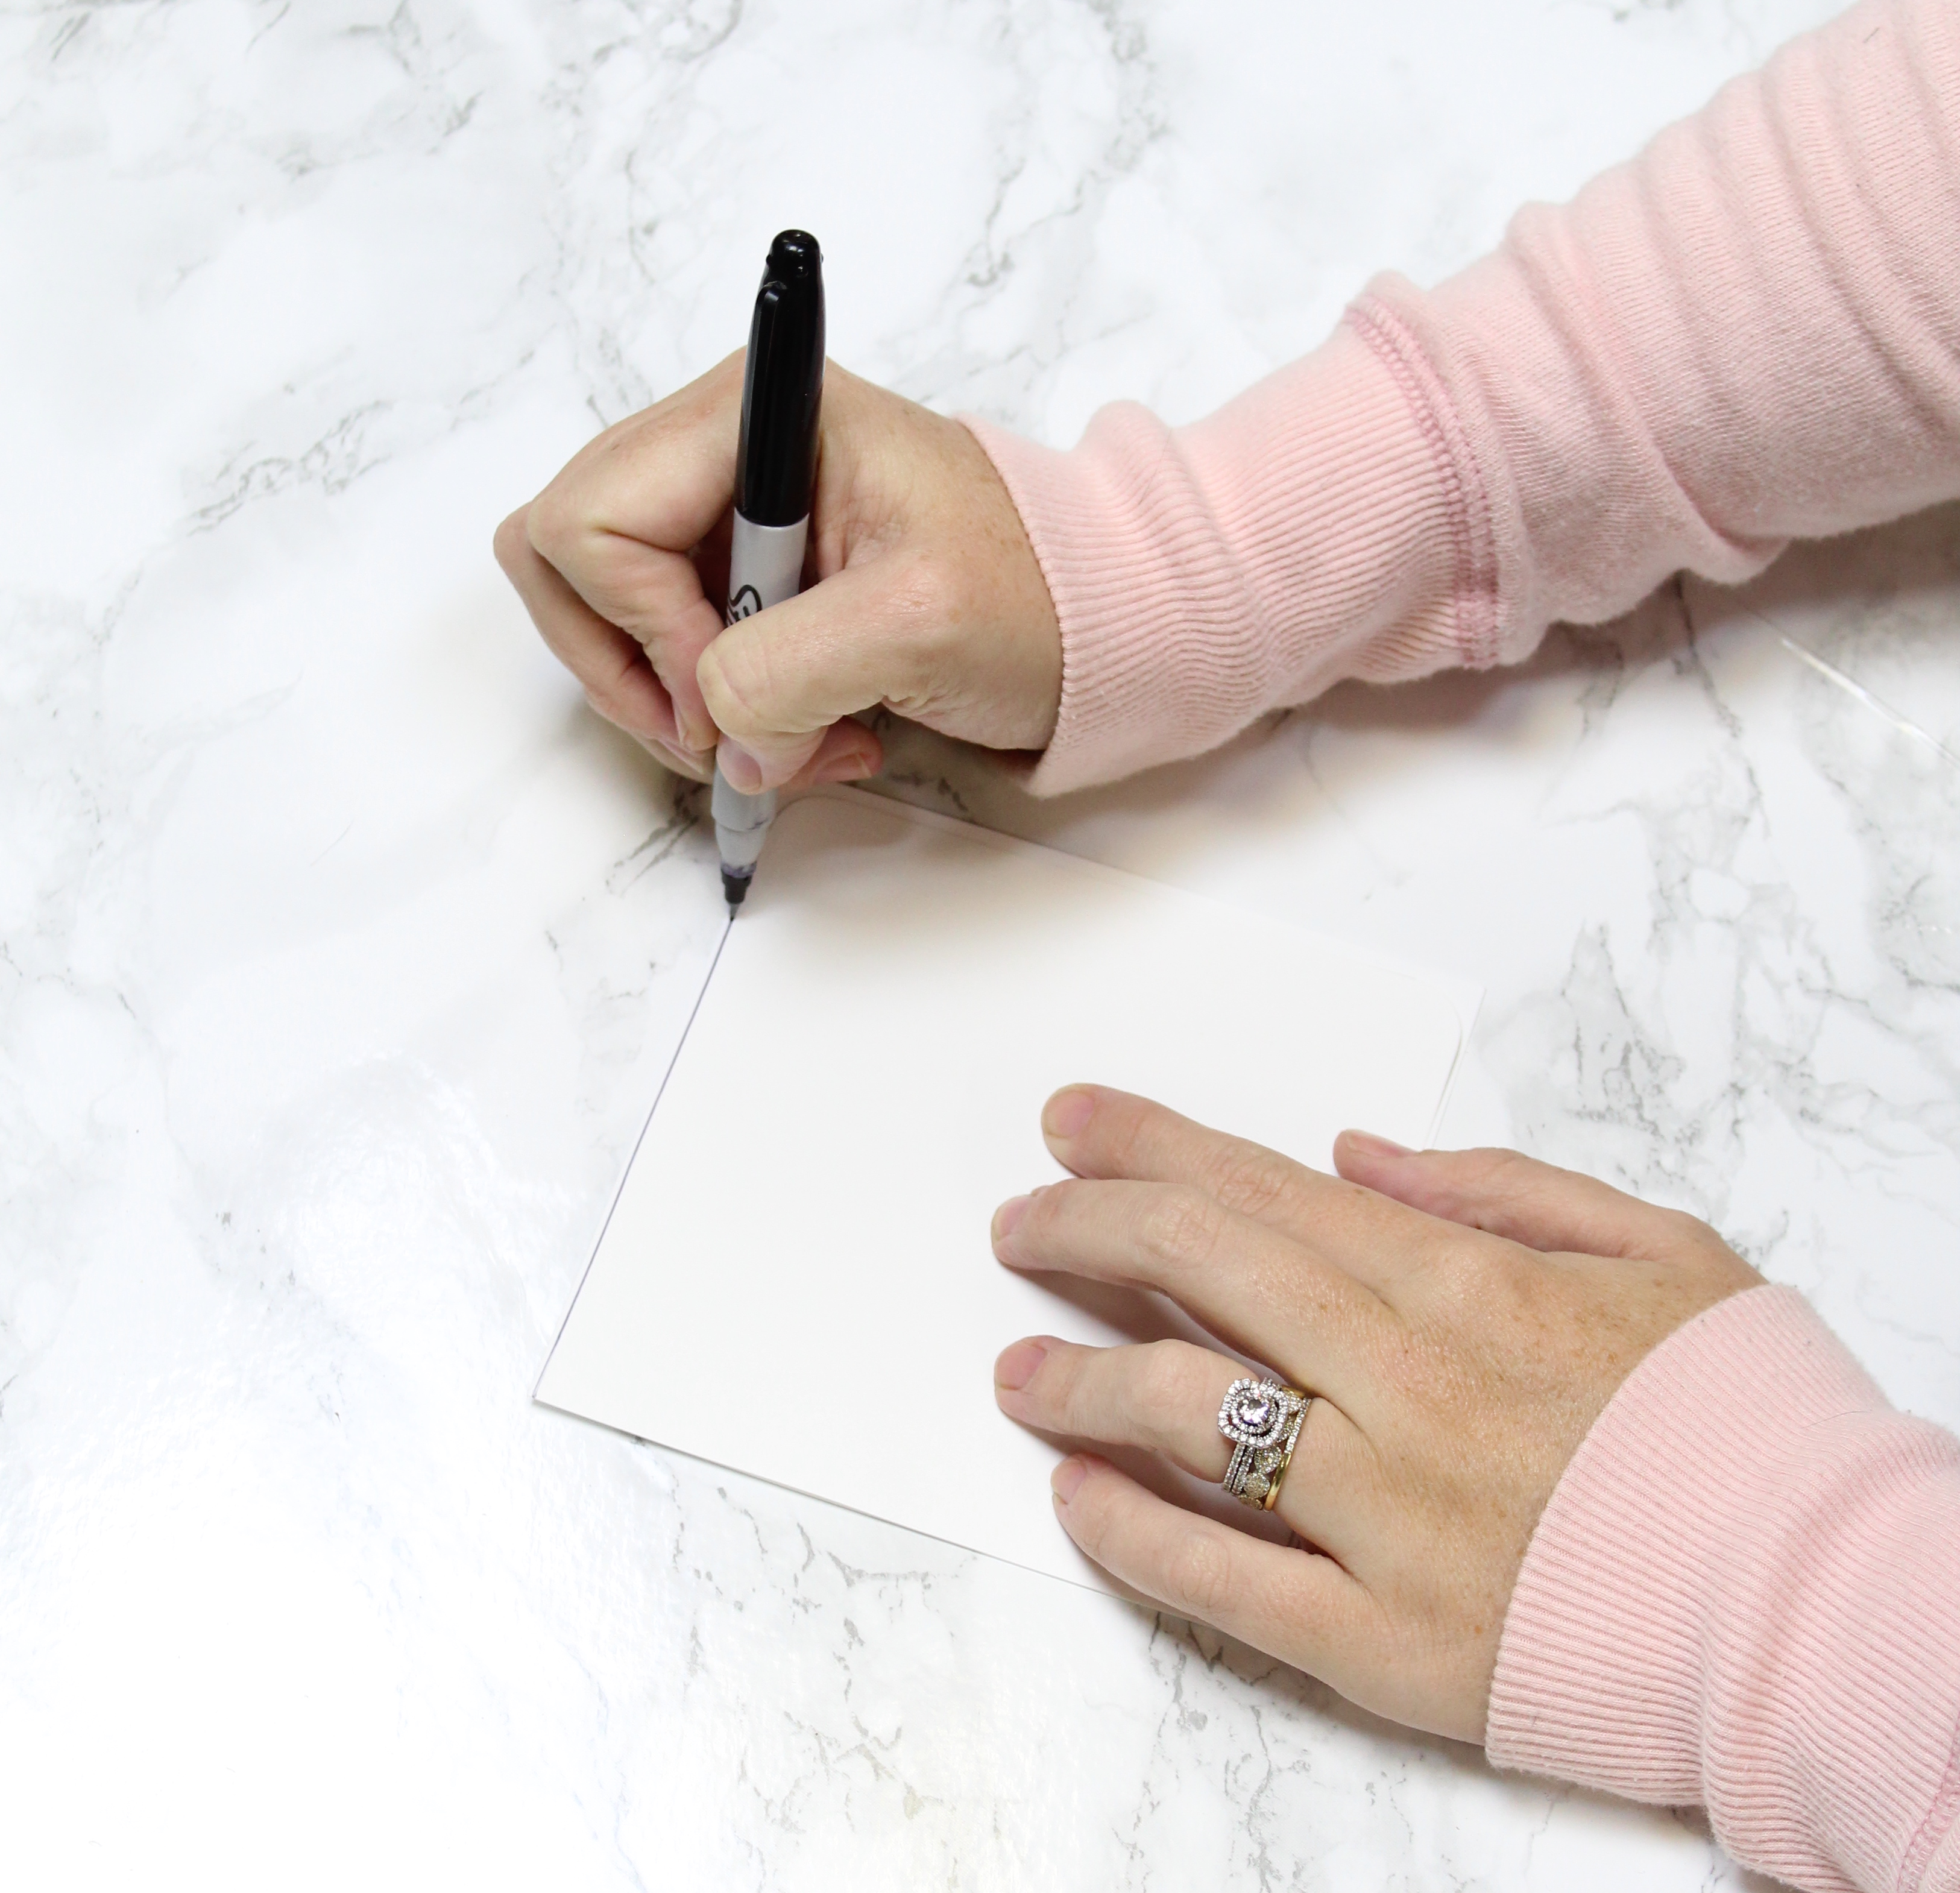
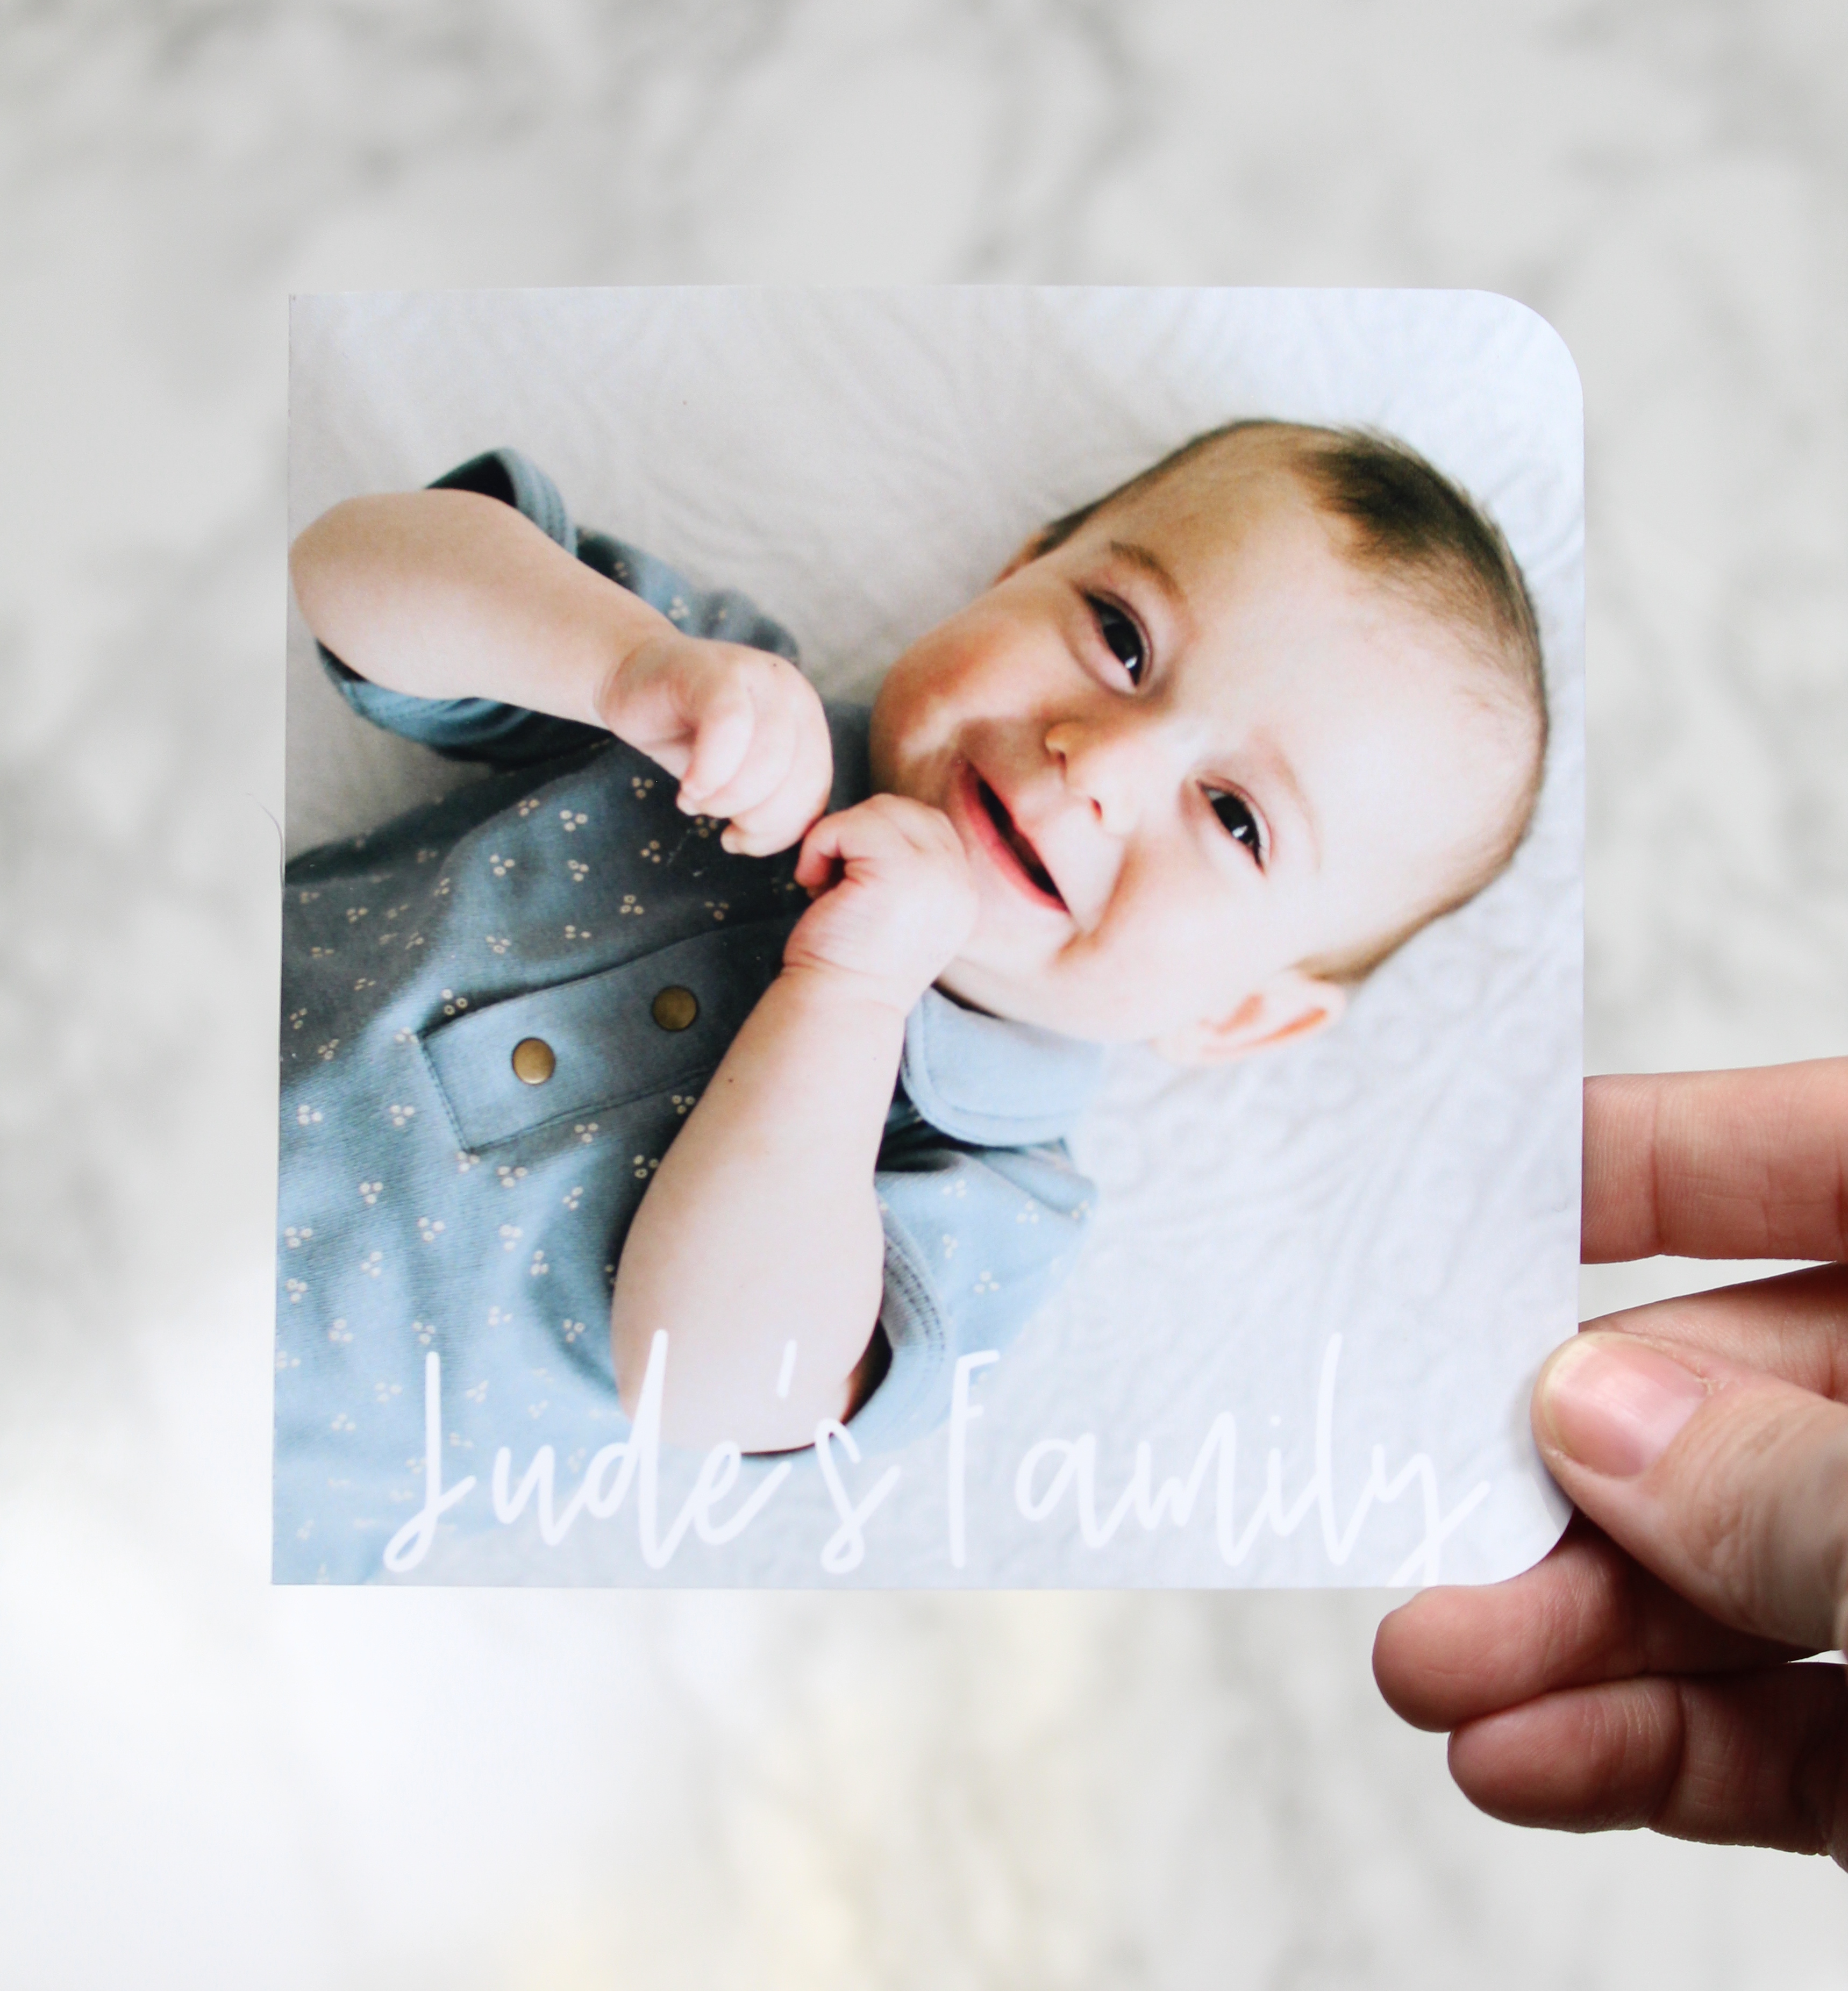
I found that the corners of the book were a perfect 10mm round so if you would prefer to use a corner rounder as opposed to scissors for a cleaner cut, go for it! It’s important to pay attention to which corners you are rounding. For my book, like I said, I wanted the persons picture on the right and their name on the left. So, every persons photos had the top left and bottom left corners rounded, while their names had the top right and bottom right.(I hope that makes sense.)
Adhere Your Photos
On a clean (and disposable) surface (I used some butcher paper), lay all of your photos face down. Add an even coat of your spray adhesive to the back of all photos, making sure not to spray too much or you’ll have a mess when you try to adhere them to your book.
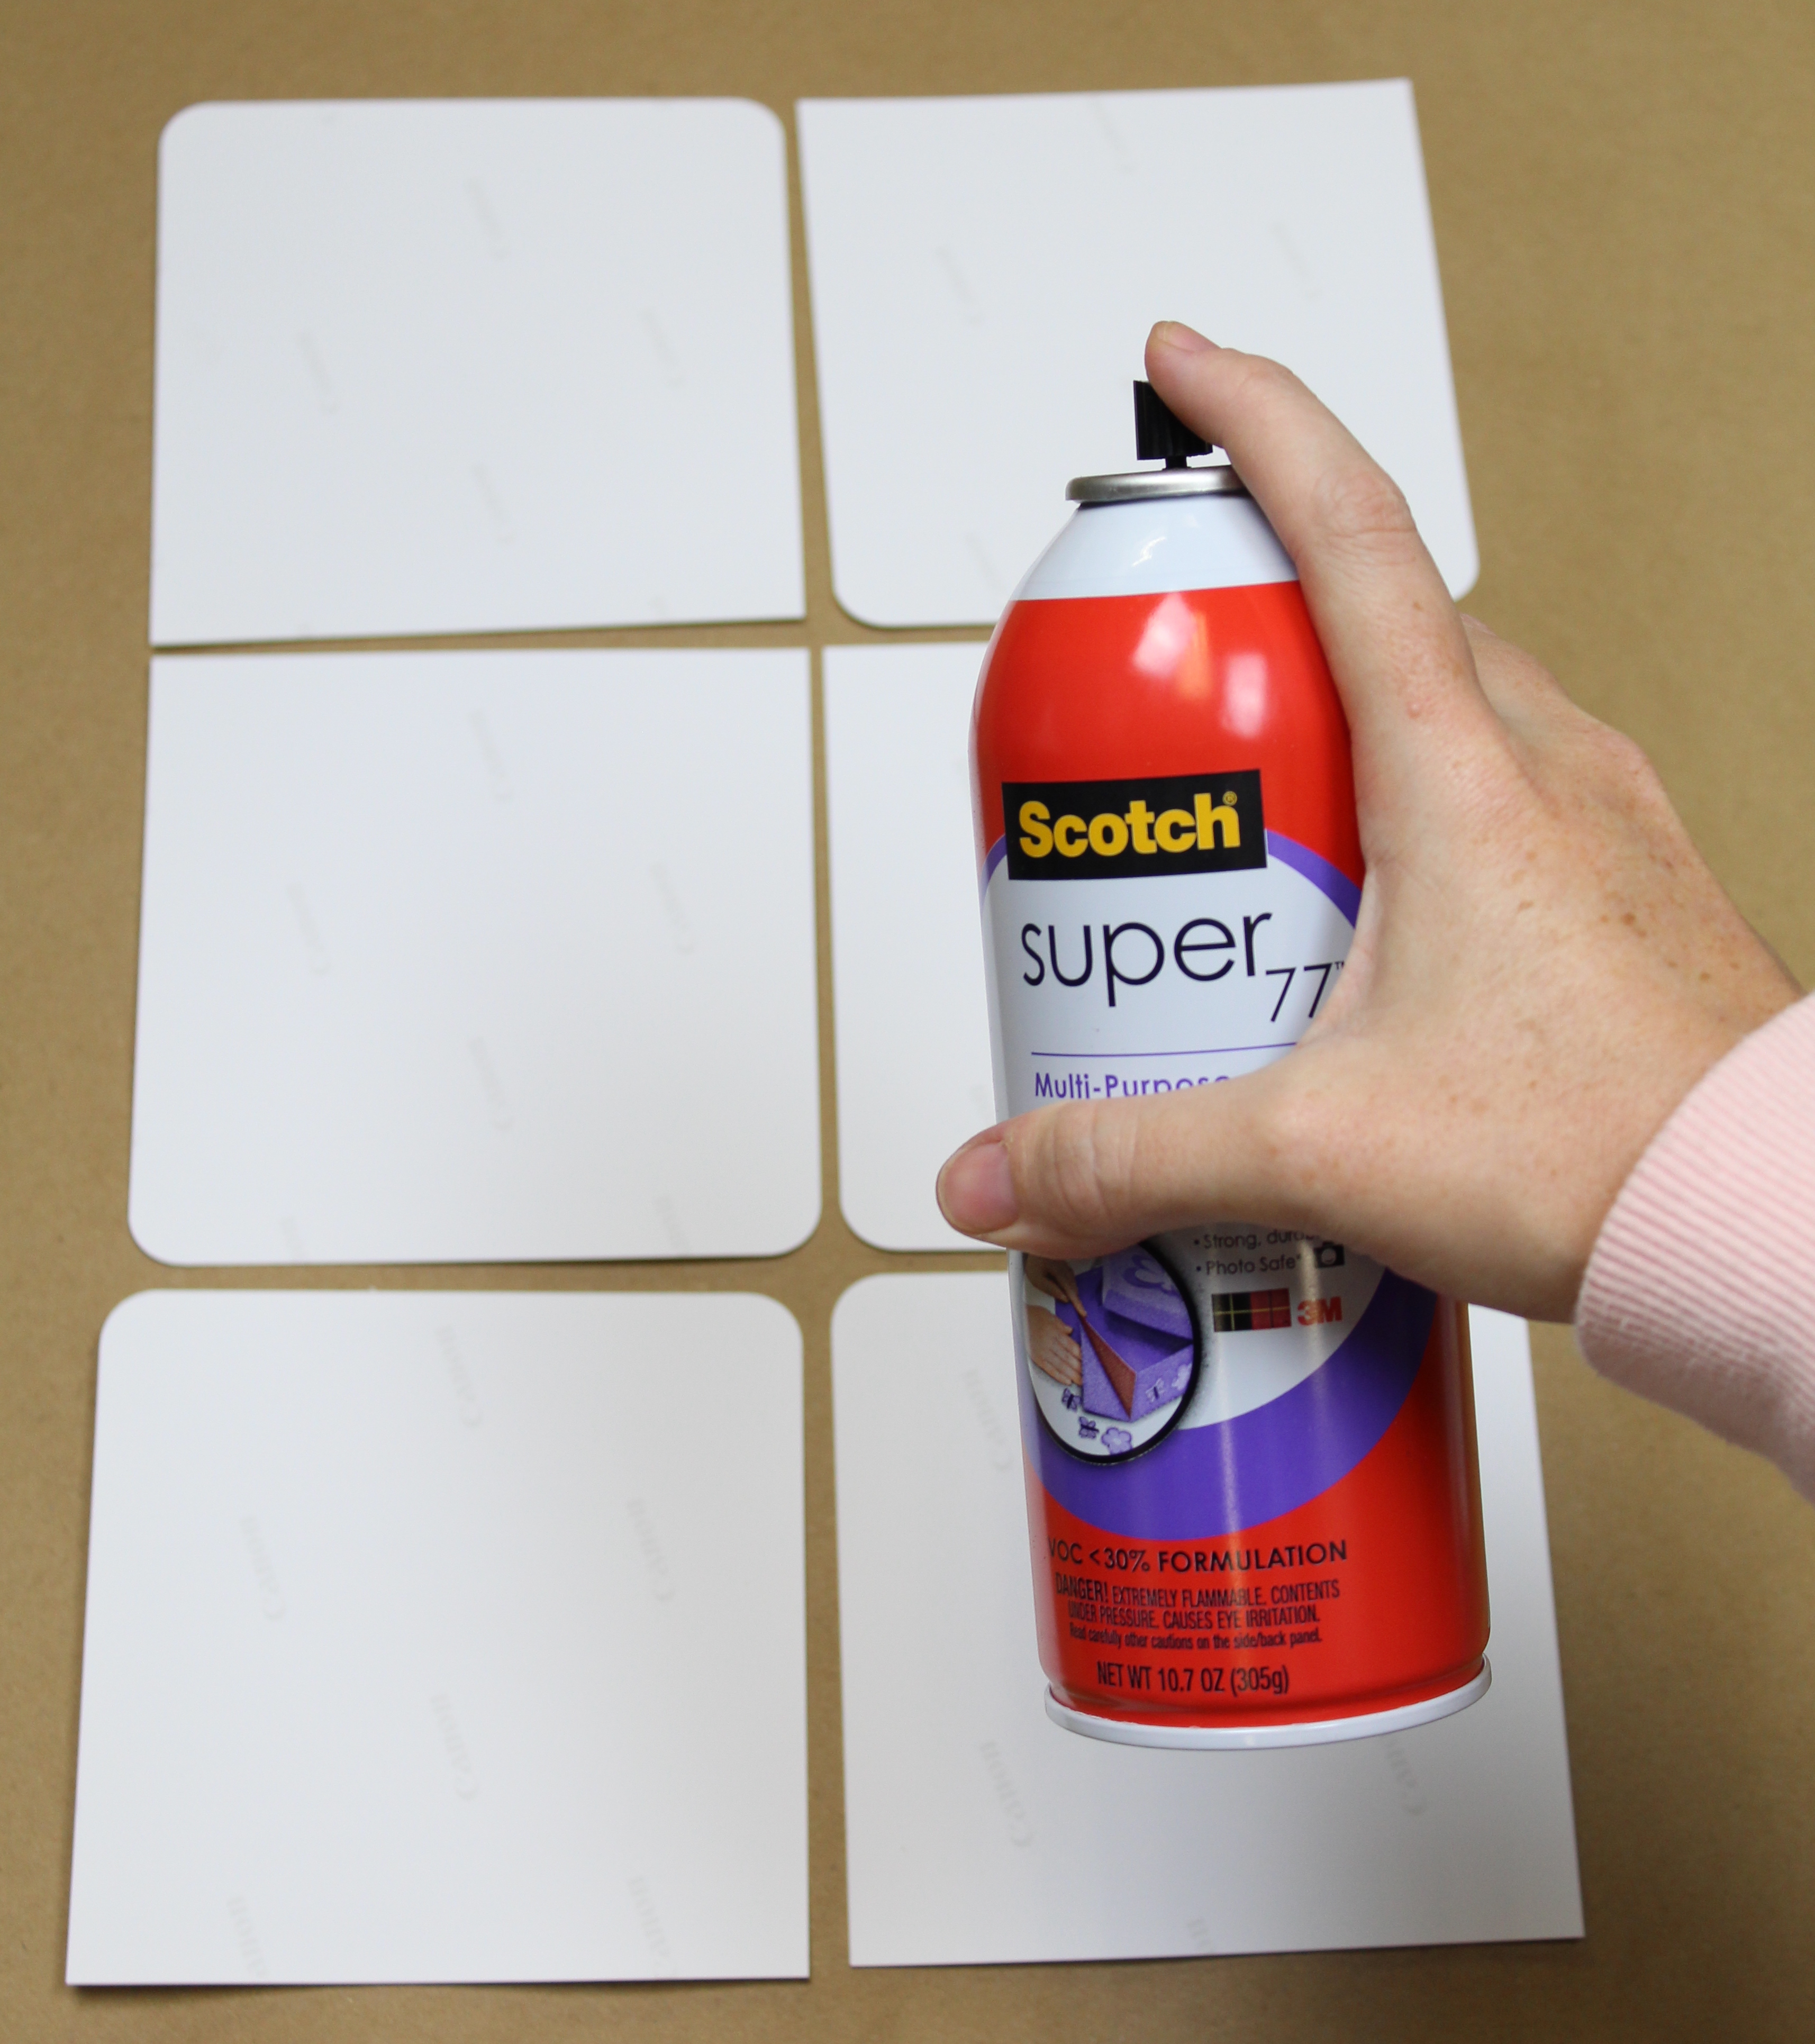
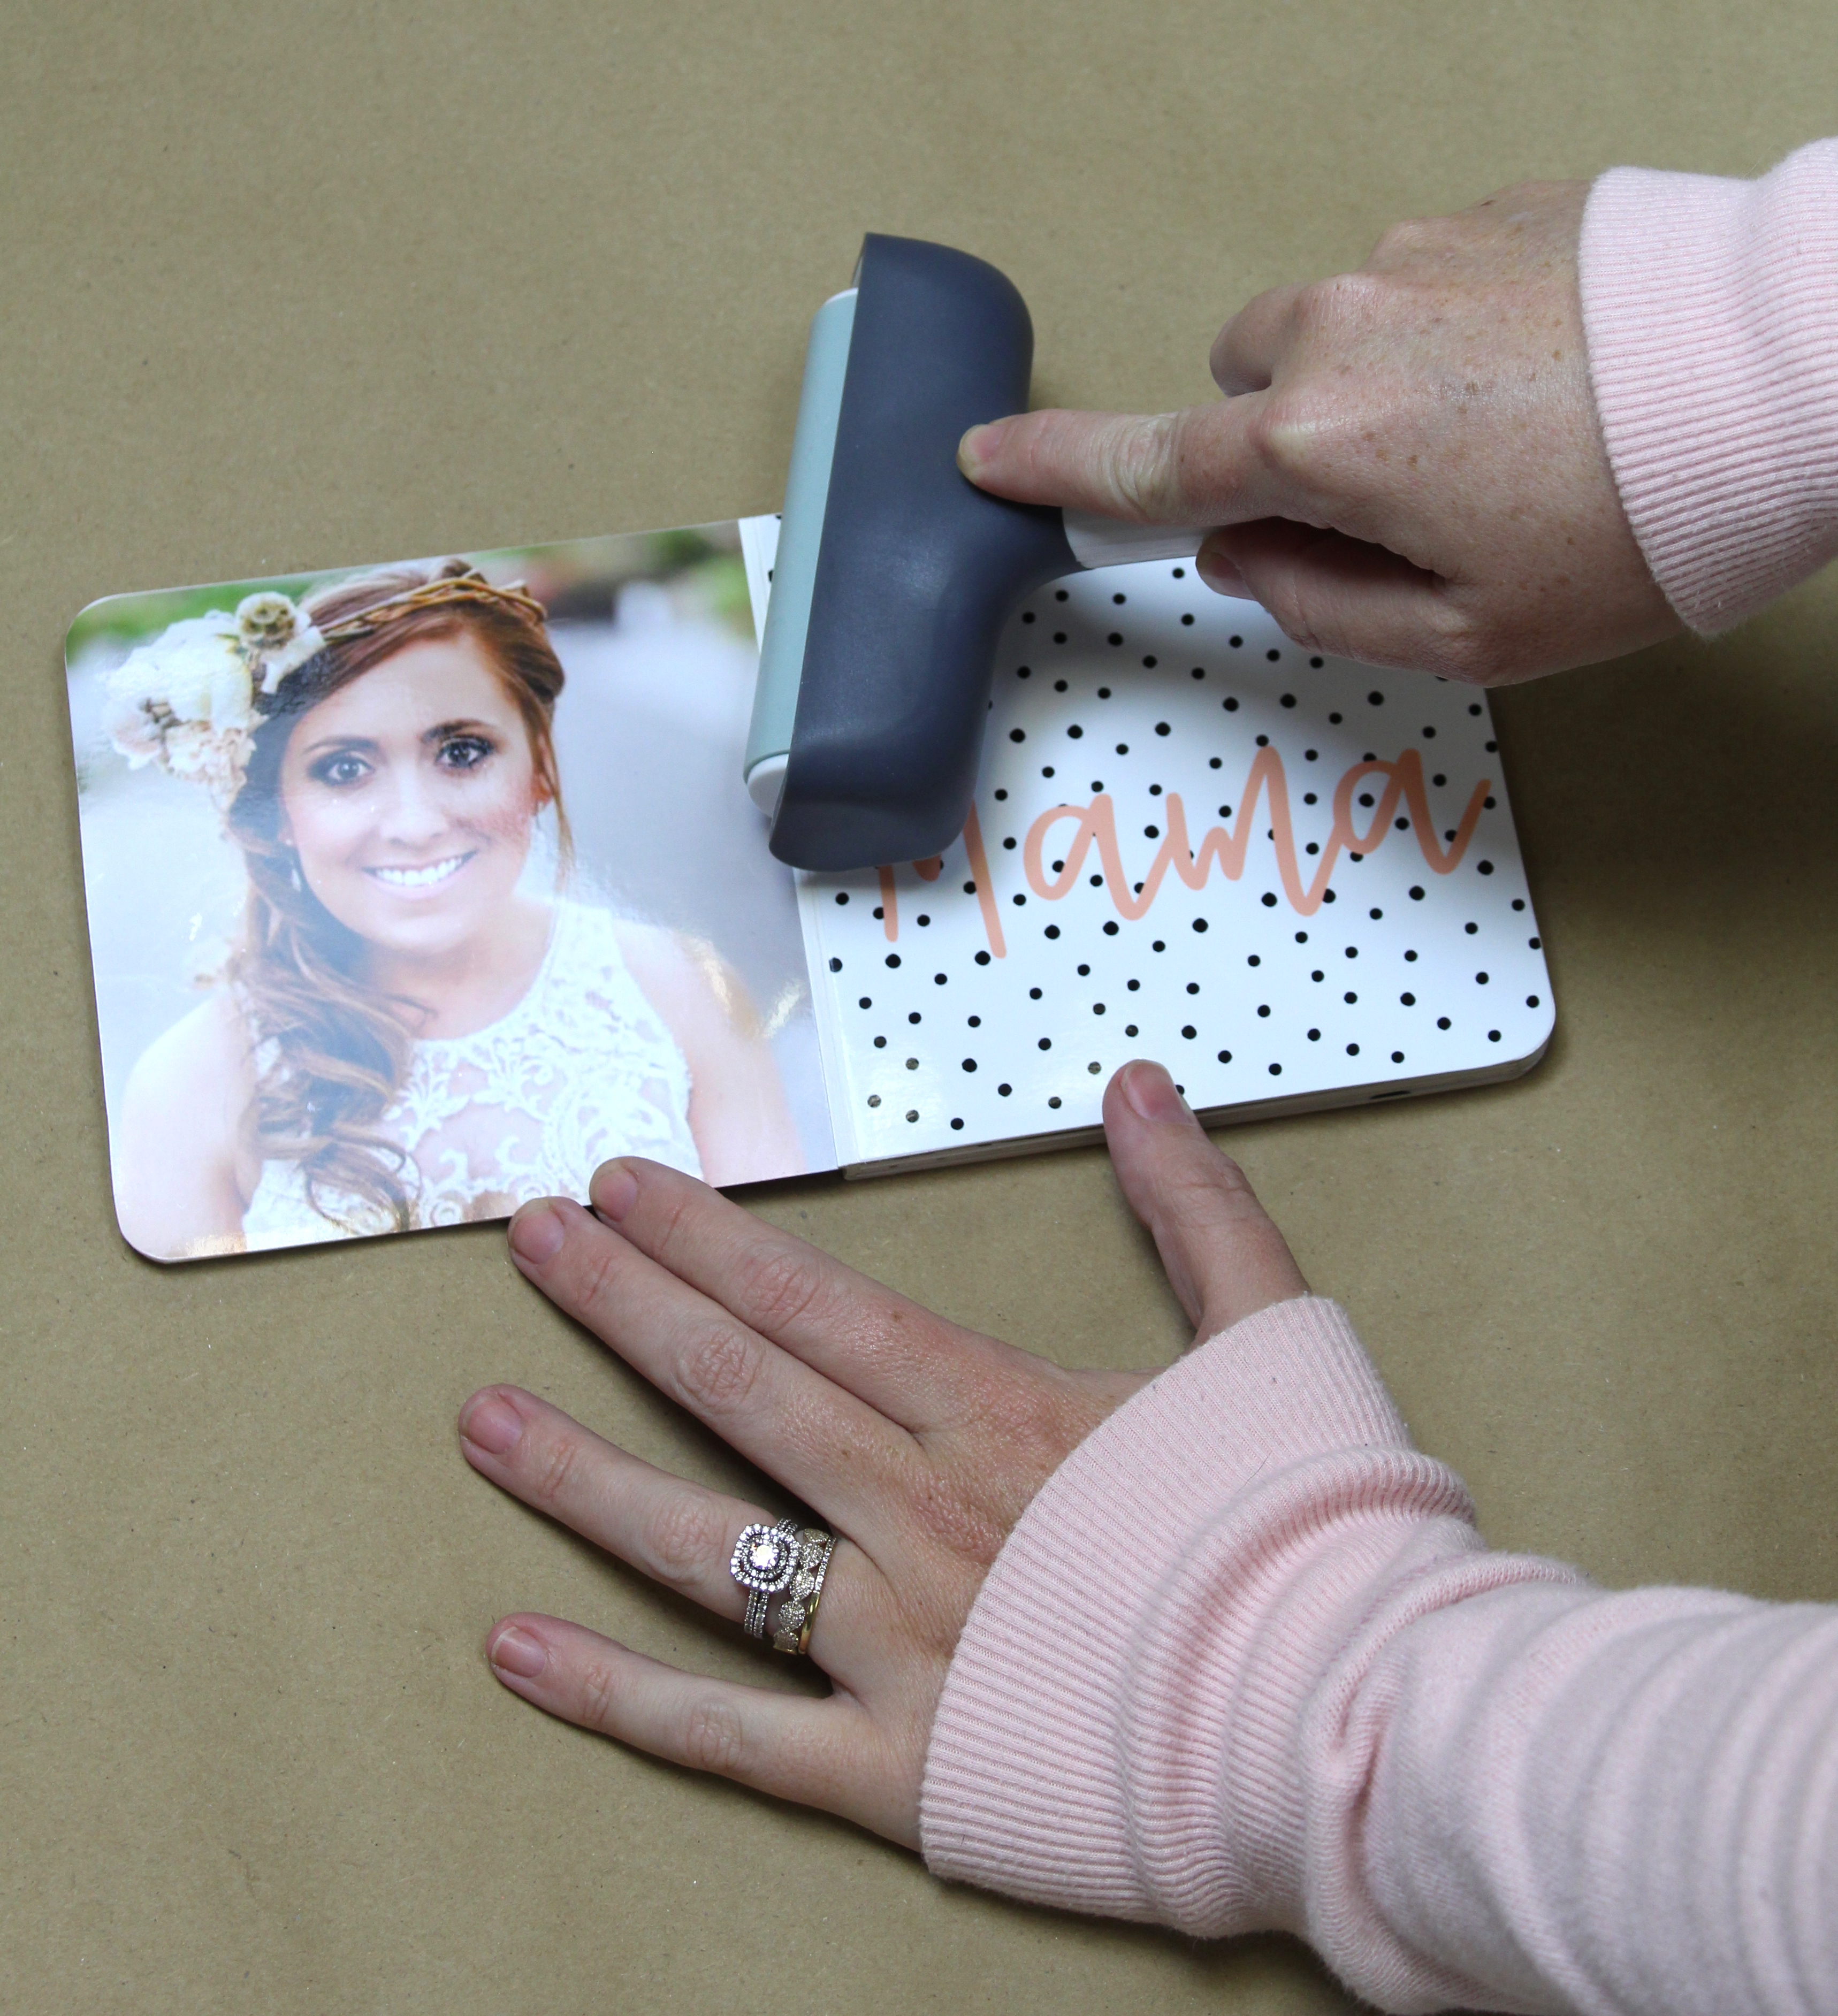
Once all photos are sprayed, it’s time to begin putting your book together! Carefully add each page (I found it better to start by lining up the rounded outer corners and working my way in) making sure you are placing them in the correct order. Using a brayer, I smoothed out each photo to ensure the best placement possible.
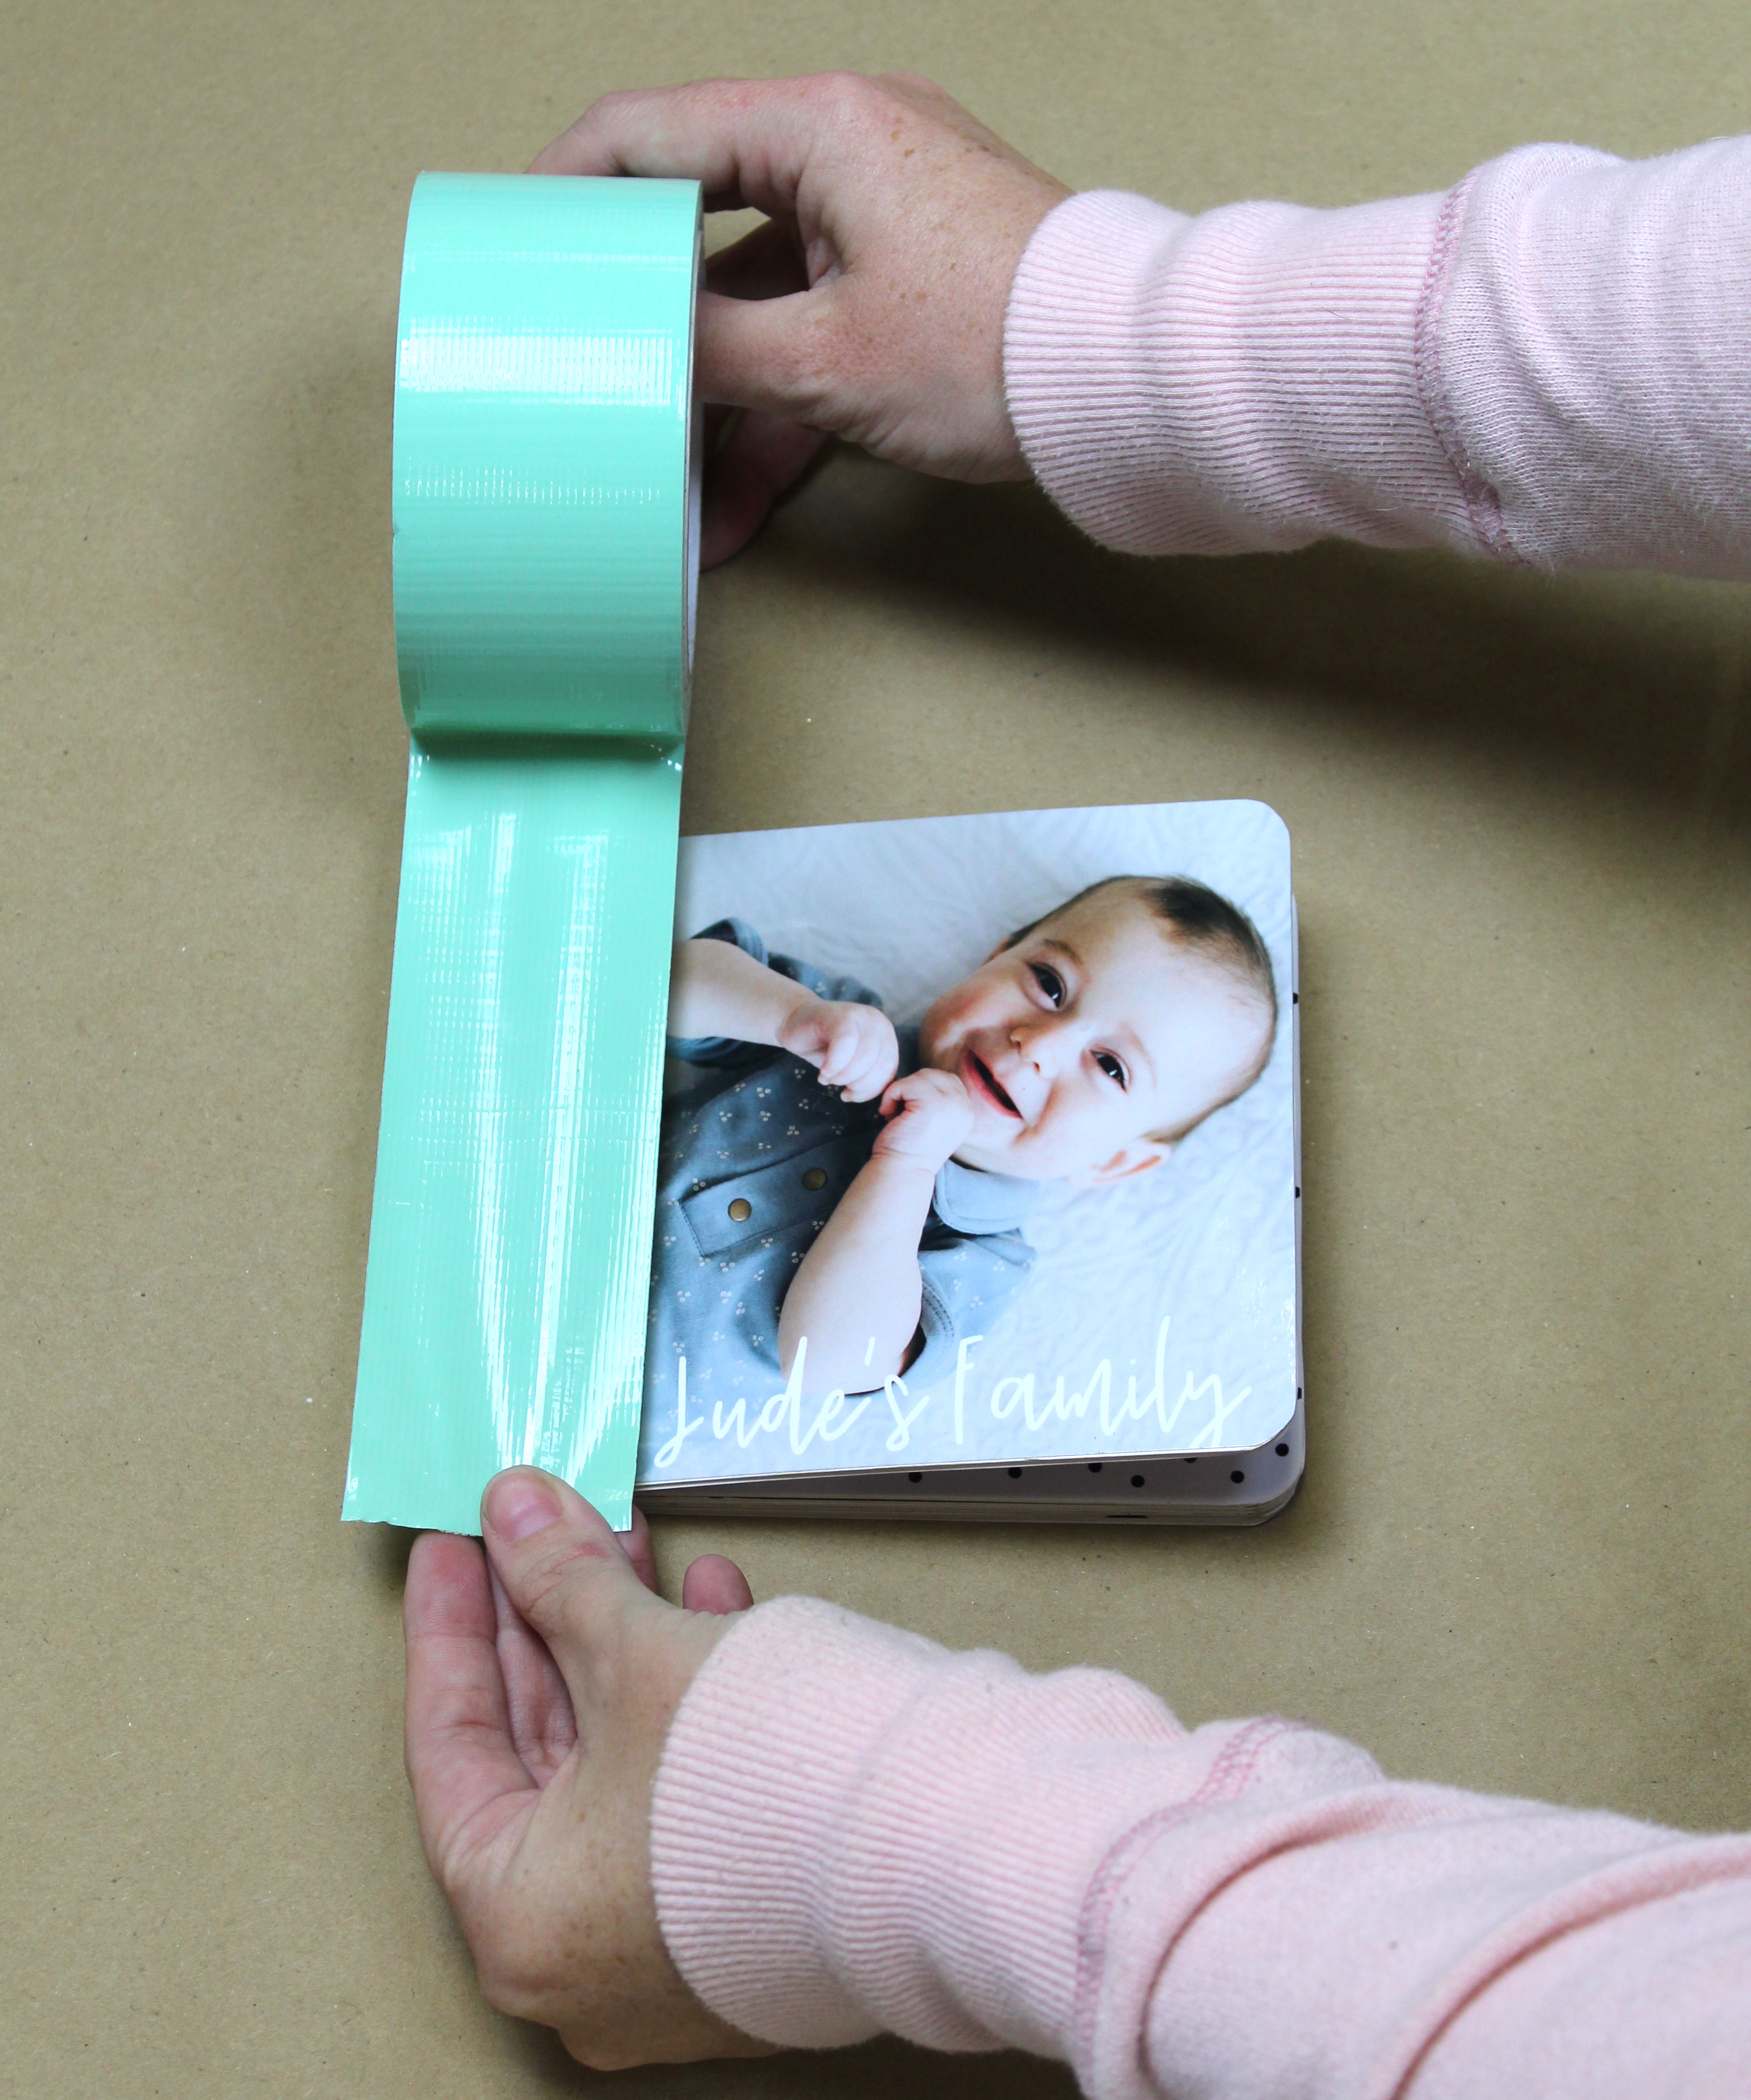
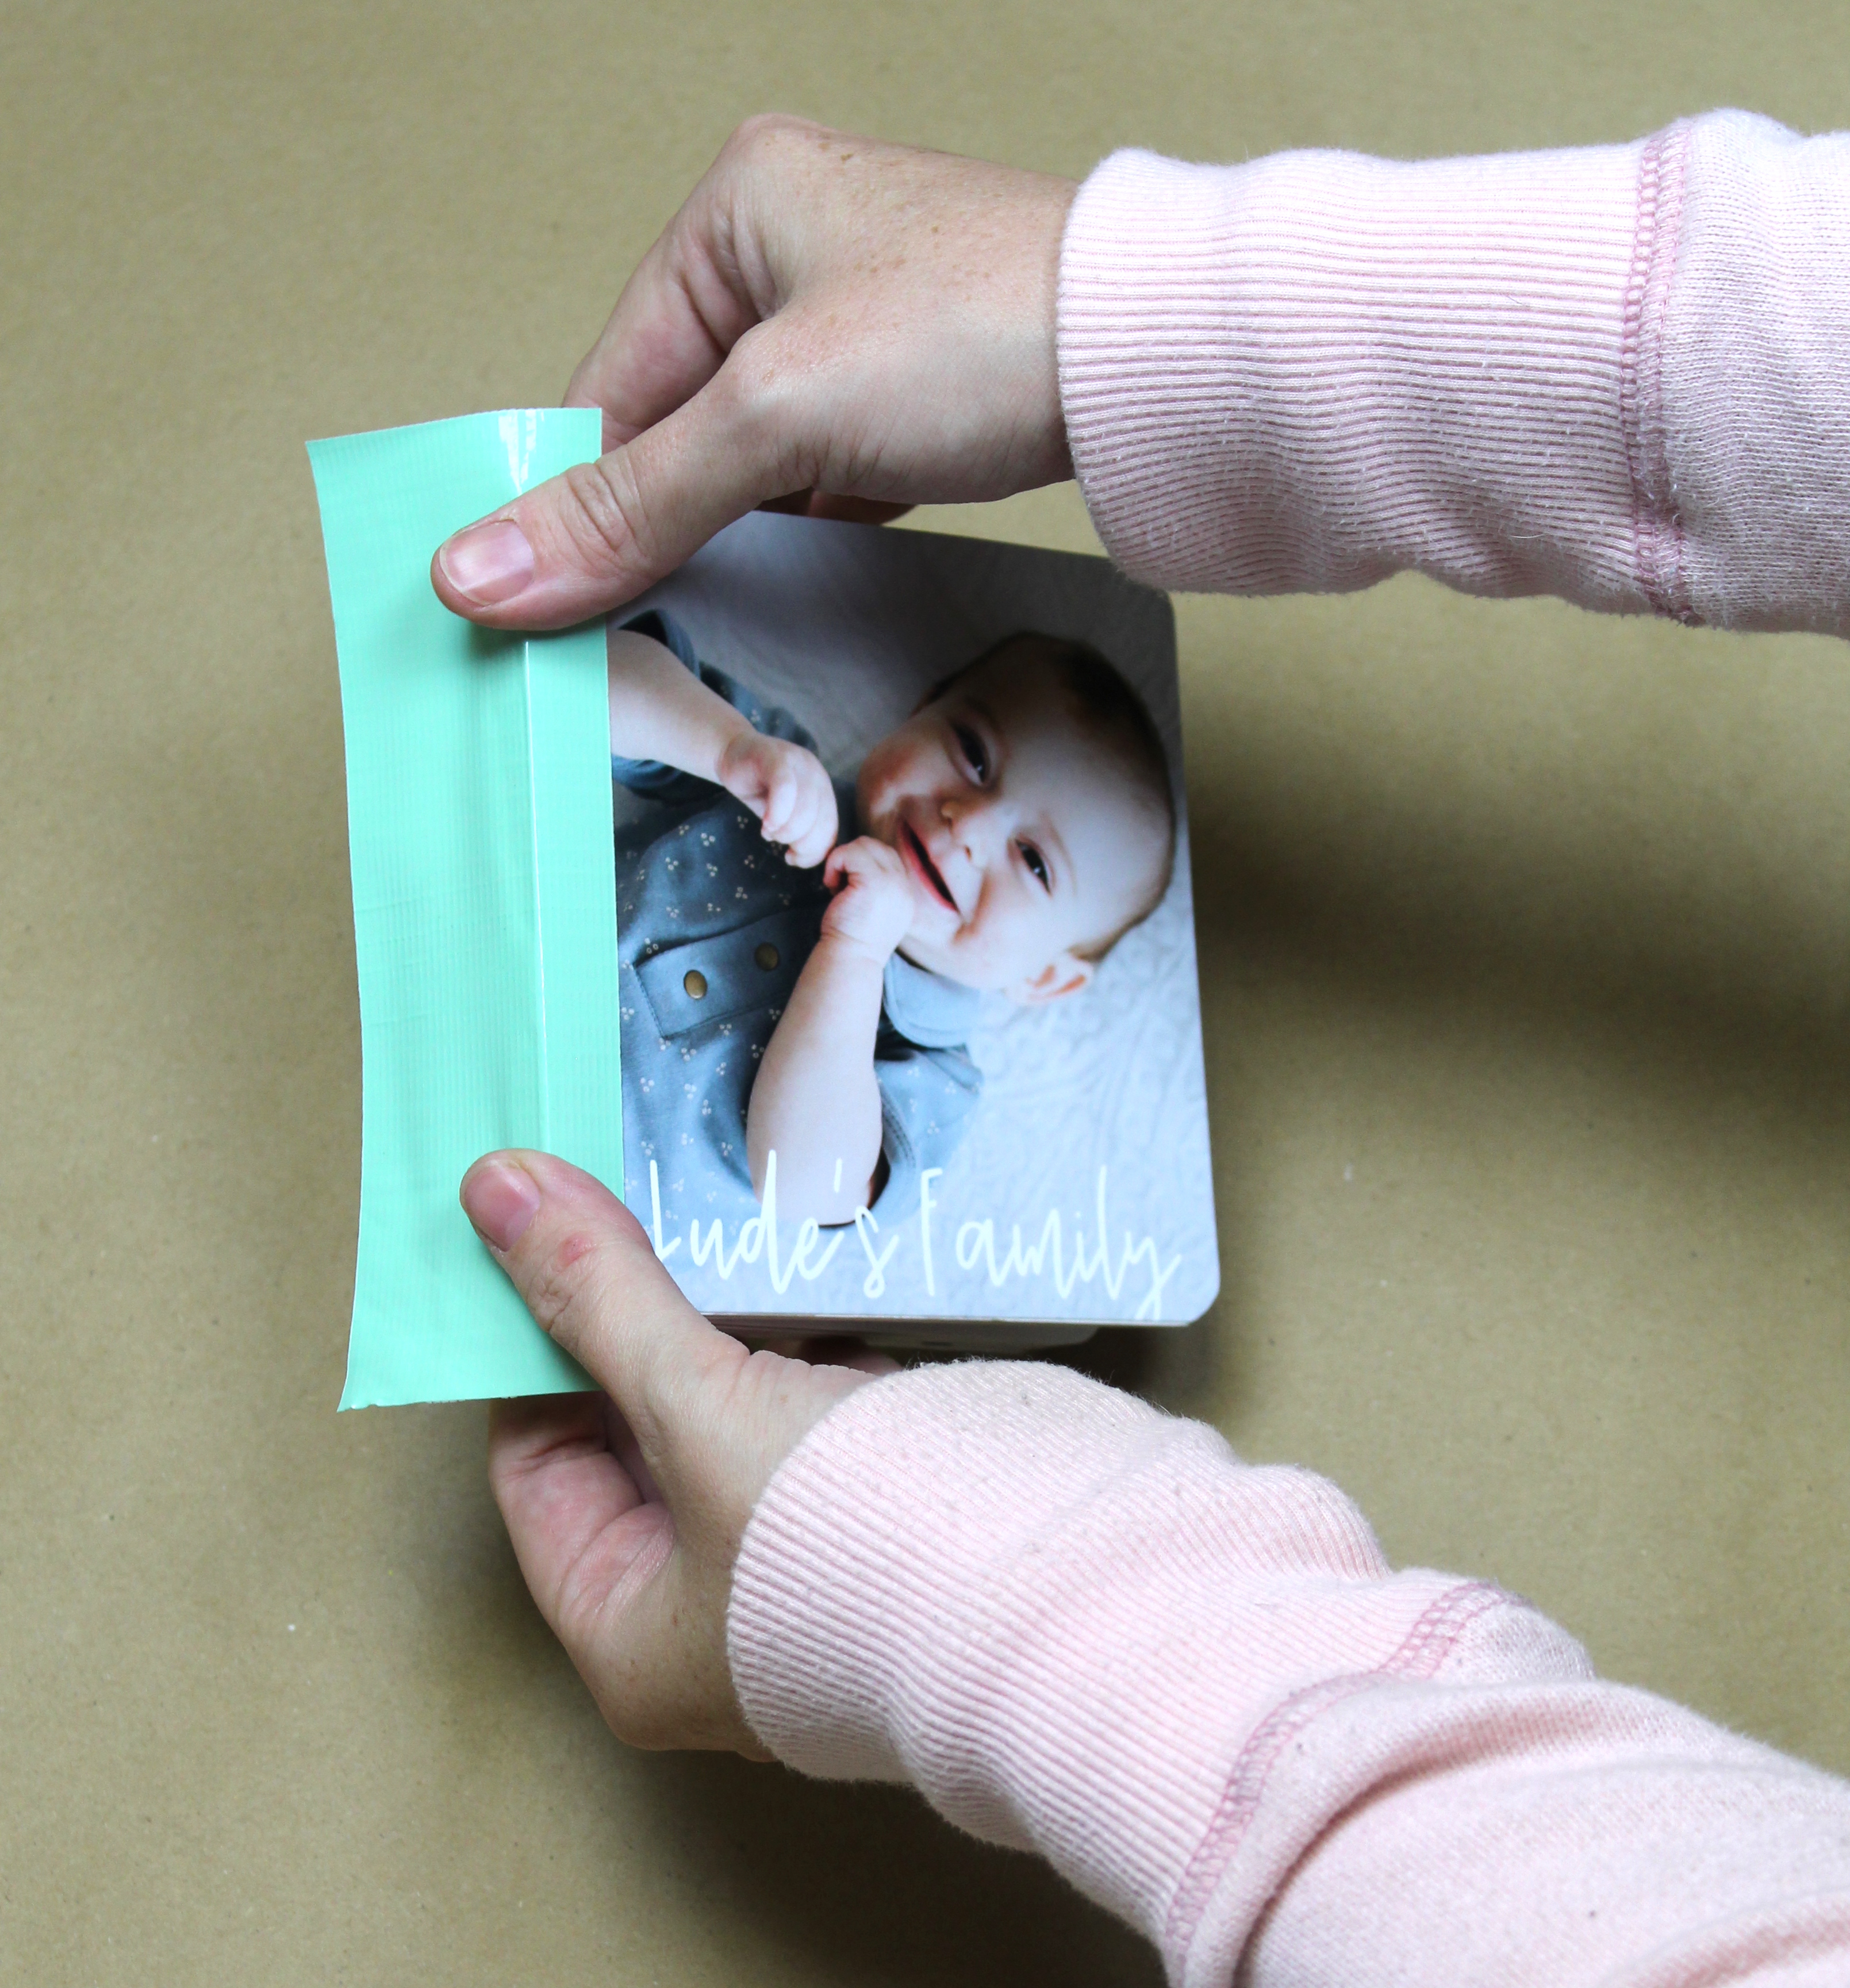
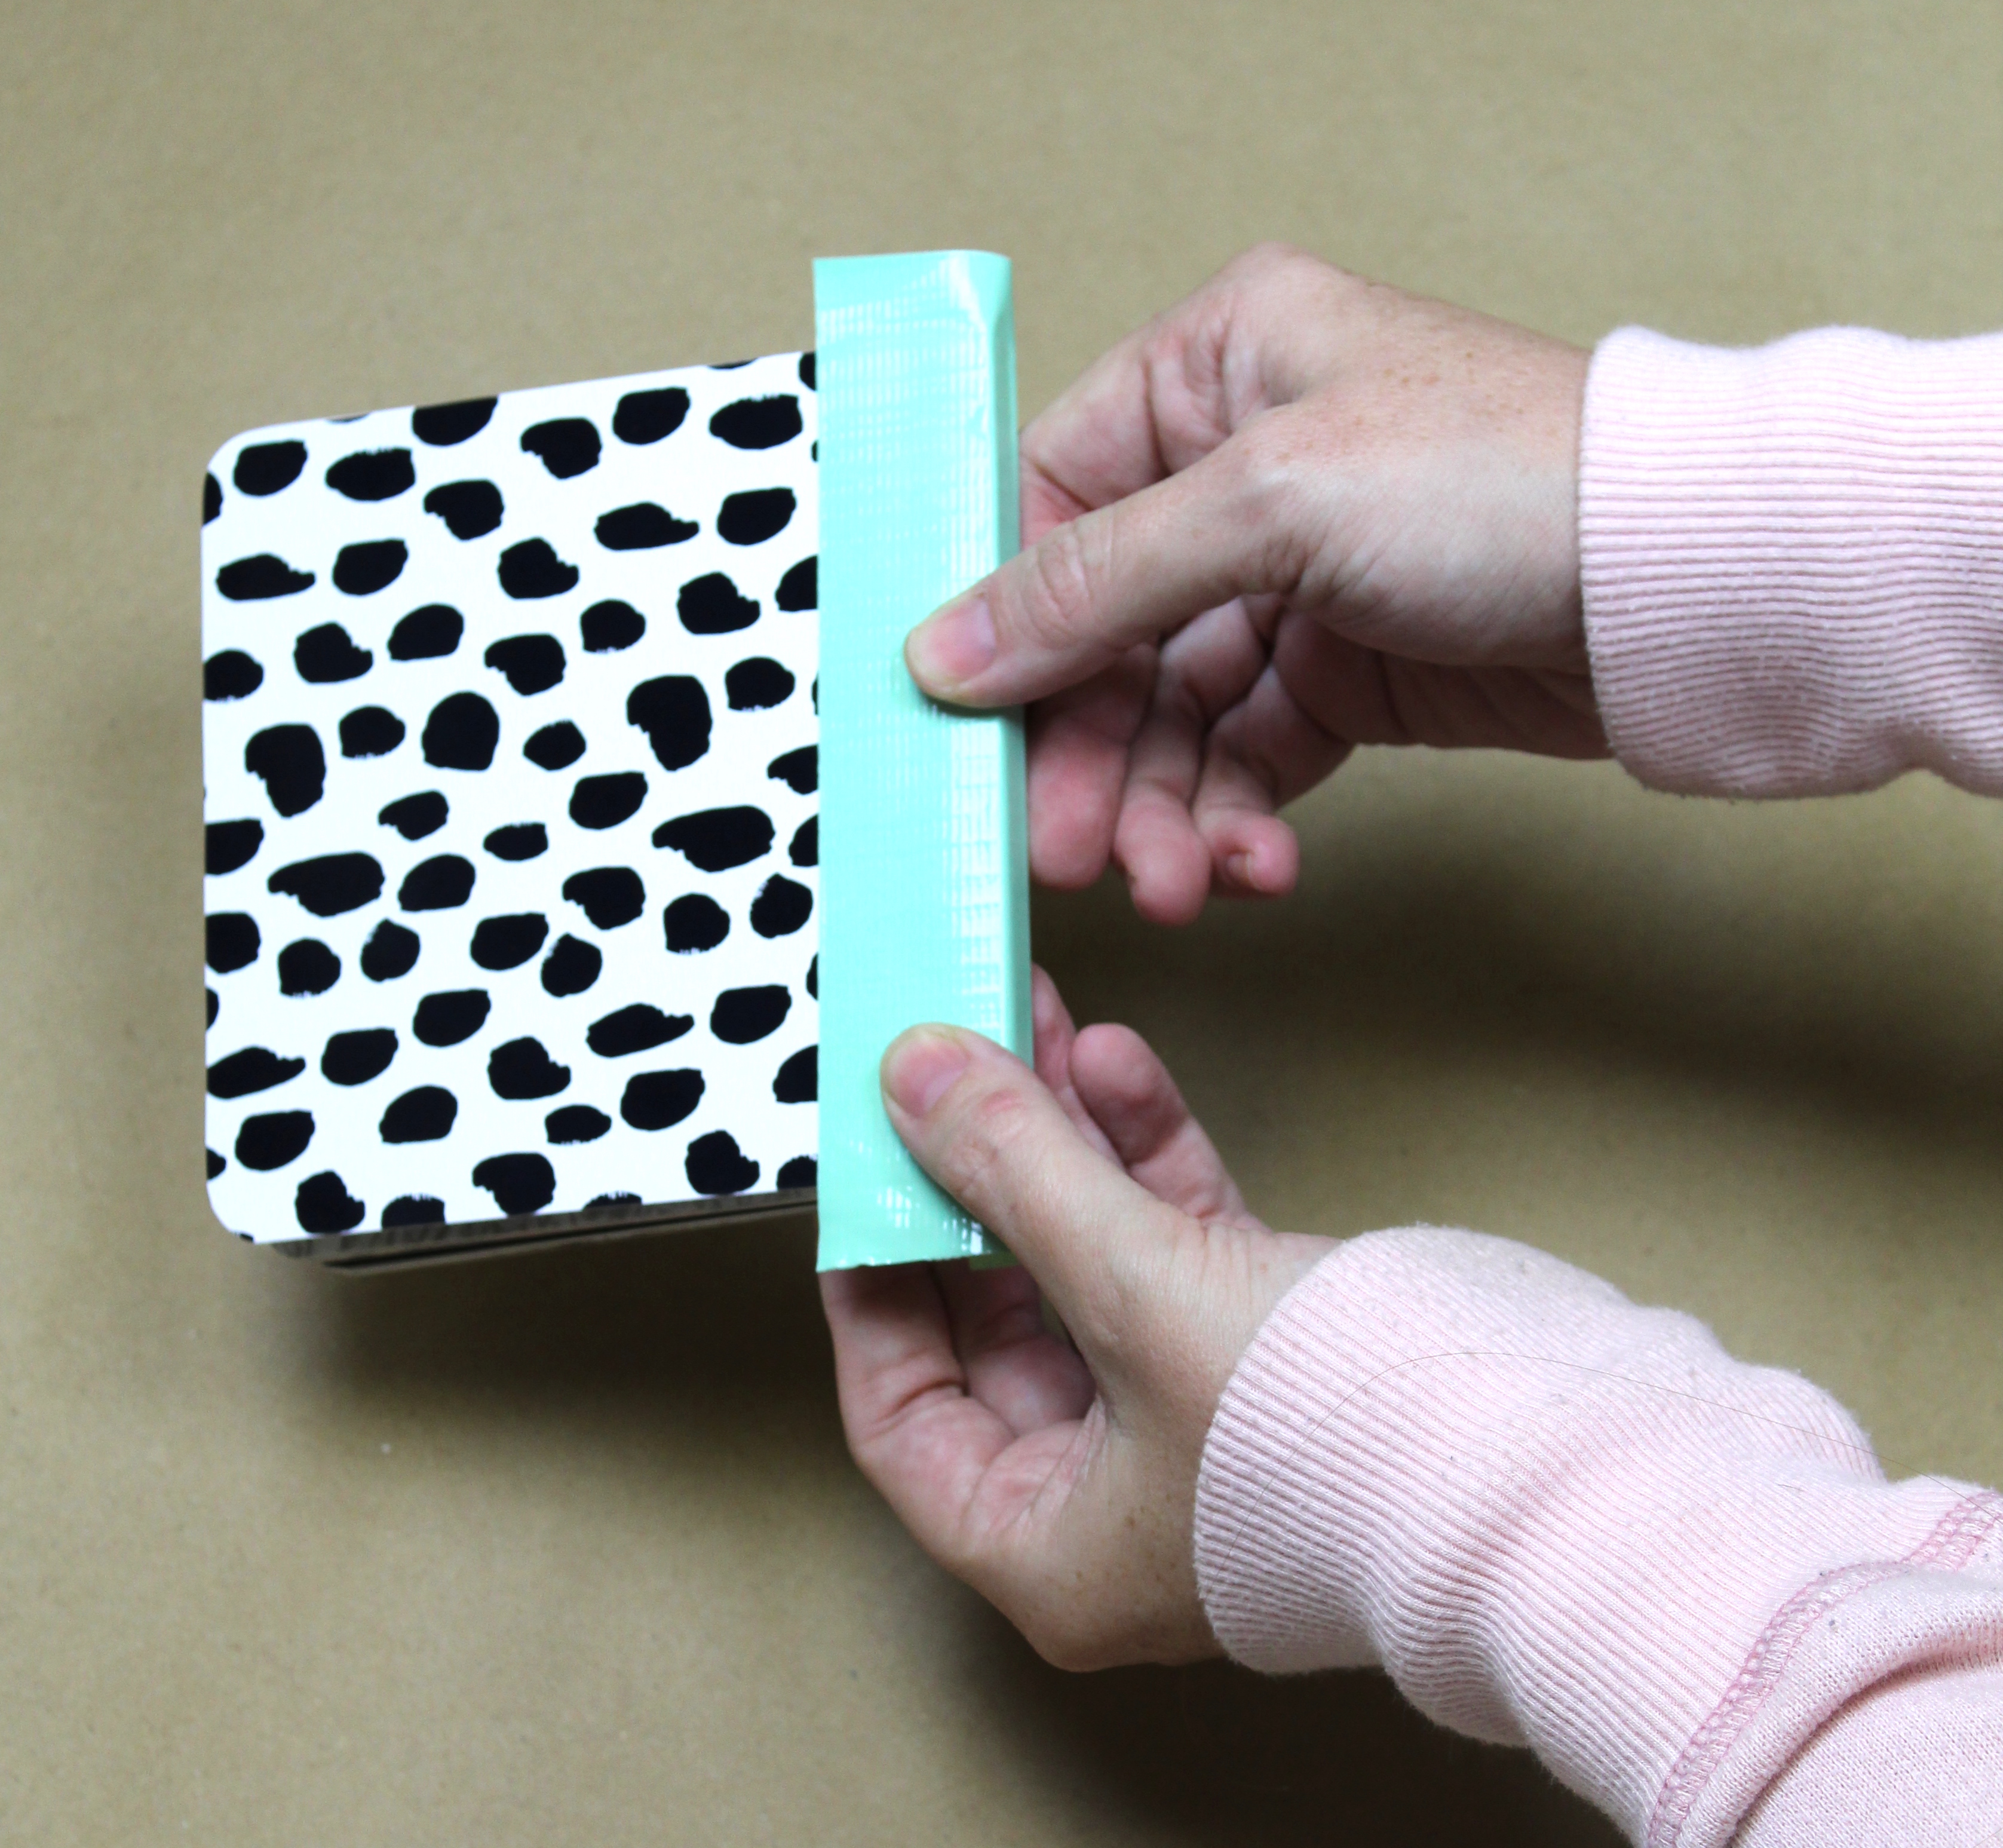
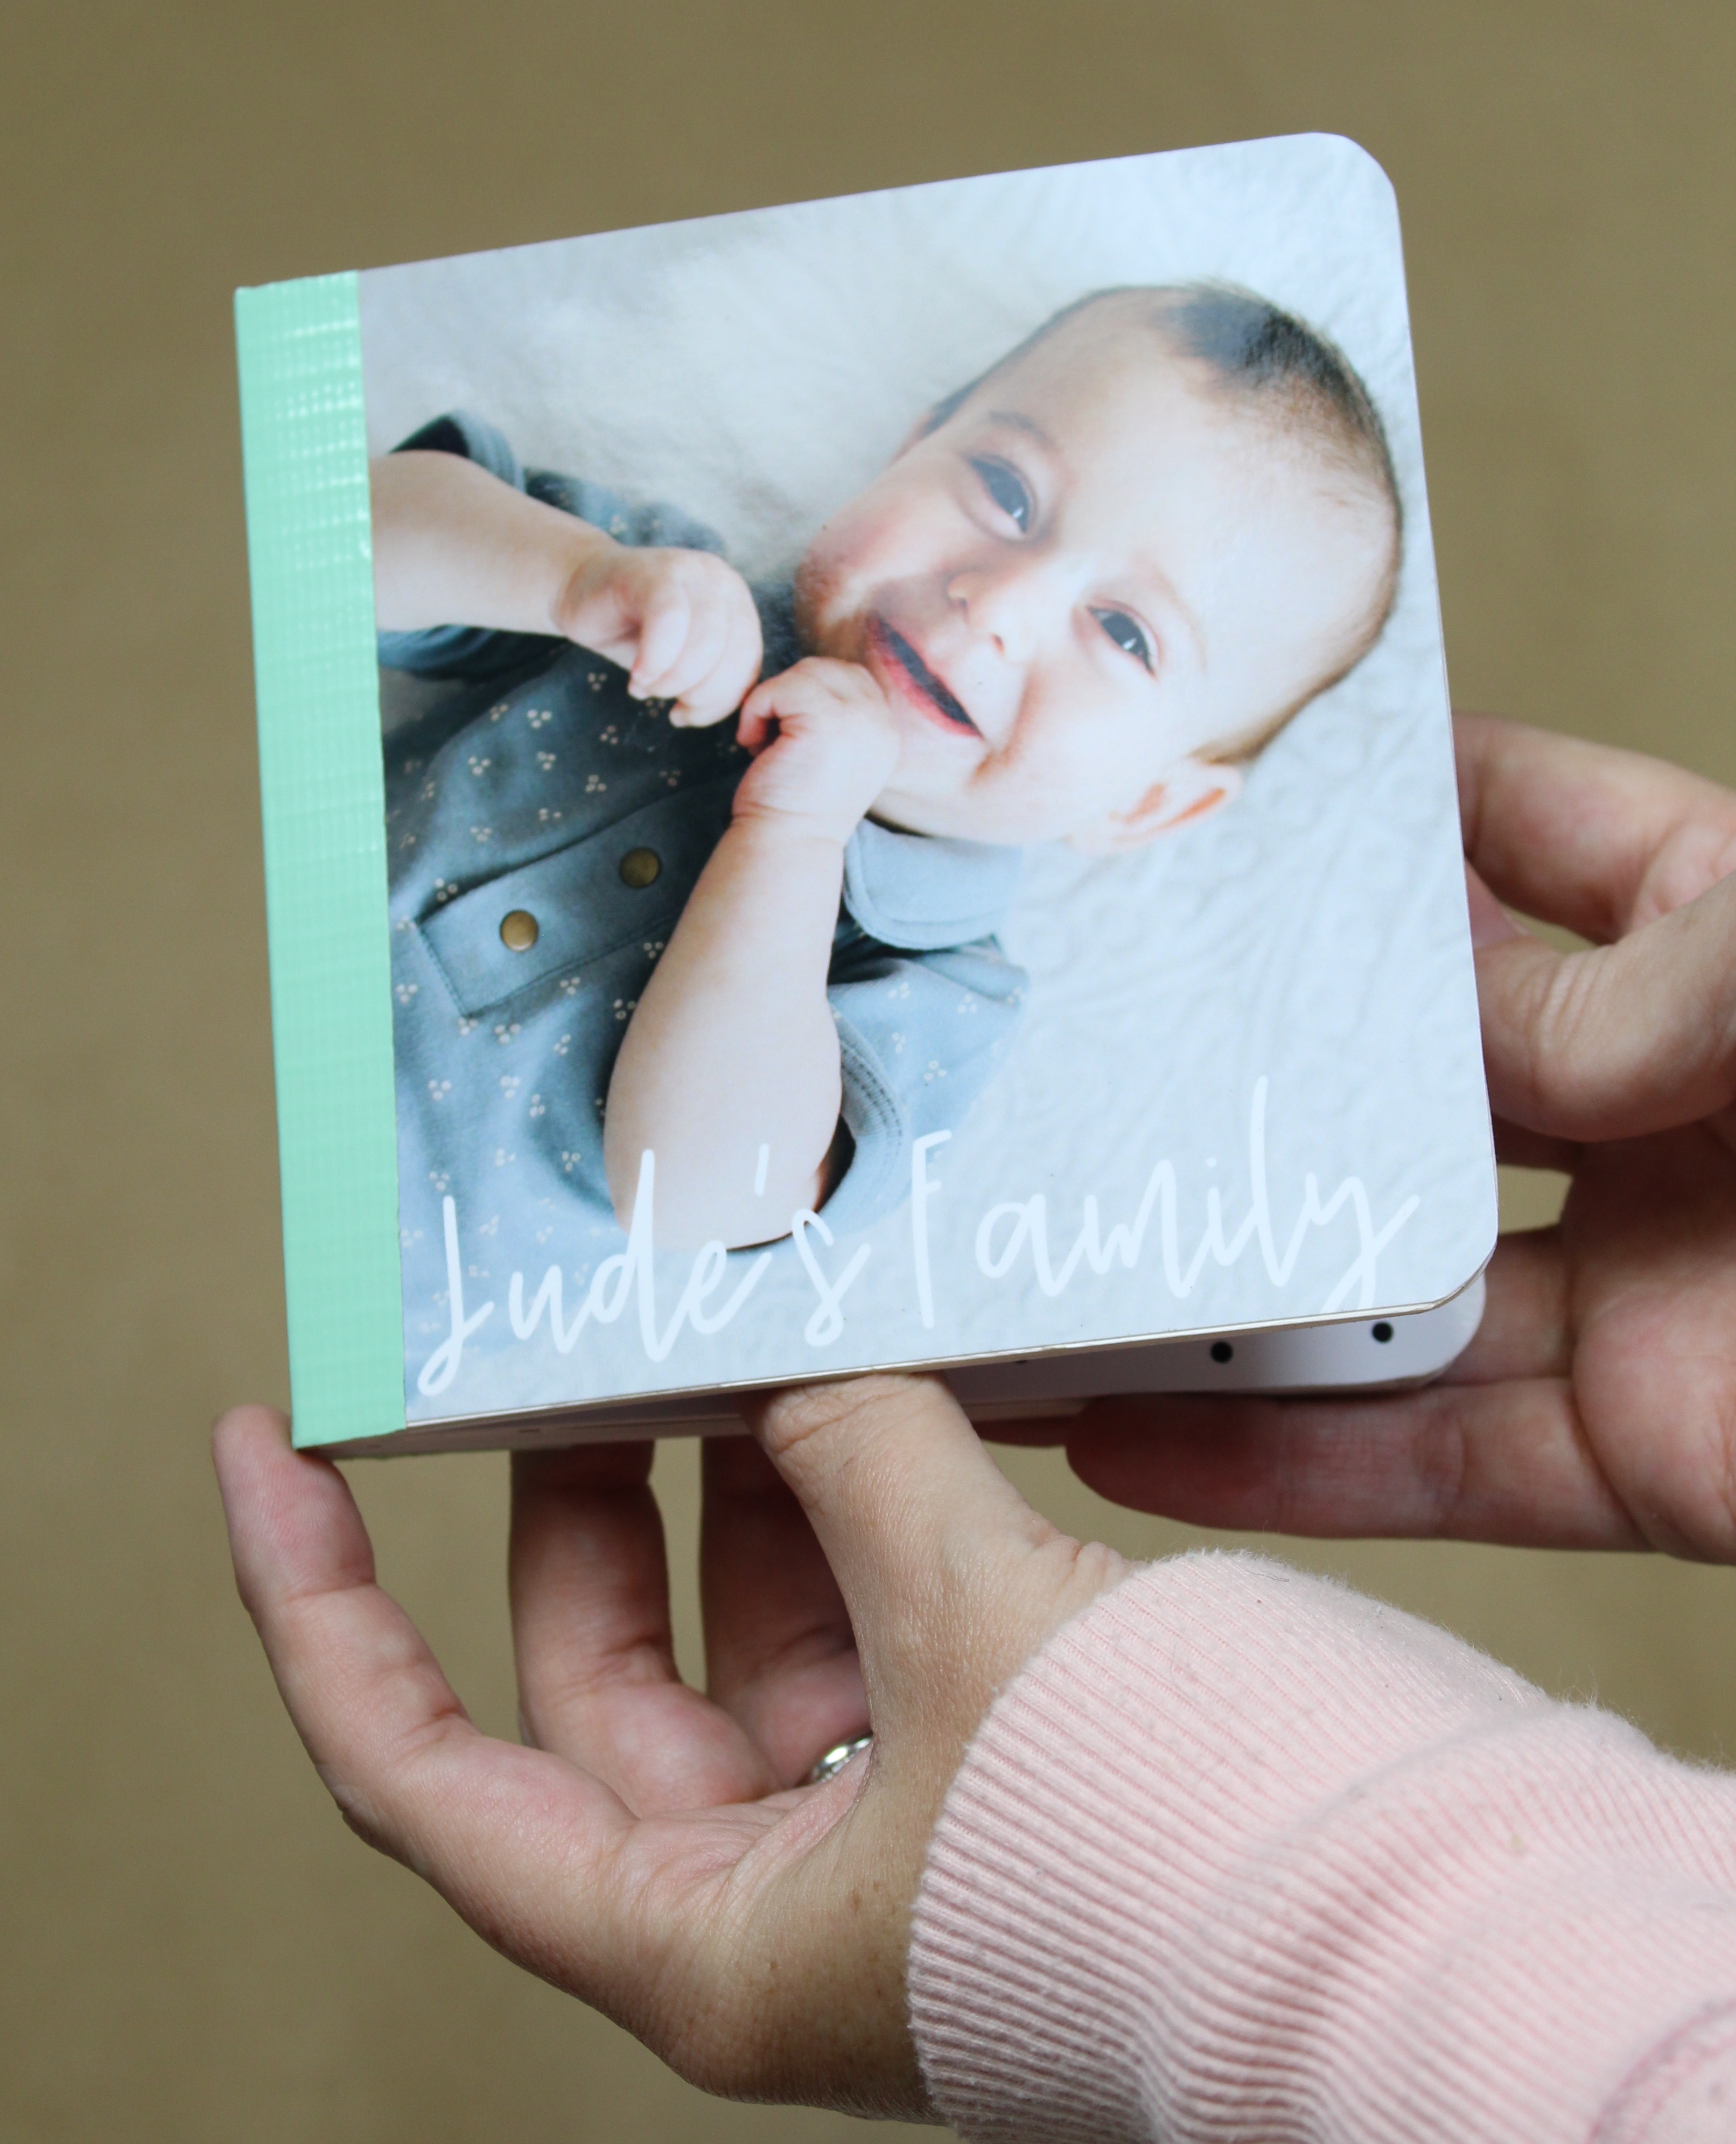
I saved the front and back covers for last because I wanted to add a fun (and totally optional) element. I wanted to add a cute colored duct tape to the spine so, after both front and back were adhered, I added the duct tape and trimmed it down to size using an exacto knife.
Hand Off to Your Little
Now give the book to your little and watch their eyes light up as they see a book with all their favorite people! This gift is great to make for yourself or to make as a gift. It would make a wonderful shower gift!
As with all our DIY tutorials, if you create one of our projects please send us a picture – We Love Seeing Your Creativity! If you use Instagram or Twitter please use the hashtag #SomethingTurquoiseDIY and it will show up on our Get Social page. Happy Crafting!
DIY Tutorial Credits
Photography + DIY Tutorial: Shea O’Quinn of Not So Cli-Shea // Board Book: Amazon // Spray Adhesive: Amazon // Scissors: JoAnn // Duck Tape in “You’re a Sage: Hobby Lobby // 10mm Corner Rounder: Amazon // Brayer: Courtesy of Cricut // Printer (Canon PIXMA TS8120): Courtesy of Canon // Photo Paper: Courtesy of Canon
Shop The Supplies:
Find the supplies you’ll need for this project from our affiliate links below:


Comments