
DIY Photo Snow Globes With Canon
-Sponsored Post-
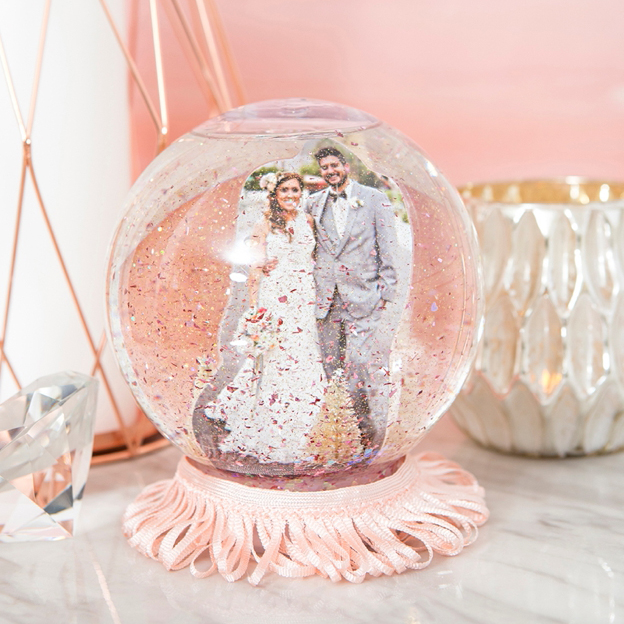
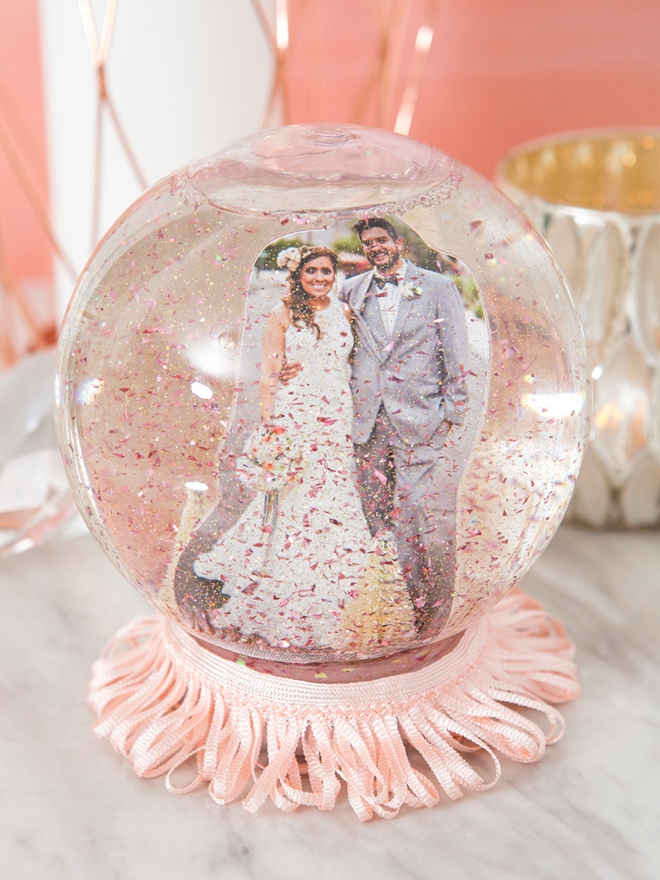
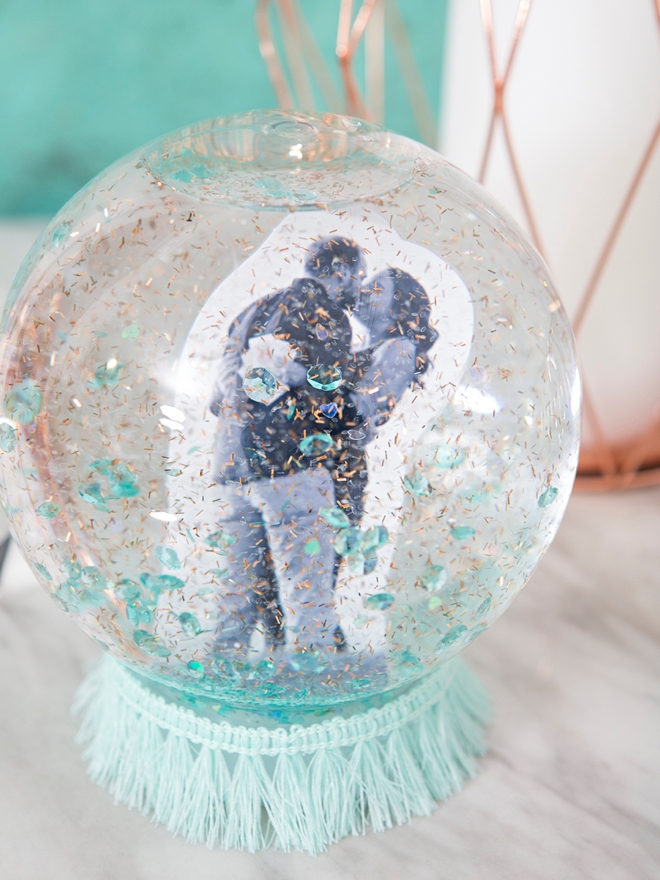
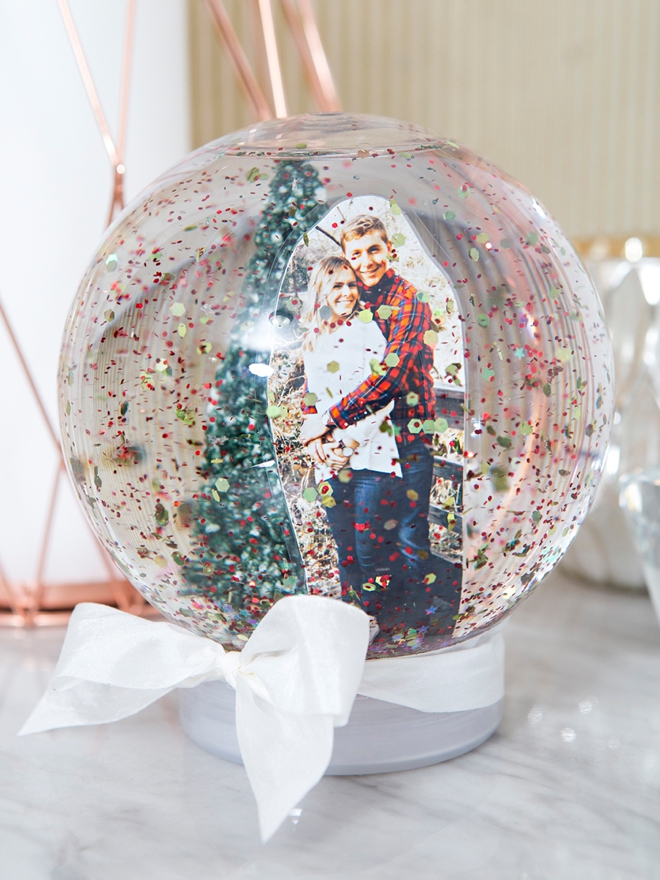
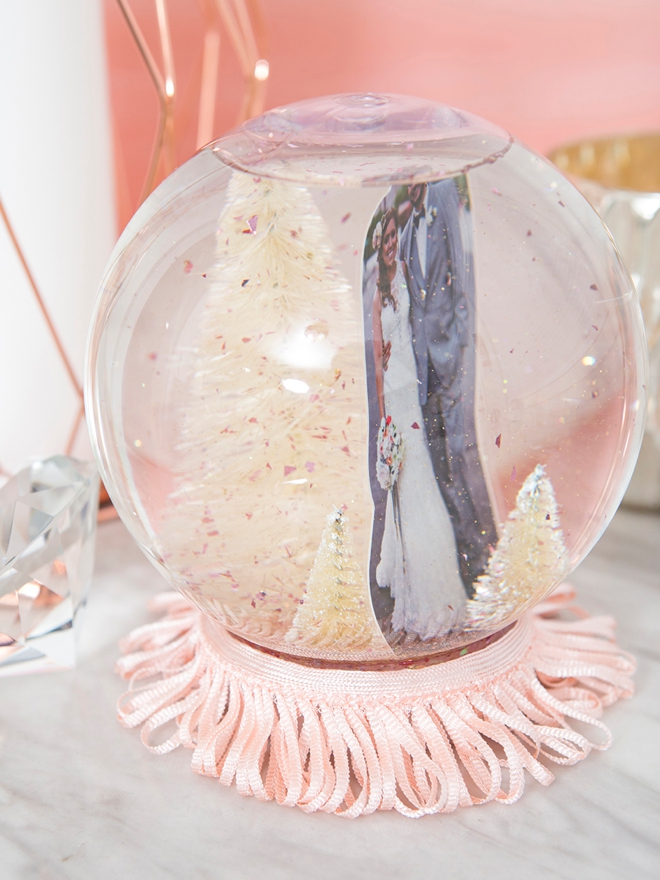
In case you have the post-bride, now just a Mrs. blues… as many of us felt after our big day was over, I’ve got a fun project for you! Create a snow globe using your favorite proposal, engagement, or wedding picture that you can bring out every holiday season. Add your favorite color glitter, maybe a Christmas tree, and wrap with some pretty ribbon or trim. As always, I’m printing my photos using my Canon PIXMA TS9521C Crafting Printer… the best tool for the DIY bride, or the DIY Mrs!
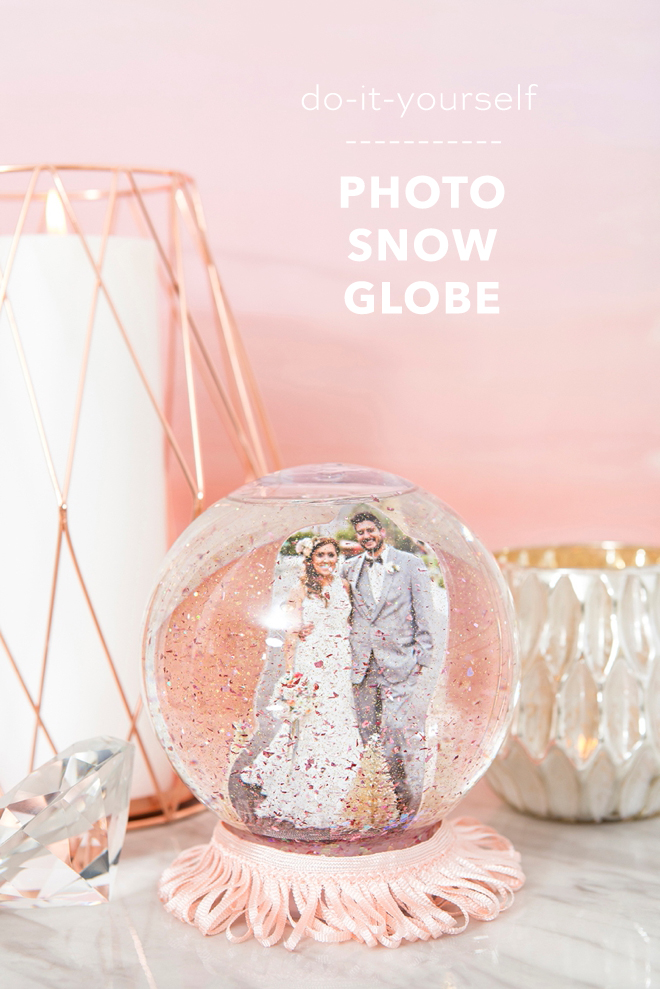

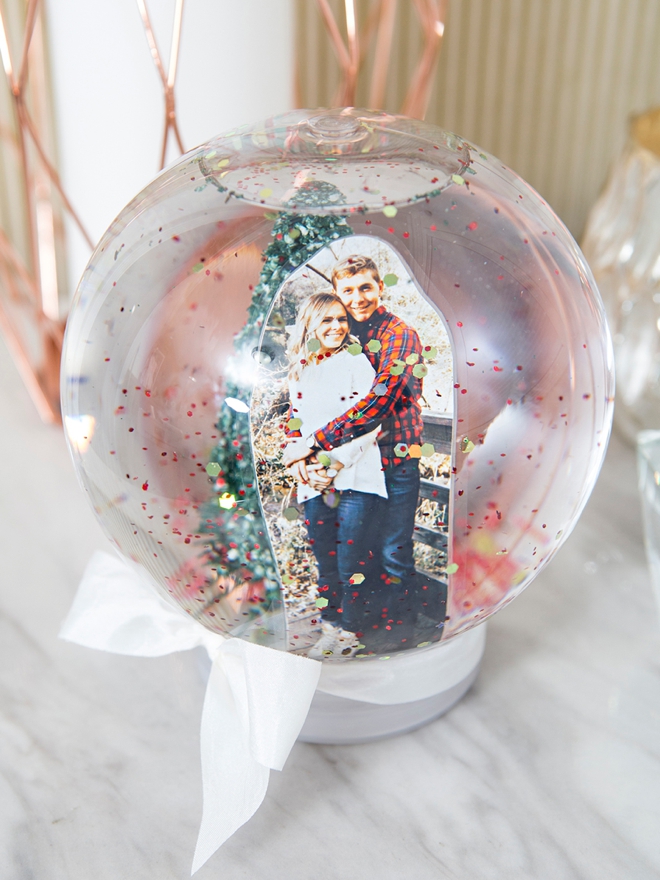
Photo Fun For Years To Come
These sweet little keepsakes will be sure to put a smile on your face, every holiday season. Imagine, one year… even your kids could be shaking these globes!
SUPPLIES:
- Canon PIXMA TS9521 C All-in-One Crafting Printer
- Canon Photo Plus Glossy 4″ x 6″
- 4″ Plastic Water Globes
- Bottle Brush Trees
- 4″ x 6″ Laminating Pouches
- Laminator
- Glycerine
- Glitter
- Trim or Ribbon
- E6000 Glue
- Hot Glue
- Scissors

Watch How Easy These Are To Make:
HOW-TO:
- Gather your supplies and choose a photo for your globes, I printed these using my new Canon PIXMA TS9521C Crafting Printer.
- Your photo needs to be smaller than your globe and skinny enough to glue to the base, I used Canon Photo Paper Plus Glossy sheets in 4×6.
- Cut yourself out of the photo to fit inside the globe.
- Place the cut photo inside a laminating pouch and laminate.
- Cut the excess laminate off the photo with 1/8″ border. Don’t break the seal, or else your photo will get wet!
- Open your globe, there are two parts: the base that you glue items to and the screw lid.
- Add a tablespoon of Glycerine to the globe and then fill the rest with water. The glycerine helps suspend the glitter in the water, totally optional.
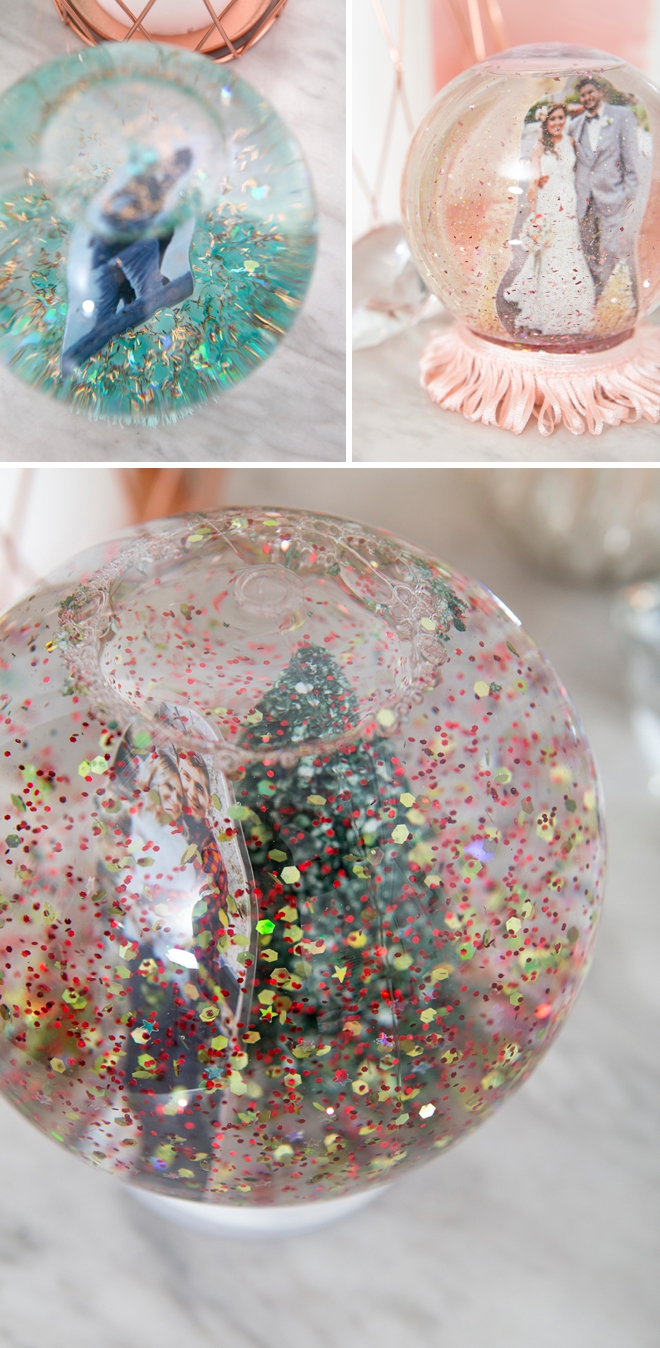
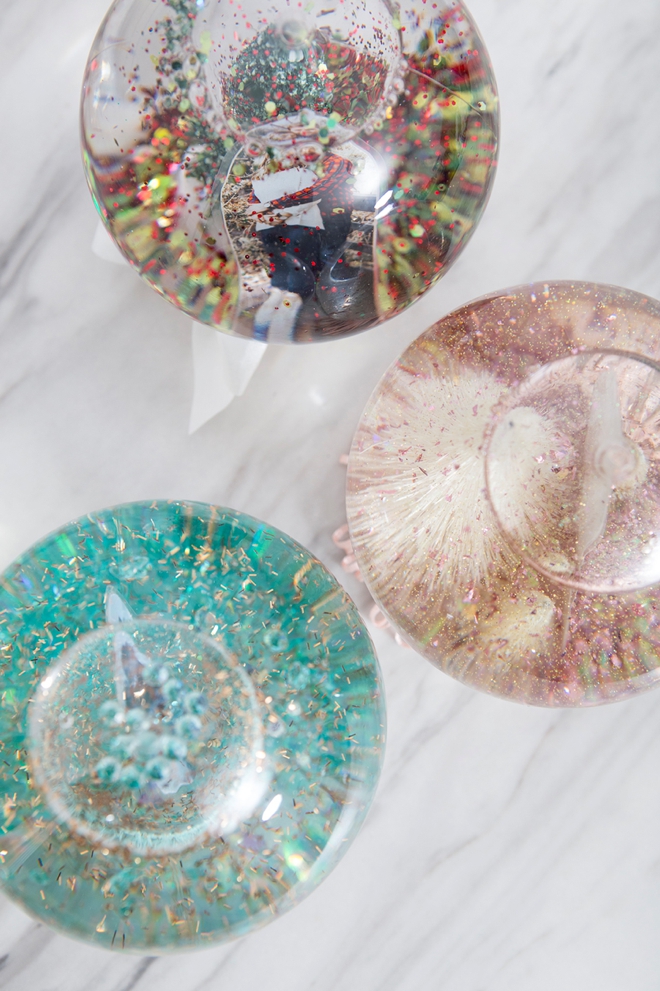
- Add glitter! Use different sizes and colors.
- Push the base on the globe and shake to make sure you’re happy with the glitter. If not add more, or pour it out and start over.
- Remove the base and wipe clean, set the globe on top of a cup and off to the side.
- Hot glue your items and photo to the base. Use a lot of glue to really secure and hold the items in place until the glue fully cools/dries.
- Push the base into the globe.
- Add a line of E6000 glue to the entire inside rim of the screw lid. Then screw it on the globe.
- Let it dry for 24 hours, upside down resting on a cup.
- Glue or tie some ribbon or trim to the bottom of the globe.
- Shake and enjoy!
DIY TUTORIAL SPONSORED BY:
Canon U.S.A., Inc. prides itself on allowing consumers to create and preserve beautiful imagery, from capture to print. With wireless technology and seamless printing capabilities, you can print your photos and printables with precision and ease.
As with all our DIY tutorials, if you create one of our projects please send us a picture – We Love Seeing Your Creativity! If you use Instagram or Twitter please use the hashtag #SomethingTurquoiseDIY and it will show up on our Get Social page. Happy Crafting!
DIY Tutorial Credits
Photography + DIY Tutorial: Jen Causey of Something Turquoise // Canon PIXMA TS9521C Wireless Inkjet All-in-One Printer and photo paper: courtesy of Canon // 4″ Water Globes: Michaels // 4 x 6 Laminating Pouches: Amazon // Laminator: Heidi Swapp Minc // Glitter: Martha Stewart // Hot Glue Gun: Michaels // Glycerine: Amazon // Bottle Brush Christmas Trees: Amazon // E6000 Glue: Amazon // Pink Trim: Michaels
Shop The Supplies:
Find the supplies you’ll need for this project from our affiliate links below:

Comments