
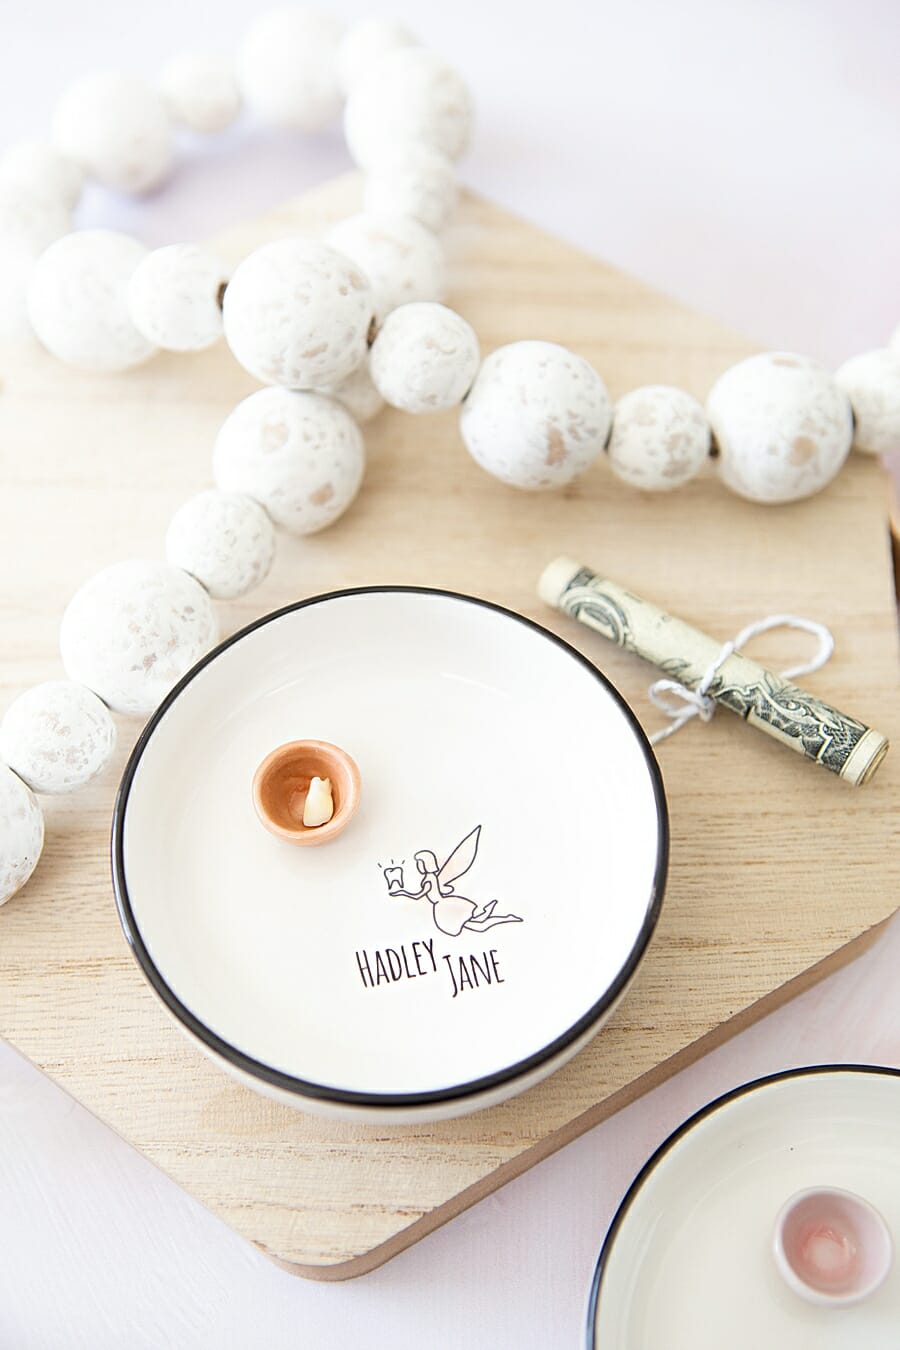
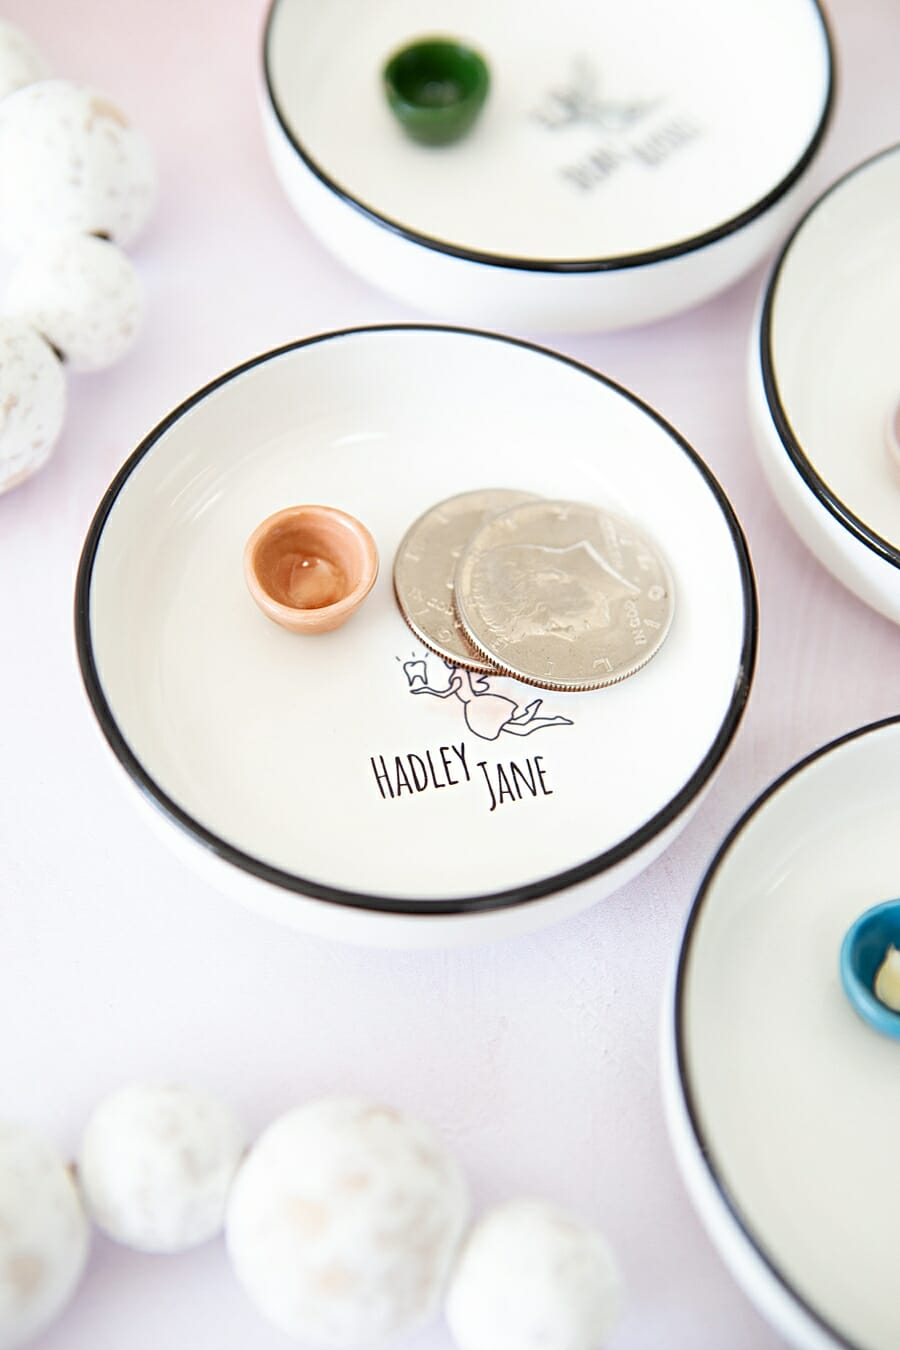
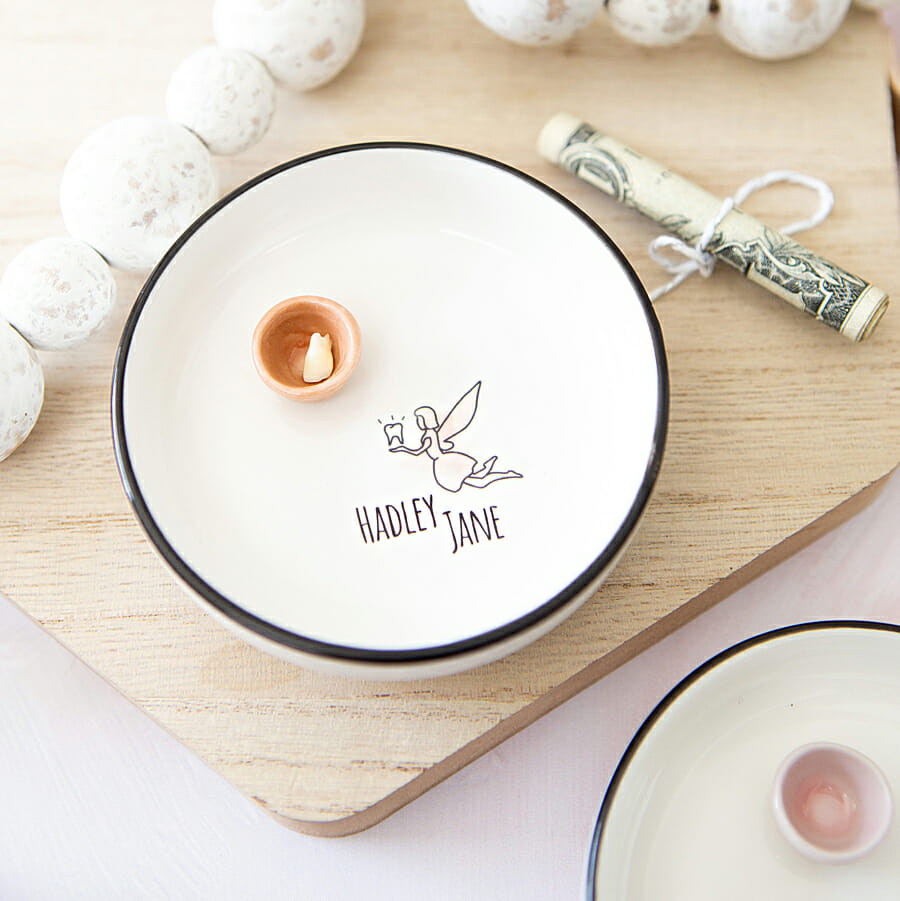
For some reason, the tooth fairy “pillow” just wasn’t appealing to me and I loved the idea of a personalized dish! With a very quick Amazon search, I found the cutest little sauce dishes and doll house bowls that I knew would be perfect for this project. Next I drew simple little tooth fairies and added a hint of color behind each one to match the color of each bowl. The coolest thing about this idea is that the personalized decal is printed from your home printer onto waterslide paper, which is basically a temporary tattoo that we make permanent. It’s not food safe, and probably not dishwasher safe but these dishes will only hold teeth and money, so I think we’re good. With just a few clicks, a quick print, and a soak in water, you’ll be ready for the tooth fairy!
You can watch me make these live on our Instagram REELS!
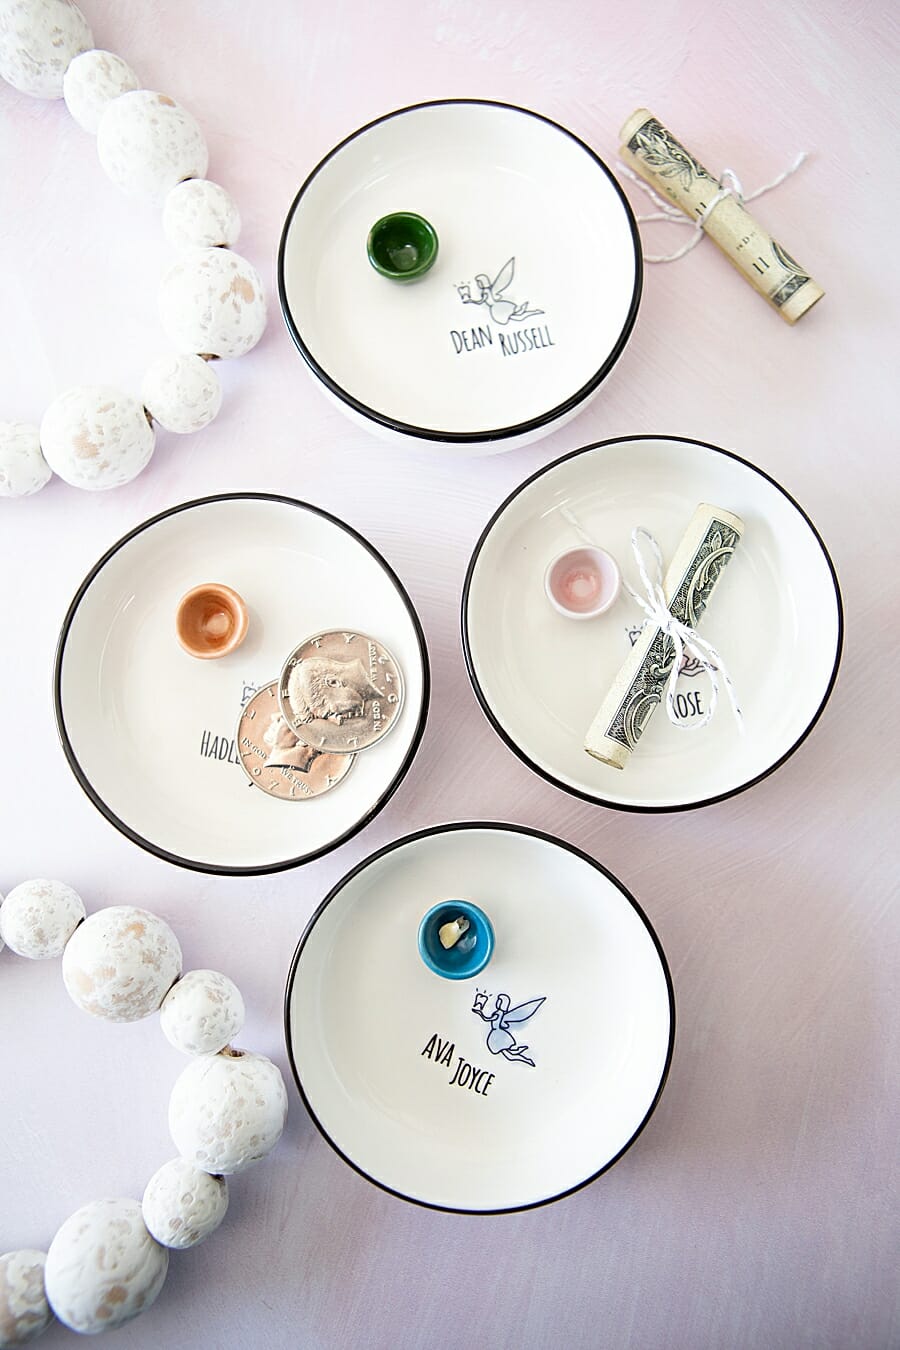

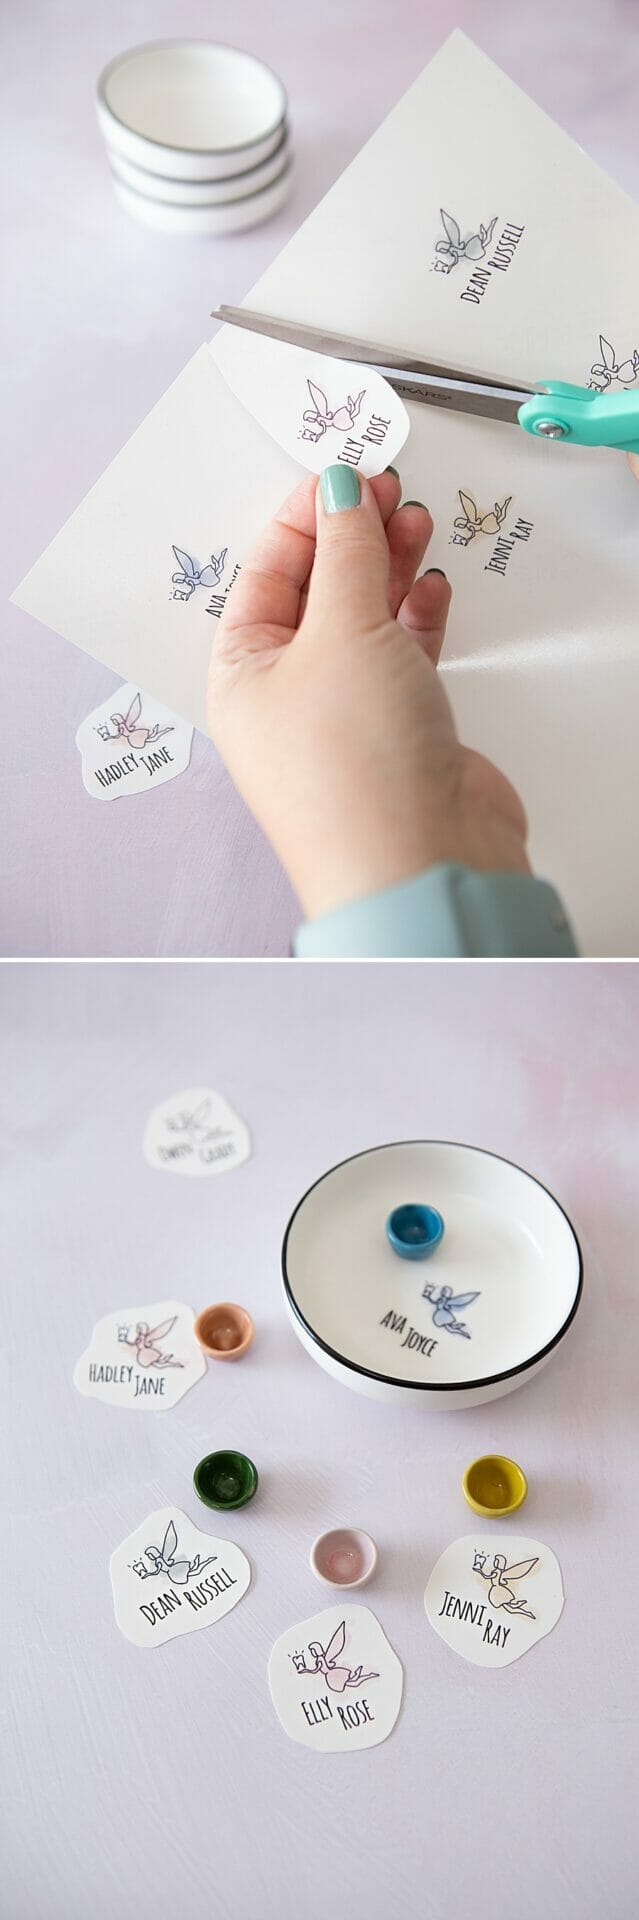
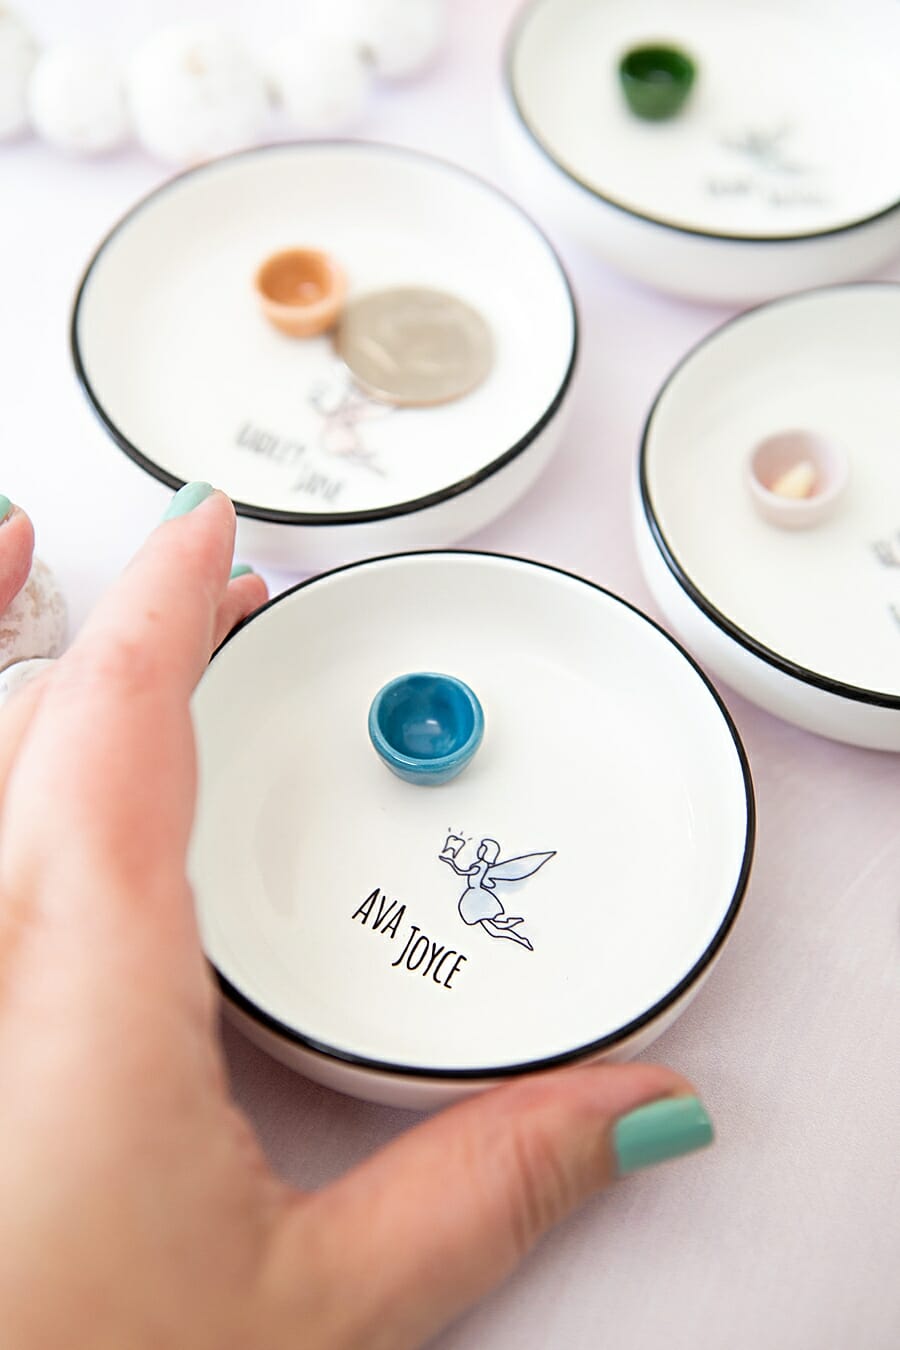
5 Colors
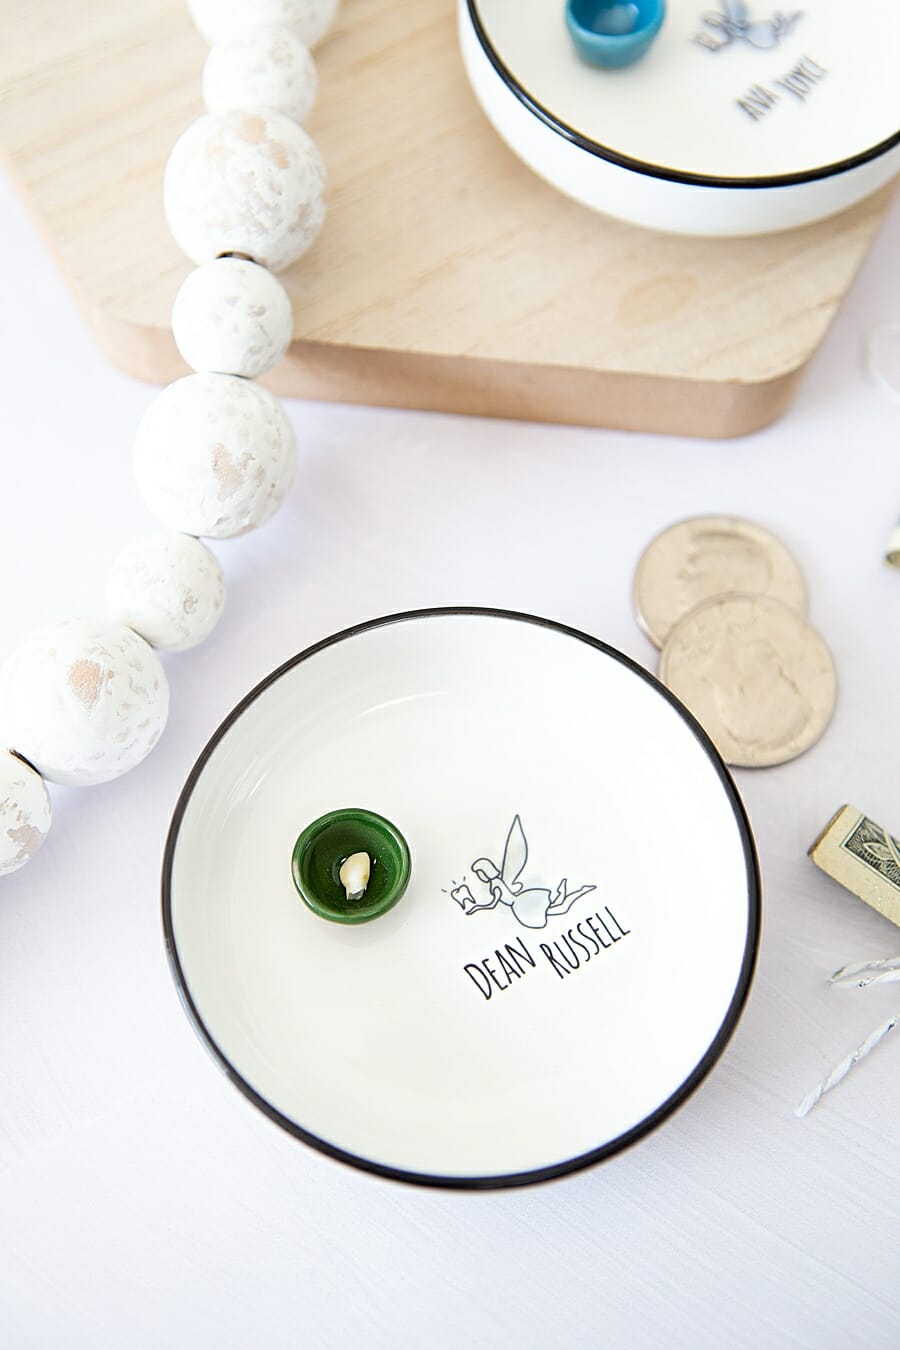
The doll house bowls come in 5 colors; green, peach, pink, blue, and yellow (I didn’t use yellow here) so I matched the tooth fairy decal colors to the bowls. I’ve also included a fairy with no-color just in case color isn’t your thing.
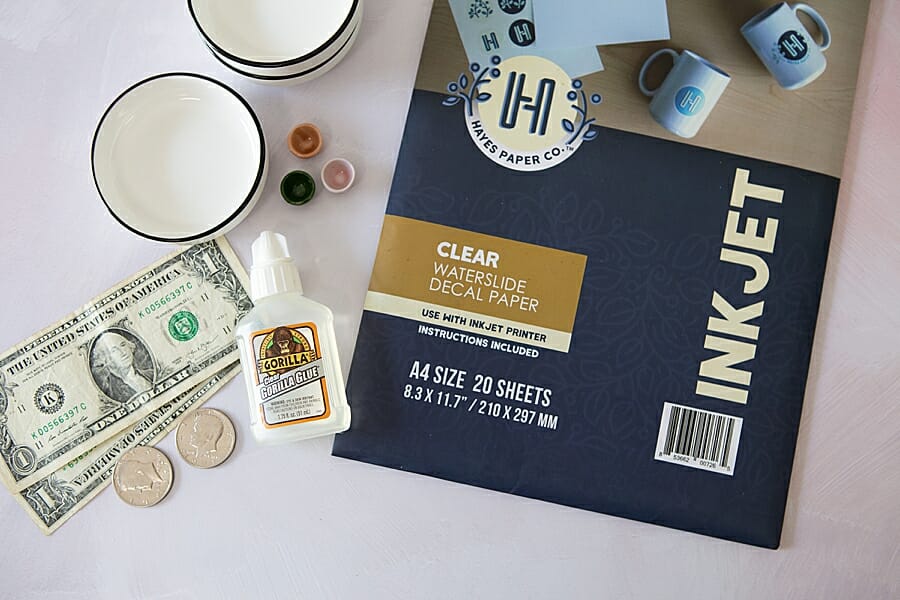
SUPPLIES:
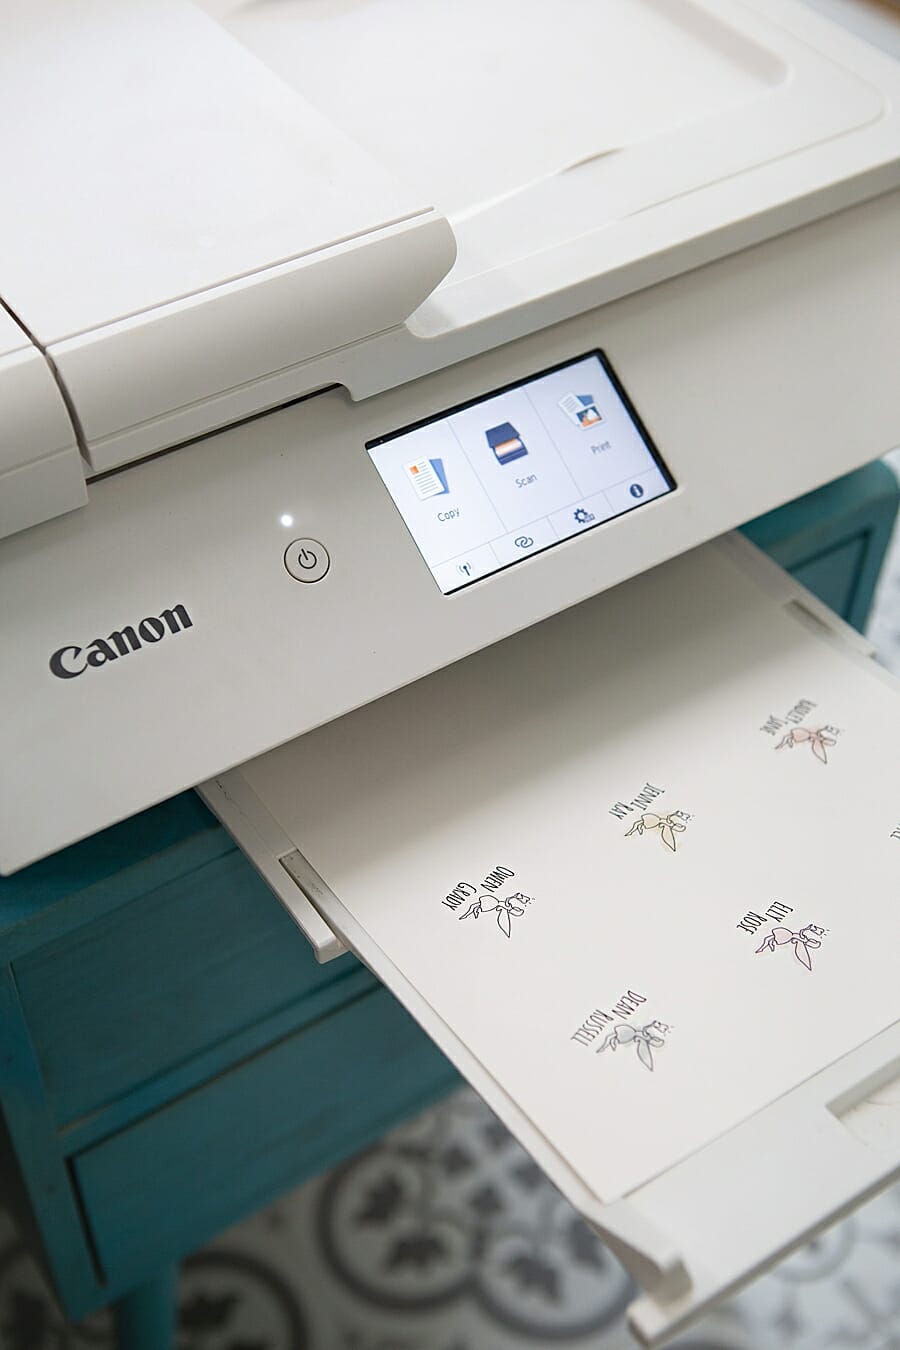
- Home Printer, I’m using my Canon PIXMA TS9521C Crafting Printer
- Inkjet Waterslide Paper, Clear
- Cute Little Sauce Dishes
- Tiny Doll House Bowls
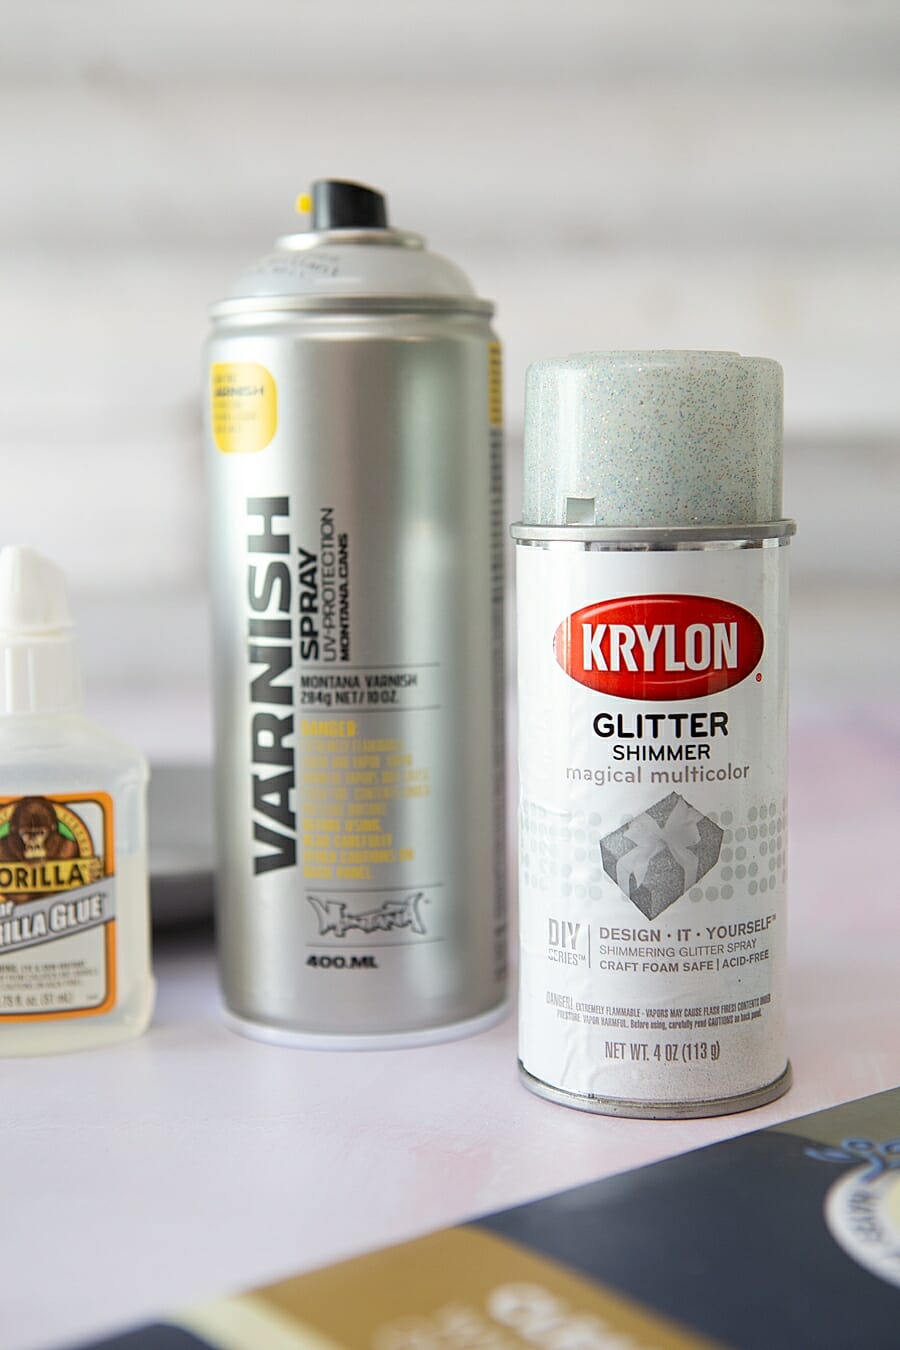
- Gorilla Glue
- Clear Spray Varnish
- Glitter Spray, optional
- Tooth Fairy Money
- Our exclusive, hand-drawn tooth fairy decal that can be personalized + printed right from your phone!
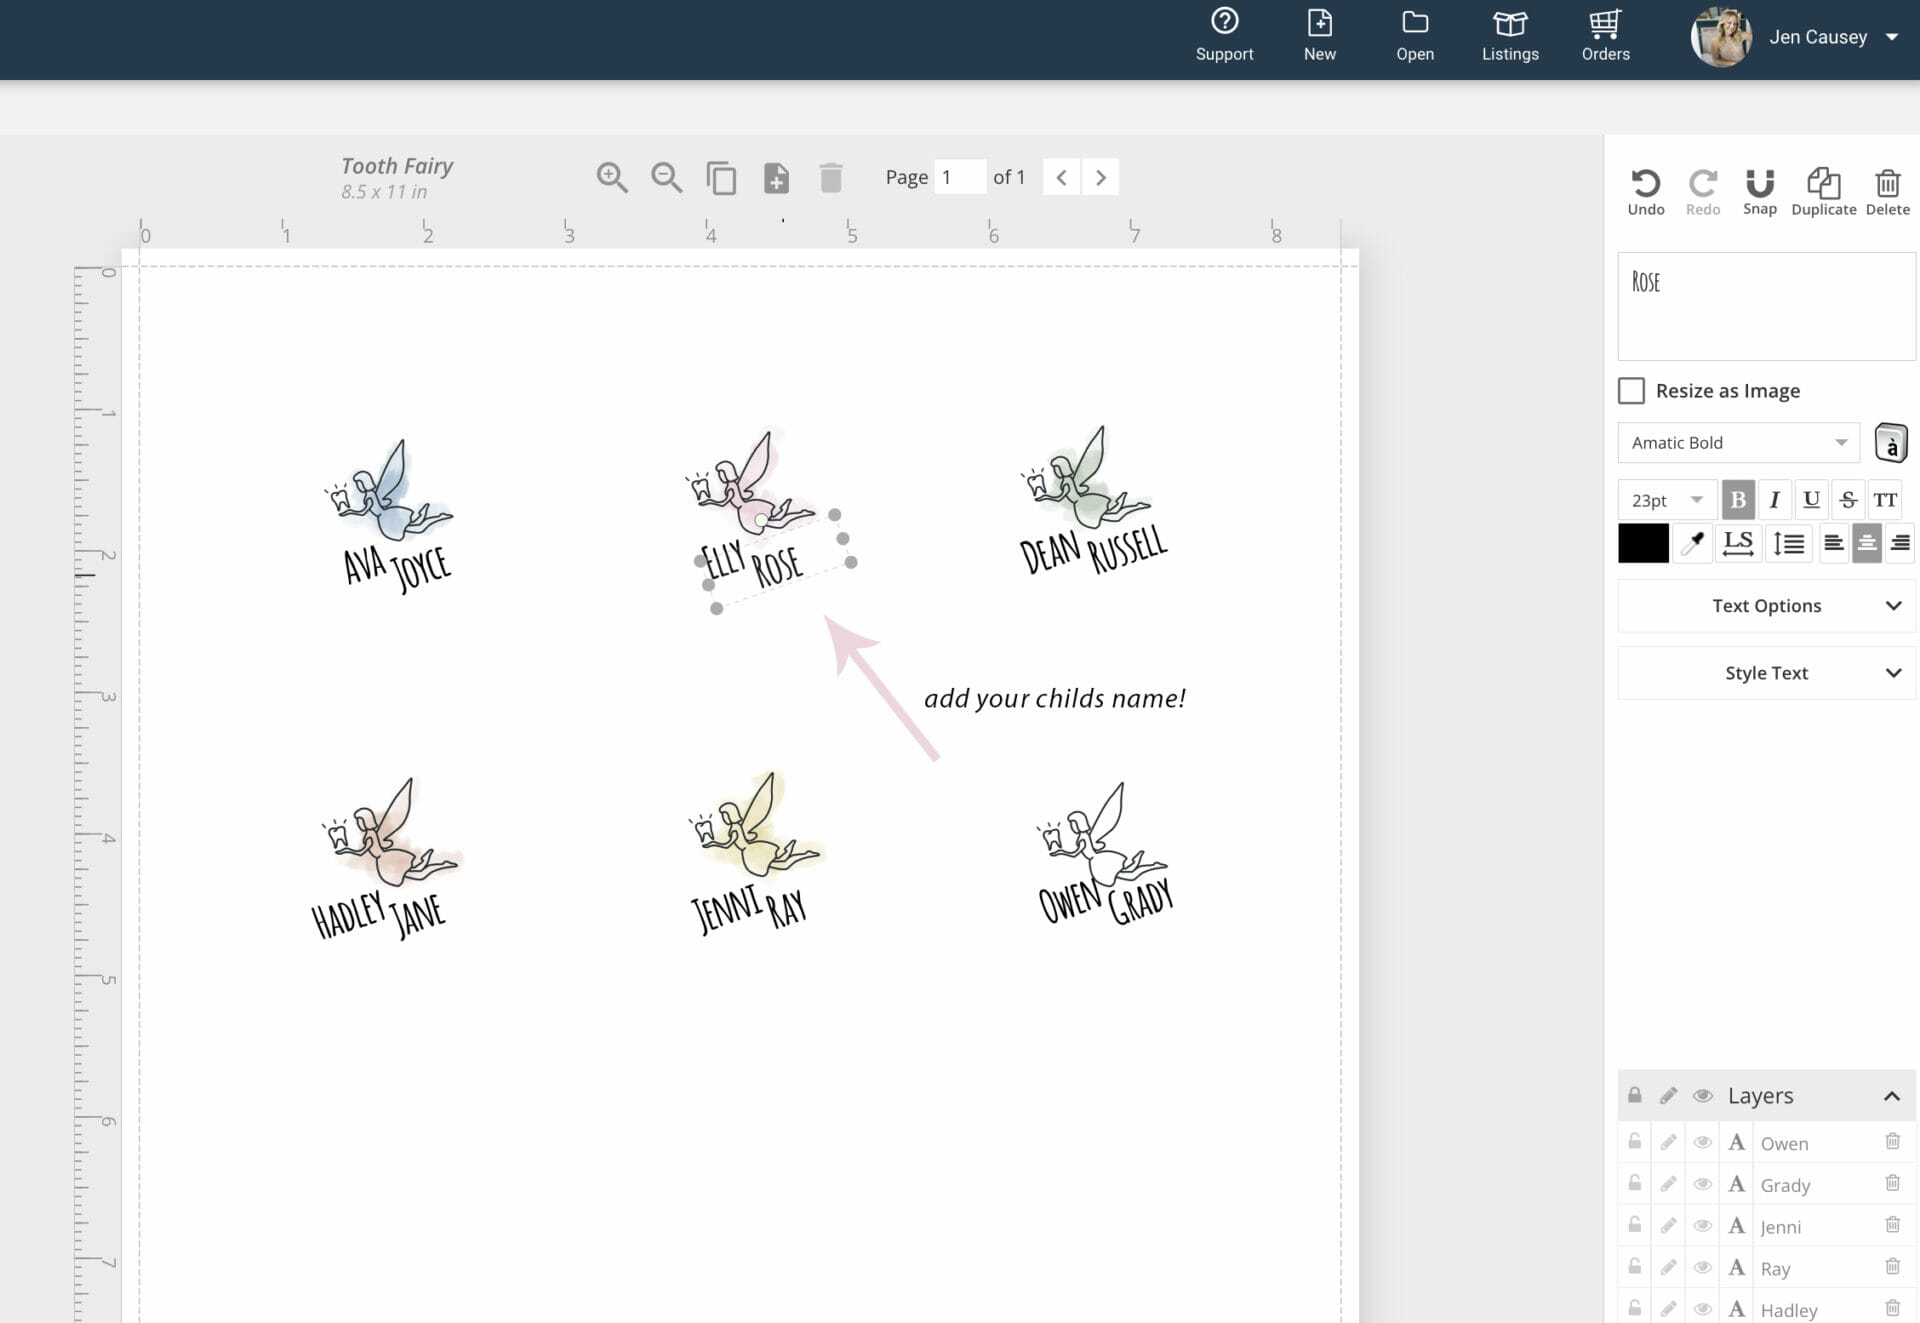
Edit With Corjl
Visit our shop and click to purchase our tooth fairy dish design. Wait to receive an email from Corjl so you can create a free account and fully edit every part of this design, using your mobile device or computer. Then save your design and print your files at home as many times as you’d like! There are 5 colors and one with no color. The font is called Amatic Bold.
To demo this design and see how it might work for your project, follow this link.
Print your personalized tooth fairy decals onto inkjet waterslide paper and follow the directions on the package. Mine said to use the best quality photo print possible and to allow the print to dry for five minutes before moving on to the next step.
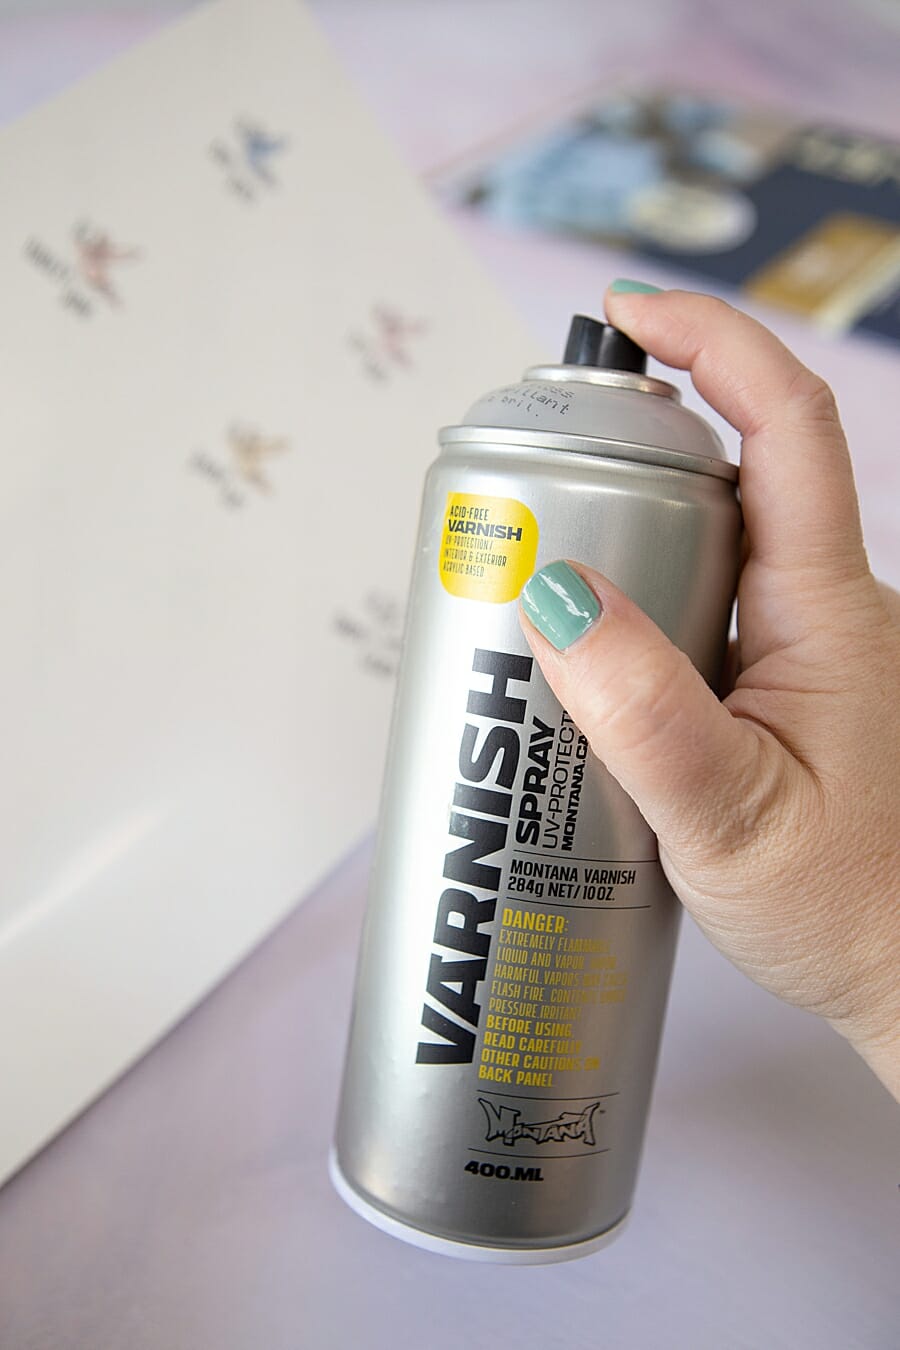
Seal Design
To seal the inkjet design, you’ll need to spray the decals with clear varnish, I’m using this one from Montana. The instructions directed me to spray and let dry for one minute, and repeat that two more times for a total of three sprays. I actually then let this dry in the sun for about 10 minutes.
Cut Out
Carefully cut each design out leaving only about 1/8″ to 1/4″ around the print.
Soak
Place the decal into a bowl/plate of water and let it soak for about 30 seconds, you might have to hold some of the edges down for a few seconds until it gets fully saturated.
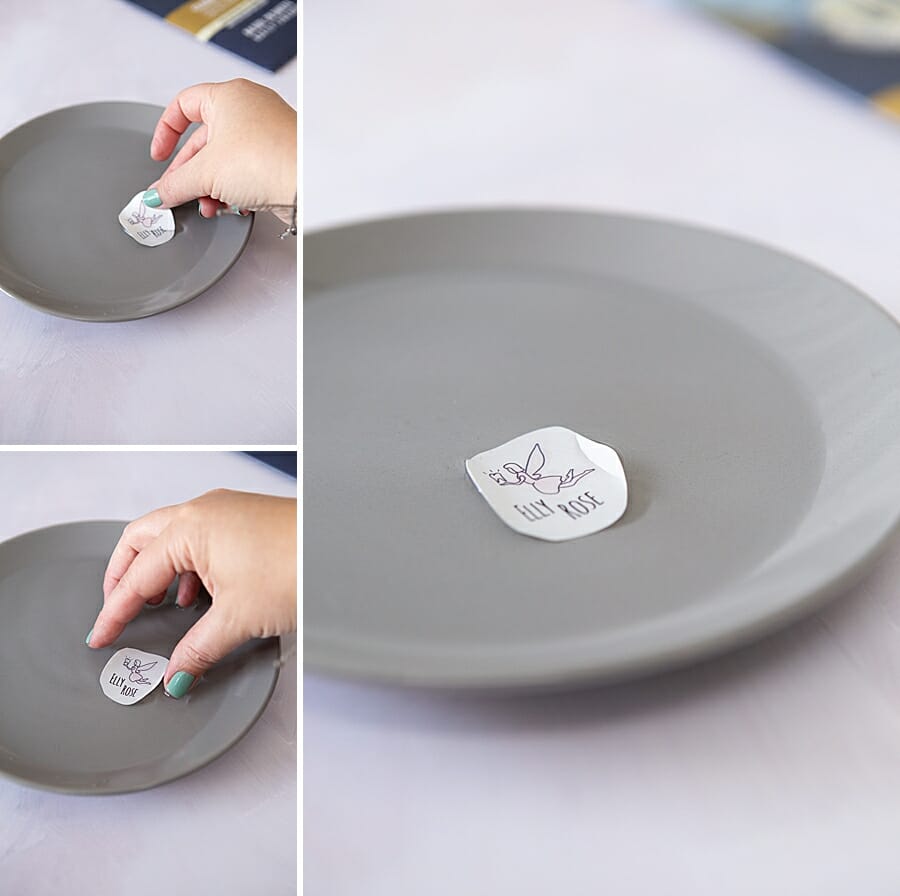
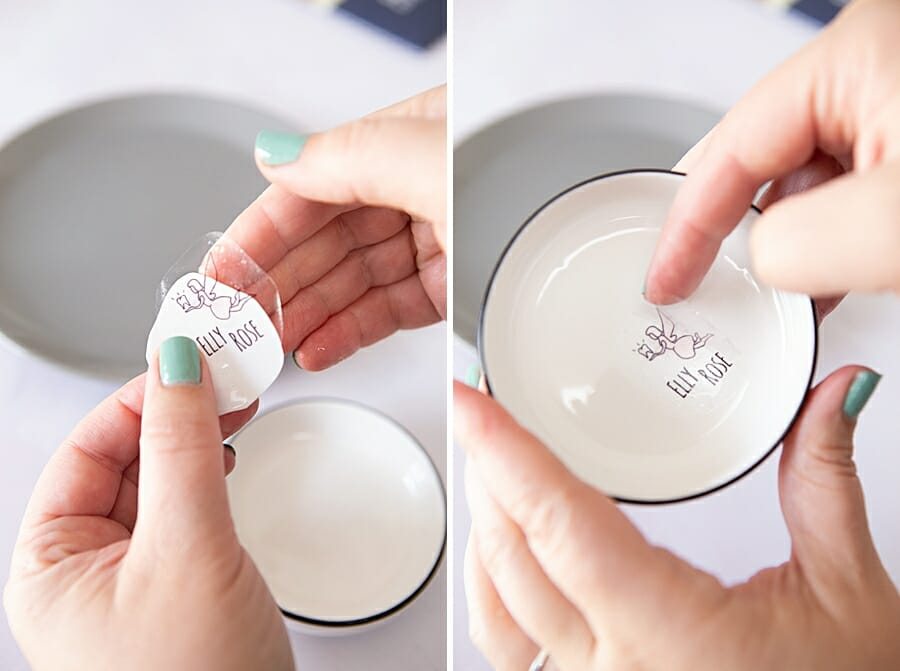
Gentle Peel
When the decal is ready, it will very easily slide off the white paper backing when a little bit of pressure is applied to it. Be very careful to not smoosh or fold the decal and place it onto the dish. You have a few minutes to smooth and press the decal into place before it dries. Let dry for 3 days before you use them or touch the decal.
The directions say that you can oven cure the decals if they are on ceramics like this dish but I didn’t do that since these aren’t going to see much use.
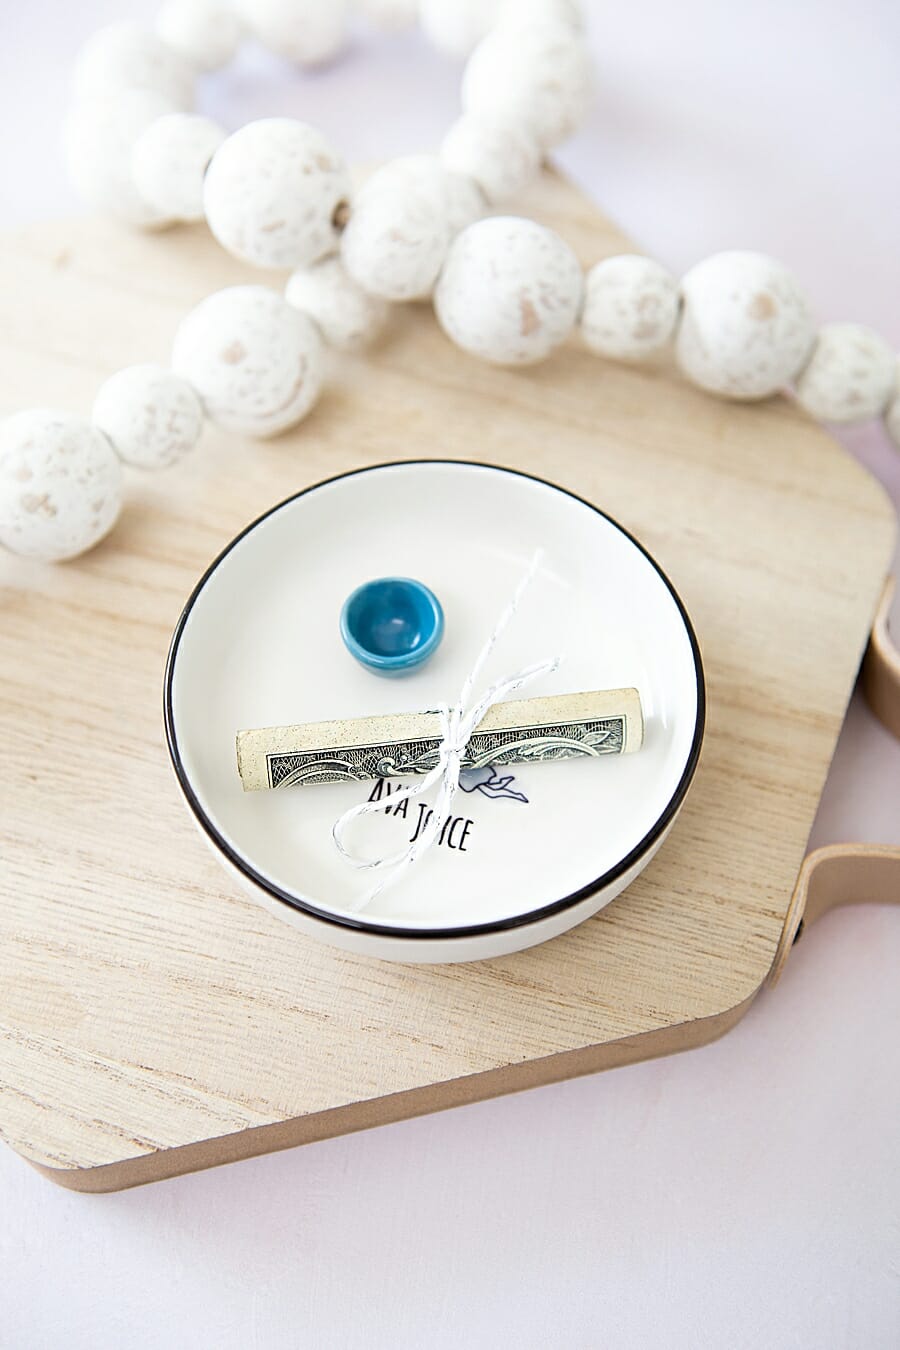
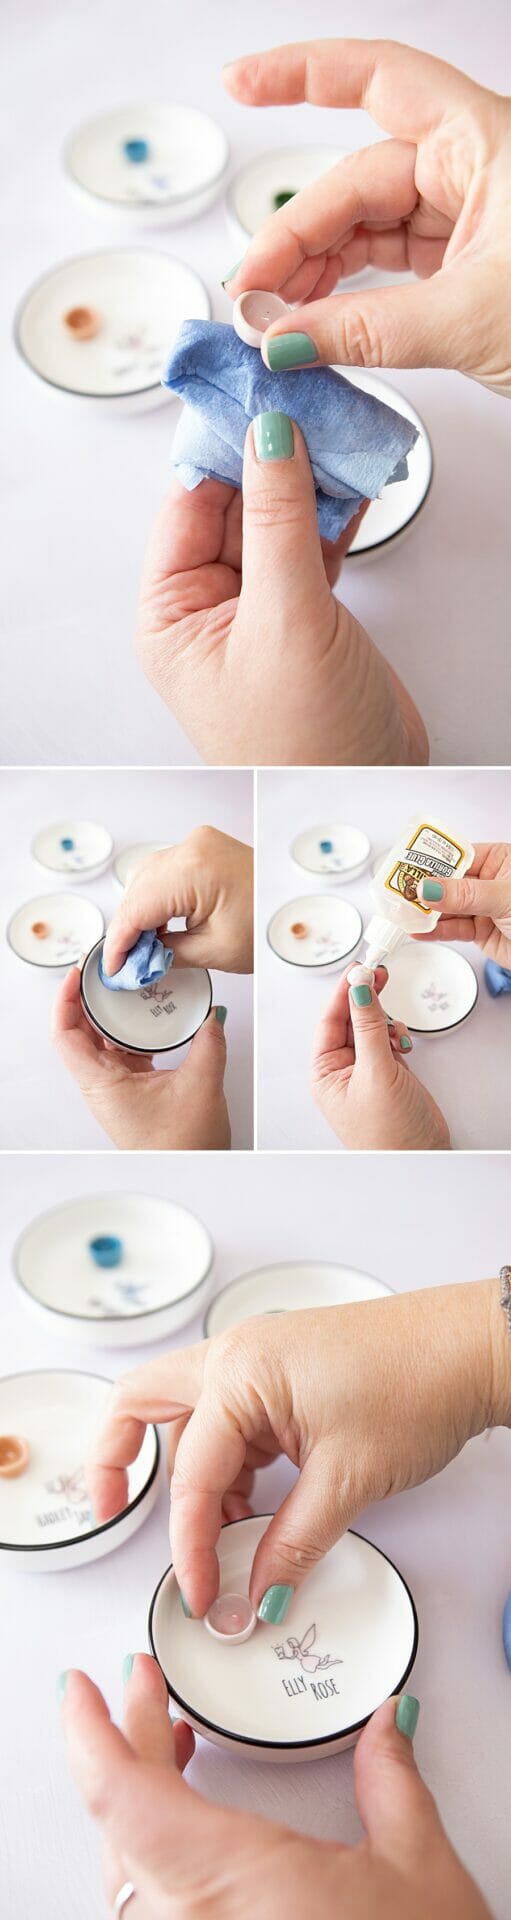
Add The Tooth Bowl
Using Gorilla Glue, wet the sauce dish and the doll house bowl and then add the glue. I did this step right after I was done with the decal so they both dried together for the three days.
Glitter Money
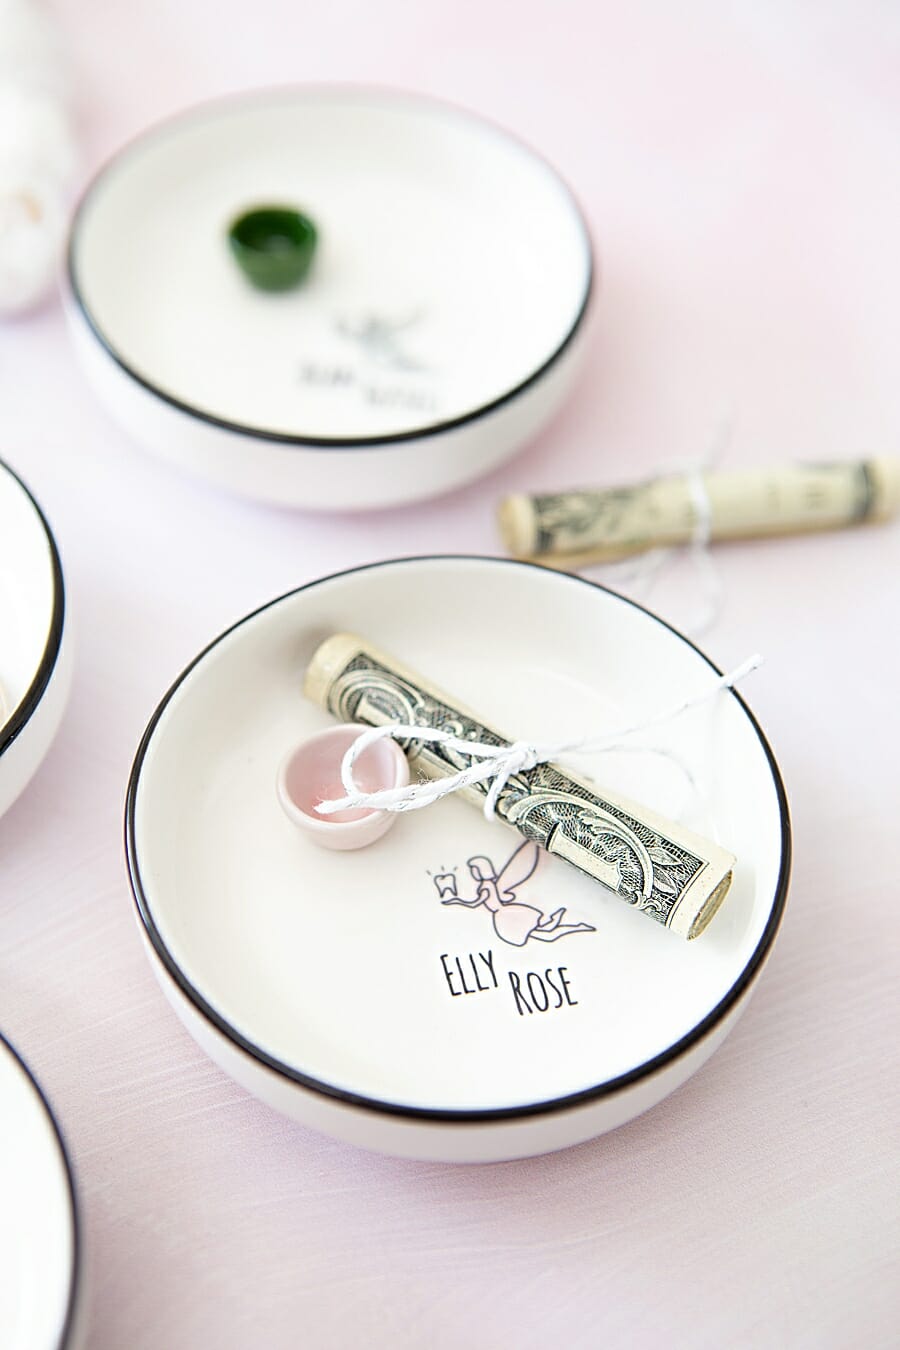
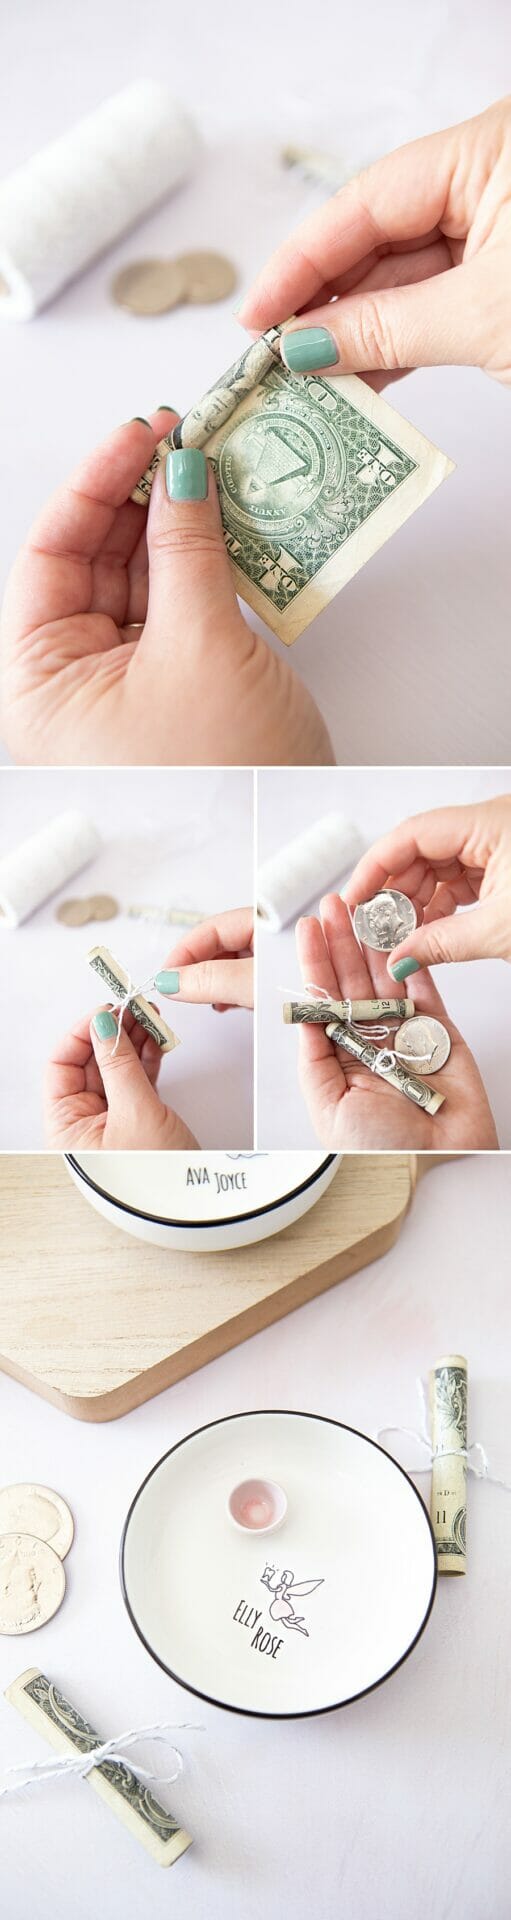
Glitter your dollar bills or shine your half-dollars. I’ve learned that it’s important to have “tooth fairy money” at the ready, because you never know when you’re going to need it!
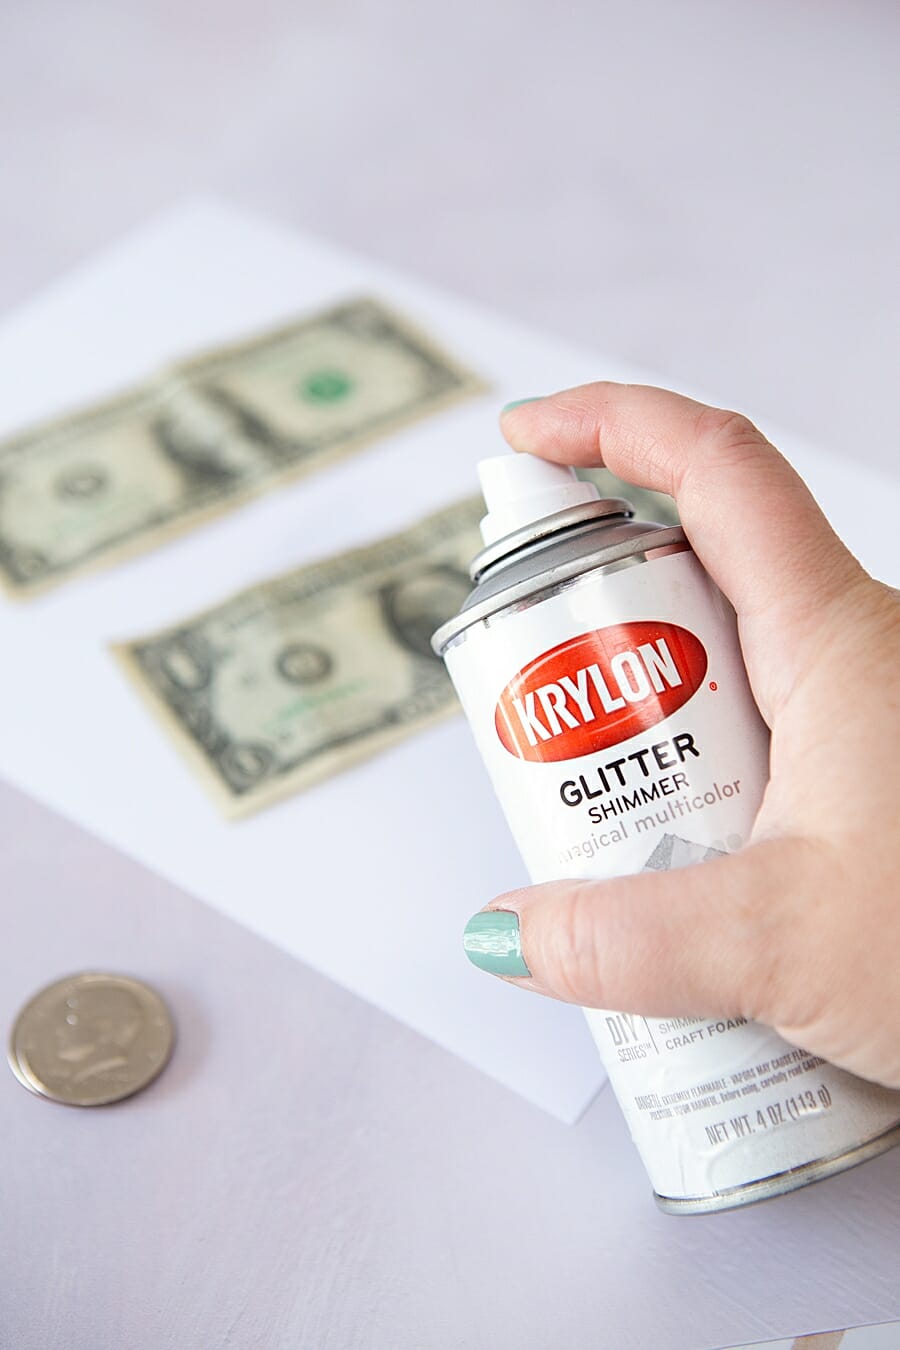
Tooth Fairy Money
How do you do tooth fairy money in your house? A friend of mine adds glitter spray to her dollars and we’ve been giving two half dollar coins that I give a quick polish to.
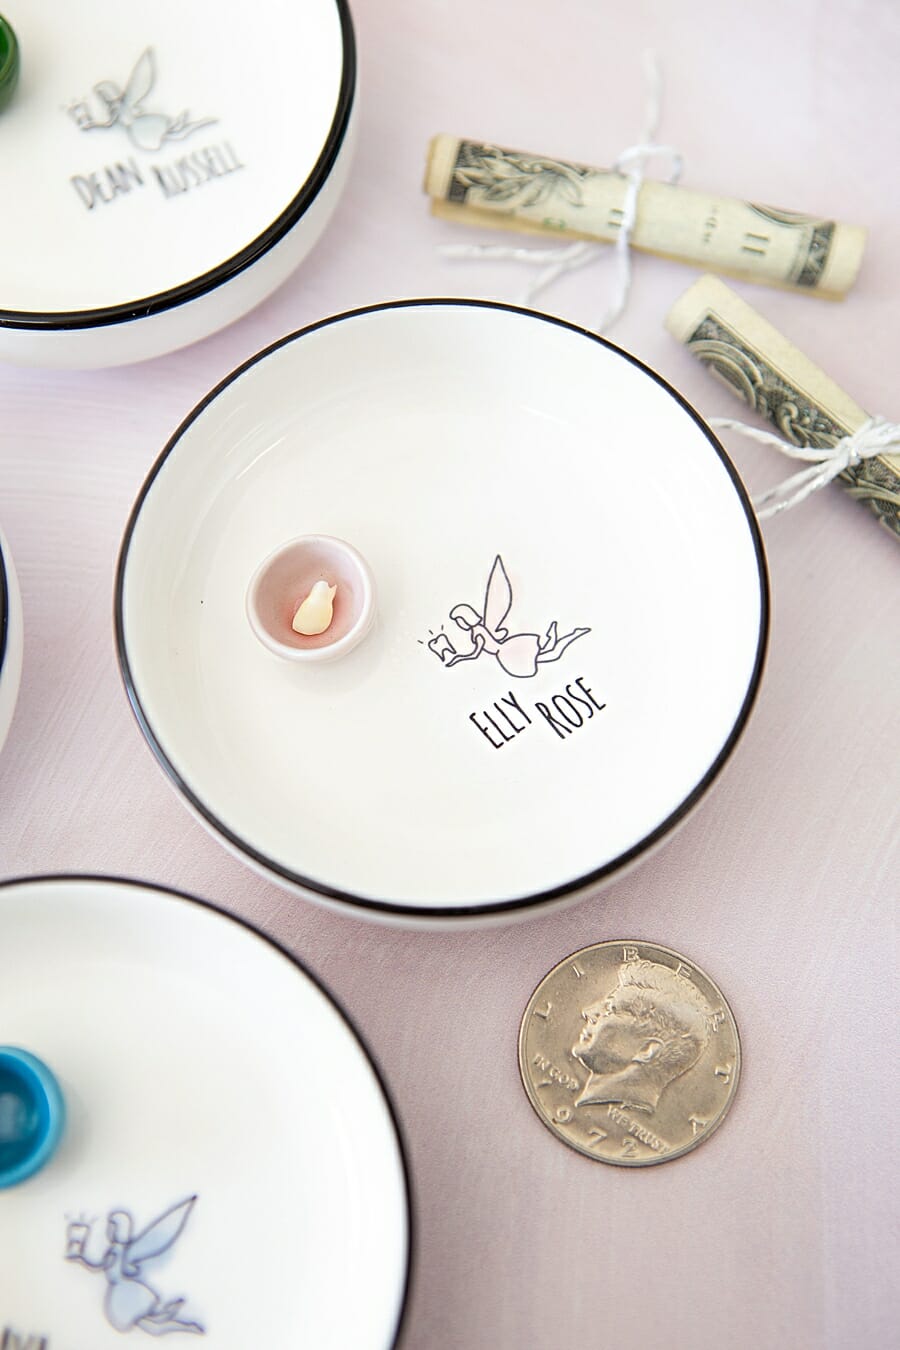
I’m Smitten
I’m just in love with how these tiny dishes turned out! It’s so freaking cute to see their tiny little teeth in the bowl, they fit so perfect. I also love that this design is so easy for you to edit. I can’t wait to see the versions that you create so please share them with us!
If you create one of our projects, please share a picture with us on Instagram or Twitter using the hashtag #somethingturquoisediy, we regularly reshare our favorites! Your profile will need to be public for us to see it otherwise, you can always DM us!
DIY Tutorial Credits
Photography + DIY Tutorial: Jen Causey-Kidder of Something Turquoise // Personalized Tooth Fairy Decal: Shop Something Turquoise // White and Black Sauce Dishes: Amazon // Doll House Bowls: Amazon // Inkjet Waterslide Paper: Amazon // Clear Varnish: Amazon // Gorilla Glue: Amazon // Glitter Spray: Amazon // Canon PIXMA TS9521C Crafting Printer: Amazon


Recent Posts

Making and sharing craft projects here over the last 12 years has been an absolute dream come true. When I was 22 I was a hairdresser and I had only been doing that …
First things first, these are not “cute” in any way, shape, or form. However, the functionality is exceptional. A reading teacher told me that a wonderful way to give a little boost to …

This is a sponsored post written by me on behalf of Canon. All opinions are 100% mine. I just got this Canon SELPHY Square QX10 Photo Printer and I’m having an absolute blast …

This is a sponsored post written by me on behalf of Canon. All opinions are 100% mine. By now, I hope you guys know how much I love to print things… and this …
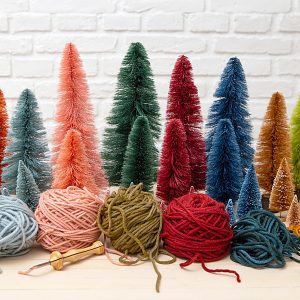
I am so sick of buying junk made in China, there I said it. Maybe you feel the same? When I was searching online to find bottle brush trees that I could dye …
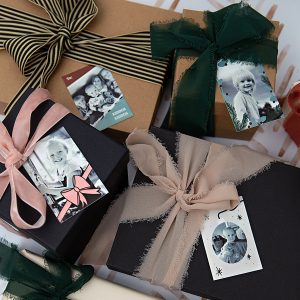
This is a sponsored post written by me on behalf of Canon. All opinions are 100% mine. For the past two years, I’ve created photo gift tags for my family for the holidays …