
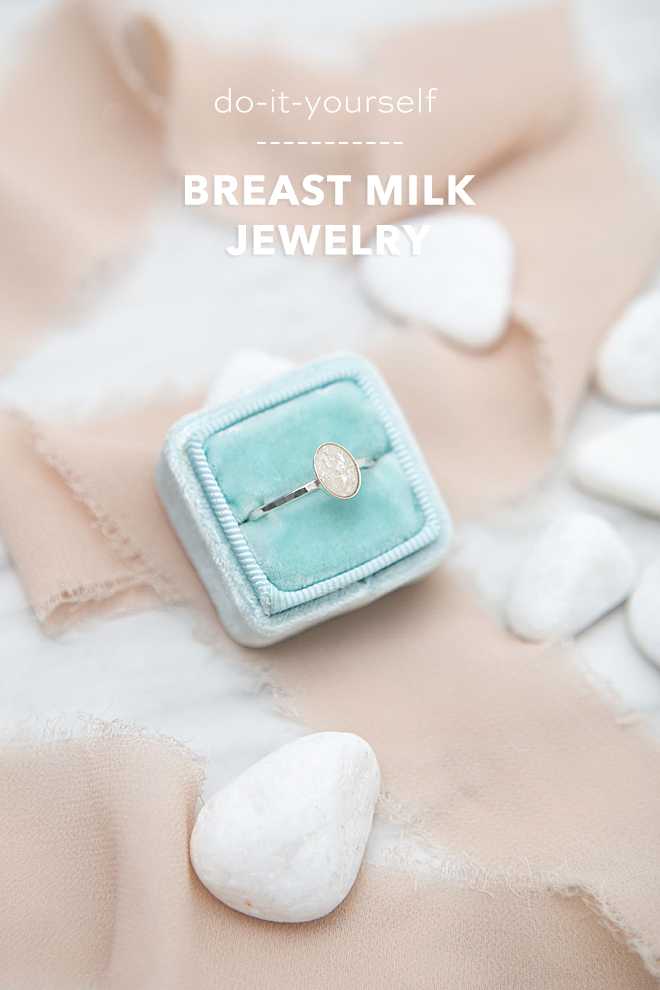
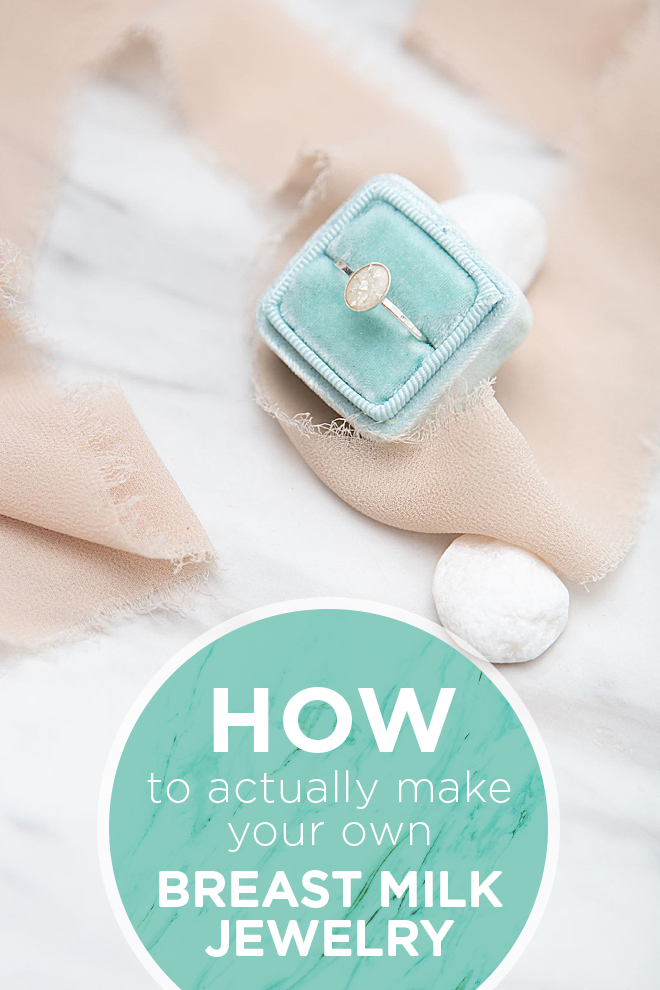
How To Easily Make Your Own Breast Milk Jewelry
My mom breastfed me until I was three. She had milk for days and even donated some to hospitals way back when. So I figured I’d be just like her and I never even considered that I would have an issue breastfeeding my firstborn. Not the case. It was nearly impossible. Nipples cracking, bleeding, breaking into a full-body sweat with each latch, my cracking nipples drying to my shirts between feedings; nightmare. The doctors and some around me encouraged me to try “harder”, it’s your age, you’re stressed out, you have a business, you need to relax, get some rest, etc, the stuff that mom-guilt is made of. So I ended up pumping exclusively for 5 months and that was also excruciating. Turns out at her 6-month check-up, a new pediatrician quickly found that she had a severe lip-tye and said that was the sole reason she couldn’t latch. OMG. Can you say relief and anger all at the same time! To the other pediatricians we saw, f-you for making me feel bad and for not catching it the day she was born. UGH, it still gets me.
The second time around I was fully prepared. I had my two pumps, fresh cords, bottles, the works. My son came out and latched immediately. No issues at all. Basically, a freaking dream come true and as I type this, it’s day 6 of him being fully weaned at 18 months. It really couldn’t have gone better. It was pleasurable like all the books said. The bonding, the cozy mornings just me and him. The ease of going out and needing nothing but me. Not needing to pump was a dream all by itself. Feeling like a failure the first time around and then being redeemed the second time around, made it all that much more sweet.
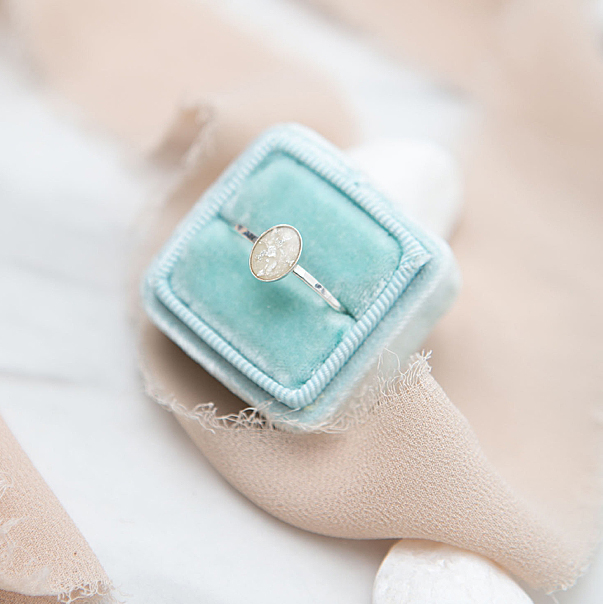
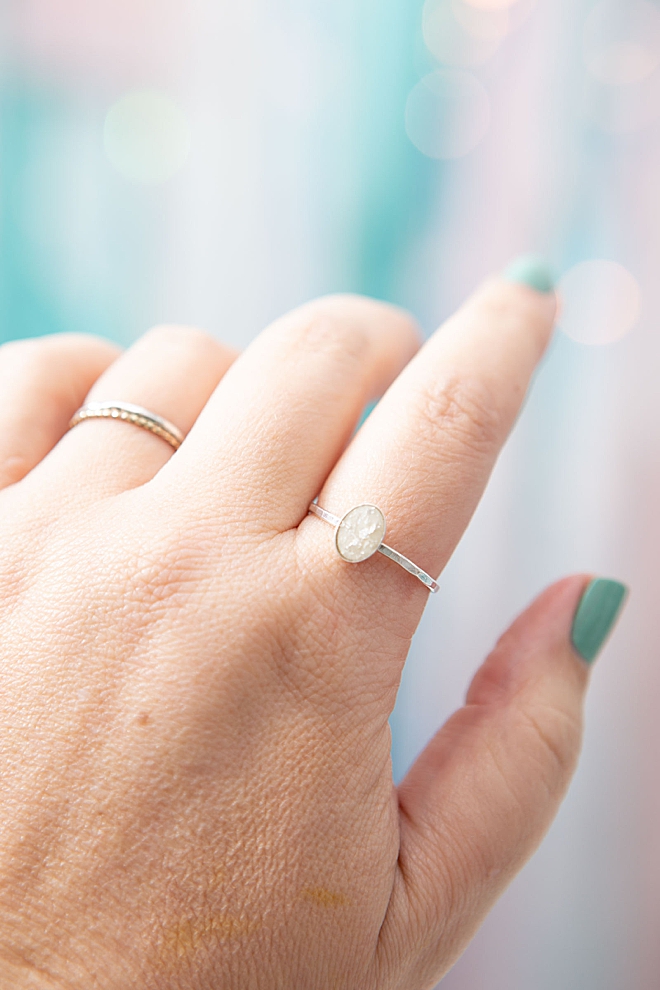
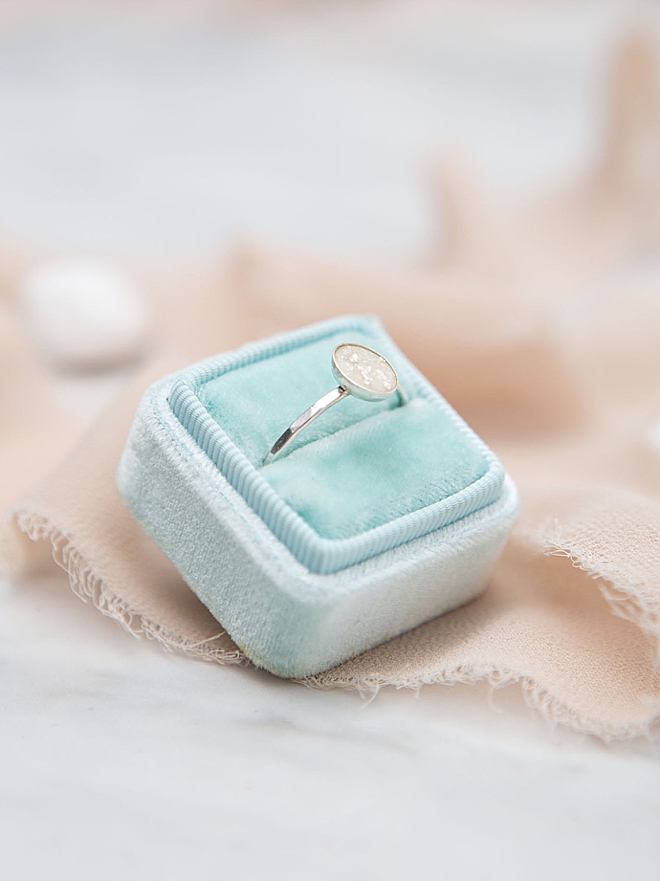
I say all this to explain that my breastfeeding journey as a mother has been traumatic and terrific all wrapped into one. It truly is a miracle and once I saw that breastmilk jewelry was a thing, I knew I wanted to encapsulate a little of my body’s own magic into a special keepsake. Something special to remind myself just how incredible being a mother can be. I’m so in love with the result, I don’t even want to take my ring off.
If you aren’t into this or you don’t get it, that’s totally cool, this post isn’t for you… it’s for those who immediately say, OMG ~ I want one too!
Months of Research
I’ve been working on this project for almost 5 months now. Trying out just about everything I could find online. Dehydrating, heating, separating, frozen, fresh, I tried a lot of things. At one point I didn’t even know if it was going to work out… and then it did. If you’ve been searching breast milk jewelry online, I’m sure you’ve seen the “absolute must have special magic milk dust” that the internet swears you need to make your own breast milk jewelry, and guess what – you don’t. I really feel like the magic lies in the mixture of fresh breast milk, glue, and cornstarch.
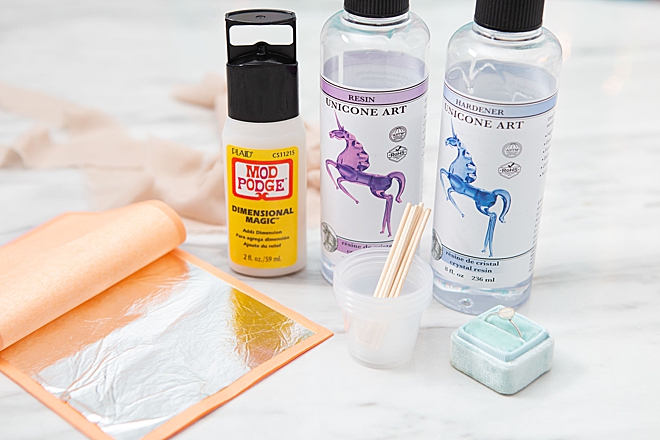
SUPPLIES:
- Fresh Breast Milk, thawed might be ok too
- Pretty Ring Blank
- Mod Podge Dimensional Magic
- Unicone Art Epoxy Resin
- Cornstarch
- Silver Leaf, optional
- Mica for colorant, optional
- Ring Holder
- Little cups and sticks for resin mixing
- Patience, this takes a while!
Watch Our Instagram Reel:
The Steps
- Combine an equal amount of fresh squeezed breast milk and Mod Podge Dimensional Magic into a small cup. I did about 1/8 teaspoon total. I didn’t make up a ton because I knew my “bead” was going to be really small. I did not try this with regular Mod Podge, but you can. I also didn’t try it with thawed breast milk, but again you can try it. The cool thing is that if you don’t like how your bead turns out, just make another one! It’s not permanent until you seal in the resin.
- Add 1/8 teaspoon of cornstarch at a time and mix until it forms a nice thick paste. It took me about 3 additions.
- If you’d like, add a bit of leaf, silver, gold, rose gold, etc. to your mixture to make it a bit fancier. This would also be the time to add mica for color if you want, I didn’t do this.
- Fill your ring blank, or ANY type of mold, with the thick milk/glue/cornstarch mixture. Keep in mind once dry, it will shrink, not significantly, but it will. Let dry for a few days, I recommend 72 hours. I did not try this in any molds larger than 12mm. The bigger the mold, the higher chance of cracks forming.
- Pop the “bead” out of it’s mold and sand using a fine grit nail file. This step makes the bead look smoother and overall gives a nicer appearance.
- Let fully dry, out of the mold, for at least 4 weeks. I did this to ensure that my bead was completely dry. The goal is to avoid any yellowing along with the growth of mold once sealed inside the resin. I live in SoCal where it’s more on the dry side and I made this ring in March. The more humid the location, the longer dry time you might need.
- Mix your resin properly, follow the instructions of the kind you purchased, very important.
- Again, add a little leaf if you desire and mix to combine. Also a time where you can add more mica.
- Add a tiny amount of resin into your ring blank, then add the bead, then top with resin. Build up the resin so that it’s almost spilling over the edge of the ring blank sides. This ensures that the bead is FULLY encapsulated inside the resin.
- If you added leaf, make sure to situate it in a design that you like because it’s going to dry that way.
- Use a lighter to burn any bubbles from the surface of the resin. This resin is awesome. It looks extra bubbly but always dries clear.
- Let cure according to your resin package.
- ENJOY!
Cornstarch For The Win!
As I mentioned above, I tried MANY things to get this project right. Honestly I wasn’t even planning on sharing it here, I was truly just making it for myself. But then the combination of the milk/glue/cornstarch went so well and was so easy that I knew I had to share it. The cornstarch has unique properties that must make it just perfect for this application.
YELLOWING: Over two months time, with sun exposure, there has been no yellowing or color change at all. I am so impressed. If at any point my ring changes, I will absolutely update this post!
SUN: many people say you aren’t supposed to leave your breast milk jewelry in the sun, so I did for a week straight as an experiment and nothing happened! No yellowing, no discoloring. So feel free to wear it at the beach or the ball park.
CARE: I will be treating this ring like any of my fine jewelry. I won’t take a shower with it on and I won’t be wearing it while I garden or when I do any other things I wouldn’t do with my diamonds on.
JUST IN CASE: I will be making myself a second ring, in case I loose this one, and I also have some of the bead mixture made up and ground into a powder to put into something for the future. It’s not like any other stone, it can’t be replaced, unless you’re breastfeeding again, so I’m giving myself a few backup options.
If you create one of our projects, please share a picture with us on Instagram or Twitter using the hashtag #somethingturquoisediy, we regularly reshare our favorites! Your profile will need to be public for us to see it otherwise, you can always DM us!
DIY Tutorial Credits
Photography + DIY Tutorial: Jen Causey-Kidder of Something Turquoise // 8mmx6mm Sterling Silver Oval Bezel Cup Ring Blank: ArmoredSupplyCo via Etsy // Unicone Art Epoxy Resin: Amazon // Mod Podge Dimensional Magic: Amazon // Genuine Silver Leaf: Amazon // Cornstarch: the grocery store // little cups: my personal craft stash // Ring Holder: The Mrs. Box
Shop The Supplies:
Find the supplies you’ll need for this project from our affiliate links below:


Comments