
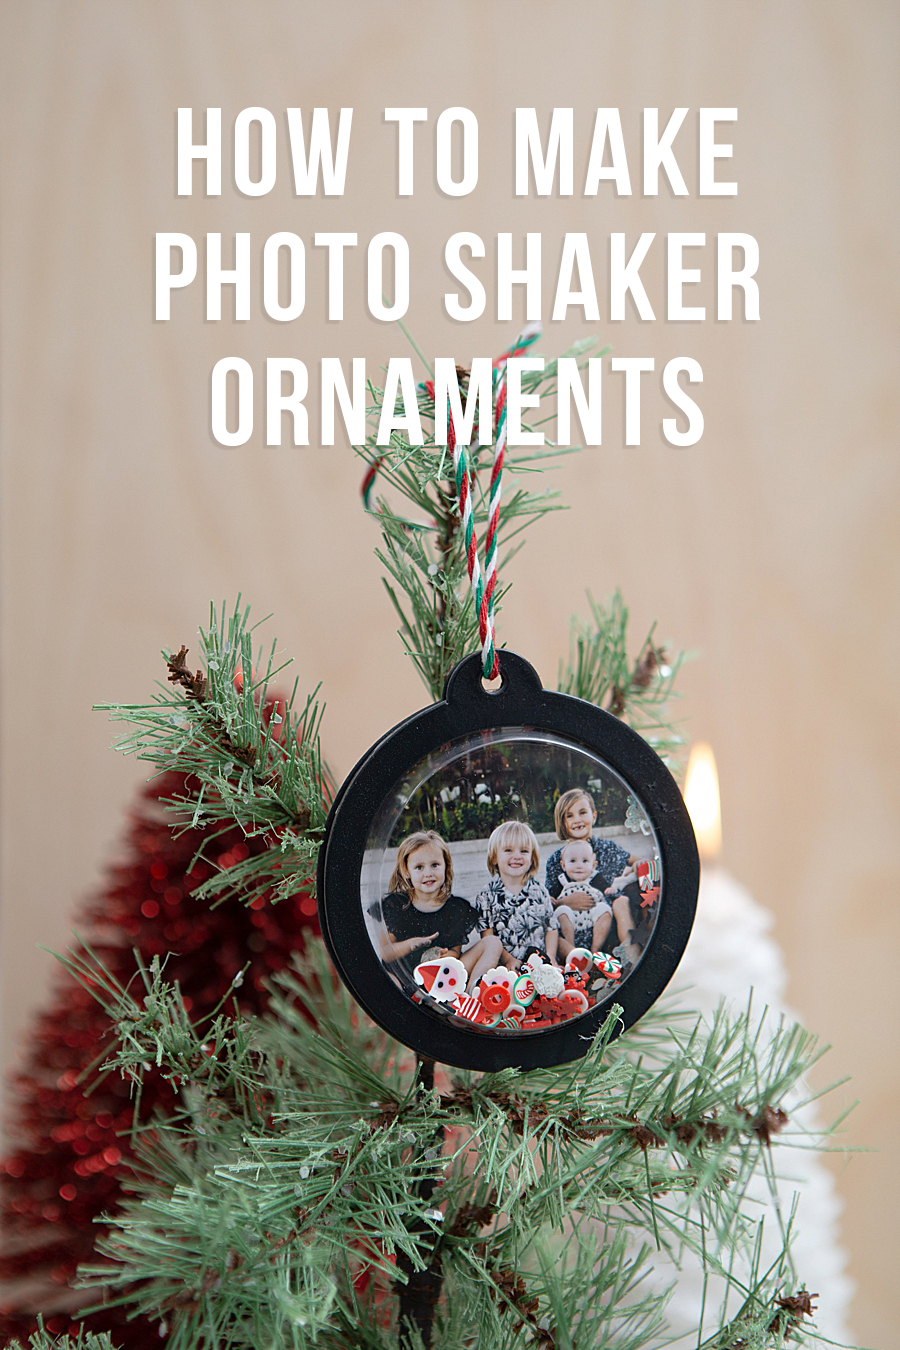
How To Make Photo Shaker Ornaments With Canon SELPHY
This is a sponsored post written by me on behalf of Canon. All opinions are 100% mine.
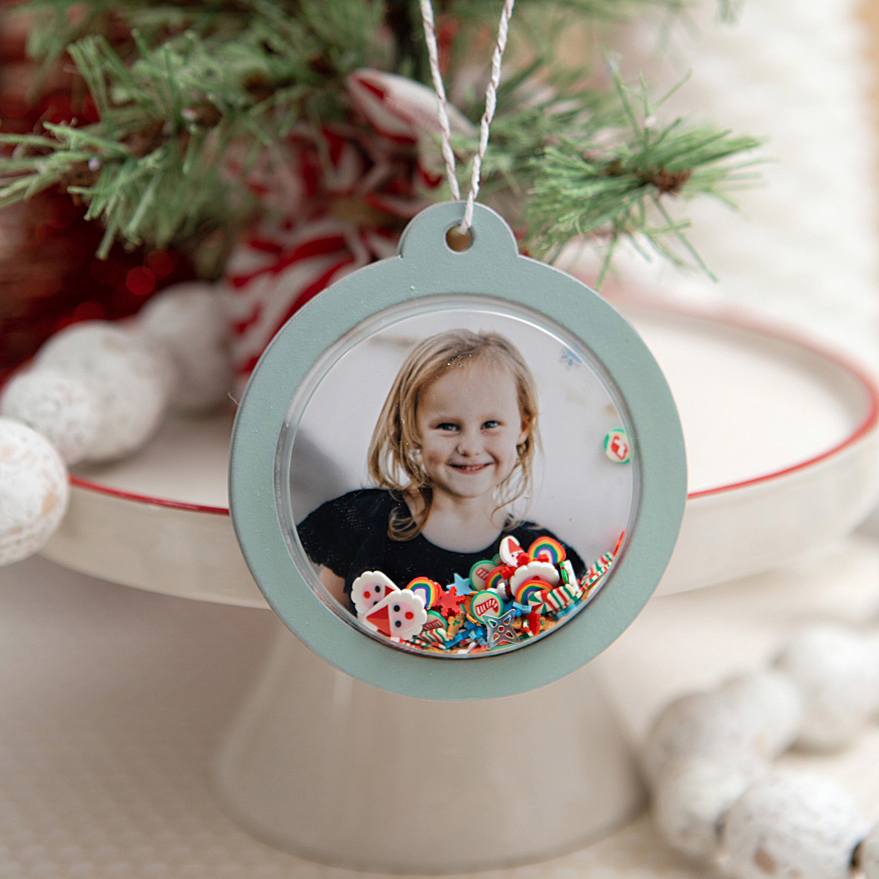
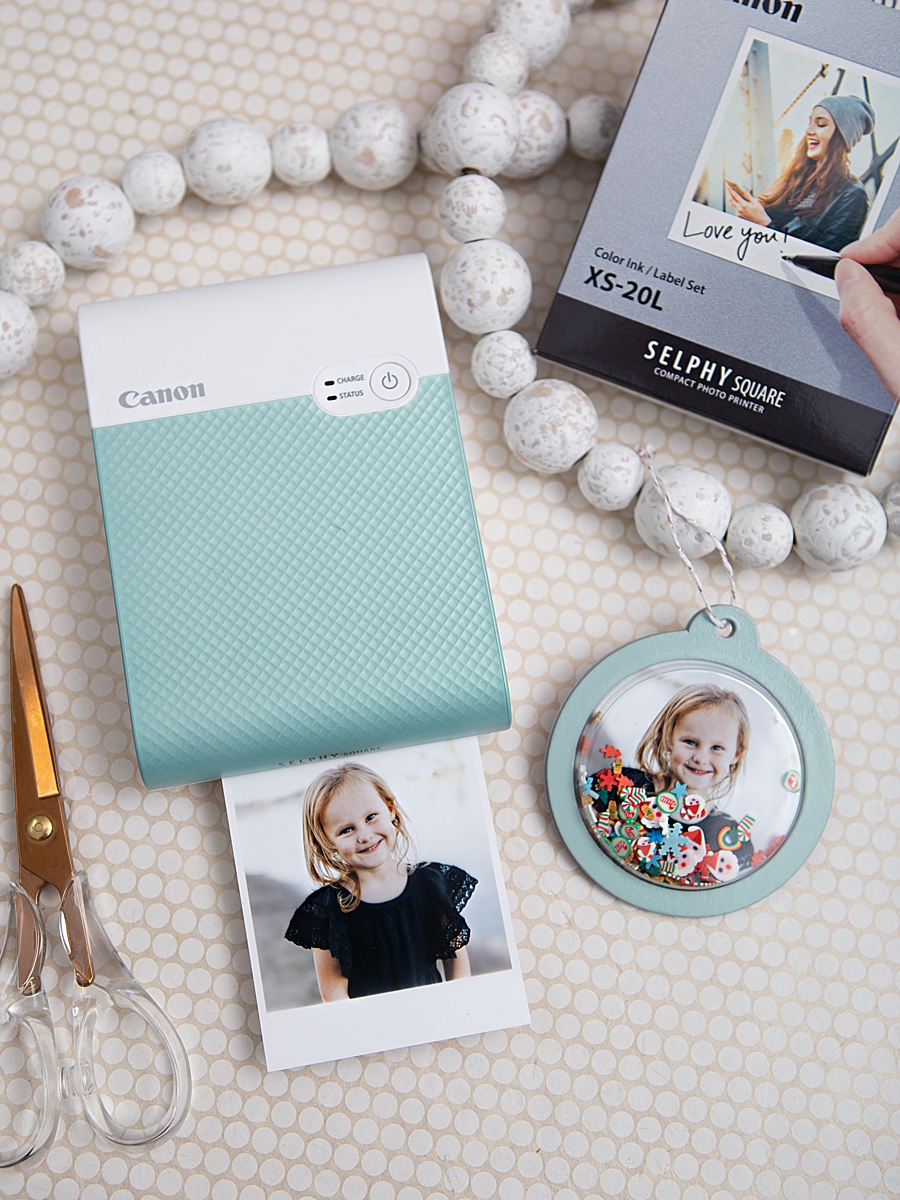
I just got this Canon SELPHY Square QX10 Photo Printer and I’m having an absolute blast with it! The prints are stunning and super quick, and the app is really easy to use. So easy in fact that I can see myself regularly printing my favorite photos to add to our family cork board because actually printing and seeing your photos (not on your phone) is so nice. I had some shaker supplies laying around and when I realized these photo prints were the perfect size, I realized I could easily turn them into ornaments and now the kids are obsessed. The girls had so much fun helping me pick all the shaker bits! Although they aren’t staying on the tree (because obviously now we have to constantly shake them), they are still so darn cute!
You can watch me make these on our Instagram REELS!
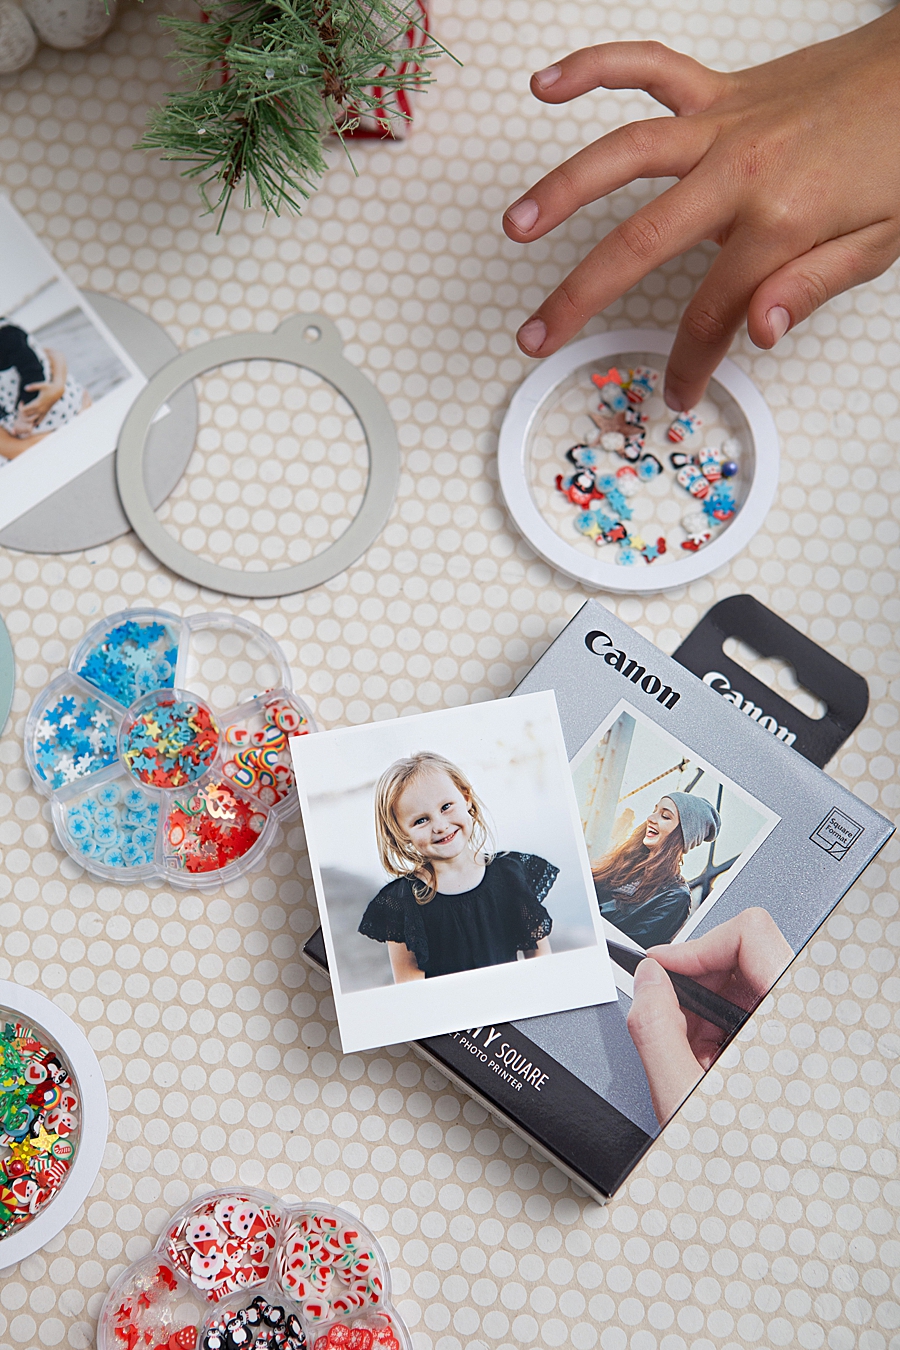
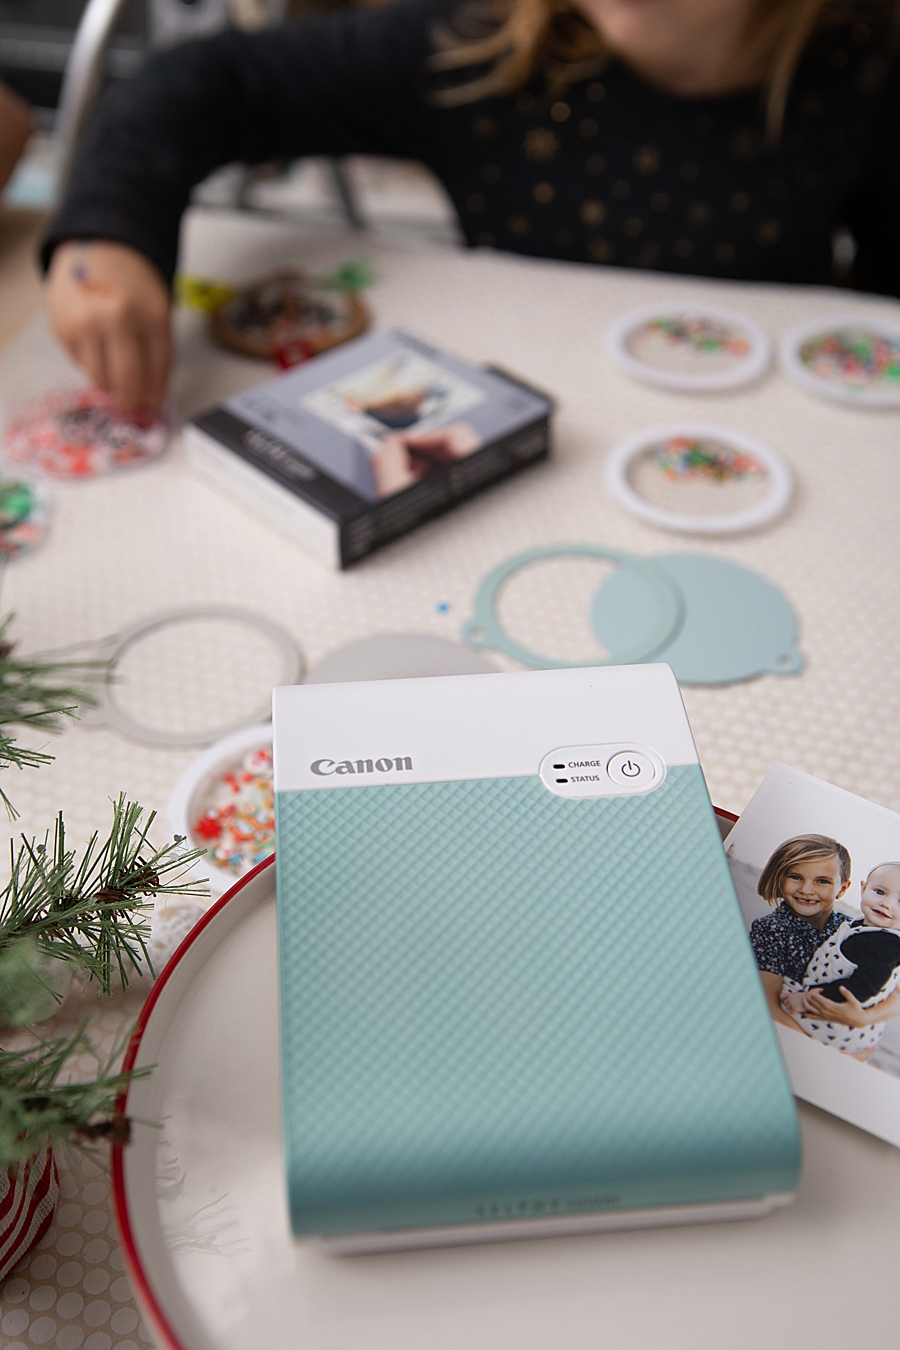
Canon Selphy Square QX10 Photo Printer
I’m excited to introduce you to the Canon SELPHY Square QX10: a compact, portable photo printer that produces high-quality prints that can last for up to 100 years by using a dye-sublimation printing technology! It weighs less than a pound and uses a built-in battery to print images on the spot from the Canon SELPHY Photo Layout 2.0 App, no worrying about plugs or wires. It produces 2.7″ x 2.7″ prints that are perfectly sized for sharing or saving and each print has a peel-off adhesive back, which makes them great for decorating your space, a journal, or other belongings. Each pack of photo paper includes 20 sheets and 1 ink cassette, which you replace with each new pack of paper. I’m so excited to start printing more of my favorite photos because I definitely don’t do it enough!
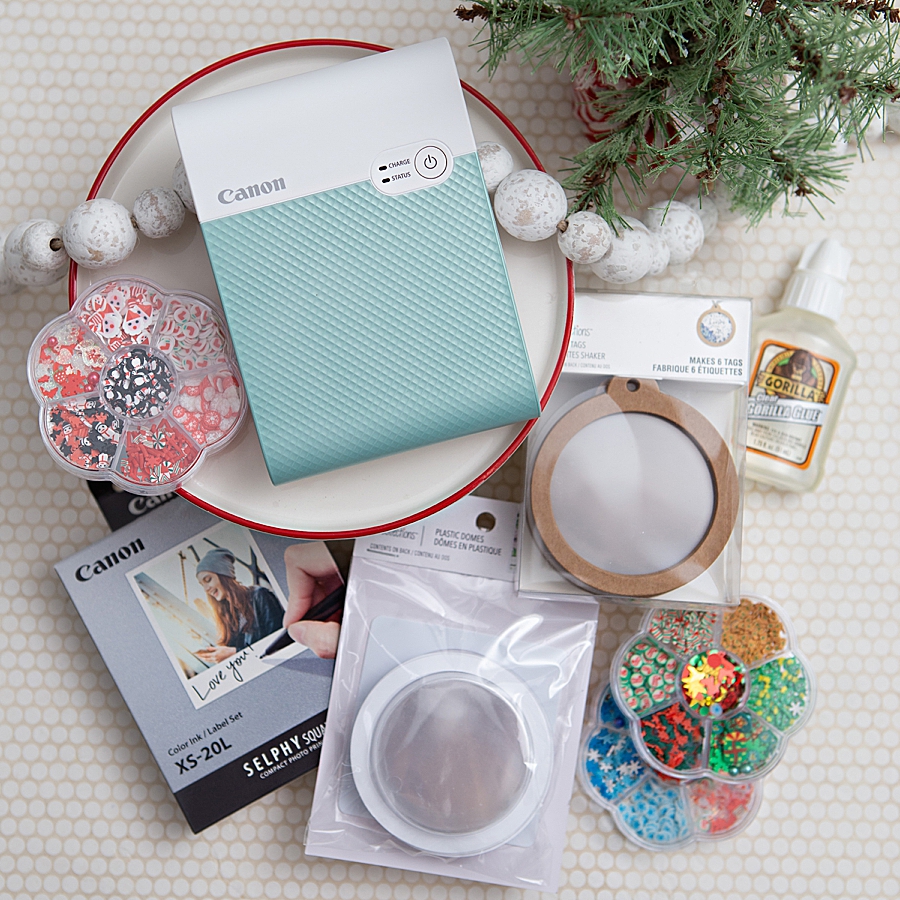
SUPPLIES:
- Canon SELPHY Square QX10 Photo Printer
- Canon XS-20L Ink + Label Set
- Little Shaker Bits
- Kraft Shaker Tags
- Circle Shaker Domes
- Gorilla Glue
- Paint, optional
- Twine or Ribbon
- Sewing Clips
Painting Optional
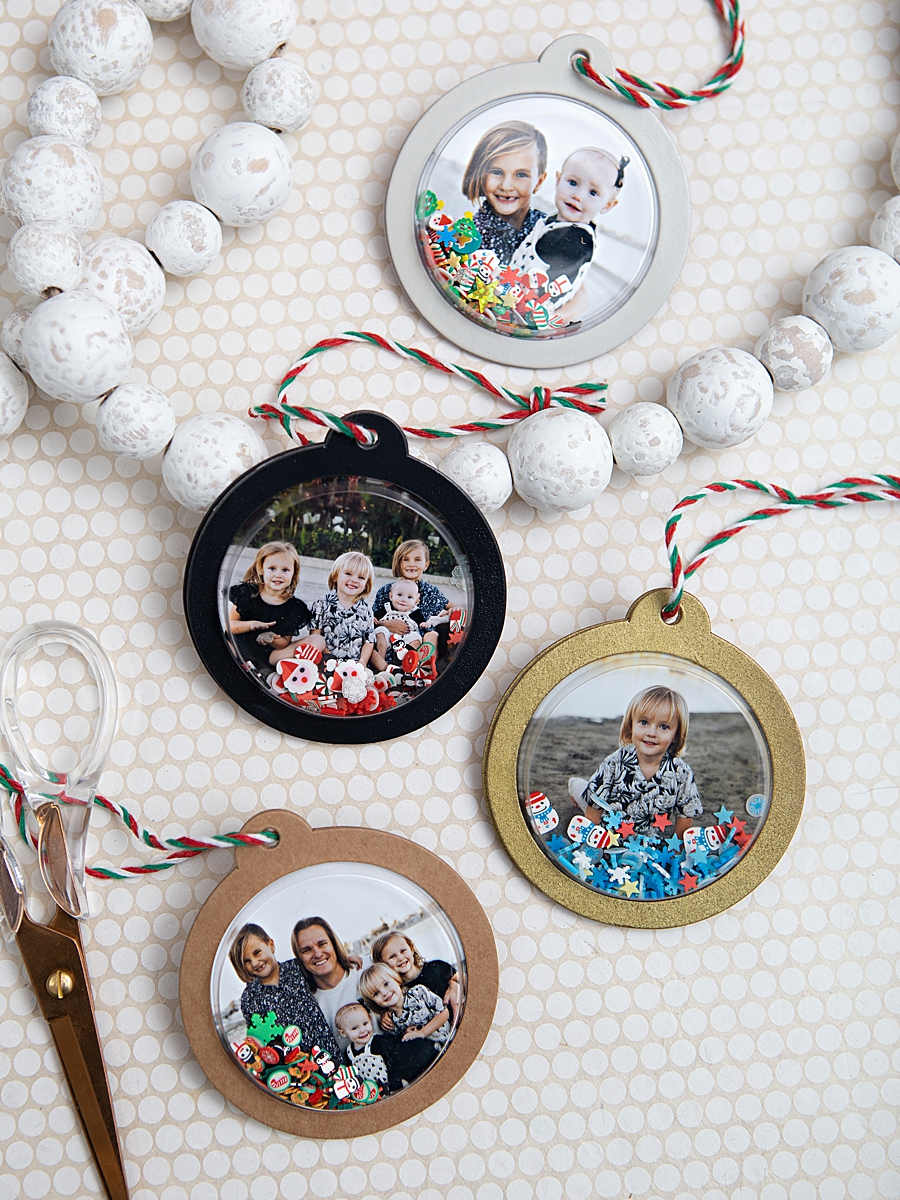
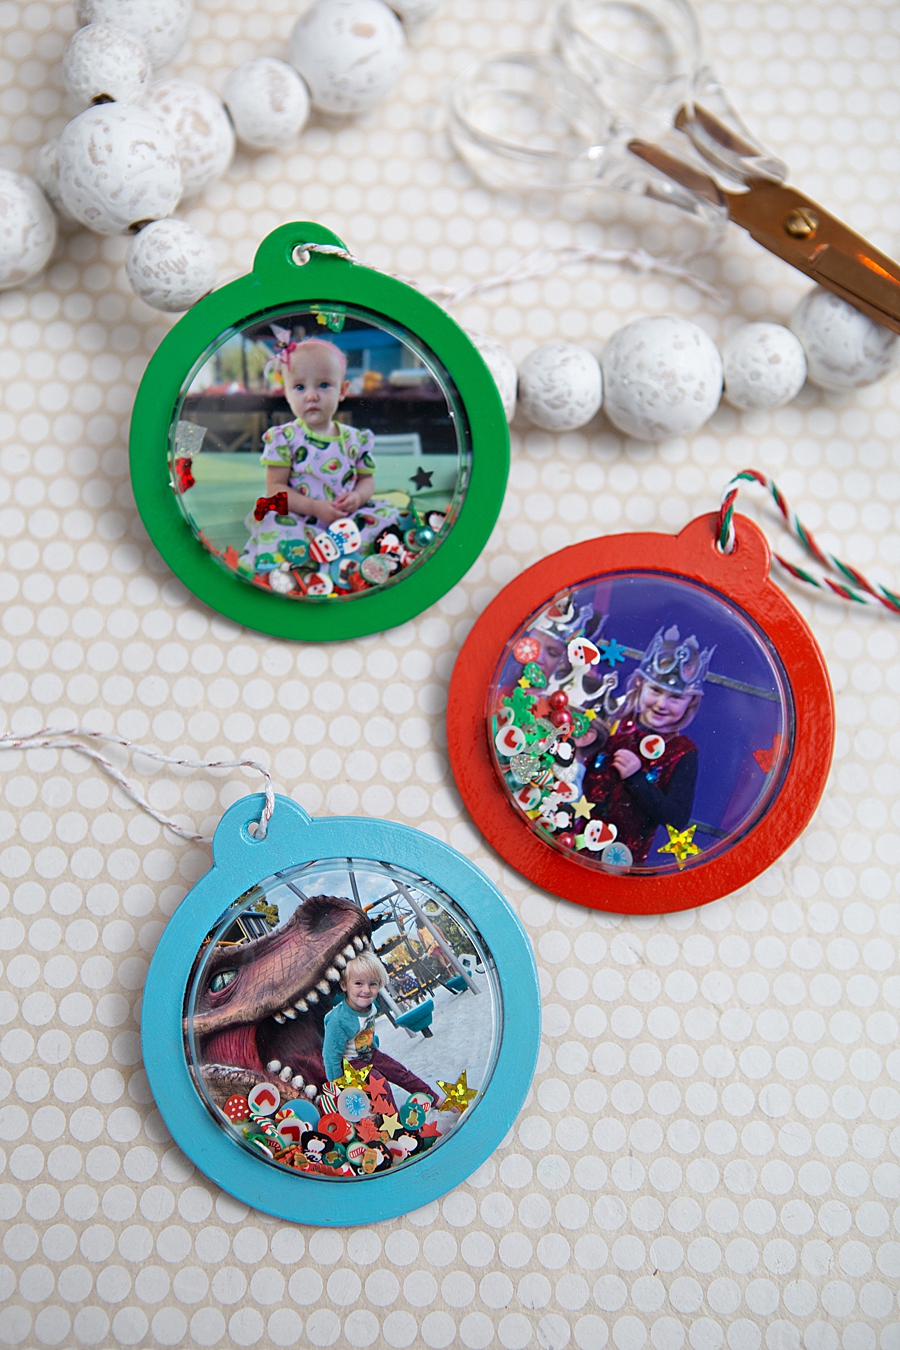
If you’d like, you can use craft paint or spray paint on these kraft shaker tags. I did three coats of craft paint or two of spray paint and then sealed them with a coat of clear gloss spray.

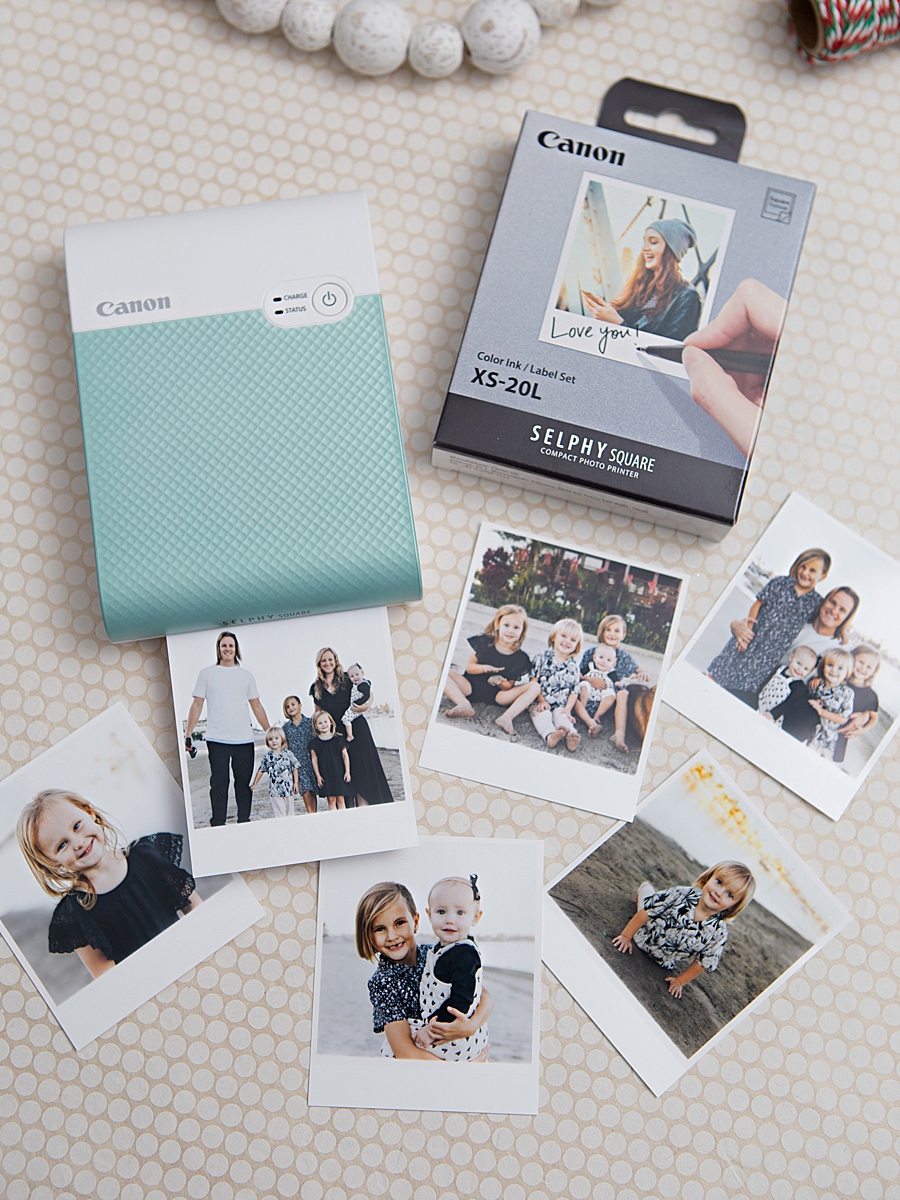
Print Your Photos
This is super easy and super quick and the kids LOVED watching the different colors print! Download the Canon SELPHY Photo Layout 2.0 App on your smart phone. Open the app and then click to open a photo, if you’d like use the photo editing tools within the app. Then click print! The printer goes through 4 colors, in and out until the final print is complete. I’m so impressed by the photo quality.
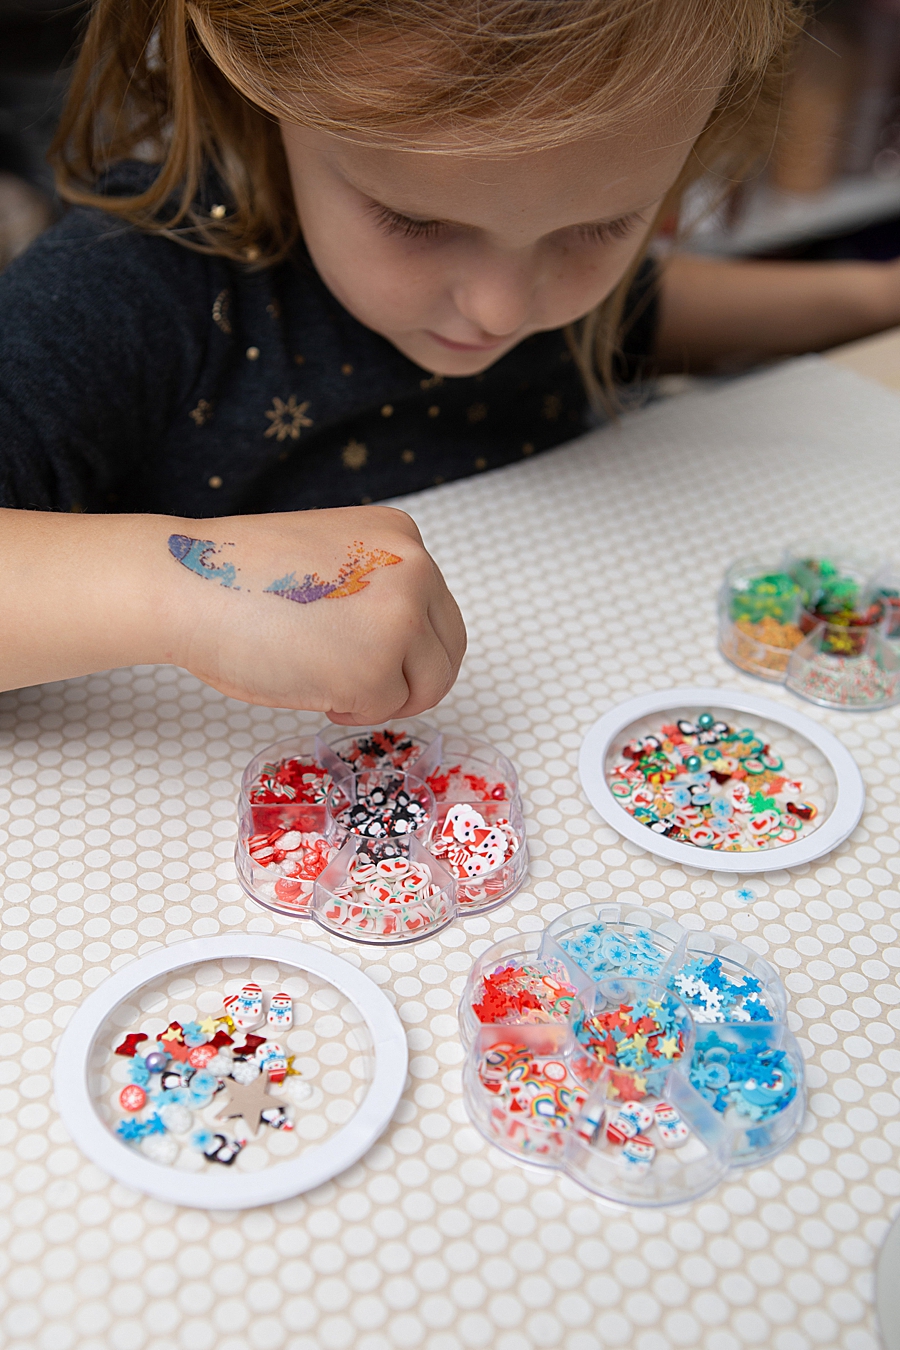
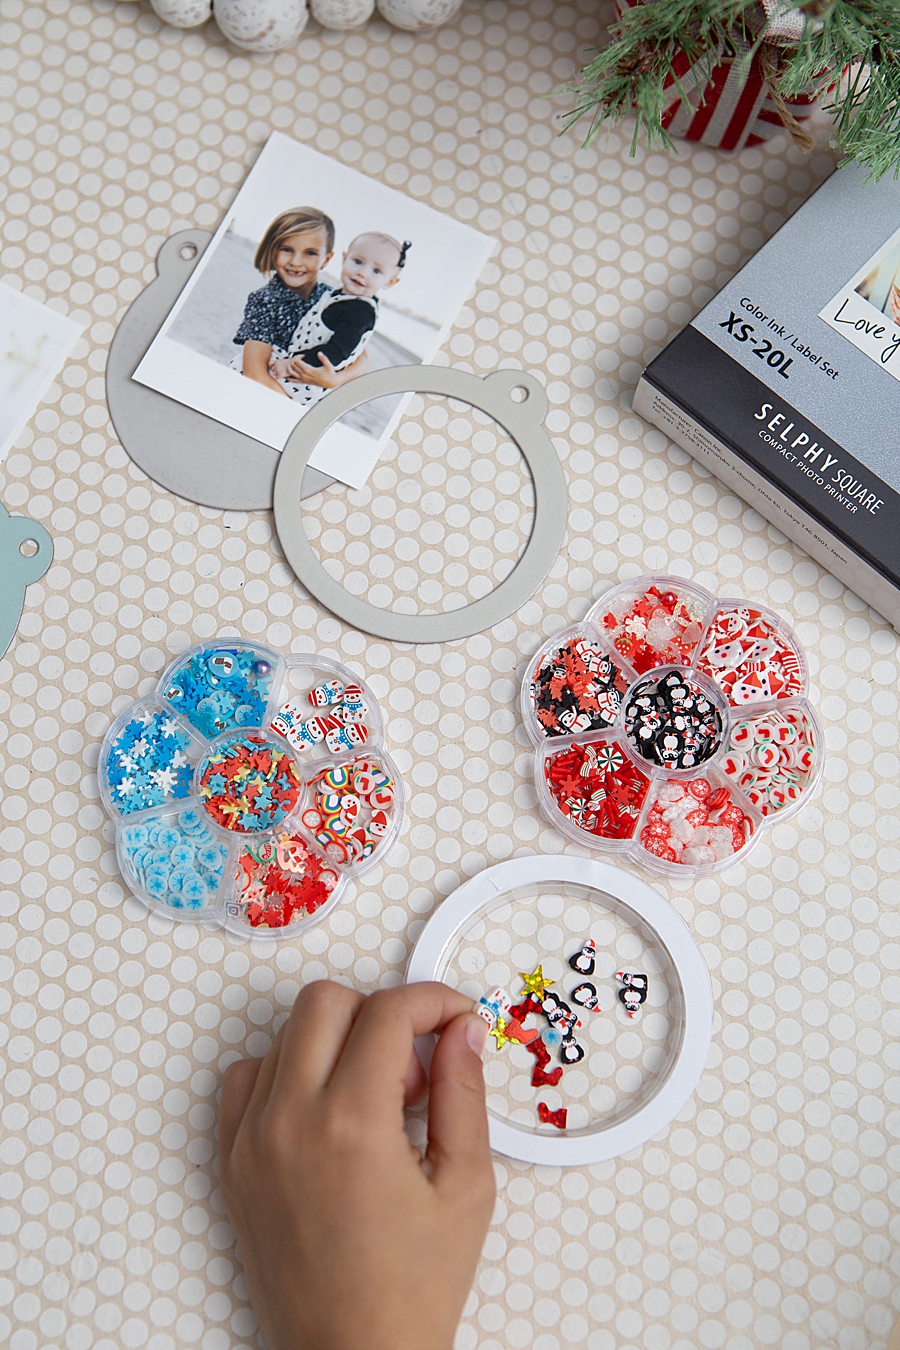
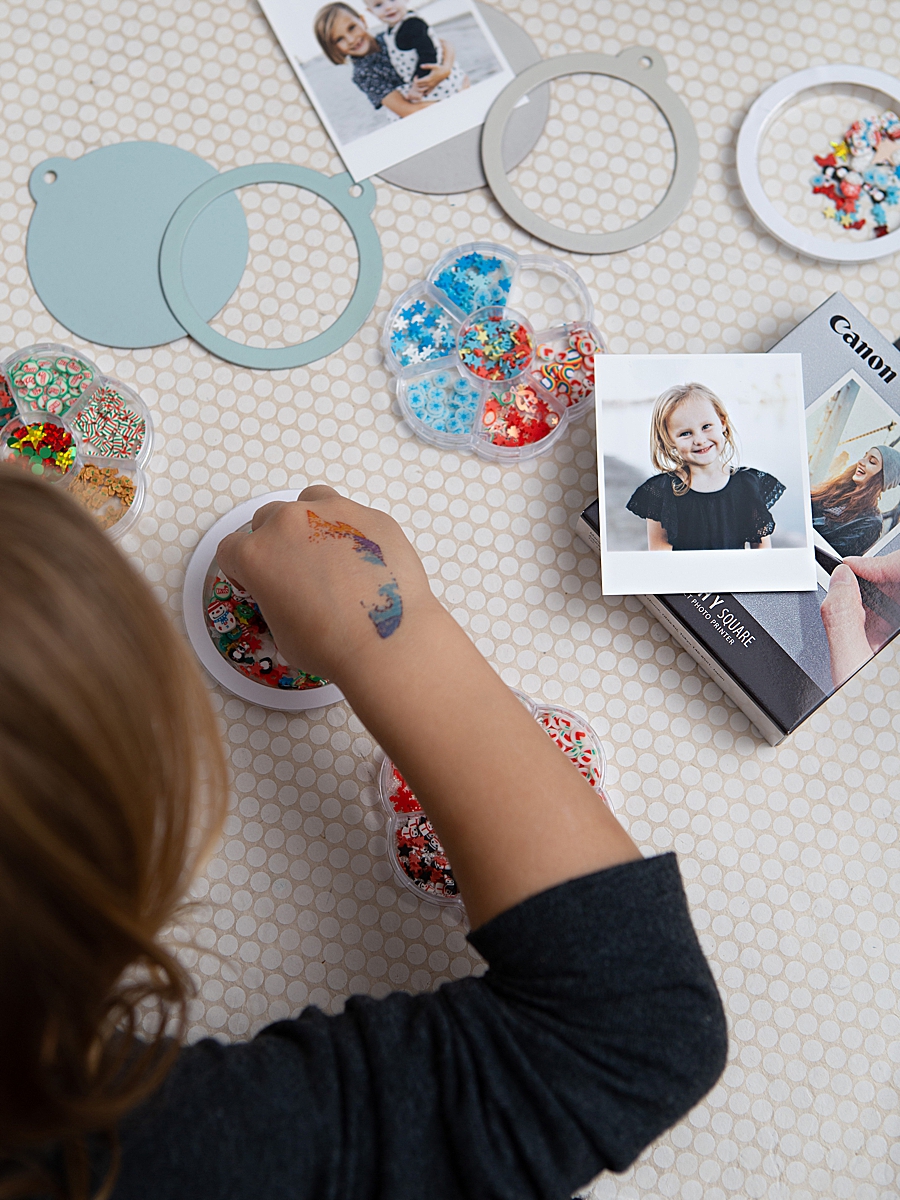
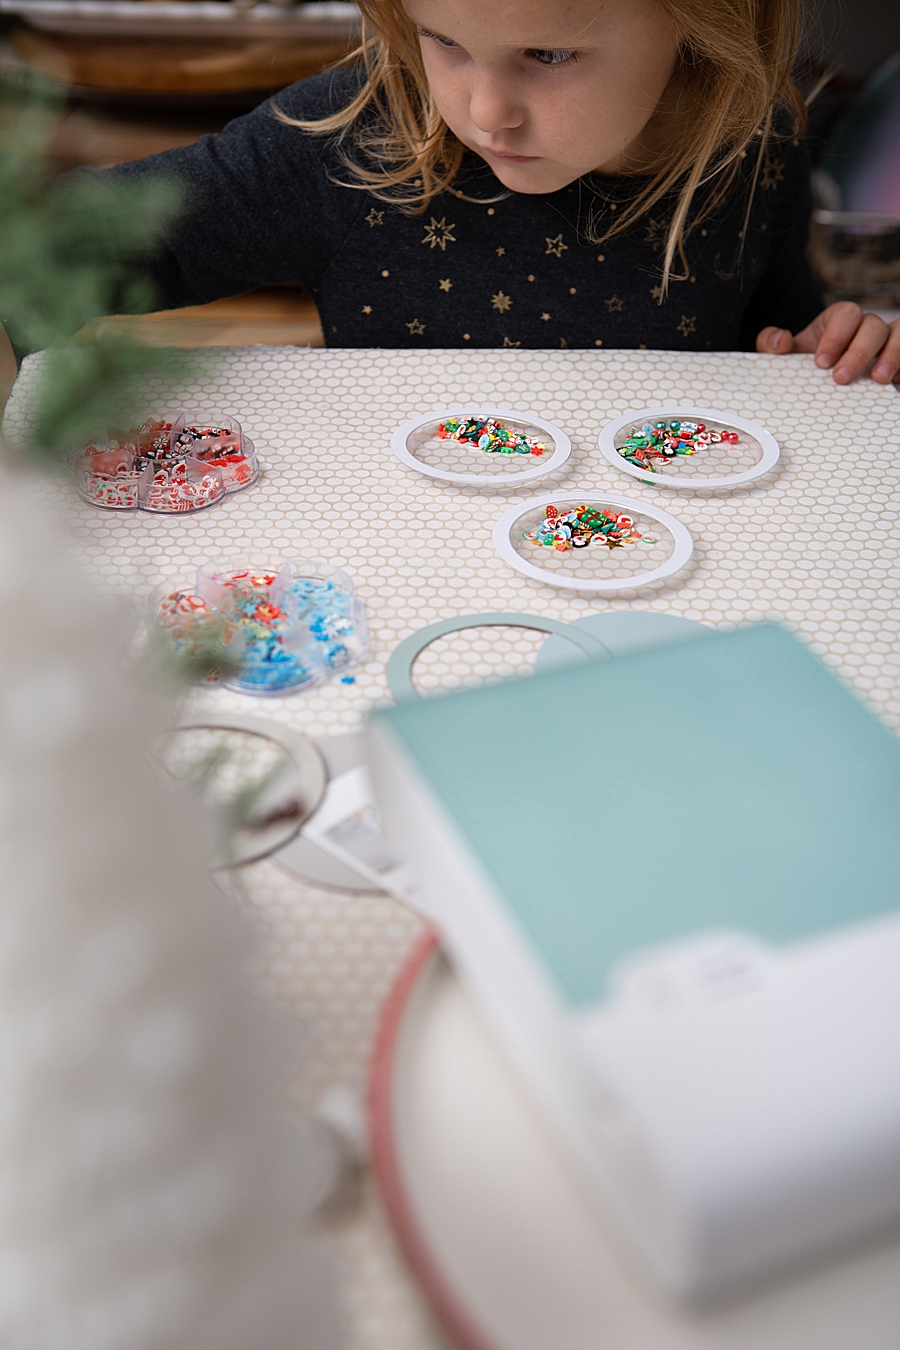
Fill Your Shaker Domes
This part the girls did for me. I let them choose from these three sets to fill up each dome. Not all the way otherwise you won’t see the photo, but maybe 1/8 full of shaker bits.
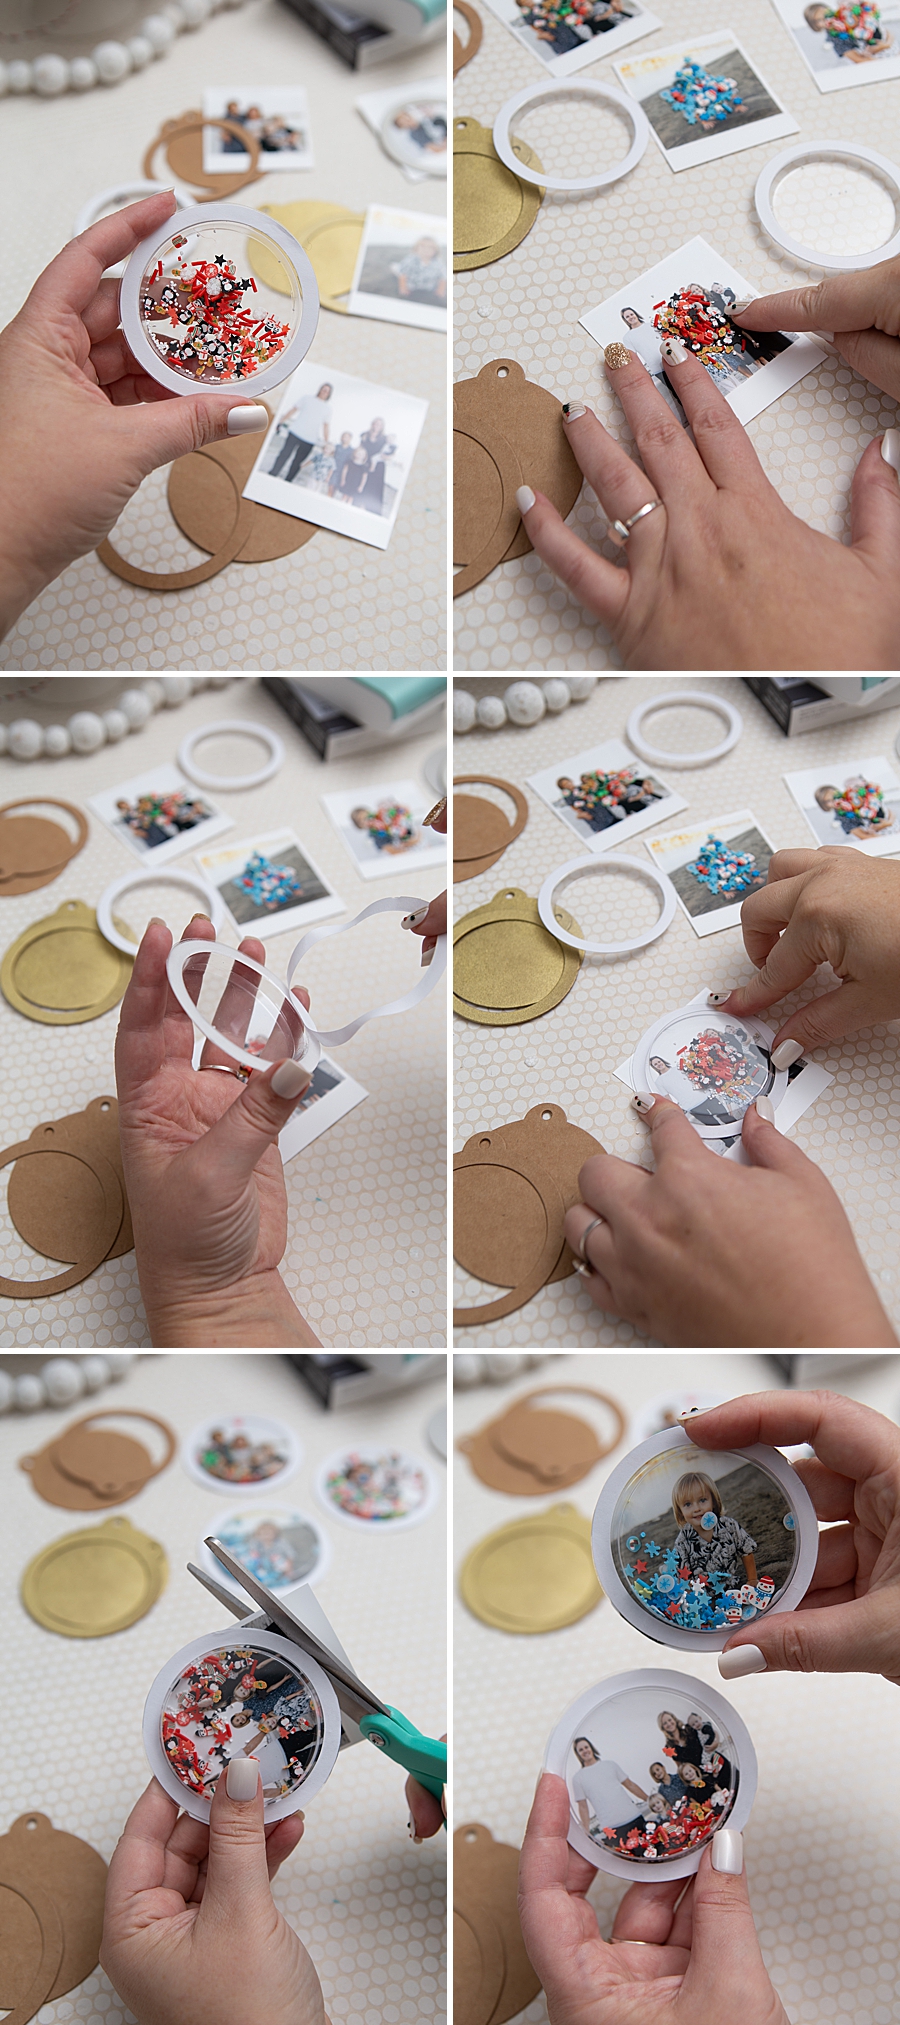
Assembly Part 1
- Pour the shaker bits on top of your photo and push them into a tight little pile.
- Then peel the adhesive backing off the backside of the clear plastic dome.
- Properly frame your photo and press down to secure.
- Cut off the excess area of the photo so that it’s the same size as the dome.
- See your shaker in action!
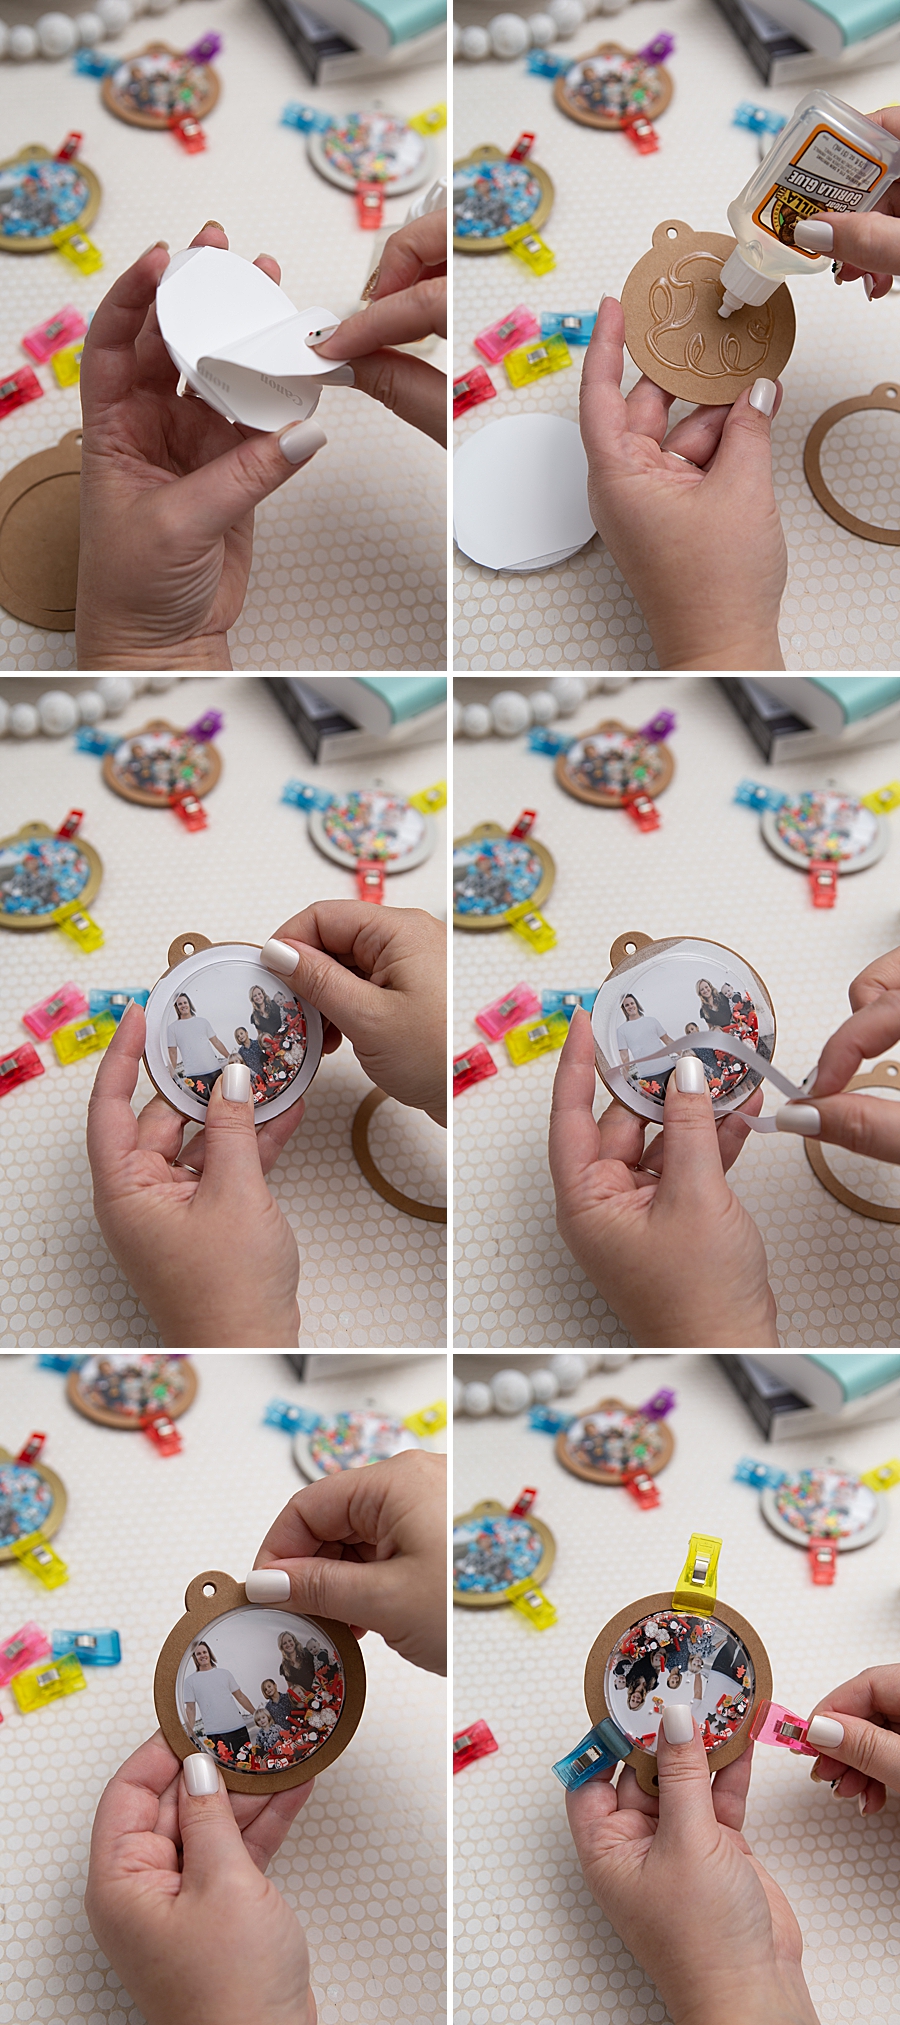
Assembly Part 2
- Peel off the adhesive backing of the photo print.
- Add Gorilla Glue (or the like) to the backside of the shaker tag.
- Press the photo dome into the glue on the shaker tag.
- Peel off the adhesive backing around the front side of the clear shaker dome.
- Press the top frame of the shaker tag onto the clear shaker dome.
- Clamp for at least 2 hours, I used sewing clips.
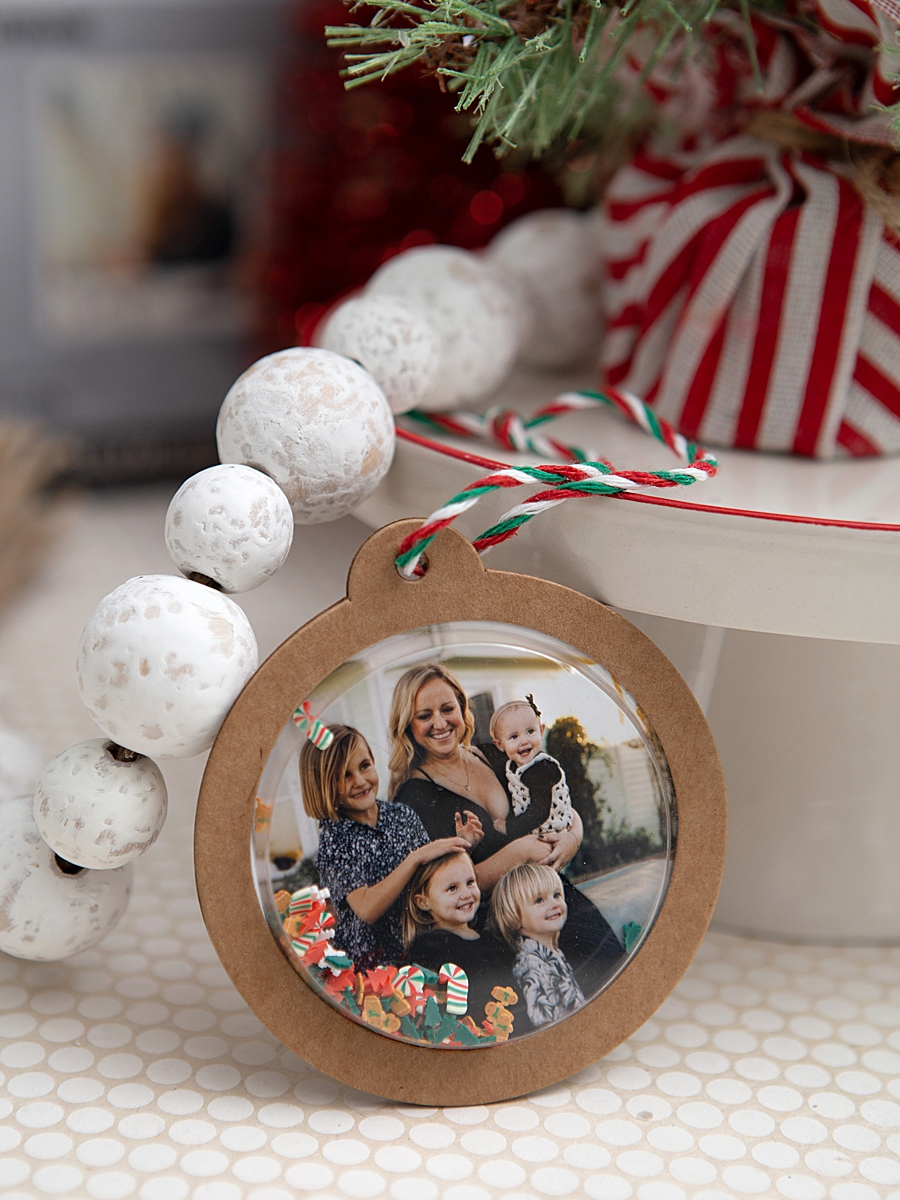
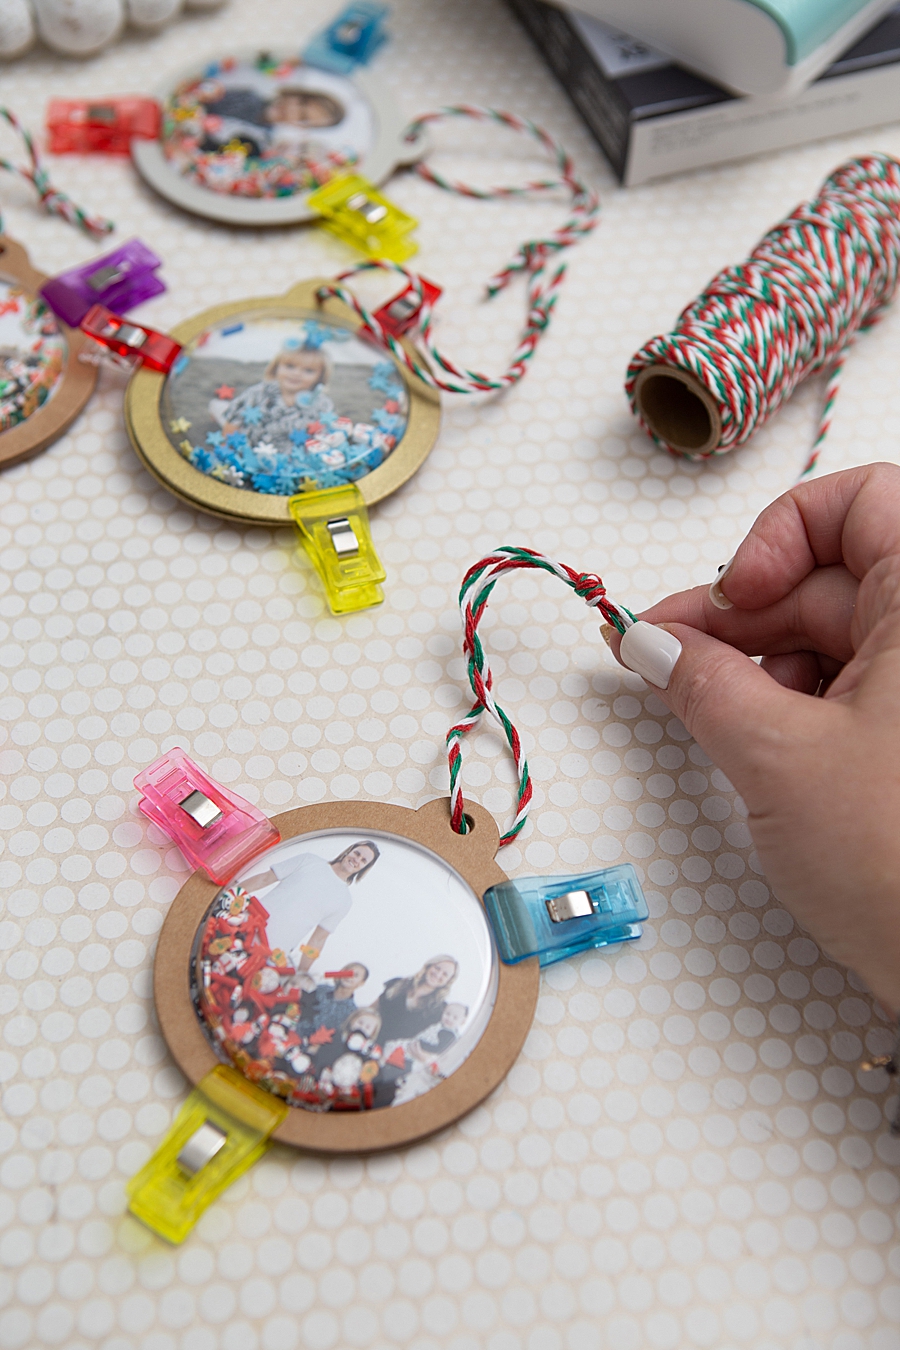
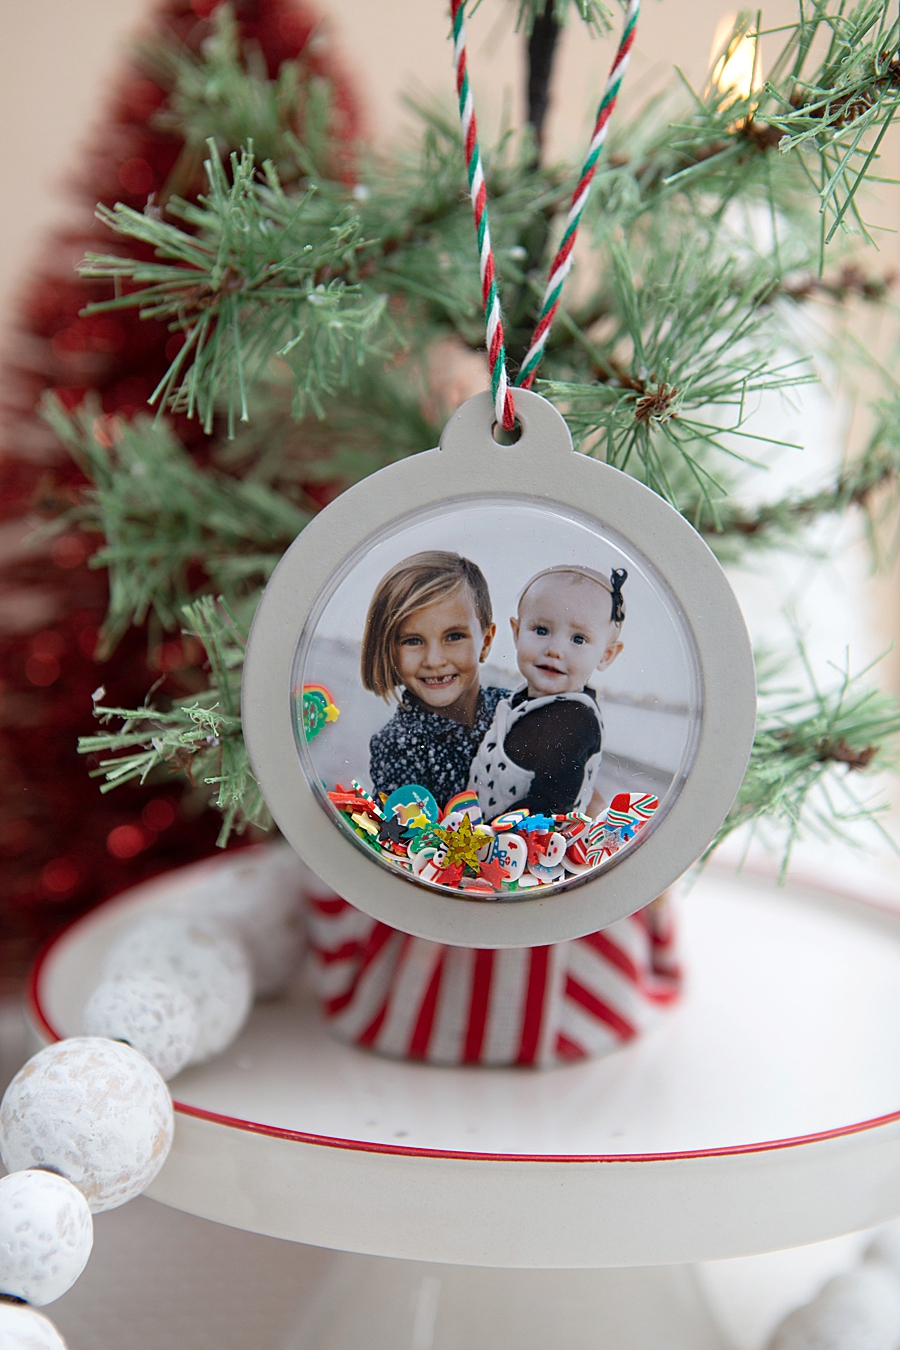
Add Twine or Ribbon
While you’re waiting for the glue to dry, you can make more ornaments and also add a piece of twine or ribbon to hang them with. The Gorilla Glue dries in 2 hours but needs a full cure of 24 hours to be fully set.
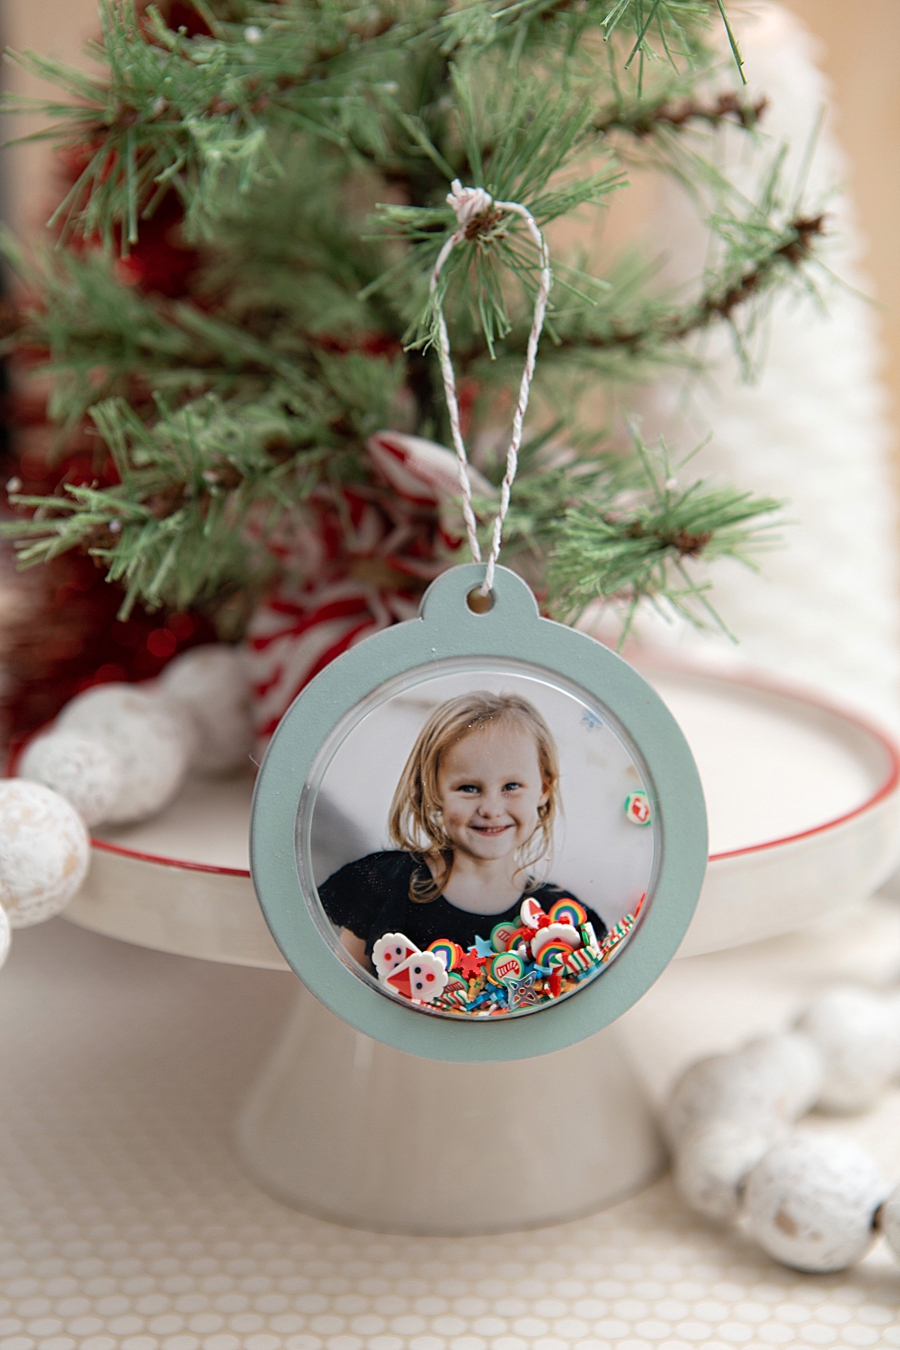
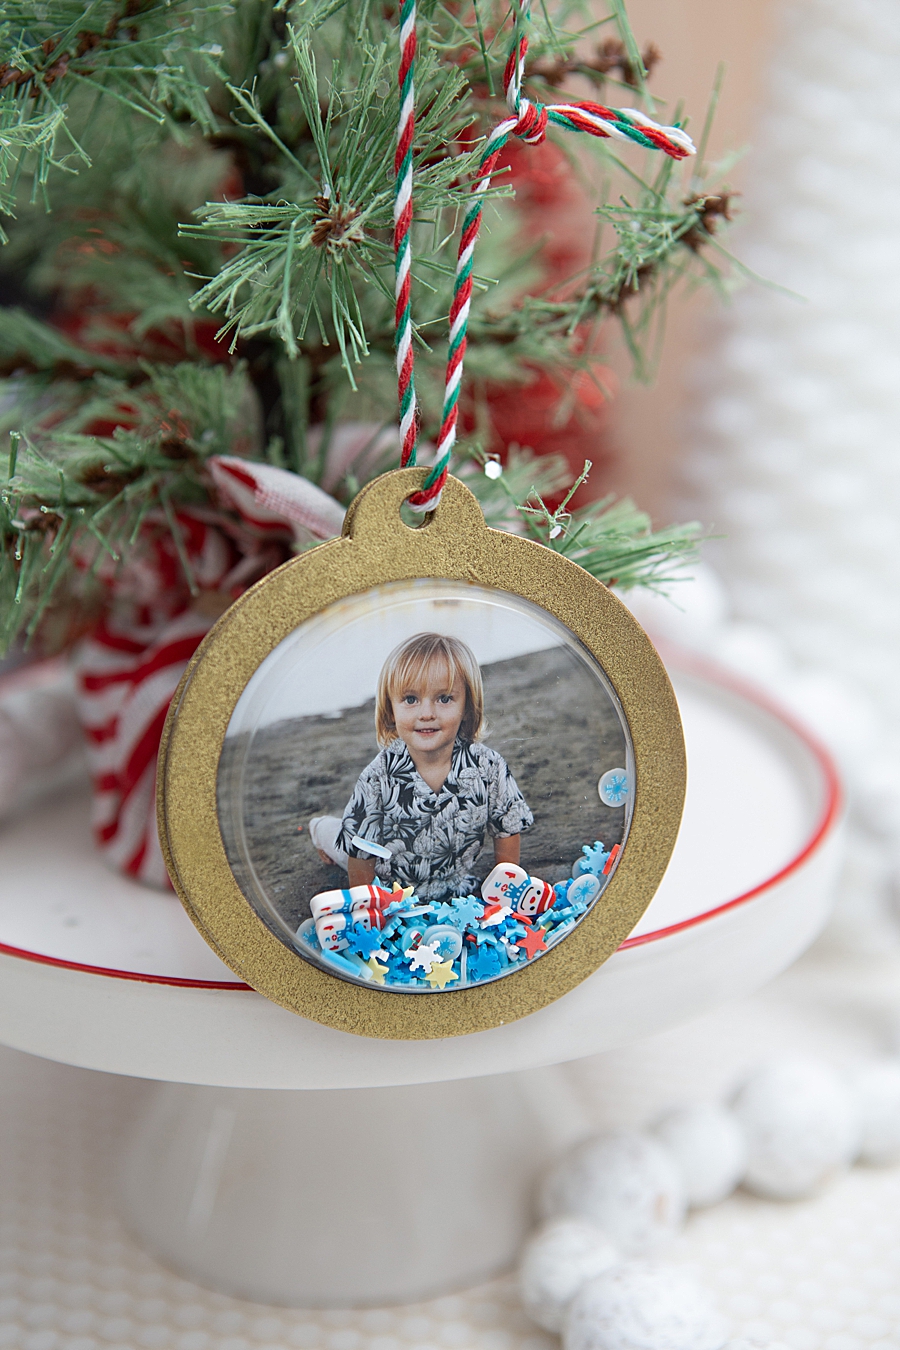
Shake, Shake, Shake
I know all you parents out there can imagine the kids constantly shaking these, LOL, they are mesmerized by them, and it’s absolutely adorable.
DIY TUTORIAL SPONSORED BY:

Canon U.S.A., Inc. prides itself on allowing consumers to create and preserve beautiful imagery, from capture to print. With wireless technology and seamless printing capabilities, you can print your photos and printables with precision and ease.
If you create one of our projects, please share a picture with us on Instagram or Twitter using the hashtag #somethingturquoisediy, we regularly reshare our favorites! Your profile will need to be public for us to see it otherwise, you can always DM us!
DIY Tutorial Credits
Photography + DIY Tutorial: Jen Causey-Kidder of Something Turquoise // Canon SELPHY Square QX10 Photo Printer + XS-20L Label Prints: courtesy of Canon // Little Shaker Bits (actually for fake nails): Amazon // Kraft Shaker Tags: Michaels // Circle Shaker Domes: Michaels // Gorilla Glue: Amazon // Christmas Twine: Amazon // Sewing Clips: Amazon


Comments