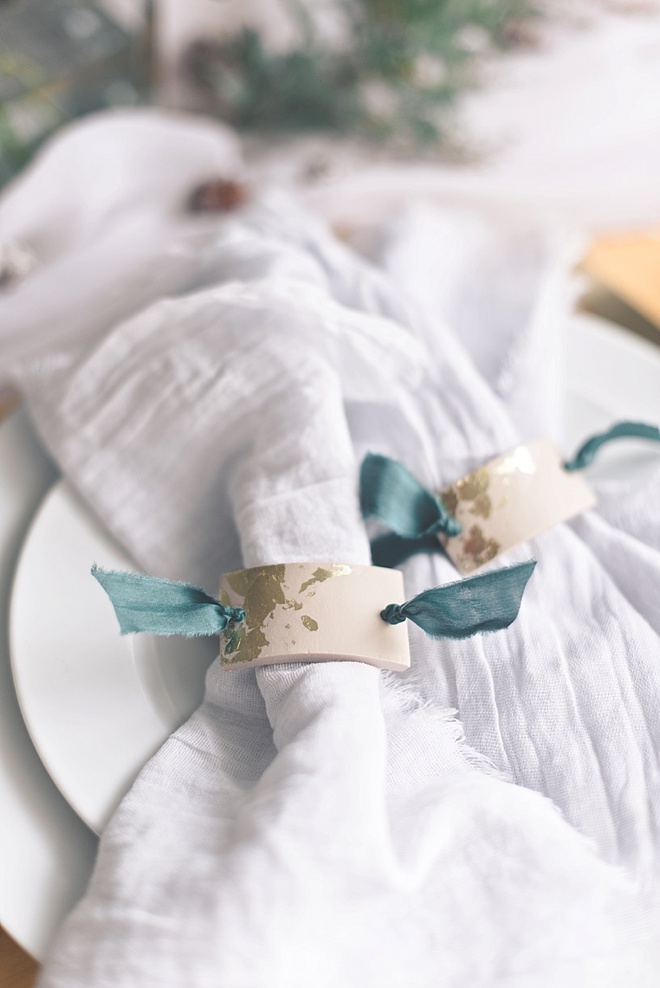

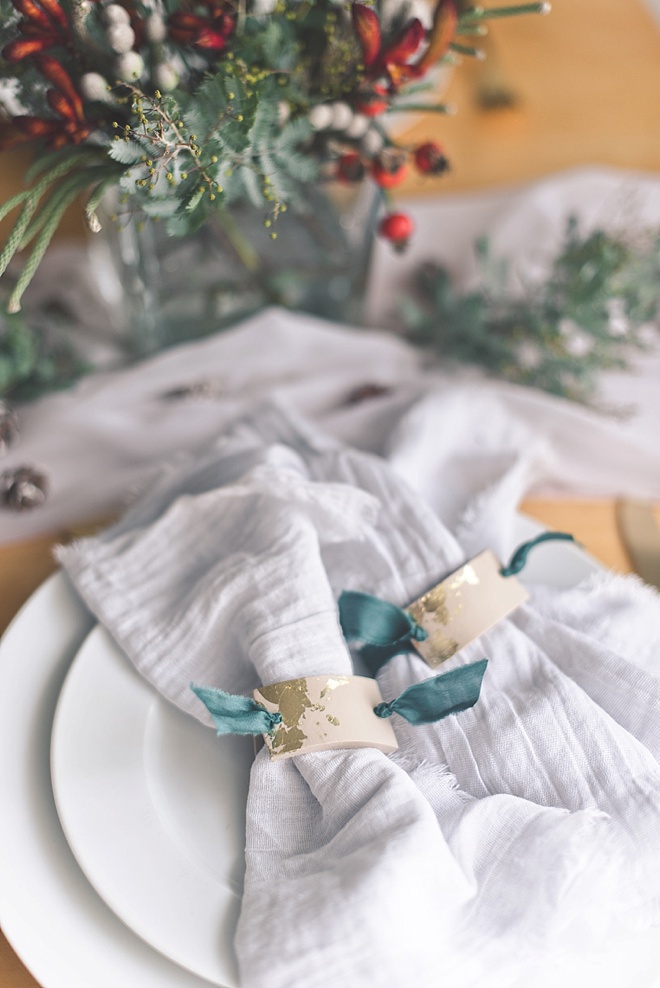
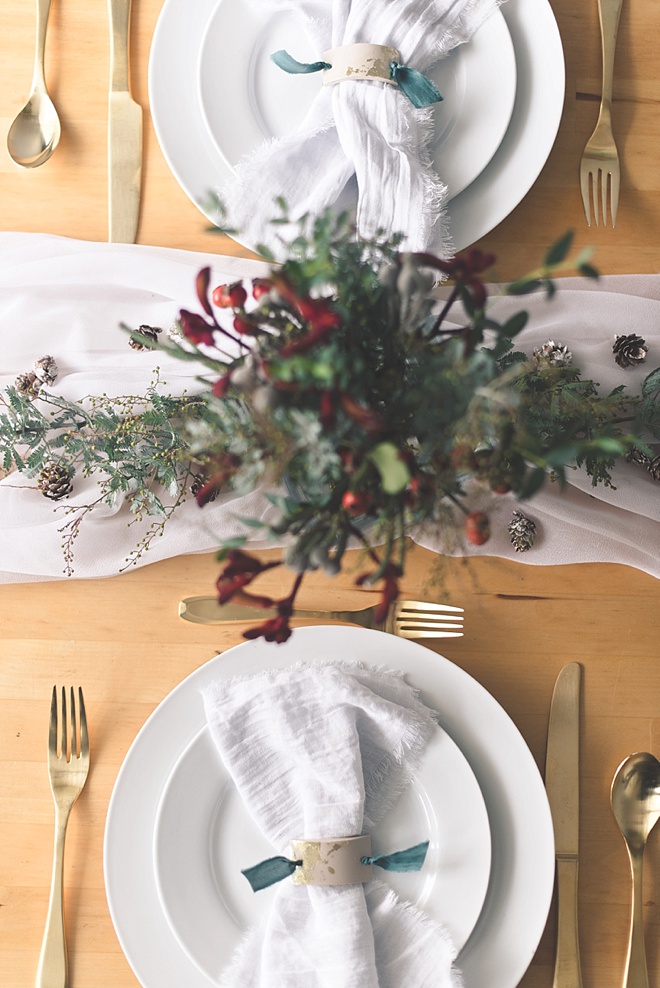
DIY Polymer Clay Napkin Rings with Gold Leaf
‘Tis the season for festive weddings, events, and get-togethers, and that means beautiful, yet simple DIYs to make every moment that much more special this winter! While I’m typically focused on wedding-related DIYs around here, this clay napkin ring project crosses into all the genres and shows a chic way to fancy up any place setting at any holiday table. These are easy to make for 2, 20, or more and makes for a great crafternoon alongside your nearest and dearest.
And because I’m all about upcycling and designing multi-purpose crafts, having a ribboned napkin ring means you can swap out the ribbon according to the occasion or holiday! Green, pink, gold, red, or silver, the usage possibilities are endless. You won’t have to tuck away these rings in that Christmas box after New Year’s!
If you haven’t used gold leaf metal before, then get ready to be obsessed. My friends at Staedtler UK recently introduced it to me, and though it wasn’t originally part of this tutorial, when I learned how easy it is to use and how much I love anything metallic for weddings and Christmas, it was a must for this festive-inspired DIY!
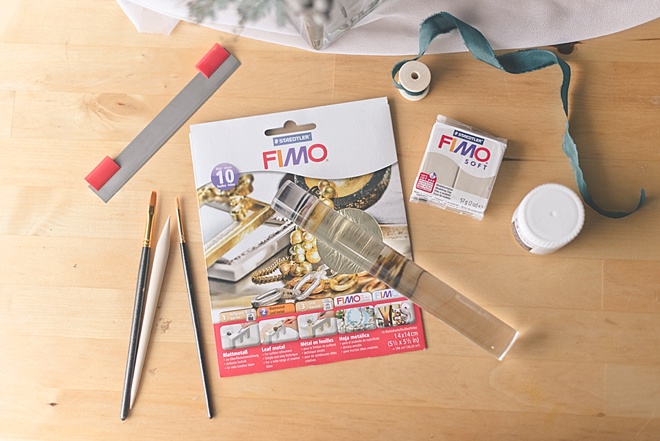
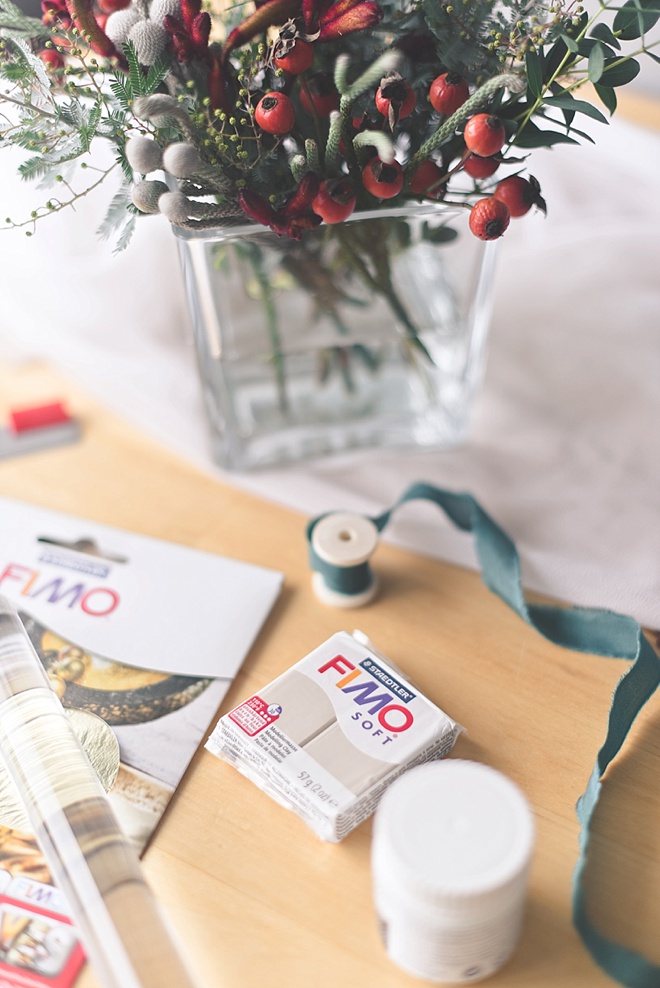
SUPPLIES:
- Polymer clay (e.g., FIMO Soft in Sahara)
- Acrylic roller
- Clay tools
- FIMO cutter blade
- Baking/parchment paper
- Oven
- Metal baking/pastry rings or foil-covered cardboard tube
- Baking sheet
- Gold leaf metal
- Adhesive for gold leaf (aka size — I personally use FIMO’s brand, but know it’s not widely available in certain countries!)
- Thin silk ribbon (I used 1/2″ width)
Maker’s Note
There are so many ways you can make polymer clay napkin rings, so have fun and explore your favorite options! I love the versatility and color variety of FIMO, and while FIMO Soft is what I used for this project, these would be equally beautiful and chic when made with FIMO leather-effect. You can get about 6 clay napkin ring tags per FIMO block, so consider mixing and matching depending on your theme and quantity needed.
PREHEAT YOUR OVEN
Preheat your oven to 230°F / 110°C and prep a baking sheet with aluminum foil. Clean your surfaces so they are ready for clay handling and lay down baking paper for your clay making. Be mindful of fuzzy sweaters or furry friends because this easily can get onto your clay!
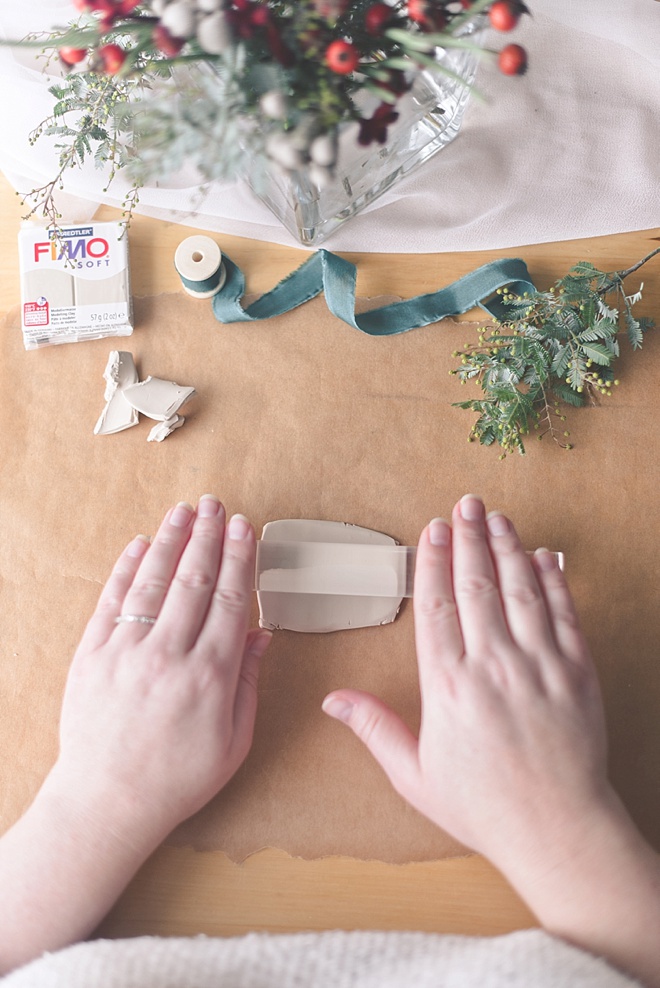
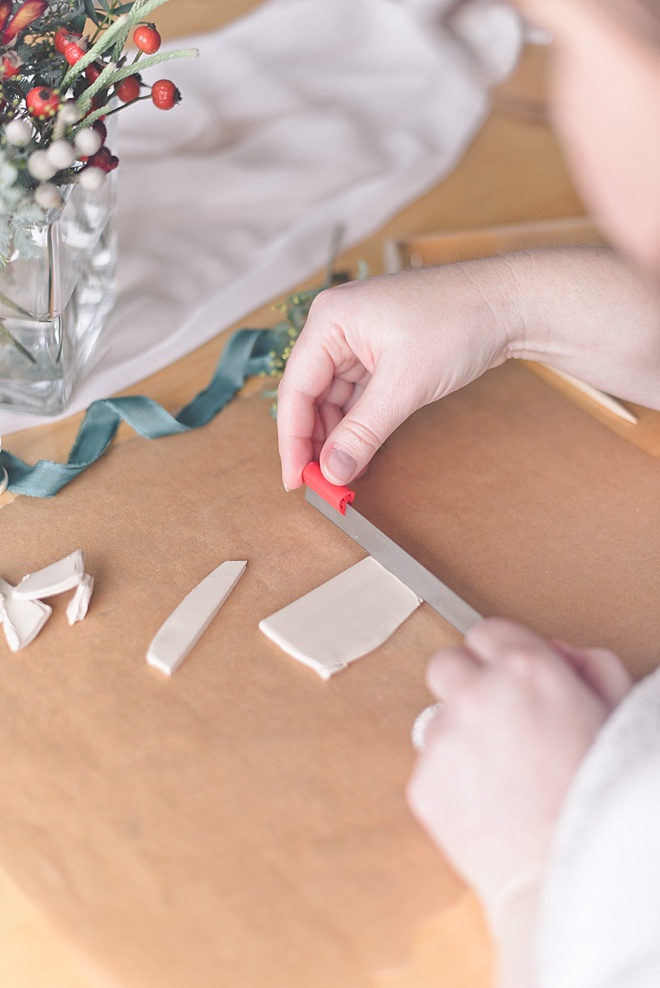
ROLL OUT THE CLAY
To make rolling out your clay easier, break up and divide your block into chunks. Using your acrylic roller, roll out your FIMO clay until it’s about 1/8″ thick. Once you have the proper thickness, use a clay cutting blade to shape out rectangles of about 1.5″ long. Choose the size that’s best for you, but avoid making your napkin rings too thick for baking or too wide as a standard dinner plate is only 10.5″ to 12″ wide.
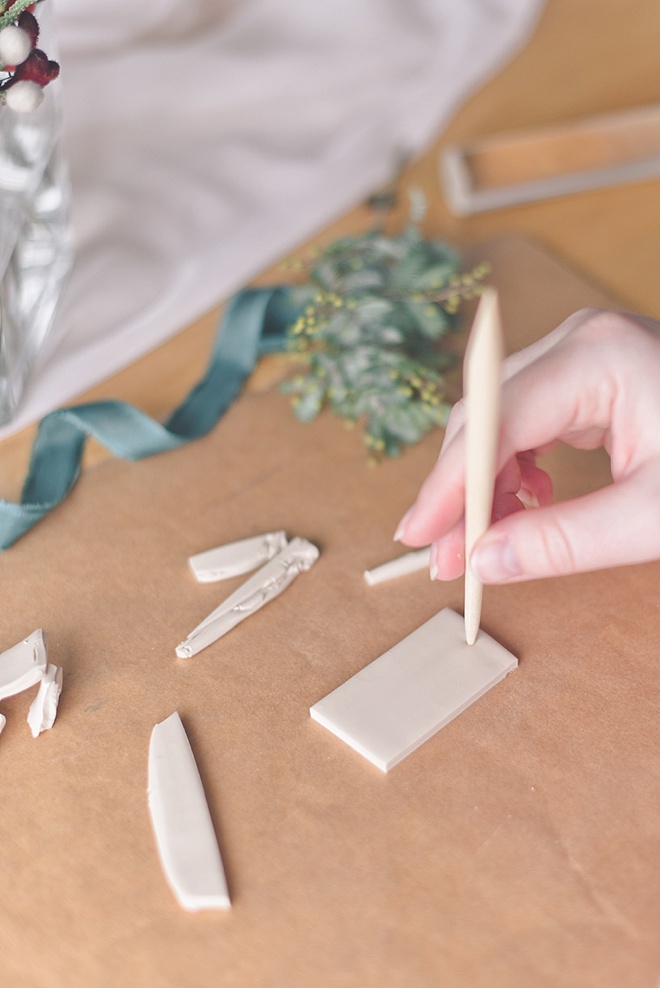
PIERCE YOUR NAPKIN RINGS
Use a pointed clay tool to pierce a hole on each end of your rectangles. You want each hole to big enough to push your ribbon through, so gently widen as needed.

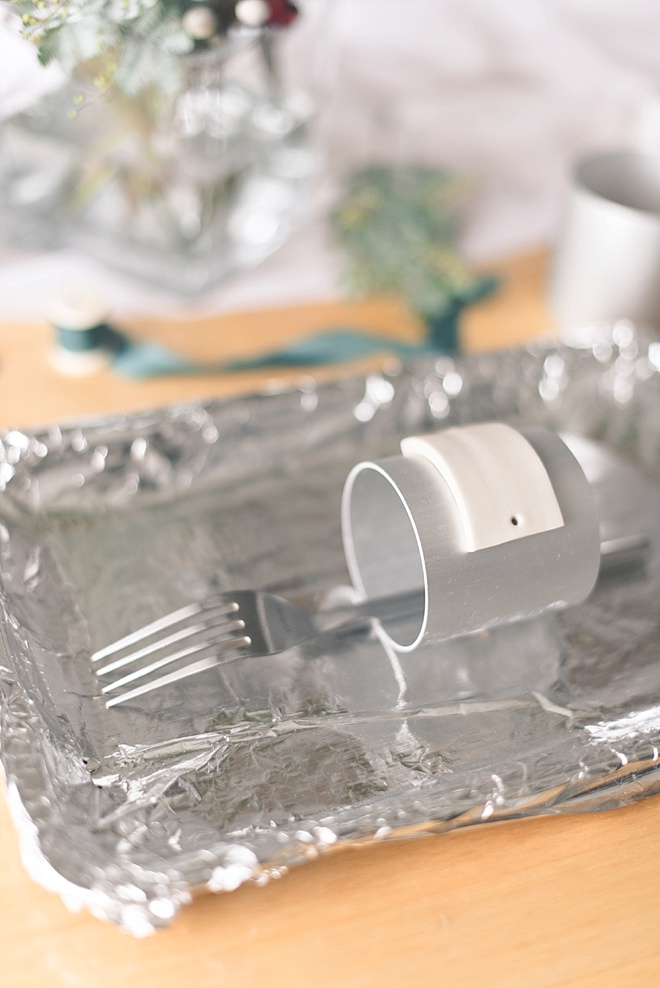
BAKE YOUR CLAY
Drape your pieces gently on a metal pastry ring (or foil-covered cardboard tube) to give your napkin rings a soft curve. Place your rings on your baking sheet and bake for 30 minutes as stated on FIMO’s packaging. (Important: Always follow your polymer clay’s guidance on its wrapper when it comes to temperatures and baking times!) To prevent your pastry rings from rolling around while baking, use an ovenproof item like a metal fork to weigh them down.
Maker’s Note
If you have a fan-assisted oven like I do in the UK, you will need to watch your clay as it bakes since your baking time may be shorter. You don’t want your clay to burn or turn brown so keep a close eye while it’s in the oven! My napkin rings baked for about 25 minutes.
If you have never worked with polymer clay before, your polymer clay will be done when it has some bendiness to it. It will harden more as it cools, but under-baked polymer clay is brittle and apt to crumble. Give your napkin rings a gentle tug after the 20 minutes’ mark to determine if further baking time is needed.
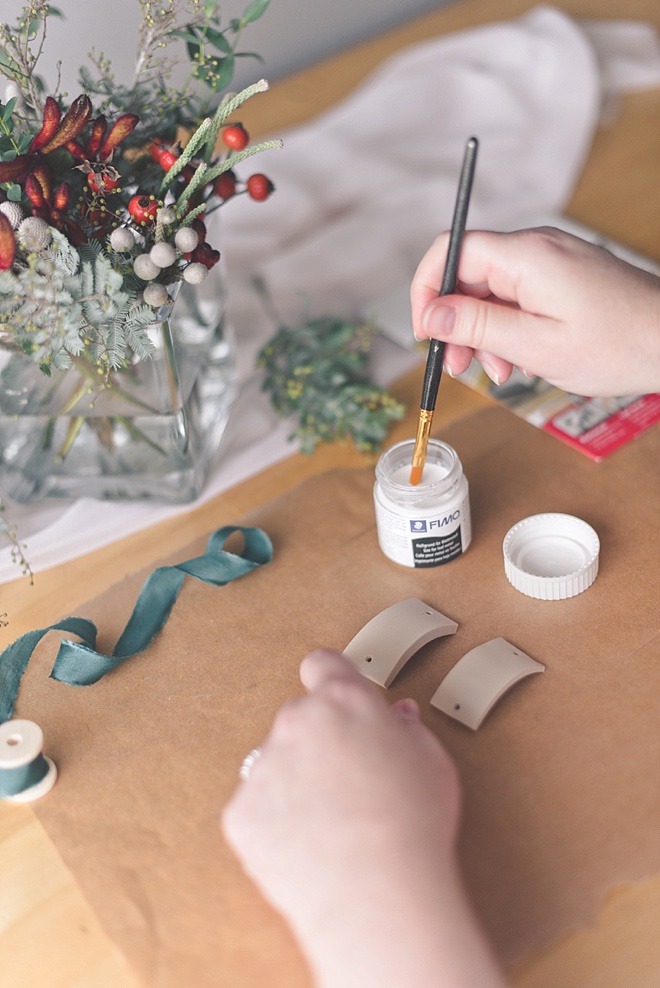
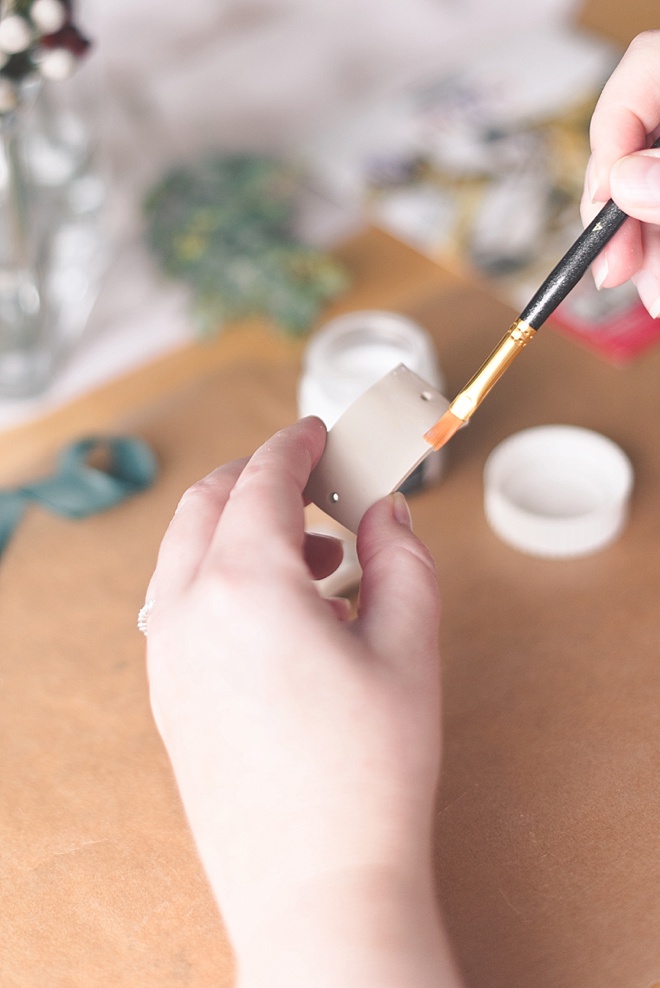
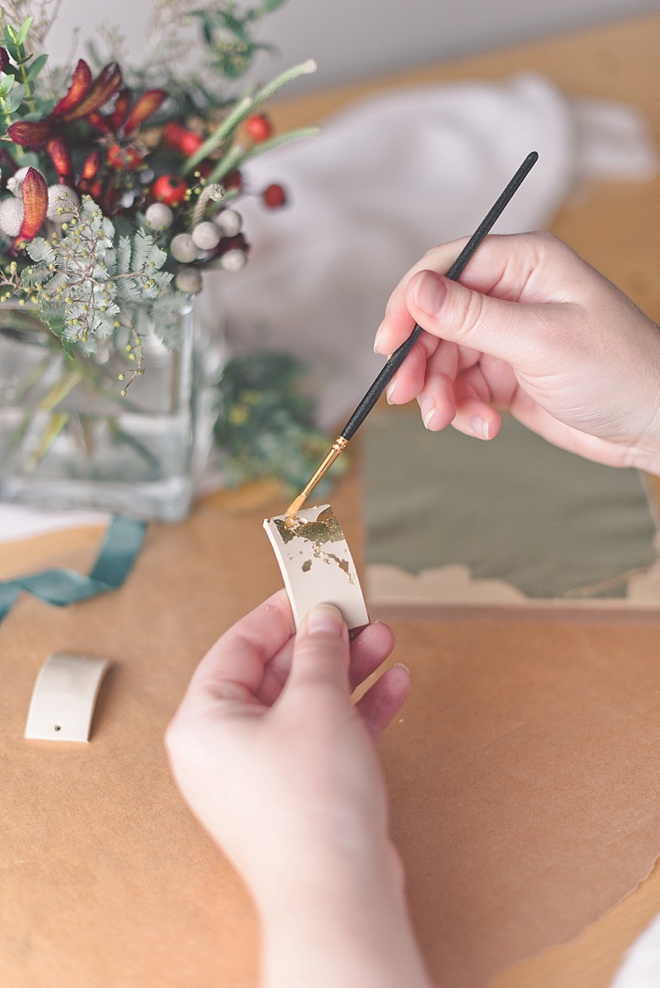
APPLY THE SIZE
Once your napkin rings have fully cooled, it’s time for the details like gold leaf! “Size” is an adhesive for delicate leaf metals and will be how you get your gold leaf to stick onto your napkin rings. So to achieve a metallic detail on your napkin rings, apply a thin layer of size with a small paint brush to where you would like to have some shimmery gold spots. Leave to dry for about 10-15 minutes.
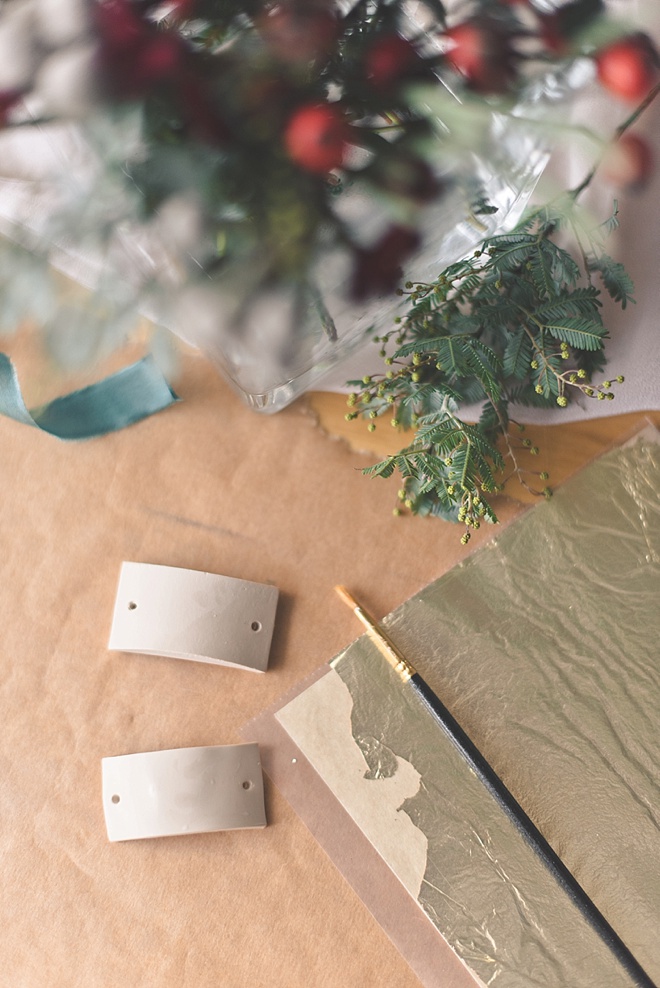
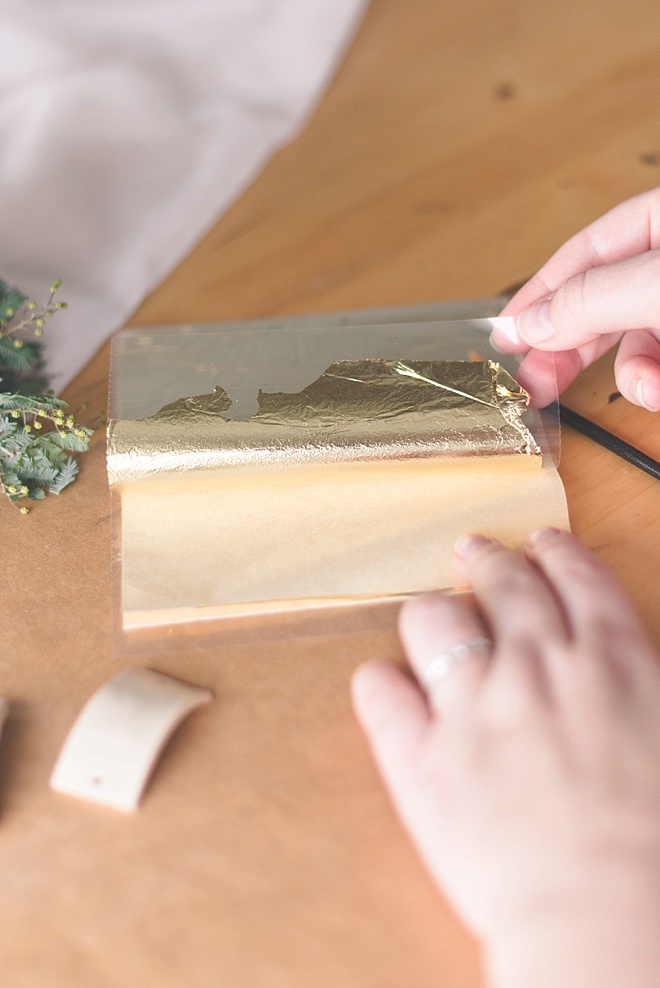
SHIMMER UP THOSE NAPKIN RINGS
Tear off small pieces of your gold leaf metal and press on carefully using a soft, dry paint brush (a different one from your adhesive brush!). Use circular motions, and don’t fret over perfection with gold leaf! The organic look is gorgeous, so apply to what you like best.
If your napkin rings are being handled often, you may also want to apply a varnish on top, but since my napkin rings will only get light use with gentle hands, I didn’t apply the additional varnish.
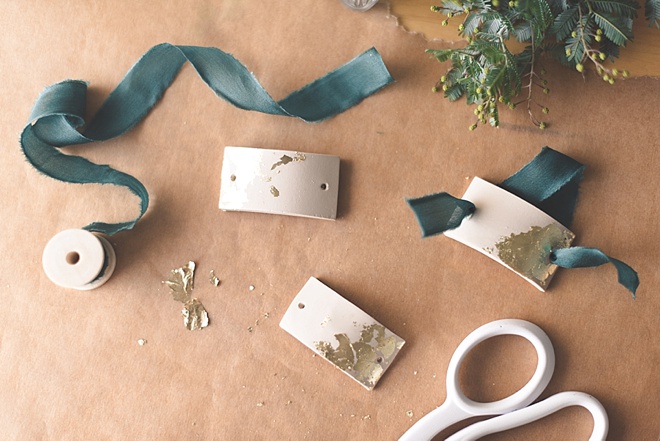
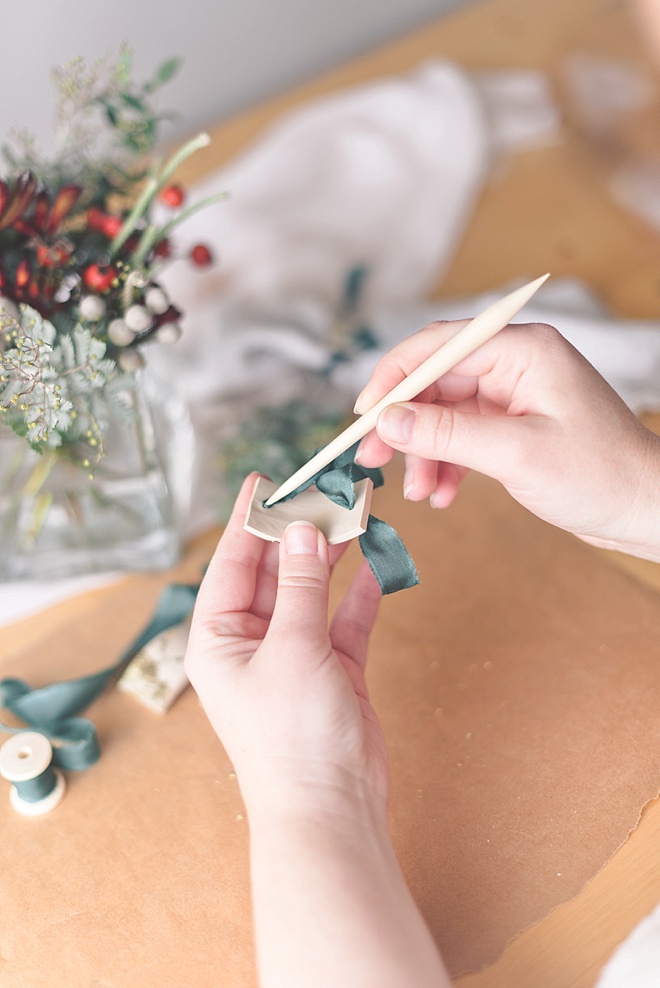
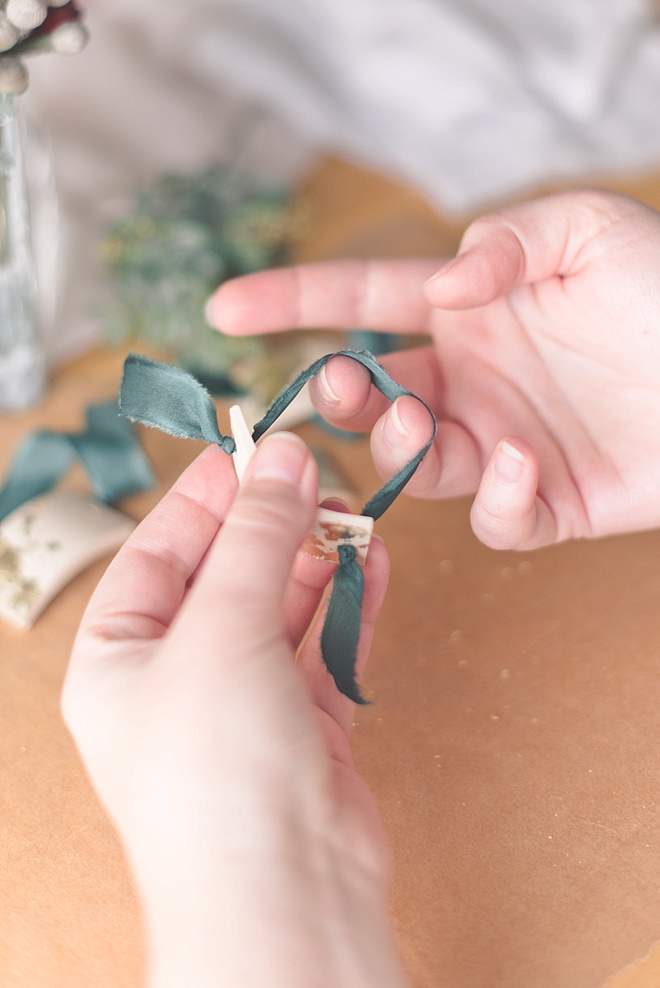
ADD YOUR RIBBON
Cut 1 ribbon piece for every napkin ring you have. My ribbons were about 7.5” long each. Use your pointy clay tool to help push your ribbon through each hole and make a simple knot to create a completed napkin ring. Adjust tightness to however thick your typical linen napkin is. And enjoy!
If you create one of our projects, please share a picture with us on Instagram or Twitter using the hashtag #somethingturquoisediy, we regularly reshare our favorites! Your profile will need to be public for us to see it otherwise, you can always DM us!


ABOUT THE MAKER
Considered an enthusiastic creator in the wedding industry since 2009, Chelsea LaVere Barton is a retired wedding photographer, editor-in-chief of Coastal Virginia’s online wedding publication, Tidewater and Tulle, and co-owner of UK-based wedding signage shop, High Oak & Co. Before her photographer days, Chelsea was a classroom art teacher and adheres to the mantra of “making life more beautiful” in all she does. When she’s not DIYing, she loves to go on local British adventures with her husband, write about said UK adventures on It’s a Hard Biscuit Life, and quietly relax at home with their cat Pickles Barrington. You can find her scrapbook of life on Instagram.
DIY TUTORIAL CREDITS
Photography + DIY Tutorial: Chelsea LaVere Barton // Polymer Clay & Supplies: FIMO courtesy of Staedtler UK // Ribbon: The Stationer Jeeves Co. via Etsy // Napkins: DecoVita via Etsy
SHOP THE SUPPLIES
Find the supplies you’ll need for this project from our affiliate links below.


Comments