

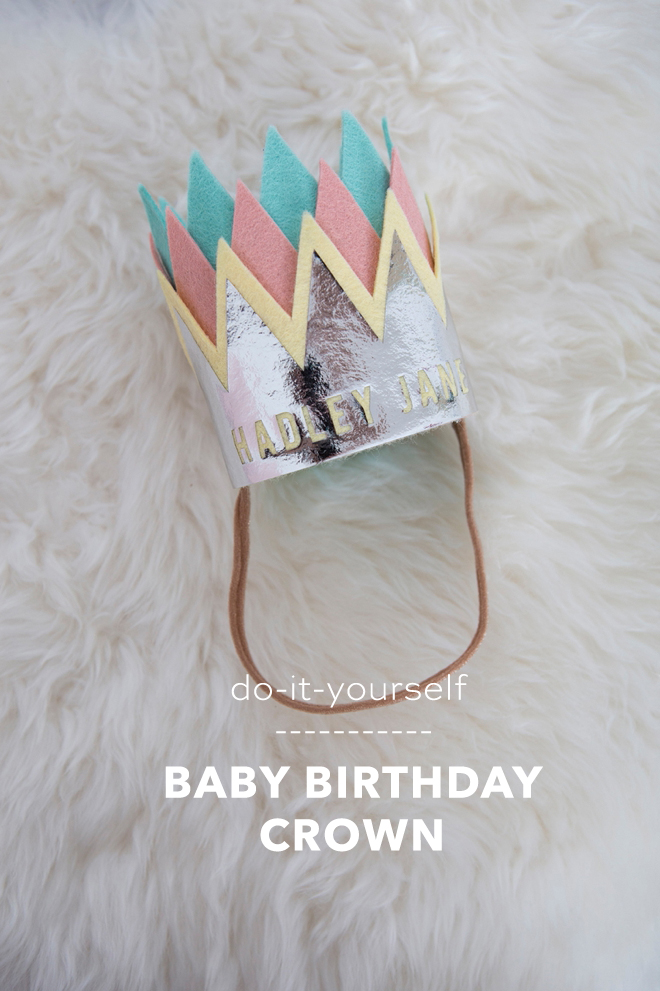
How To Make An Adorable, Personalized Babies 1st Birthday Crown
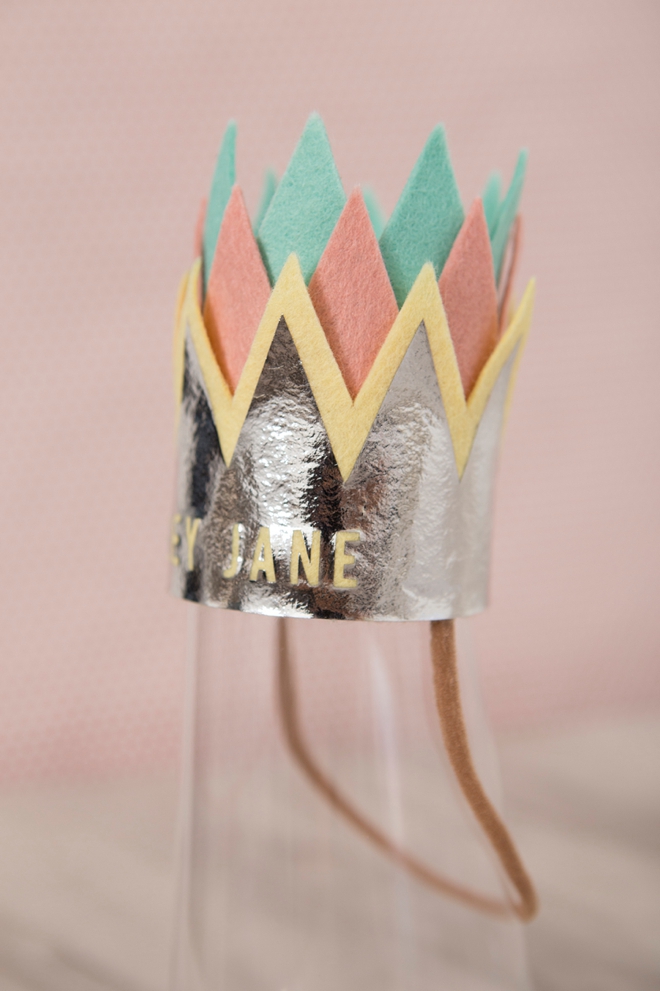
My sweet baby girl turned one this past weekend and so, of course, I had to make her a crown for her party! This darling crown can be made in any color of felt and the style is gender-neutral. Easily upload my custom designed .SVG file (for sale in our shop for only $1.99!) into Cricut Design space to customize with your little’s name. Assembly is quick and easy so that you can whip this project out and get back to the rest of your major party planning!
Personalization Made Easy
If you’re on the fence about getting a Cricut, or you need a gentle nudge to make the decision to buy one – our projects are it! Seriously, the sky is the limit when it comes to what you can make for your home and your family with the Cricut. From an adorable personalized crown like this to amazing felt flowers and everything in between. It will be your number one crafting tool throughout every season!
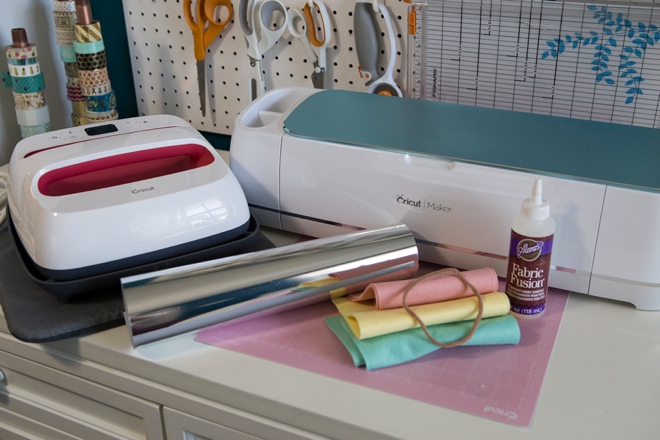
SUPPLIES:
- Cricut Maker
- Cricut EasyPress
- Cricut Rotary Wheel
- Cricut Fabric Cutting Mat
- Benzie Wool Felt (9″ x 4″ in three colors; Butter, Blush, Seafoam)
- Iron-on Material (I used silver foil)
- Cut Nylon Headband
- Fabric Glue
- Our exclusive Baby Crown .SVG cut file available in our shop for only $1.99!
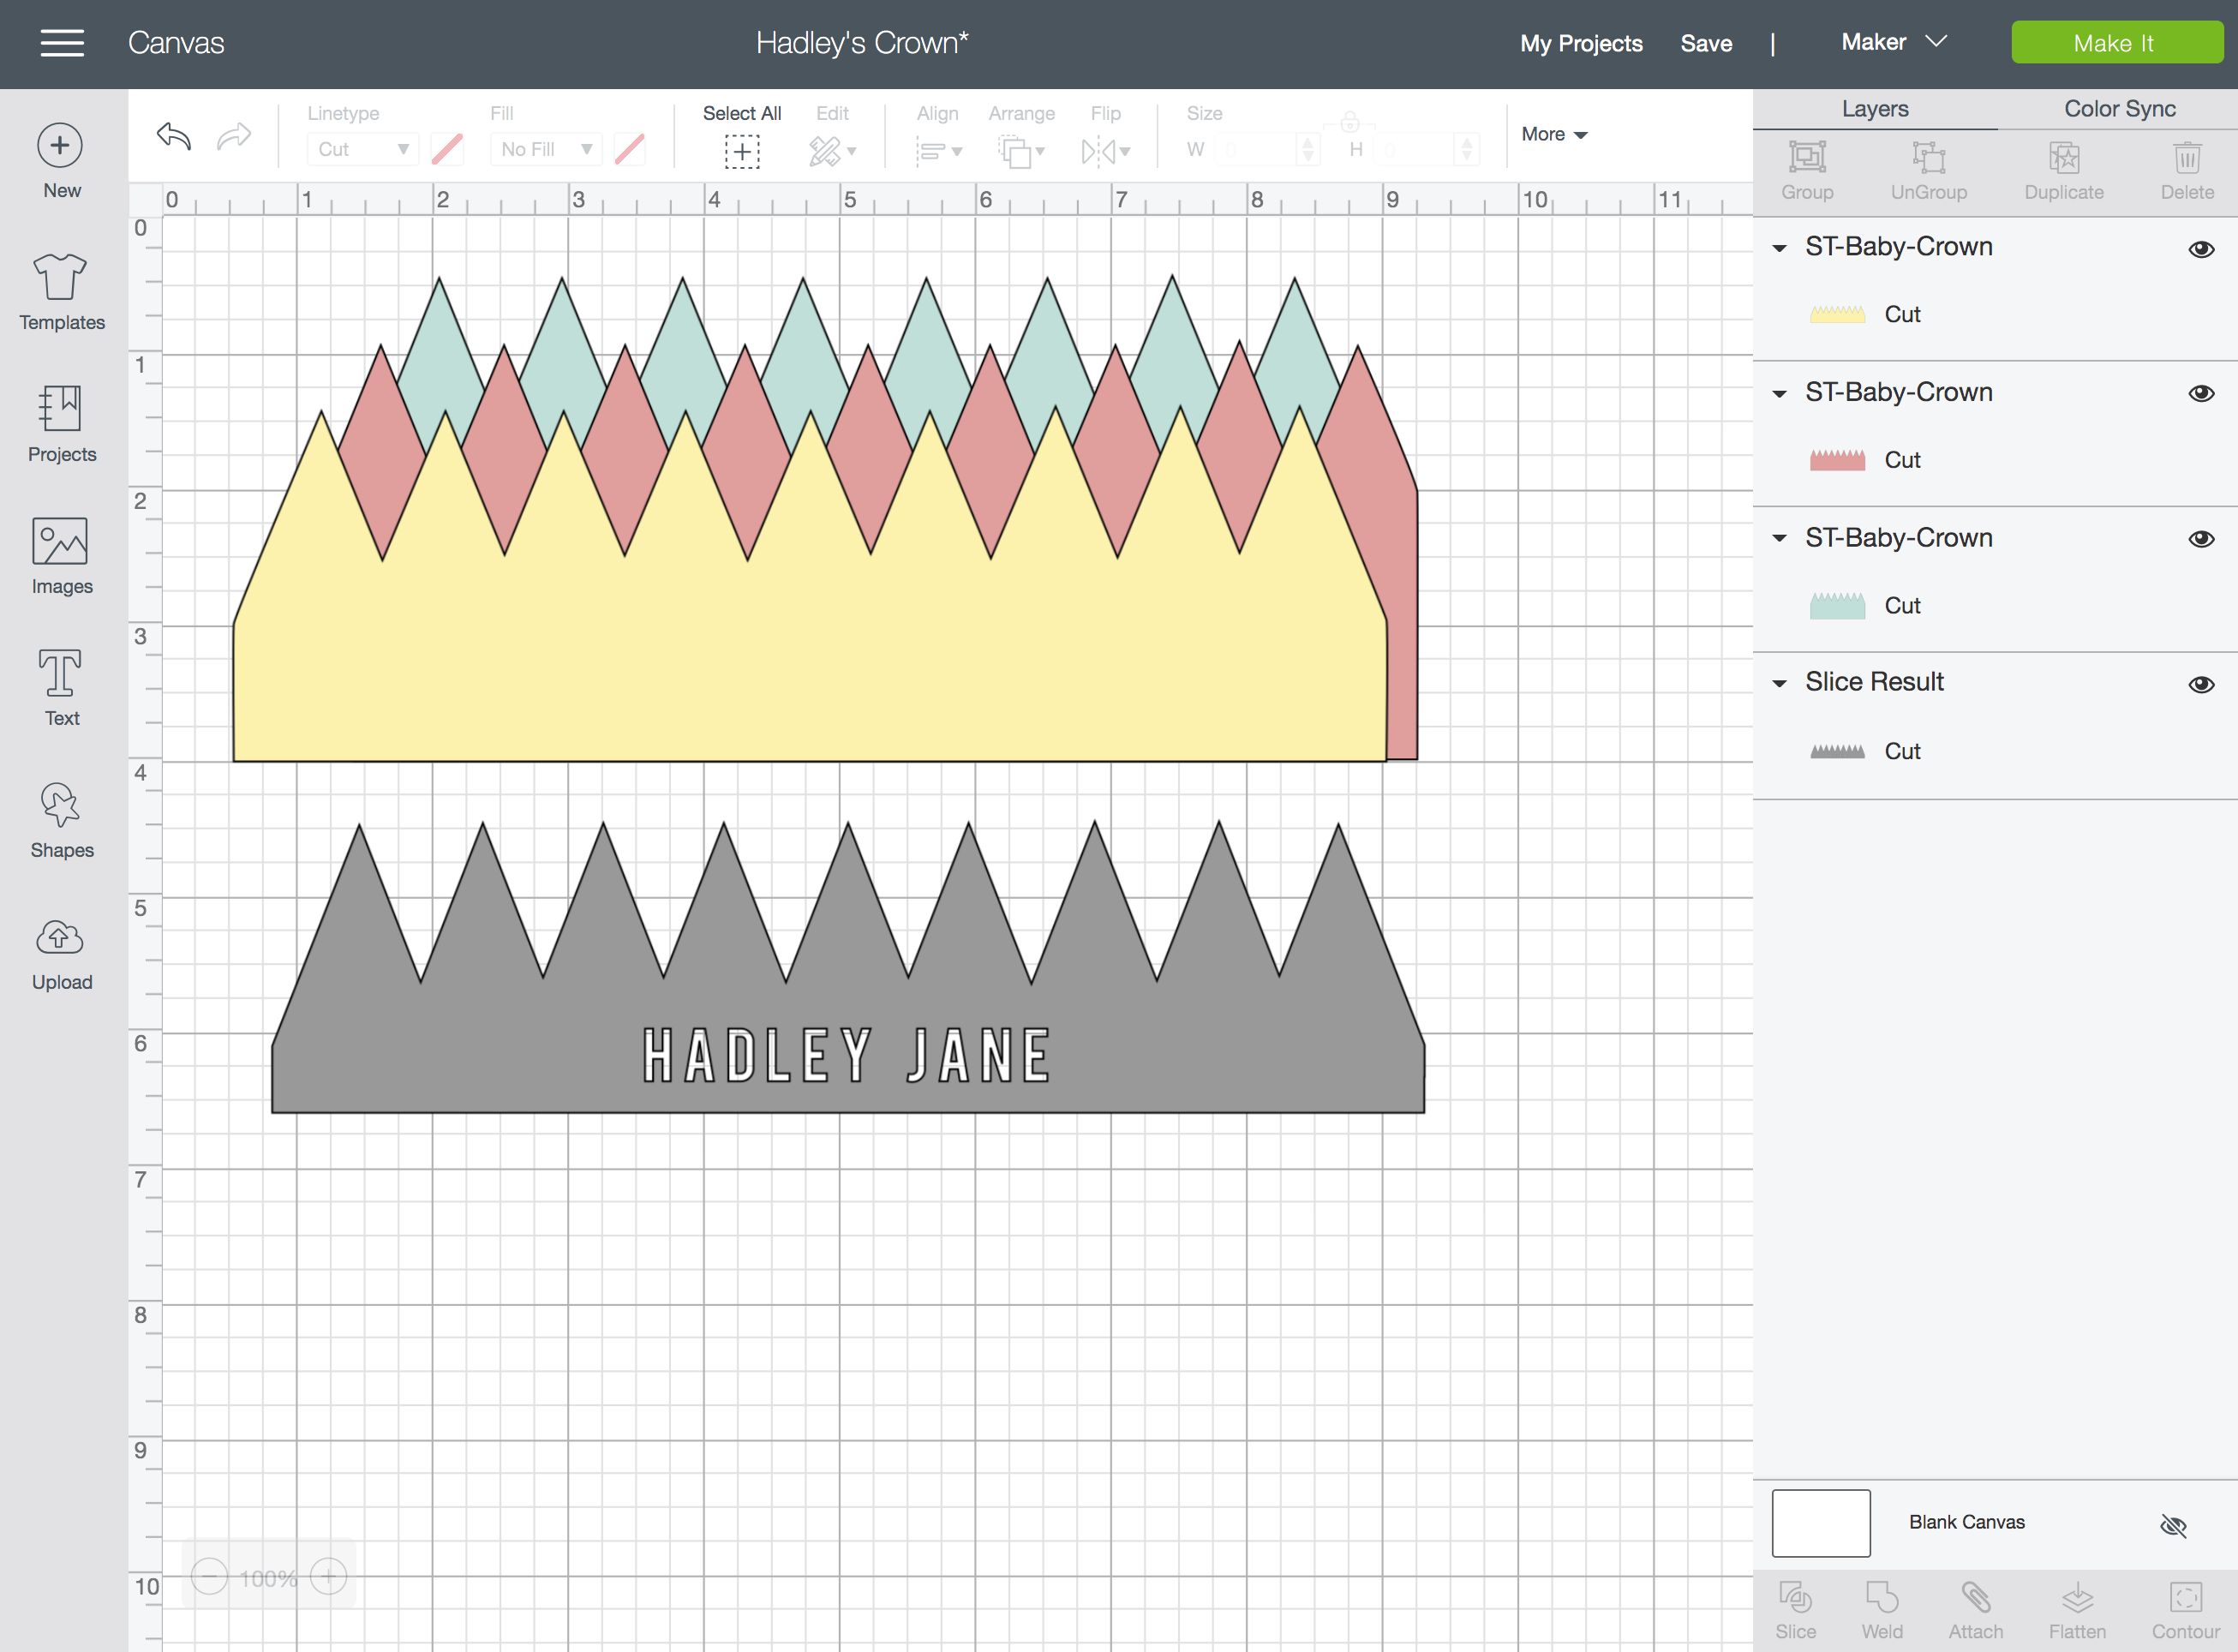
Create In Design Space
The first step is to login to Design Space and start designing your baby crown! Upload our exclusive Cricut cut file by using the “upload” button on the left tool bar. Locate the file on your computer and select to add it to your canvas. Ungroup the file to personalize by adding the colors of felt and iron-on you’ll be cutting.
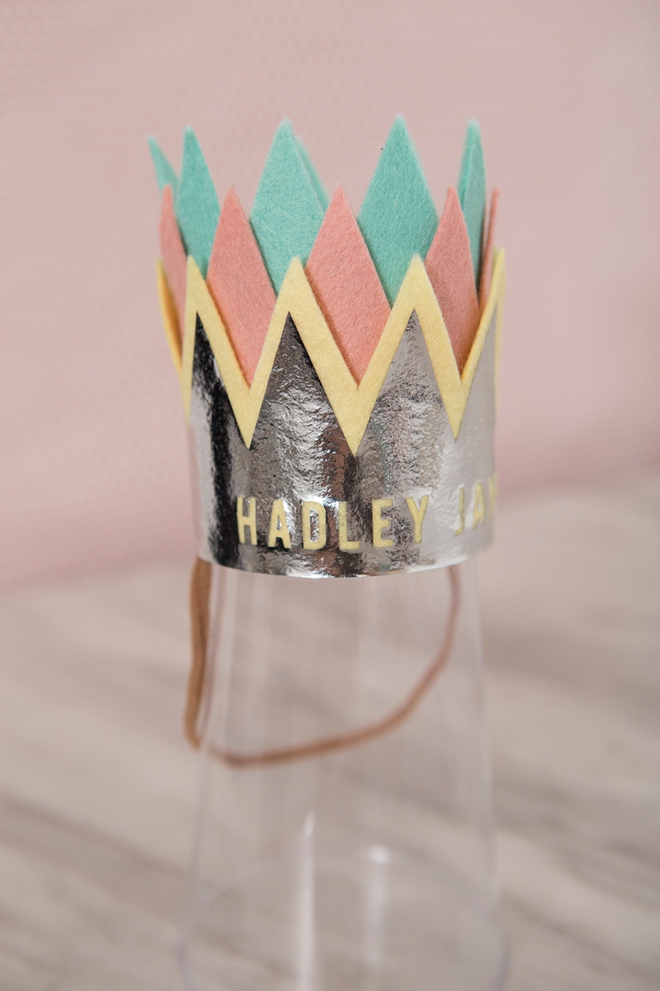
To add the name cut-out: On the smallest grey layer, add text to fit and select both the grey shape layer and the added text. Then hit the “slice” tool and slice the text from the shape. You’ll then need to delete both the text and the cut out text layers creating a see-through effect on your canvas. This will allow the last felt color to show through the iron-on to reveal the babies name!
Let Your Cricut Work It’s Magic
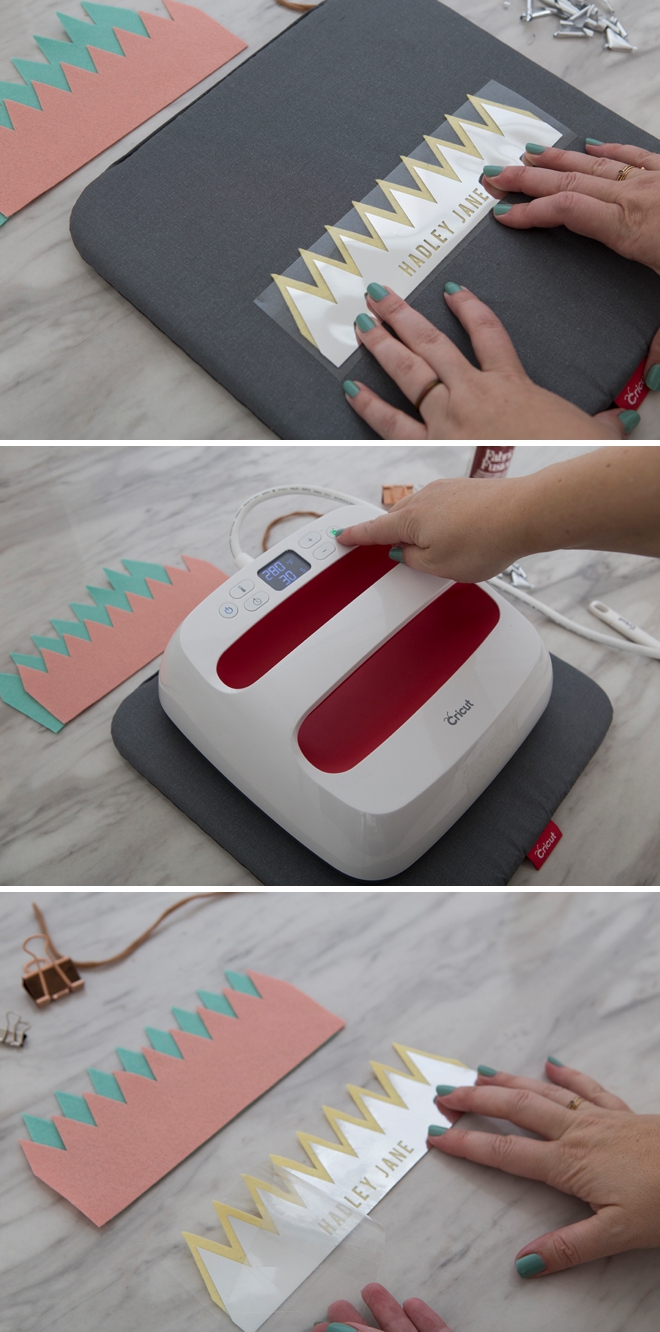
Cut your three felt mats and one iron-on mat. Don’t forget for iron-on designs the backside of the iron-on should be face up and you’ll need to click the “mirror-image” button on the cut screen canvas before cutting, otherwise the name will be backward!
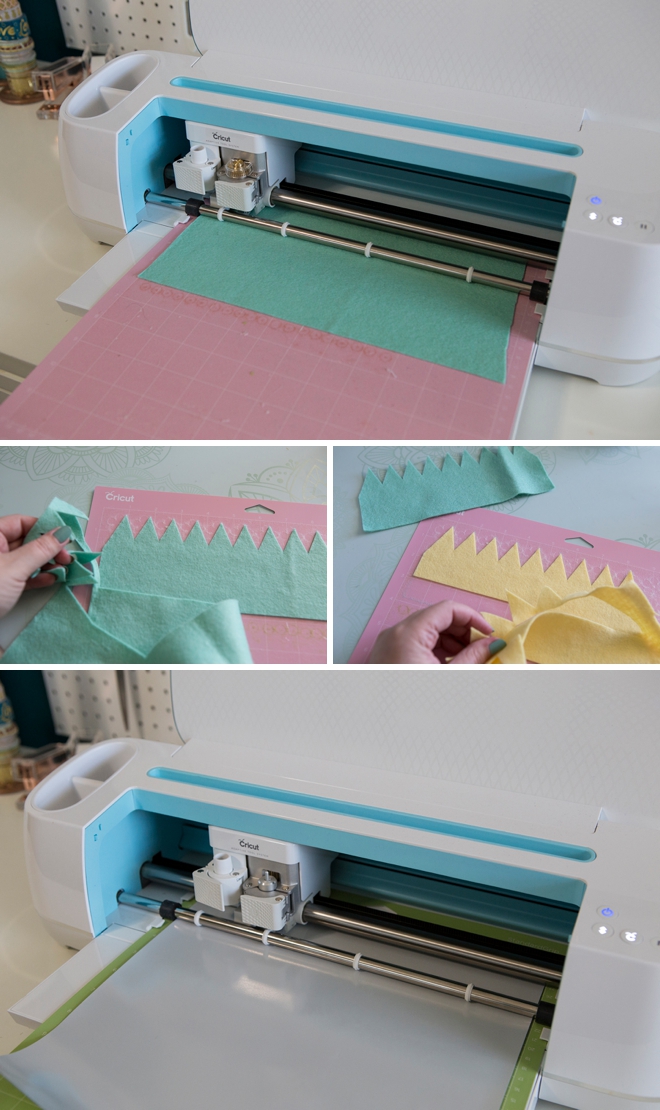
Weed The Designs
Weed, (aka. remove) all the excess iron-on material that isn’t a part of your design, basically just the letters and outer cut portion. Being careful to leave behind any inner letter pieces!
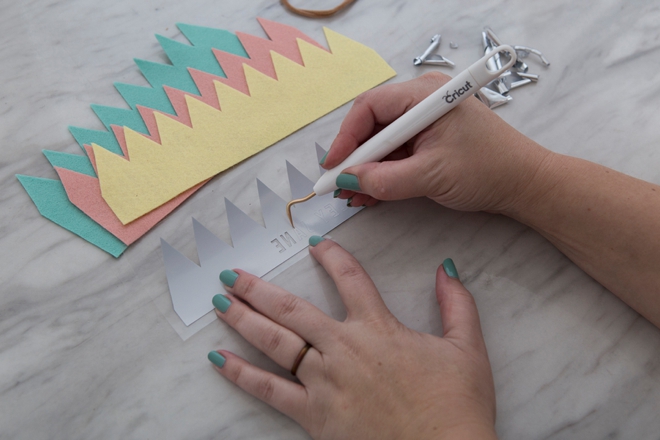
Adhere The Design
One of my favorite aspects of using the EasyPress 2 is that Cricut has already created a spreadsheet of heat times and heat temperatures for all fabrics and types of iron-on. So if you’re using foil iron-on on wool felt like we are here, there is an exact setting for that, which happens to be 280º for 30 seconds, with a cool peel. That’s what I mean by no guesswork. You don’t have to hope that your iron is hot enough or that you’ve held it on the fabric for long enough. Follow this link to find the interactive chart, then simply plug the correct temperature and time per your project into your Easy Press and press away!
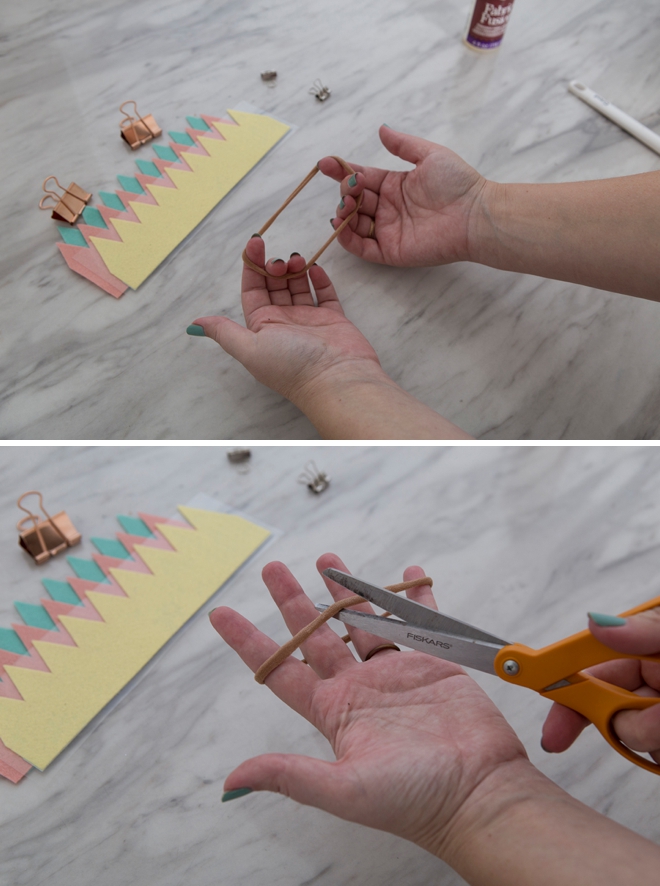
Nylon Headband
The best thing to use as a headband in my book is a pair of nylons! For more info you can visit this post. Cut one nylon headband in half to prepare to glue it into the crown.
Glue In Layers
Using your favorite fabric glue (I tried hot glue first and it left the felt bumpy and stiff unfortunately) adhere all three layers together, with the headband inside. Gluing them together slightly cockeyed, like I show them laid out on the Design Space canvas and here on my desk, will allow the layers to wrap together and line up perfectly.
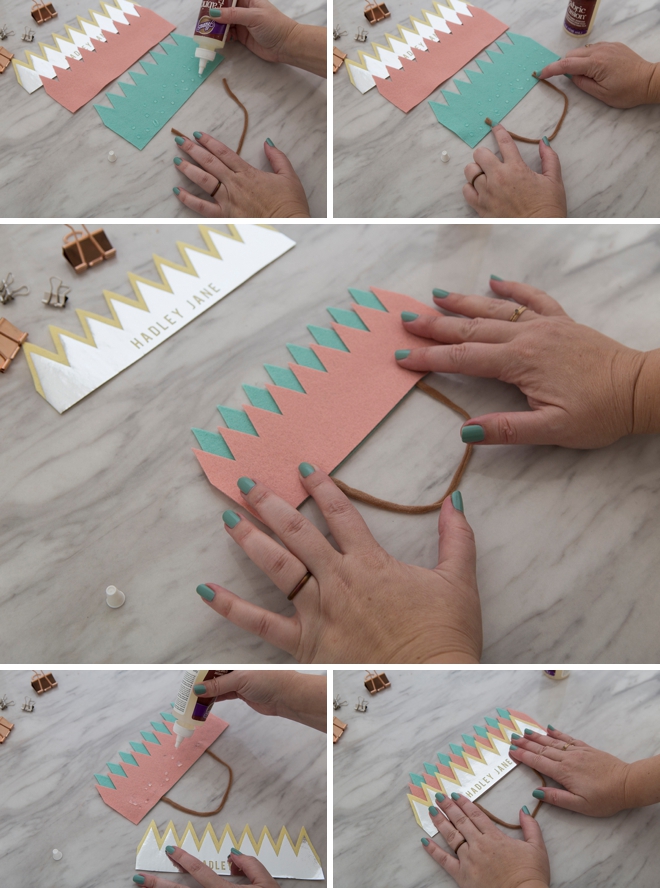
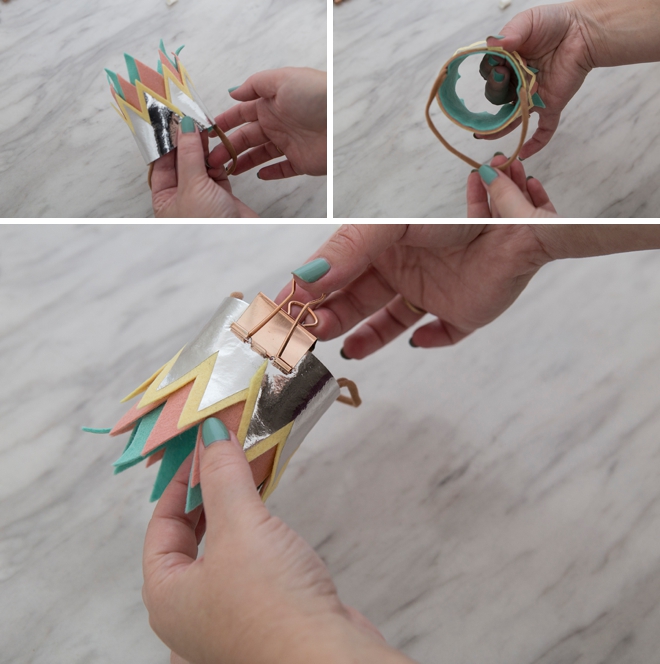
Glue Together
Carefully wrap the felt layers together while the inside glue is still wet, smoothing any interior bumps as you go. Add more glue and secure with binder clips or the like. It only took about 20 minutes to dry and I was able to get rid of the binder clip mark by hitting the crown with a hot blow dryer.
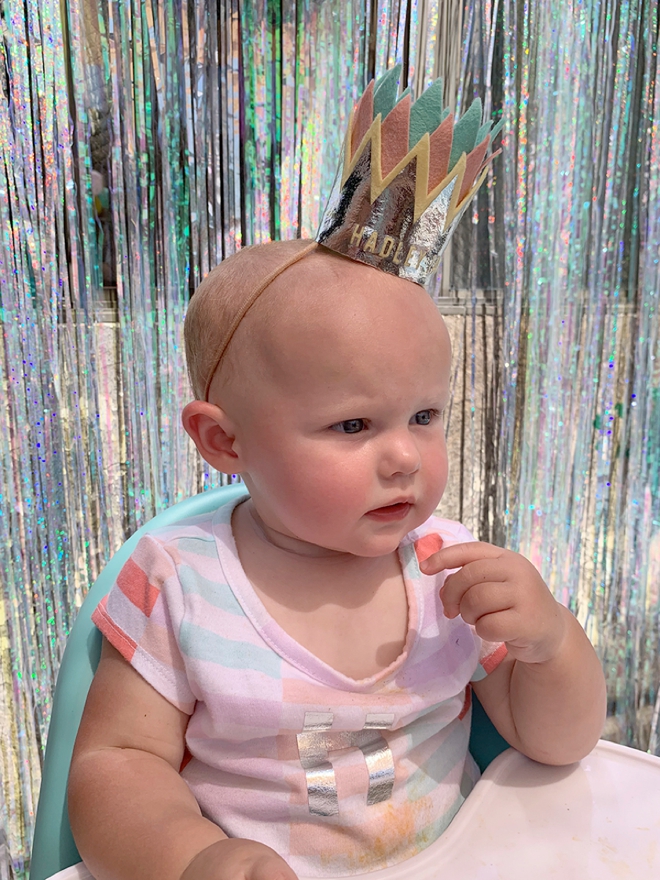
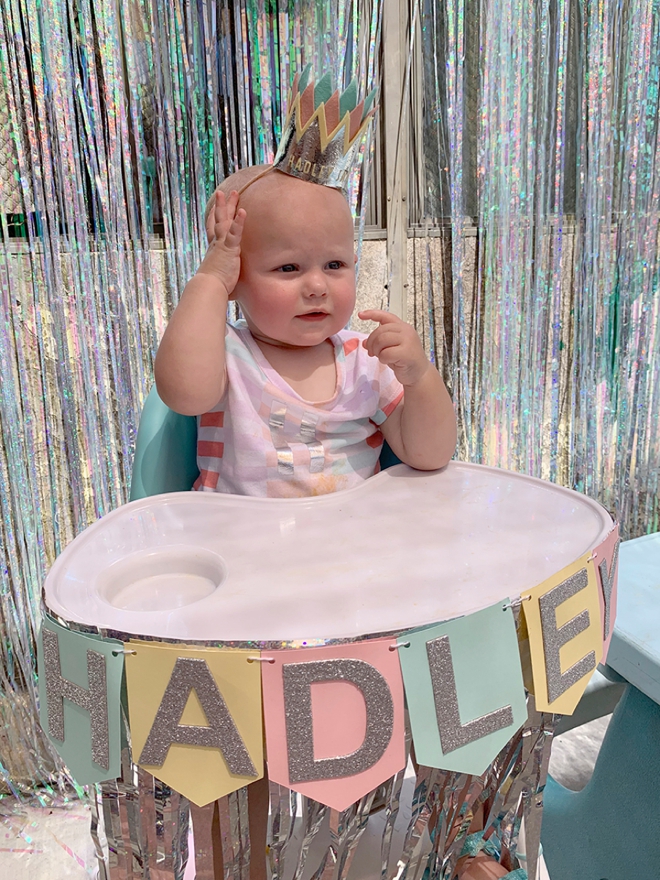
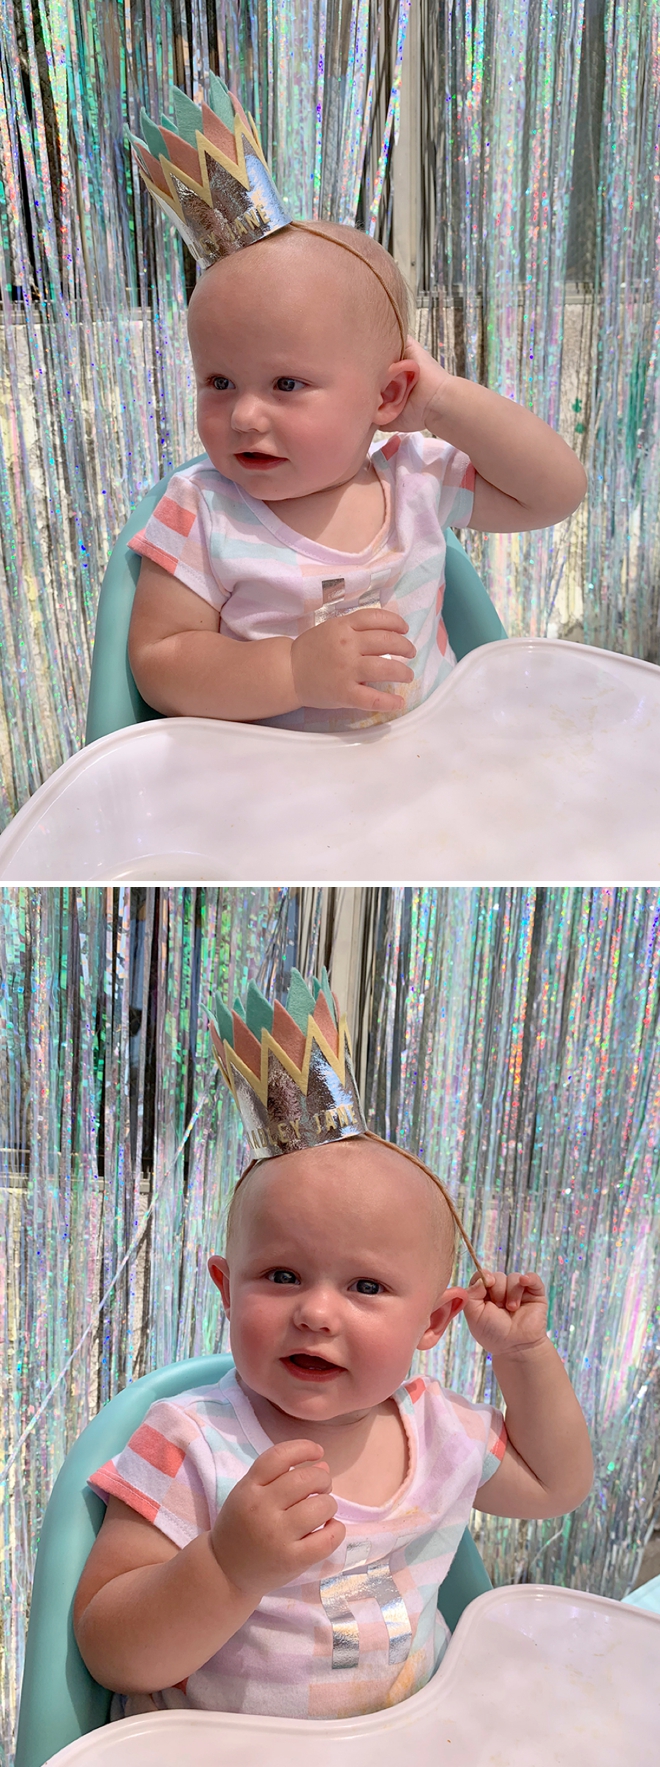
Happy Birthday Baby Girl
She left the crown on just long enough for me to snap a few pictures of her in it and for everyone to sing Happy Birthday, which she was both intrigued and a bit freaked by the attention. She’s now reached the age where all headbands come right off… but it was fun while it lasted!
As with all our DIY tutorials, if you create one of our projects please send us a picture – We Love Seeing Your Creativity! If you use Instagram or Twitter please use the hashtag #SomethingTurquoiseDIY and it will show up on our Get Social page. Happy Crafting!
DIY Tutorial Credits
Photography + DIY Tutorial: Jen Causey of Something Turquoise // Blue Cricut Maker, Iron-on, EasyPress and Supplies: courtesy of Cricut // Benzie Felt in Butter, Blush, and Seafoam: Etsy // Aleene’s Fabric Fusion: Amazon // Nail Polish: OPI – Withstands the Test of Thyme
Shop The Supplies:
Find the supplies you’ll need for this project from our affiliate links below:


Comments