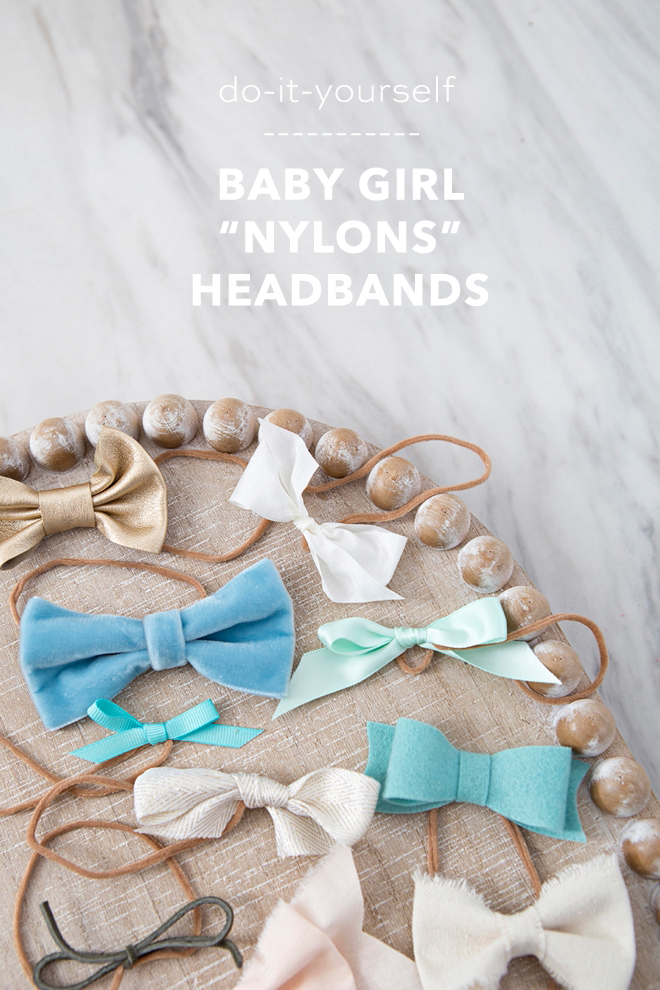
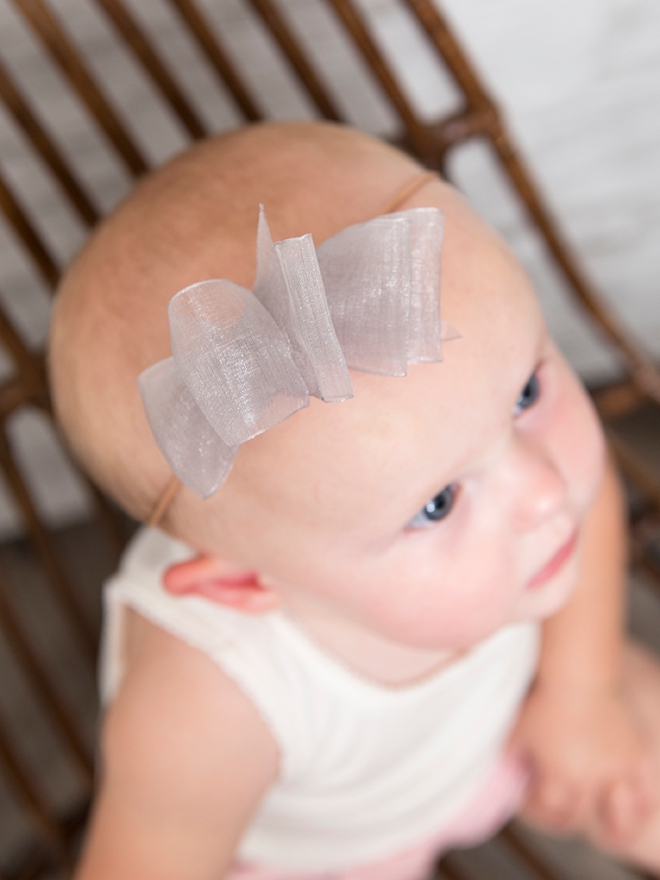
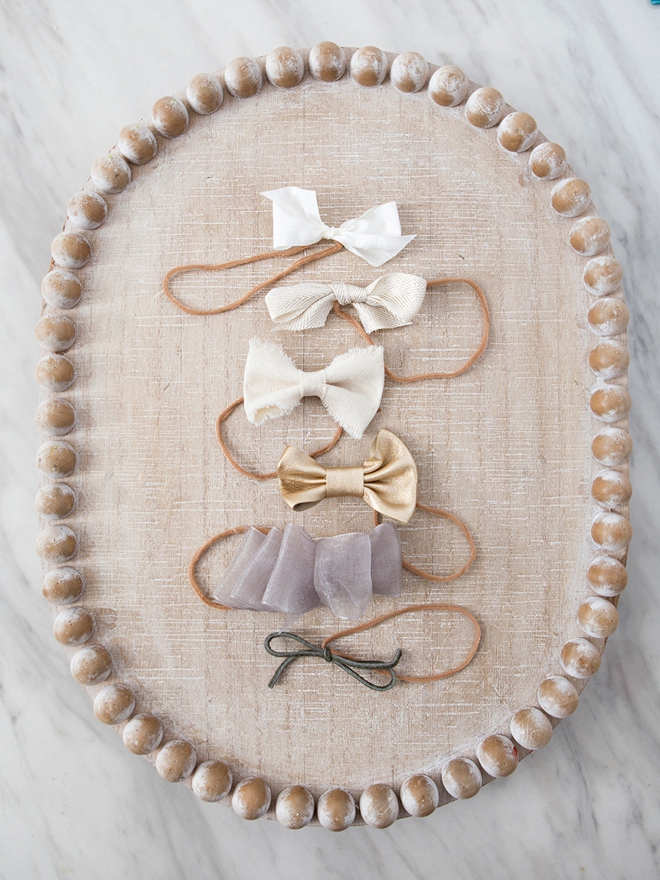
Hands down the best “elastic” to use for your babies headbands is none other than ladies nylons! One pair can yield up to 100 headband elastics! The best part is that from the newborn stage to upwards of 2 years old, one pair will suffice. Cuttings from the toe area will be smaller and cuttings from the thigh area will be larger, which is absolutely perfect for your growing baby girl. Nylons are incredibly soft and stretchy making for the perfect fabric to wrap around your babies head. Any pretty ribbon will do and with a little hot glue, you’ll have darling custom headbands in no time!

Any Color Will Do
There are many different skin tones so it’s wonderful that nylons come in the tones to match. They also come in many other colors and sheens. Some have sparkles, some are rainbow, some are flat. Use ANY color and type of nylon that you want for your baby bows!
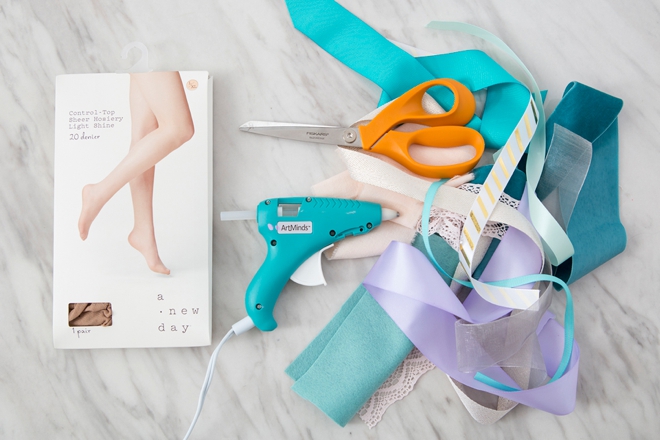
SUPPLIES:
- Nylons (in any color!)
- Ribbons, Faux Leather, Felt, etc.
- Hot Glue Gun
- Scissors
Cut The Nylons
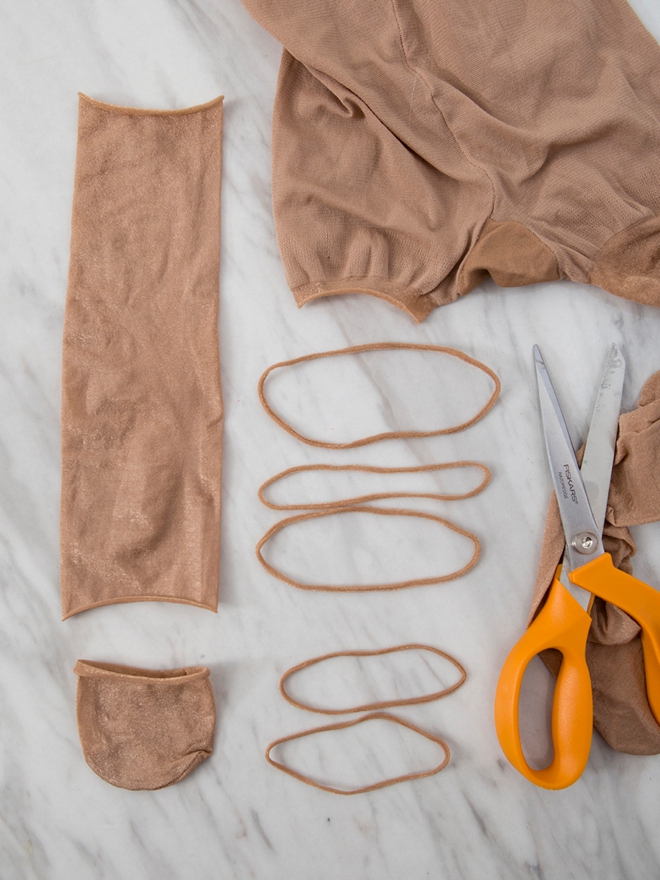
You’ll be cutting the nylons straight across the leg, about 1/4″ should be the perfect width. Use the “toe and ankle” area for smaller headbands and the “knee to thigh” area for larger headbands. I purchased L/XL nylons just for this project, I did not use an old pair. Then give each band a simple stretch.

Simple Tie Bow
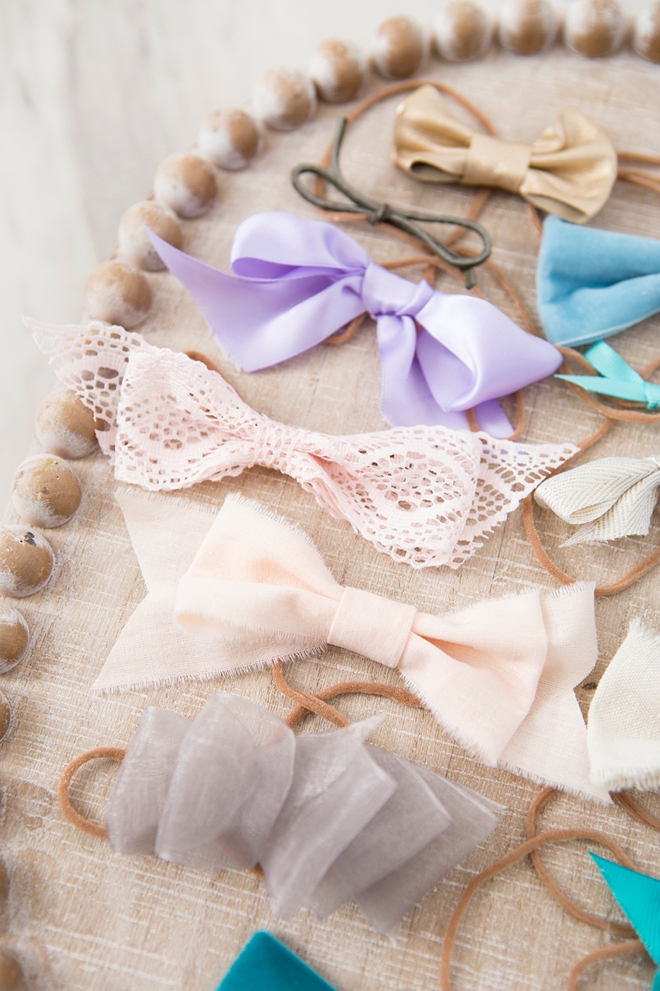
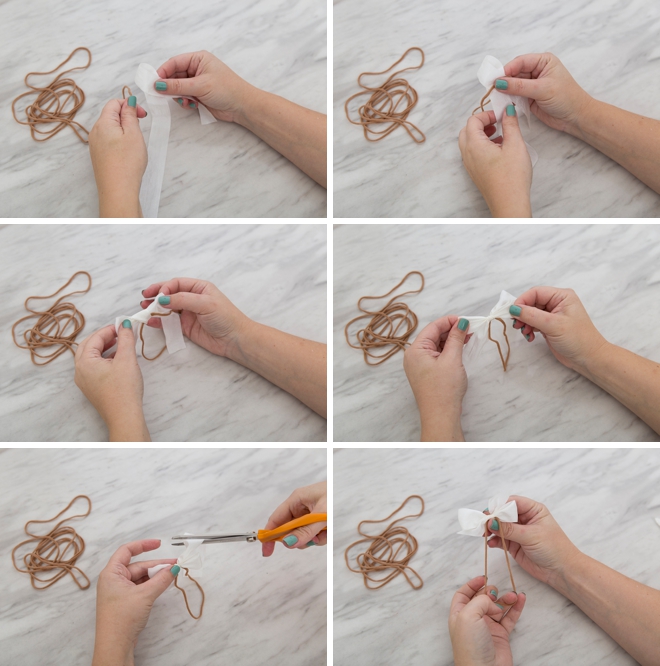
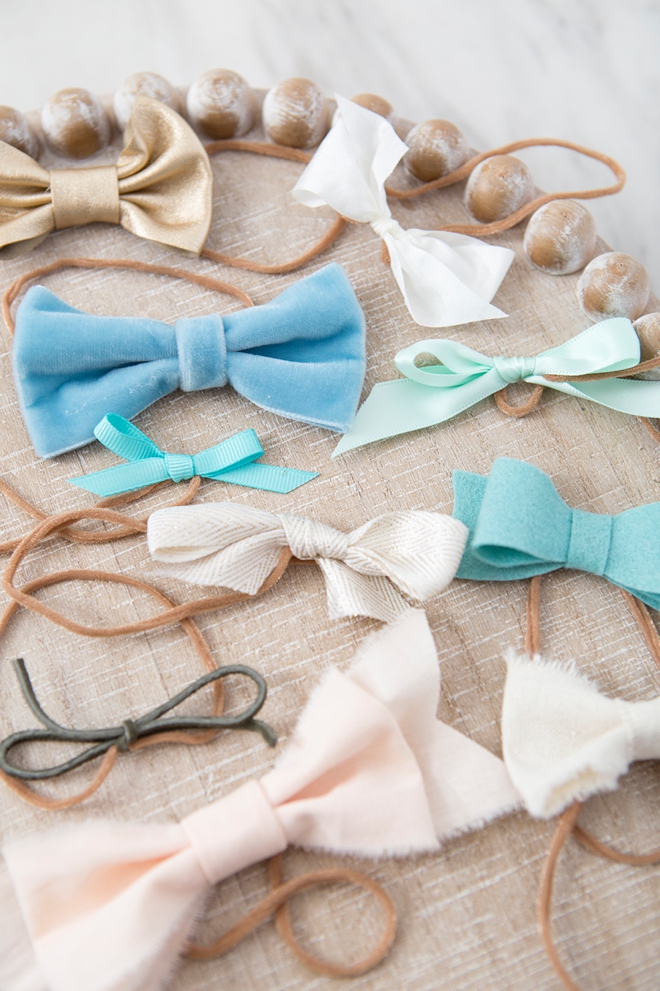
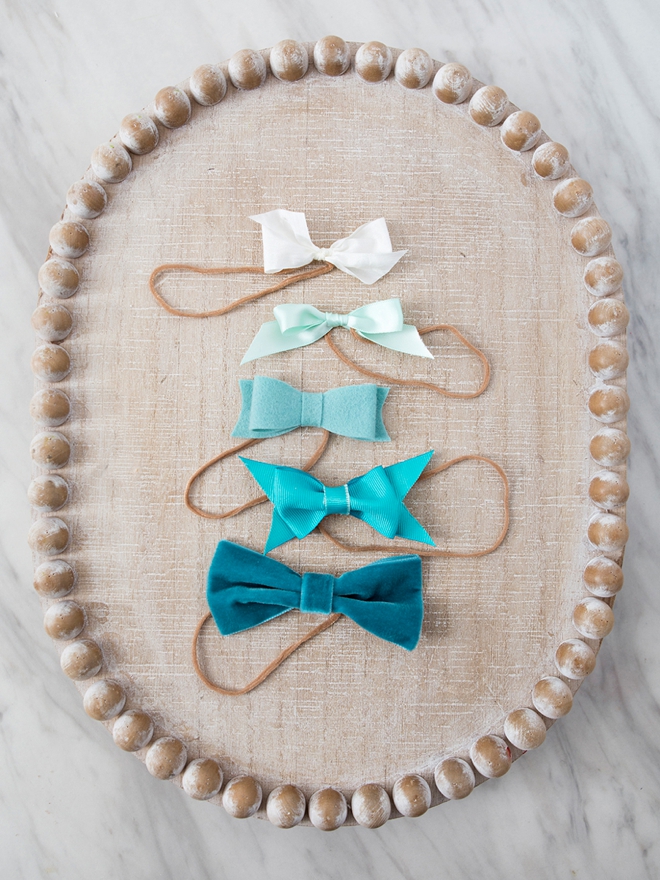
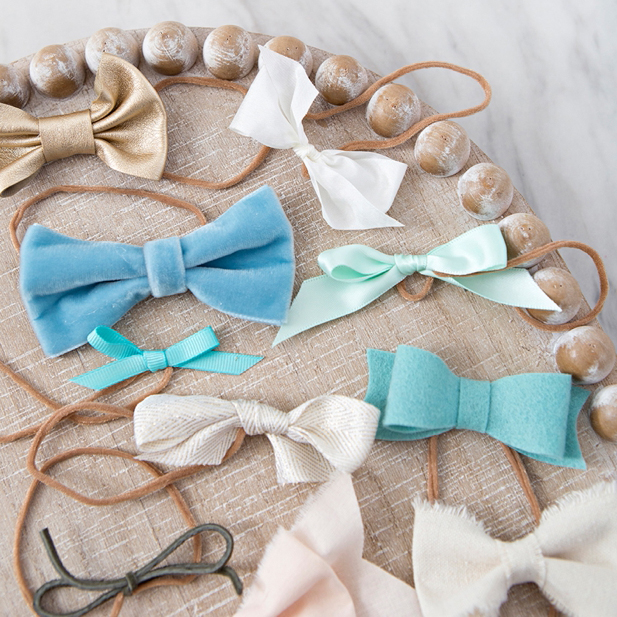
The EASIEST type of bow to make is just a regular old tied bow. Fold the first loop and place the elastic on top, before tying the rest of the bow. Making sure to tie the elastic within the bow. Add a small bit of hot glue to secure the bow if you’d like. This can be done with any kind of ribbon but works best with thinner and smaller styles.
Felt or Faux Leather Bow
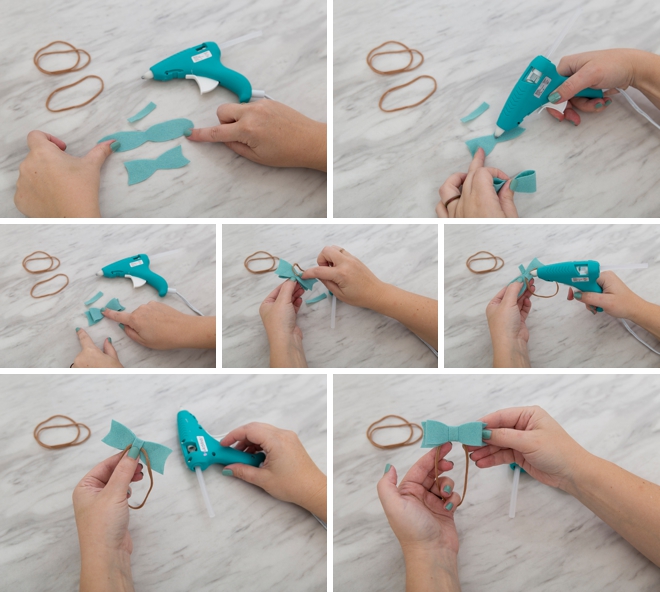
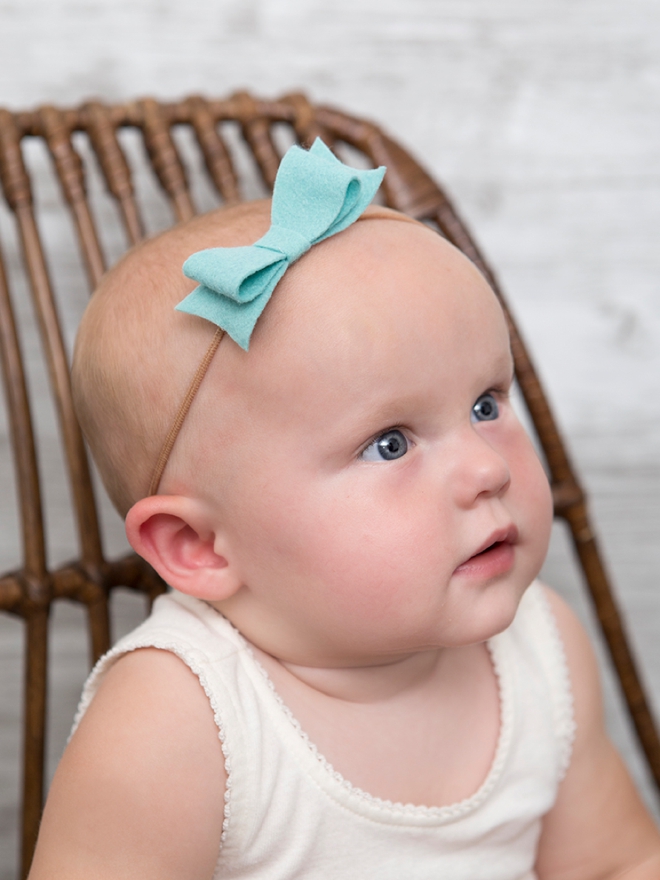
This shape and technique is perfect for using with thicker materials like felt, faux leather, velvet and more. There are MANY bow templates online that you can follow or you can cut yours similar to mine. Make your bow any size you’d like. Fold the looped bow pieces together and glue to the base. Then wrap the center piece around the bow and make sure to glue the elastic inside of the wrap. That’s it!
Fold + Glue
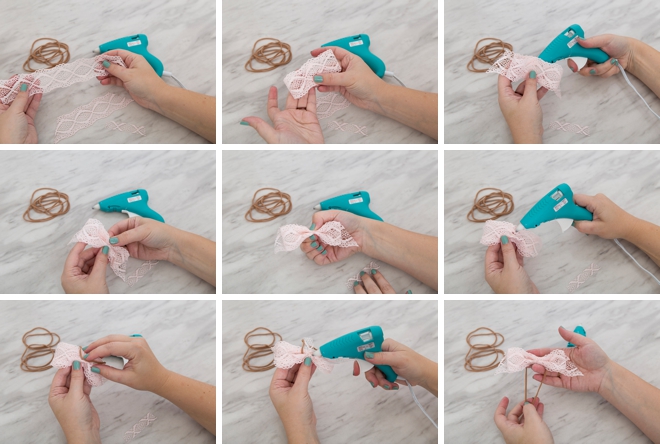
This bow style is perfect for all your thicker ribbons. Cut a small piece that will go underneath the bow to look like it’s the cut ends (this piece is optional you can make the bow without it). Then cut a piece of ribbon double the length you want your bow to be. Fold the ends of the ribbon behind itself, and glue evenly in the middle. Now pinch the folded ribbon in the middle and glue to the “cut ends” base. Then cut another piece of ribbon to wrap around the center. Glue the center ribbon around the rest of the wrapped ribbons, keeping in mind you’ll also need to glue an elastic on the backside before you finish wrapping and gluing the center piece of ribbon.
Wrap + Fluff
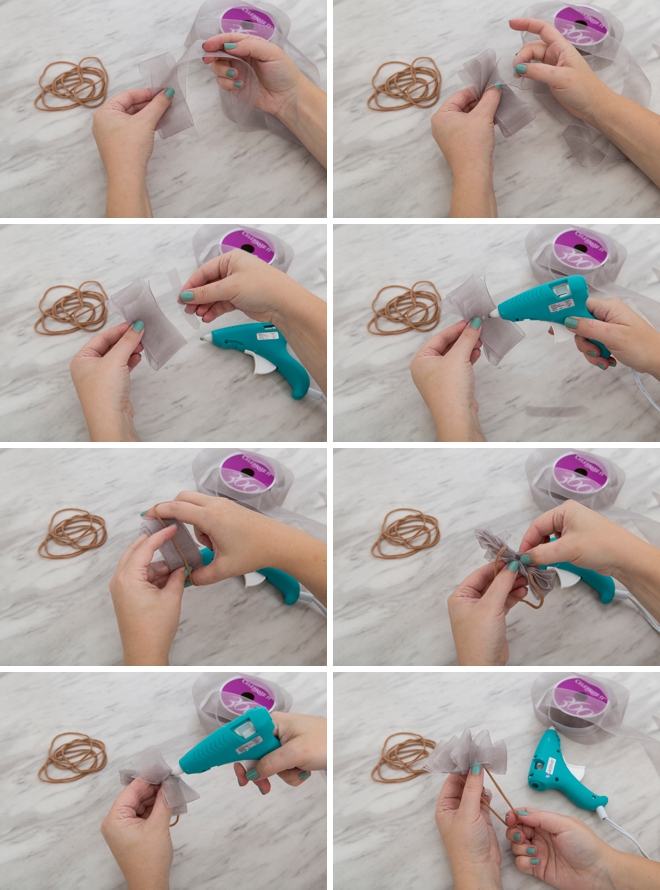
This is a fun one that ends up being fairly big. Fold and wrap about 5 layers of wide ribbon in a stack. Then cut a skinnier piece to wrap and glue around the center like the other bows. Wrap and glue the center while also gluing an elastic on the backside. Then fluff out each ribbon layer and add a tiny bit of glue in between each to hold them in their fluffed up position.
The Clear Nail Polish Trick
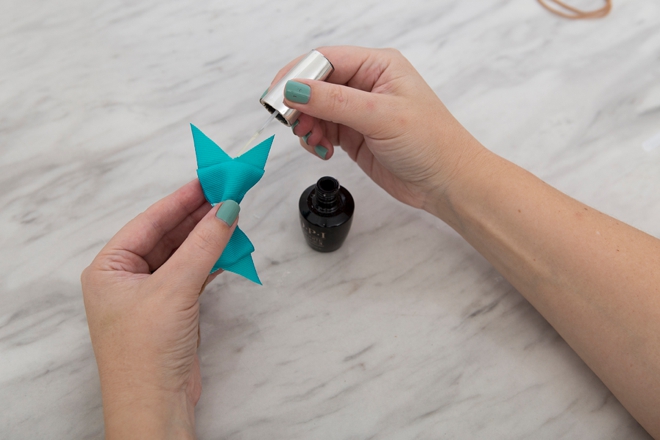
If you’re using a grosgrain or other type of ribbon that frays when it’s cut, simply paint the edges with clear nail polish! No more fray!
Quick + Easy
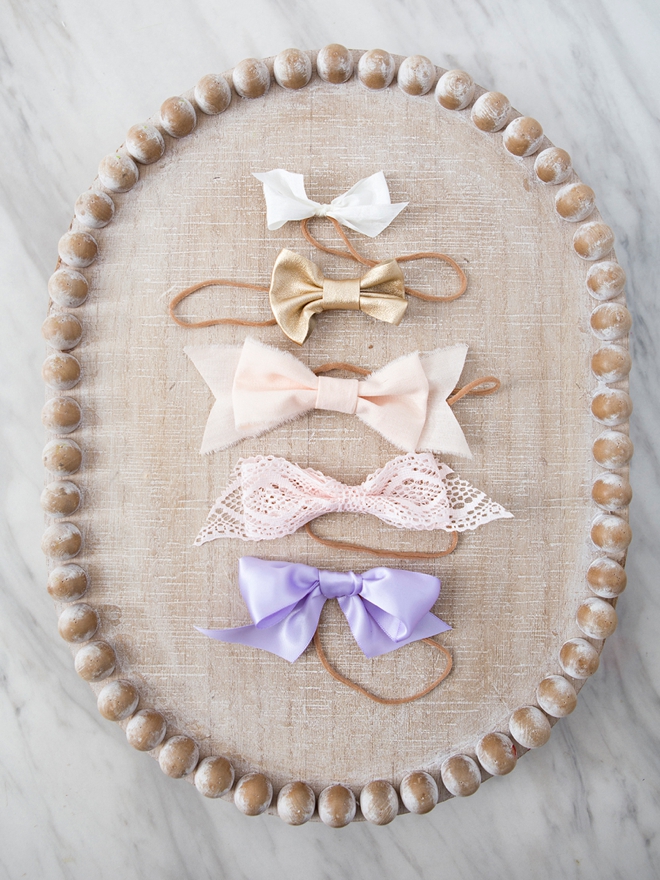
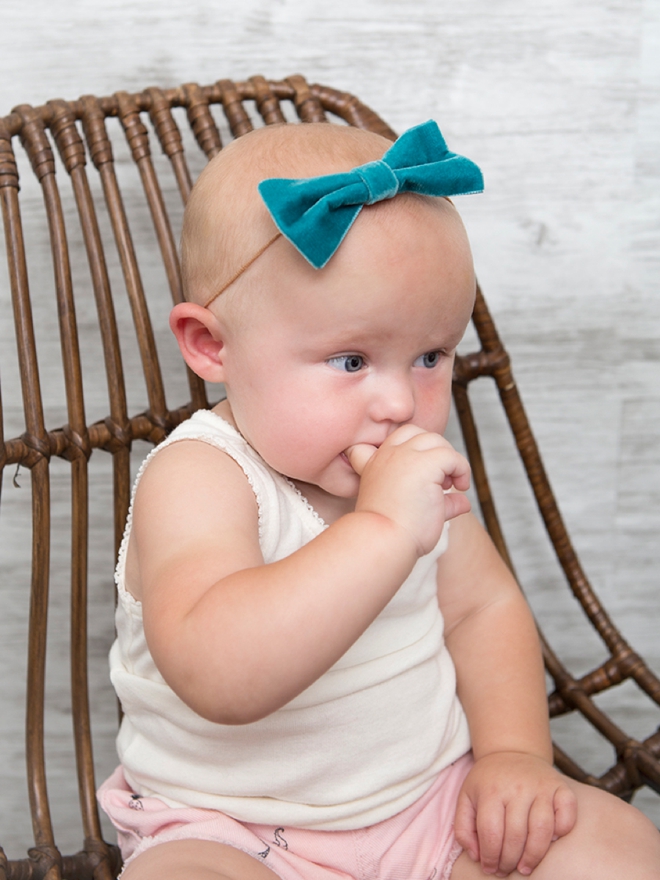
If you keep a few of these cut elastics handy, and you happen to have an extensive ribbon collection like I do, whipping up a bow for a new outfit will take you no time at all. Not to mention being able to make up a bunch of these quicky, easily, (and cheaply, LOL) for newborn baby girl gifts!
As with all our DIY tutorials, if you create one of our projects please send us a picture – We Love Seeing Your Creativity! If you use Instagram or Twitter please use the hashtag #SomethingTurquoiseDIY and it will show up on our Get Social page. Happy Crafting!
DIY Tutorial Credits
Photography + DIY Tutorial: Jen Causey of Something Turquoise // Nude Nylons: Target // Ribbons + Fabrics: Personal Stash // Scissors: Fiskars // Glue Gun: Michaels // Nail Polish: OPI – Withstands the Test of Thyme
Shop The Supplies:
Find the supplies you’ll need for this project from our affiliate links below:



Comments