

DIY Baby Shower “Mommy-To-Be” Sash
-Sponsored Post-
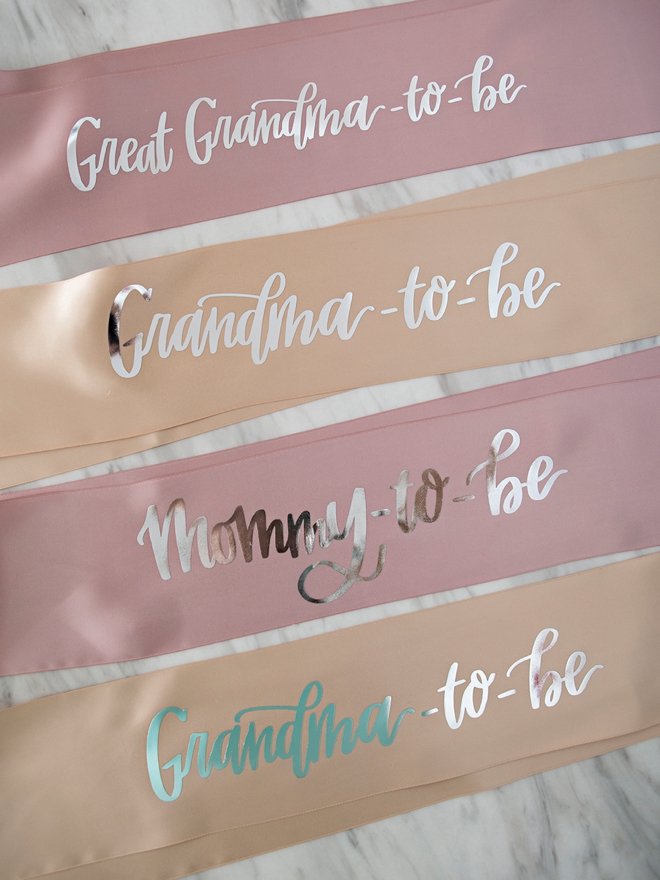
I’ve wanted to be a mama my entire life, so making this sash for myself (rather than a friend or family member) was actually a surreal experience and I’m thrilled to be sharing how I made them here today! To honor the mamas who came before me, I also made sashes for the Grandmas and Great Grandma “to-be”. I had the 3 designs hand-lettered and turned into .SVG cut files to use with my Cricut Explore Air2 and I’m sharing those files for free at the end of the post. Just click the graphic to download and save, then upload to your own Design Space canvas to create. That’s one of my favorite things about Cricut; you can design custom creations using your own digital files!
Baby Shower Week: To see the full baby shower feature, visit this post.


Perfect For Any Shower
Whether it’s your baby shower or a friends shower, these sashes are super quick and easy to make – and would be perfect for any theme event. Need a quick gift or special added touch, these sashes are it!


I brought my rocking chair to the event to sit in while I unwrapped presents!

SUPPLIES:
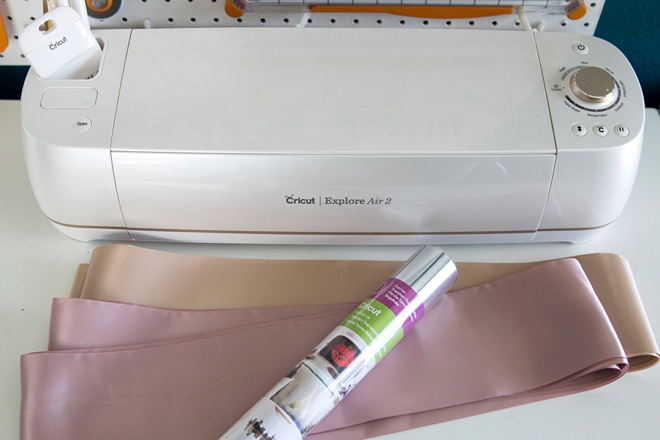
- Cricut Explore Air2 Special Edition, Martha Stewart Machine Bundle
- Cricut Iron-on Foil, I used Chrome
- Cricut Easy Press and Mat
- 6’ x 4” Wide Satin Ribbon, per sash
- Sewing Machine
- Our FREE .SCG files at the end of the post!
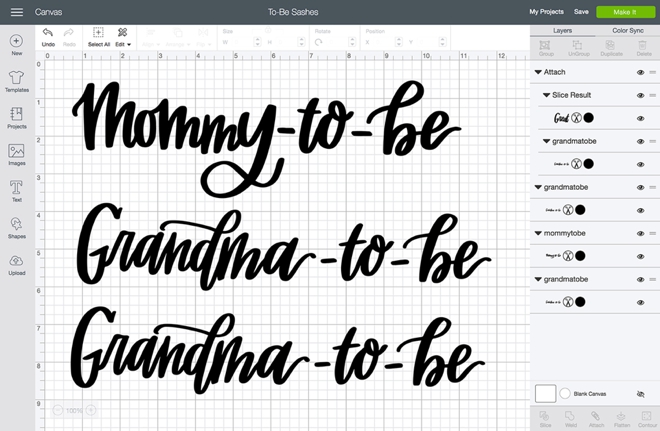
Upload To Design Space
Upload our custom .SVG cut files into Design Space and drag them to fit the size of sash you’re creating. I’m sharing 3 files, Mommy-To-Be, Grandma-To-Be, and Great Grandma-To-Be. But hey, maybe you don’t want to make a sash, maybe you want to make a tote bag or t-shirt – great do that! You can use these files for any Cricut crafting!
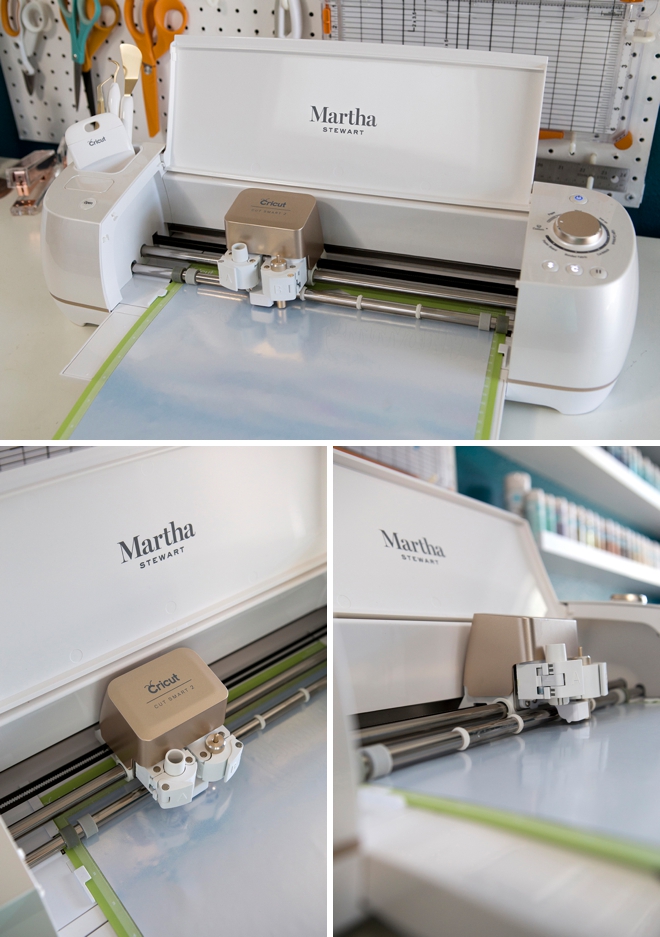
Let Your Cricut Work It’s Magic
Add the iron-on to your cutting mat, colored side down and make sure to check “mirror image” before you cut! Then watch the Cricut work its magic.
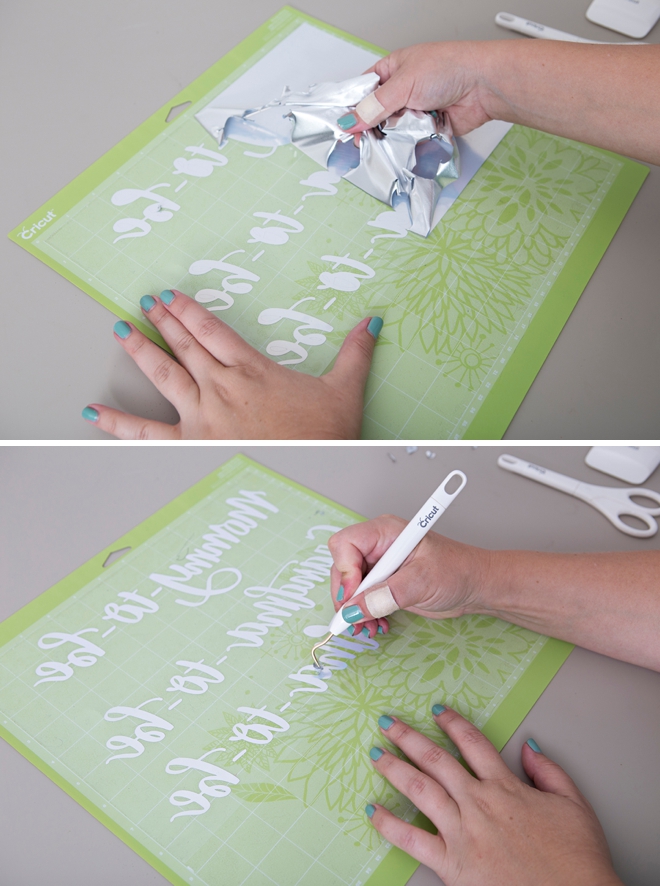
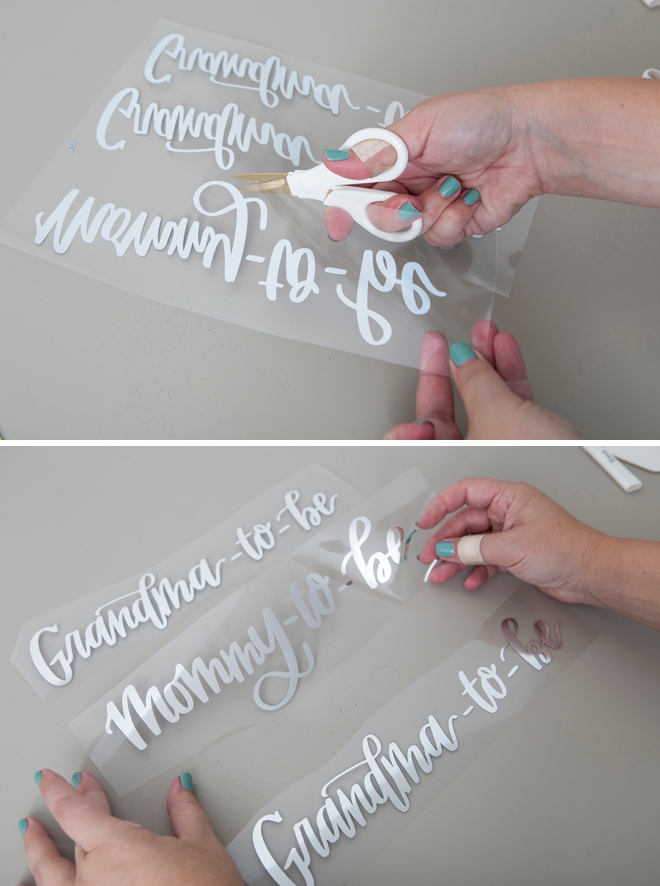
Weed
Weed, aka. remove, all the non-design areas of the iron-on design using your weeding tools. Then cut out each saying.
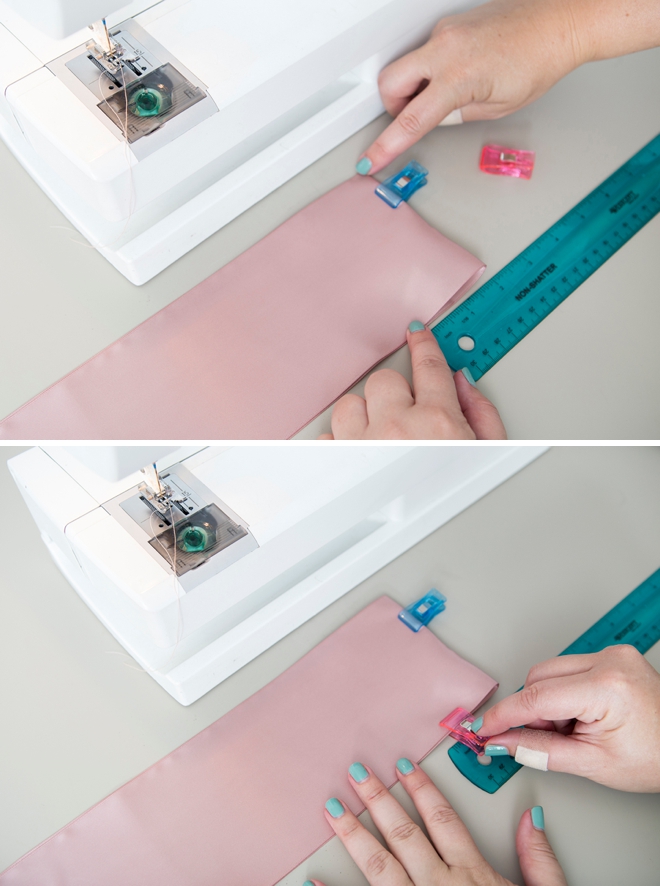
Pin + Sew
Turn satin ribbon into a sash with just a few stitches from a sewing machine. Fold the six feet of ribbon in half and pin. You’ll want to sew from the upper corner, across the ribbon by 2”. This creates the perfect fold for the sash to lay properly across the chest.
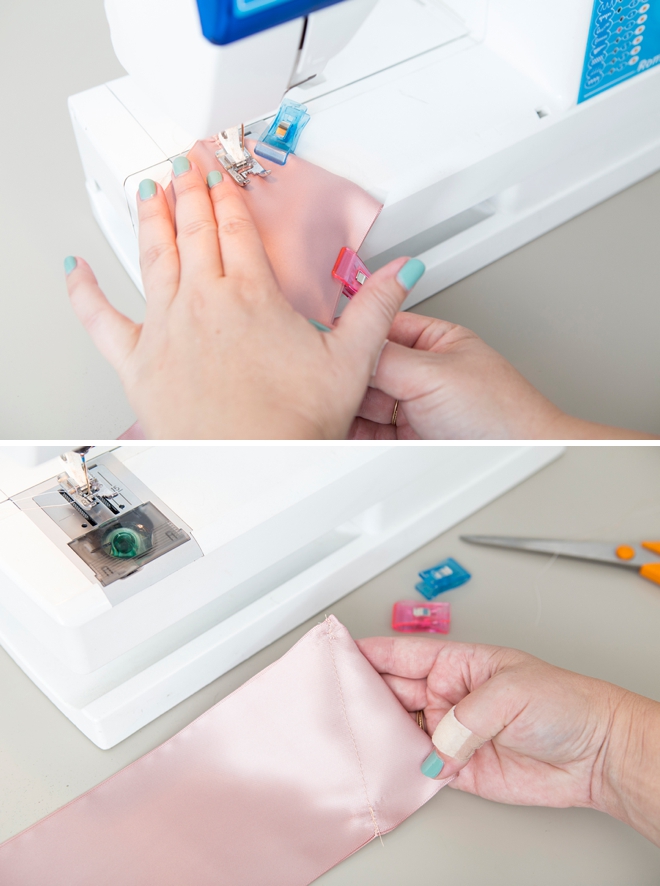
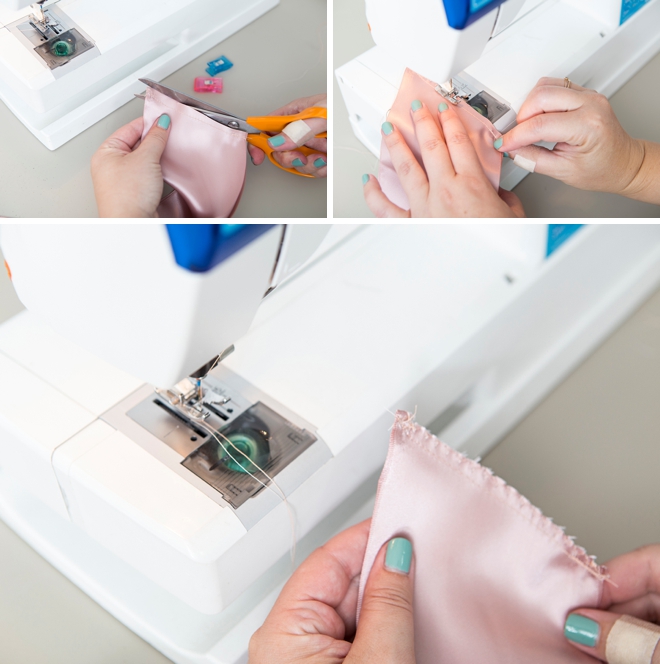
Finish The Sash
Trim the excess triangle of ribbon away about 1/4” from the seam and then add a zig-zag stitch across the cut to finish. You could also serge this seam if you have a serger.
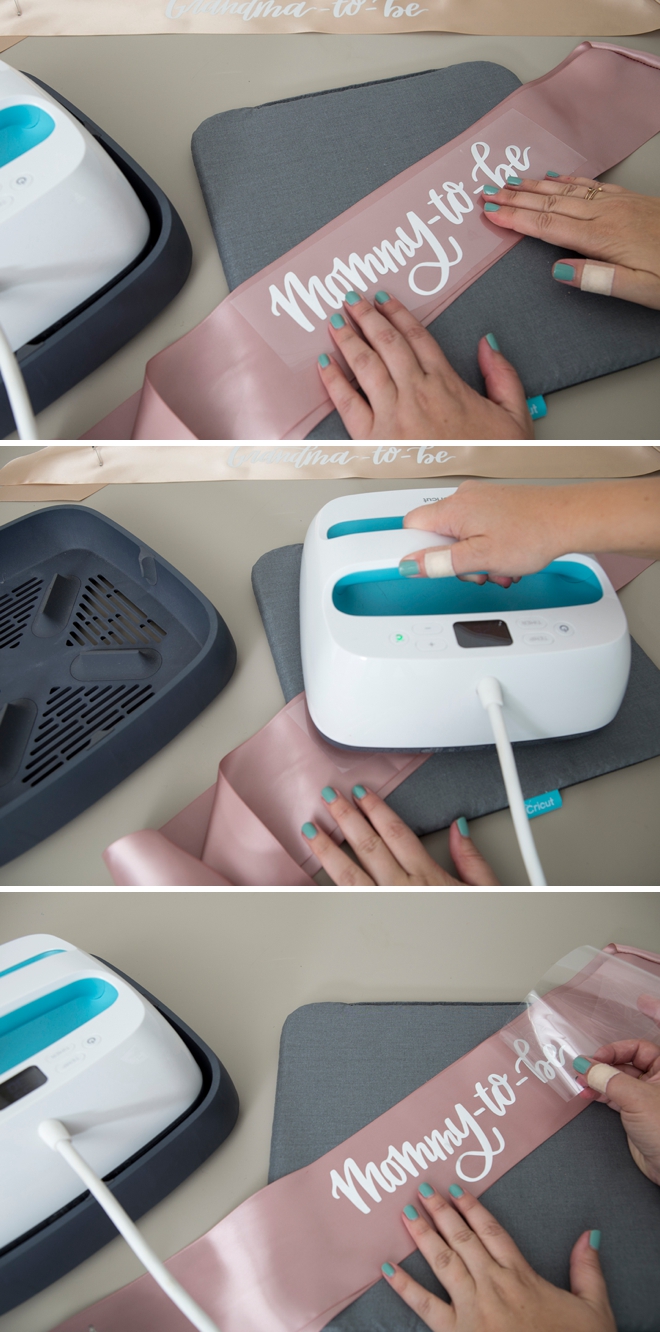
Easy Press It
Using your EasyPress and EasyPress mat, adhere each saying onto the sash using the heat setting appropriate for your ribbon and choice of iron-on. If using metallic foil, remember to peel the backing off once the material has cooled; it’s called a cool peel. That’s all there is to it, a quick sew and iron to create the sweetest sashes!
Visit this page for all the EasyPress heat and time settings.

Pin
I used an oversized safety pin to adorn each lady with their sash. All three mamas were pleasantly surprised by this sweet little touch and proudly wore them the entire event.


DIY Tutorial Sponsored By:

Cricut is a world-class leader in personal electronic cutting machines that has enabled people to achieve their creative best for over 50 years. Today, millions of people use Cricut products to create unique projects, and they focus on enhancing lives with this power of creativity. Let Cricut help you take your wedding personalization and project creativity to the next level!


As with all our DIY tutorials, if you create one of our projects please send us a picture – We Love Seeing Your Creativity! If you use Instagram or Twitter please use the hashtag #SomethingTurquoiseDIY and it will show up on our Get Social page. Happy Crafting!
DIY Tutorial Credits
Event Photography: Steve Cowell Photography // Step-Out Photography + DIY Tutorial: Jen Causey of Something Turquoise // Cricut Explore Air2 Martha Stewart Edition, EasyPress, and Iron-on: courtesy of Cricut // Ribbons: SQ Accessories Unltd via Etsy // Nail Polish: OPI – Withstands the Test of Thyme
Shop The Supplies:
Find the supplies you’ll need for this project from our affiliate links below:


Comments