
How To Make Custom Bags For Your Money Dance
I know what your thinking, Jen, no one does the money dance anymore… but the truth is, that some people still do! In fact, I’m working with a Bride and Groom who are getting married in just four short weeks and they are in fact, doing the money dance. The benefit is obvious, a bunch of cash for the road, be it your honeymoon, a stay in a hotel, or just the first days of being newlyweds. The Groom’s mother tasked me with finding some cute bags to stash the money in and I looked everywhere: they don’t exist. The ones I found are mega-cheesy, lots of black and white, with pearls and sequins, like it’s 2002 or something, LOL. So in making these for my special couple I realized I had to also share them with you. First I ice-dyed the cotton bags for the perfect color and then I had our resident hand-lettering gal whip me up a few sayings that I added with my Cricut. Grab our exclusive SVG cut files in our shop here and then slap them on any bag that works for you!
You can watch me do this entire process in our Instagram REELS!
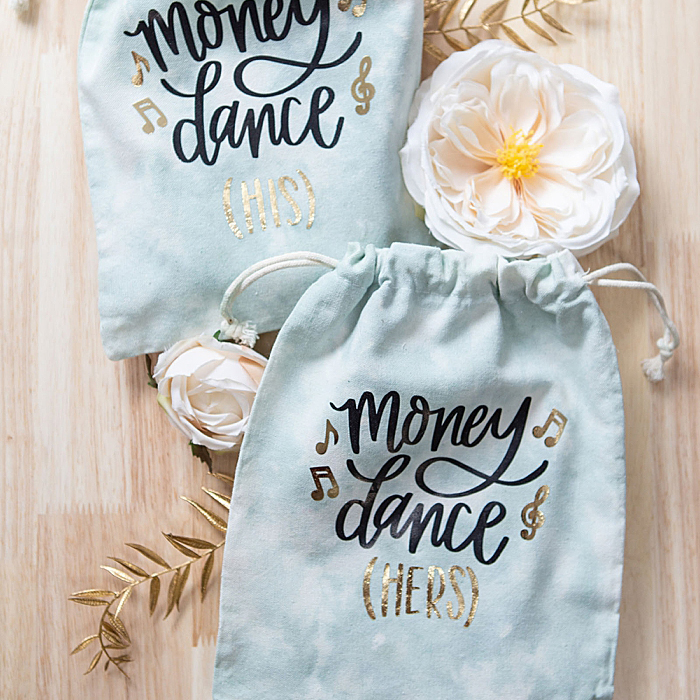
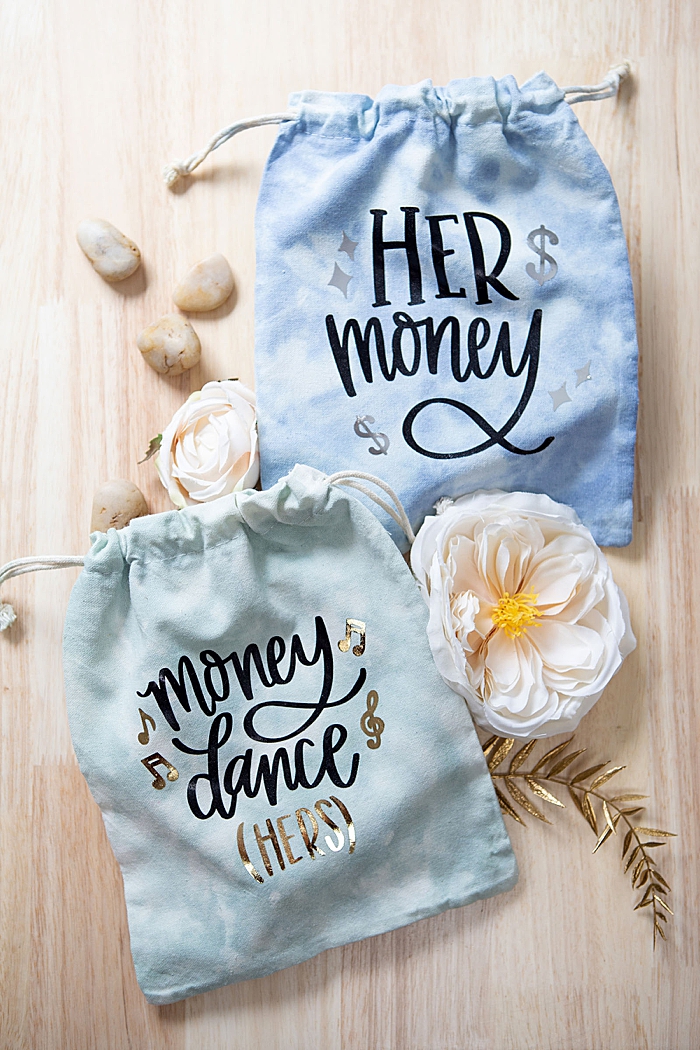
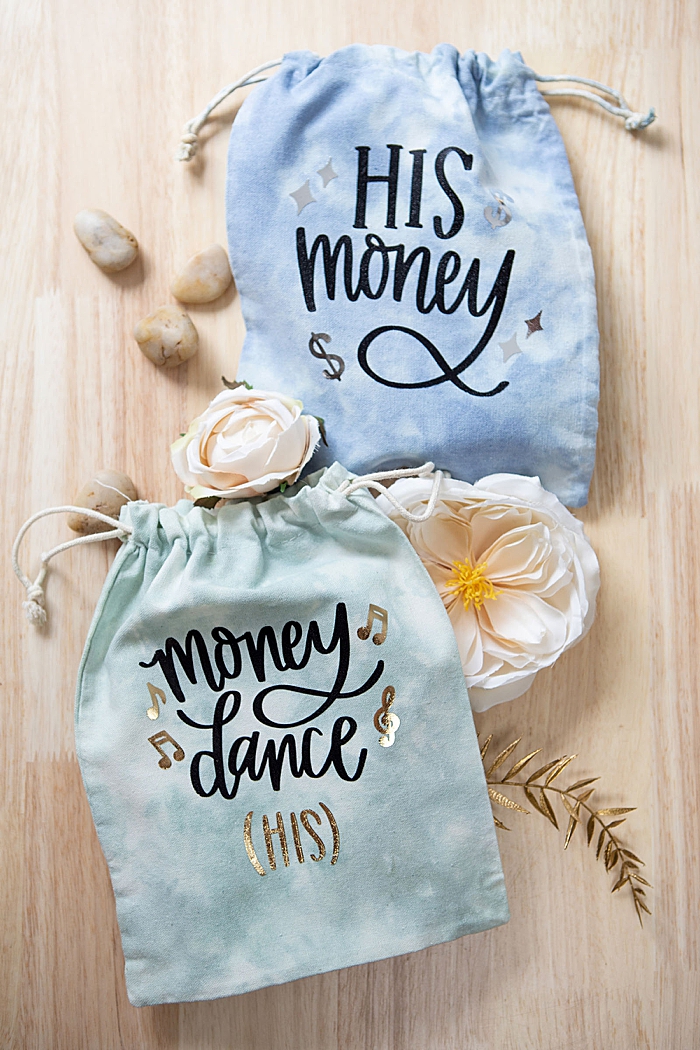
Two Designs
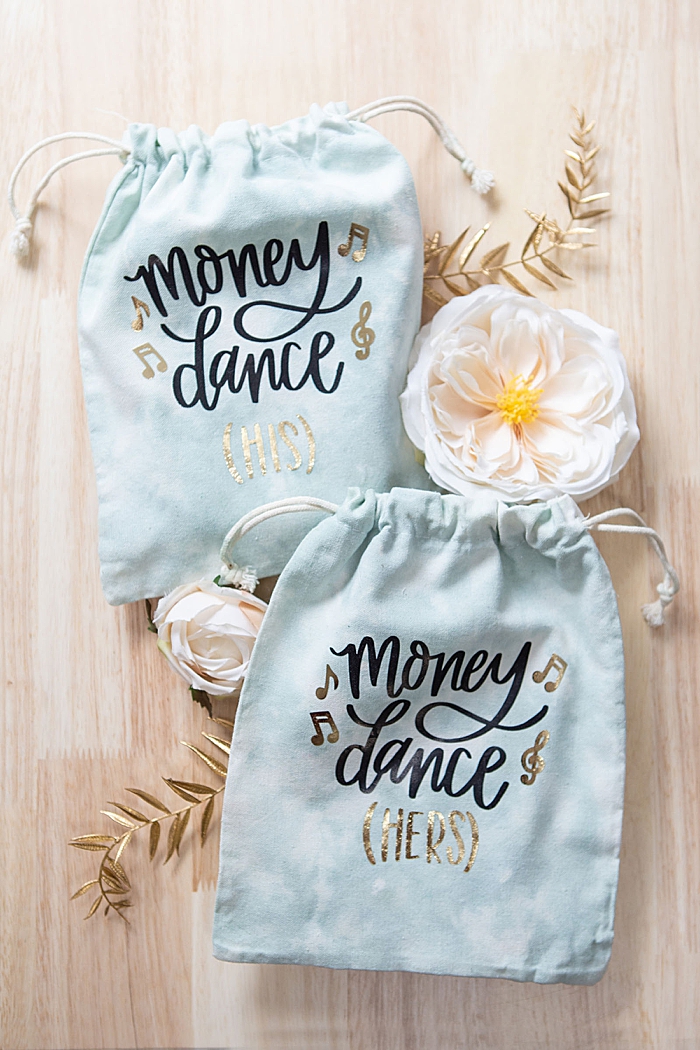
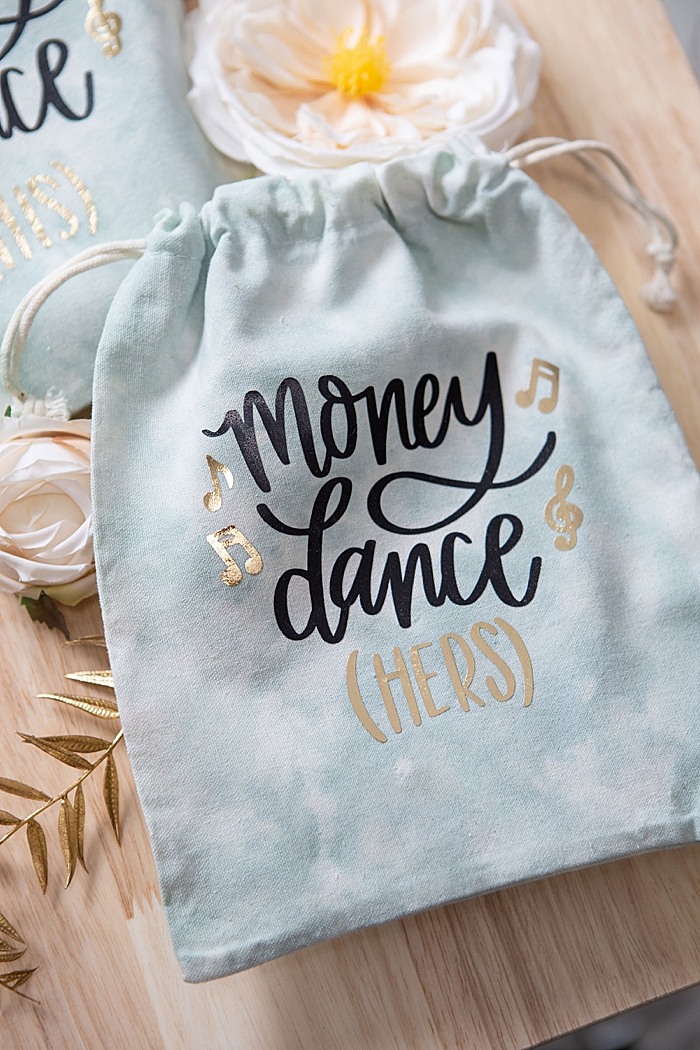
Money Dance His + Hers
and
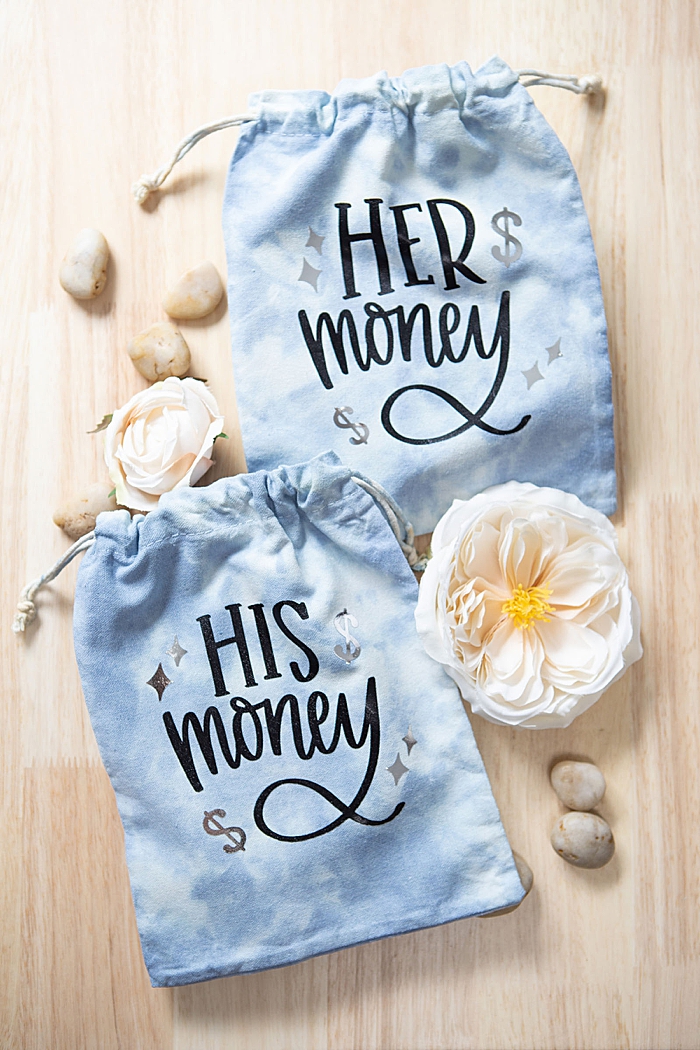
Her Money + His Money….
which do you like best?
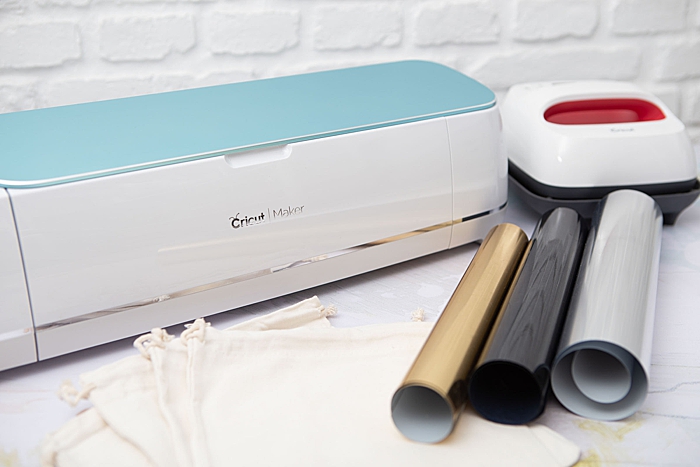
SUPPLIES:
- Cricut Maker or Cricut Explore
- Cotton Drawstring Bags (or any bags you’d like!)
- Cricut Iron-on Material, I used Black Everyday Iron-on with Gold and Silver Foil Iron-on
- Cricut Easy-Press (the best iron there is!)
- Our exclusive, SVG cut files for your Cricut, find them here!
If Dying:
- Rit Dye
- Ice Cubes
- Baking Sheet
- Cooling Rack
- Plastic Bottles
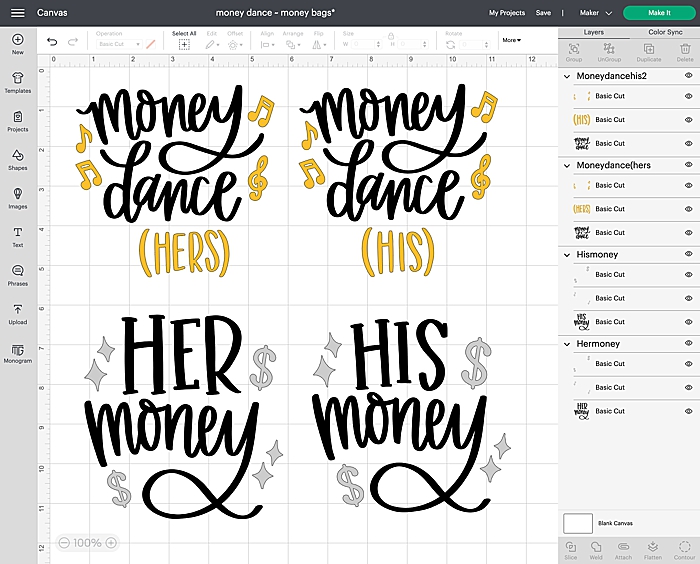
Create In Design Space
The first step is to login to Design Space and start designing your money bags! Upload our exclusive Cricut cut file by using the “upload” button on the left tool bar. Locate the file on your computer and select to add it to your canvas. Then drag, resize, and add personal touches if you’d like. I cut each of these at 5″ wide. Prepare your mat and get ready to cut!
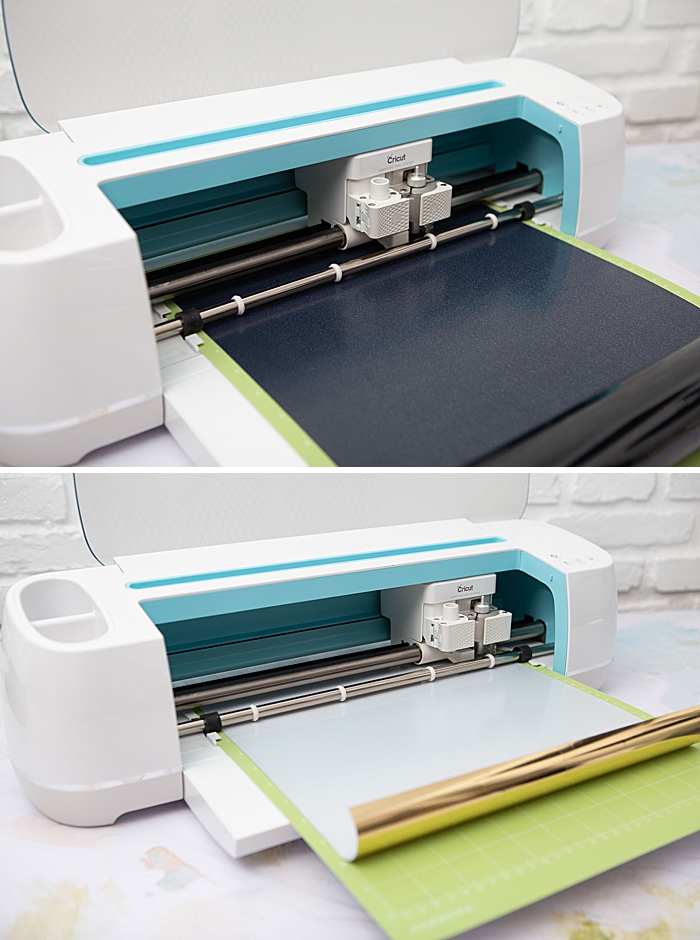
Let Your Cricut Work It’s Magic
You ALWAYS need to click the “mirror-image” button for iron-on projects, otherwise your lettering will be backwards.
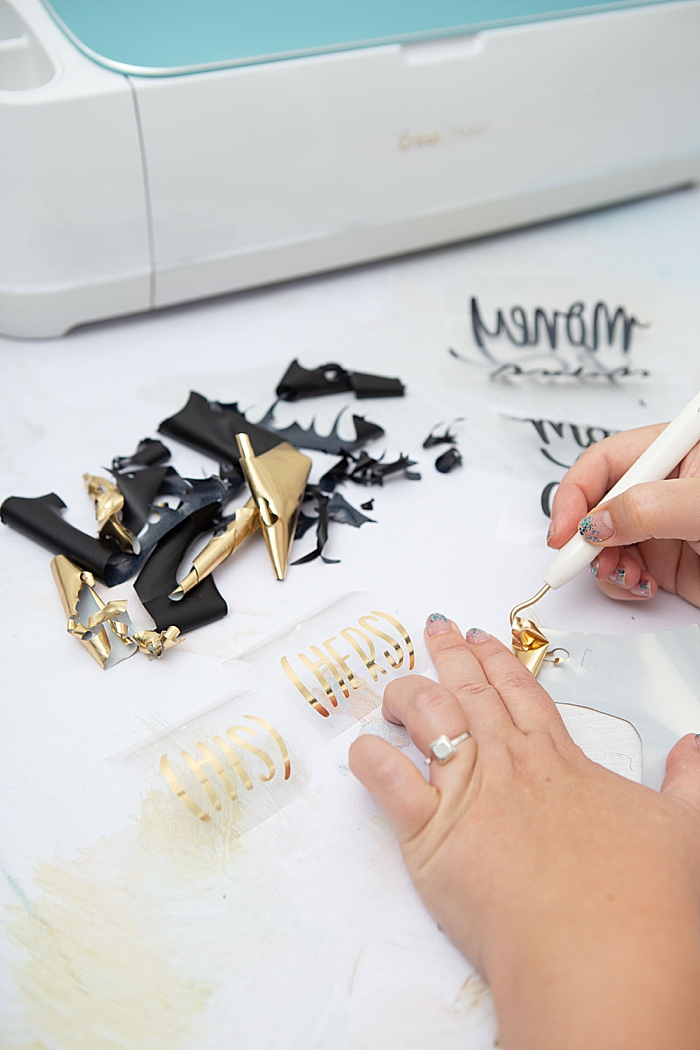
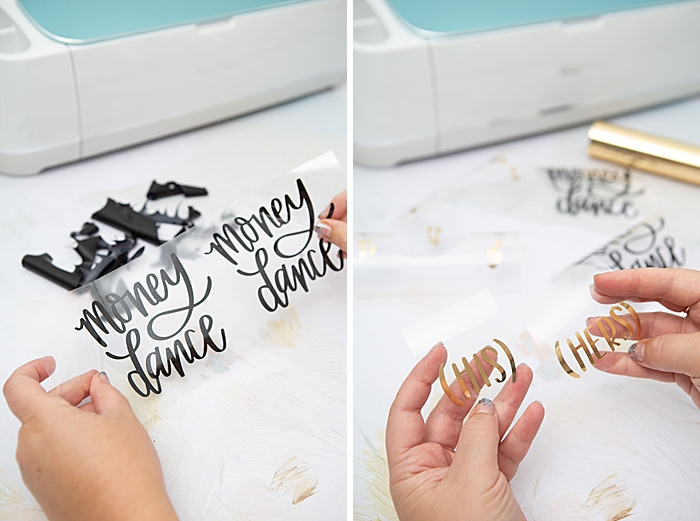
Weed The Designs
Weed, (aka. remove) all the excess iron-on material that isn’t a part of your design. Using the Cricut weeding tools makes the removal of intricate pieces super easy. Then trim each design down to size if needed.
Two Colors
I used the Black Everyday Iron-on material for the wording and then the gold and silver foil iron-on for the extra details.
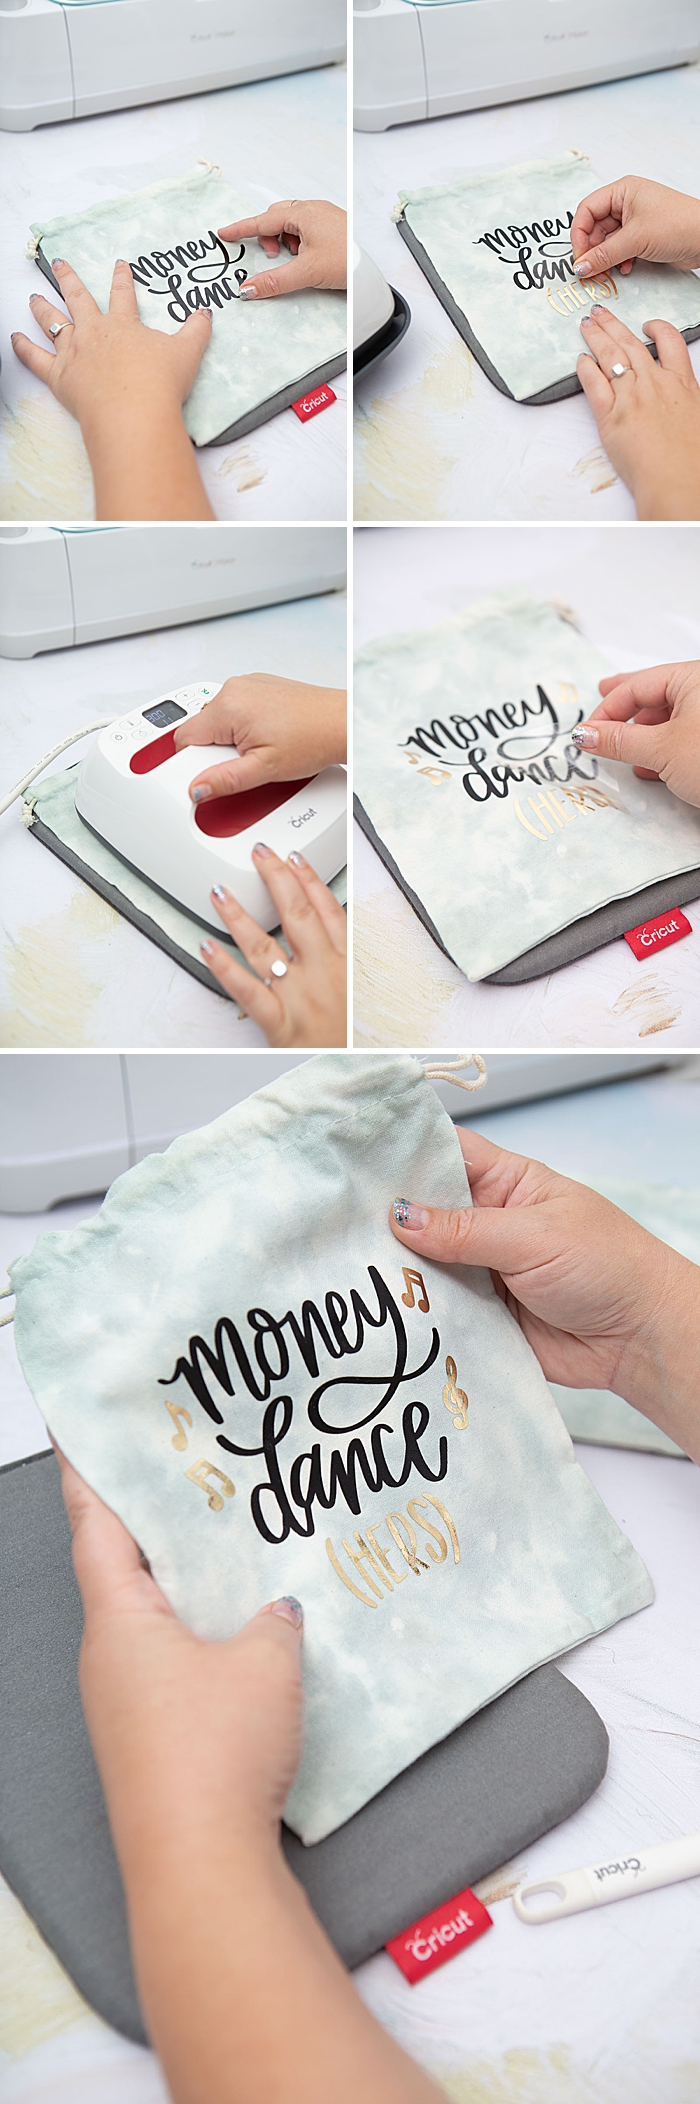
Iron Your Bag
After you ice-dye your bag it can be a bit wrinkly, so iron it with your EasyPress or iron. It’s good to warm up the fabric before a transfer anyway.
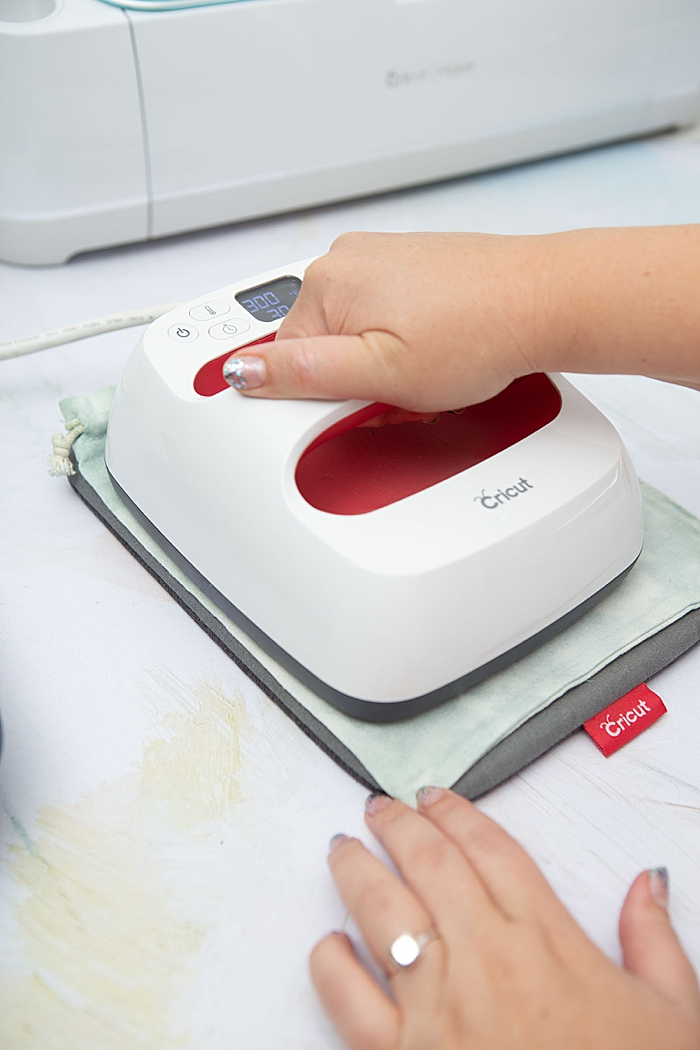
Adhere The Designs
One of my favorite aspects of using the EasyPress 2 is that Cricut has already created an amazing guide of heat times and heat temperatures for all fabrics and types of iron-on. So if you’re using everyday iron-on on a 100% cotton like I am here, there is an exact setting for that, which happens to be 315º for 30 seconds, light pressure, with a warm peel. No guesswork, you don’t have to hope that your iron is hot enough or that you’ve held it on the fabric for long enough. Follow this link to find the interactive chart, then simply plug the correct temperature into your Easy Press! Remove the heat transfer sheet and you have yourself an adorably personalized bag to collect all those bills in!
Ice-Dying With Liquid RitDye
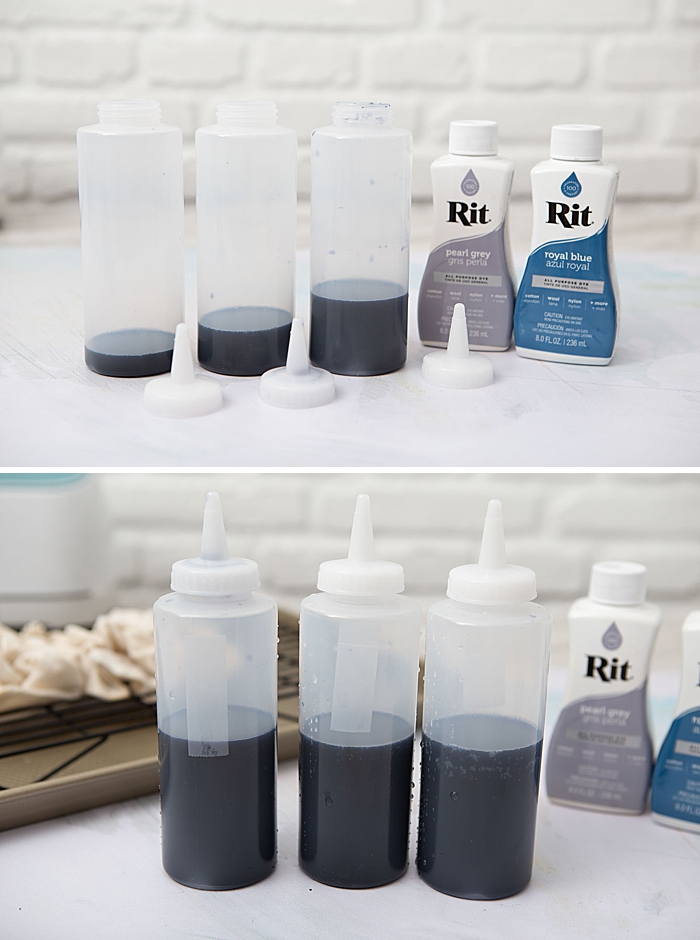
Usually you do ice-dying with the powder version of RitDye but I already had the colors I needed in the liquid version, so I figured I’d try it out and I came up with something that worked!
- First I mixed a very small amount of my desired color in a squirt bottle. I visited Rit’s Color Formula Page and did Succulent Green and Faded Jeans.
- I tested the color on a paper towel and mixed until I was happy.
- Then I poured 3 varying amounts into 3 bottles total, and then topped them all off with water filling to the same height on the bottle.
- In theory, this should give me my exact color and two more shades that were lighter, which is exactly what I wanted. Something to create the look of a marble tie-dye.
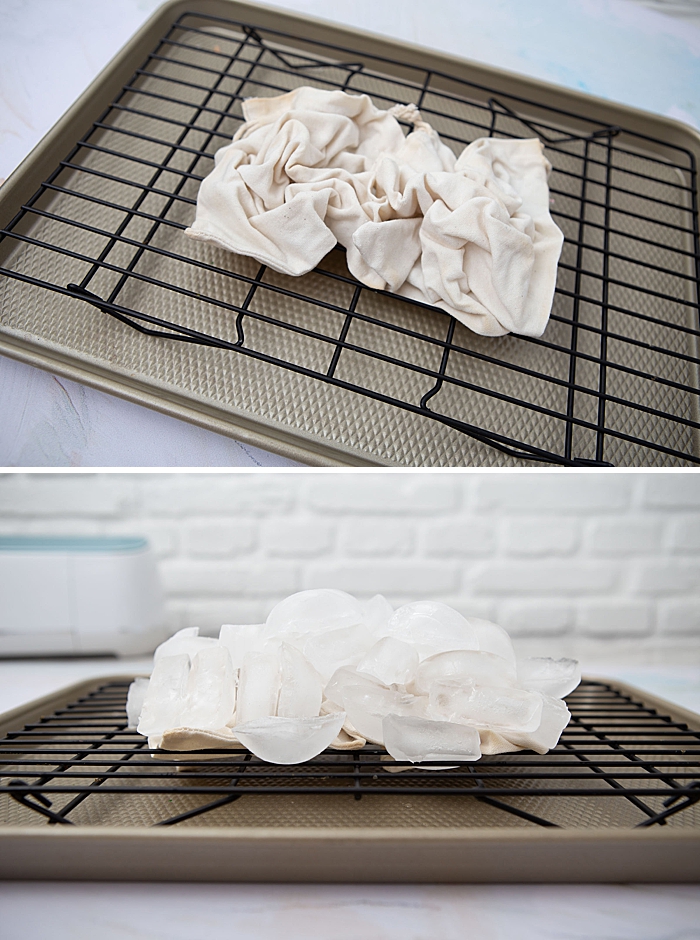
Stack The Ice
- First wet your fabric
- Then crumple up on top of a cookie cooling rack, on top of a baking sheet, or something similar
- Then pile the ice high
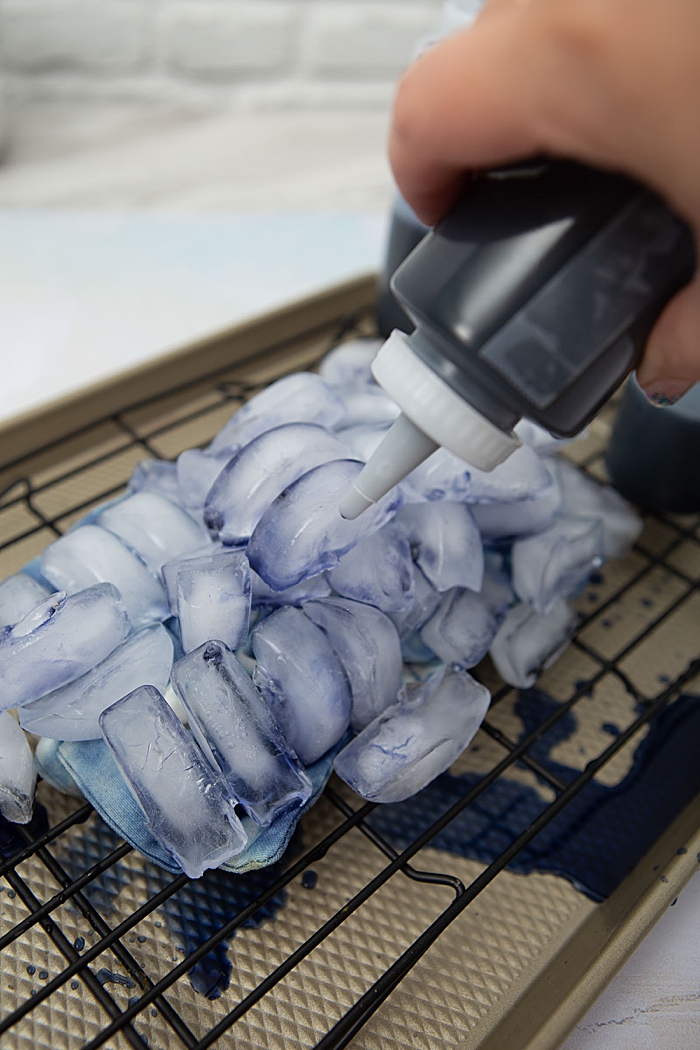
Squirt on the Dye
You can watch me do this entire process in our Instagram REELS!
Then squirt a small amount of the darkest color over the ice, then the medium, and then the light. I used a lot of the light color. I kept squirting a bit more of all the colors here and there over an hour or so. Then I just let all the ice melt, which I didn’t get a picture of.
Then wash and dry the fabric. I just did this step in the sink and passed on the color fixative step because these bags won’t be worn/used and washed over and over.
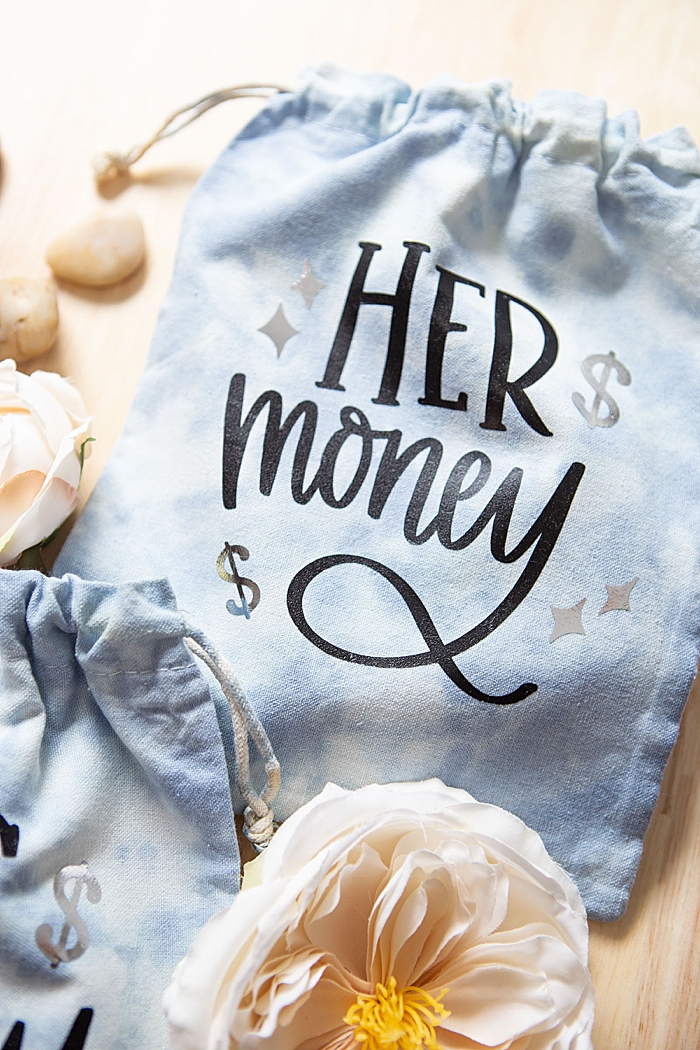
Marble, Watercolor Look
I love how the dye came out on these bags! It is a totally optional step for this project but it’s a great way to personalize these bags to fit your unique event.
It’s also a great technique for dying other things too! I did a tank top this way that had stains on it from being a mom, and now it’s got a new life!
If you create one of our projects, please share a picture with us on Instagram or Twitter using the hashtag #somethingturquoisediy, we regularly reshare our favorites! Your profile will need to be public for us to see it otherwise, you can always DM us!
DIY Tutorial Credits
Photography + DIY Tutorial: Jen Causey-Kidder of Something Turquoise // Exclusive, Hand-lettered SVG Files: Shop Something Turquoise // Cricut Maker: available on Amazon // Cricut Iron-on: Amazon // Drawstring Bags: Amazon // Rit Dye: Amazon
Shop The Supplies:
Find the supplies you’ll need for this project from our affiliate links below:


Comments