
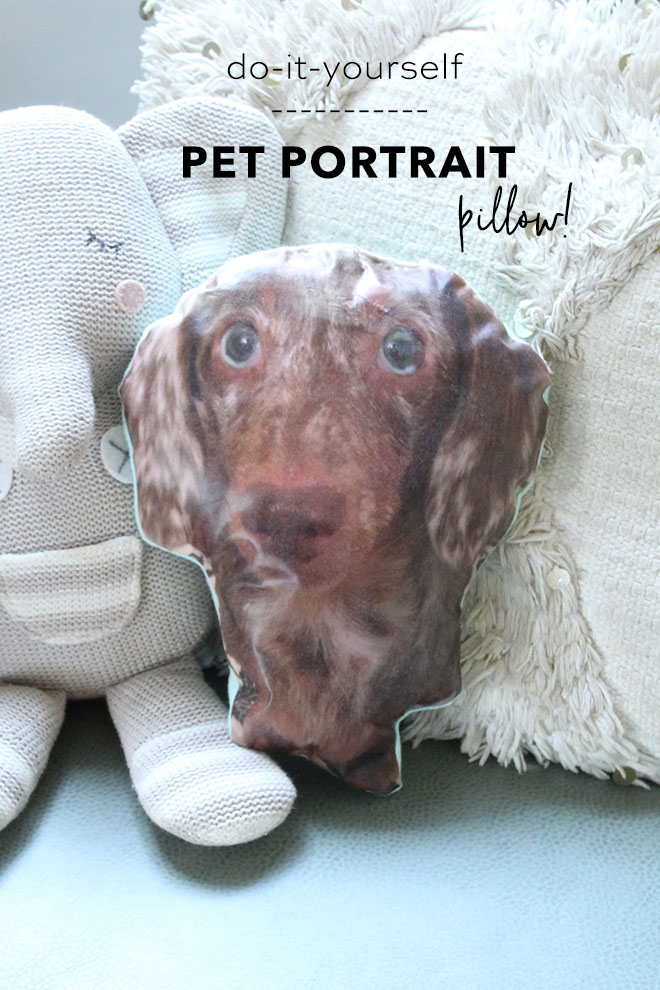
DIY Pet Portrait Pillow
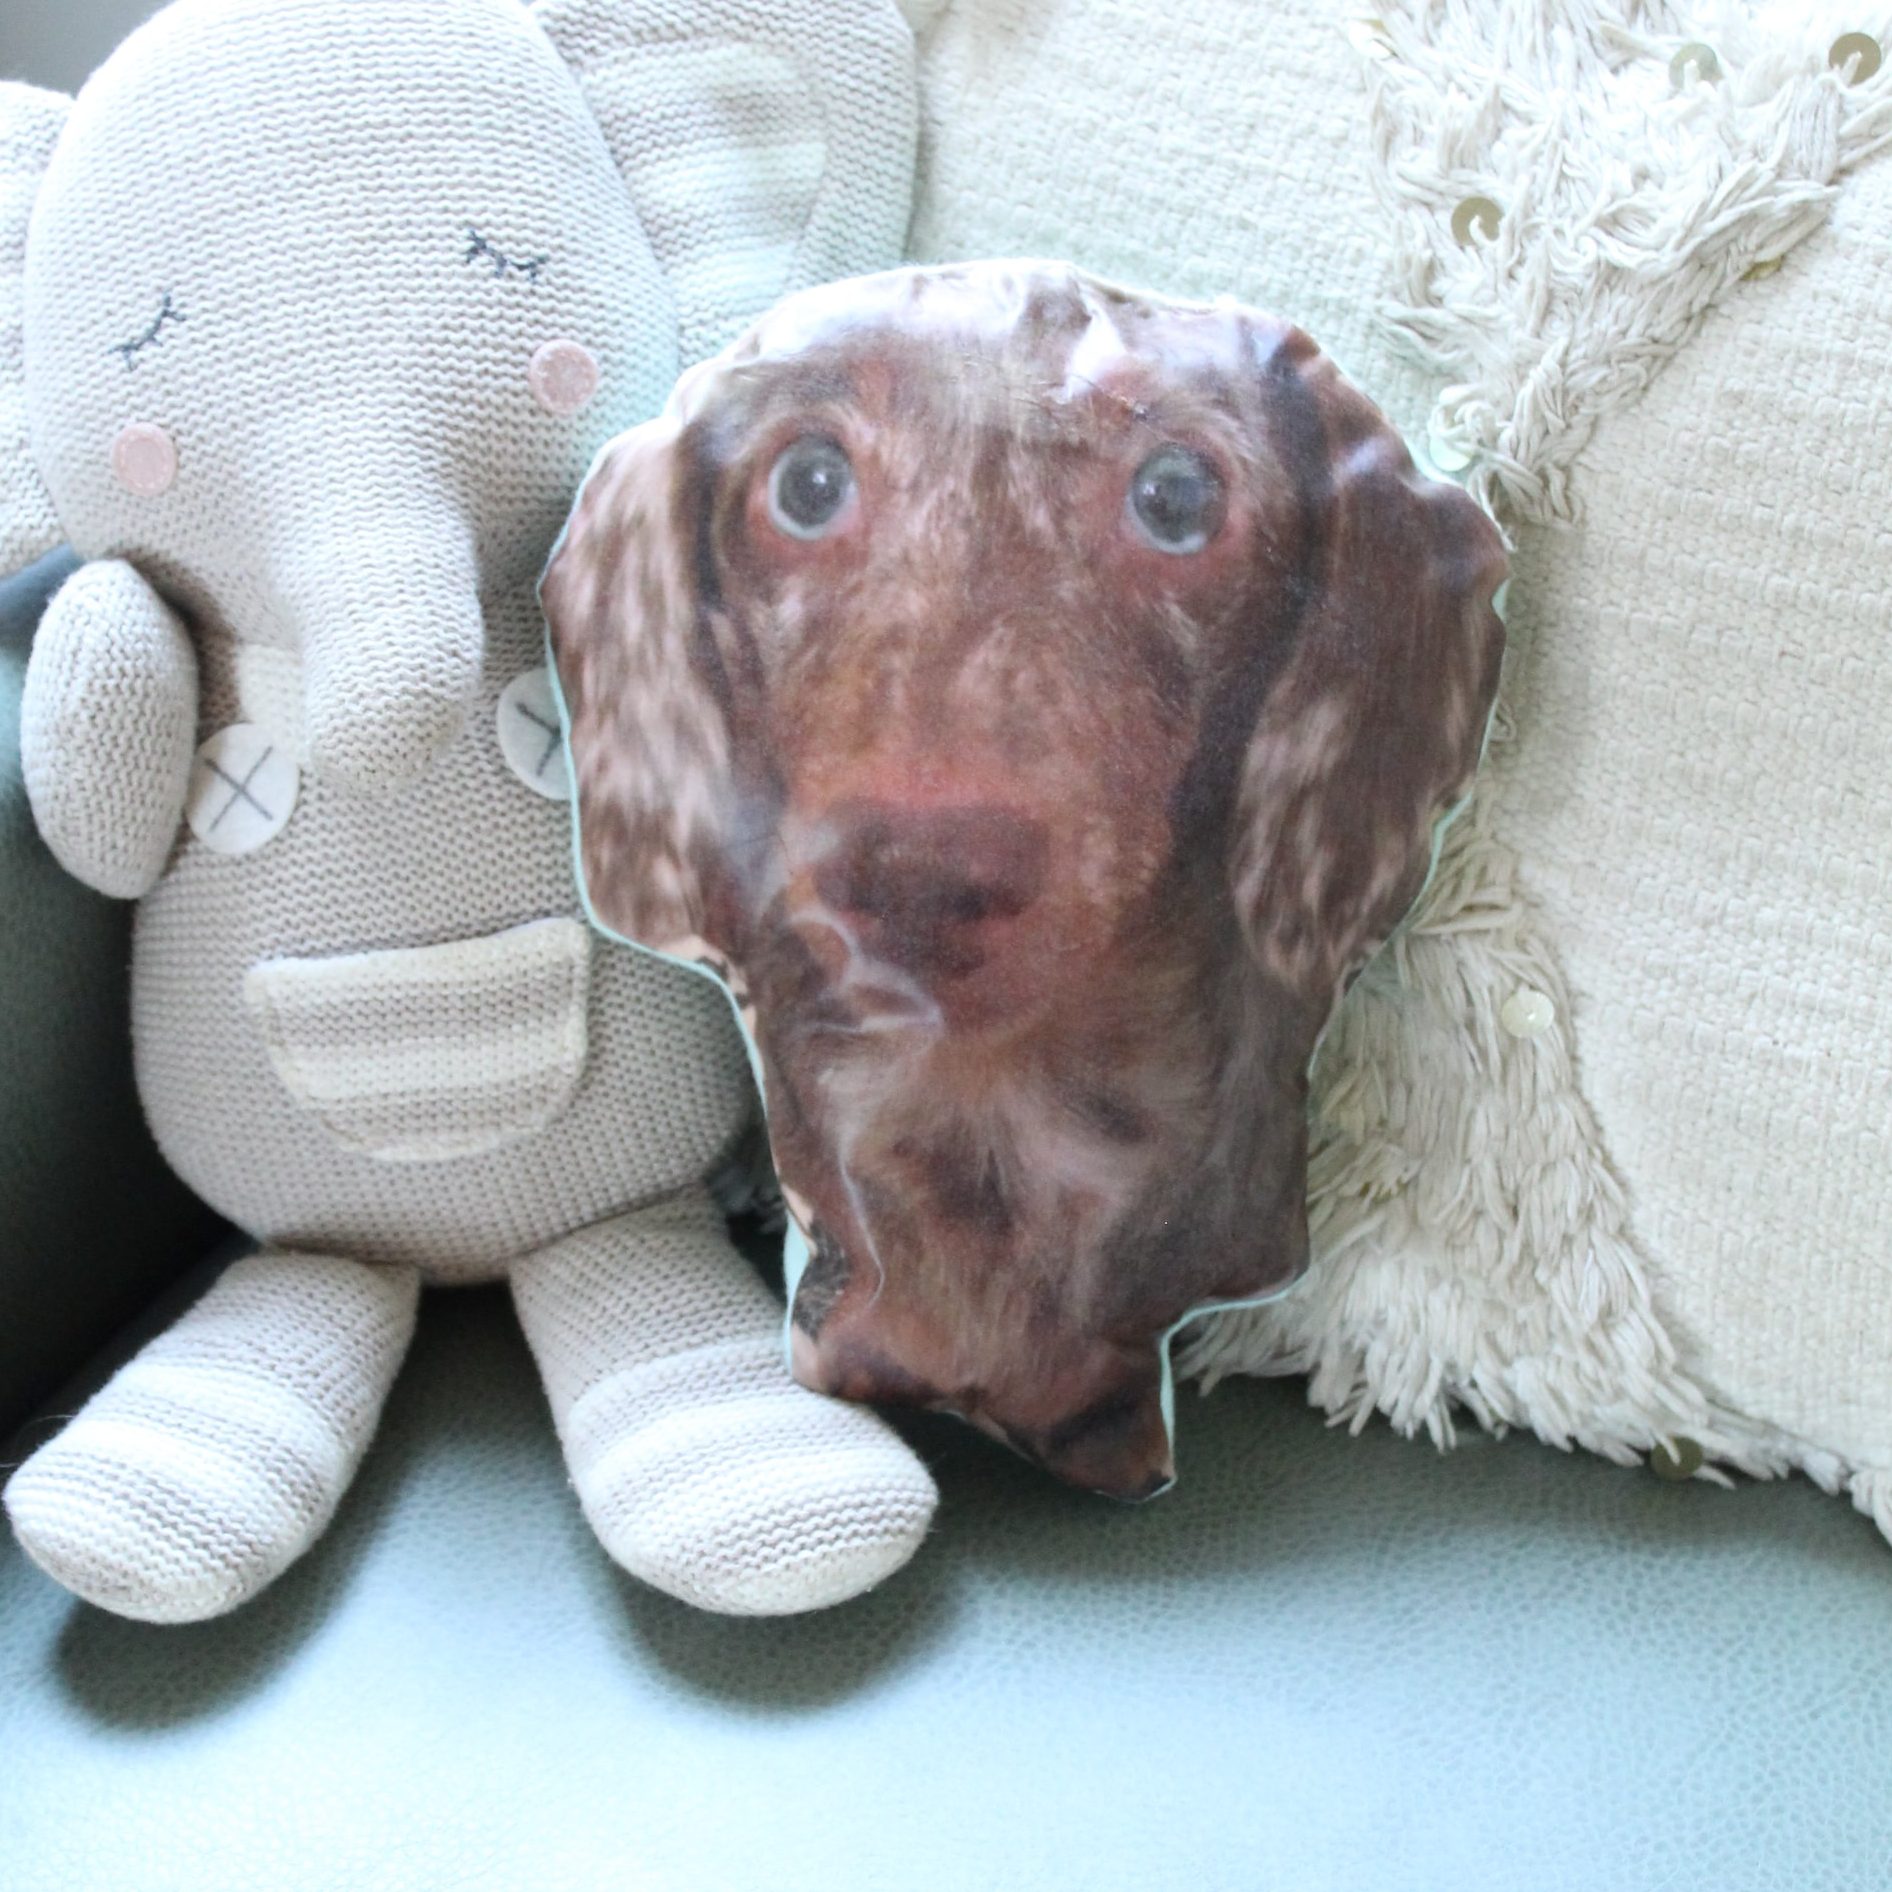
Hi friends! Shea back with another fun DIY for all you pet lovers. I’m gunna get a bit sappy here but, have you ever had a pet that you felt was your soulmate? Well, I have. His name was Beamer and he was the cutest blue eyed boy I ever had the pleasure of knowing. I know it sounds silly but ever since my son was born I have told him about his “big brother Beamer”. In my sons room I have two portraits of our current dogs hanging on the wall but I thought the other day that I should have something with Beamer on it too. That’s where the idea of this pillow was born.
You could really make one of these pet portrait pillows for anyone. For yourself, for a friend who loves their pet or even a friend who recently lost a pet as a little memento to remember their beloved companion.

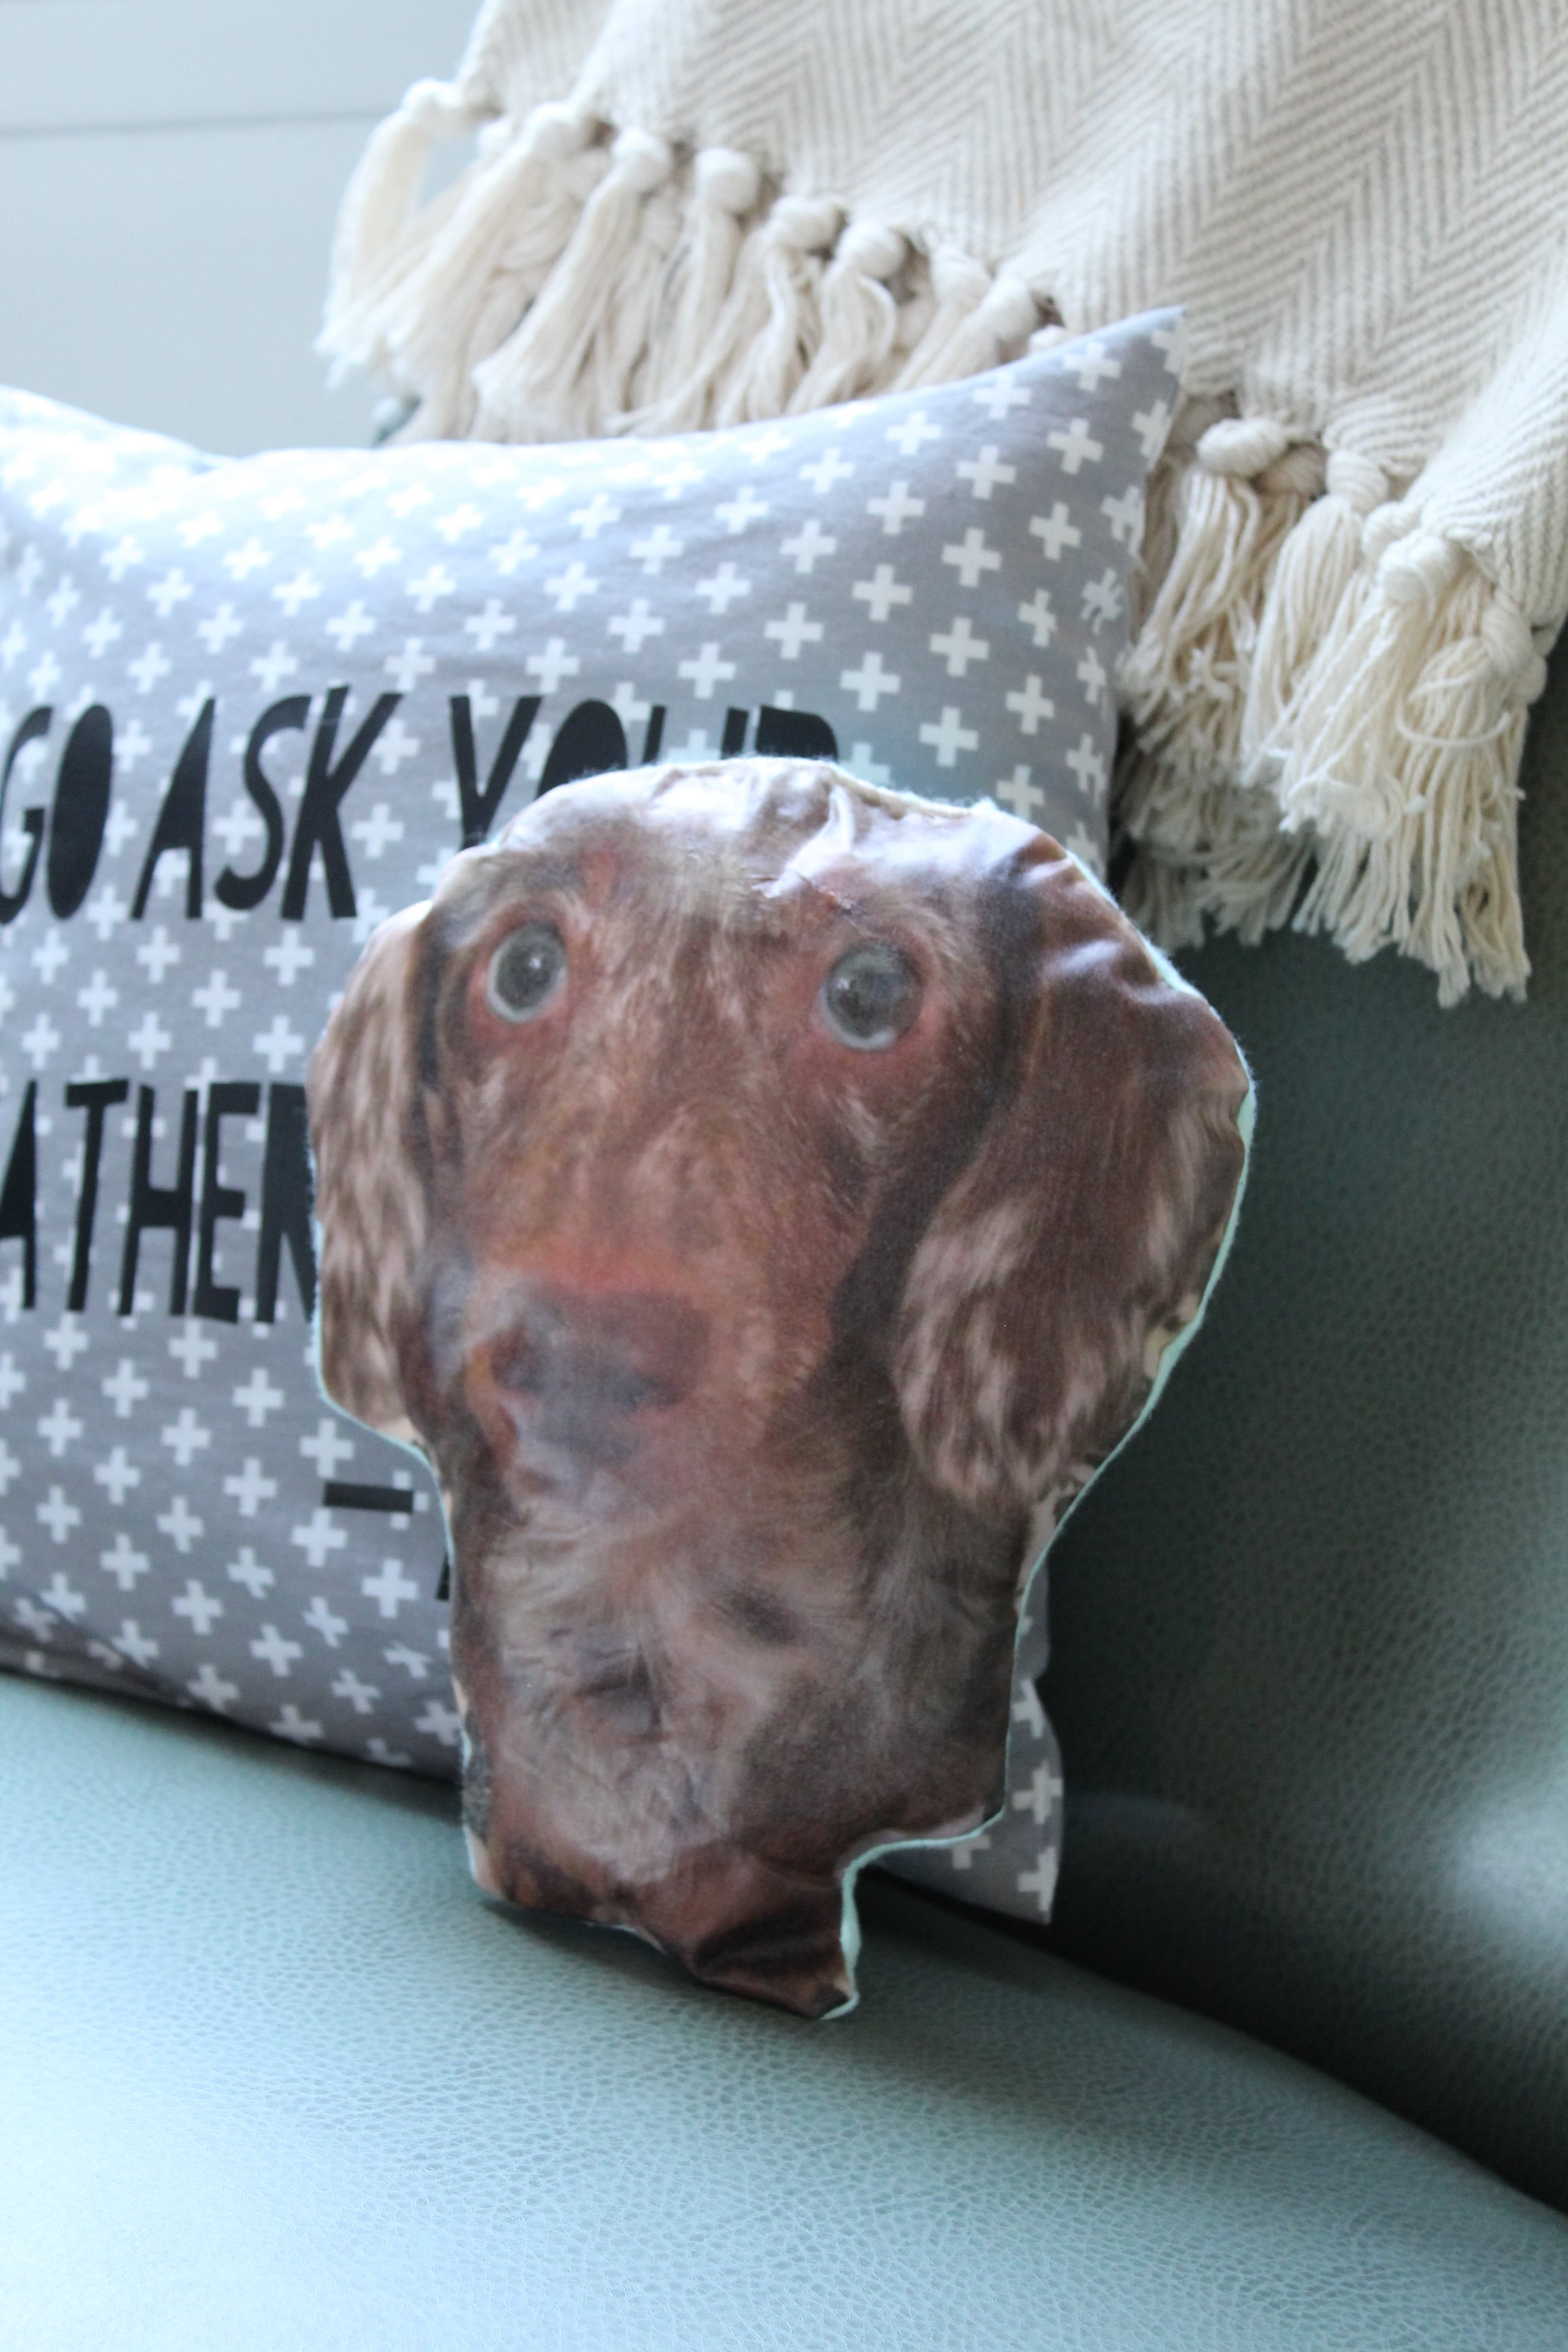
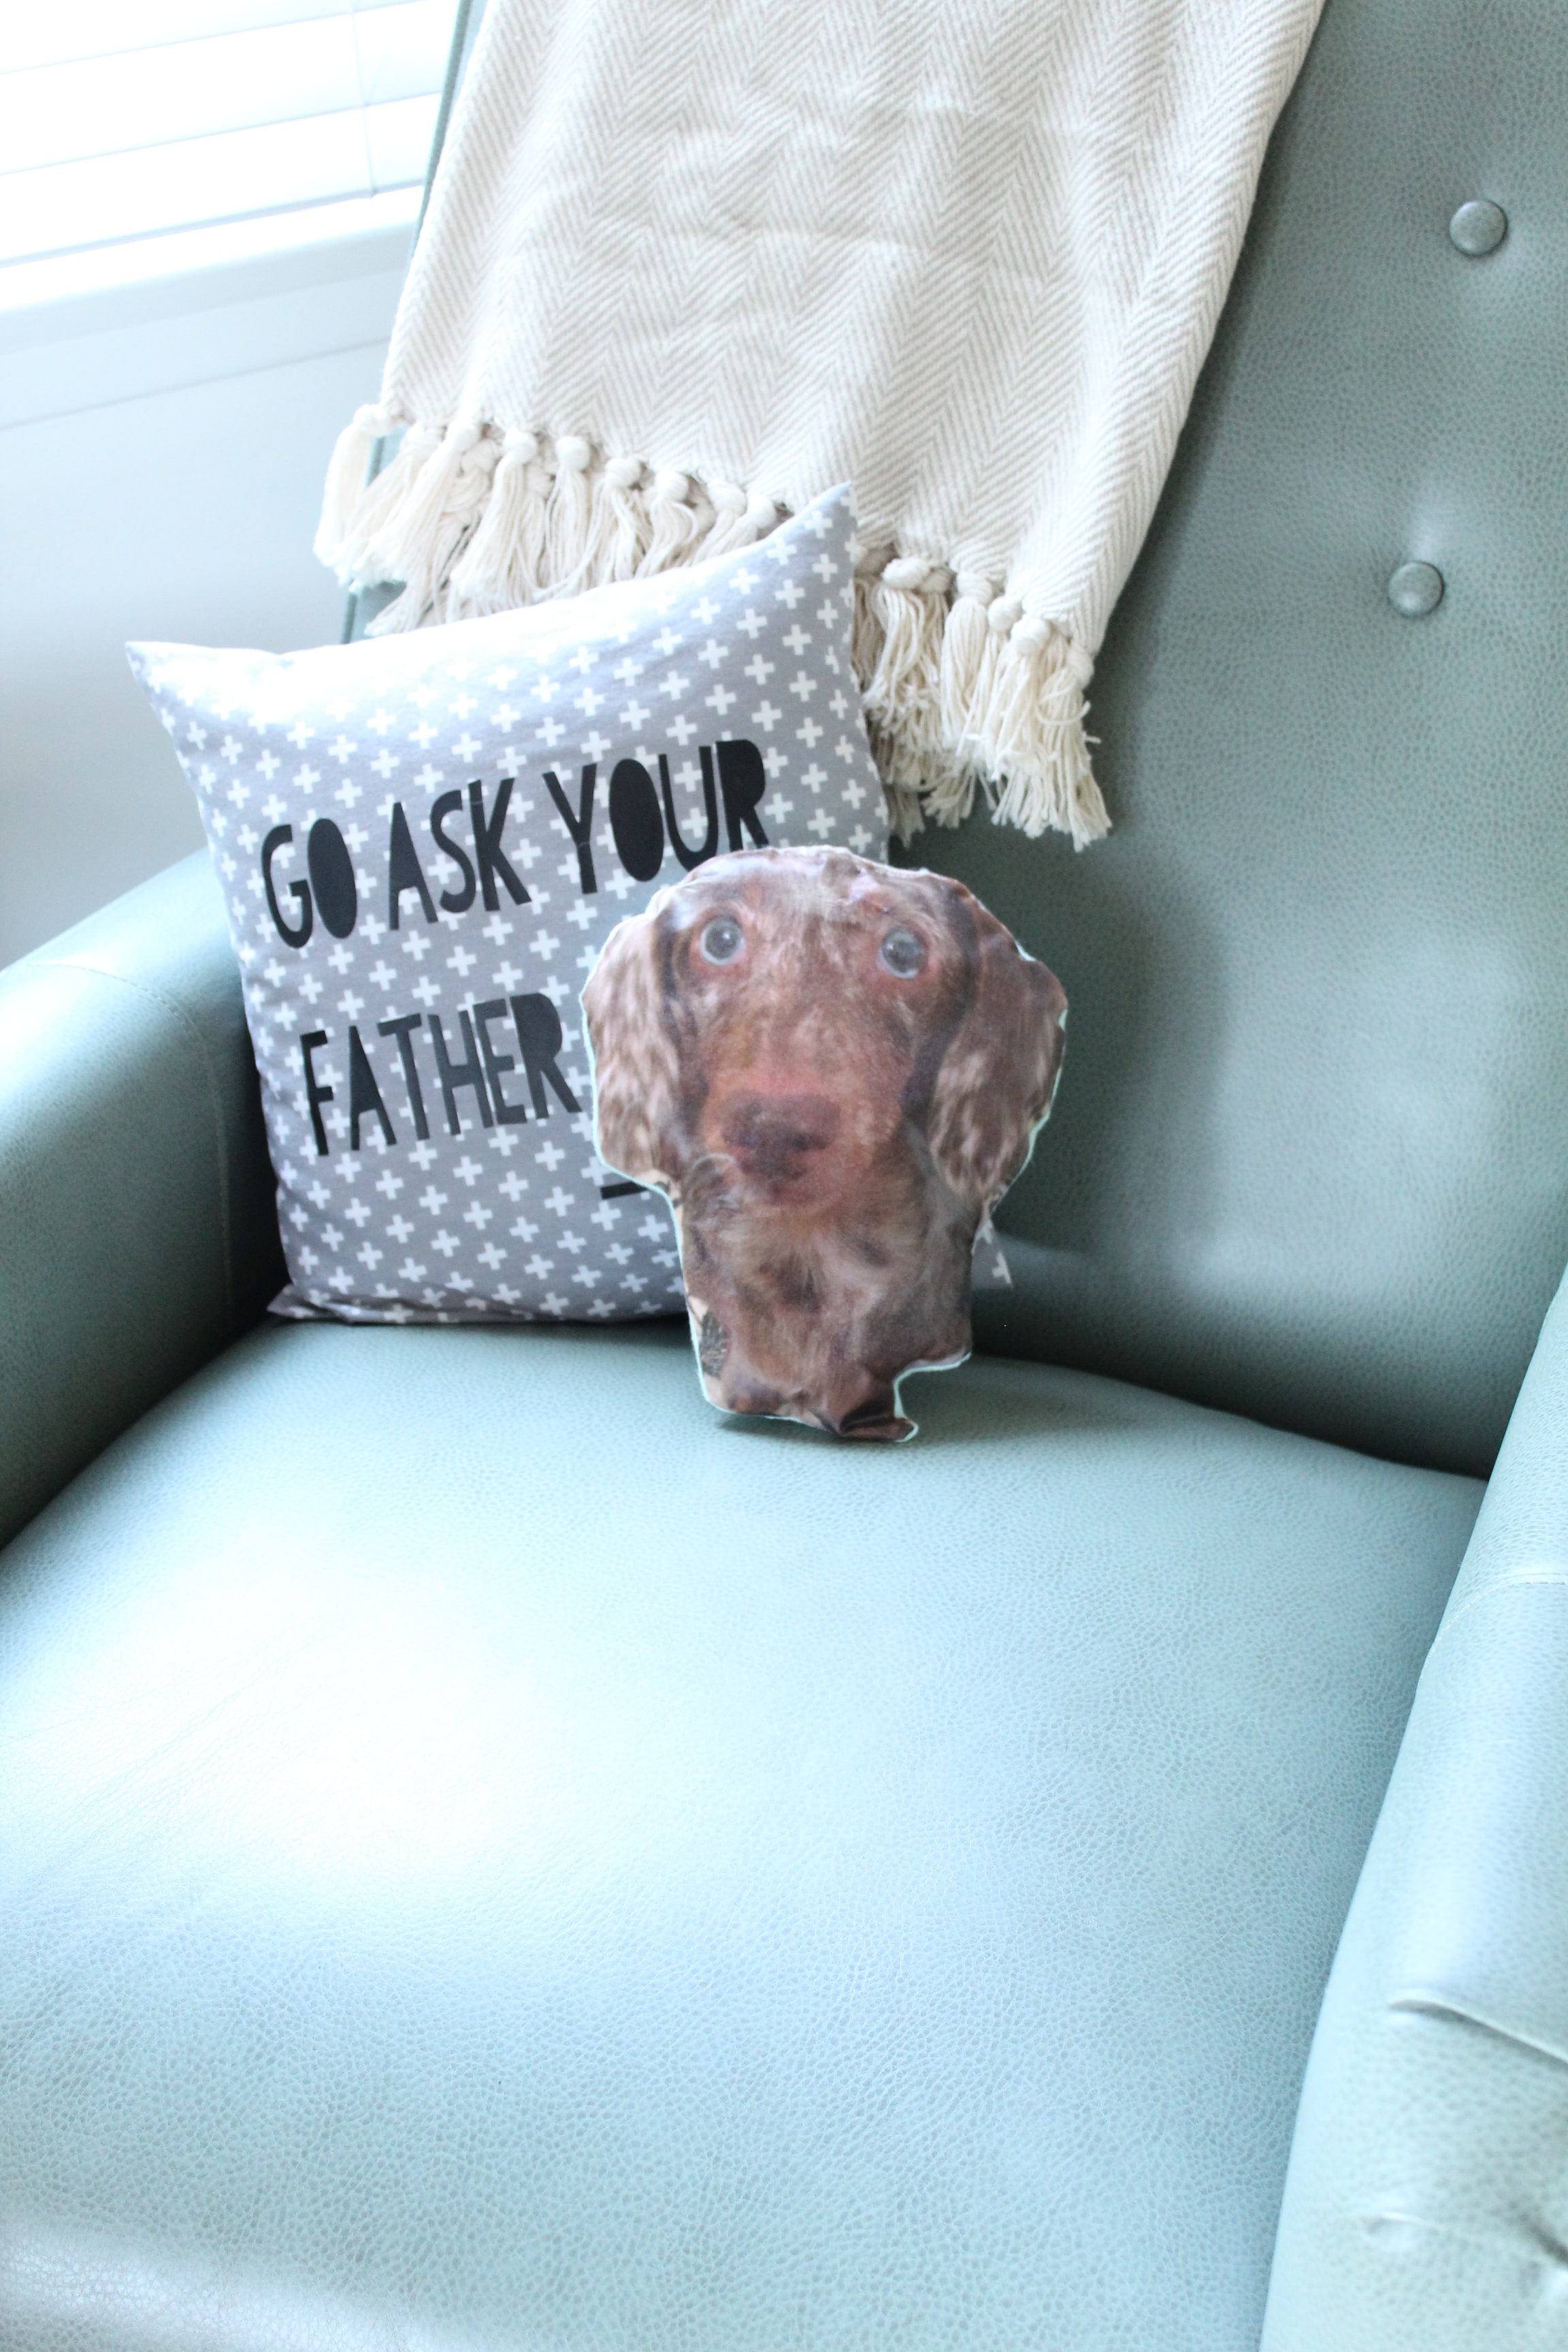
So fun right? I love the way it turned out! I love having my “first born” looking after my little one. Want to make your own? Here’s what you’ll need!
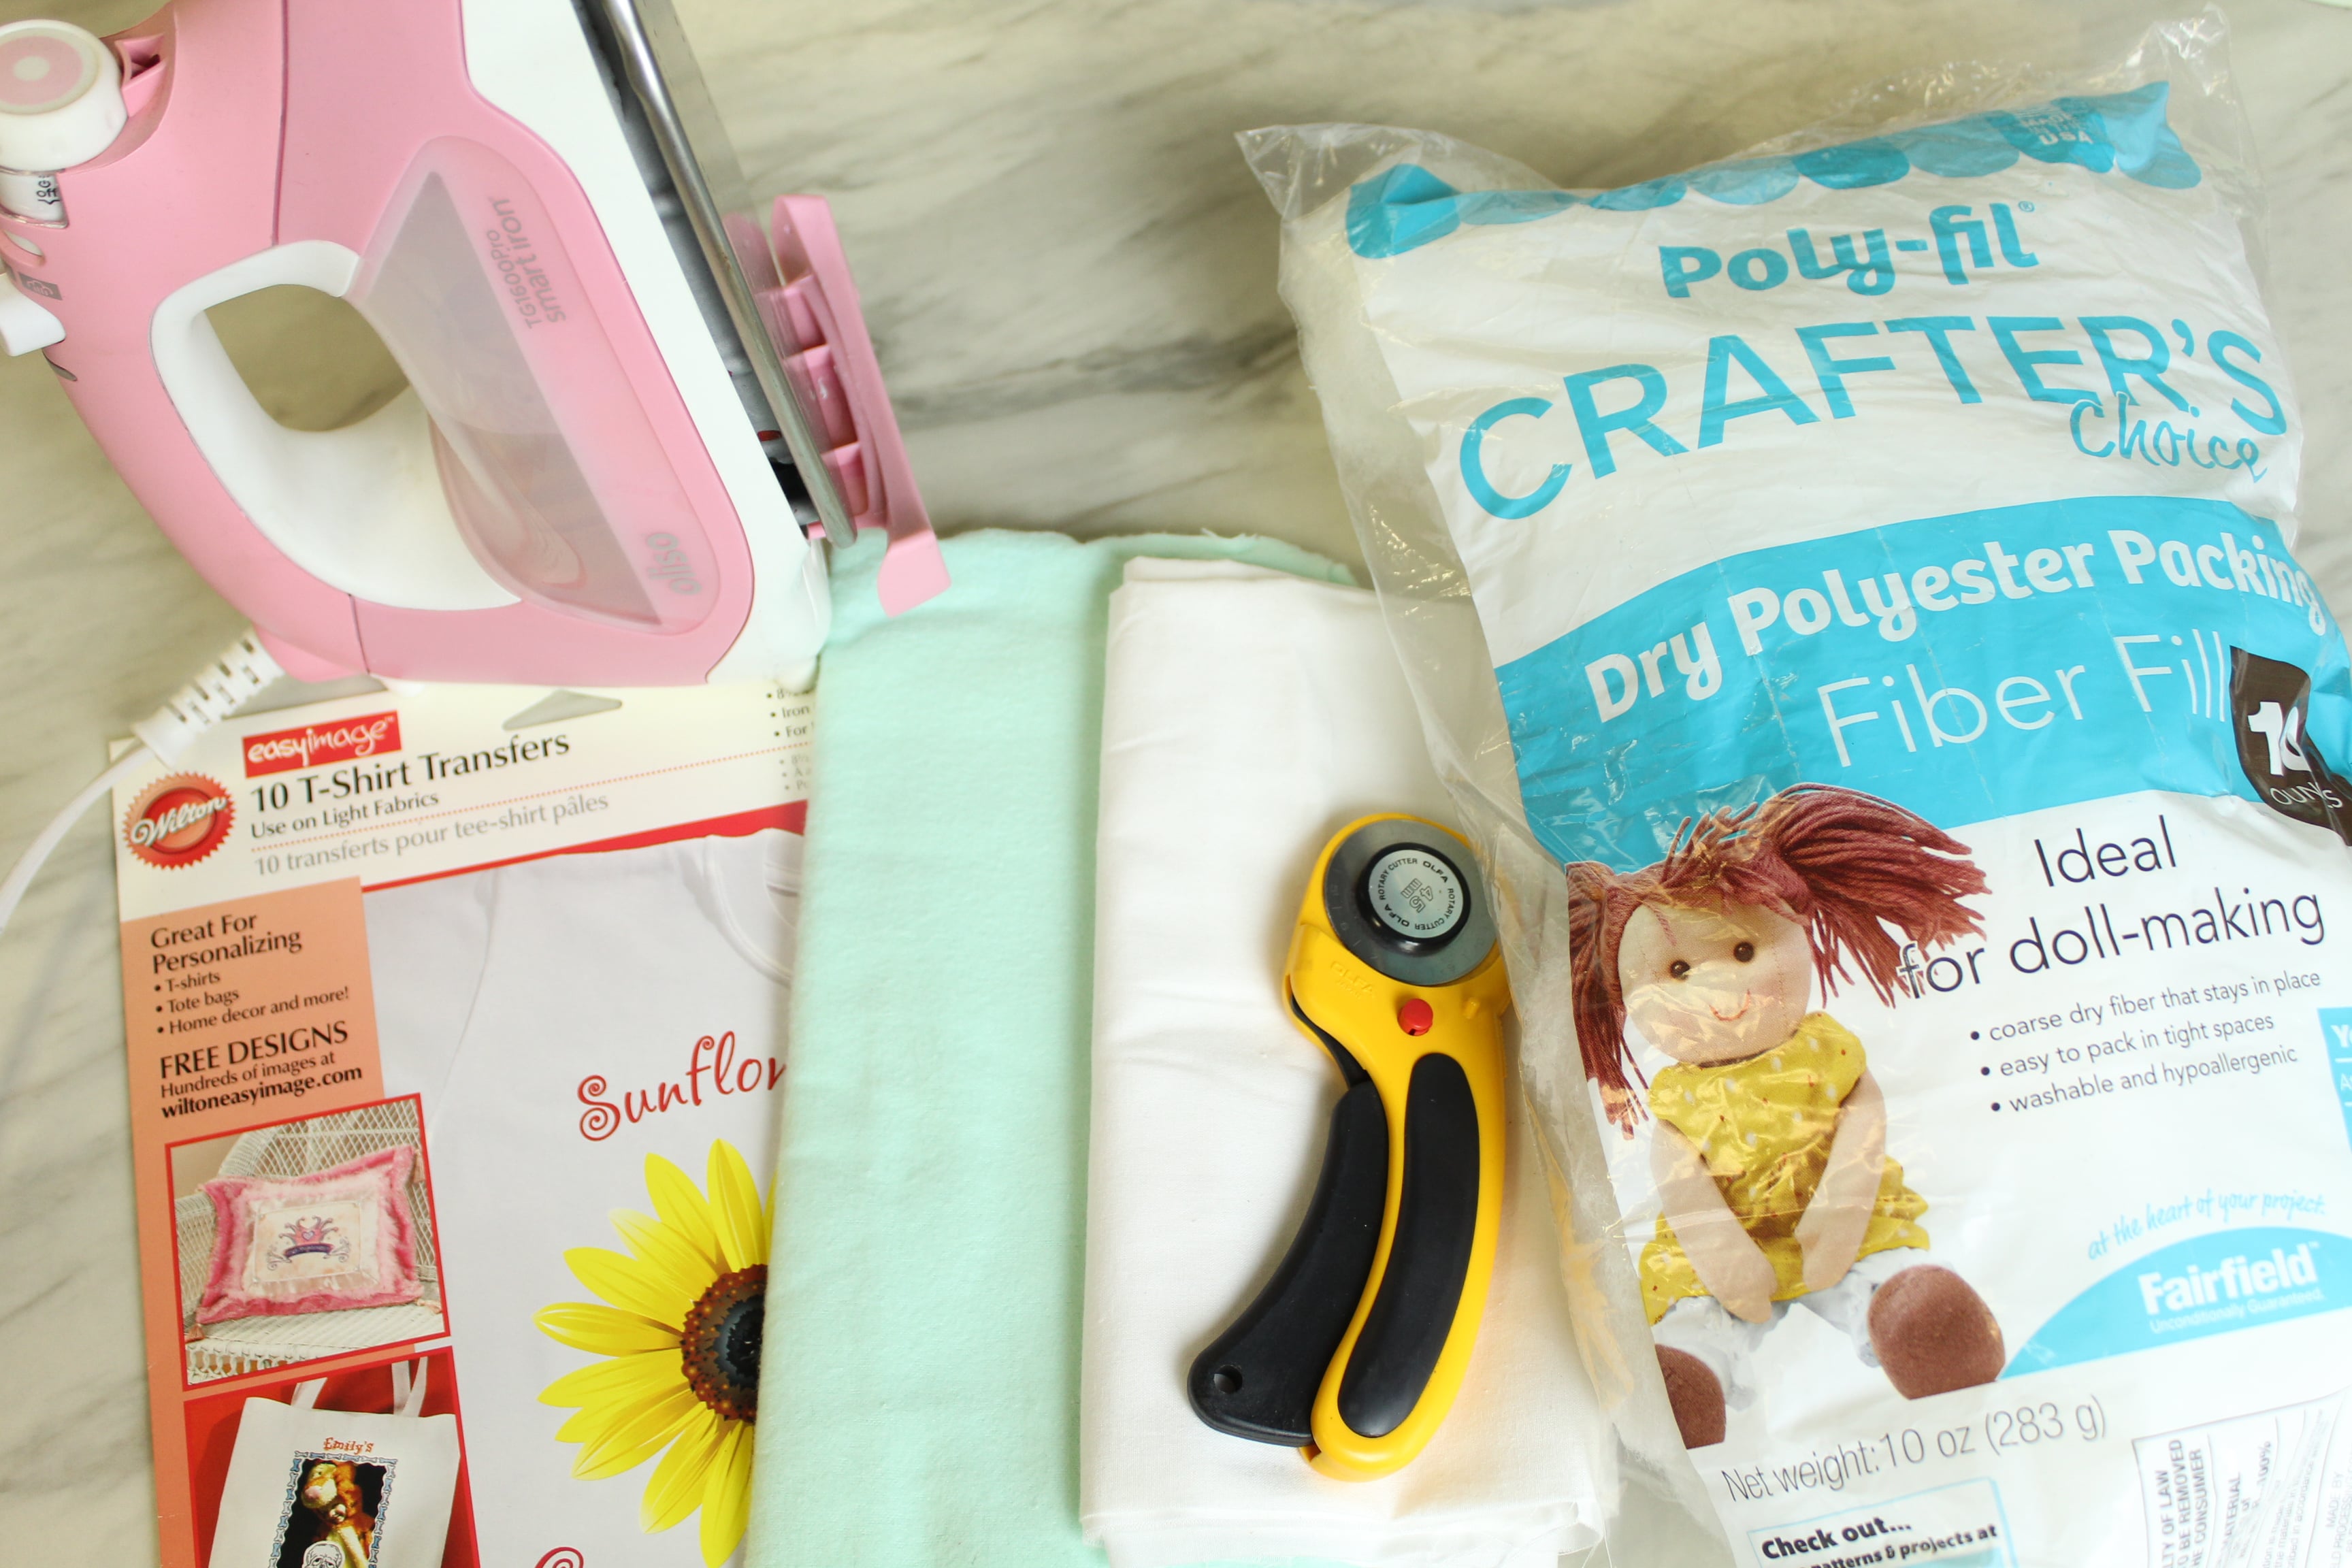
Supplies:
- Printer (I use the Canon PIXMA TS8120)
- Iron On Transfer Paper
- 1/3 Yard Fabric for front (I used white muslin)
- 1/3 Yard Fabric for back (I did a fun mint flannel)
- Rotary Cutter (or Scissors)
- Iron
- Batting
- Sewing Machine (not pictured)
- Sewing Needle (not pictured)
- Coordinating Thread (not pictured)
Design Your Project
Find your fav photo of your furry friend (or take a new one!) and decide how you want it to look. Black and white, color, anything you’d like! I know not everyone has design software, so I actually used Powerpoint to design my file and it worked great! I set the dimensions of the slide to 8.5″ x 11″, inserted the photo I wanted, sized it as big as I could and flipped it horizontally all in powerpoint! (DON’T FORGET TO FLIP THE IMAGE so that when you iron it on it’s the correct way.)

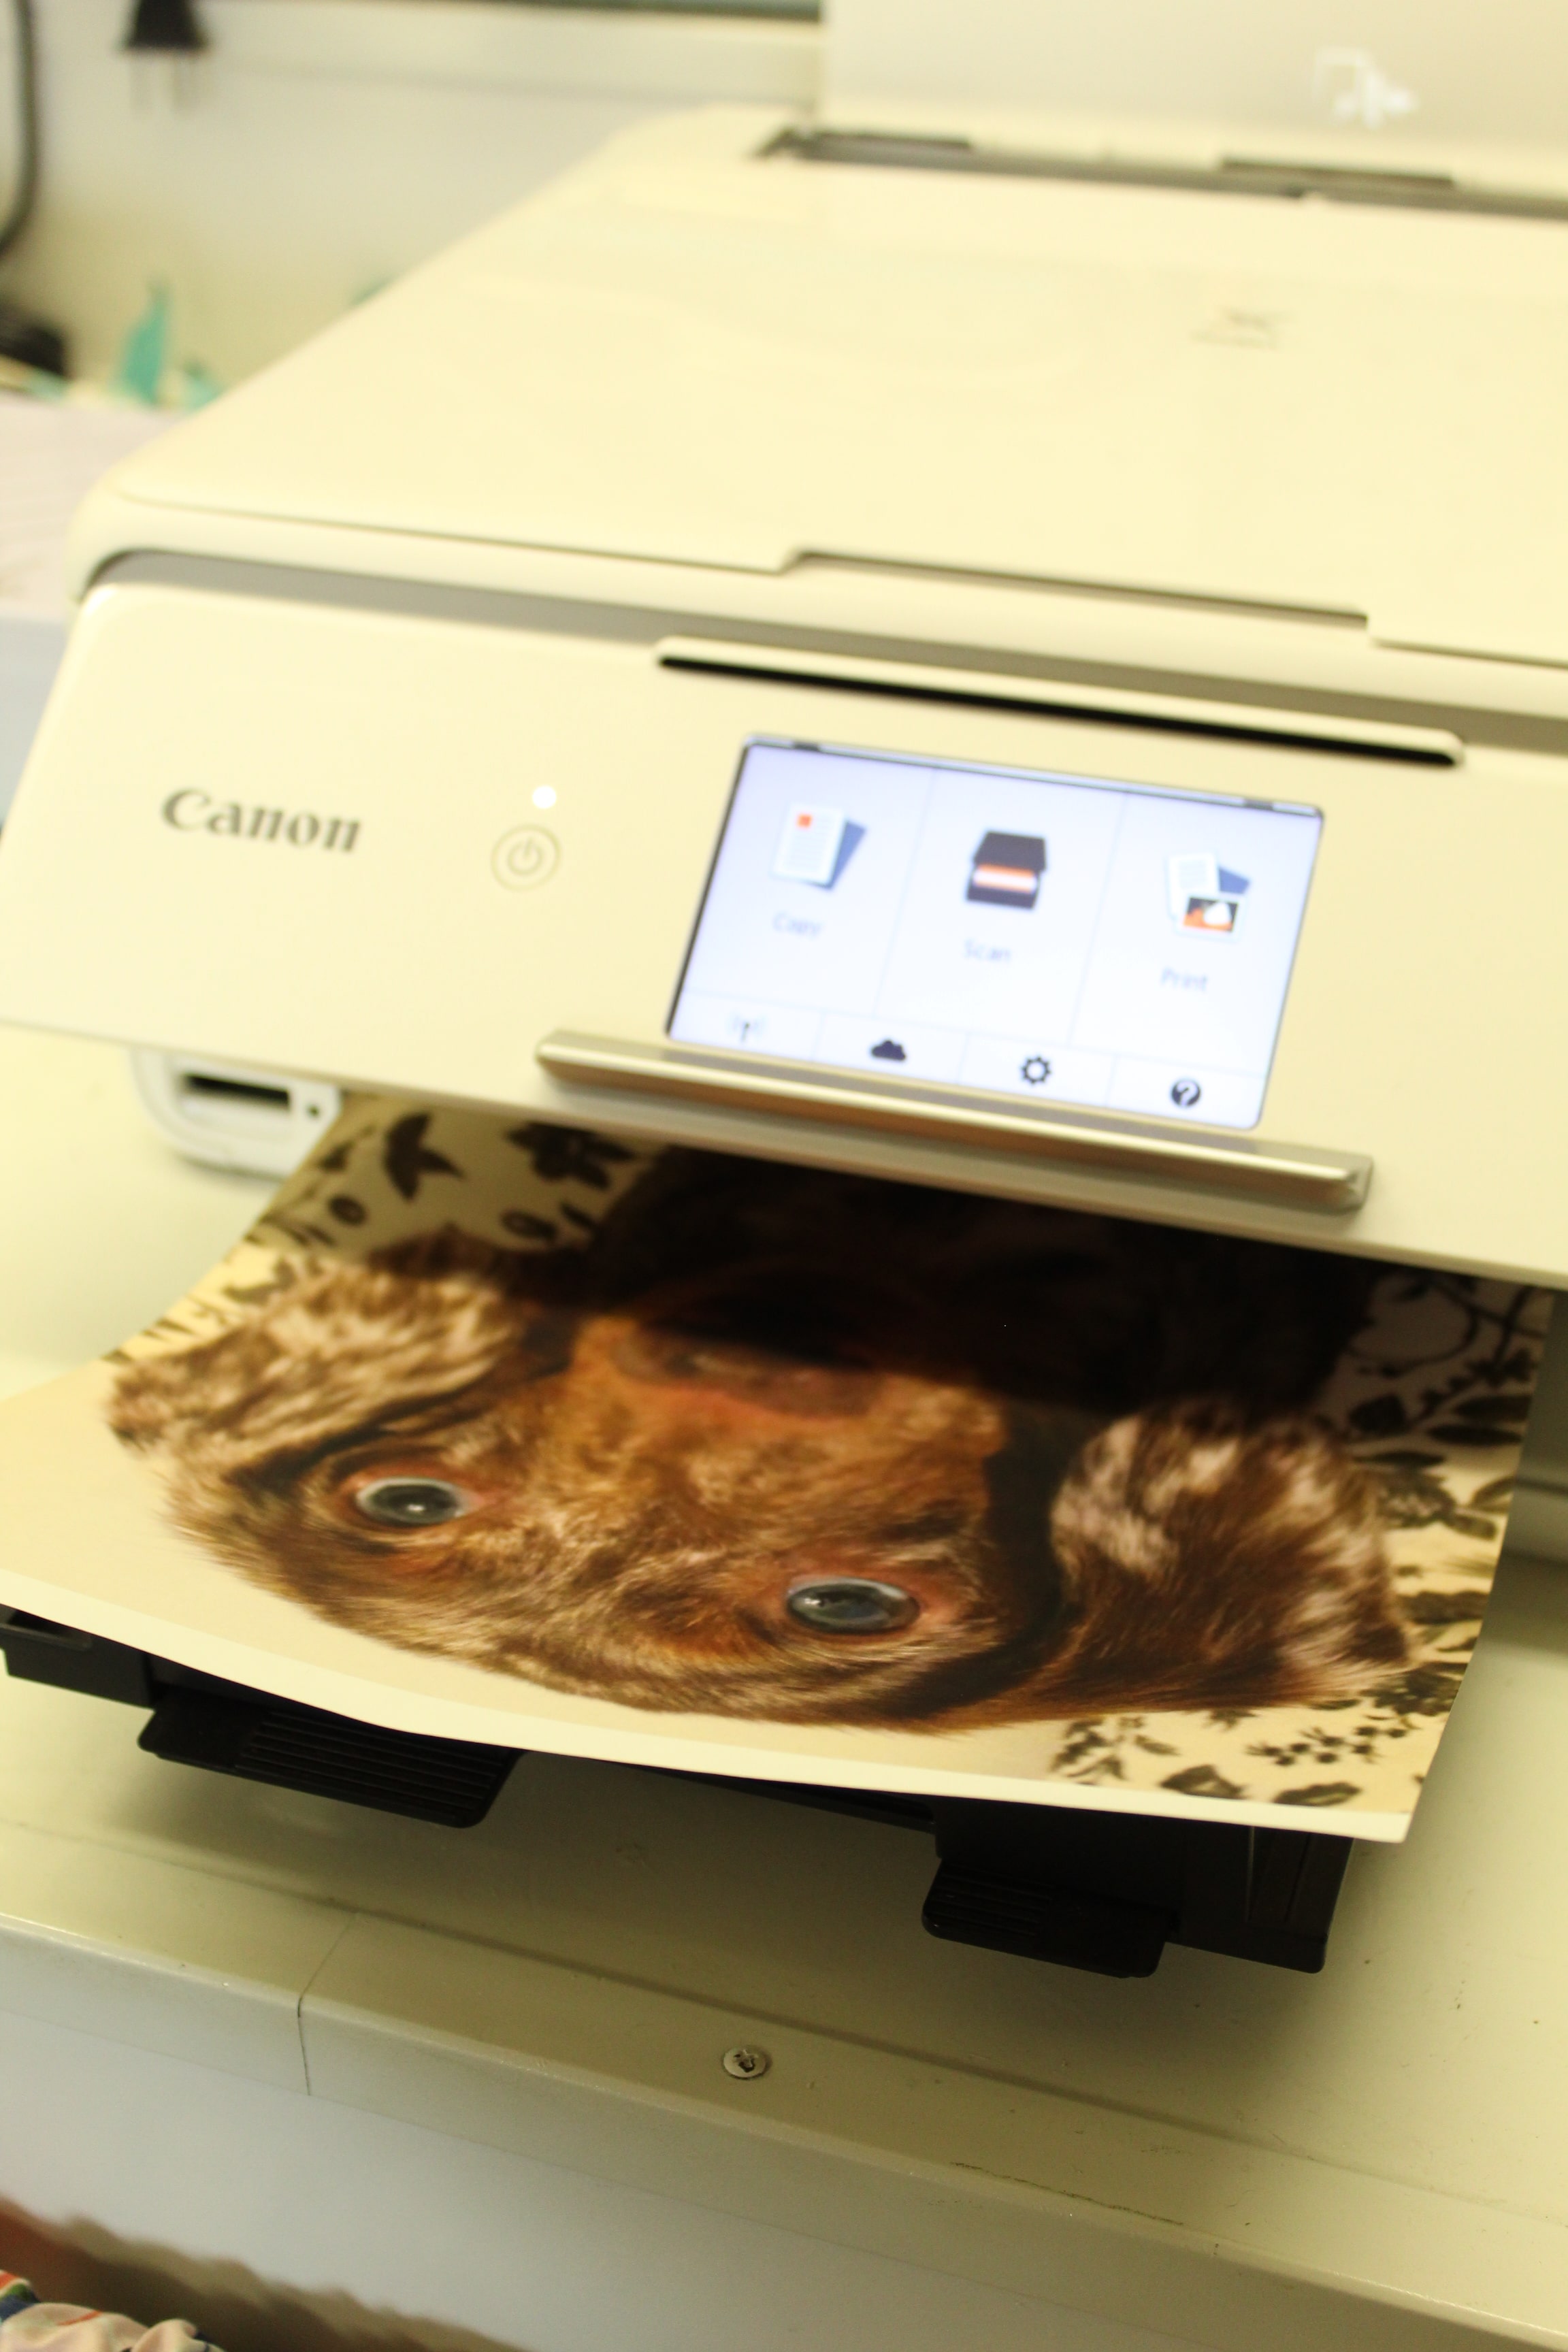
Print Your Design
Once you’re done designing your project, load the iron on transfer paper into your computer based on the transfer paper instructions and your printer specifications and print!
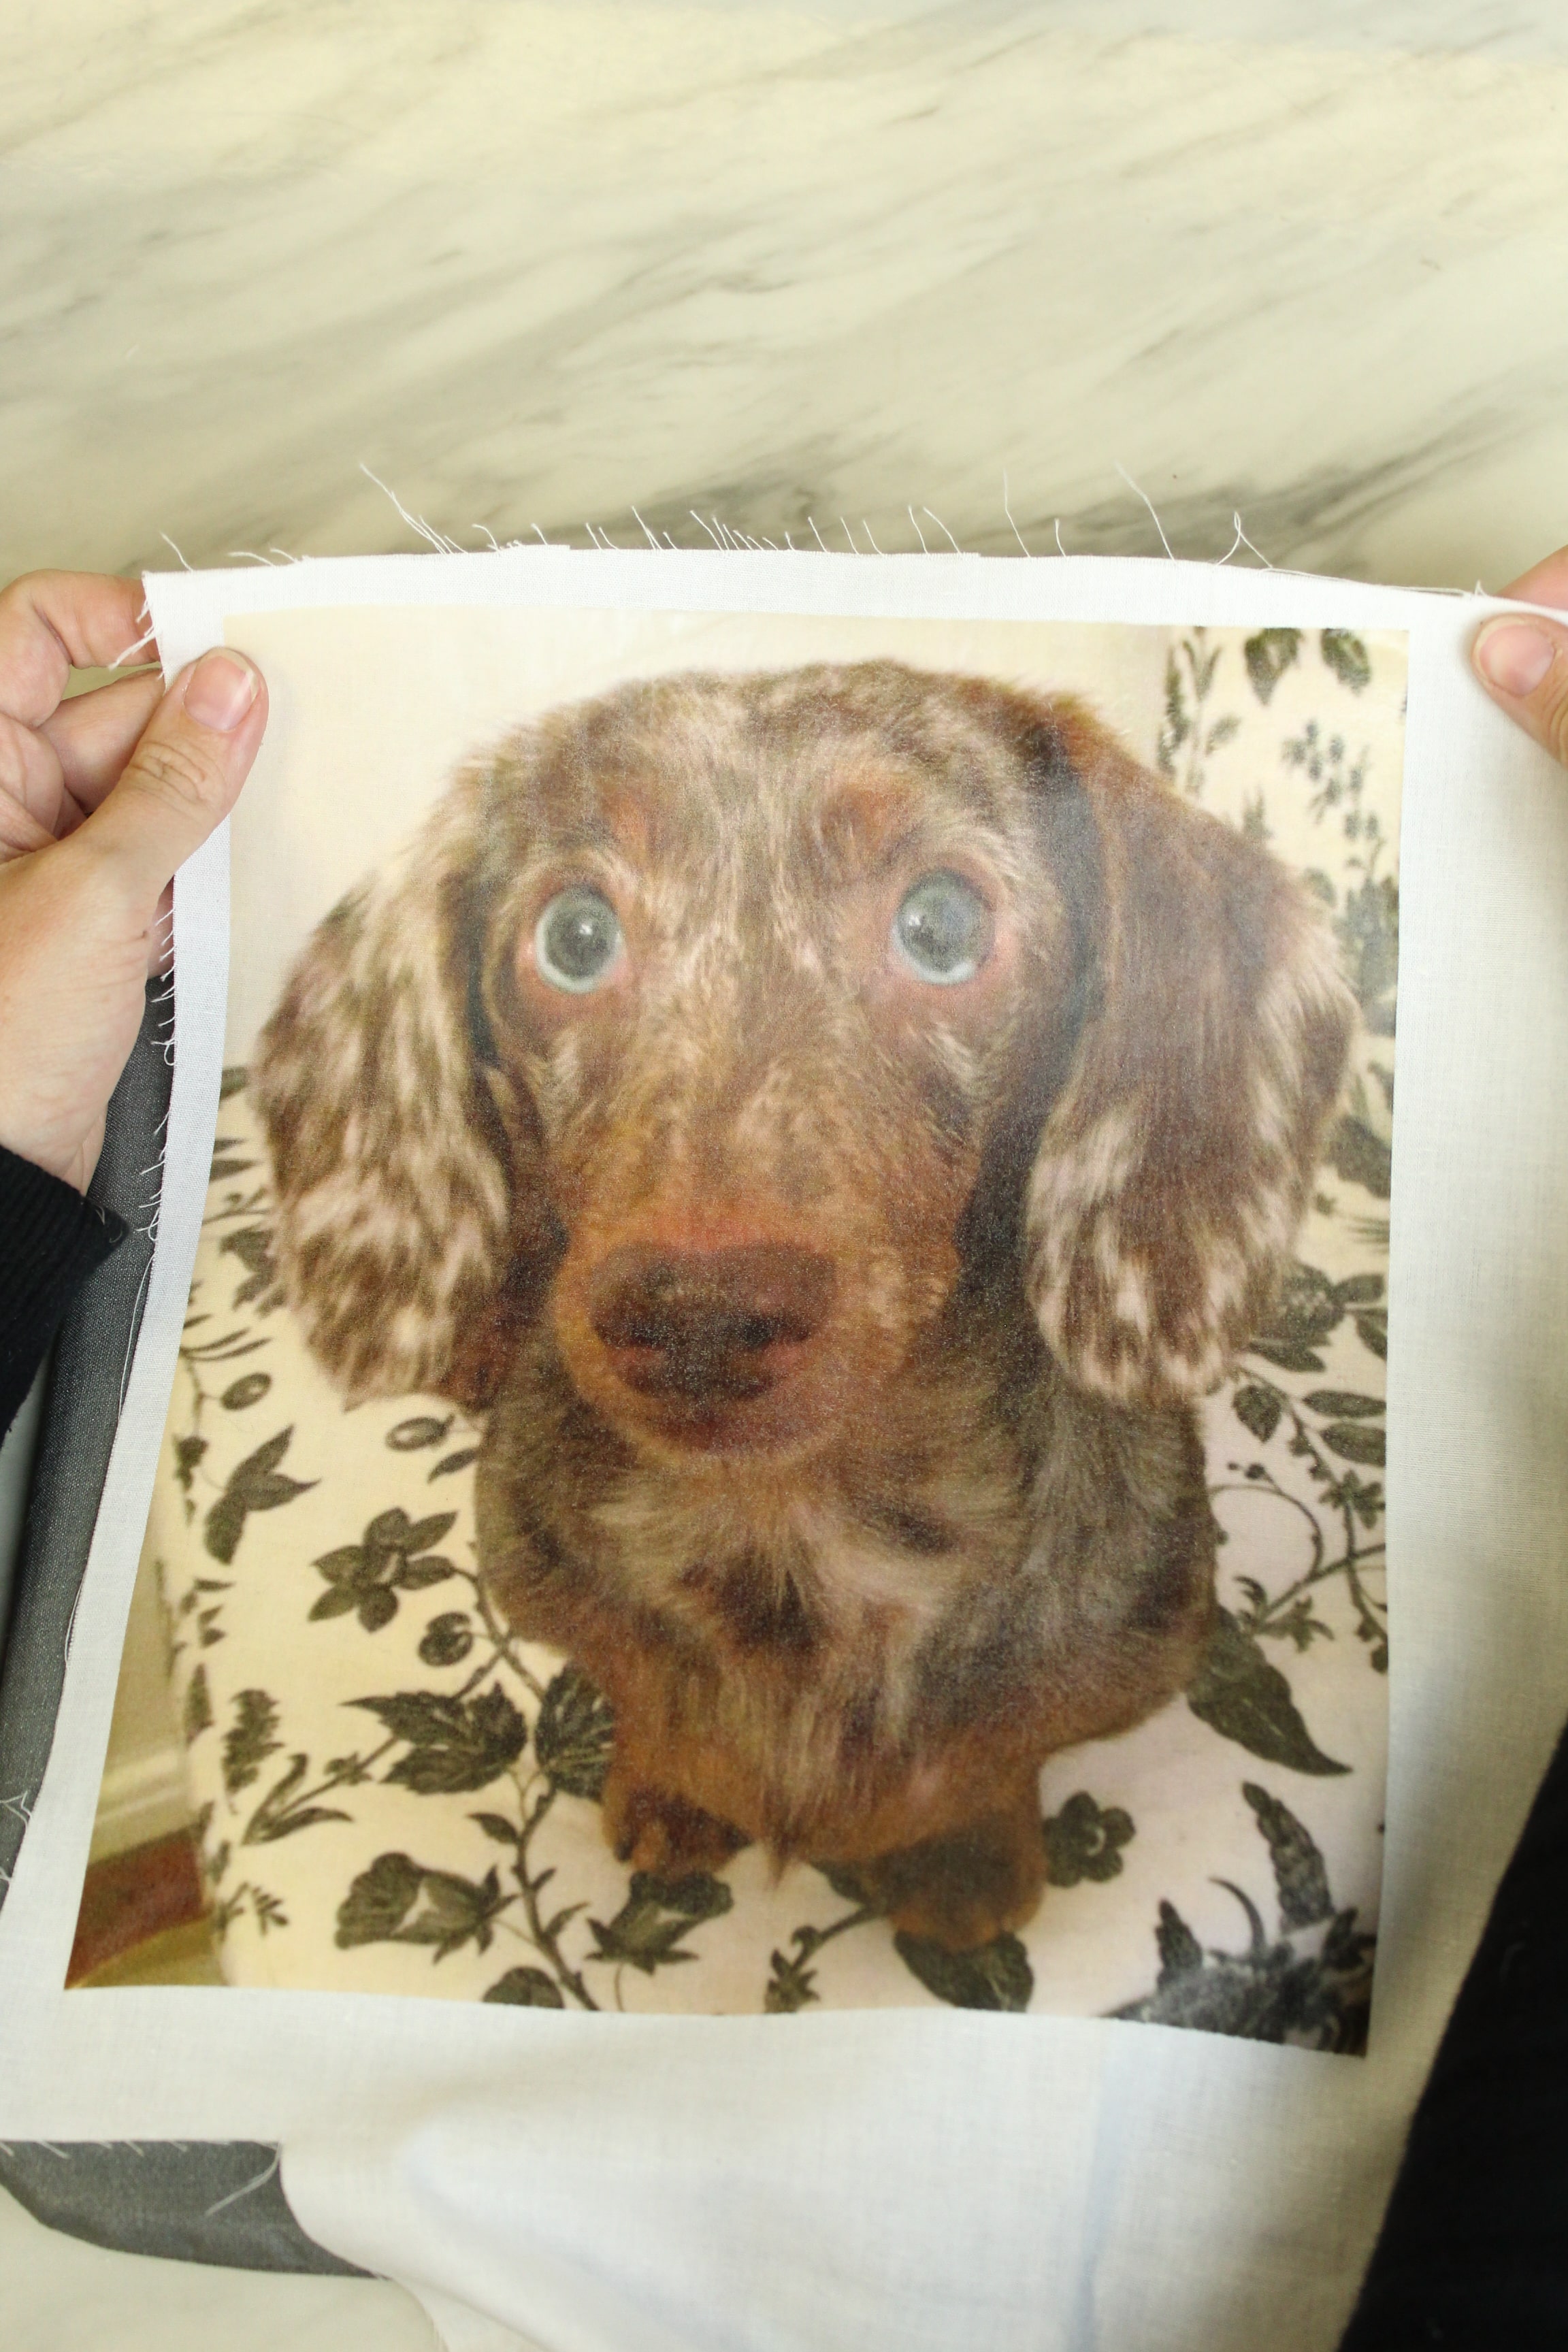
Iron Your Design
Once your project has printed, carefully follow the manufacturers directions on your iron on transfer paper.
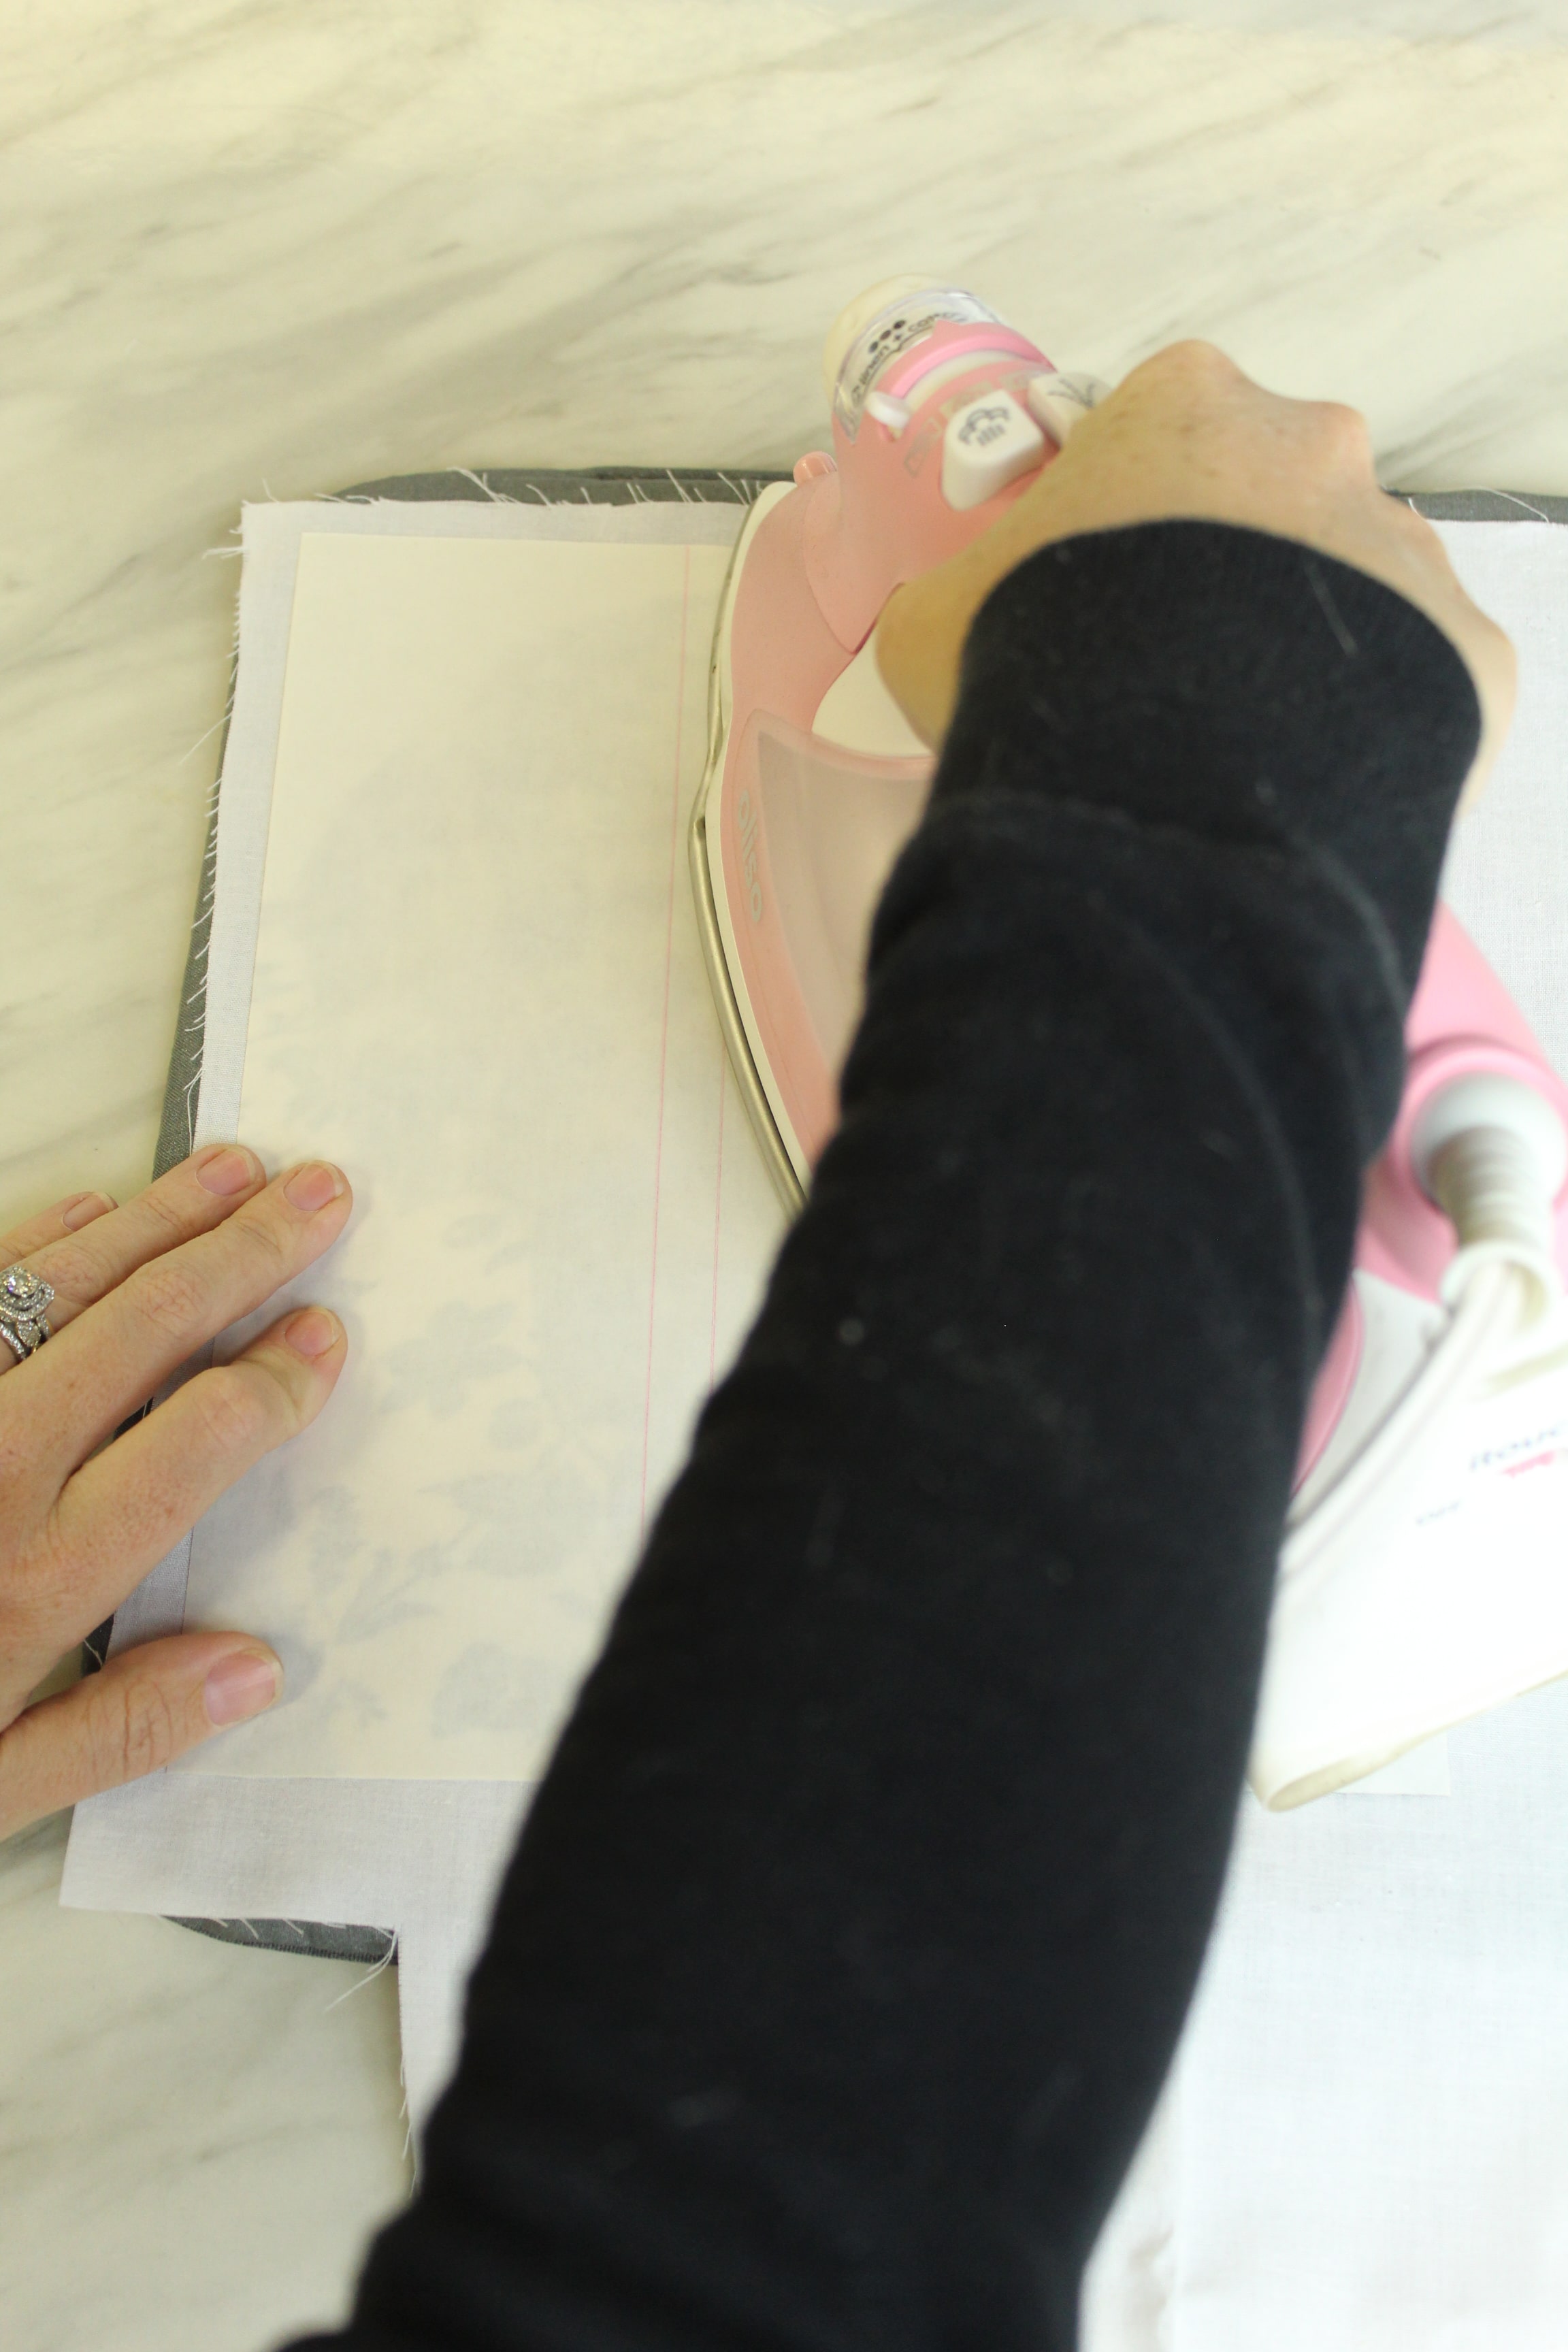
Insider Tip: Next time you’re buying fabric for a project from your local craft store, be sure to check out the remnants bin. You can almost always find something that will work for your project at a fraction of the cost. I was able to get the muslin that I used for under $3!
Once you’re finished ironing, remove the backing to display your image!

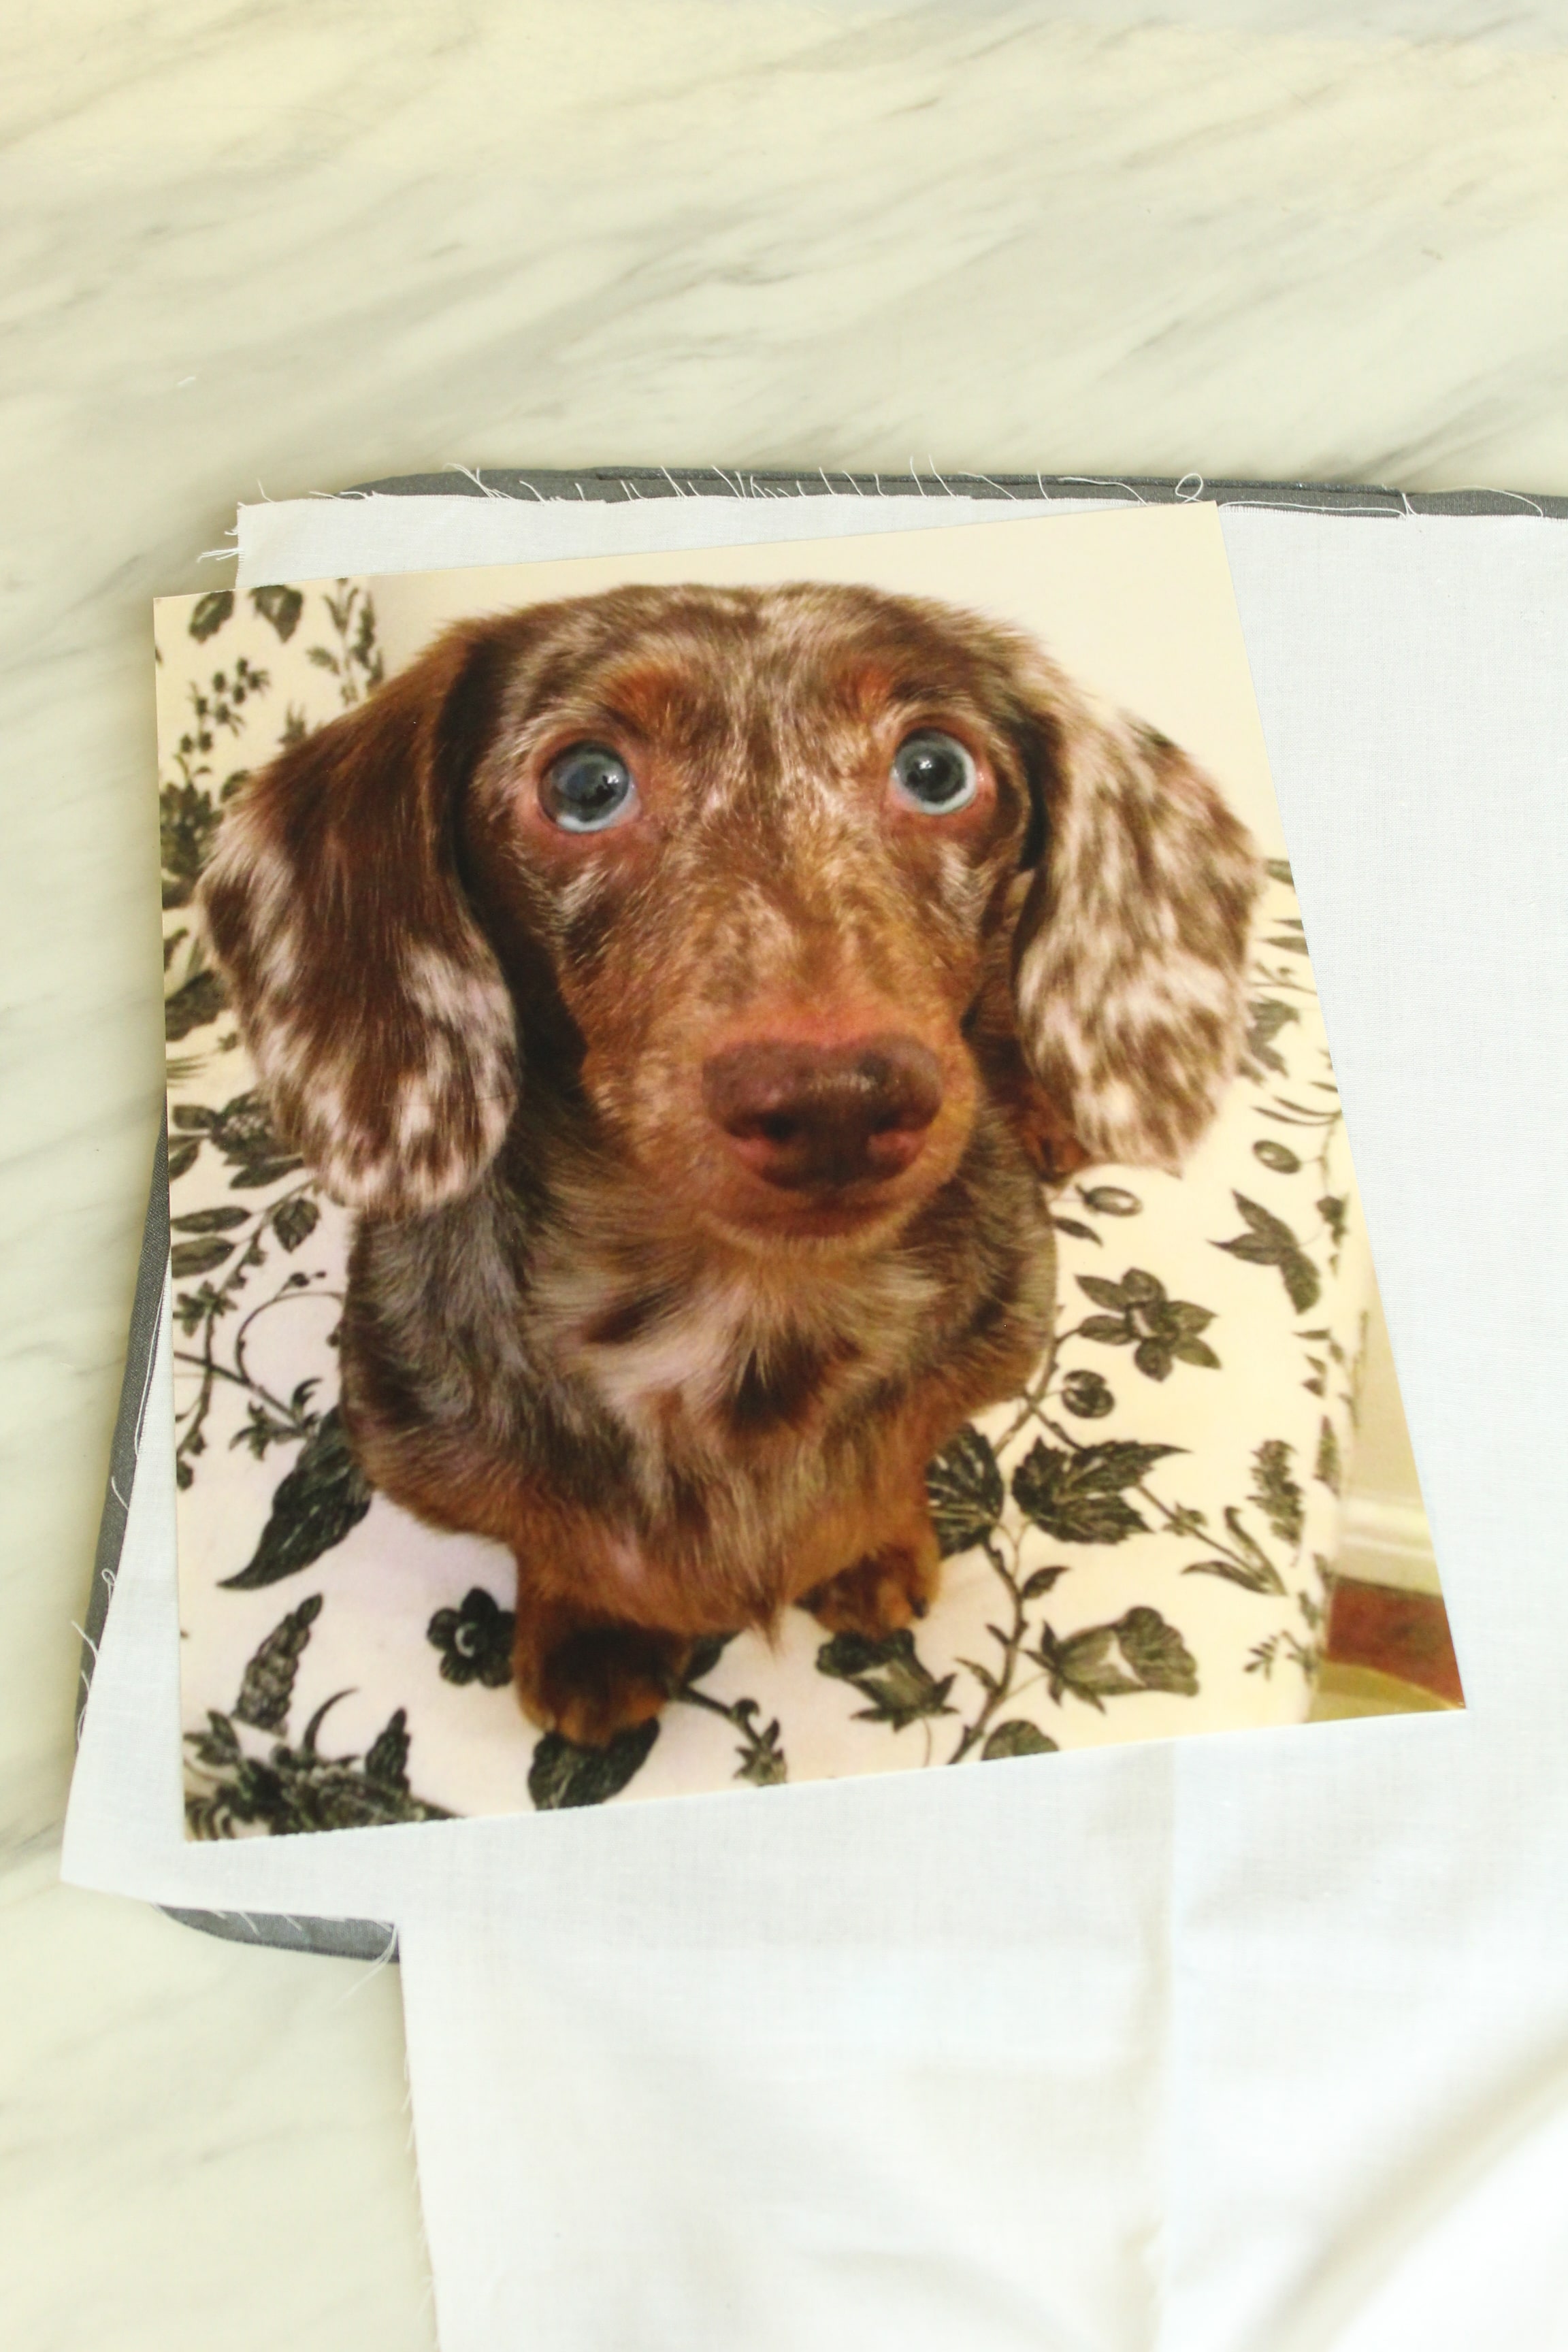
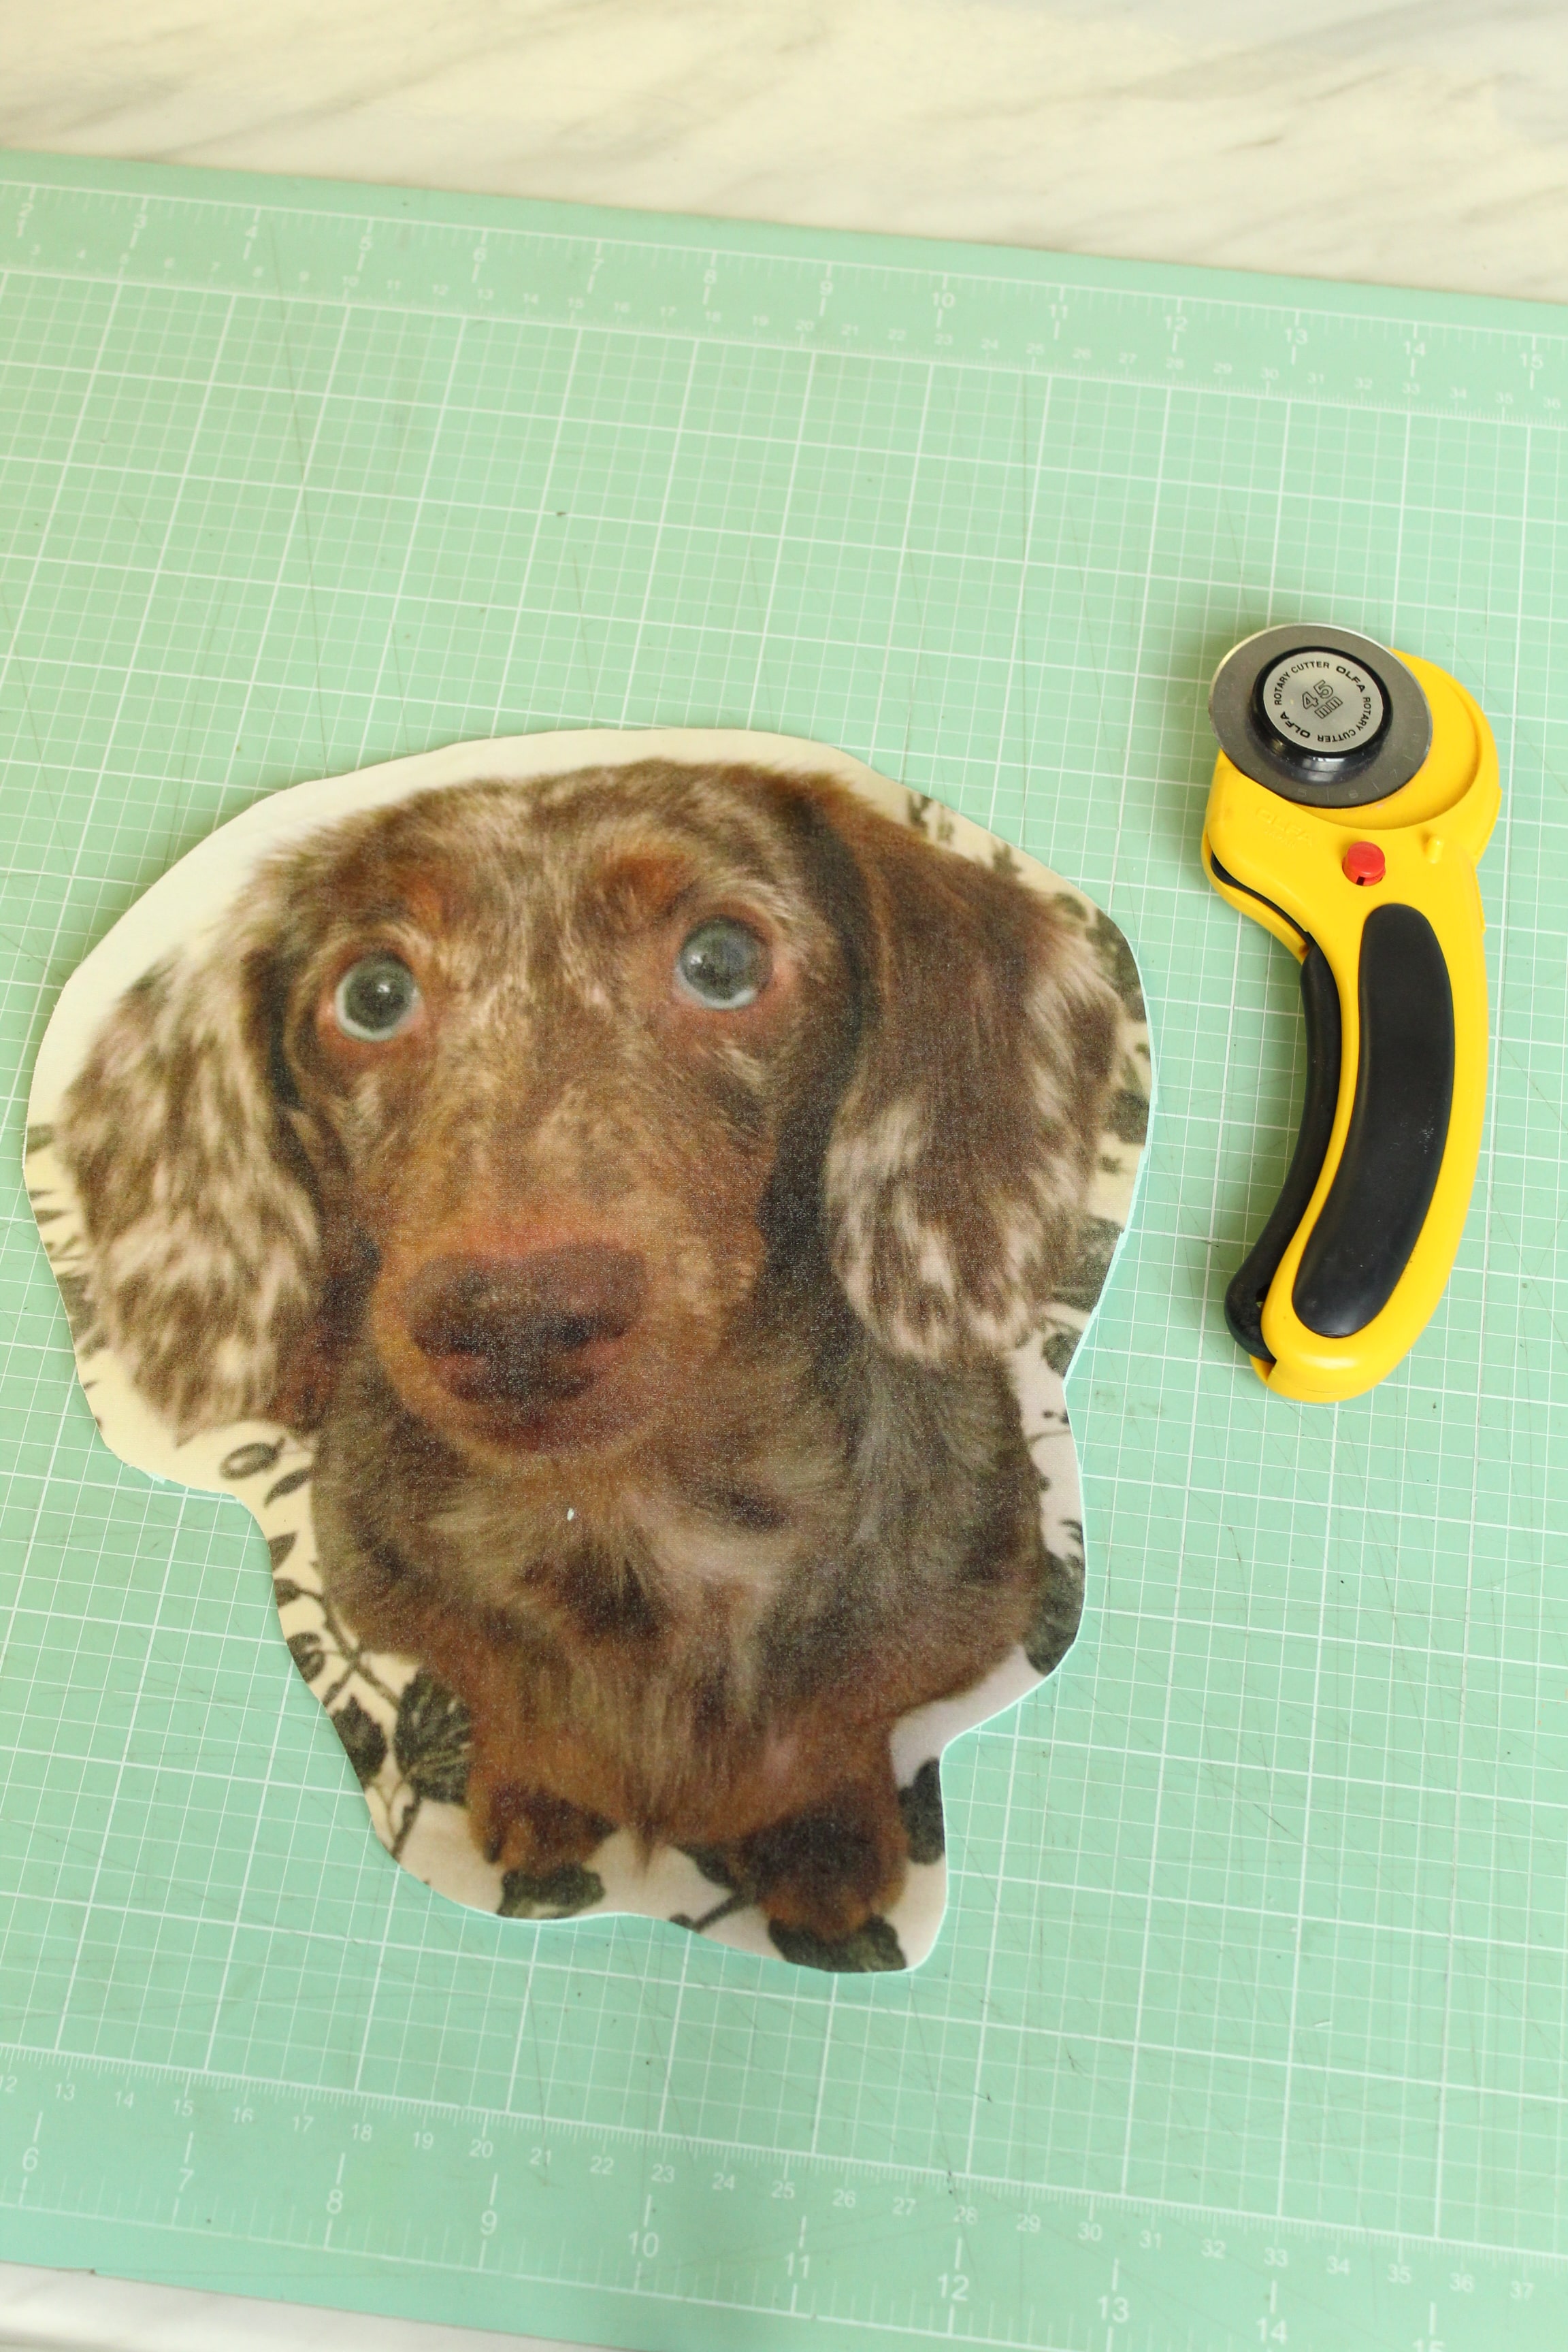
Cut Your Design
Set your ironed on fabric on top of your back fabric so that its doubled up with the pretty side of your back fabric facing down and, using a rotary cuter (or scissors) cut around your image, being sure that you are cutting both pieces (a front and a back). Remember to give yourself extra room since you will be sewing. I tried to have about a half inch or so cushion all the way around. (If you do use scissors, I’d recommend pinning before you cut.)

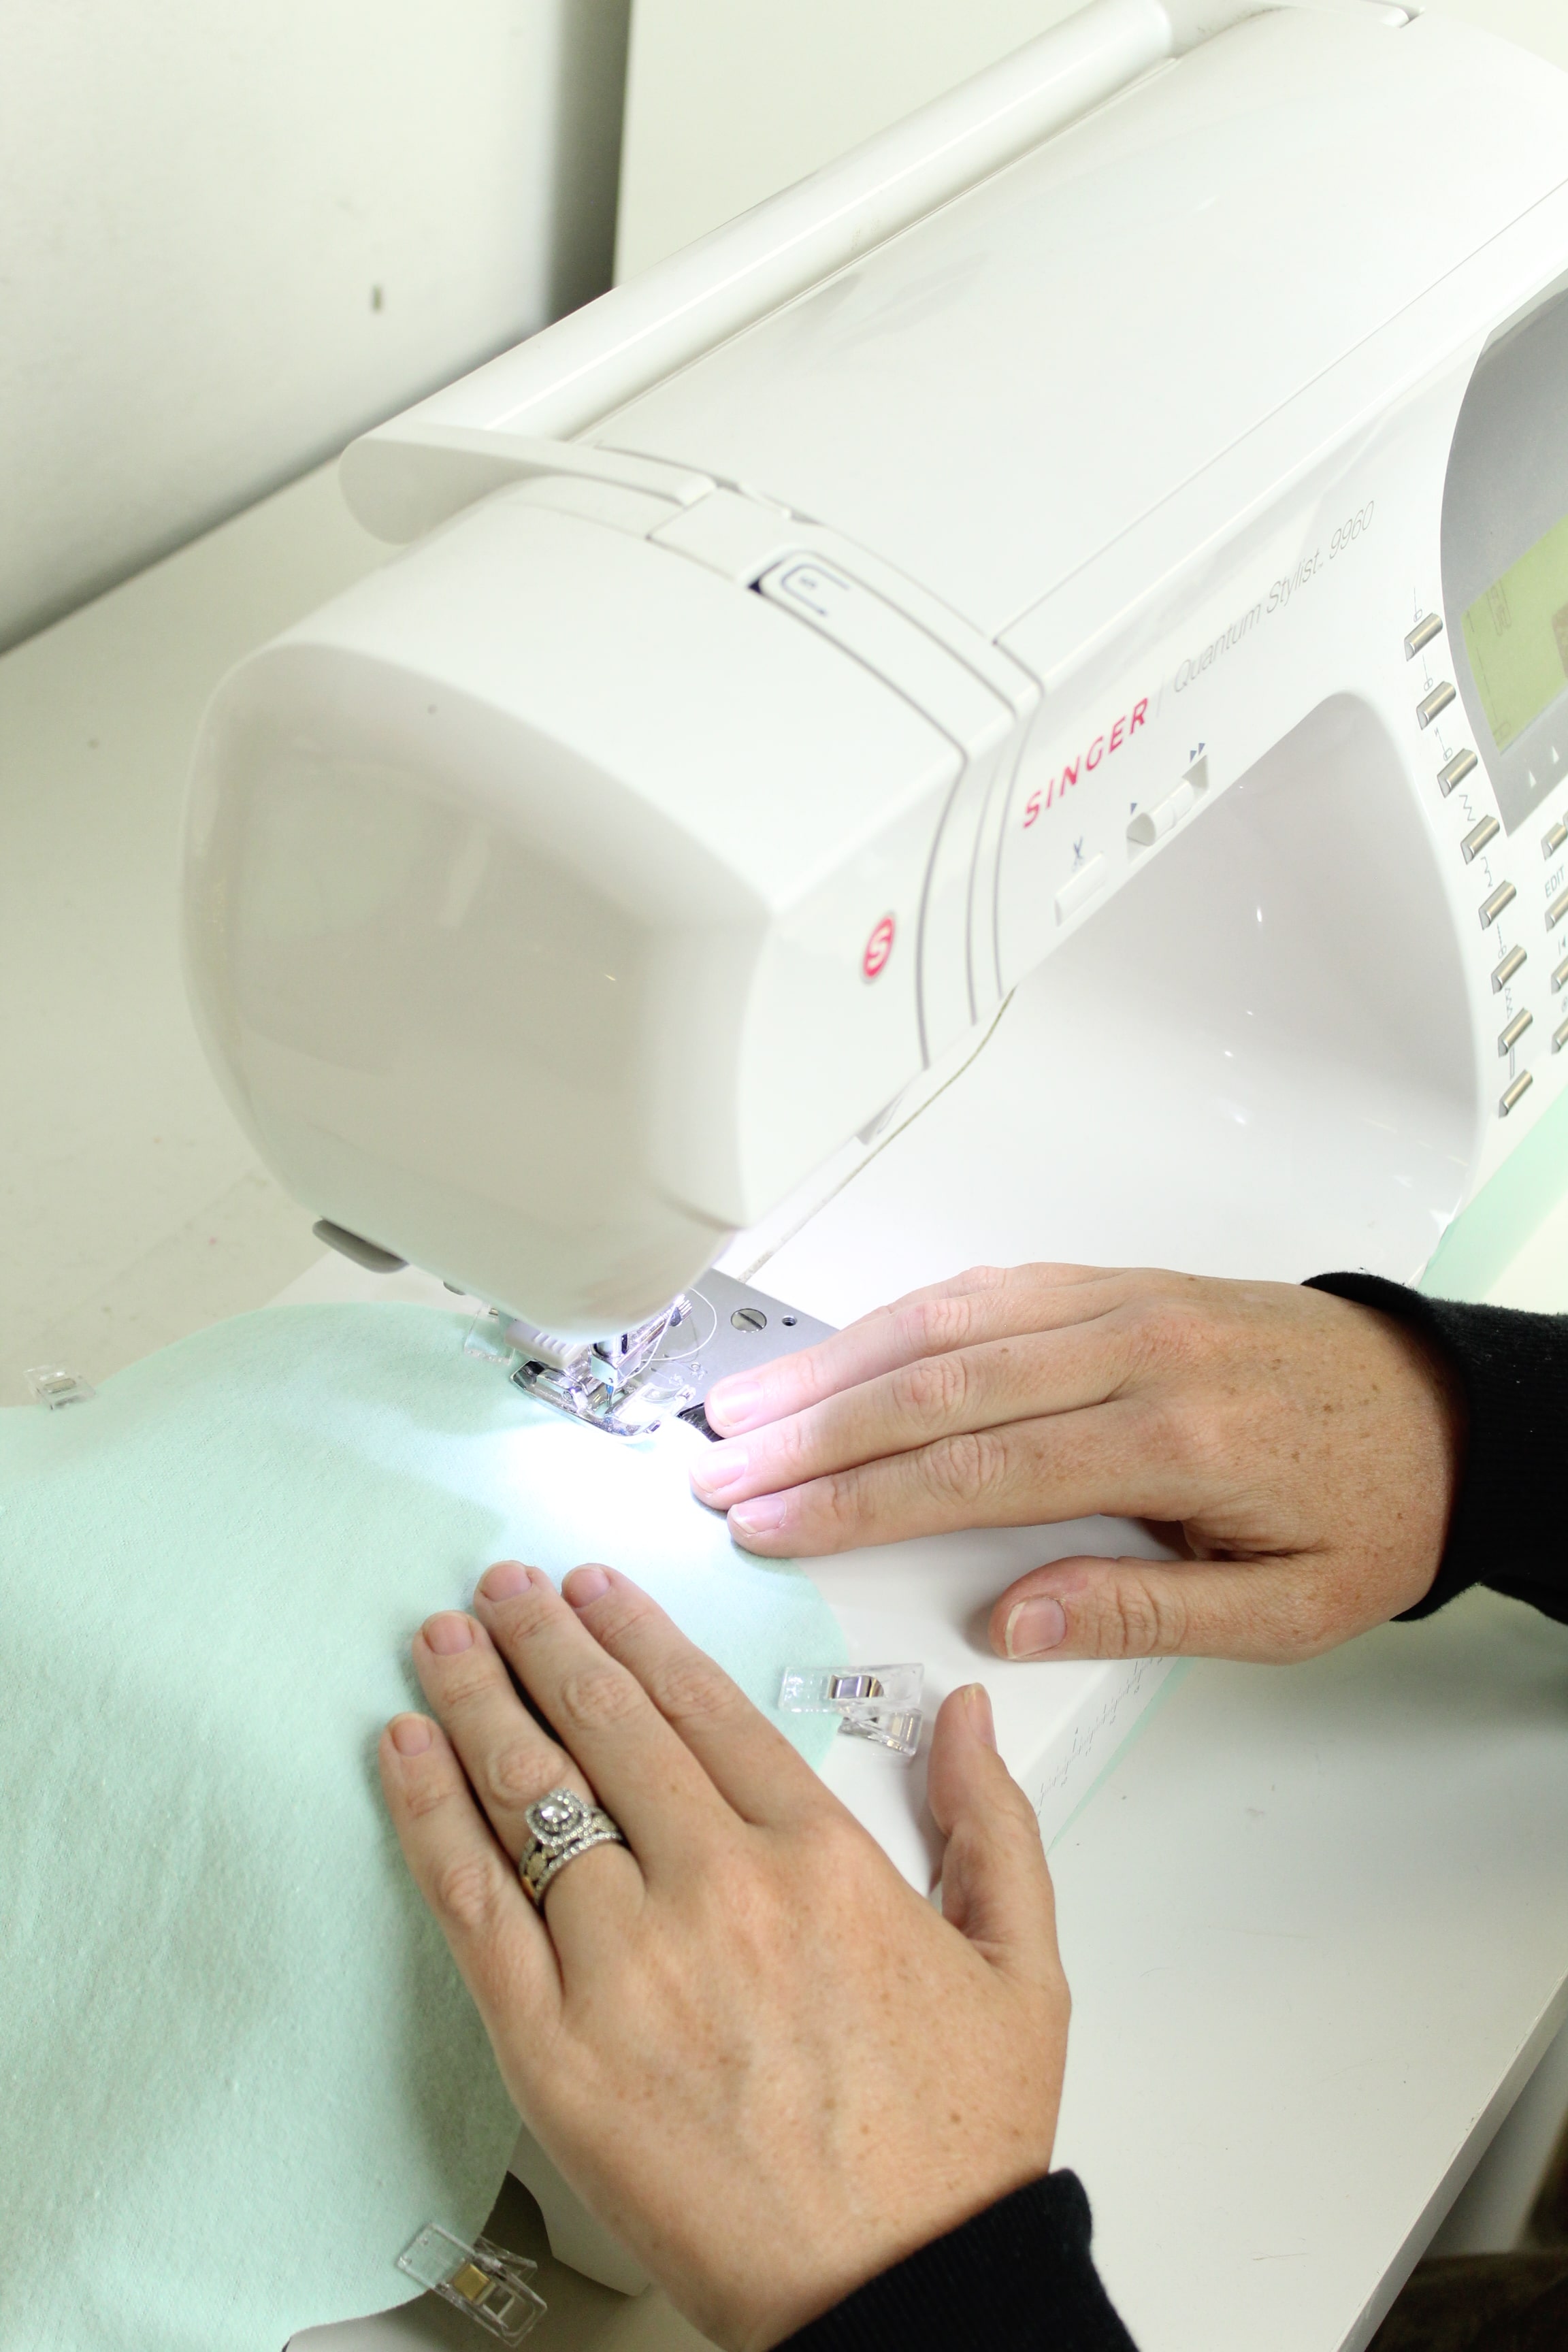
Time to Sew
Place your fabric right sides together, using pins or clips to keep it in place. Then, take it over to your sewing machine and start sewing! Remember to keep an opening to turn your project right side out. Sometimes it helps to mark it with pins or a fabric pen.
Once it’s sewn, snip any rounded edges and turn your project right side out through the opening that you left.
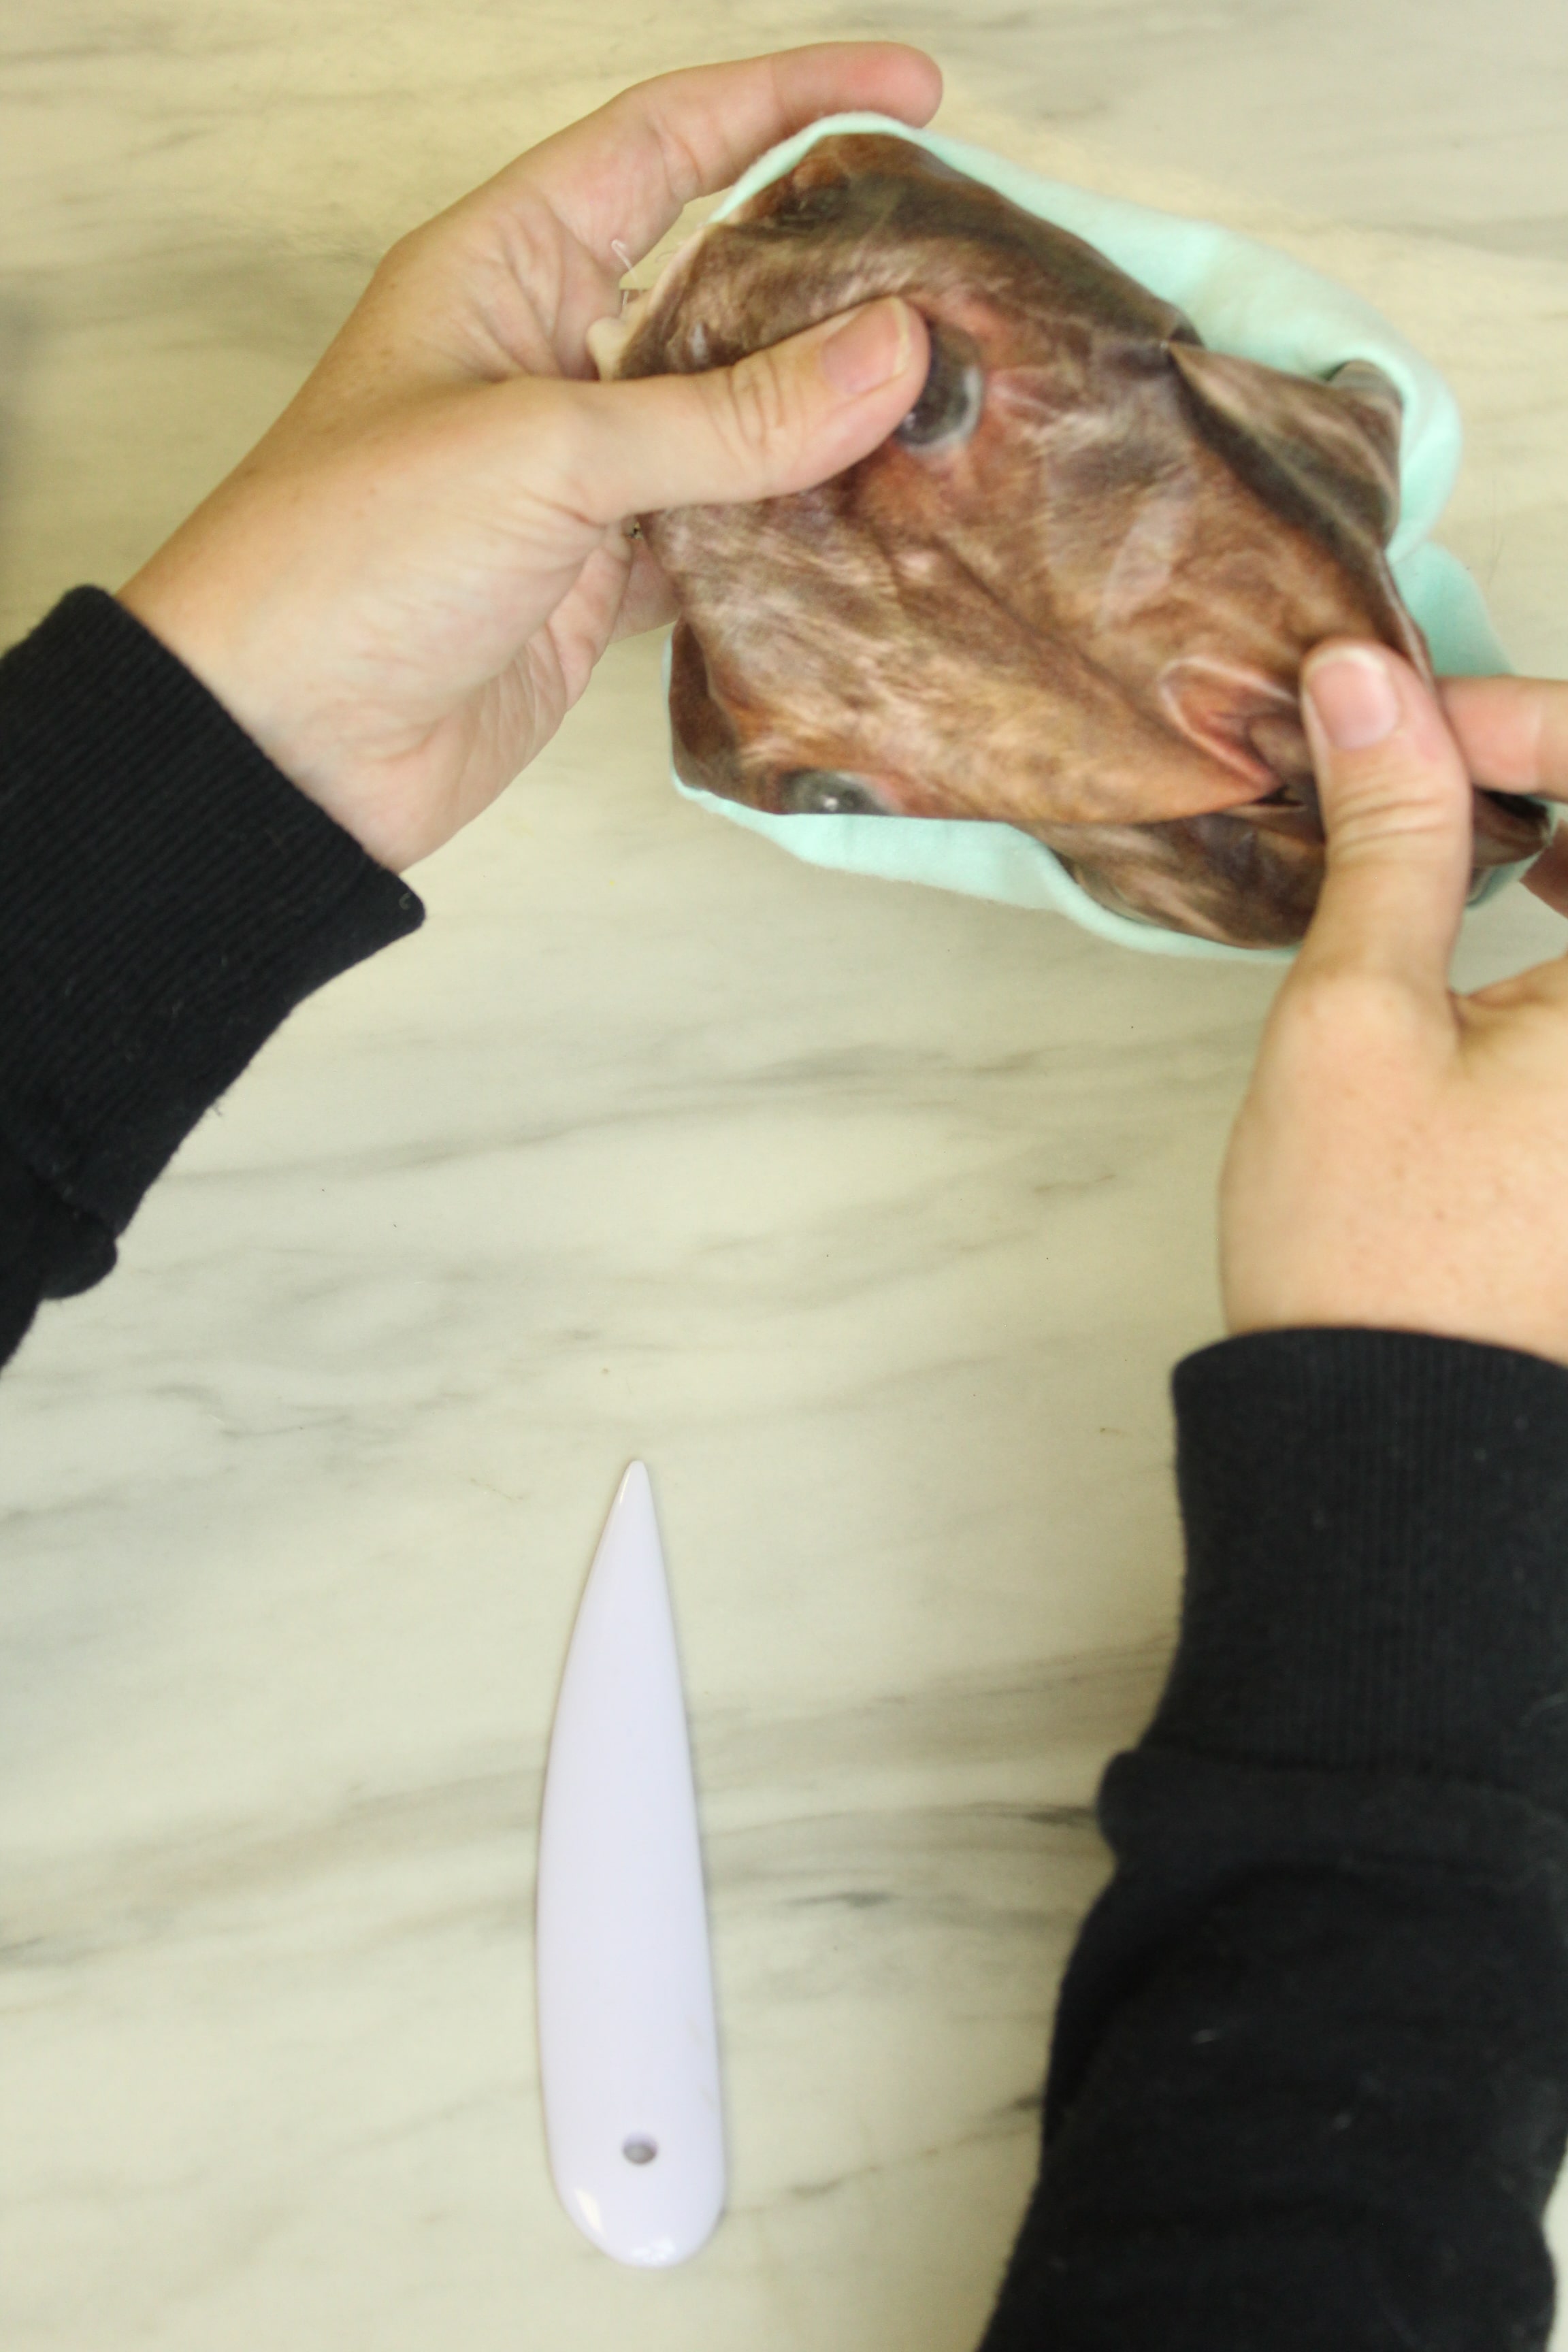
Using a bone folder (or whatever pokey object you have on hand, like a pen or pencil) push all of the seams out.
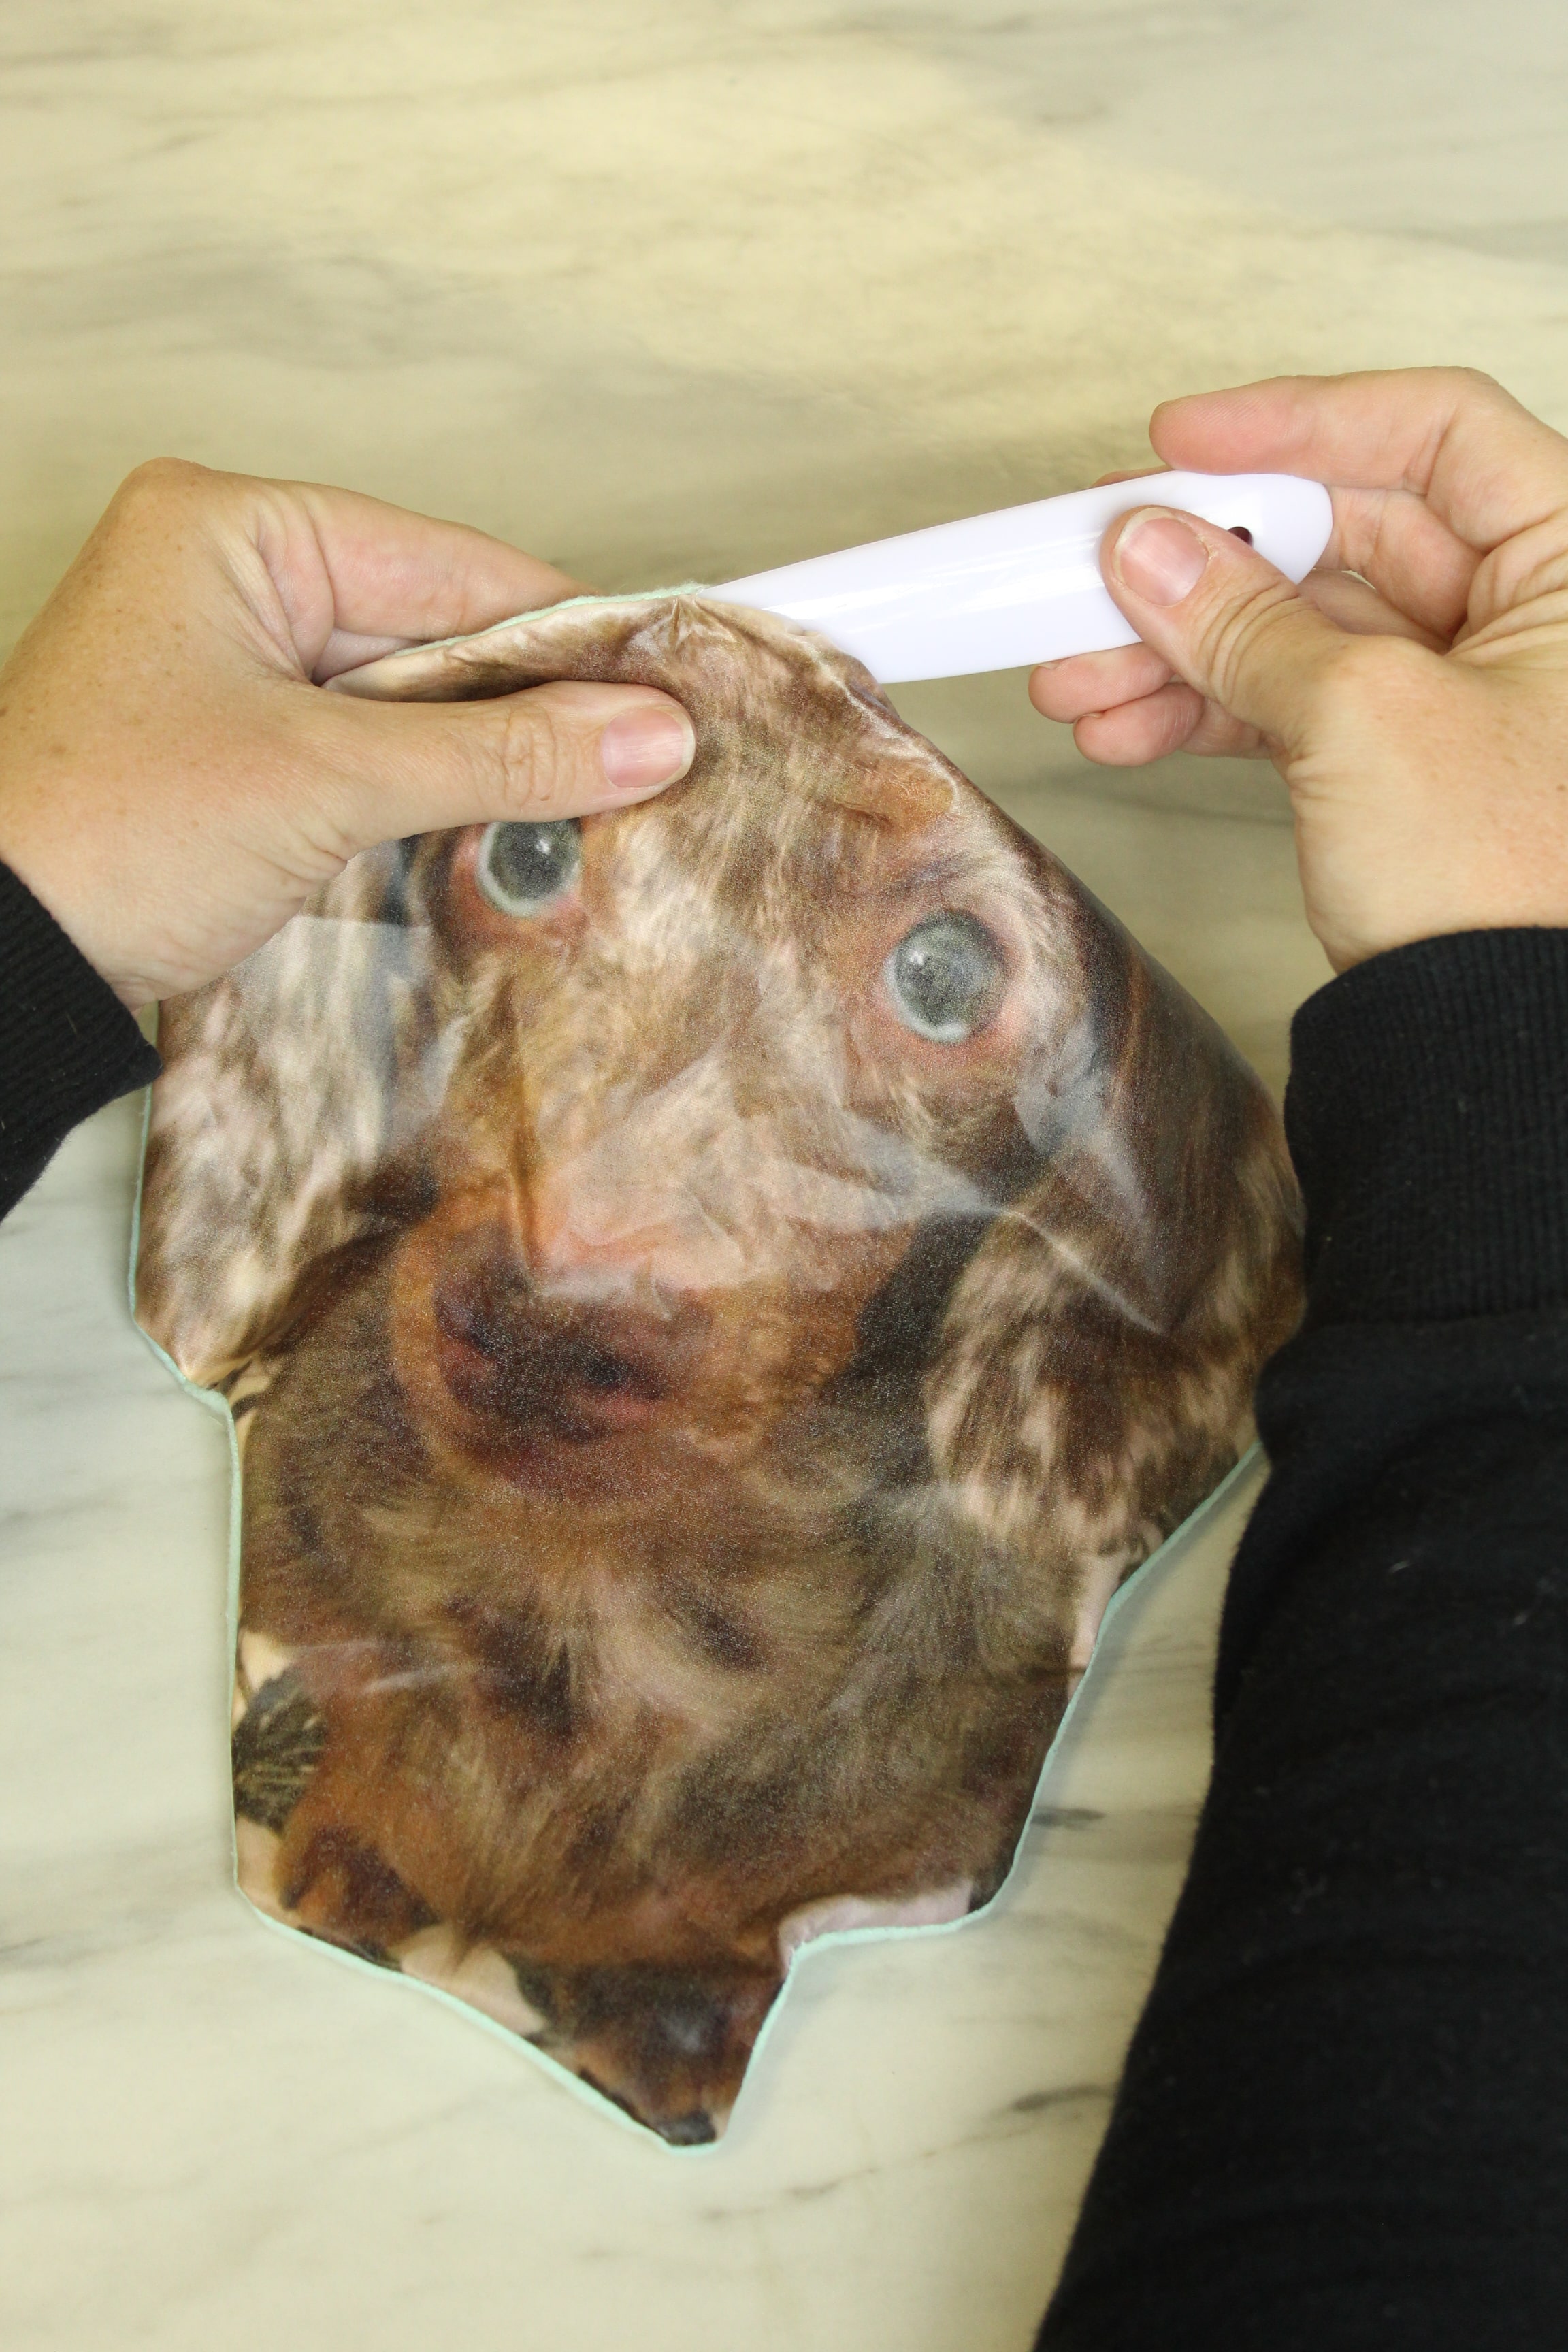
Turning it right side out, may have put some wrinkles in the iron on material. If you want to, place the iron on transfer backing back on your project and VERY quickly give it a little press from the backside, making sure not to press it for too long as it may affect your iron on transfer. I also found (through trial and error) if you do this, let it cool before removing the backing or some of it may transfer back on.
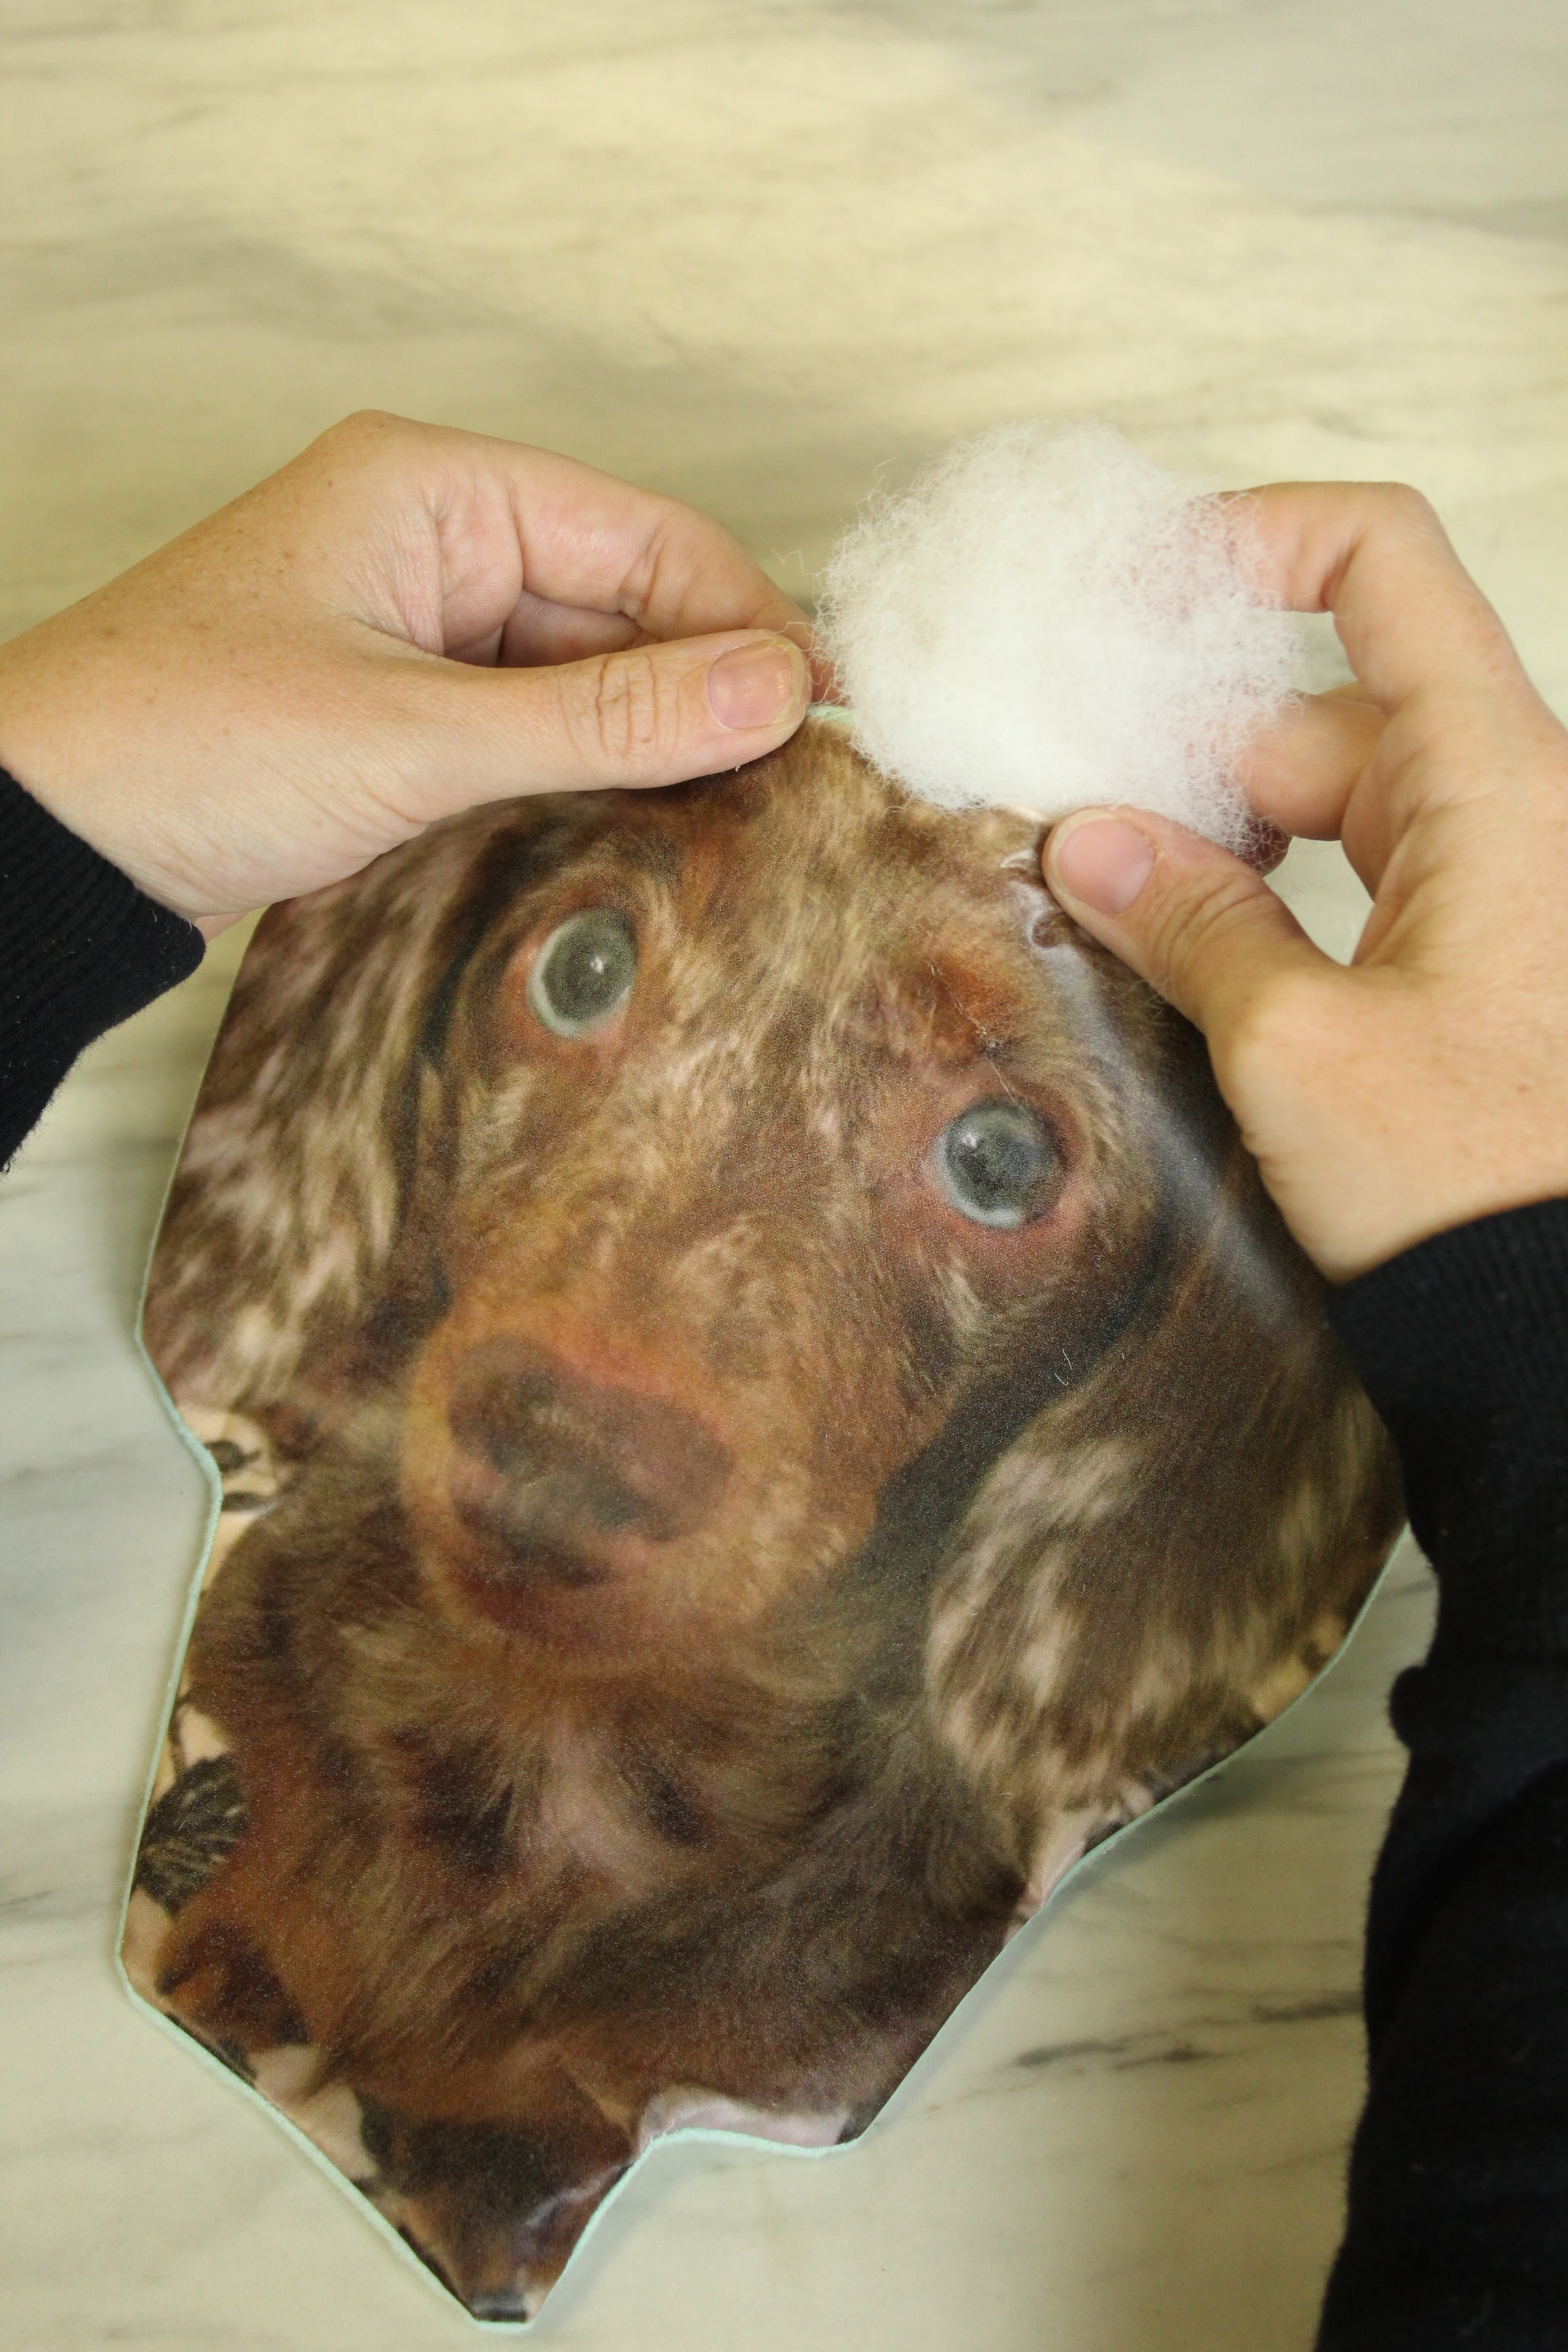
Then fill that bad boy with batting! How full or flat you make it is really up to you.
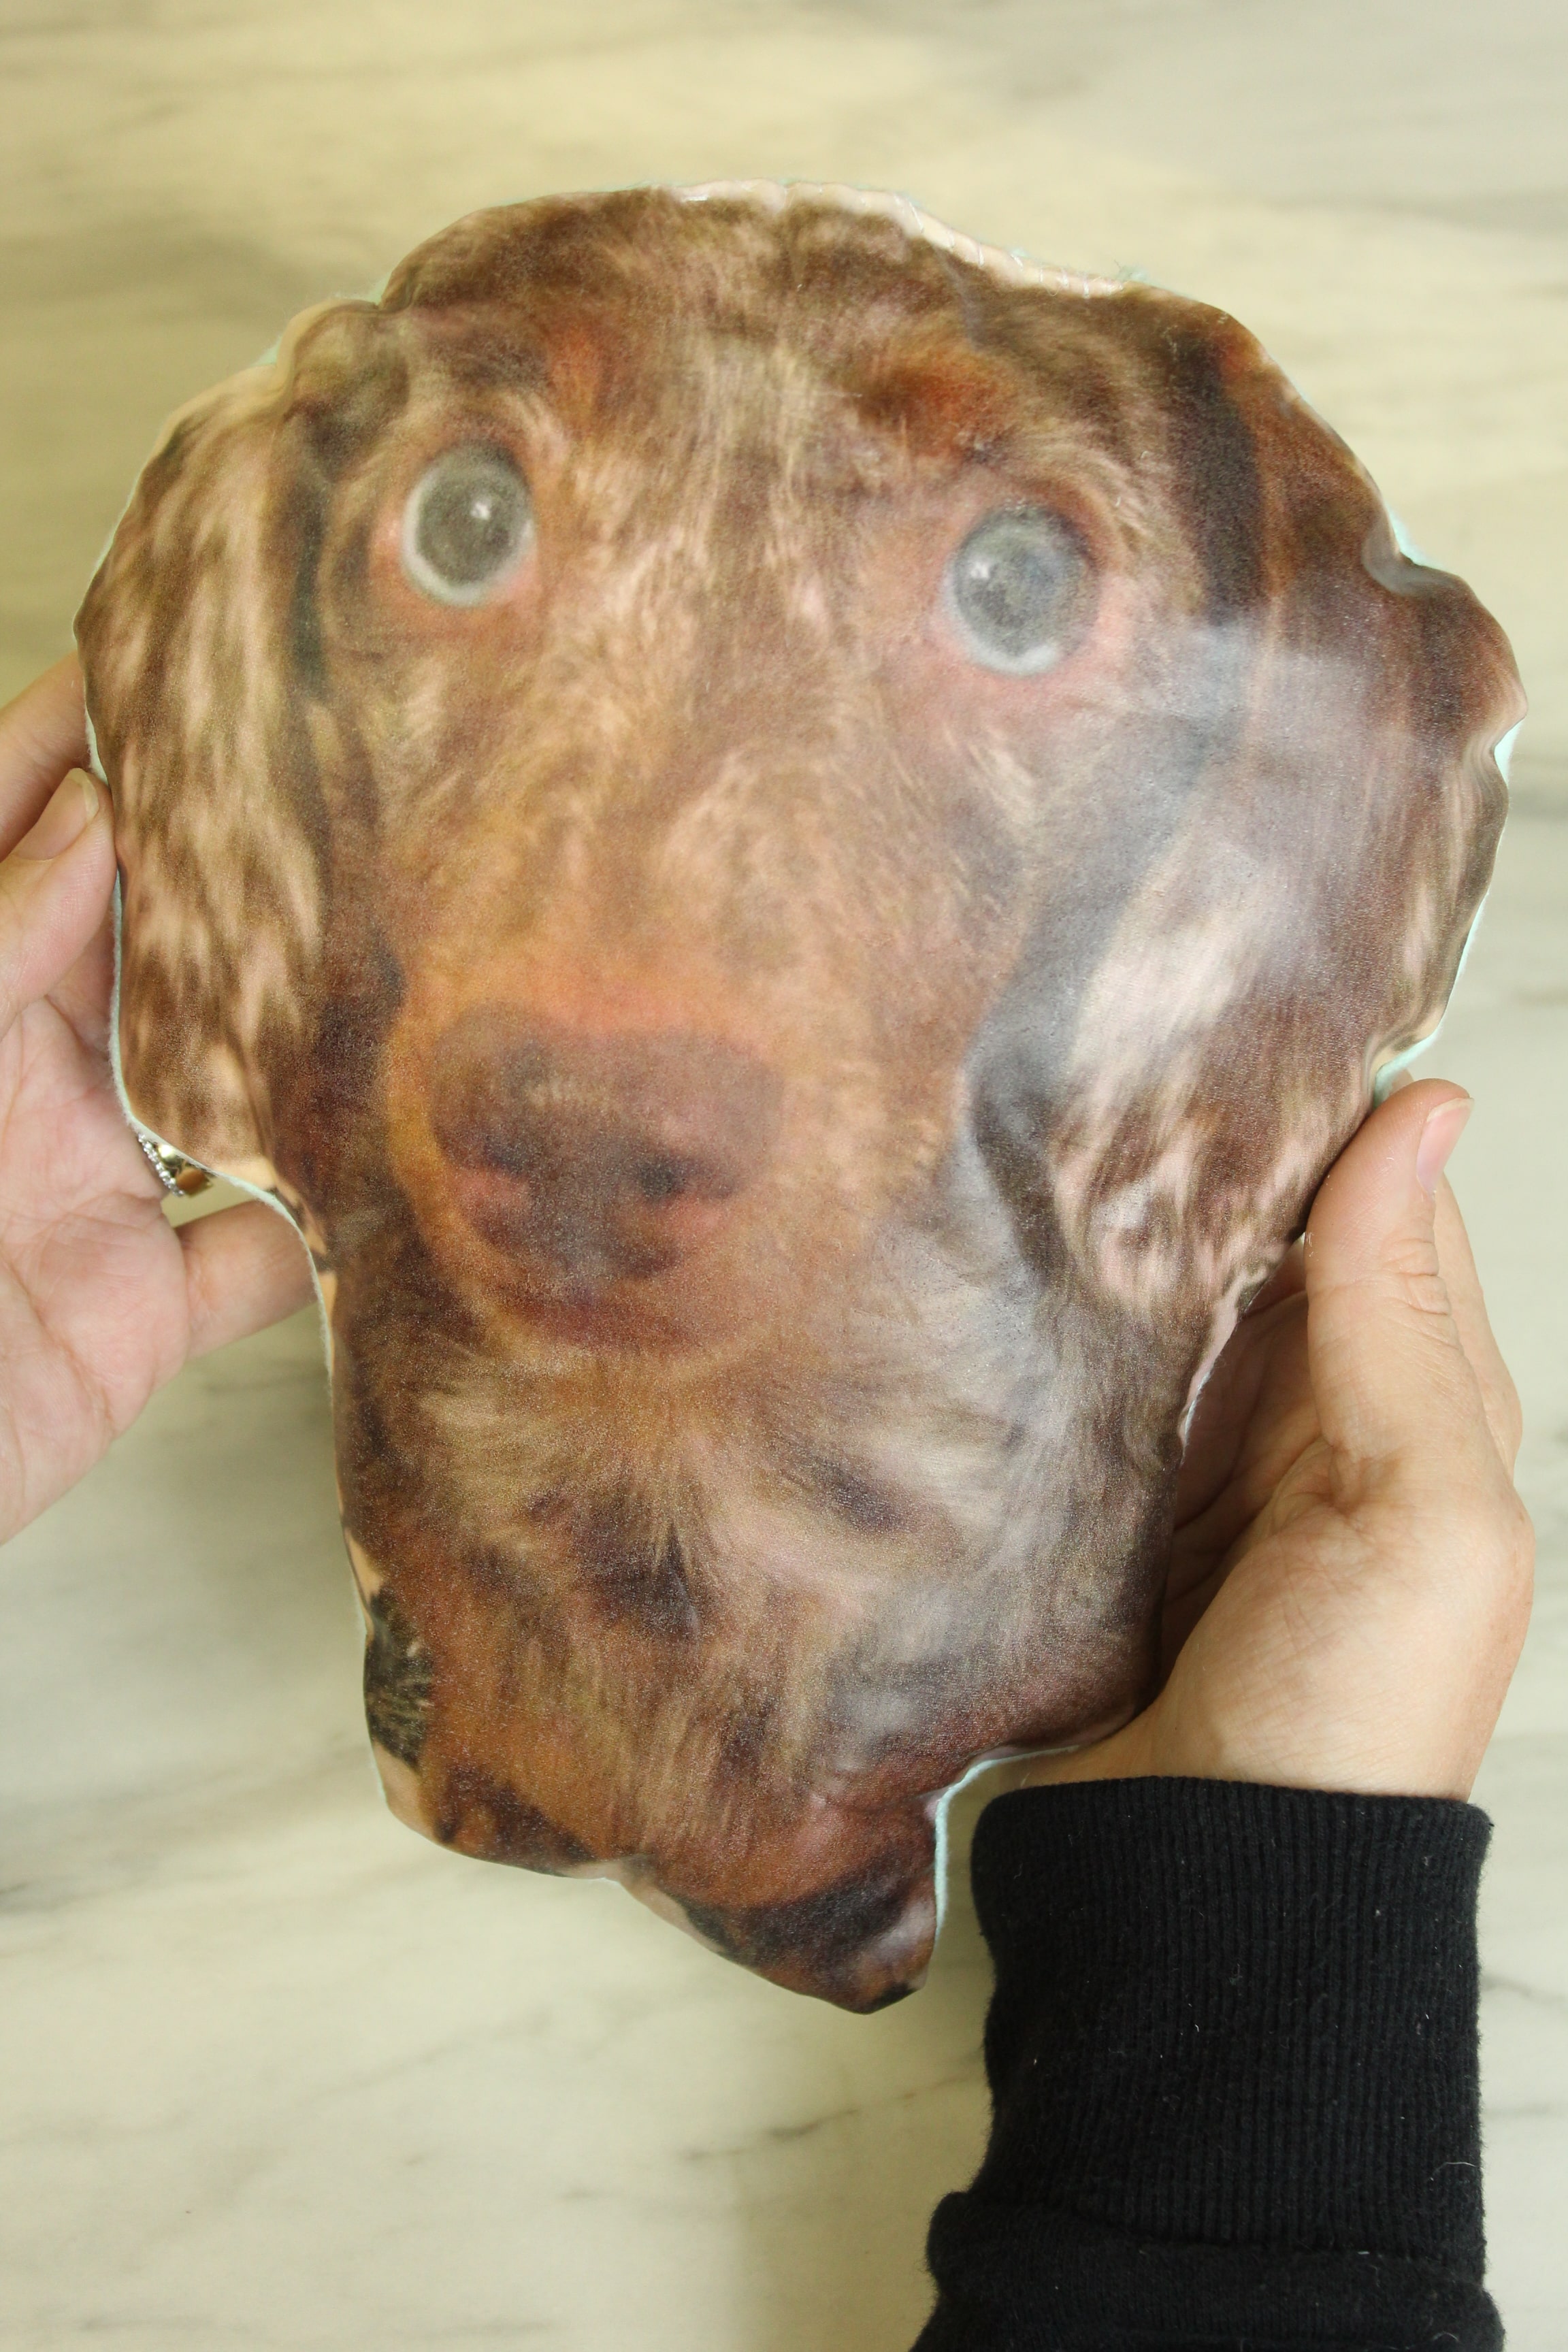
Once you’re happy with the look, its time to close it up! Depending on your hand sewing skills, there are a couple of options. You can use a whip stitch (which is a little easier but you will likely be able to see it) or an invisible stitch (which is slightly harder but is pretty, well as you probably guessed, invisible). If you’re REALLY not the sewing type you can also use a bit of steam a seam or fabric glue.
(It was basically impossible to try to show this step, so feel free to google any of those stitches to get a good visual.)
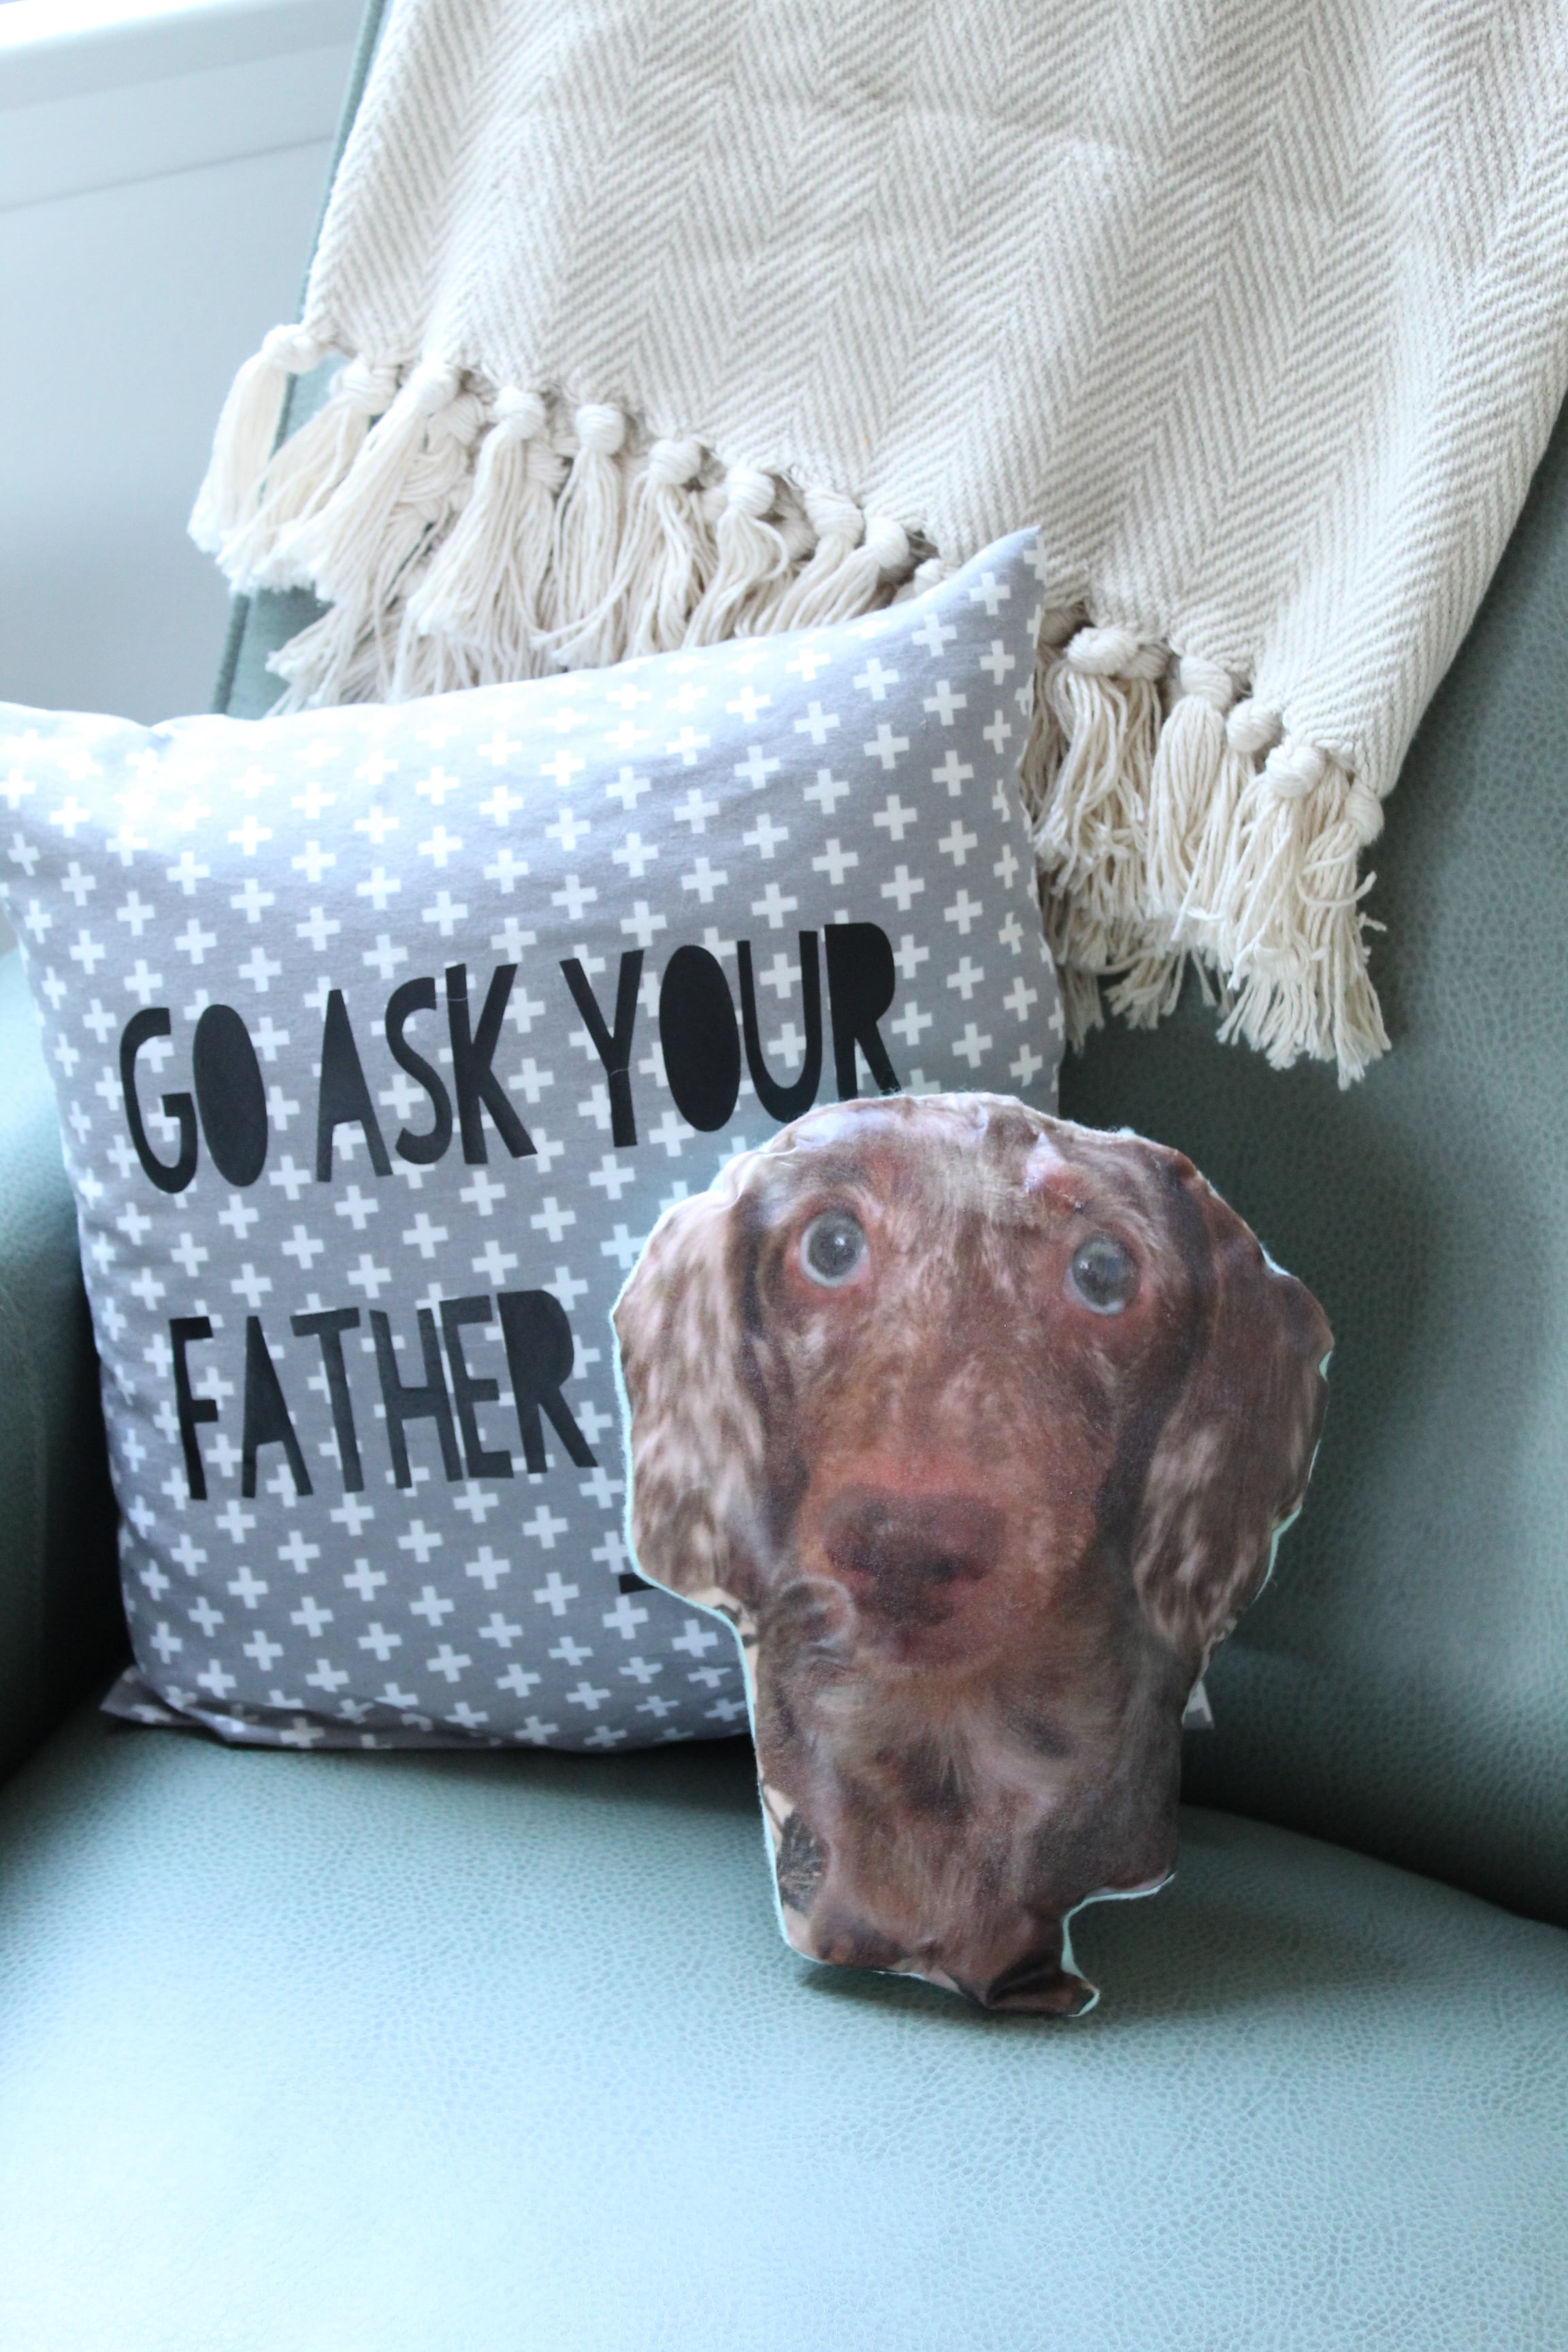
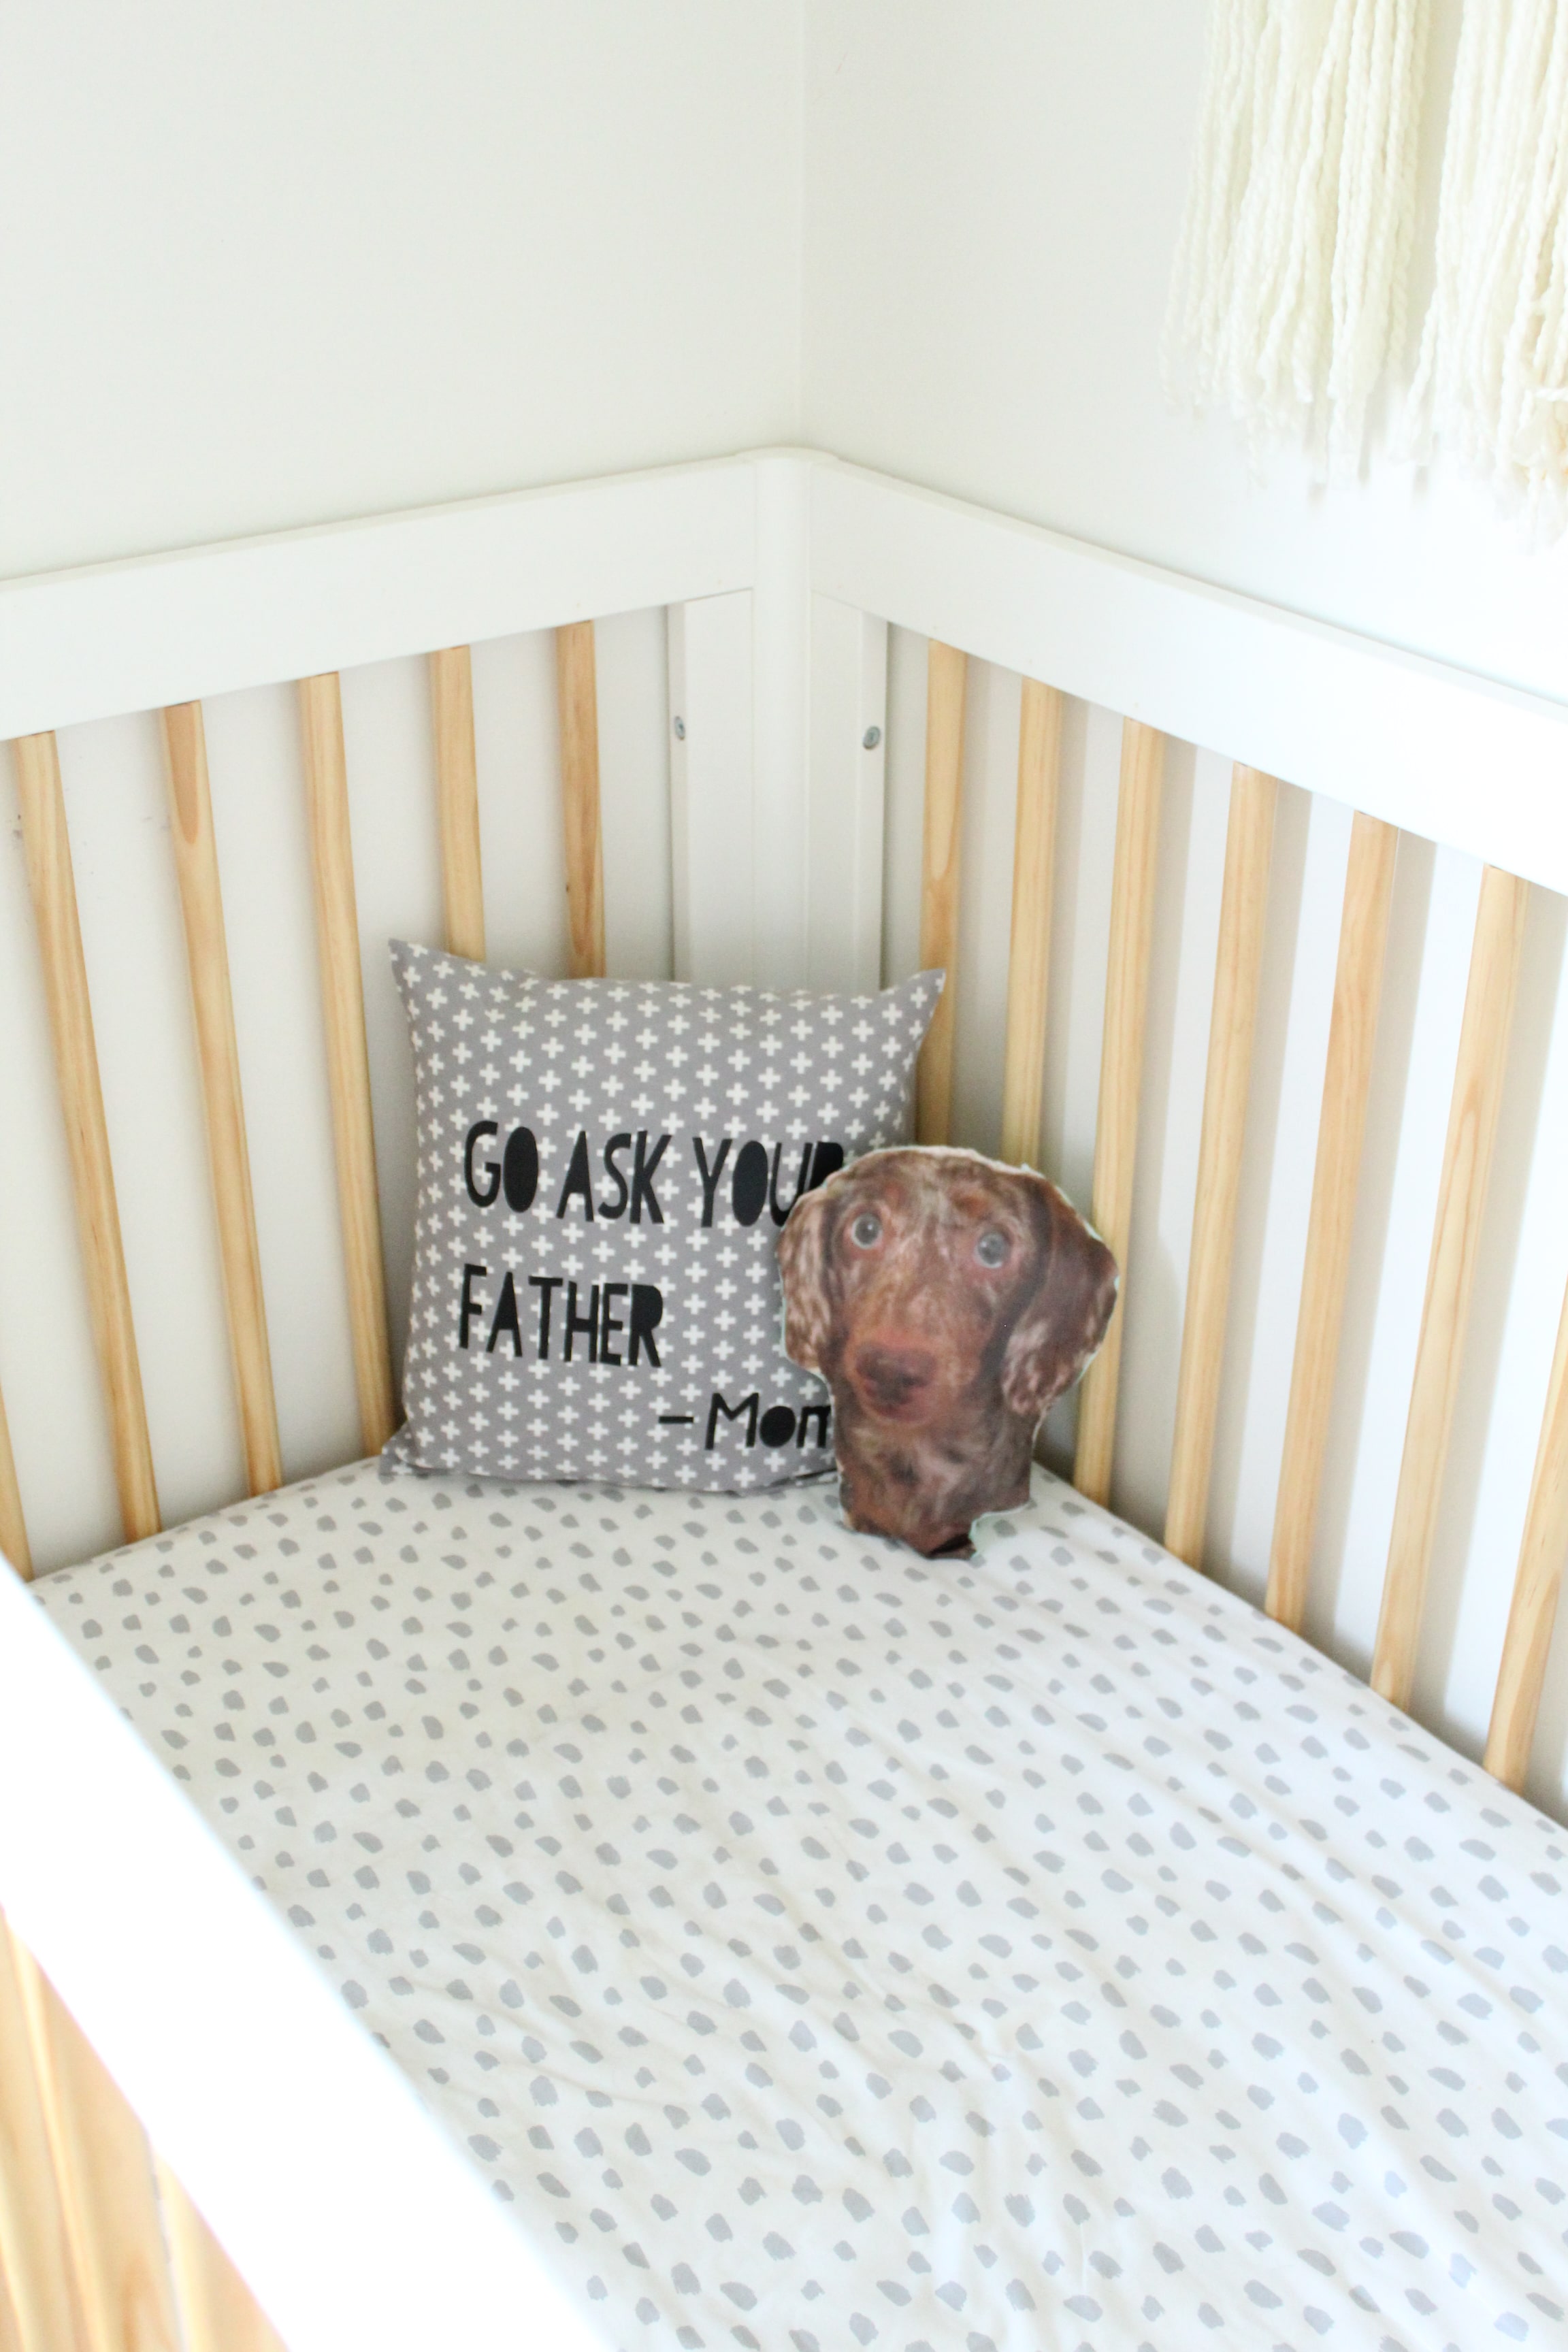
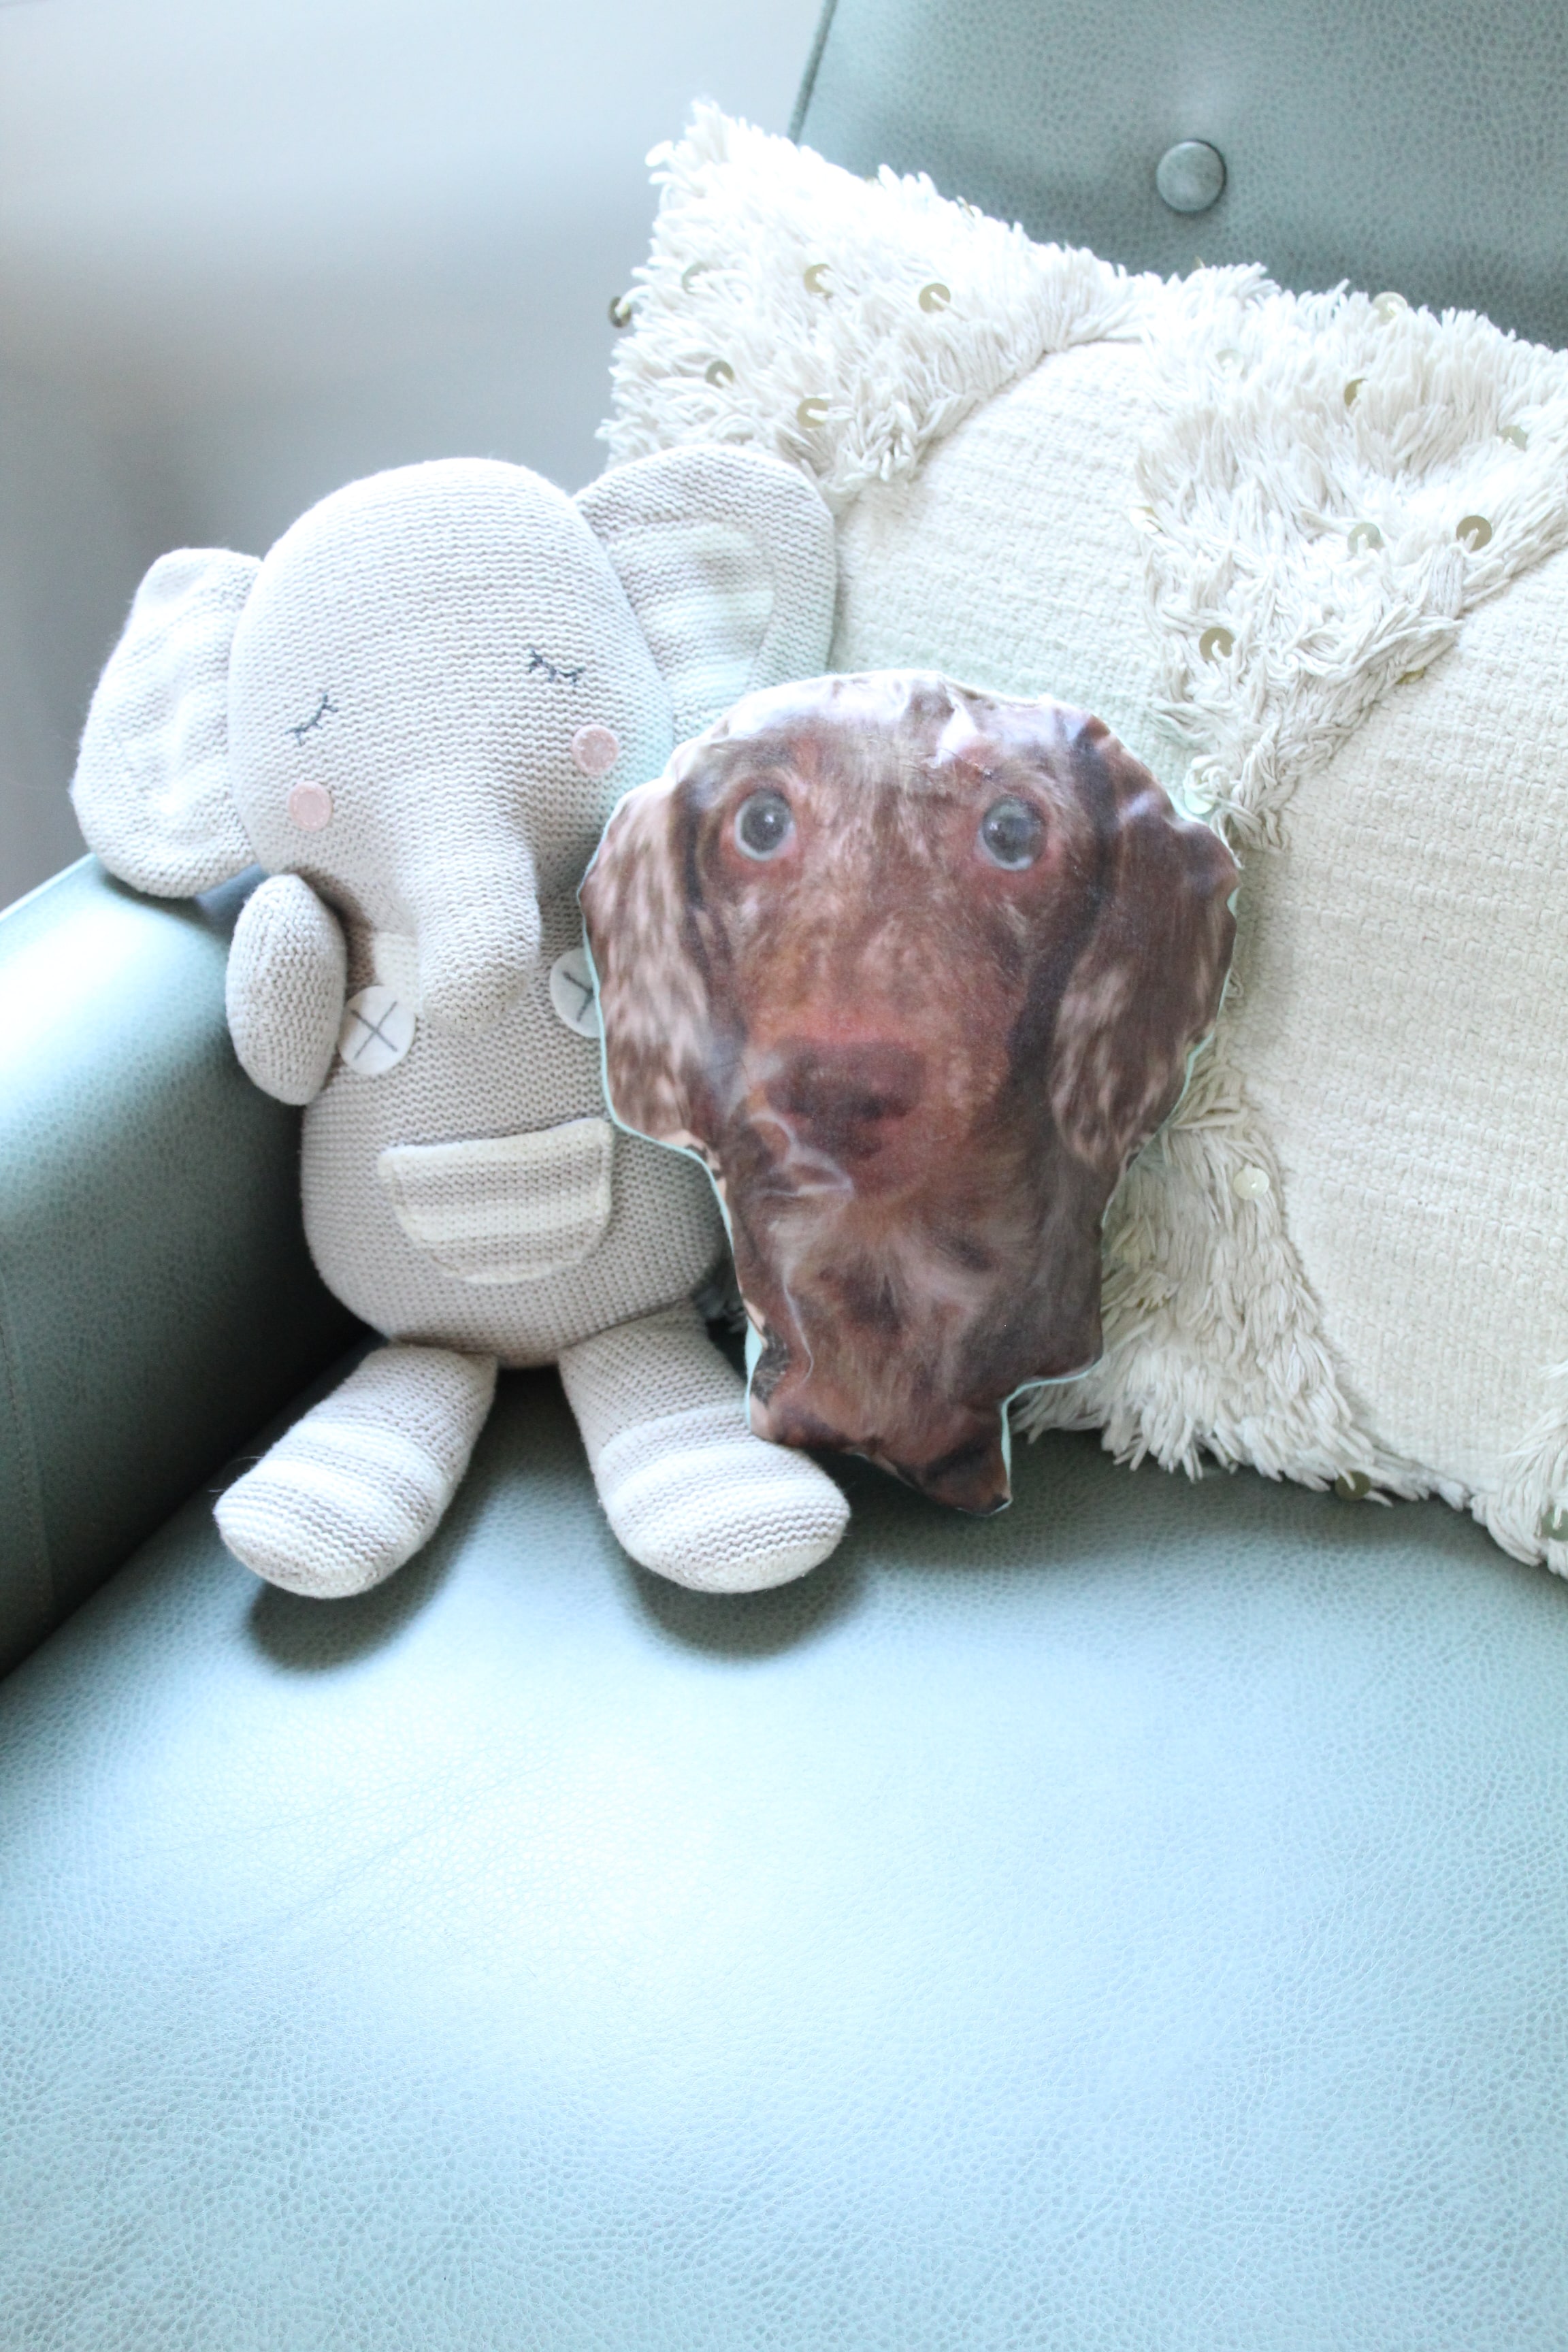
Once it’s sewn, you’re done!
So fun right? I can see these being a hit with everyone from kids and teens to aunts and grandmas. Everyone loves showing off their pets. So who are you going to put on a pillow? We can’t wait to see what you create!
If you’re looking for another way to show some love for your four legged friend, check out this post I did for DIY Hanging Nursery Toys.
If you create one of our projects, please share a picture with us on Instagram or Twitter using the hashtag #somethingturquoisediy, we regularly reshare our favorites! Your profile will need to be public for us to see it otherwise, you can always DM us!
DIY Tutorial Credits
Photography + DIY Tutorial: Shea O’Quinn of Not So Cli-Shea // Iron On Transfer Paper // Fabric, Batting, Needle and Thread: Joann // Rotary Cutter // Printer courtesy of Canon // Iron // Sewing Machine
Shop The Supplies:
Find the supplies you’ll need for this project from our affiliate links below:


Comments