
DIY Hanging Nursery Toys
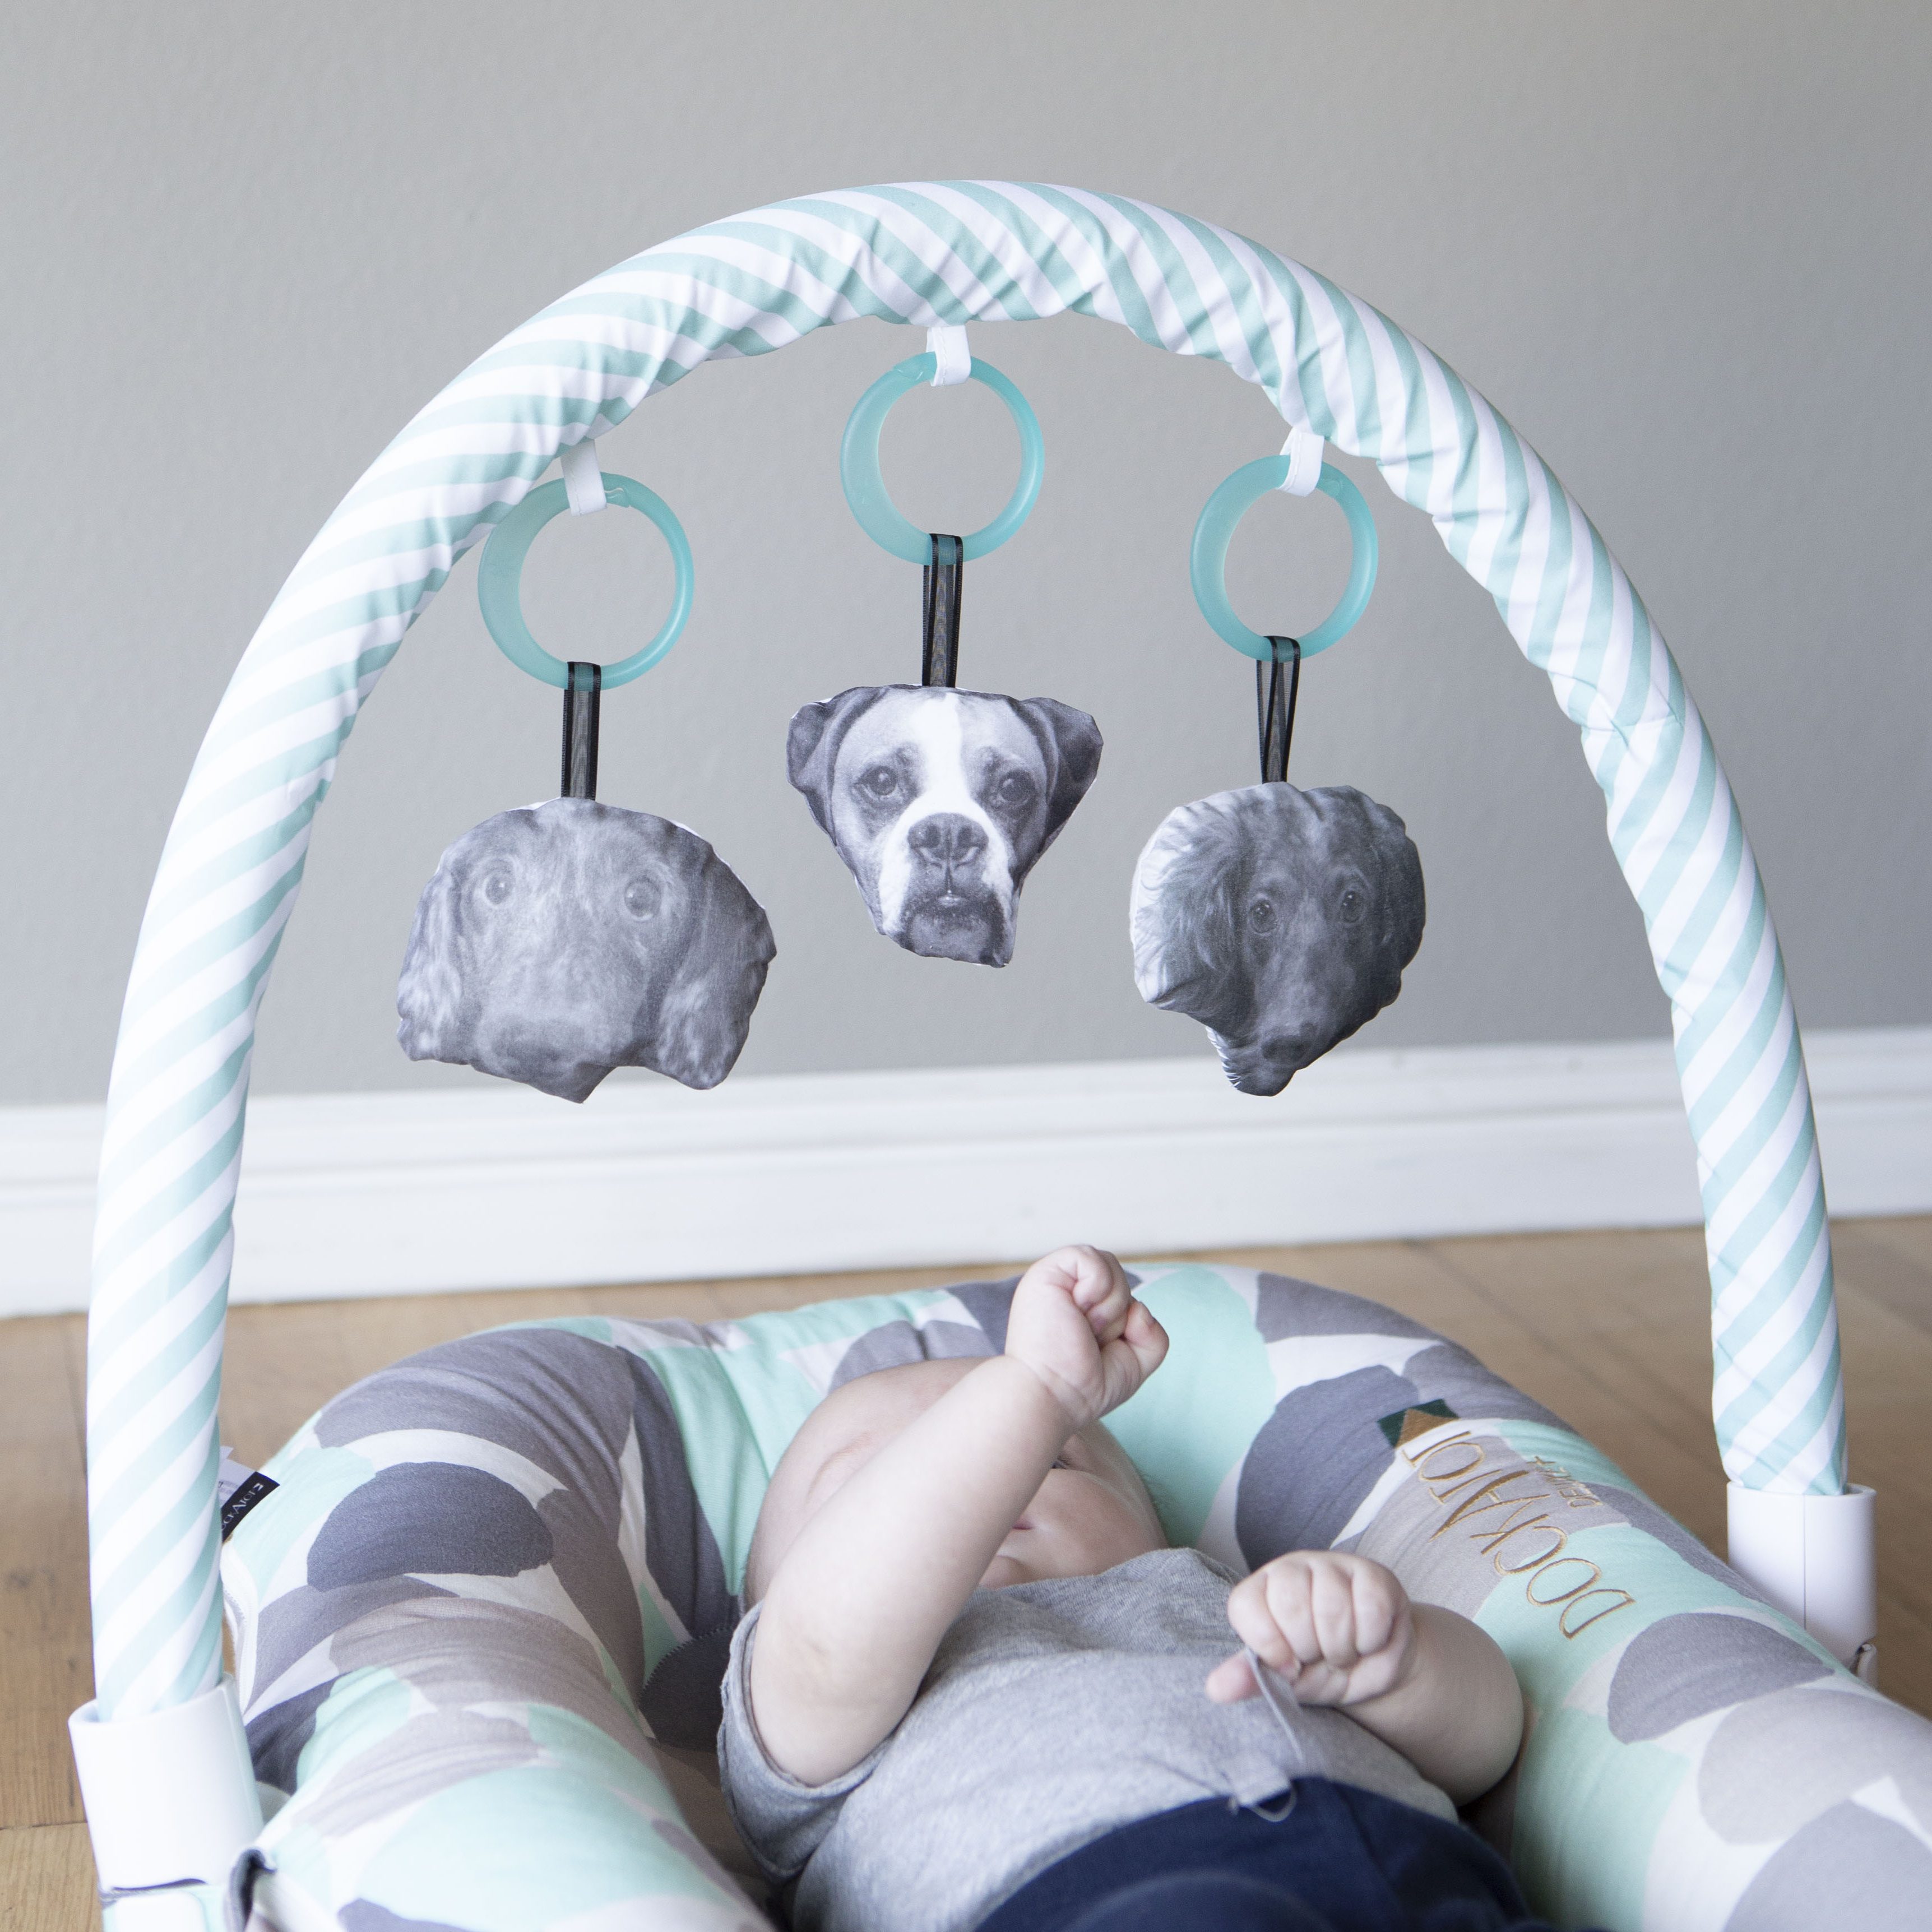
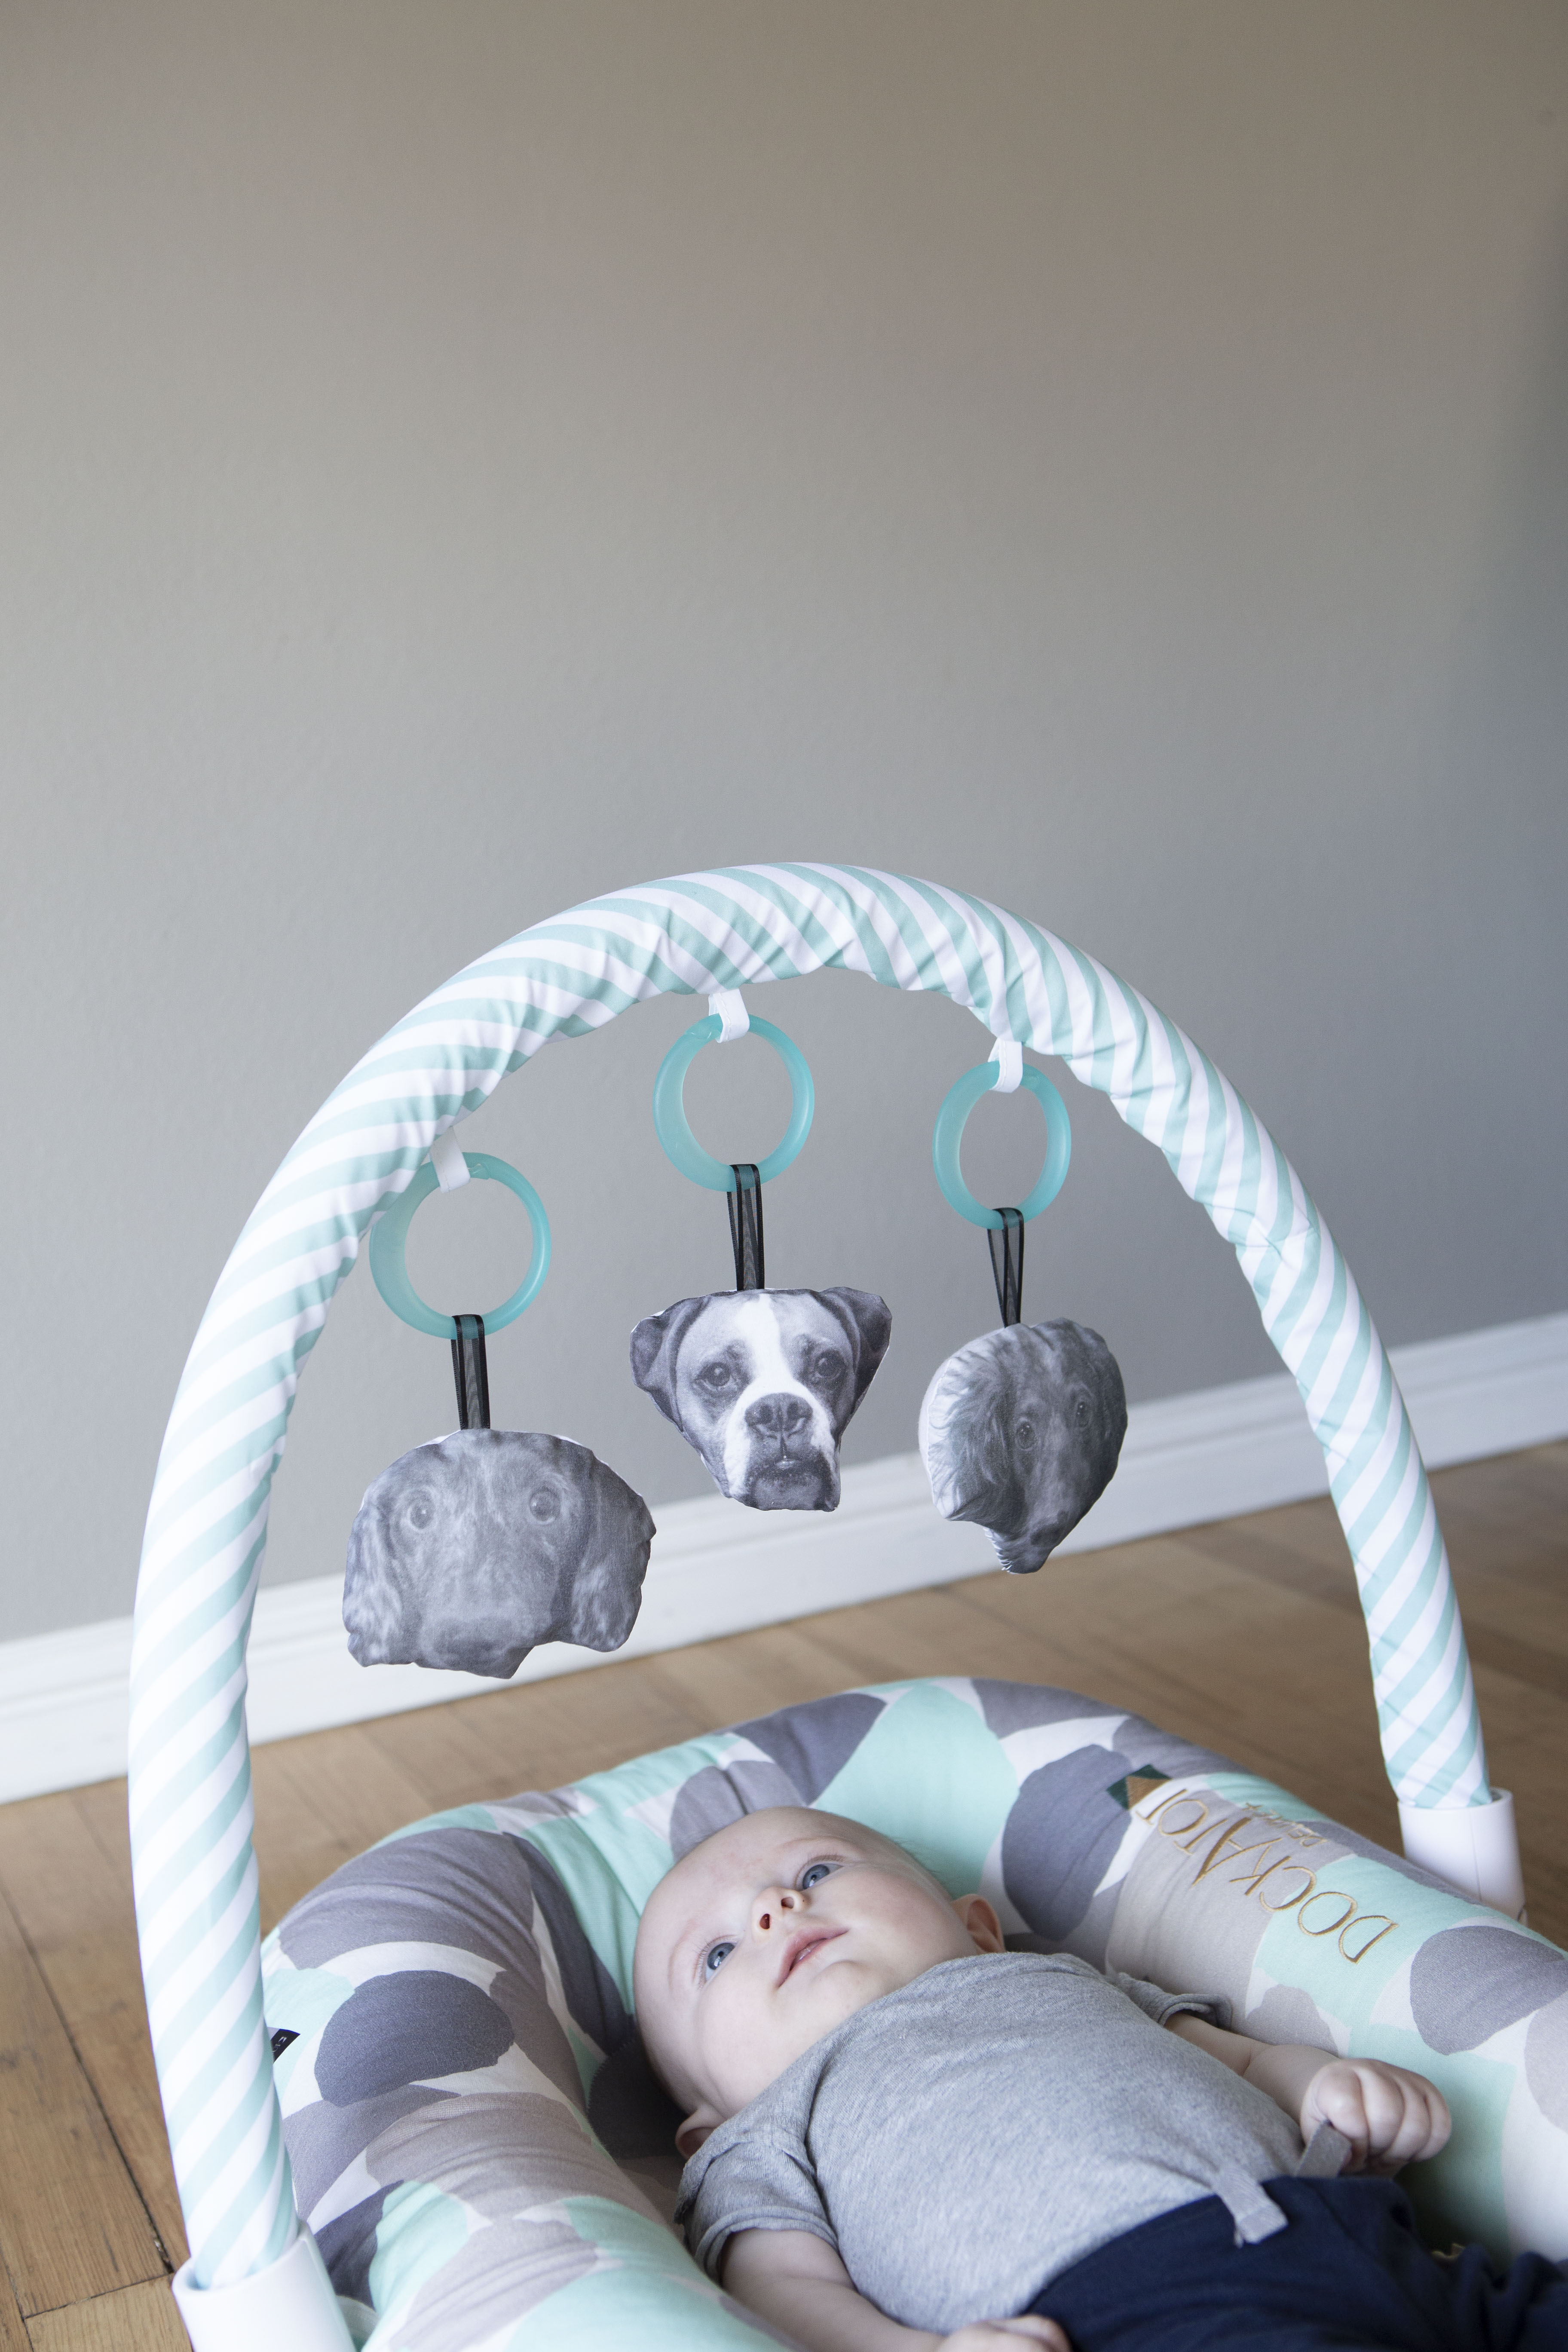
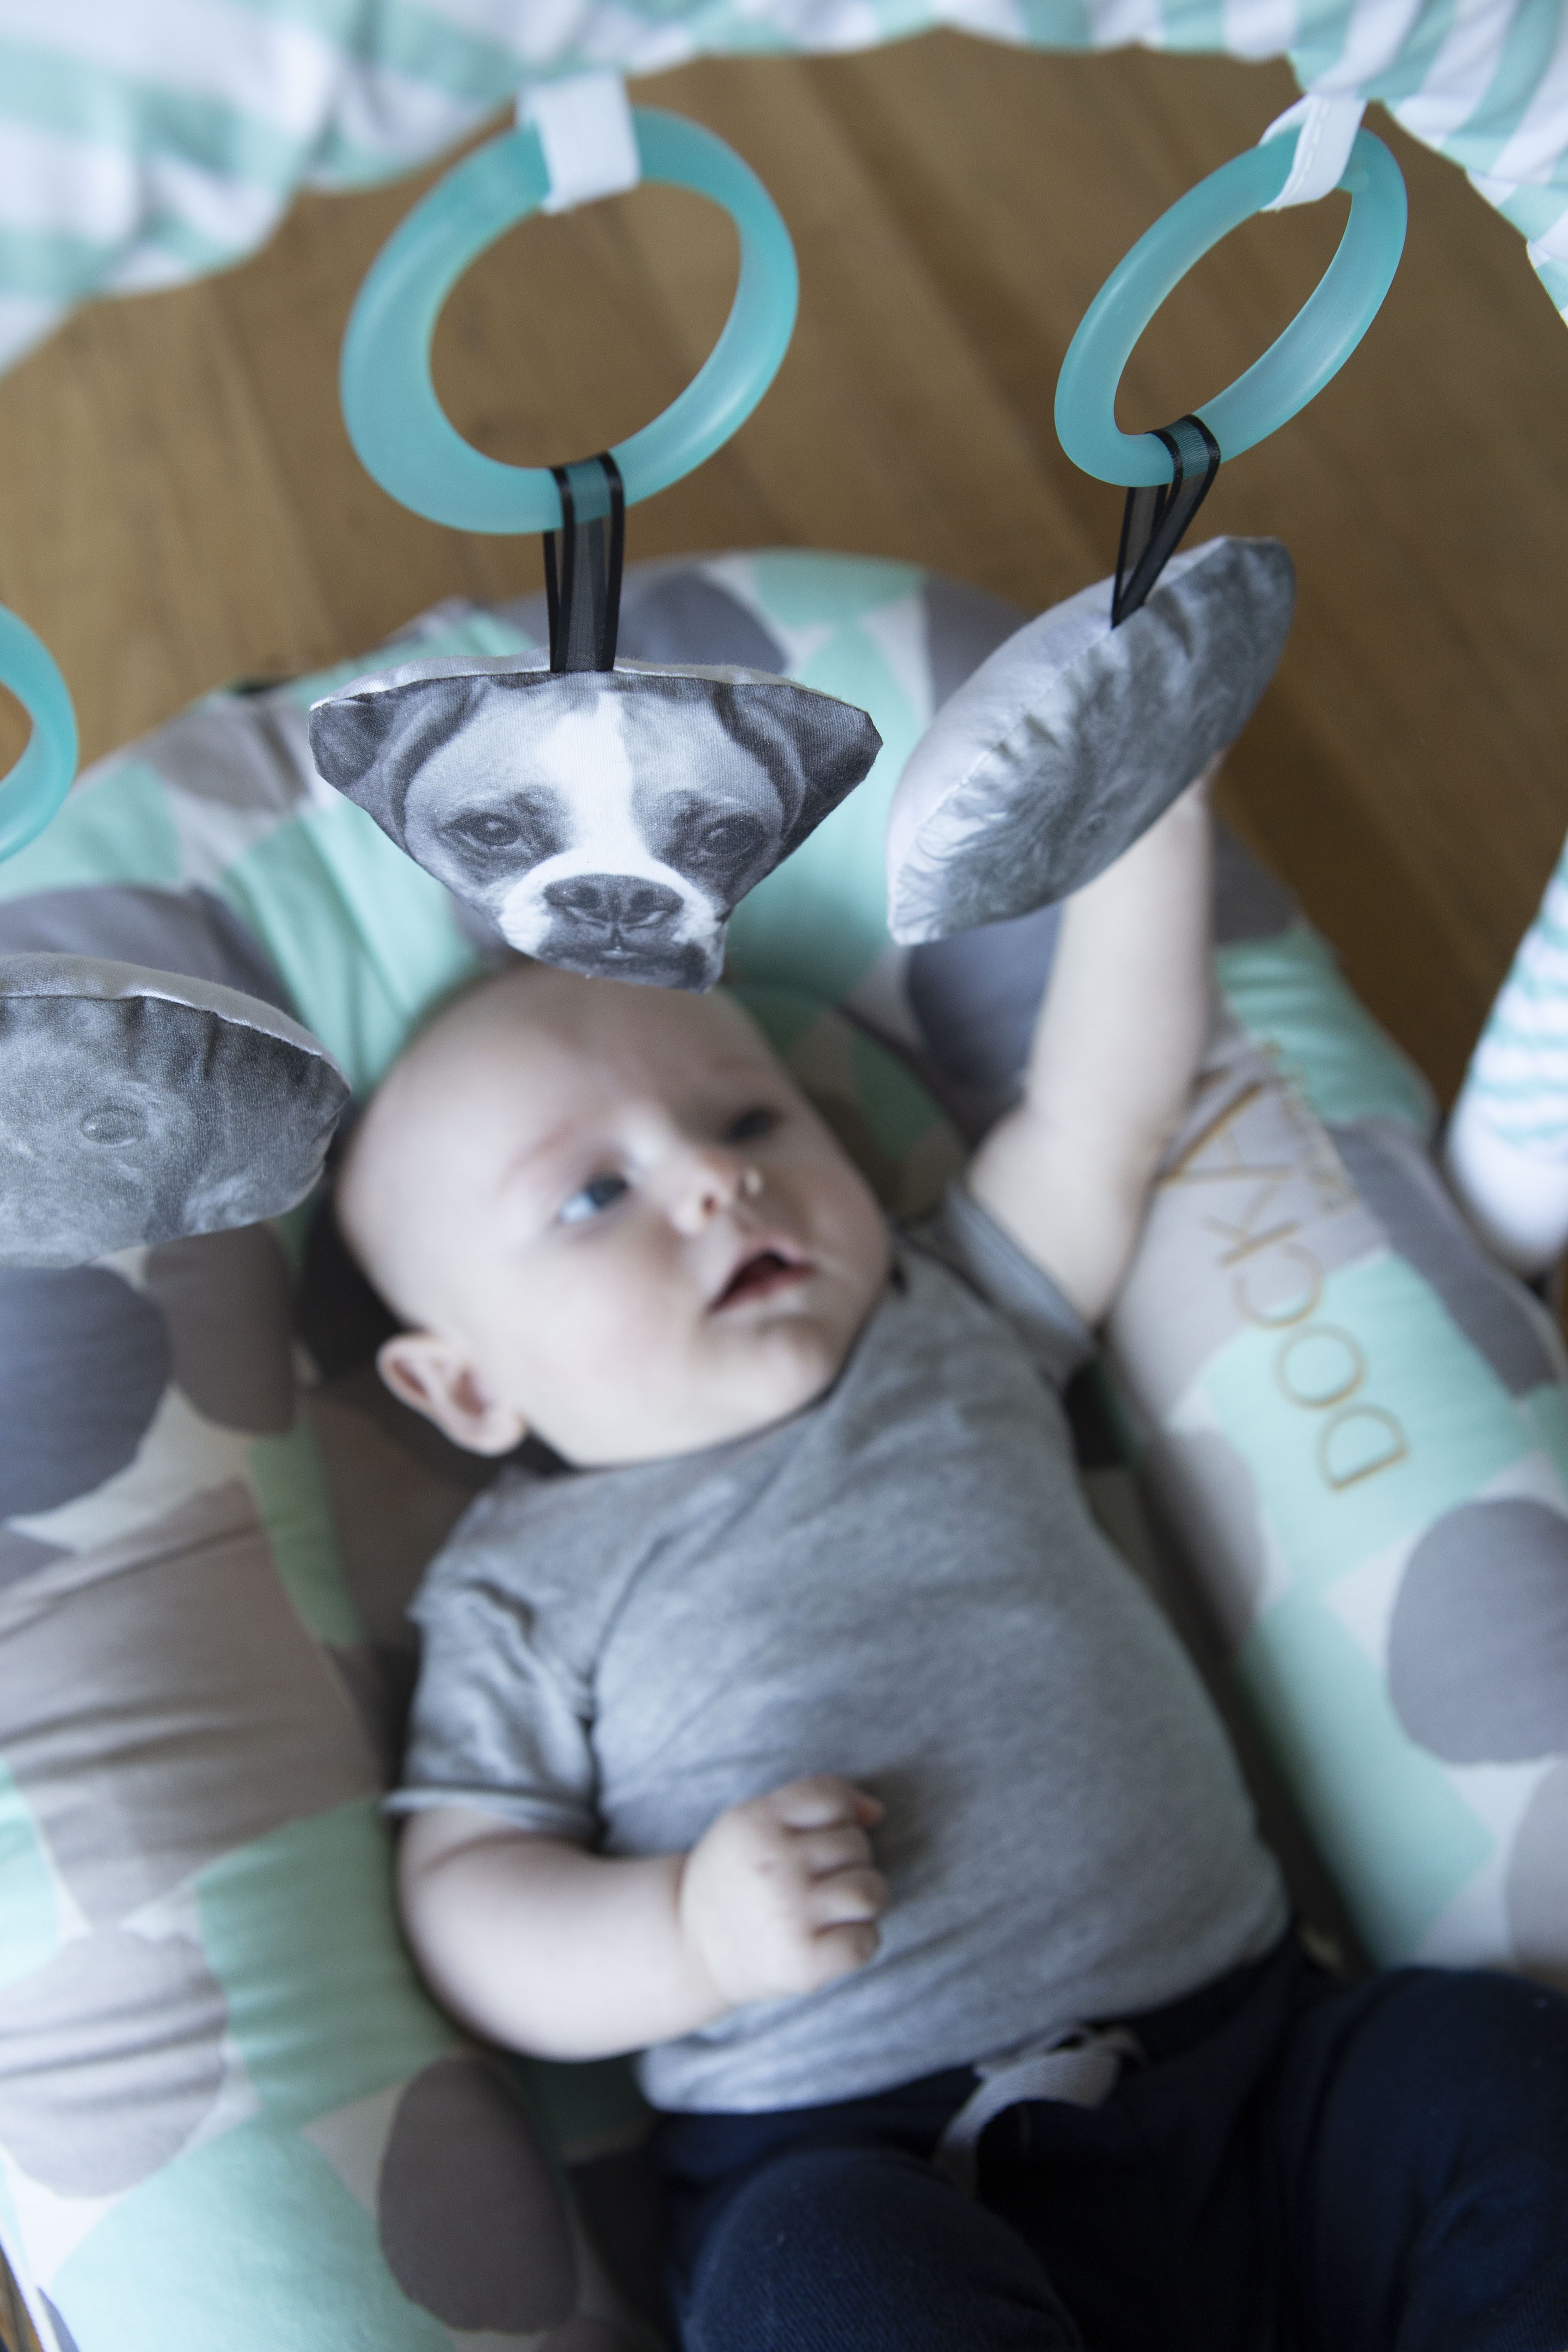
Hi friends! Shea back with another fun DIY for your little one. I can’t believe my little is already a year old but I certainly remember those early days vividly. One of my favorite baby items was my Dock-a-tot, yes it is expensive and yes it is basically a glorified dog bed but my little guy slept great it in. One thing we never really did but I wish I had was use it as a place to put him throughout the day (really get my money’s worth, you know what I mean haha). I saw that they made an activity bar and the wheels starting turning, I thought, I could totally make some hanging toys for that and here they are!
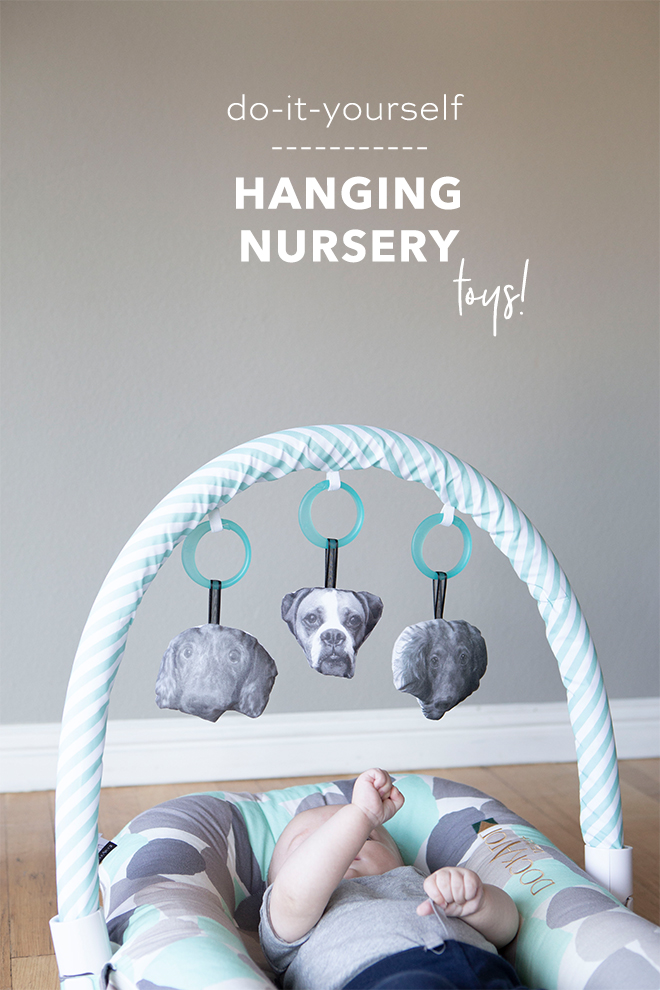
So fun right? I love the way they turned out! I used the faces of some of my favorite four legged friends to make them super custom. Want to make your own? Here’s what you’ll need!
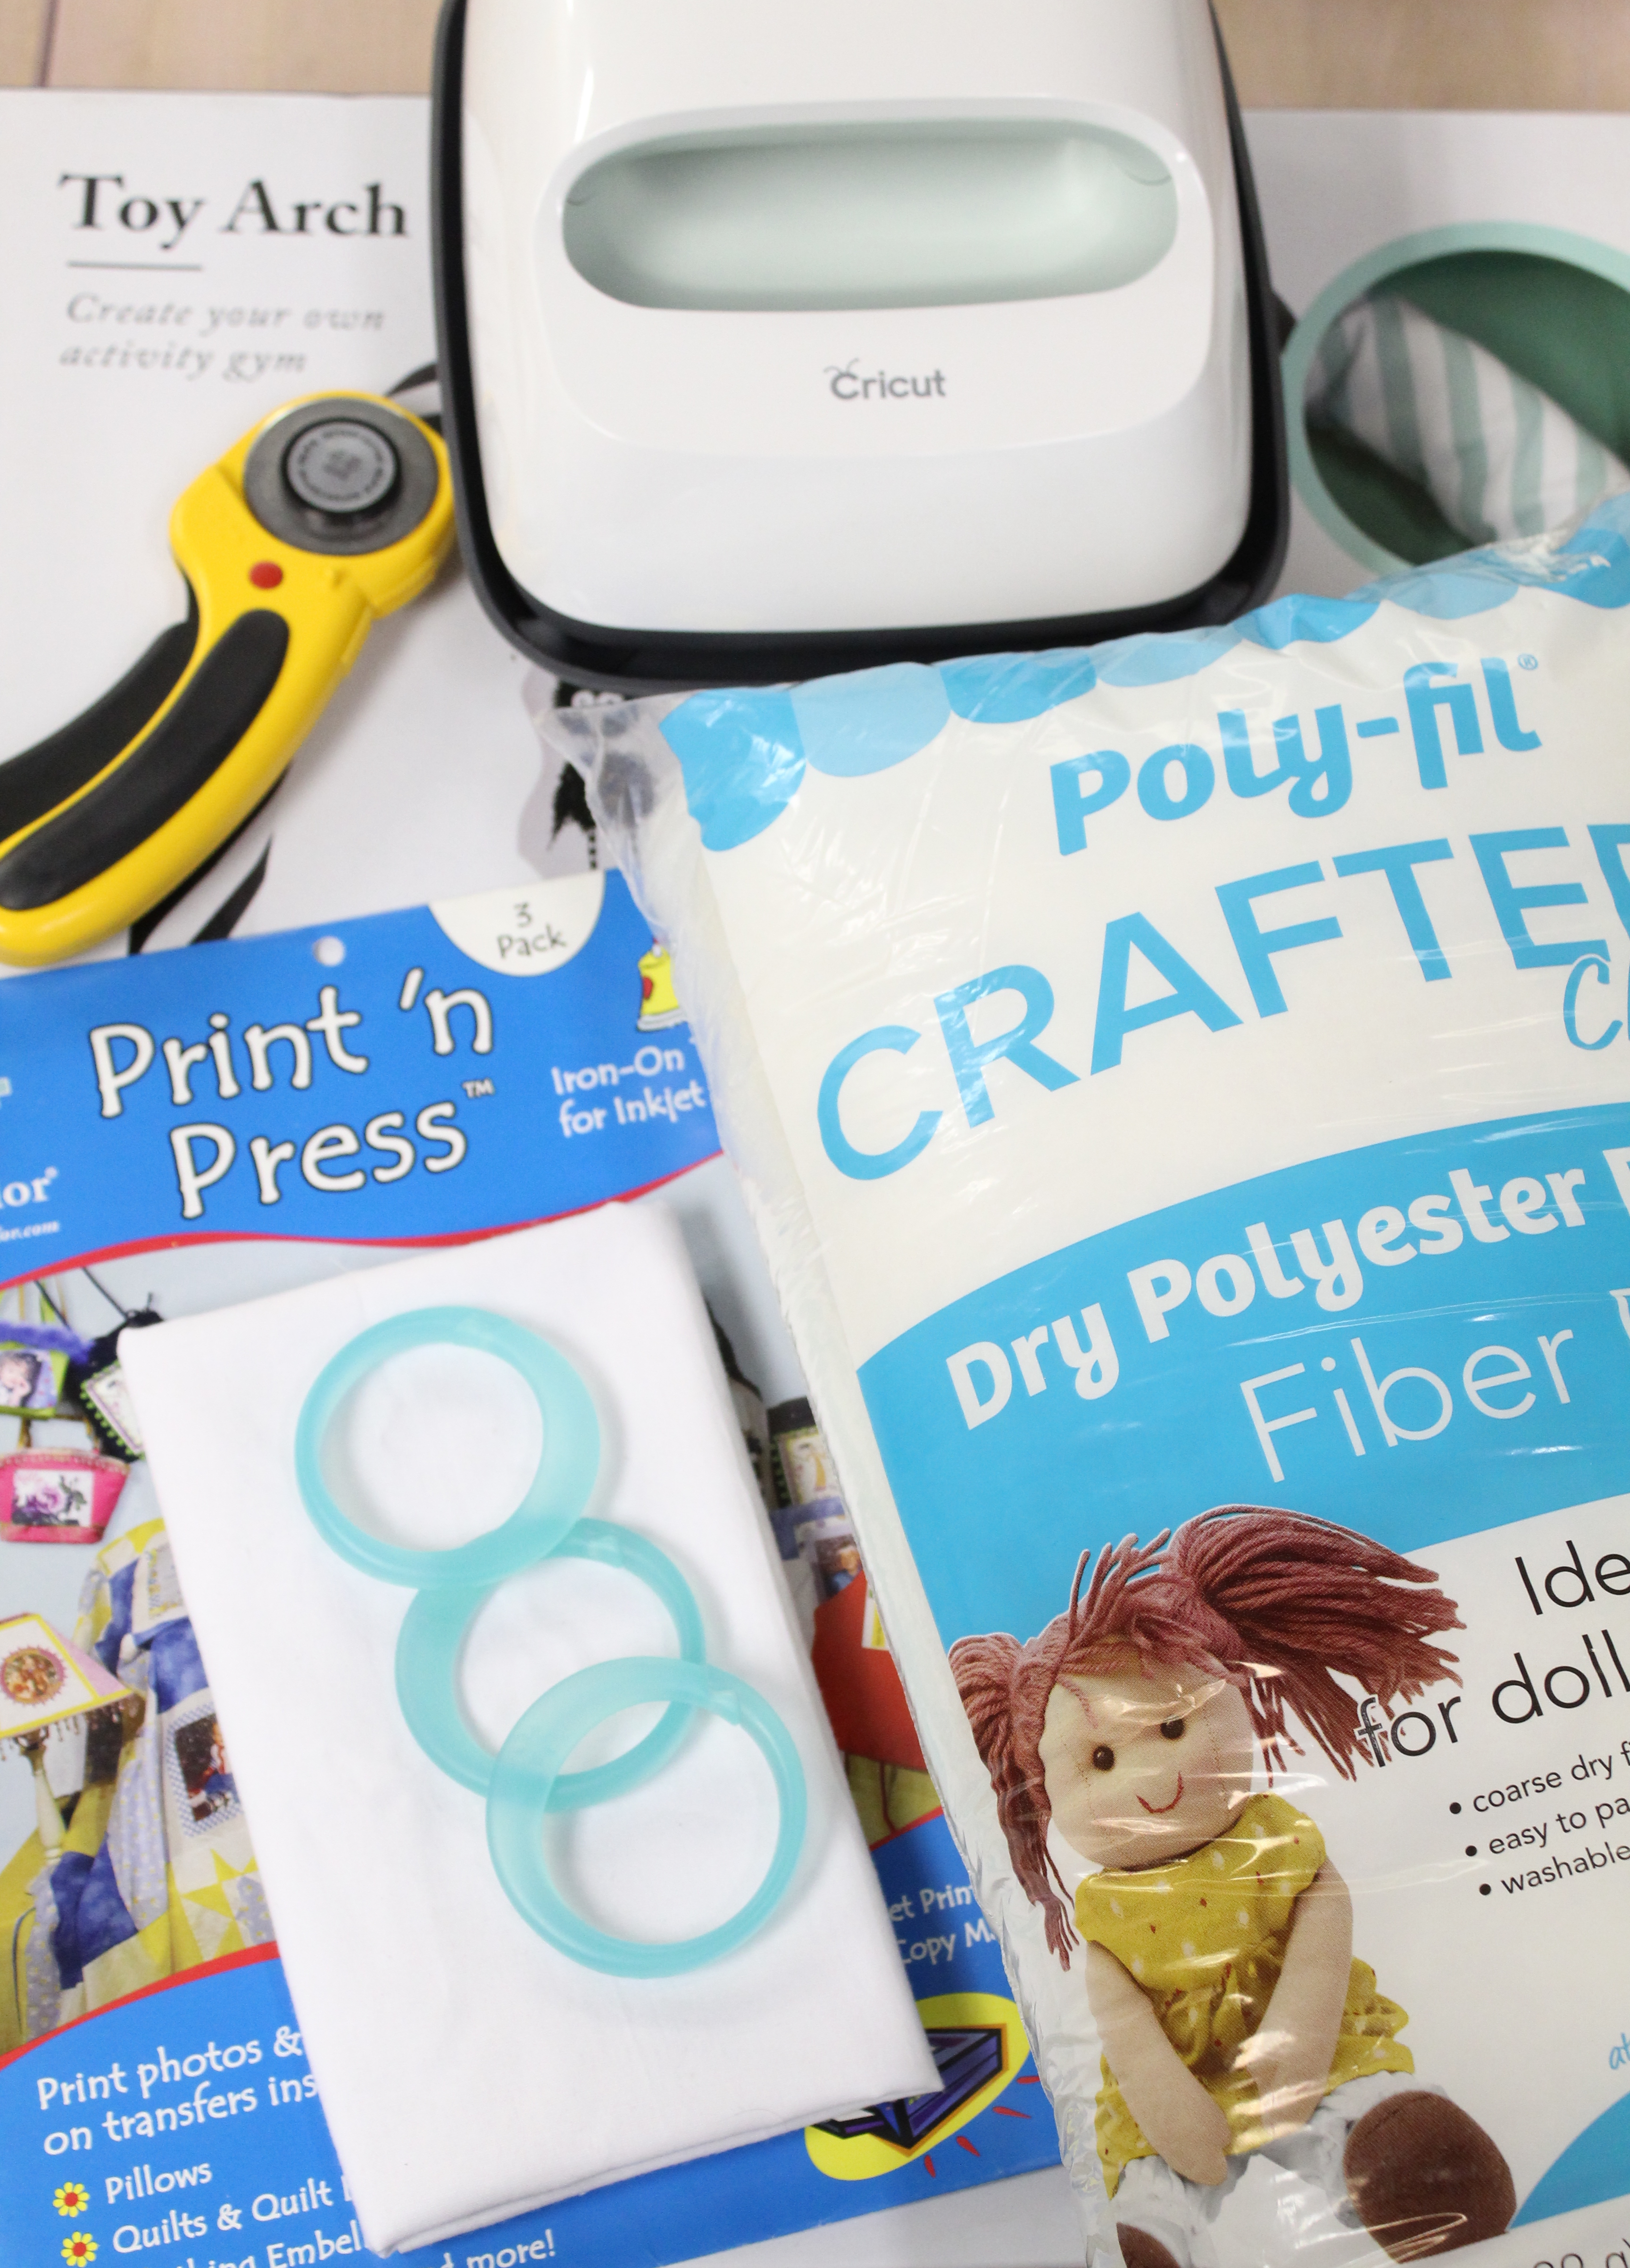
Supplies:
- Toy Arch (if making for Doc-a-tot, it doensn’t come with one)
- Printer (I use the Canon PIXMA TS8120)
- Iron On Transfer Paper
- 1/3 Yard Fabric (I used white muslin)
- Hanging Rings
- Rotary Cutter (or Scissors)
- Cricut EasyPress (or Home Iron)
- Batting
- Coordinating Ribbon (not pictured)
- Sewing Machine (not pictured)
- Sewing Needle (not pictured)
- Coordinating Thread (not pictured)
Design Your Project
This is the fun part. Your options really are limitless. I decided I wanted to do family pets. I also decided I wanted to do them in black and white but if you’d prefer color, that totally works too. I know not everyone has design software, so I actually used powerpoint to design my file and it worked great! I set the dimensions of the slide to 8.5″ x 11″, inserted the photos I wanted, sized them, grayscaled them and flipped them horizontally all in powerpoint! Then it was time to print!
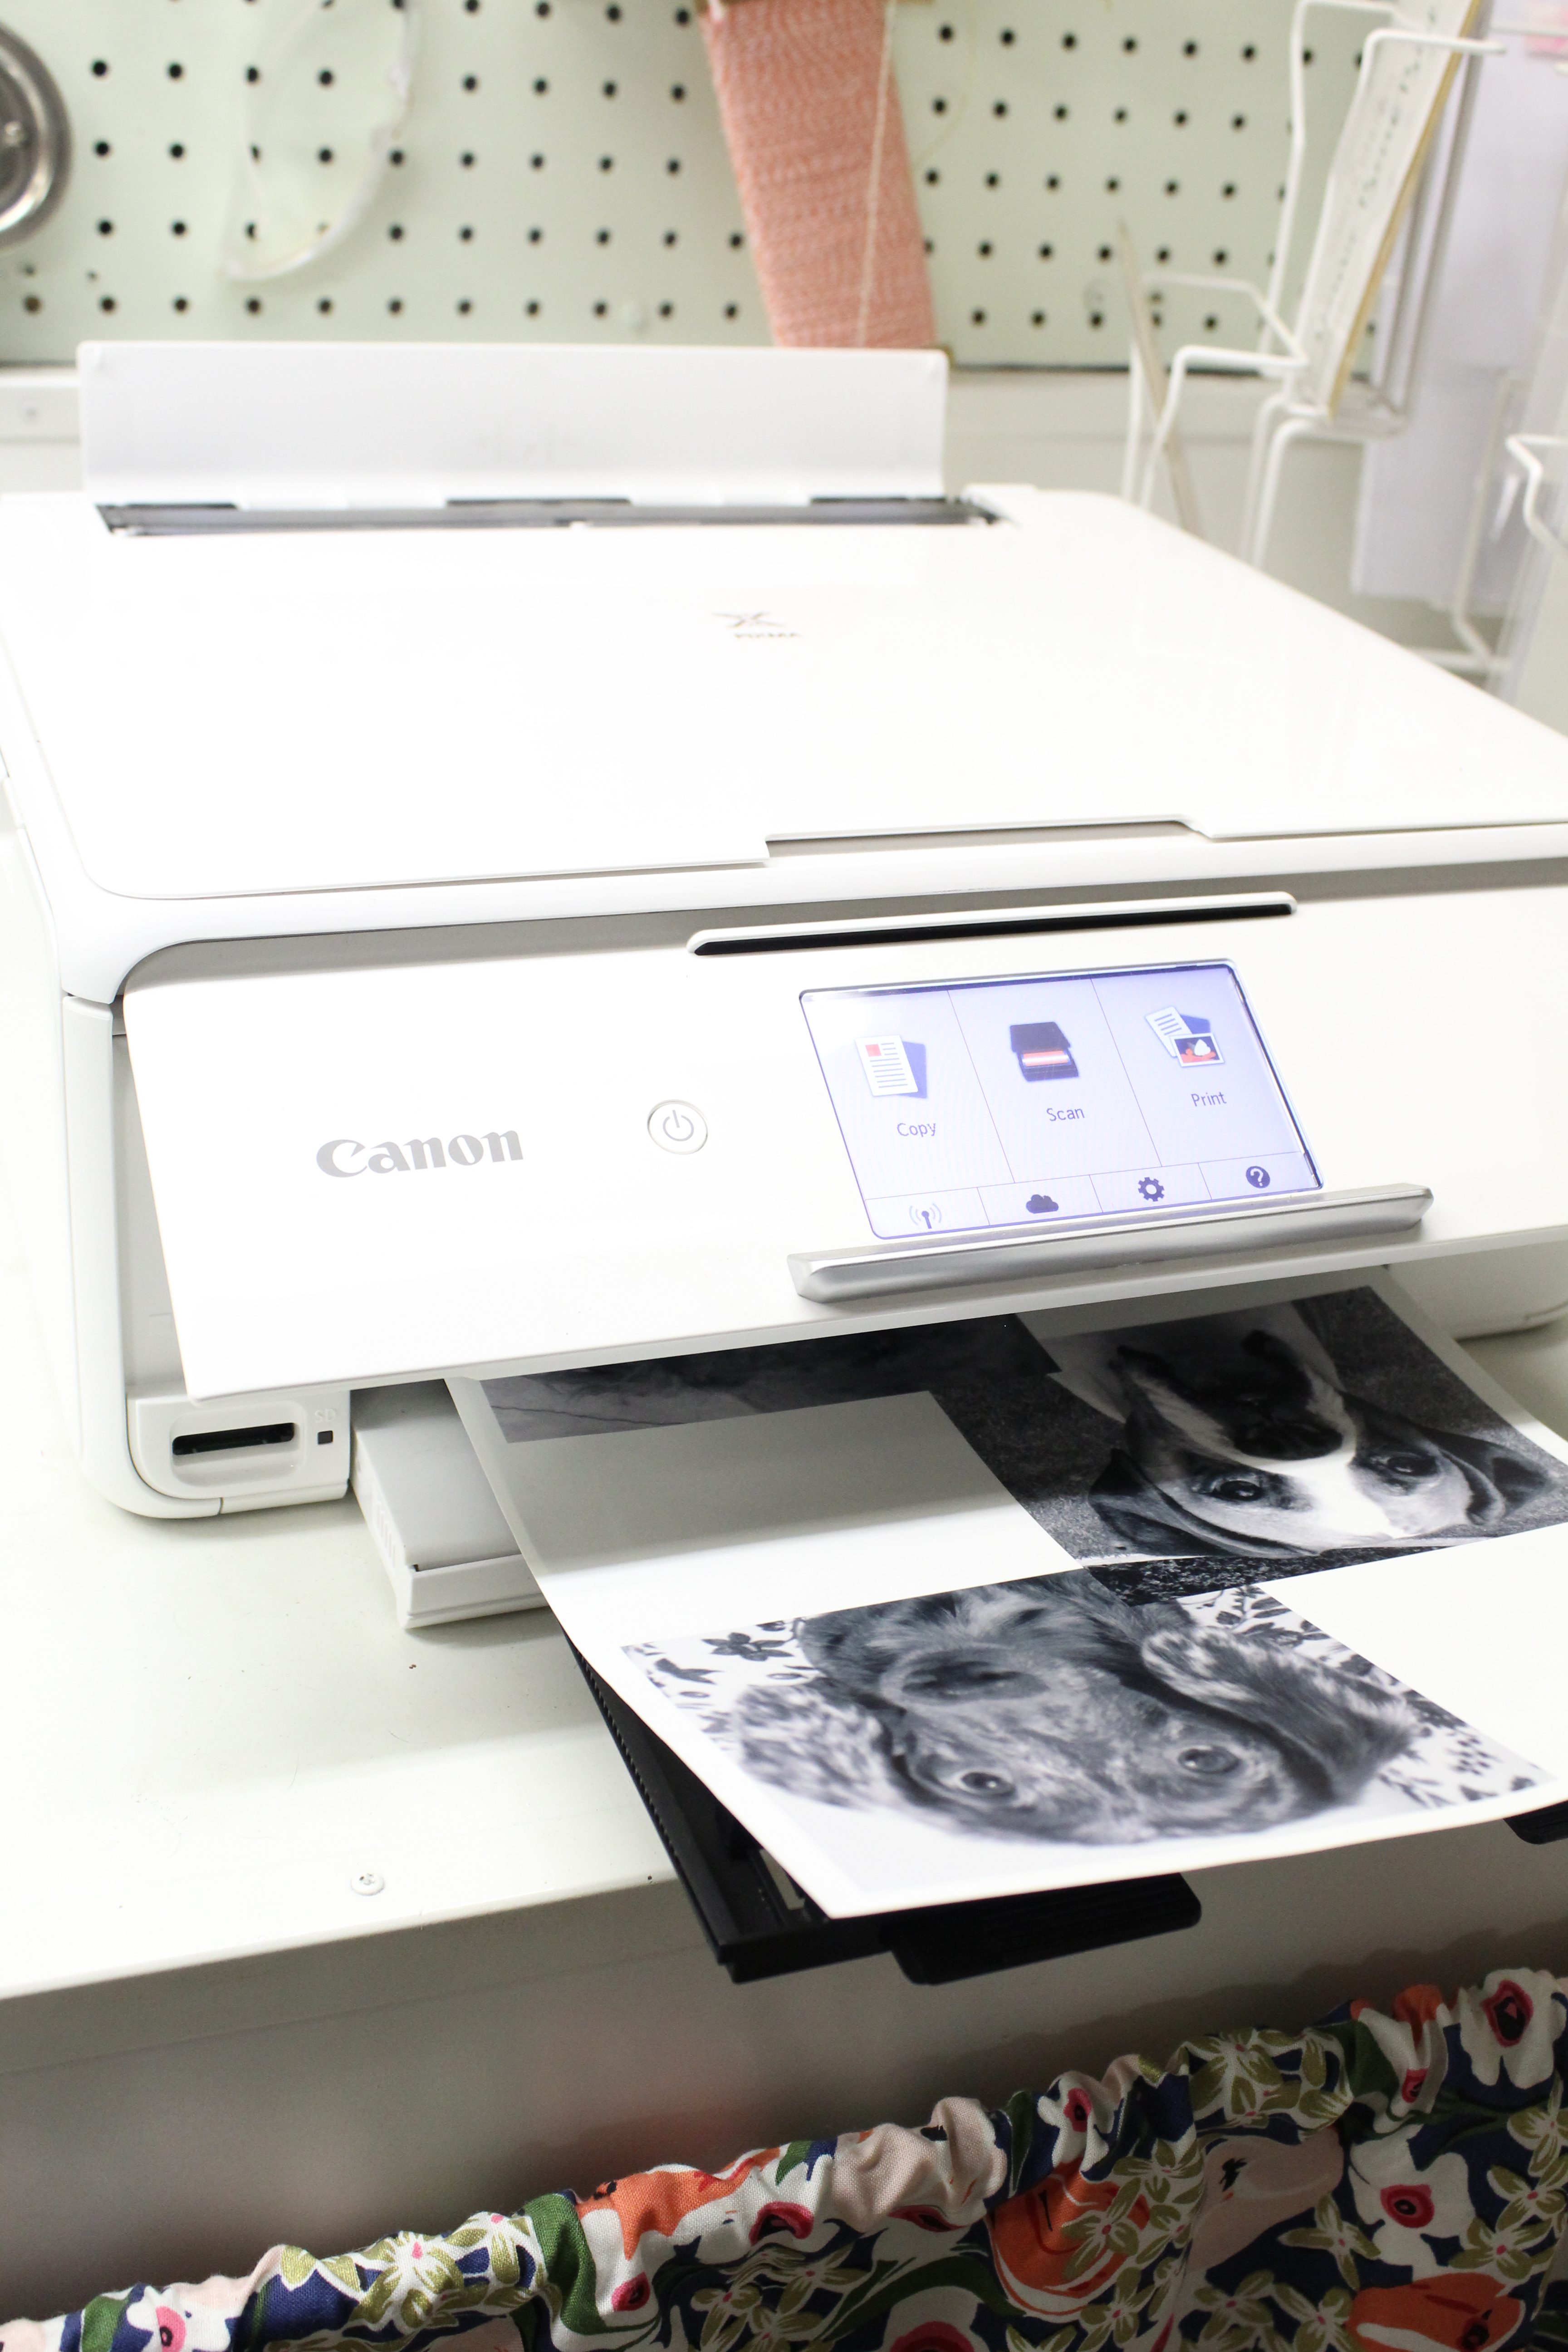
Print Your Design
Once you’re done designing your project, load the iron on transfer paper into your computer based on the transfer paper instructions and your printer specifications.
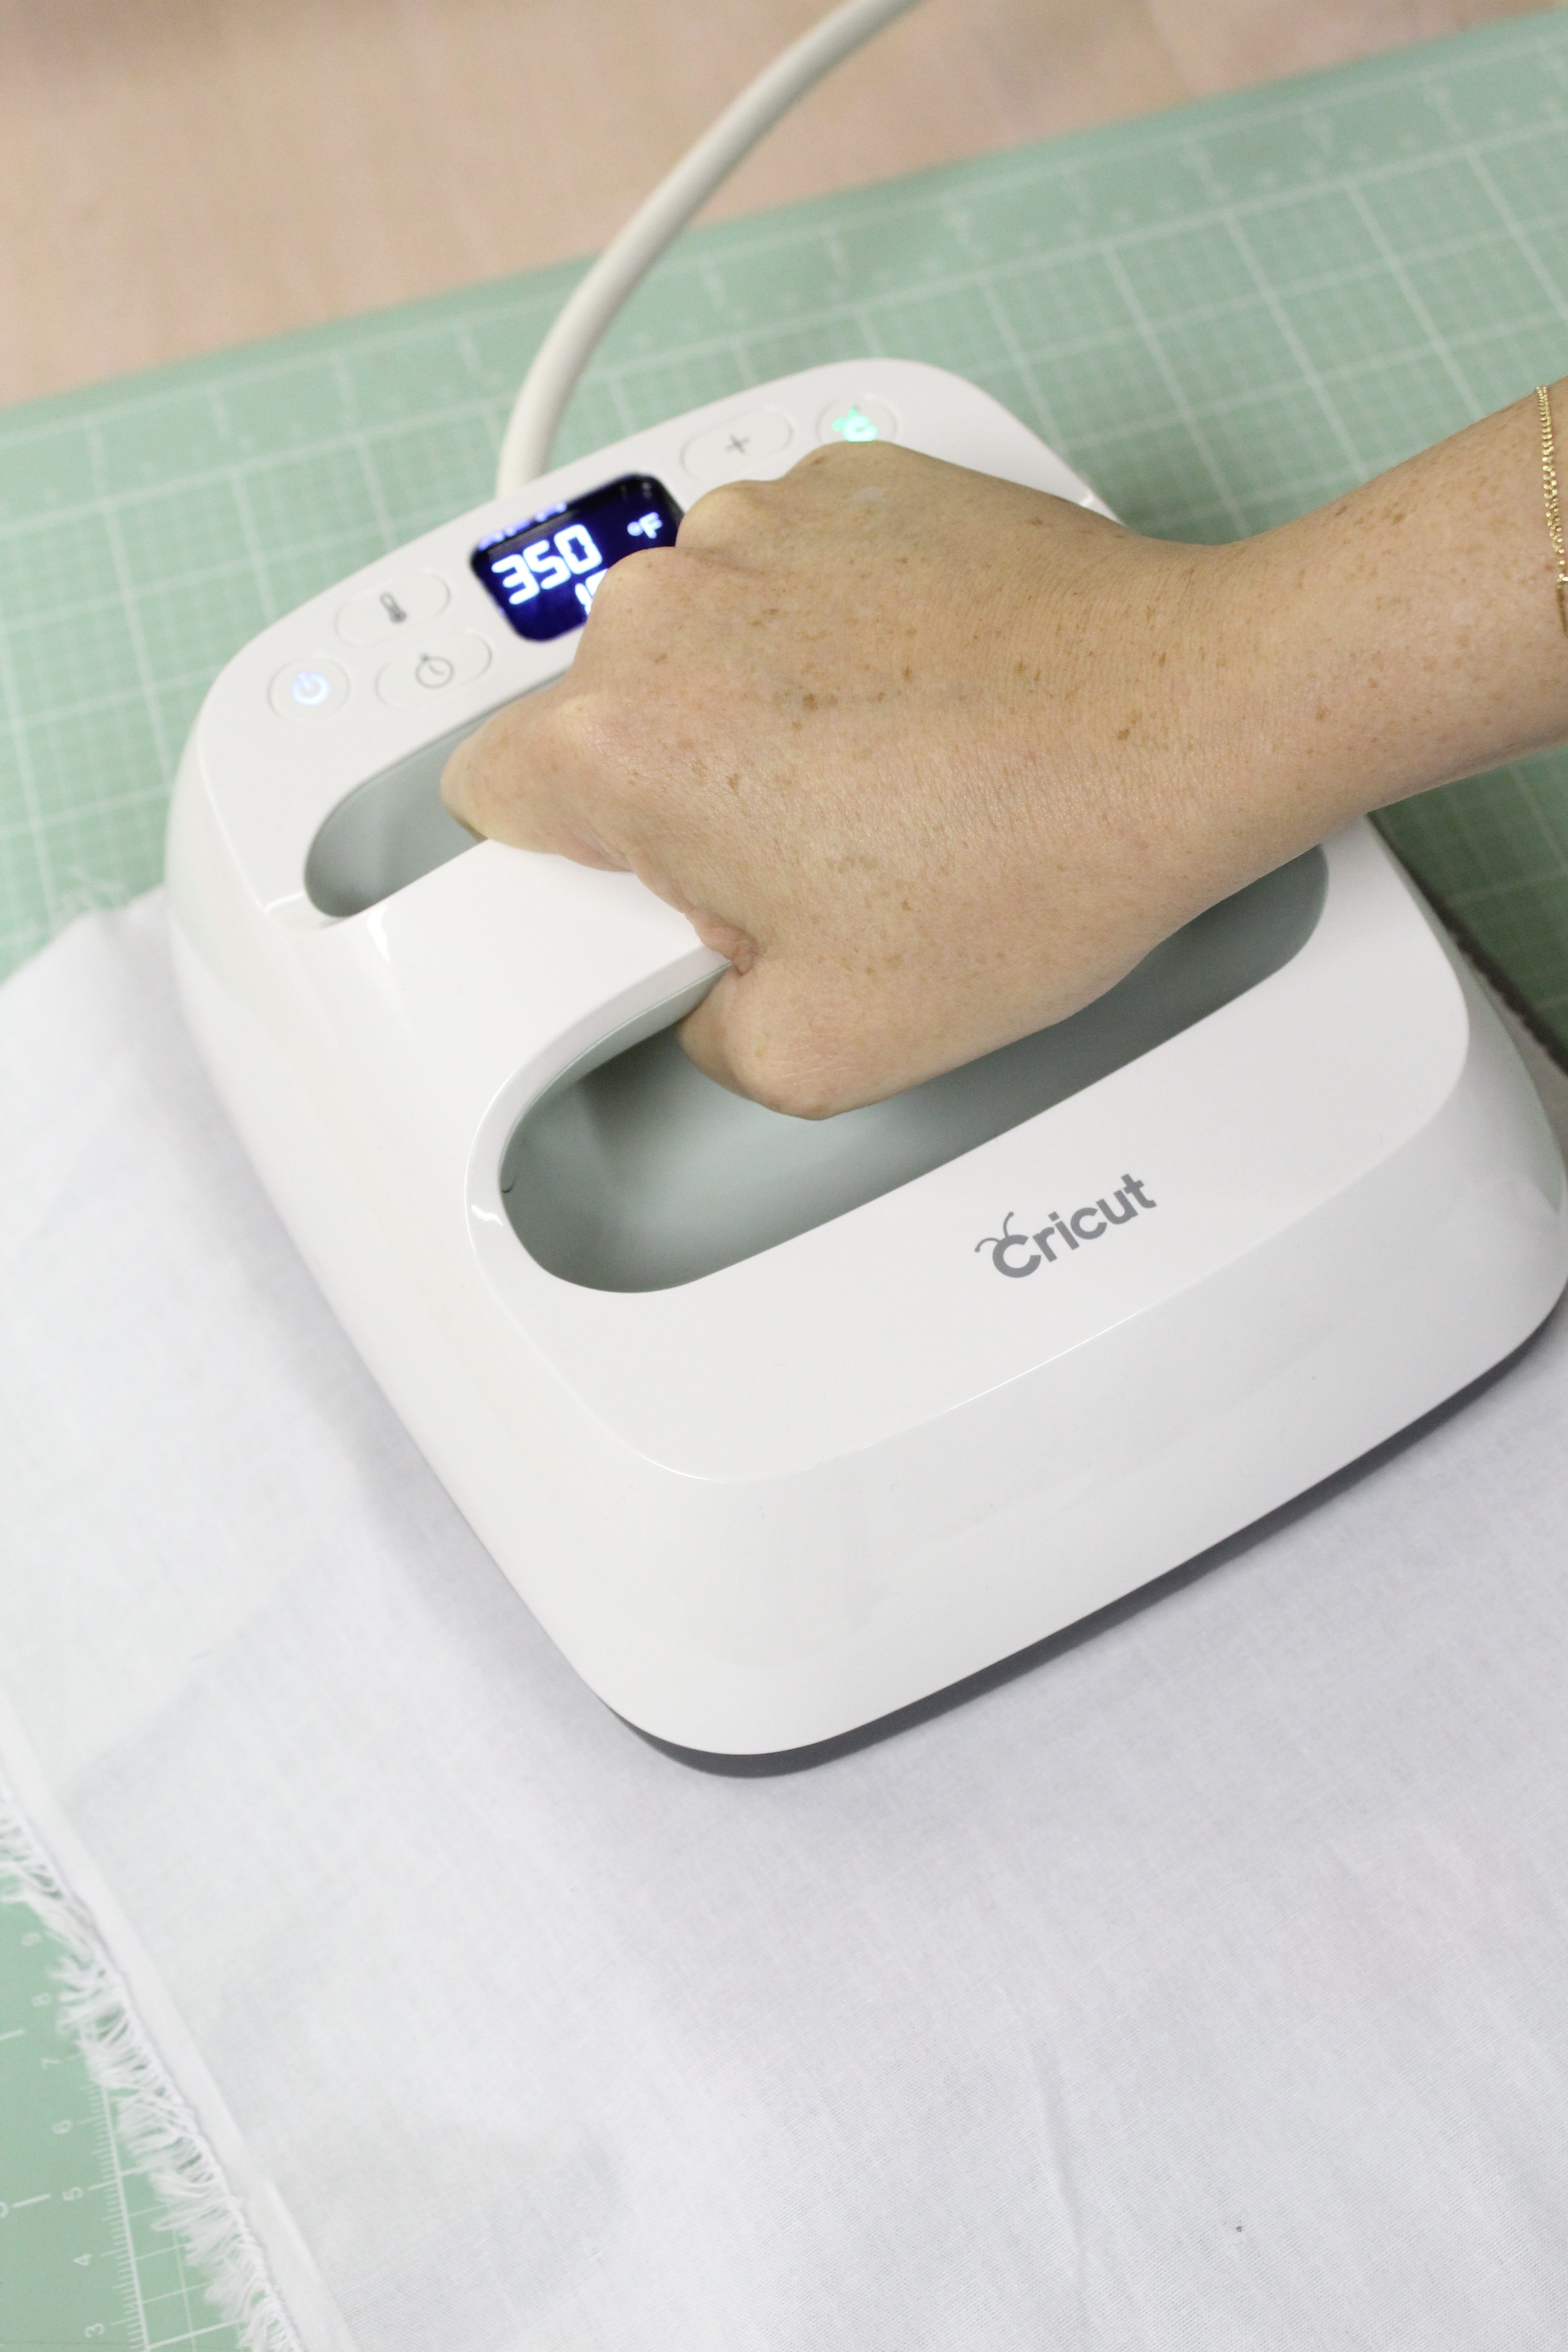
Iron Your Design
Once your project has printed, carefully follow the manufacturers directions on your iron on transfer paper. I love using my Cricut EasyPress for projects like these.
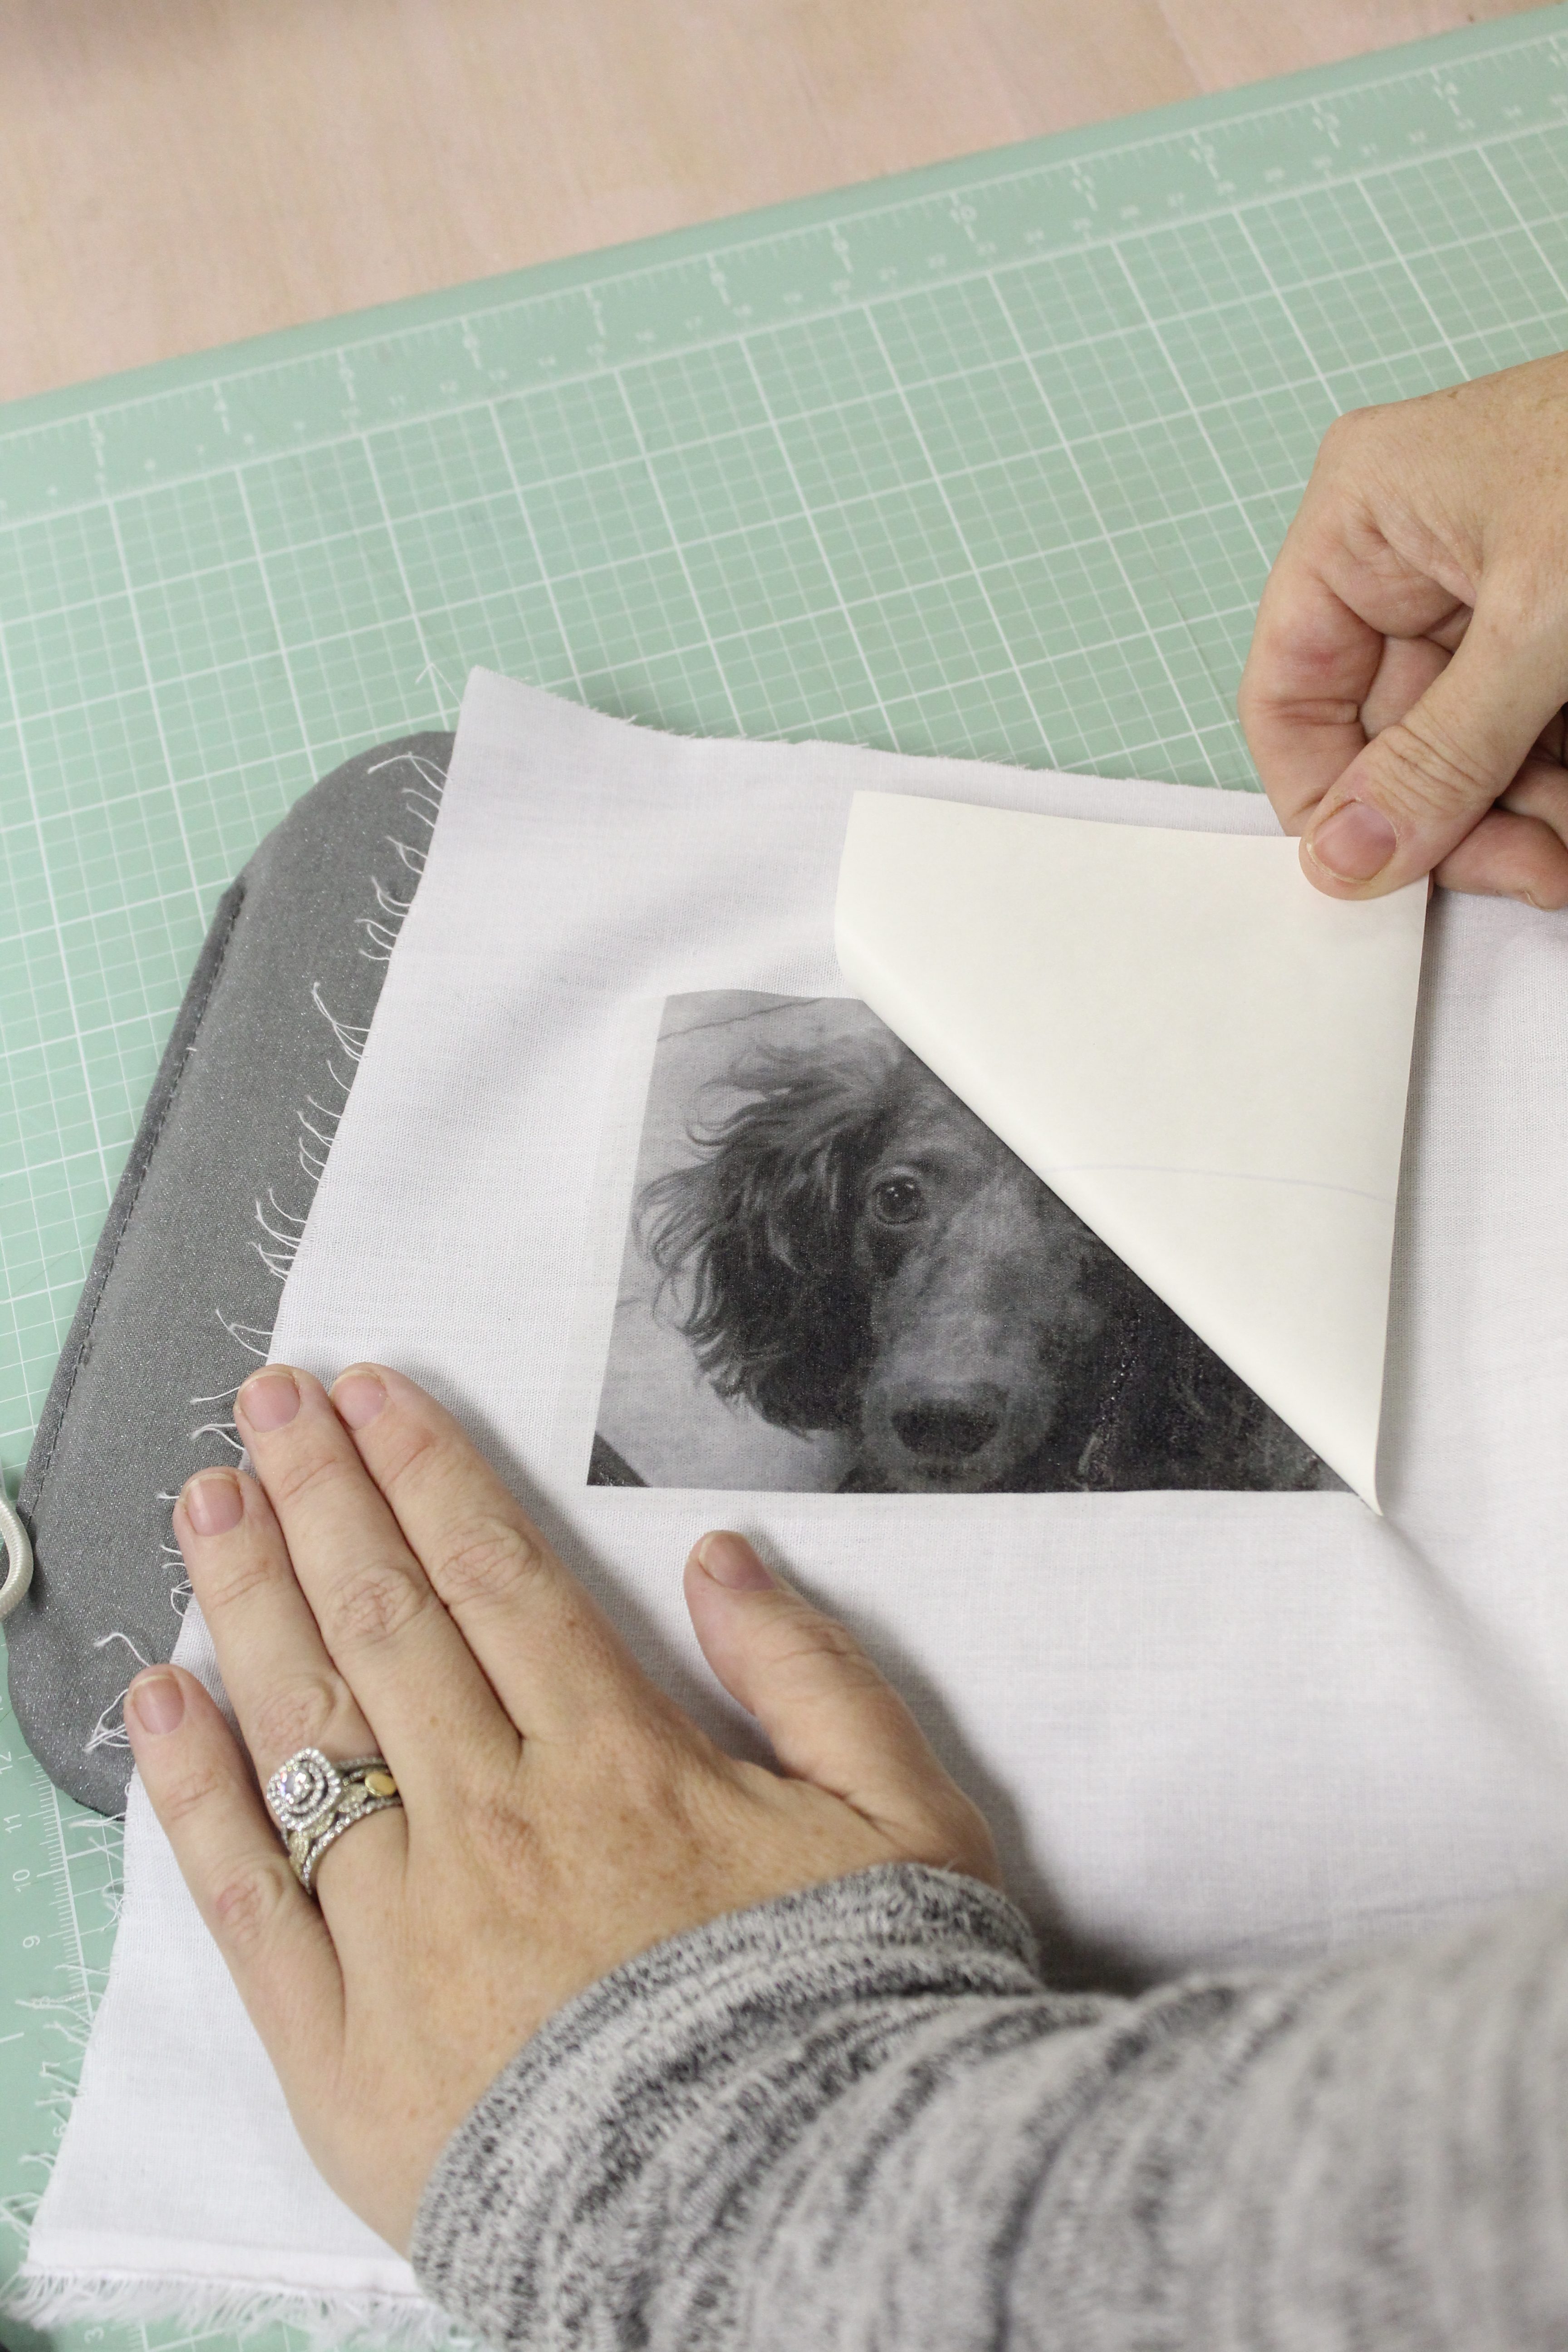
Insider Tip: Next time you’re buying fabric for a project from your local craft store, be sure to check out the remnants bin. You can almost always find something that will work for your project at a fraction of the cost. I was able to get the muslin that I used for under $3!
Once you’re finished ironing, remove the backing to display your image!
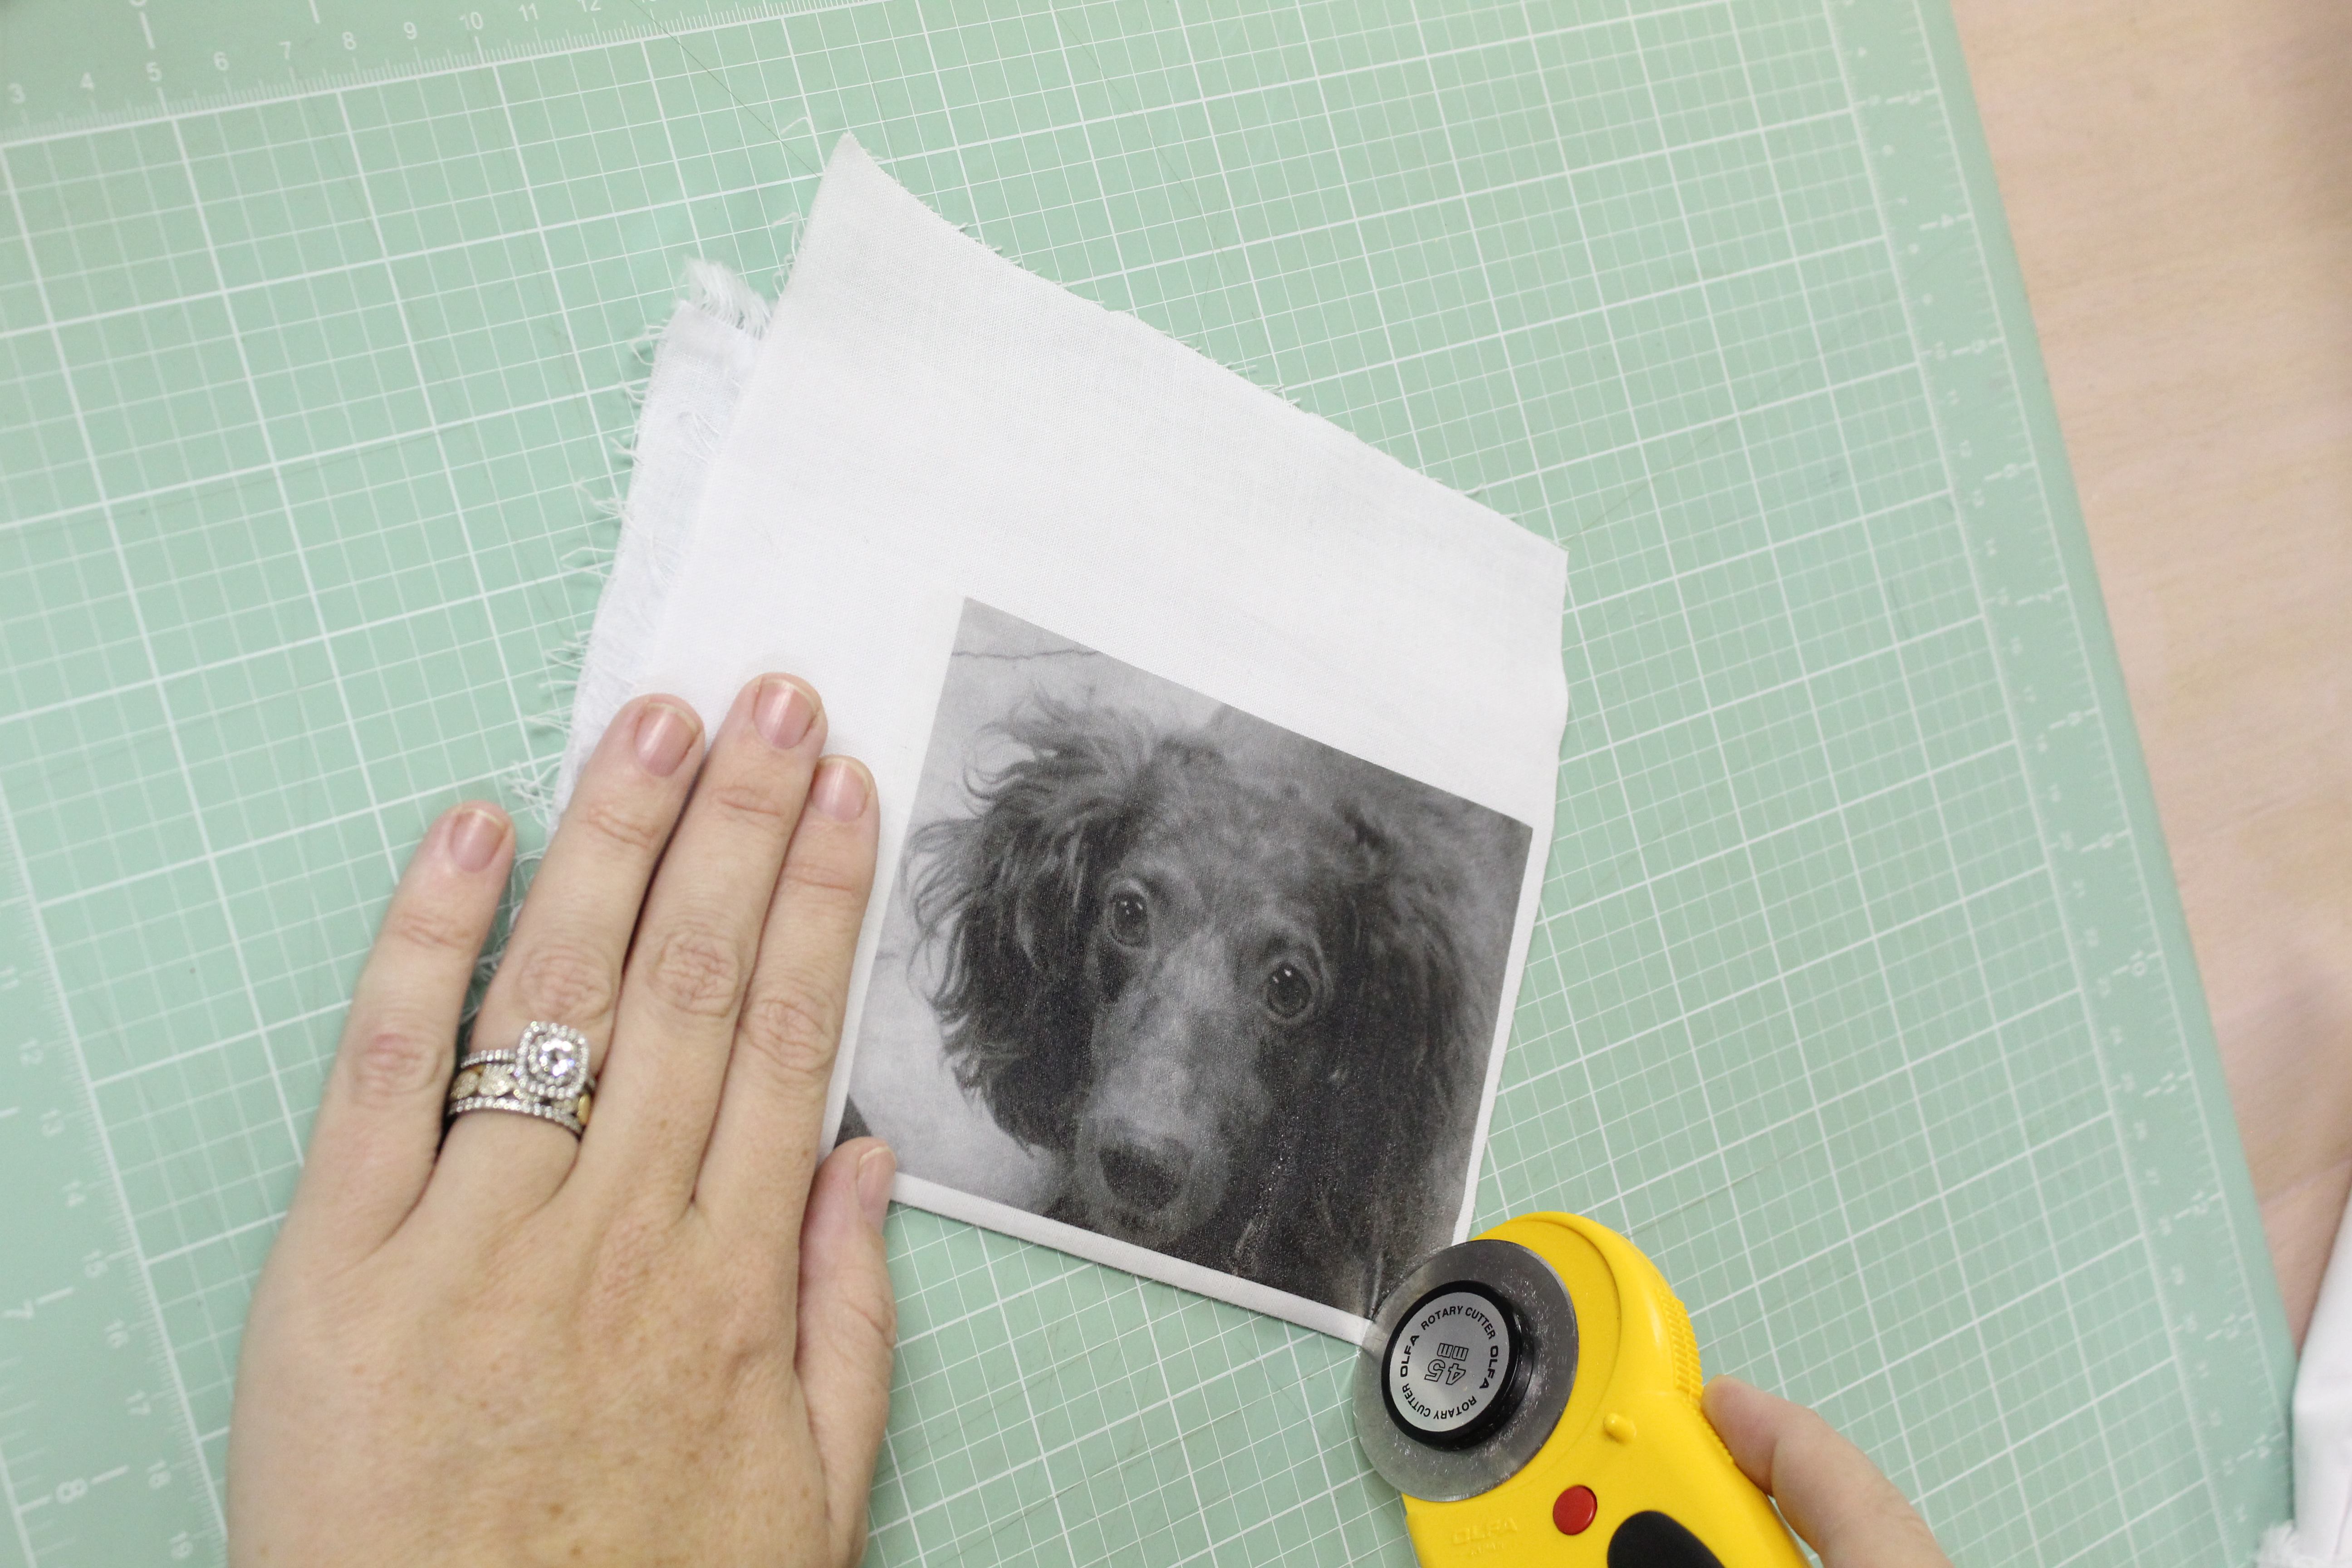
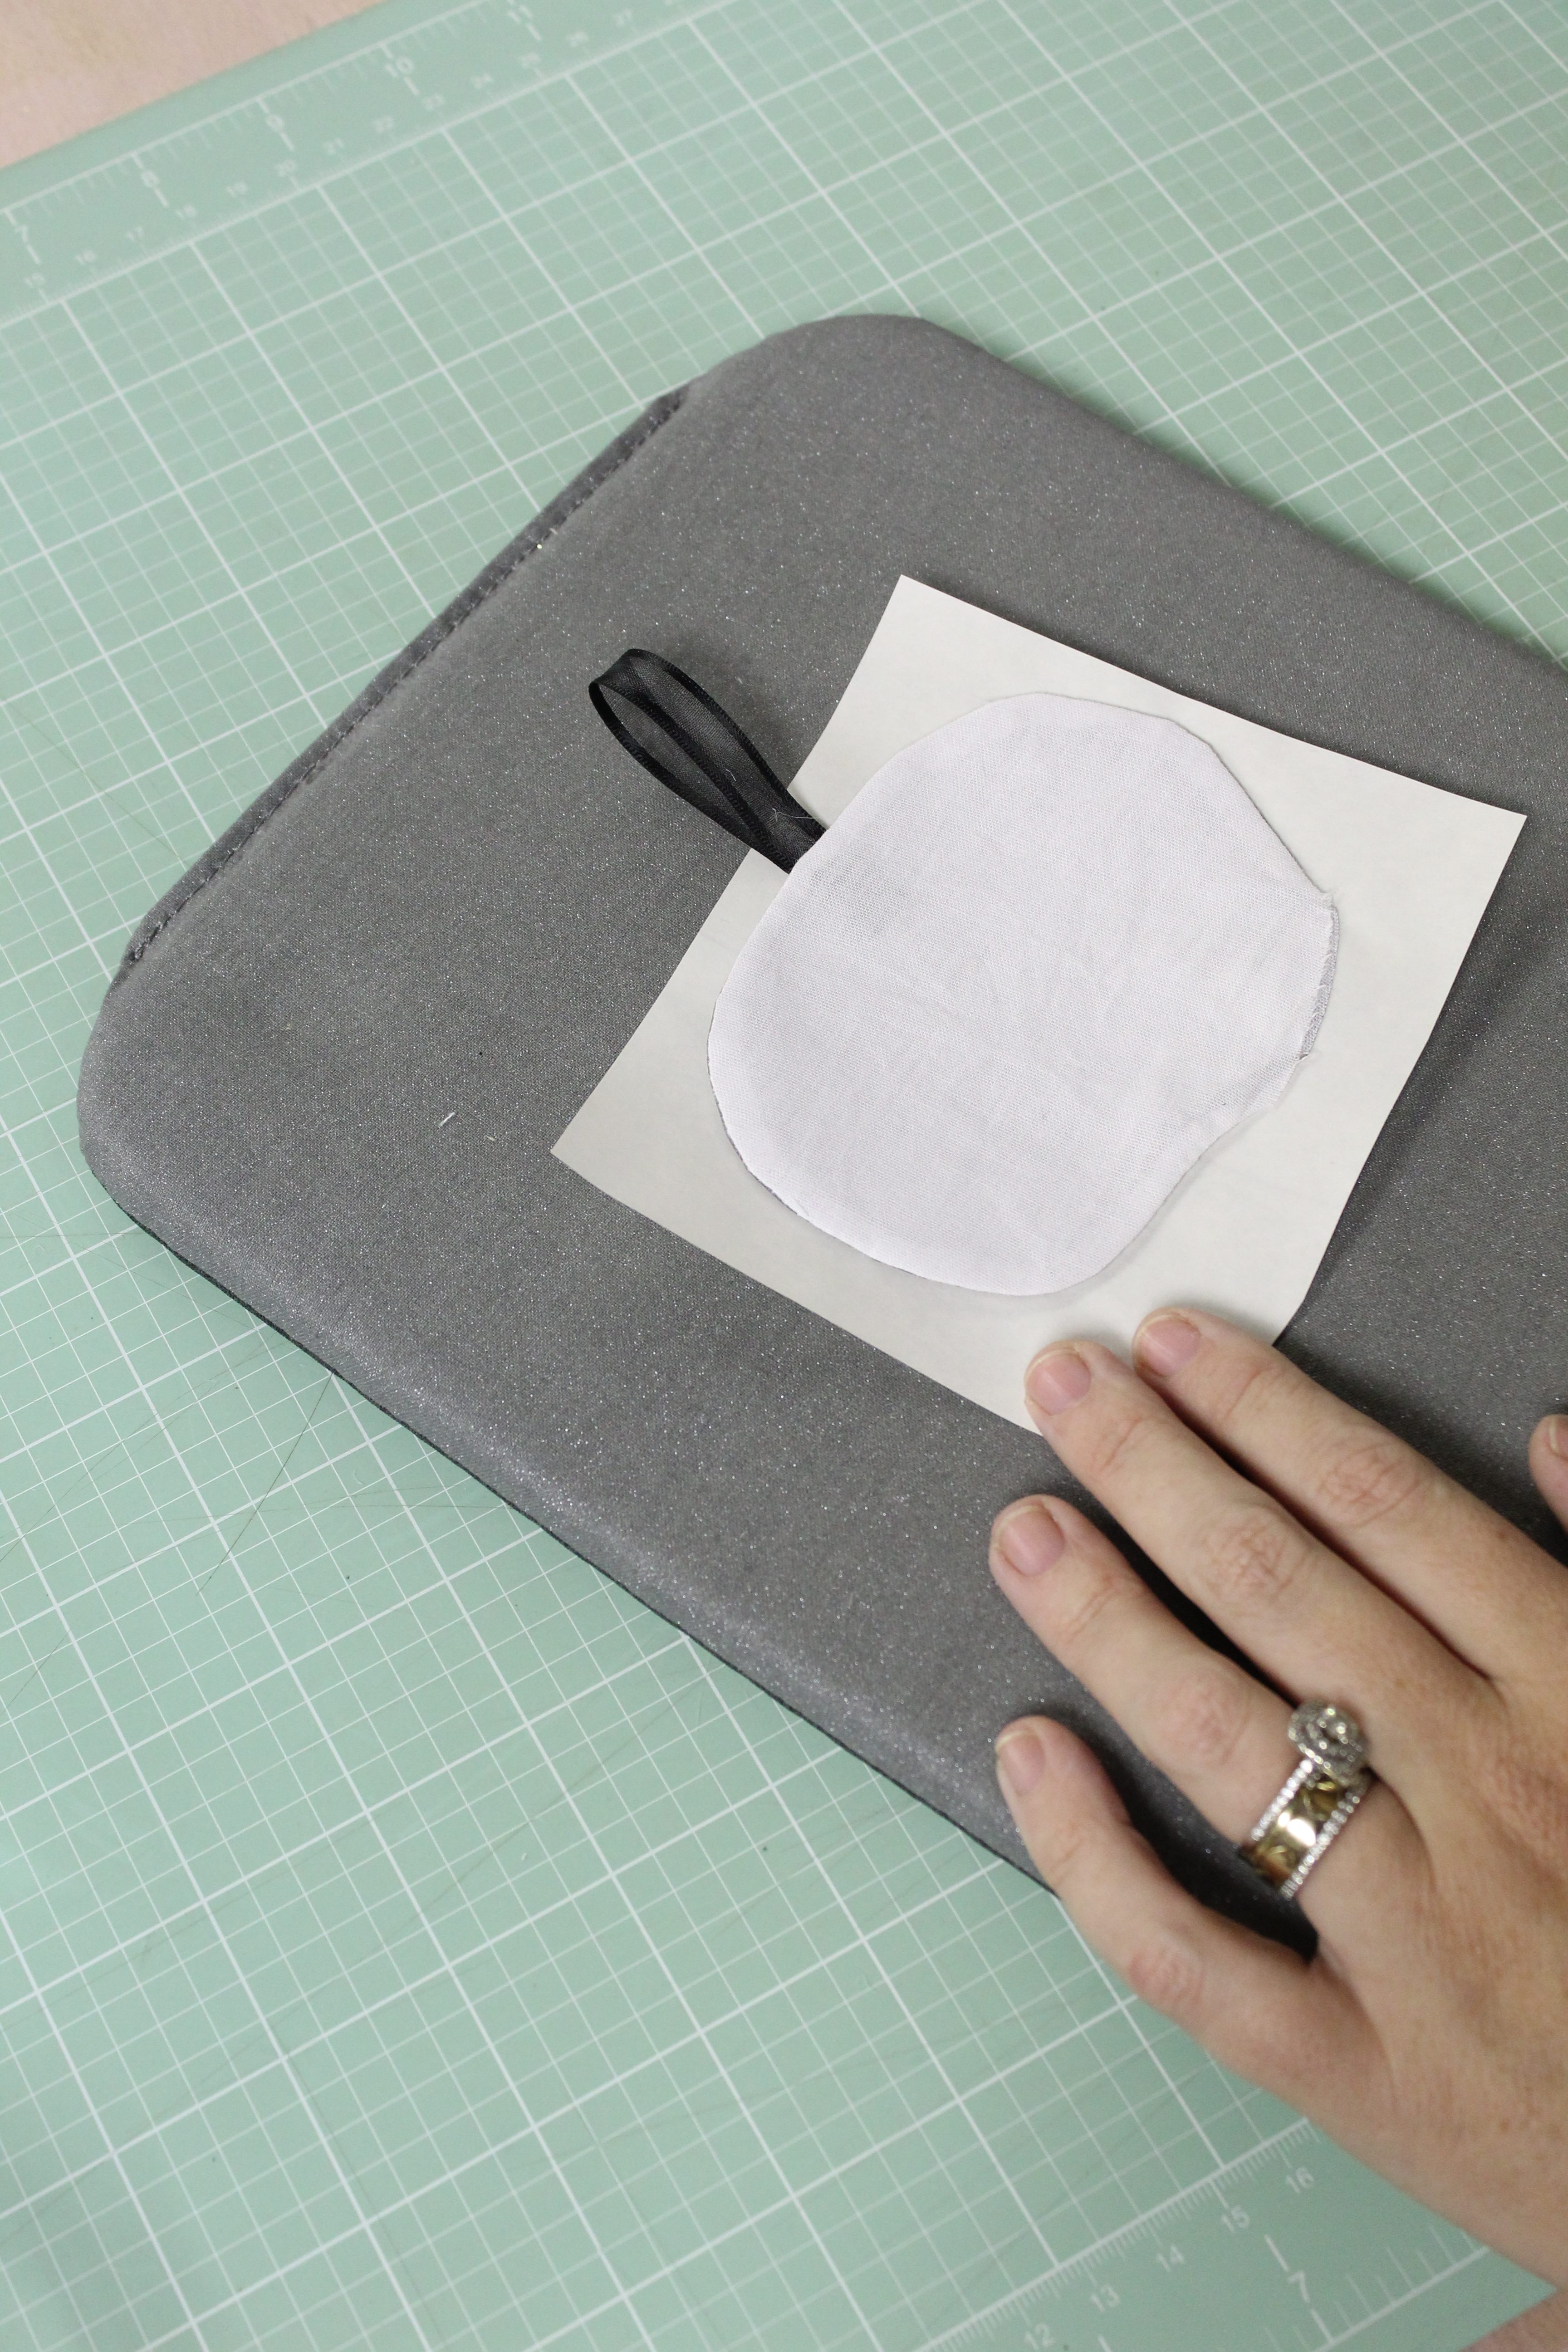
Cut Your Design
Fold your fabric in half so that its doubled up and, using a rotary cuter (or scissors) cut around your image, being sure that you are cutting two pieces (a front and a back). Remember to give yourself extra room since you will be sewing. I tried to have about a half inch cushion all the way around. (If you do use scissors, I’d recommend pinning before you cut.)
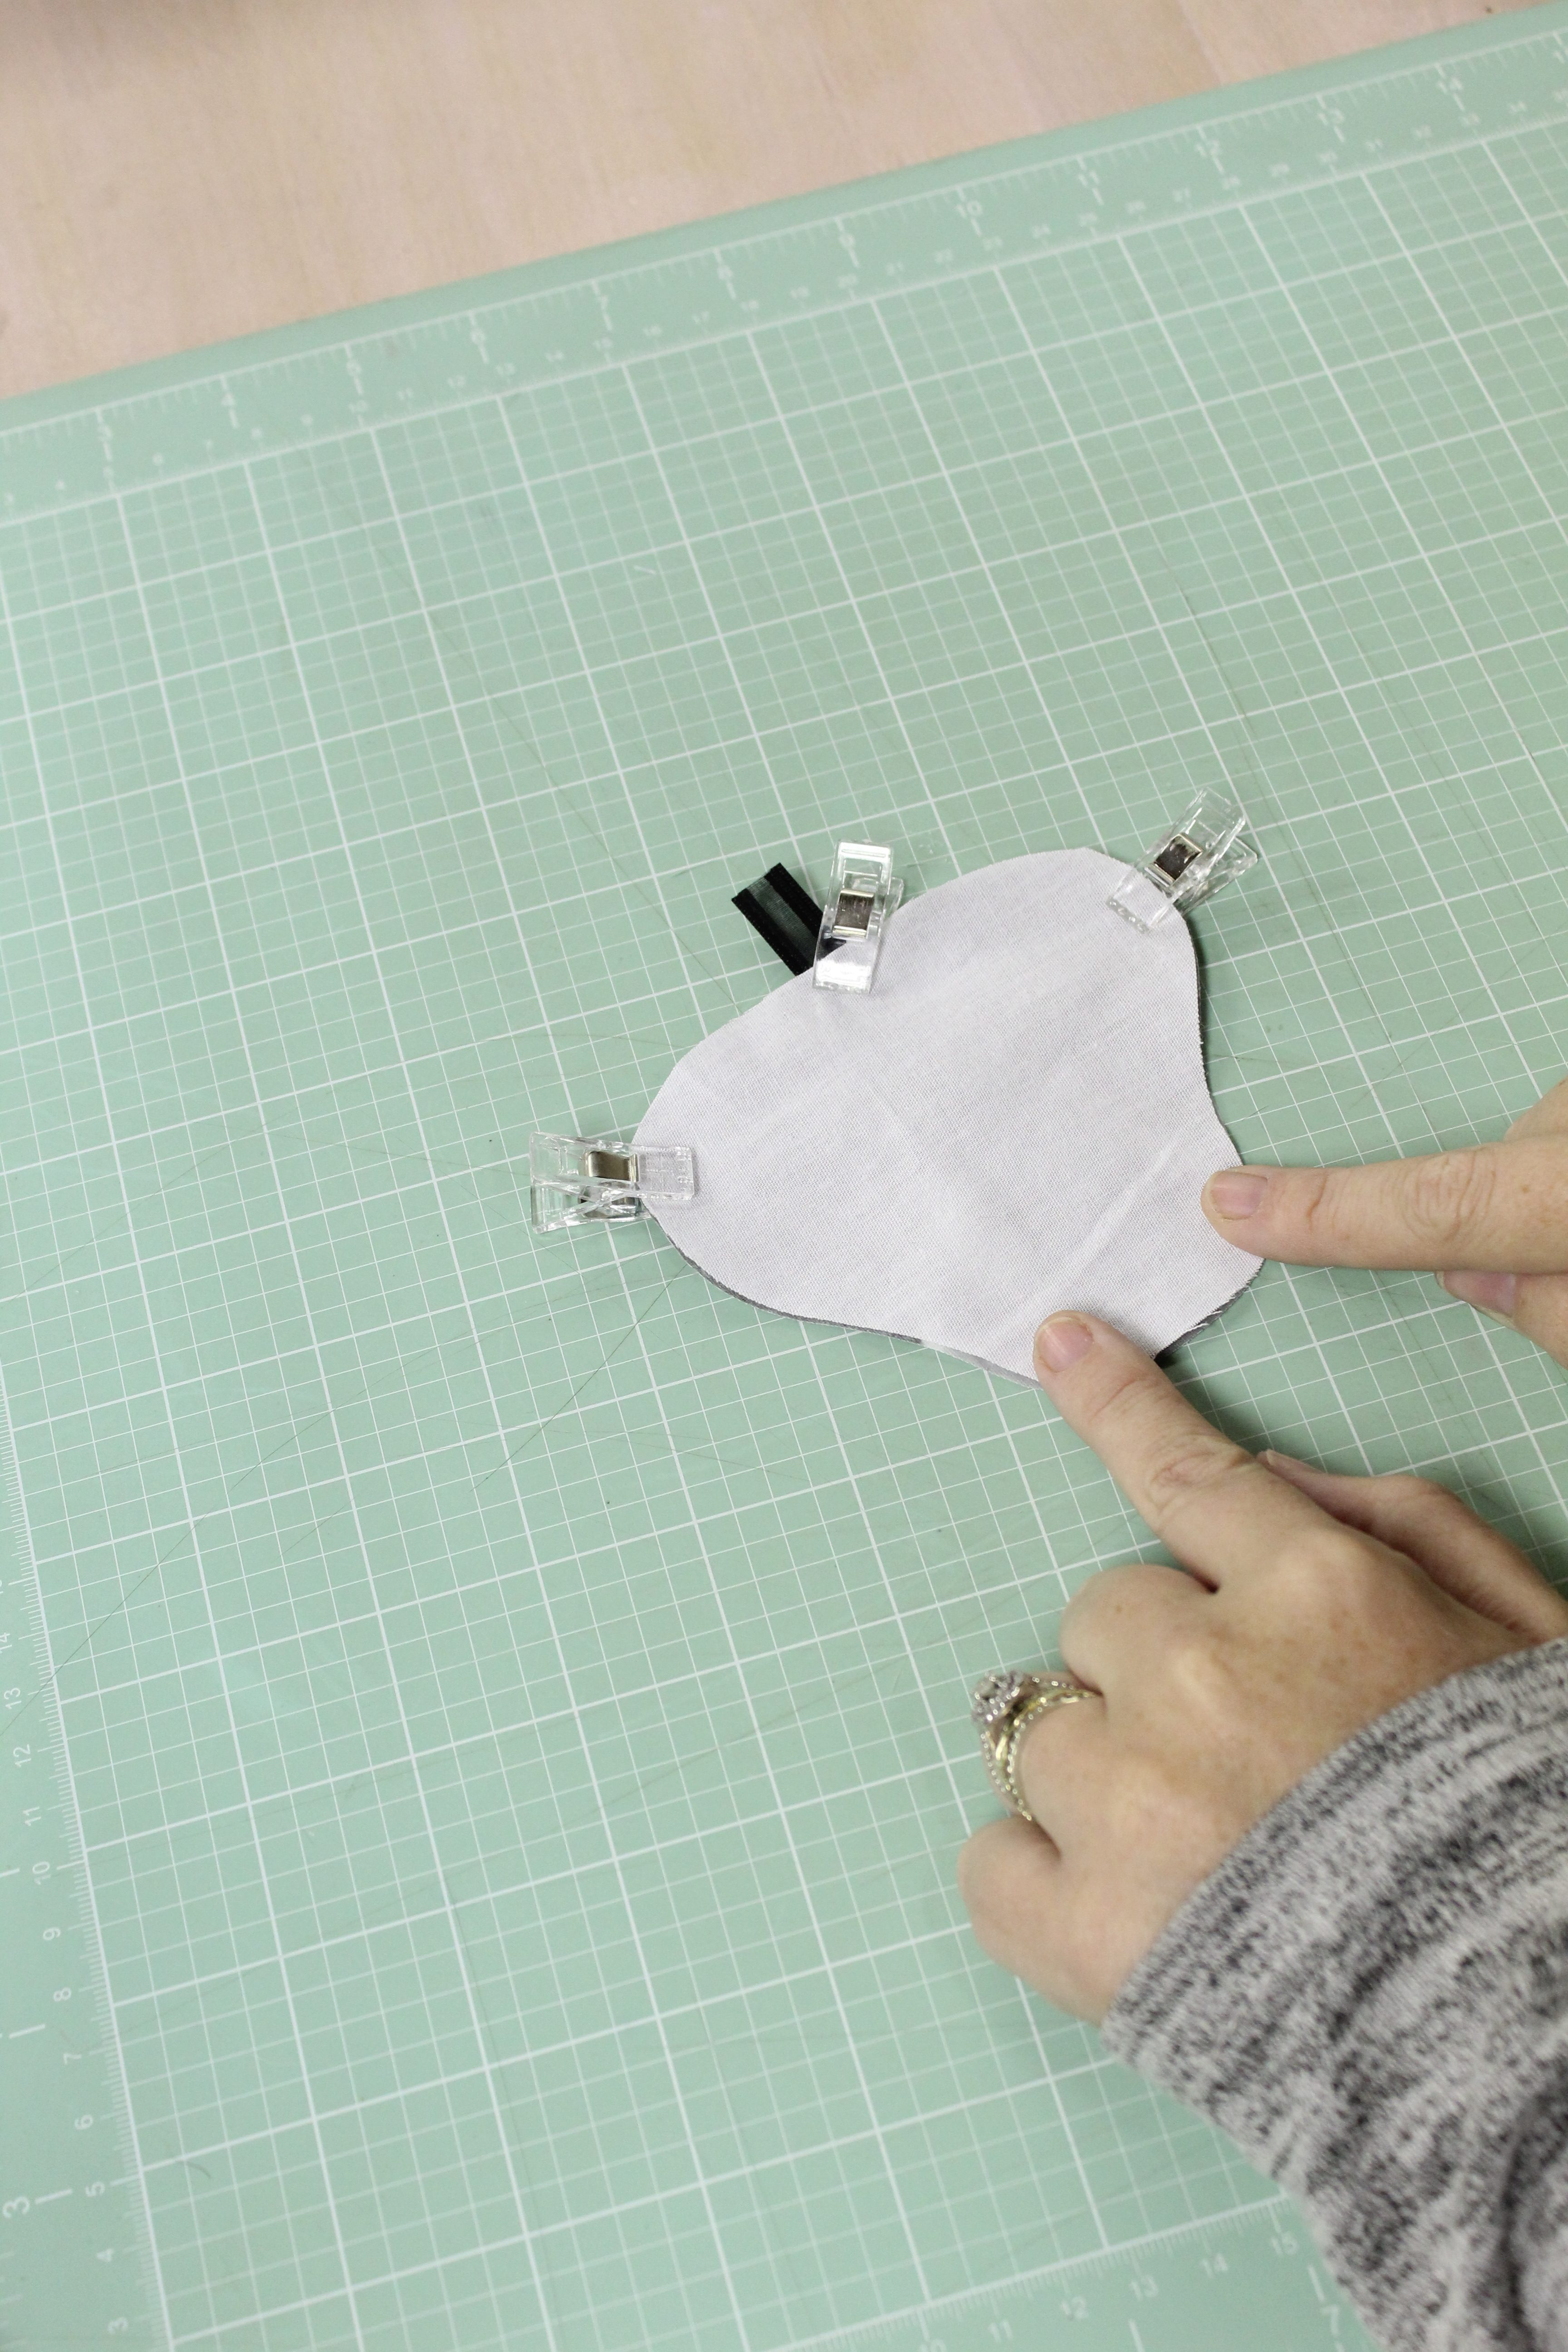
Time to Sew
Place your fabric right sides together, using pins or clips to keep it in place. Trim your ribbon to about 5″, fold it in half and tuck the folded end inside of your two pieces of fabric, pinning or clipping in place until you sew. Then, take it over to your sewing machine and start sewing! Remember to keep an opening at the bottom to turn your project right side out. Sometimes it helps to mark it with pins or a fabric pen.
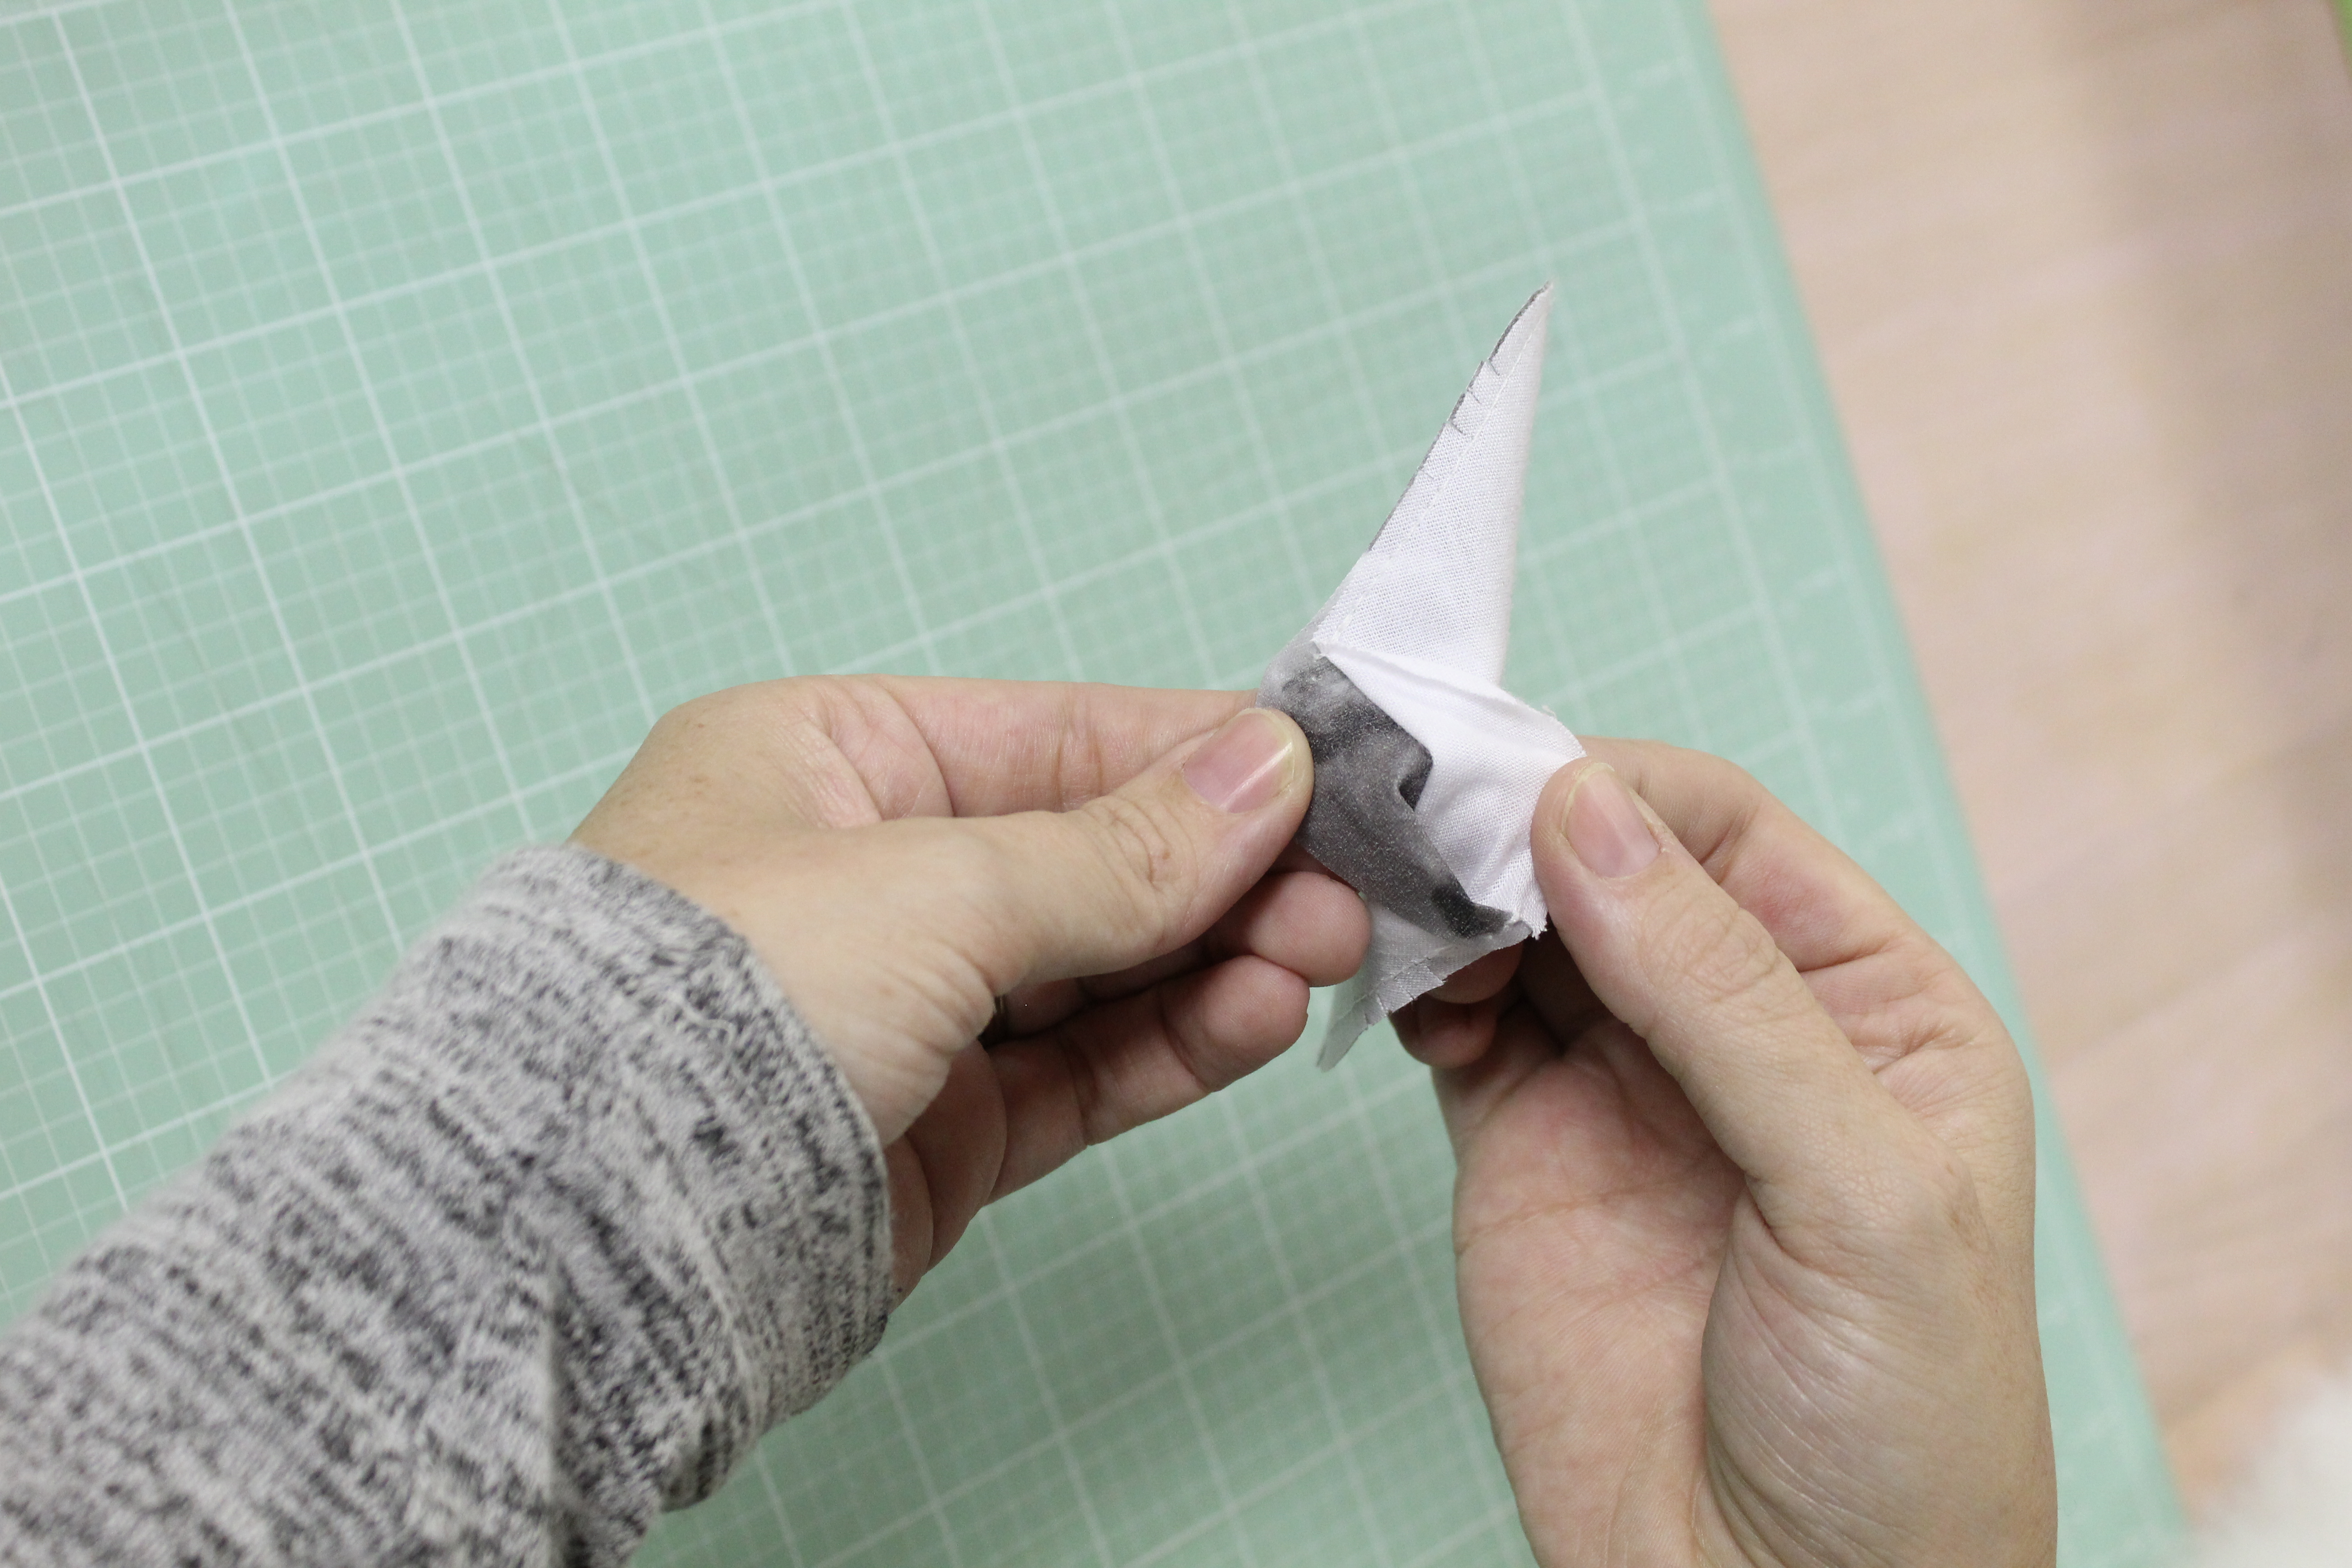
Once it’s sewn, snip any rounded edges and turn your project right side out through the opening that you left.
Using a bone folder (or whatever pokey object you have on hand, like a pen or pencil) press all of the seams out.
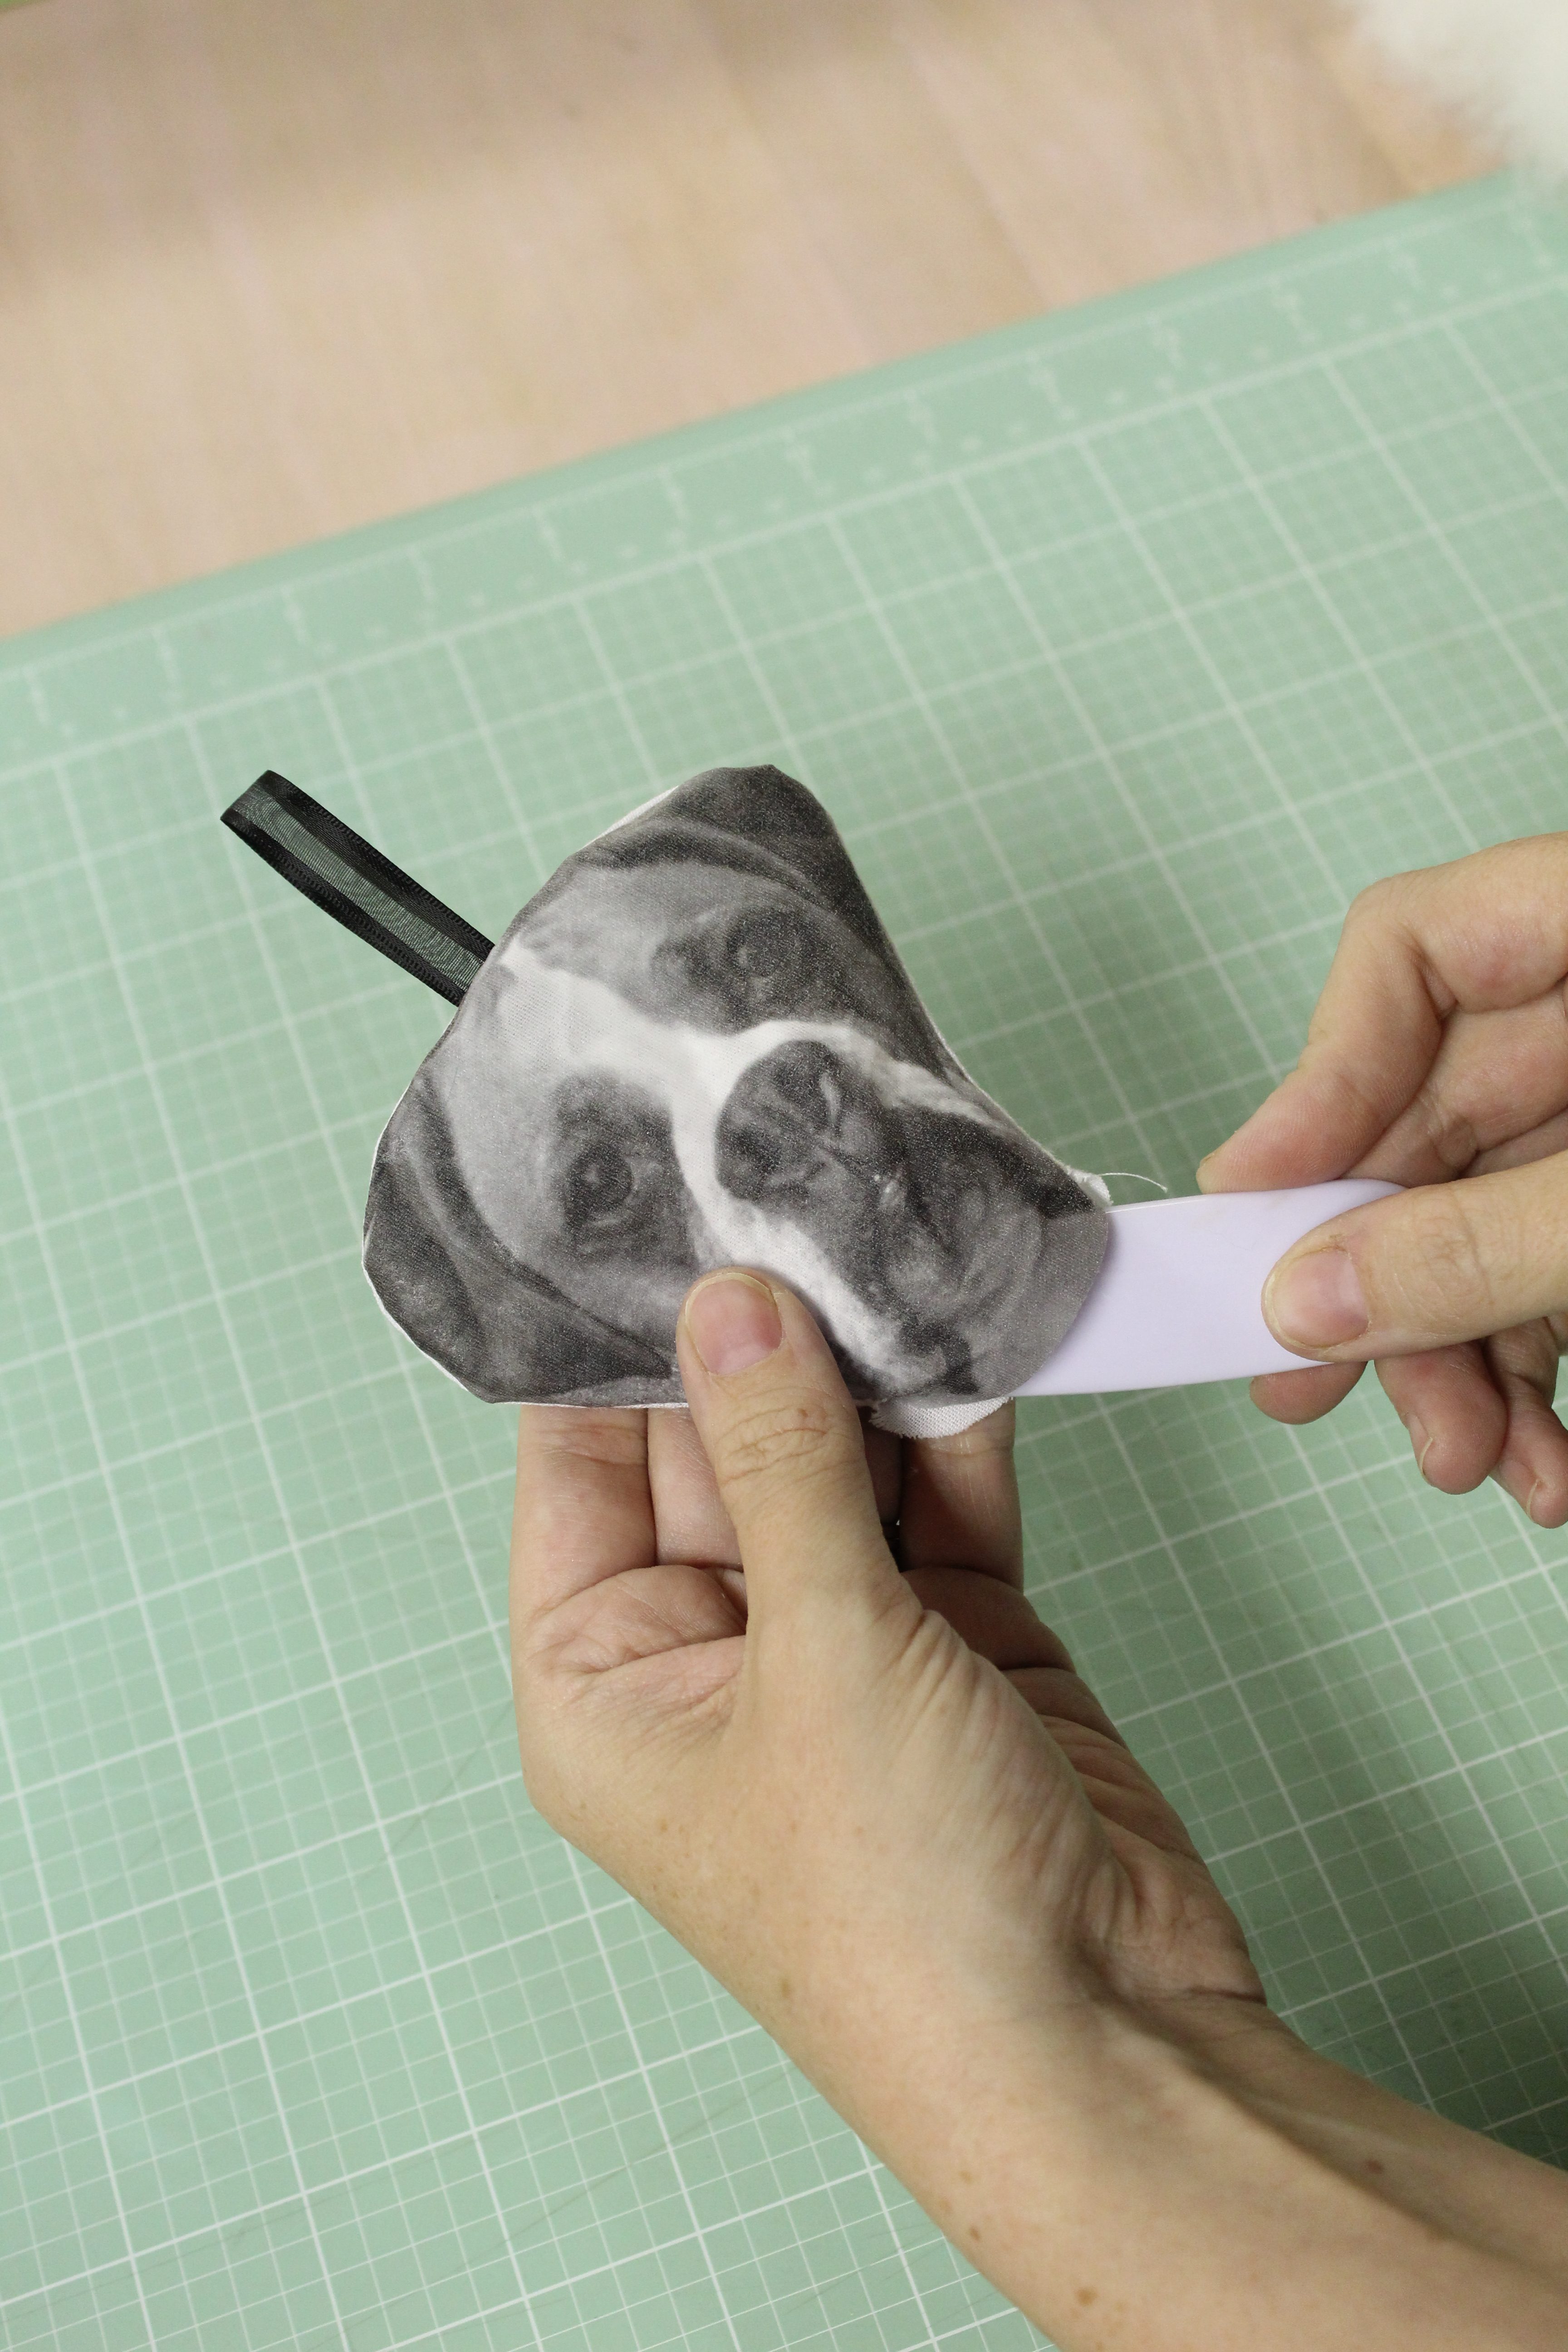
Turning it right side out, may have put some wrinkles in the iron on material. If you want to, place the iron on transfer backing back on your project and VERY quickly give it a little press from the backside, making sure not to press it for too long as it may affect your iron on transfer.
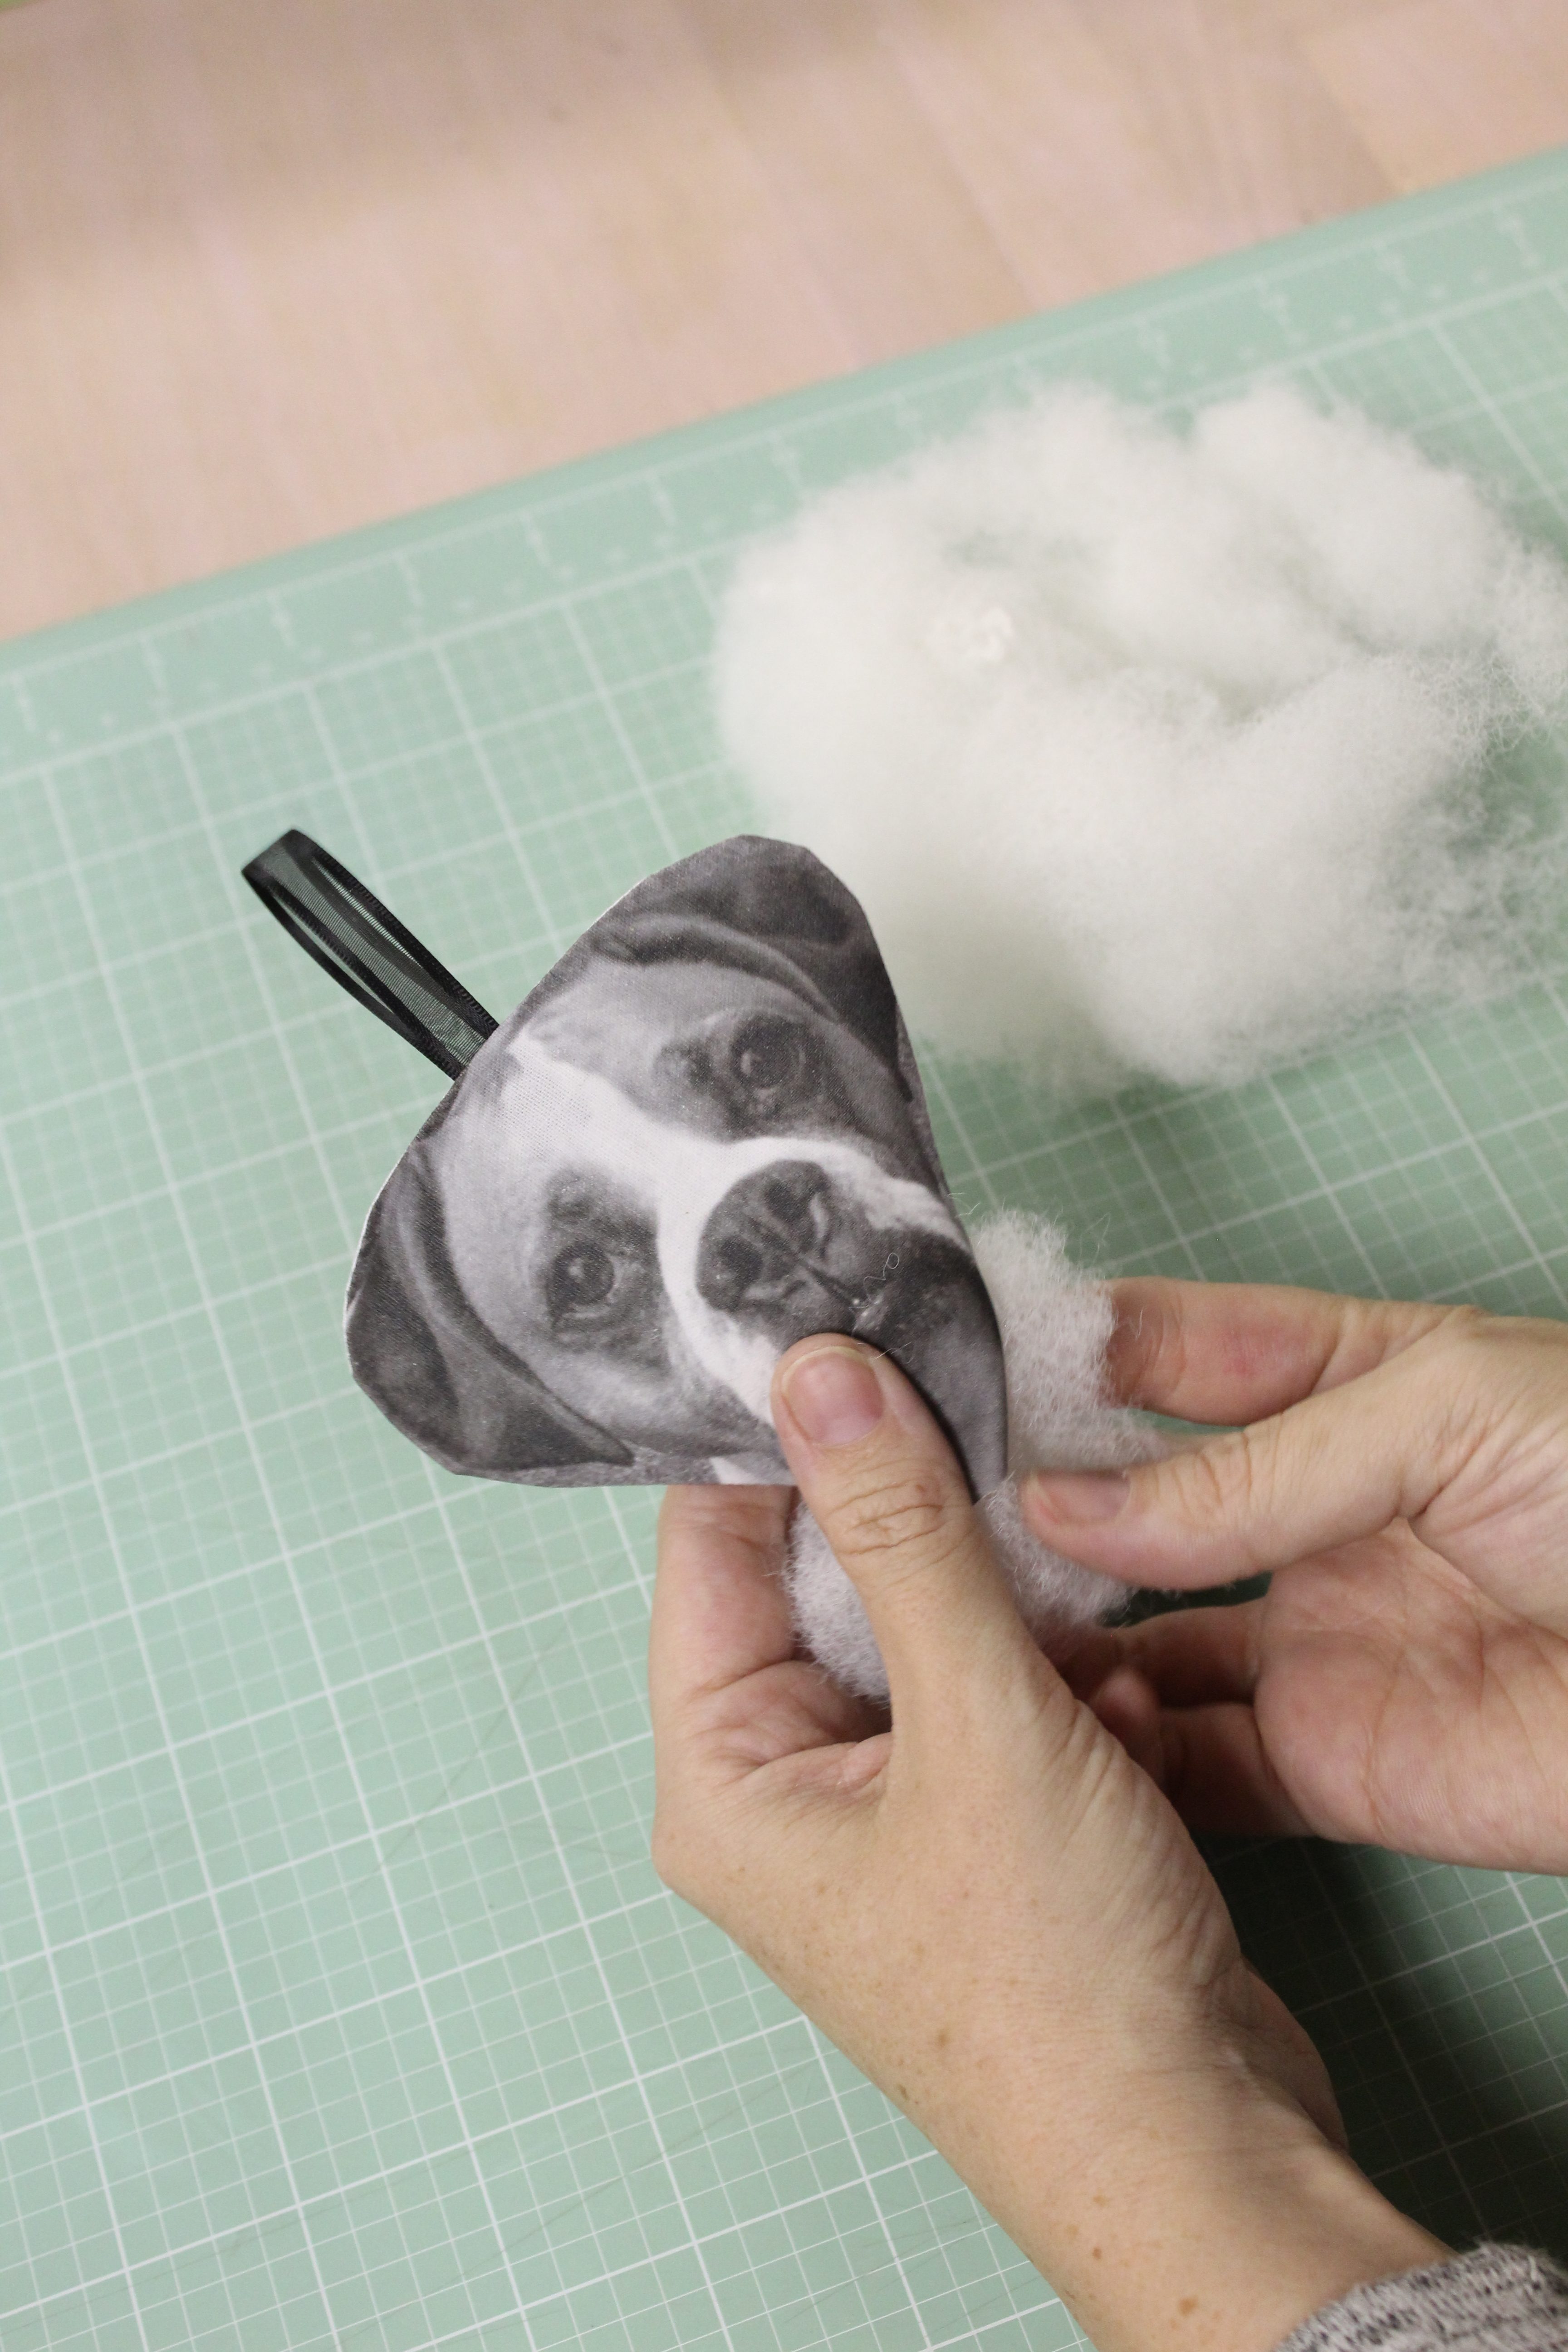
Then fill that bad boy with batting! How full or flat you make it is really up to you.
Once you’re happy with the look, its time to close it up! Depending on your hand sewing skills, there are a couple of options. You can use a whip stitch (which is a little easier but you will likely be able to see it) or an invisible stitch (which is slightly harder but is pretty, well as you probably guessed, invisible). If you’re REALLY not the sewing type you can also use a bit of steam a seam or fabric glue.
(It was basically impossible to try to show this step, so feel free to google any of those stitches to get a good visual.)
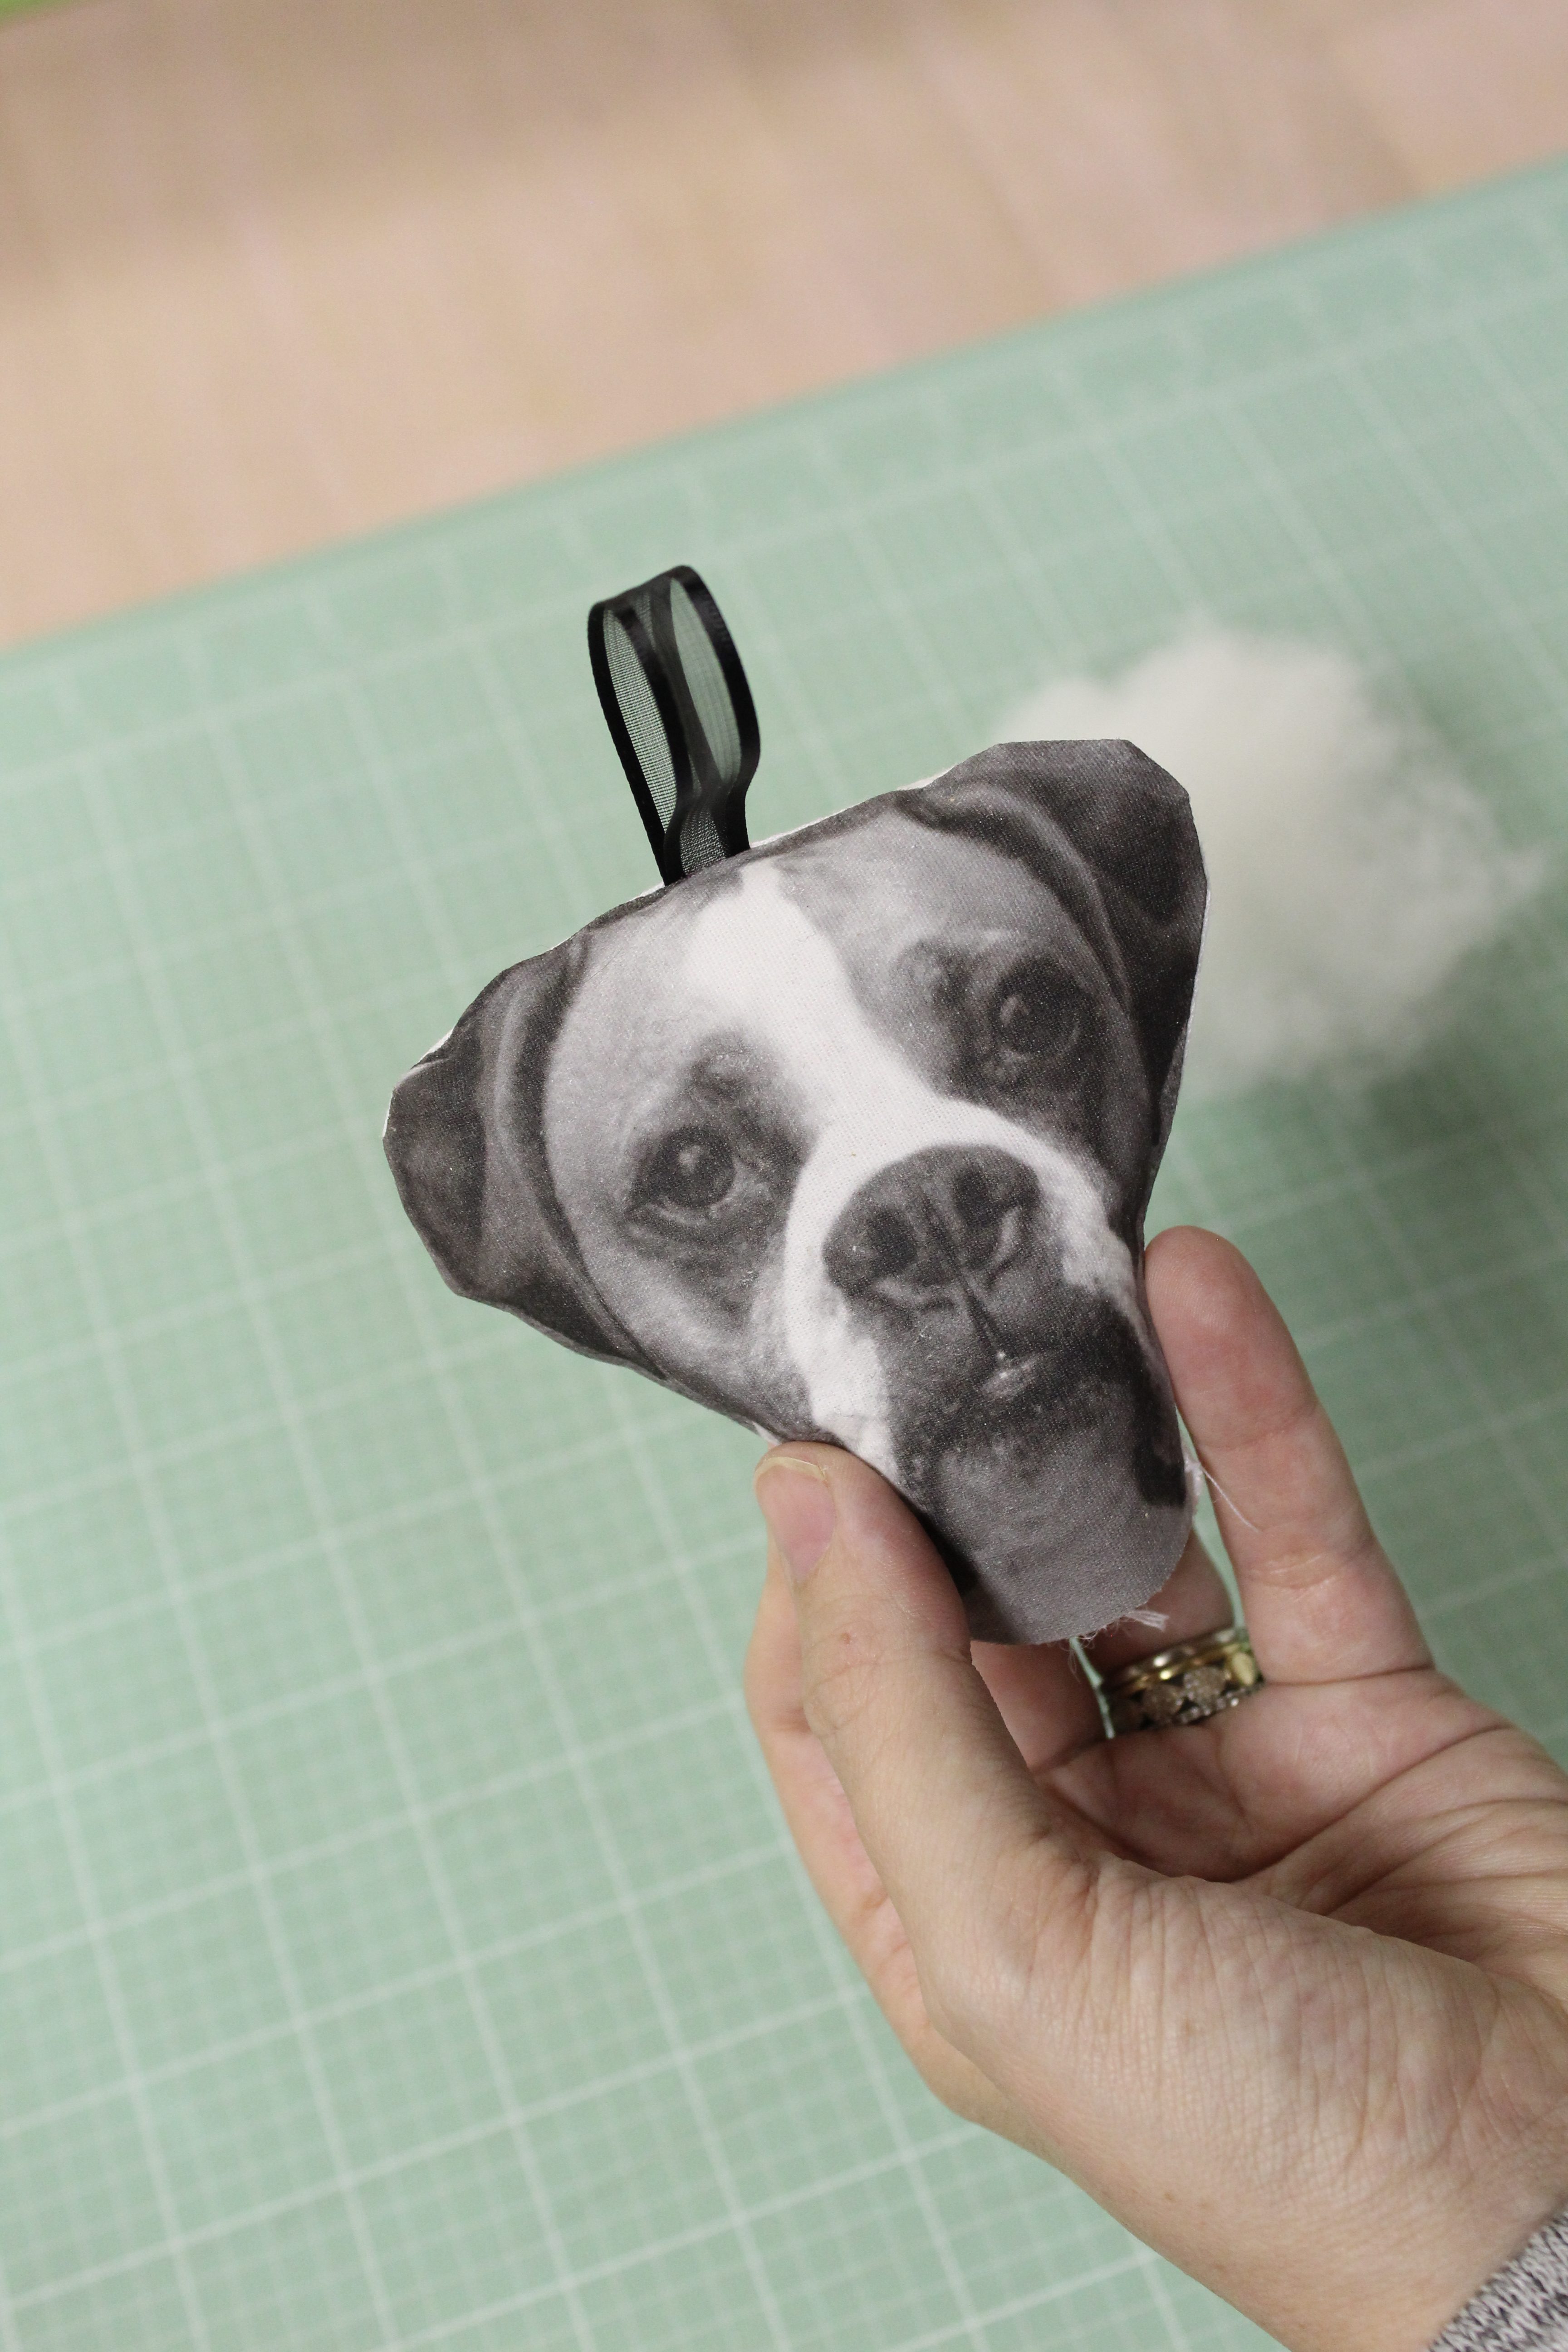
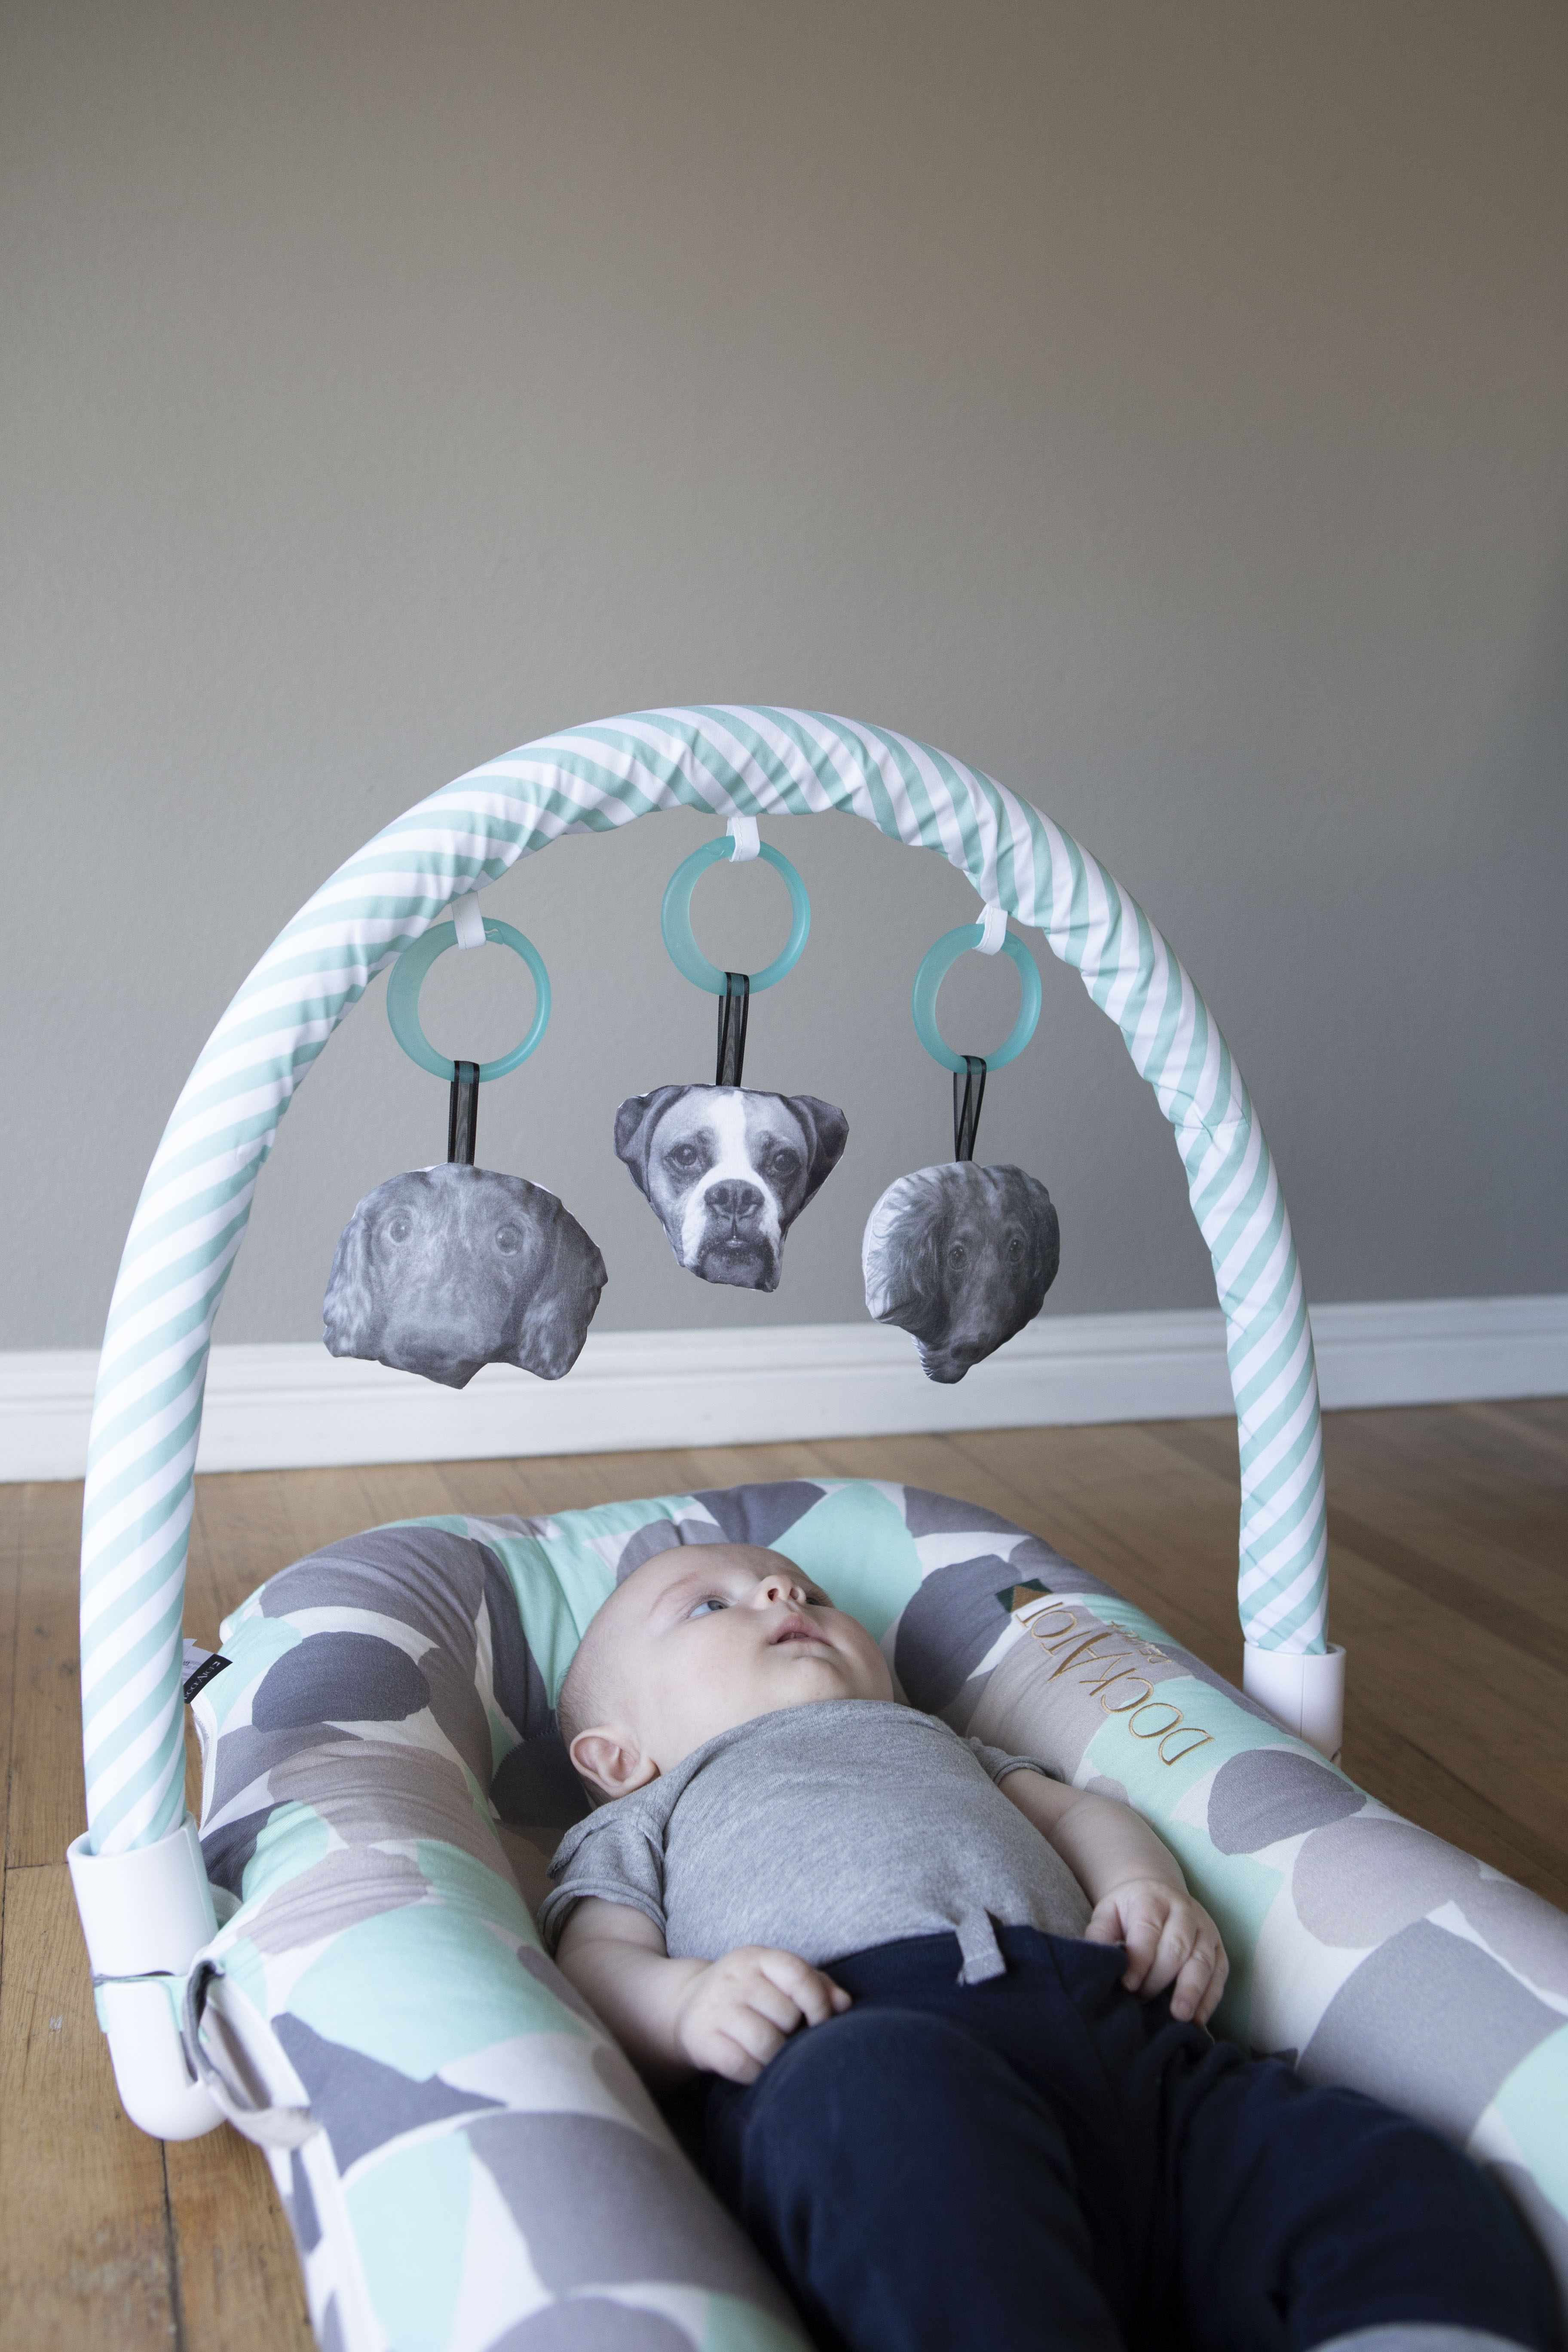
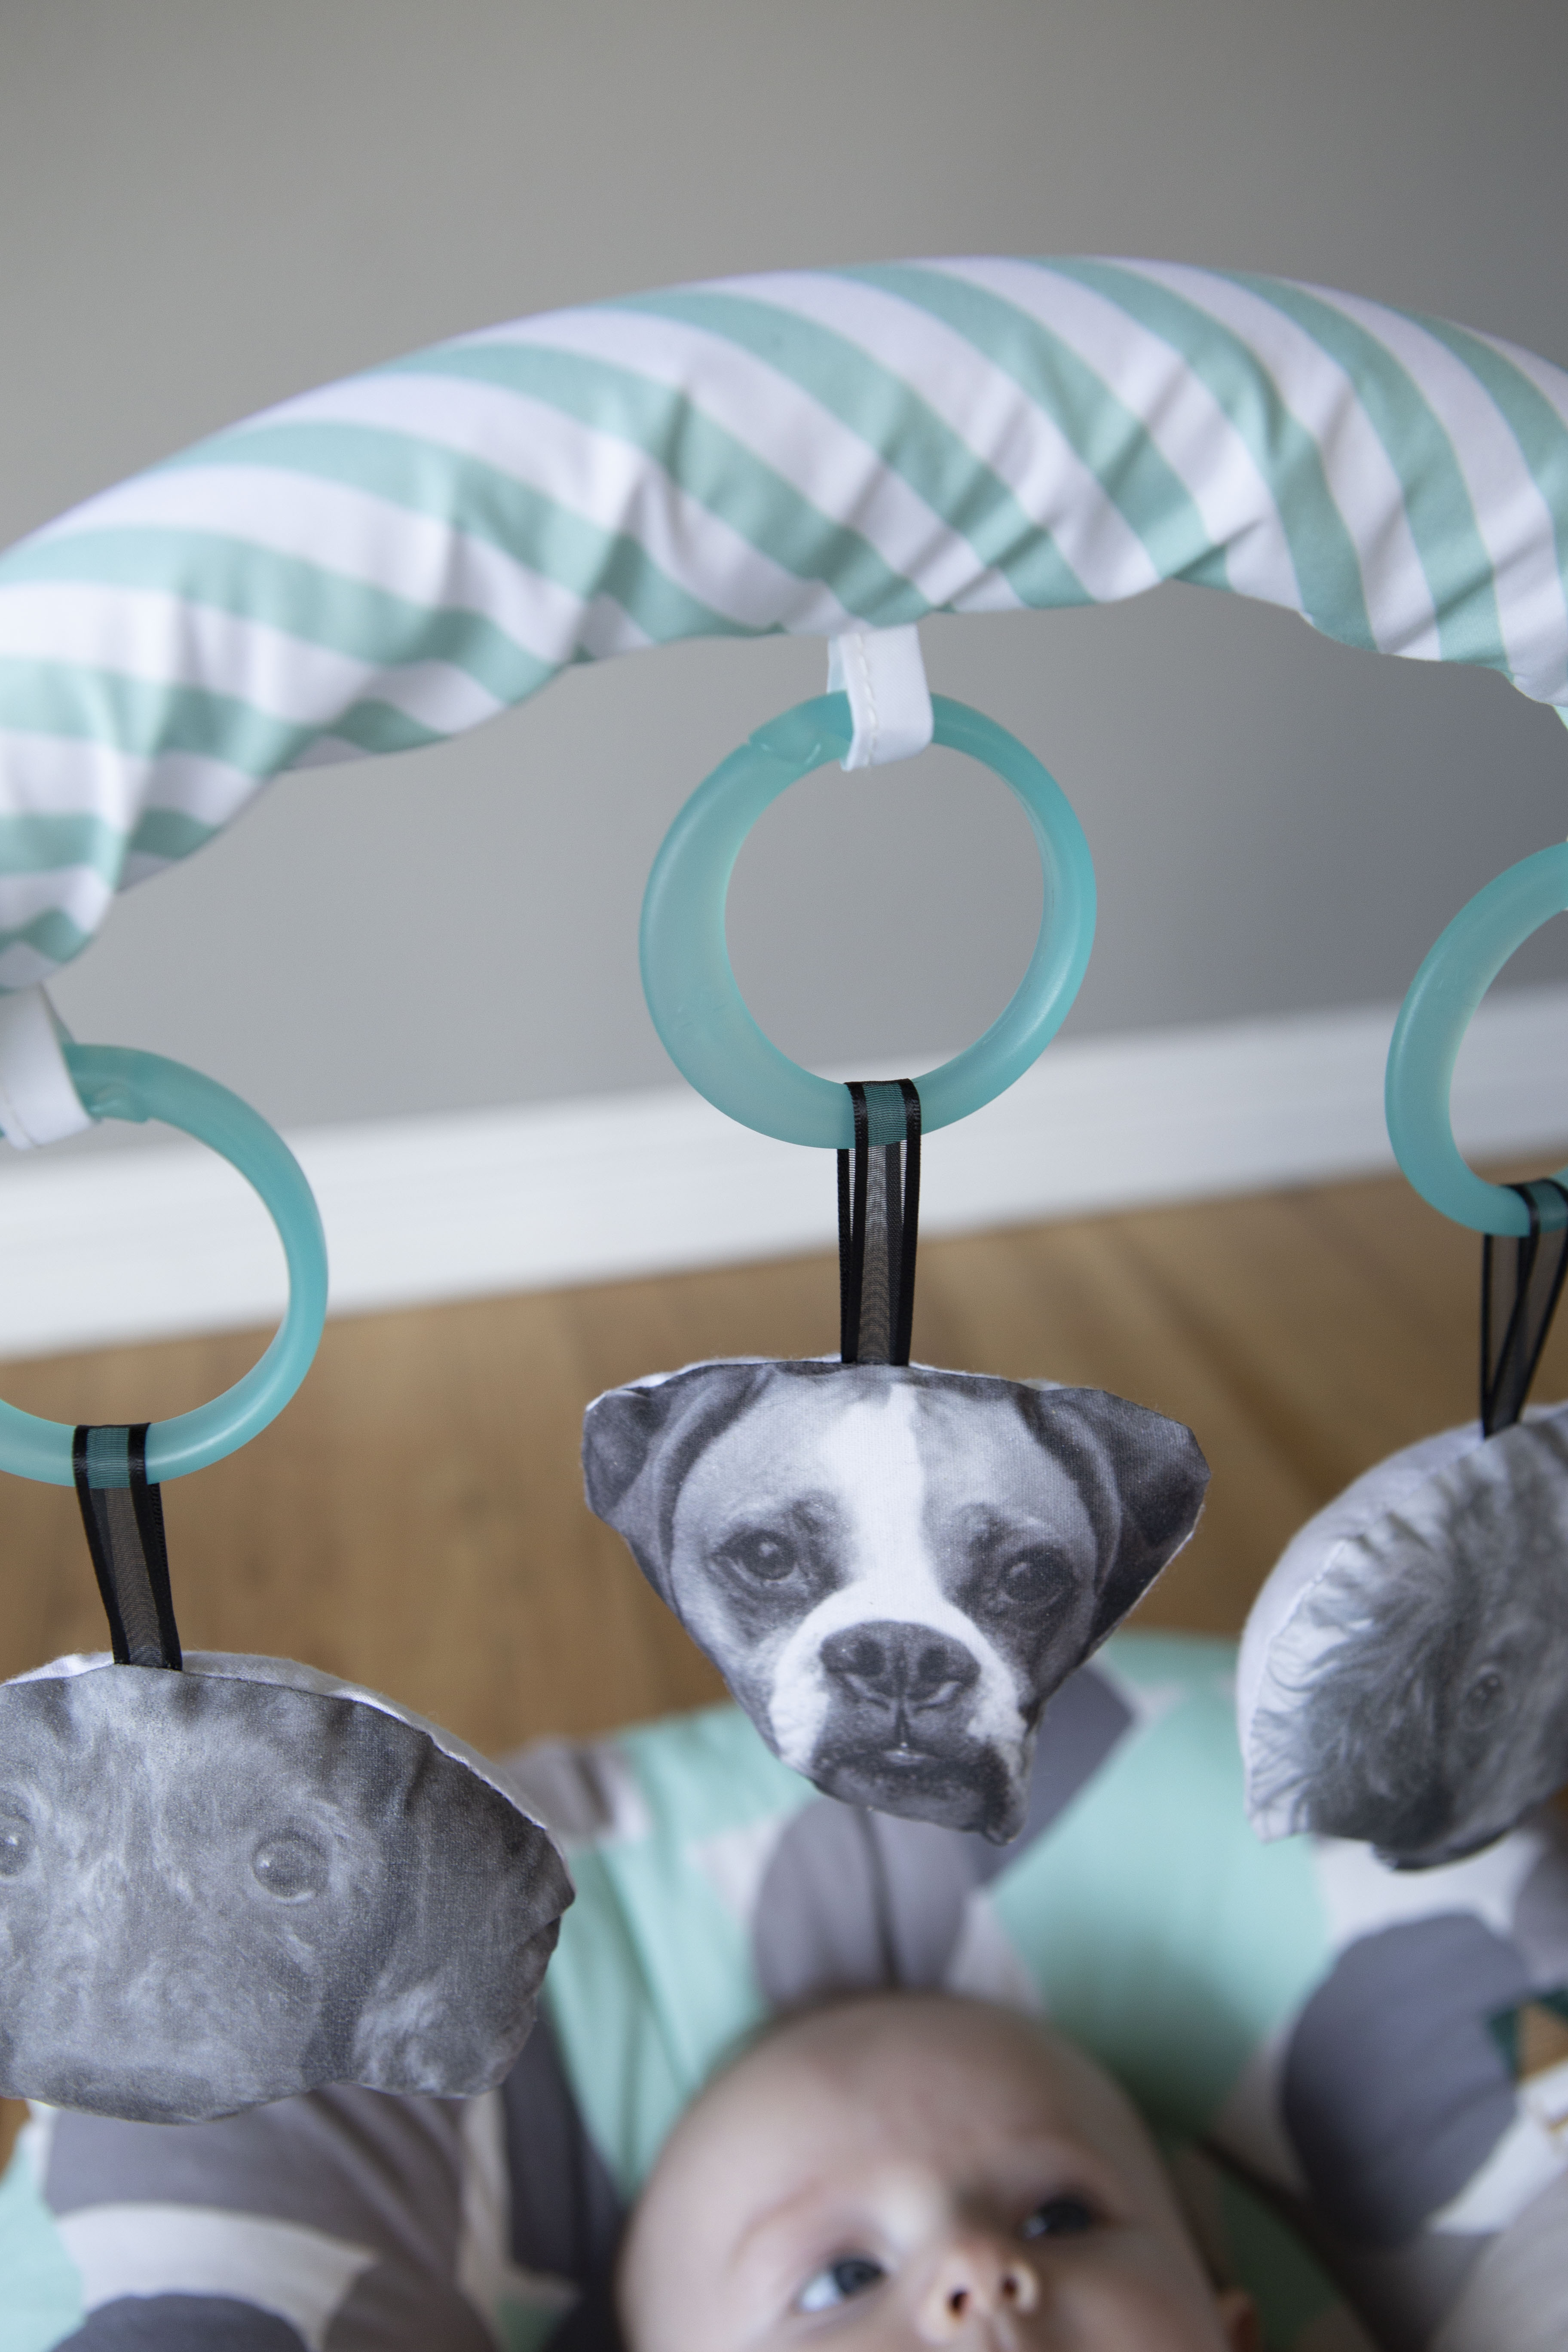
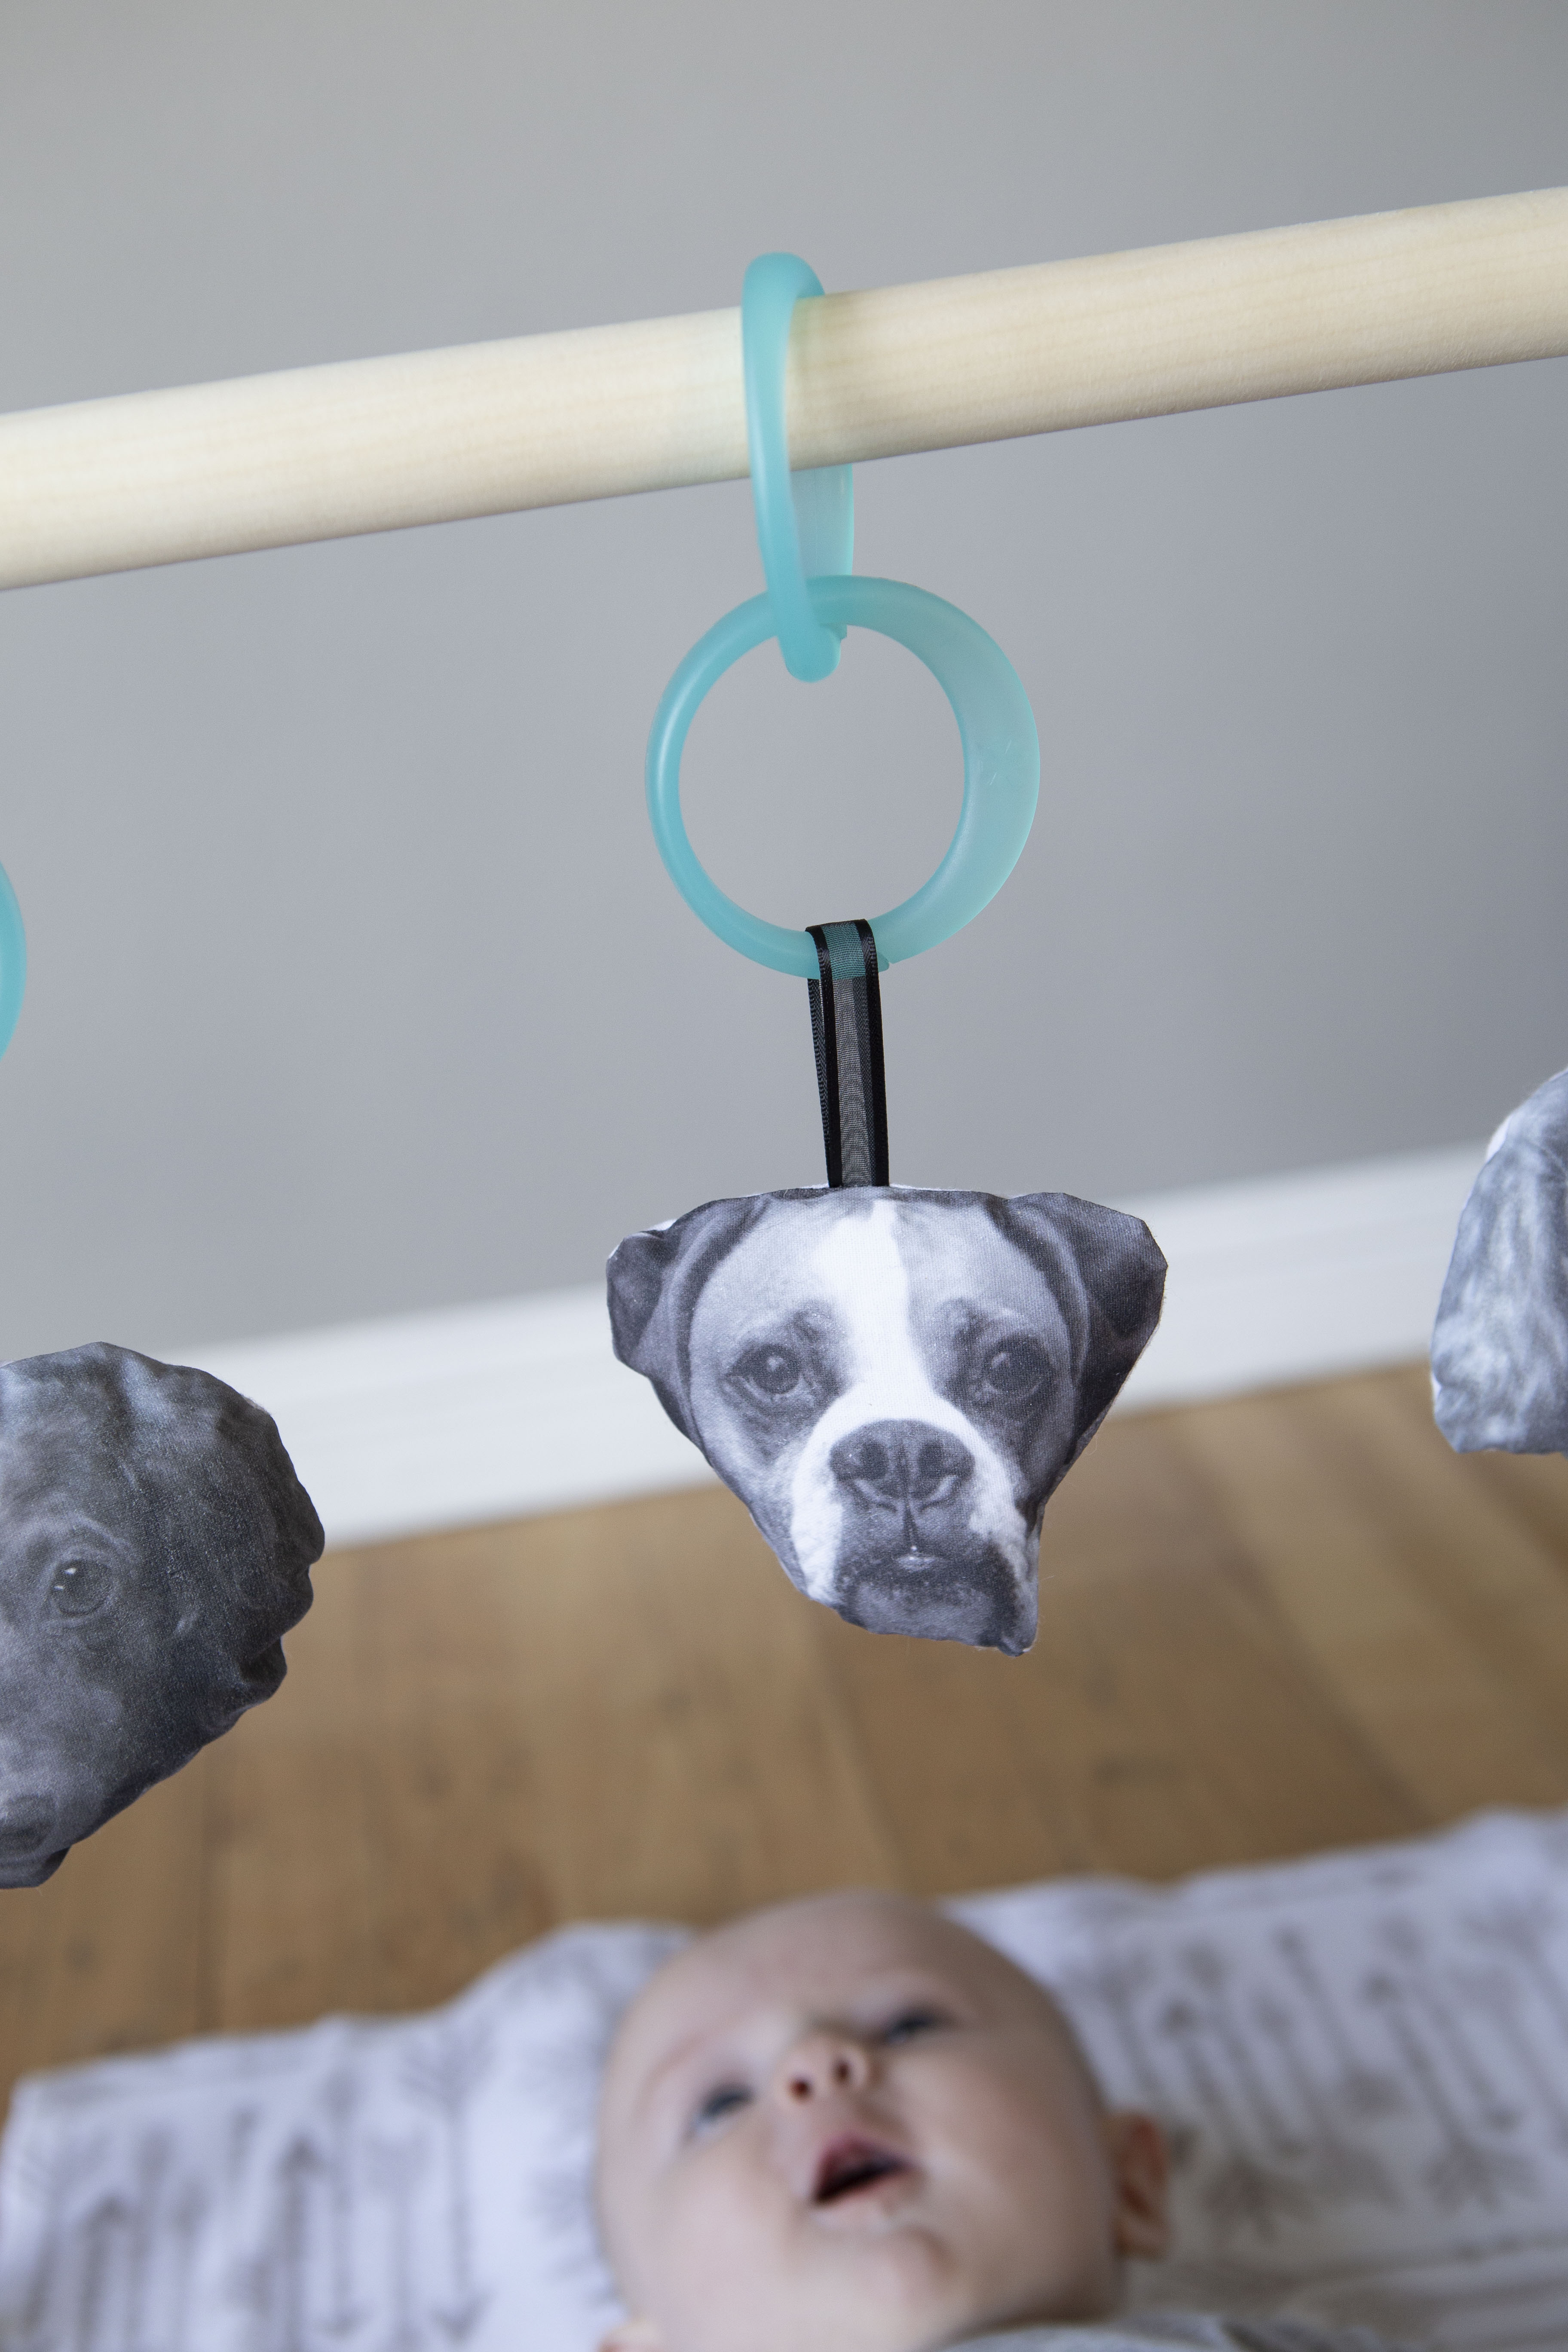
Once it’s sewn, you simply add it to your hanging ring and you’re all done! It’s actually a pretty simple project when it’s all said and done.

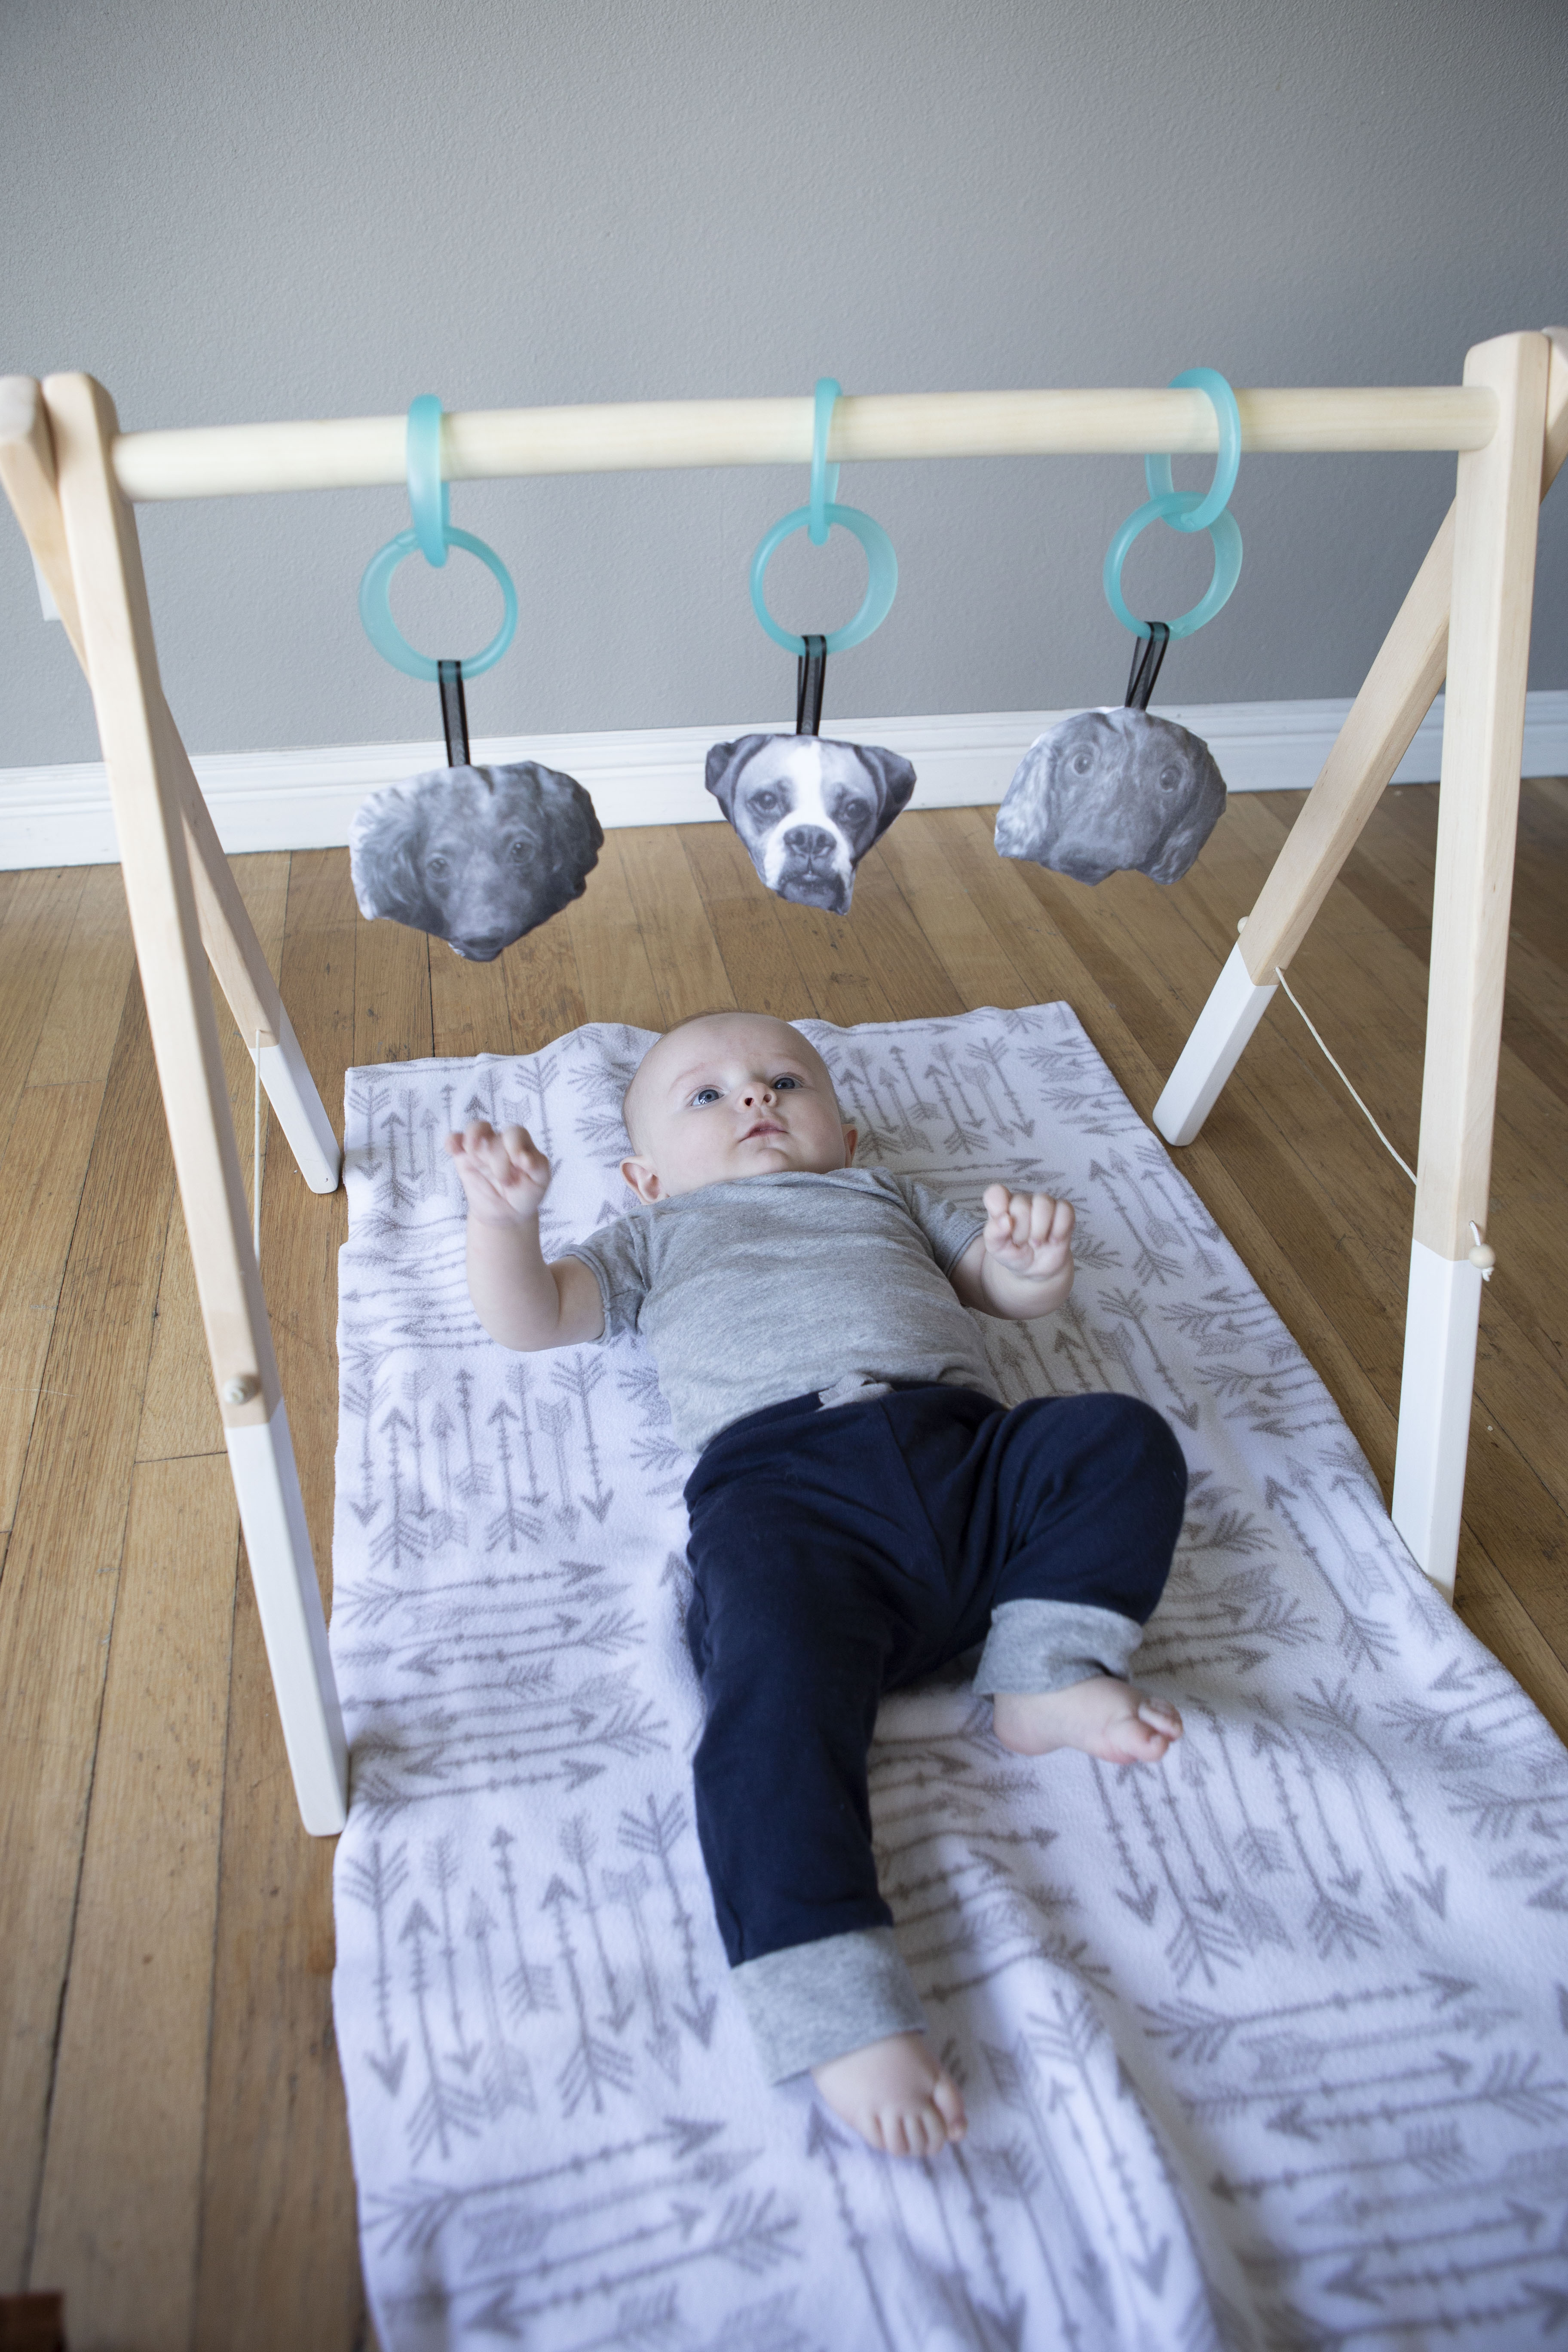
The best part of this project, aside from how customizable it is, is that it doesn’t have to be used on the Dock-a-tot! There are so many other activity gyms that you can add your new hanging toys from! Like this modern wooden one!
If you create one of our projects, please share a picture with us on Instagram or Twitter using the hashtag #somethingturquoisediy, we regularly reshare our favorites! Your profile will need to be public for us to see it otherwise, you can always DM us!
DIY Tutorial Credits
Photography + DIY Tutorial: Shea O’Quinn of Not So Cli-Shea // Toy Arch // Iron On Transfer Paper // 1/3 Yard Fabric (I used white muslin from JoAnn’s) // Rings- Taken off of other toys // Rotary Cutter // Printer courtesy of Canon // Cricut EasyPress courtesy of Cricut // Batting // Ribbon: similar
Shop The Supplies:
Find the supplies you’ll need for this project from our affiliate links below:


Comments