
Leprechaun Footprints Rubber Stamp With Glowforge
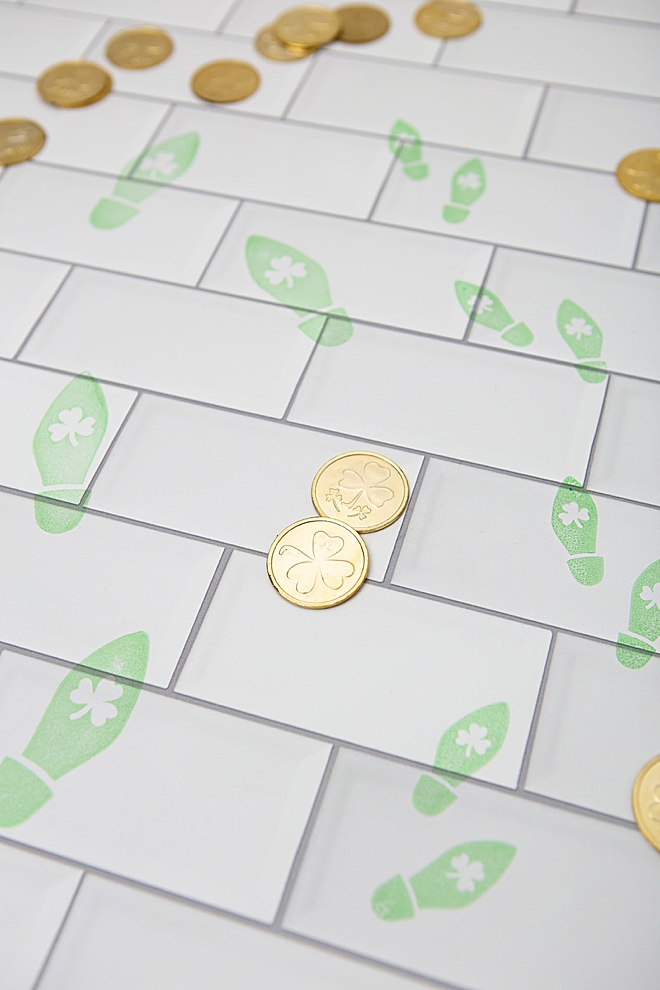
My husband has a strong Irish background and he is quite fond of St. Patricks Day, so I try to make it as special as I can. Last year we built a very elaborate Leprechaun trap, which of course didn’t work, and this year we will be trying again. To add to the magic I will be dying some milk green, I will be sprinkling Gold coins (not the chocolate kind) outside everywhere, and will be putting these little green footsteps all around the house! Especially on the toilet seat, LOLOL. I drew these little footsteps on my iPad and turned them into an .SVG file that’s for sale in our shop, and you can use it with your Glowforge like I did ~ or even use it with your Cricut!
You can use this referral link to save up to $500 on your Glowforge purchase!

Sizing Opinion
I was under the impression that Leprechaun footprints would be like 1.25″… where the hubs said 2.5-3″! What do you think? This file can be stretched as big or as small as you’d like.
Rubber Stamp Base
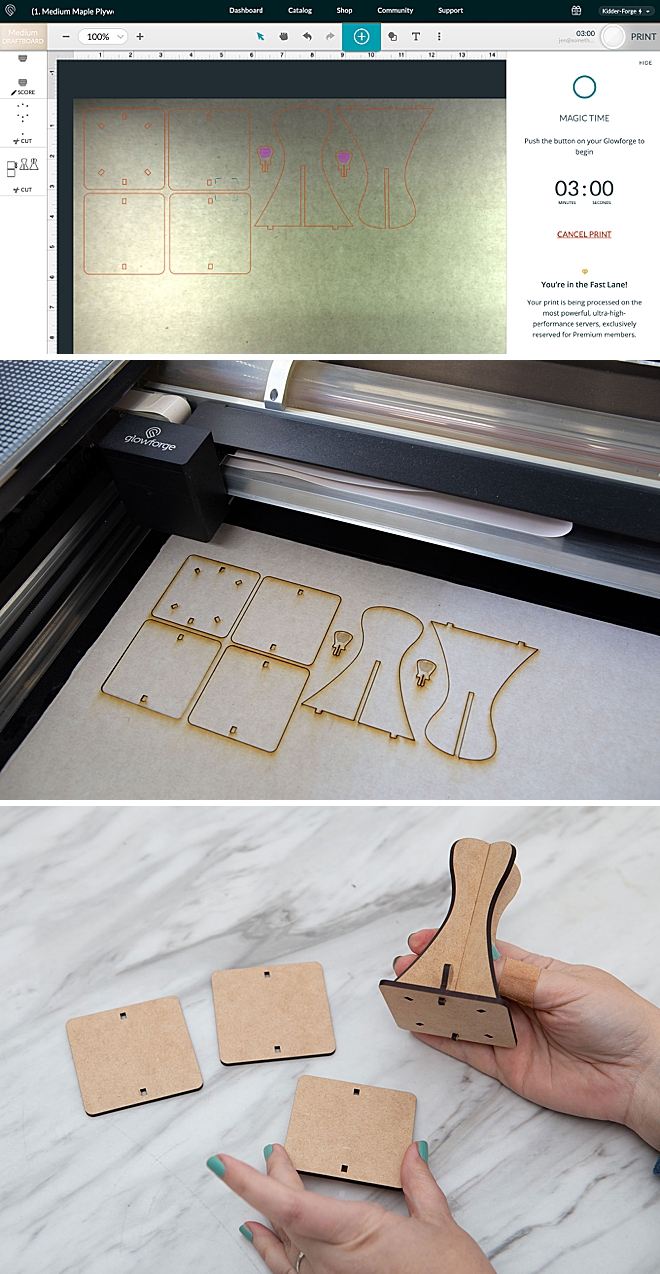
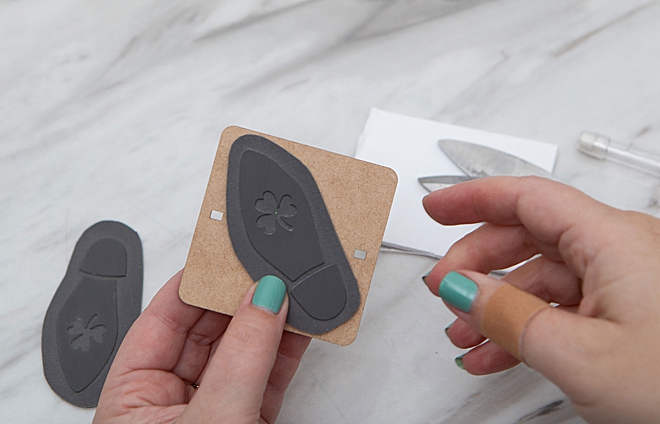
Glowforge has this handy little stamp handle and base design already in their library so I cut one real quick out of 1/8″ draftboard and cut 3 bases. No glue required for assembly. It recommended I use plywood but this isn’t going to be a stamp I use often.
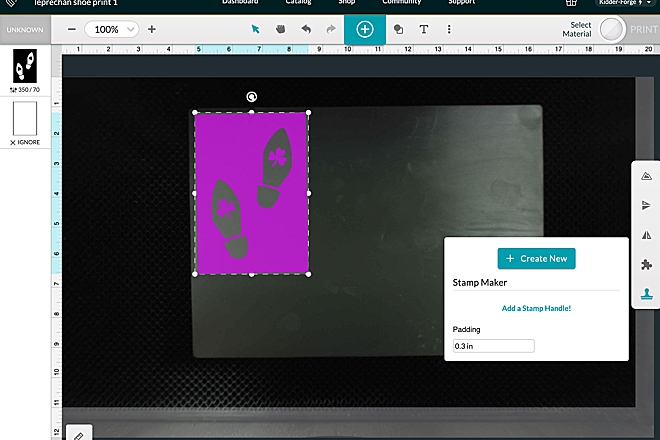
New Stamp Tool
I am a member of Glowforge Premium so this new Rubber Stamp feature was just added, and I couldn’t wait to try it out!
Simply upload our SVG Leprechaun Footprints file into your Glowforge dashboard and hit Stamp Maker. I cut mine out by hand so I didn’t add the edge, and I gave it a padding of .3″. This is not a quick cut, the smaller one took 45 minutes and this one took 1 hour and 15 minutes, so give yourself time. It’s totally worth it!
Let Your Glowforge Work It’s Magic
MANUAL CUT SETTINGS:
- Speed: 340
- Power: 70
- Lines Per Inch: 450
- Convert To Dots
- # of Passes: 1
- Focus Height: auto, by setting focus
These settings worked wonderfully with the 2.3mm stamp material I used. You’ll see I’m using gray here, however they are now only selling red for some reason. Just make sure the type you buy is “laser-safe”.
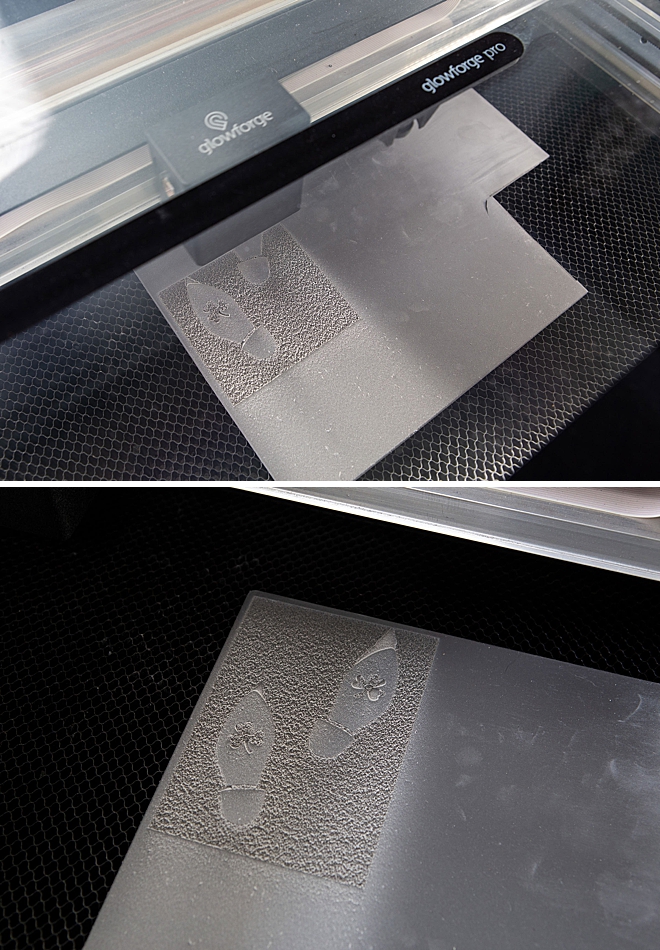
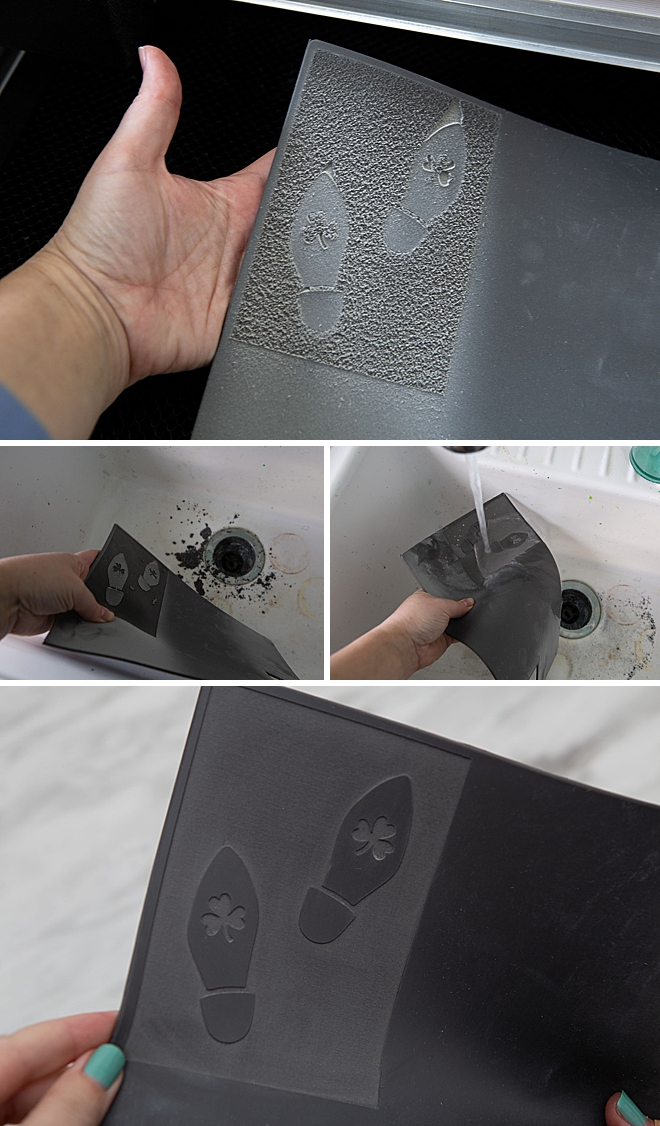
Be Careful, It’s a Mess
When I cut the first smaller footprints as my test, I had very low expectations. I thought for sure it wasn’t working. Then I mistakingly, swiftly picked up the stamp material only to make a giant mess all over the inside of my Glowforge.
Be careful when you remove the stamp material. Most of the excess material that was burned away stays on top, it’s very misleading looking!!!
I immediately dumped it out in the sink and washed the stamp material clean with soap, water, and a toothbrush. Please excuse my dirty studio sink.
Trim Down To Size
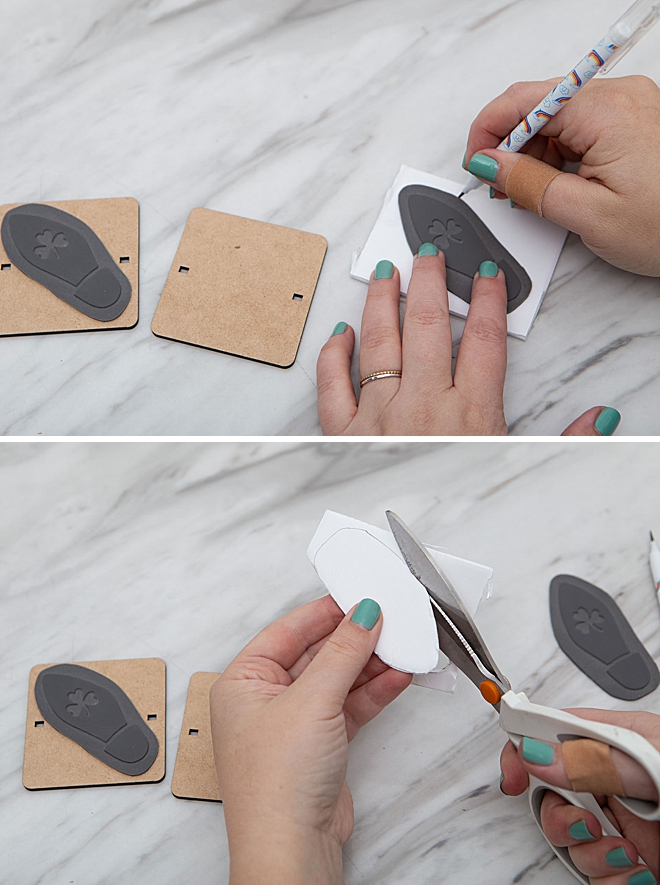
For the larger footprints I made separate stamps so I could have maximum freedom in the direction of the stamp and the spacing. Here I’m using my serrated Fiskars PowerCut Shears to make these cuts with ease.
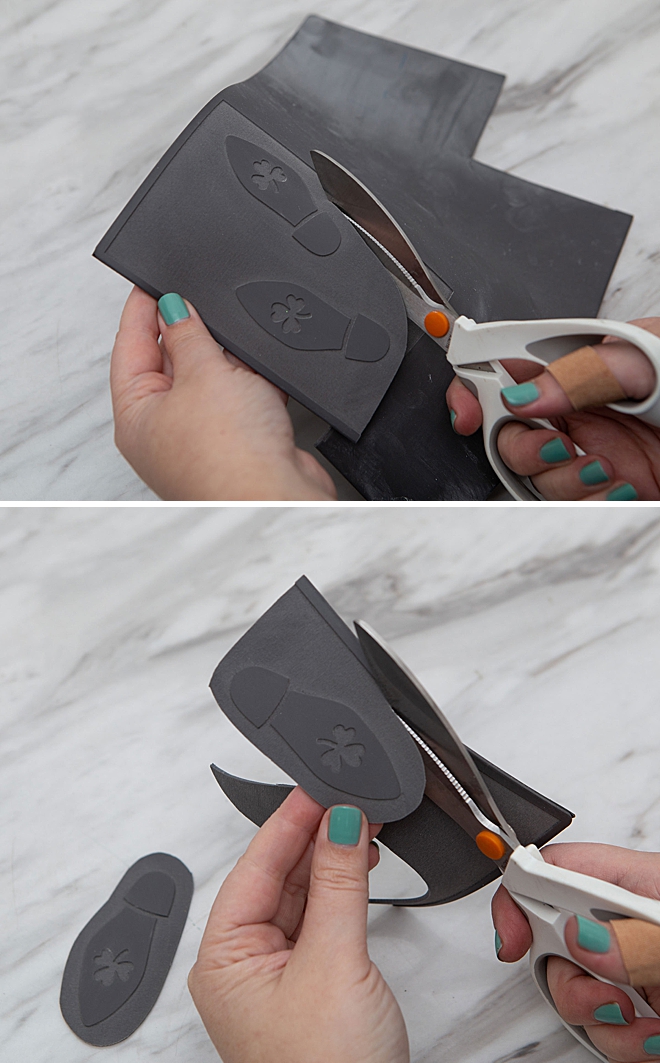
Make sure it fits within your stamp base.
Foam Padding
Most rubber stamps have a nice layer of foam in between the stamp and the base, which I could not find anywhere near me. Also, this is not a stamp I will be using very often, nor am I selling them, so I just decided to use foam board to give it a little cushion. Trace the stamp outline and trim down to size.
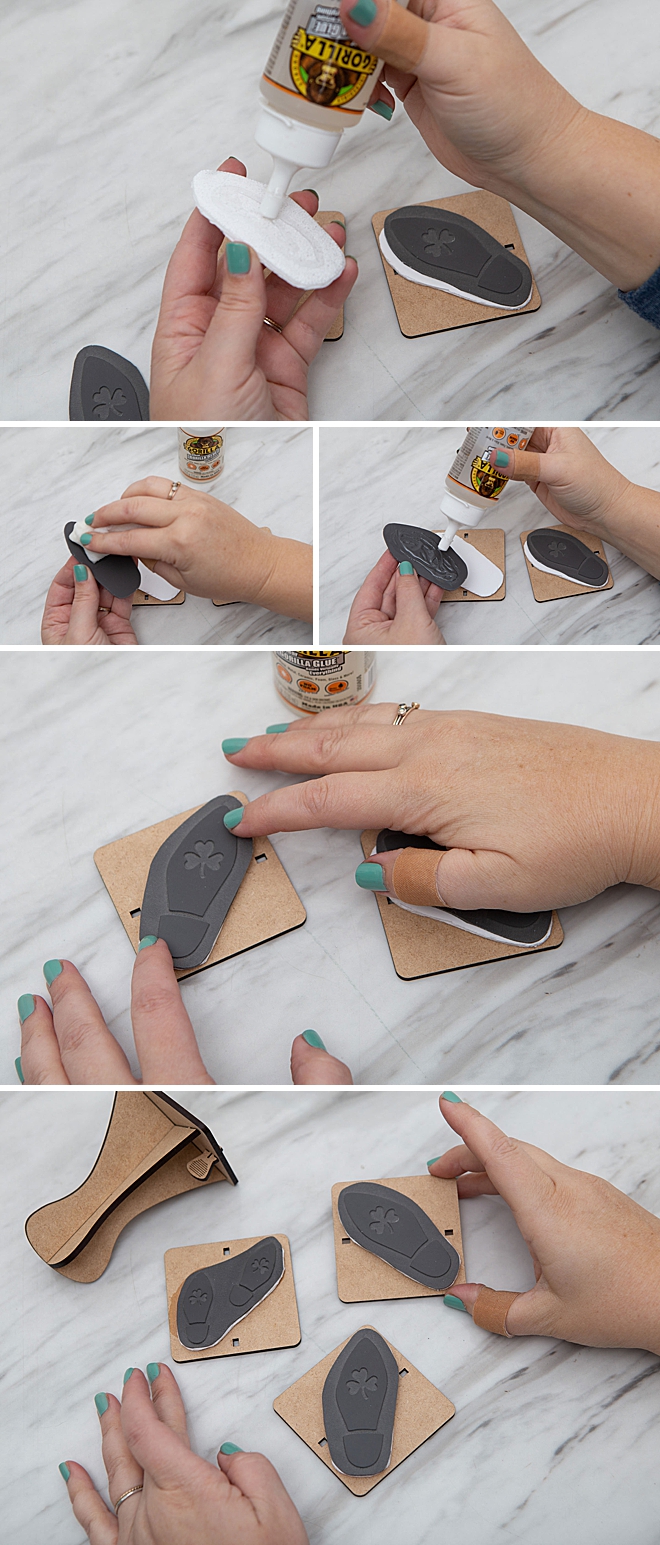
Gorilla Glue
Next, glue the foam to the stamp base and then the rubber stamp to the foam. Let dry for at least 24 hours. I tried clamping these and it was an absolute mess, so I decided against it and they were fine.
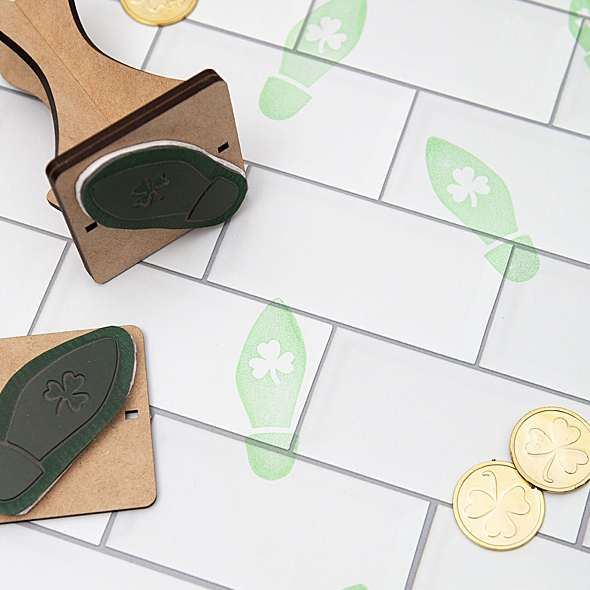
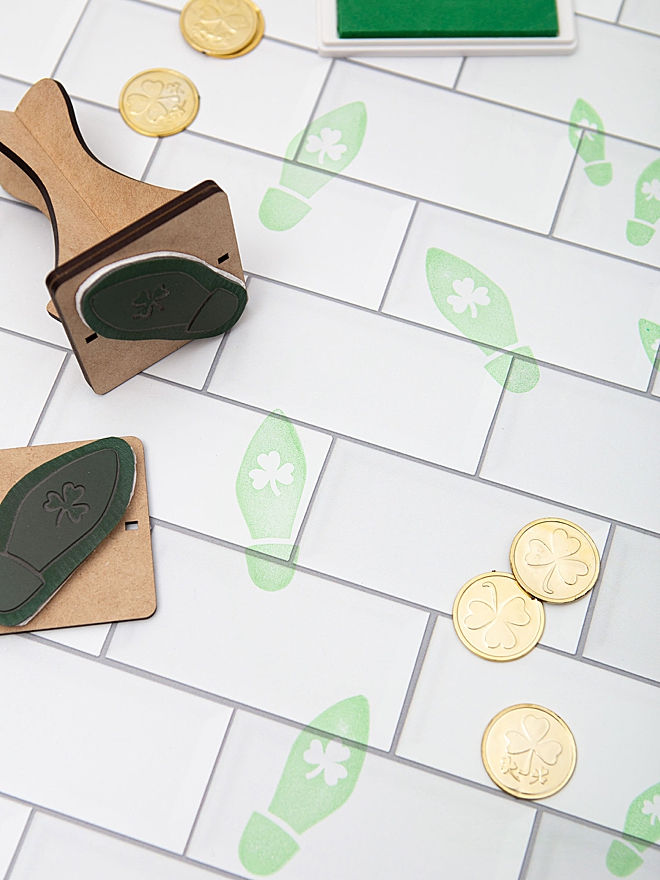
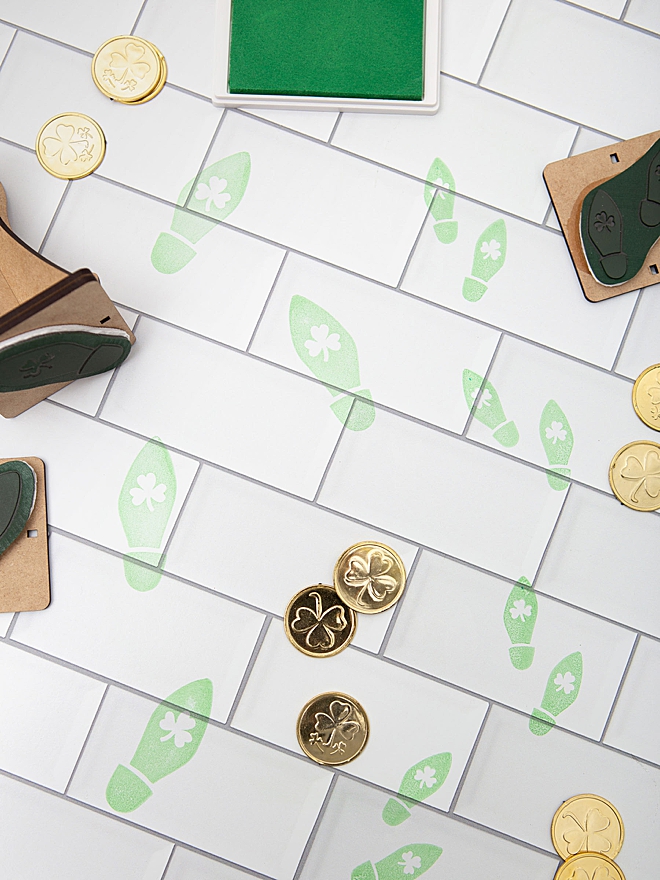
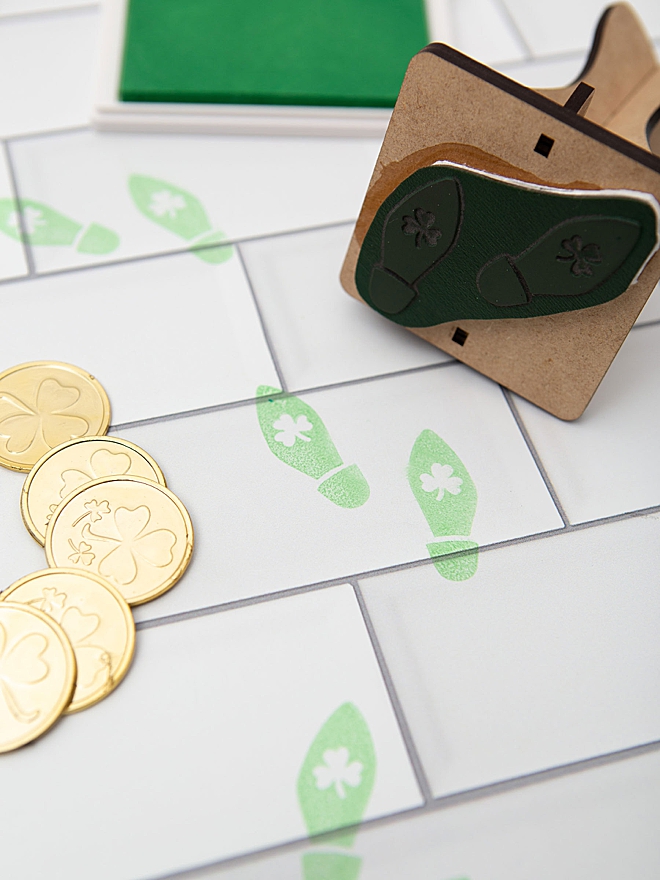
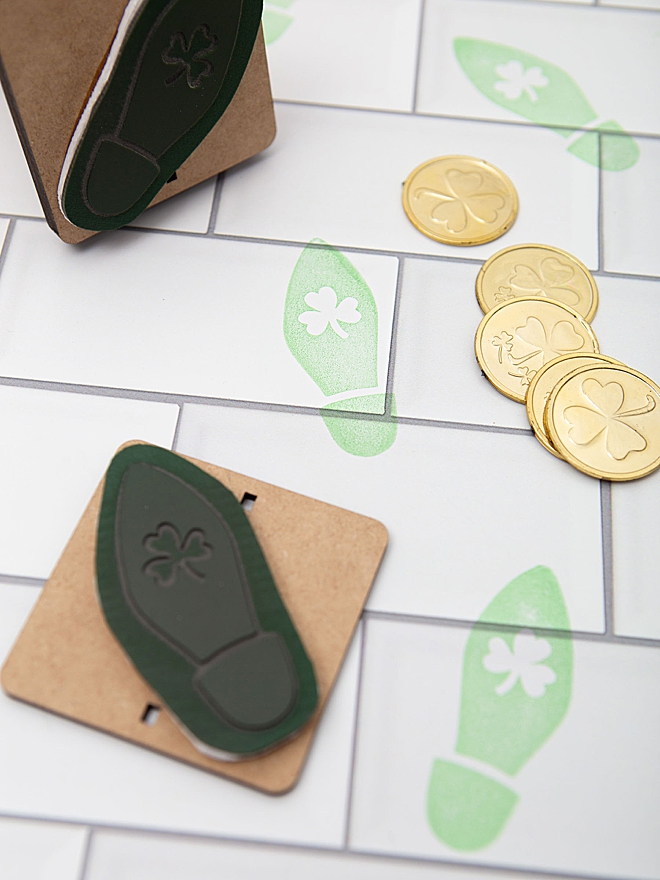
Assemble + Stamp
Click each stamp base onto the handle and stamp away! I cannot wait for the kiddos reaction on Wednesday morning to all of these shenanigans! I used a green washable kids stamp pad for the footsteps.
Cricut Too!
You could easily make a stencil with this file and your Cricut… or even vinyl footprints!
If you create one of our projects, please share a picture with us on Instagram or Twitter using the hashtag #somethingturquoisediy, we regularly reshare our favorites! Your profile will need to be public for us to see it otherwise, you can always DM us!
DIY Tutorial Credits
Photography + DIY Tutorial + SVG File: Jen Causey-Kidder of Something Turquoise // Save up to $500 on your Glowforge purchase here: Glowforge.com // Leprechaun Footprints SVG File: Shop Something Turquoise // Laser Safe Rubber Stamp Material (they used to have a larger, gray option): Amazon // Gorilla Glue: Amazon // Fiskars PowerCut Shears: Amazon // Green Washable Stamp Pad: Amazon
Shop The Supplies:
Find the supplies you’ll need for this project from our affiliate links below:


Comments