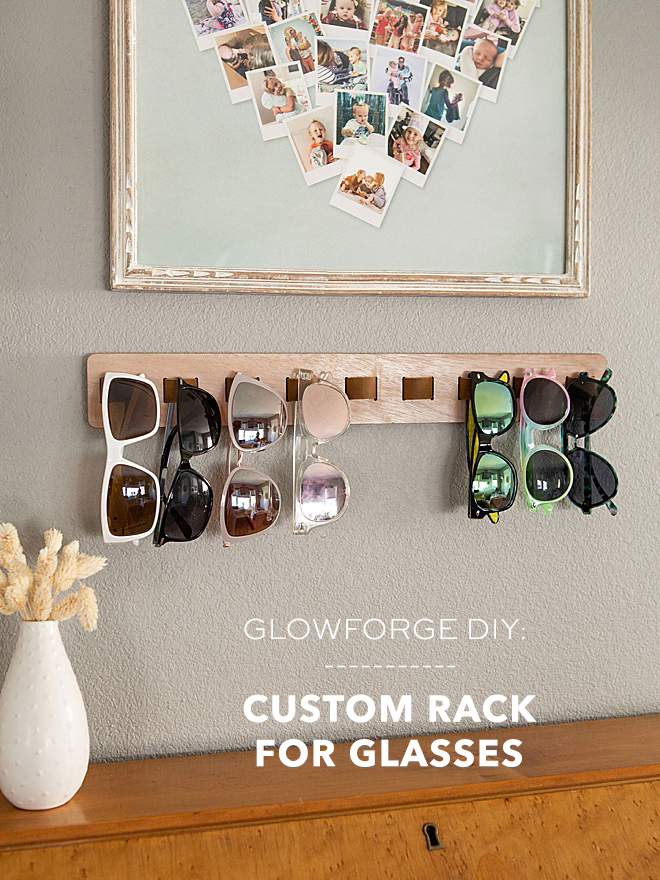
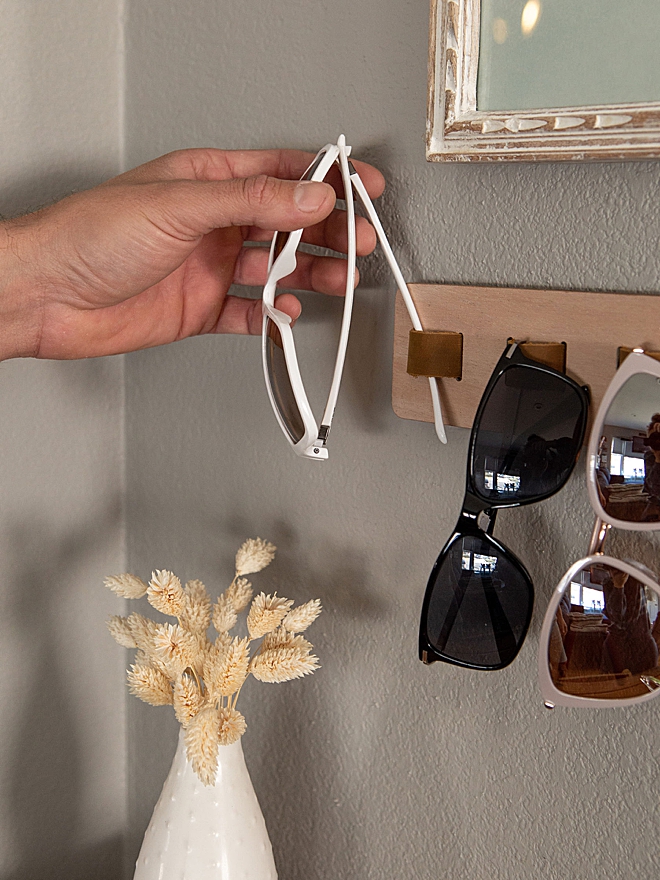
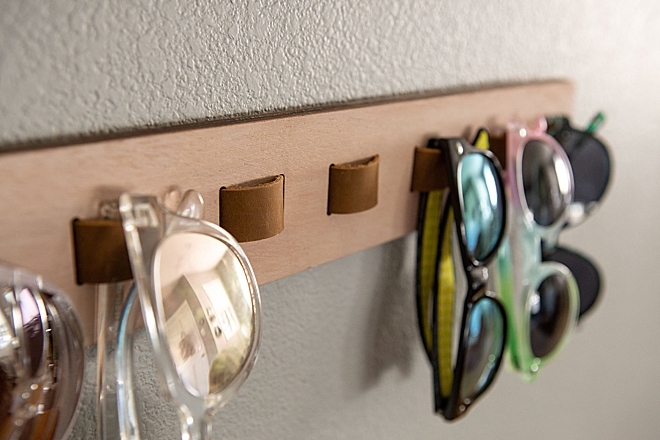
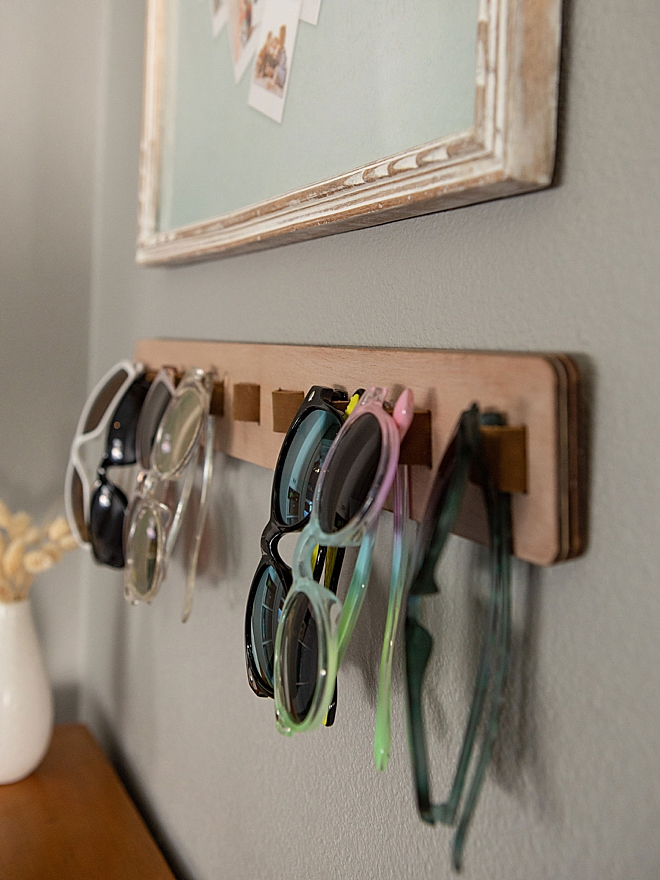
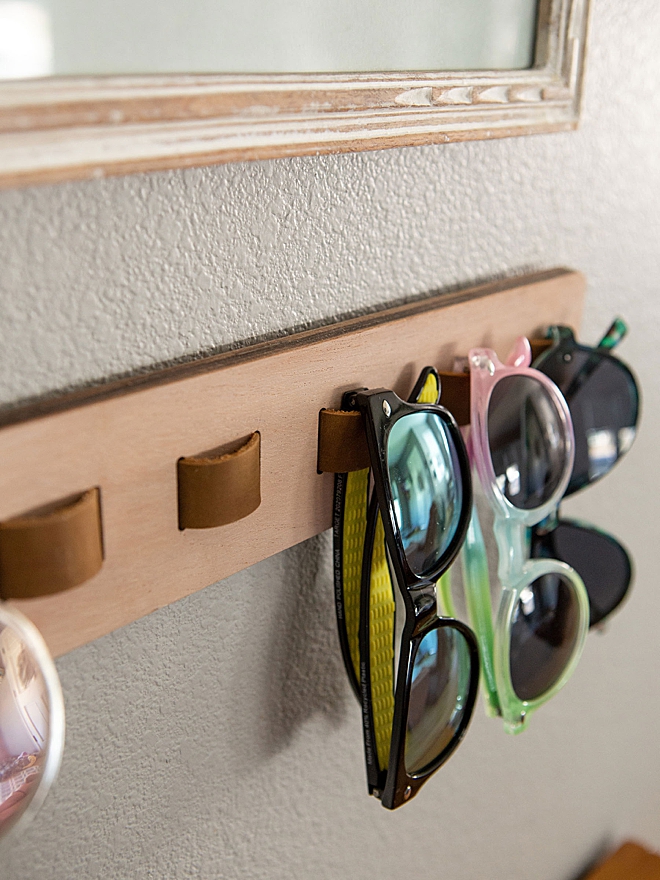
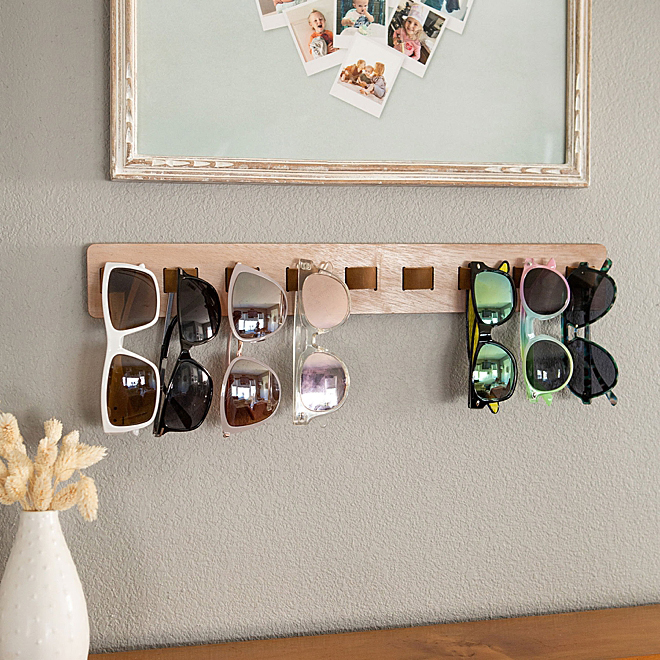
Sunglasses all over the house? We had a place to hang our keys, a place to hang our diaper bag, my purse, masks, kids backpacks… but nothing for the sunglasses. So I wanted to create the place perfect for our sunglasses, easy to grab for walks and car rides, but also stylish. This is a very simple .SVG cut file that I designed to work perfectly with your Glowforge or other laser printers. I used 1/8″ white oak from Smokey Hill Designs along with a 3/4″ leather strap that I got from Amazon. Stain or paint if you like and clamp it all together with glue. In just a few hours you’ll have a modern display for your sunglasses that you will absolutely love to use.
You can use this referral link to save up to $500 on your Glowforge purchase!
I’m In Love
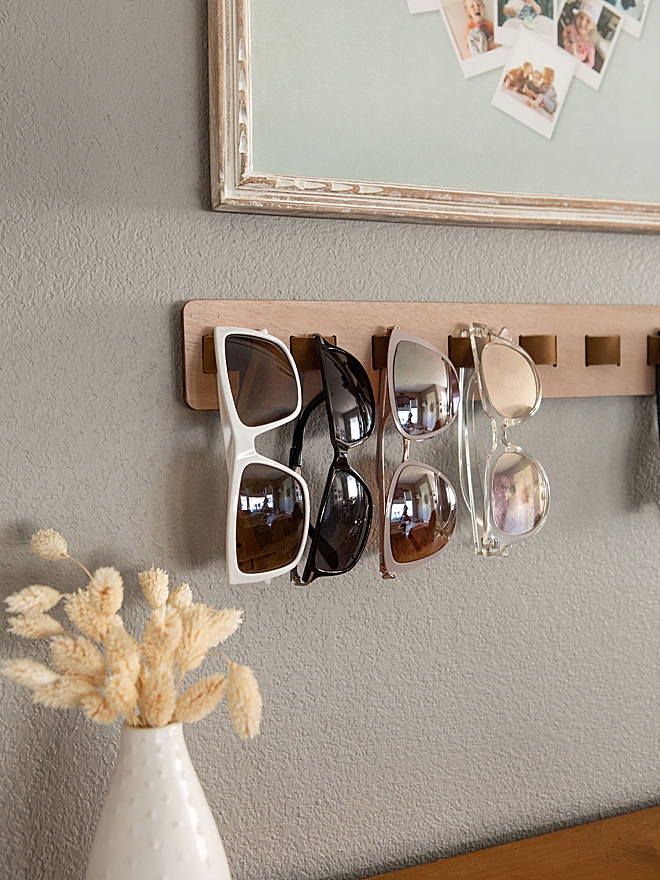
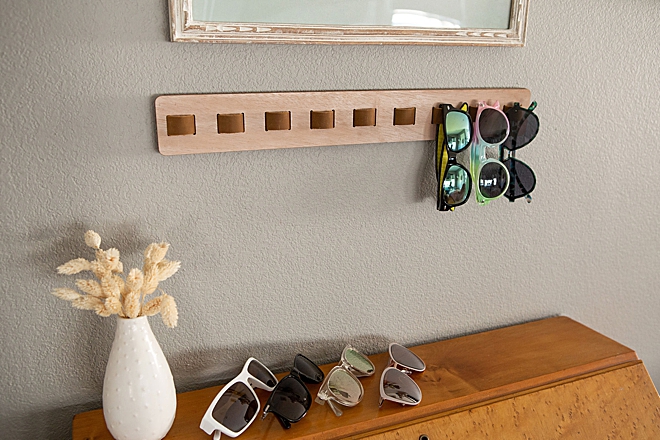
I made this for our home a few months ago now and I absolutely LOVE it… so does most everyone who comes over. It just looks so cool and is so wonderfully functional. It took me a minute to decide to share it here so I had to make another one to show you the steps and I decided to make it in a different color using a different material too!
SUPPLIES:
- Glowforge Pro, or other laser
- 1/8″ material; wood, draftboard, acrylic
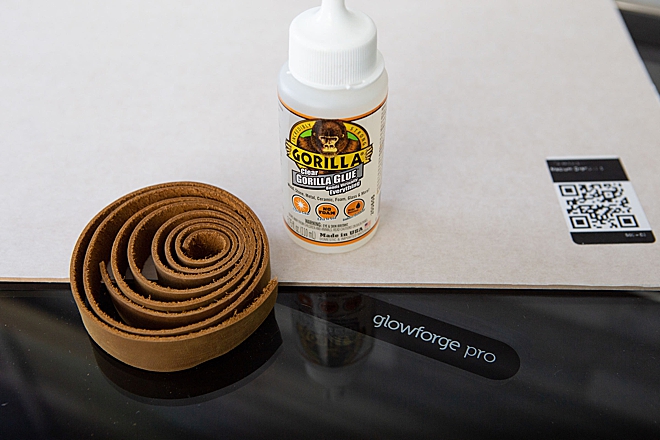
- 3/4″ Leather Strap, (mine is from Amazon)
- Gorilla Glue
- Clamps
- Hot Glue
- Paint/Stain, optional
- Sealer spray, optional
- Our exclusive, SVG cut file design for sale in our shop here!
Download + Upload
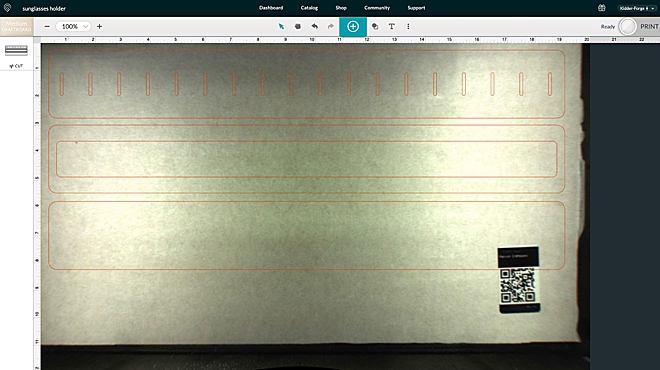
Visit our craft file shop to purchase our laser ready cut file. Then upload it into your Glowforge dashboard, or other laser software to get ready to cut. All three pieces fit on one board with a little room to spare. Use cut settings appropriate for your choice of material. The finished size is 2.5″ x 18 3/4″.
Shown here: I used 1/8″ ProofGrade draftboard for the black design I created here on camera.
Home: For the one I made for my home I used 1/8″ White Oak with a very light white stain and sealed with Satin poly.
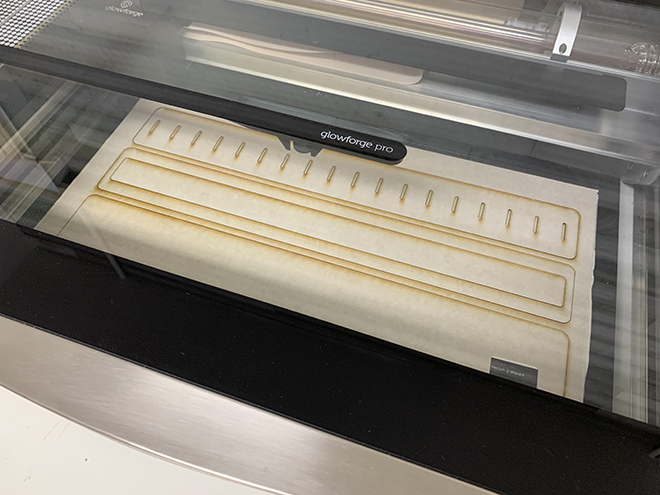
Let Your Glowforge Work It’s Magic
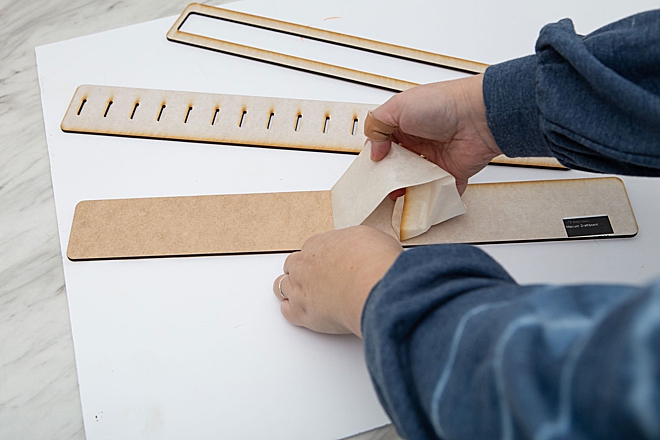
Remove The Masking
If your material has masking it’s time to remove it!
Stain or Paint
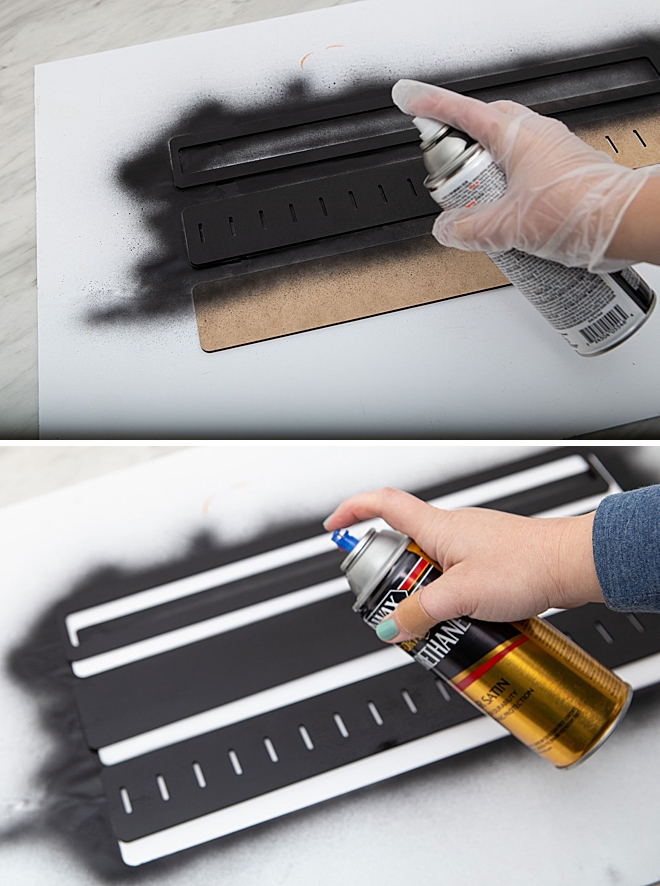
Like I mentioned above, I stained the one in my home but for this one I simply spray painted it black. I did 3 light coats. Then I sealed it with 3 light coats of Satin Polyurethane spray. I painted one day and sealed the next to ensure proper dry time.
Start the Leather
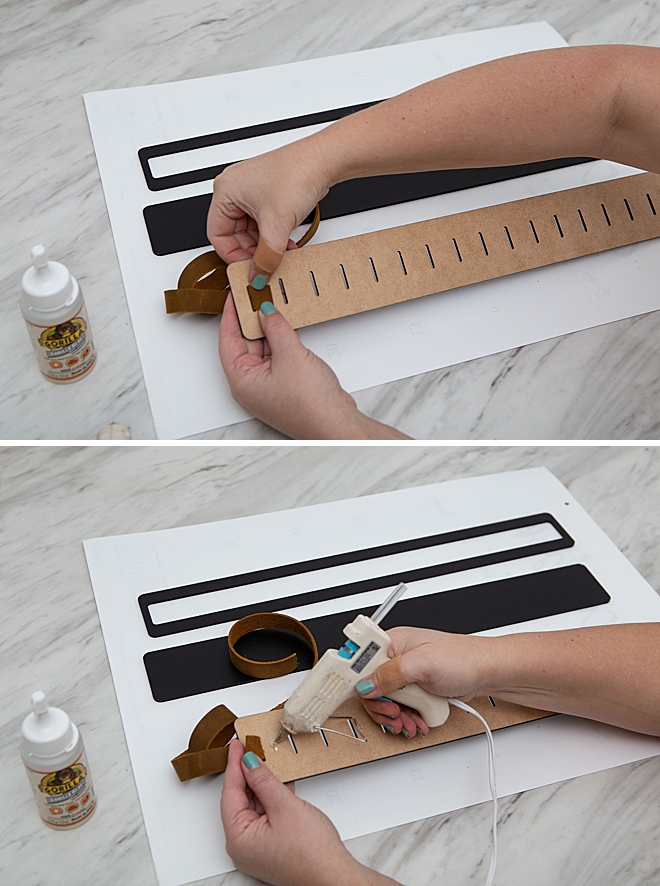
Slip the 3/4″ leather strap in the first slot and hot glue the end down, I used about 24″ of leather strap. The hot glue just holds it for now….
… then continue to weave the leather in and out of each slot until you reach the end, you want about a 1/3″ gap in the leather loops on the front. Trim to fit…
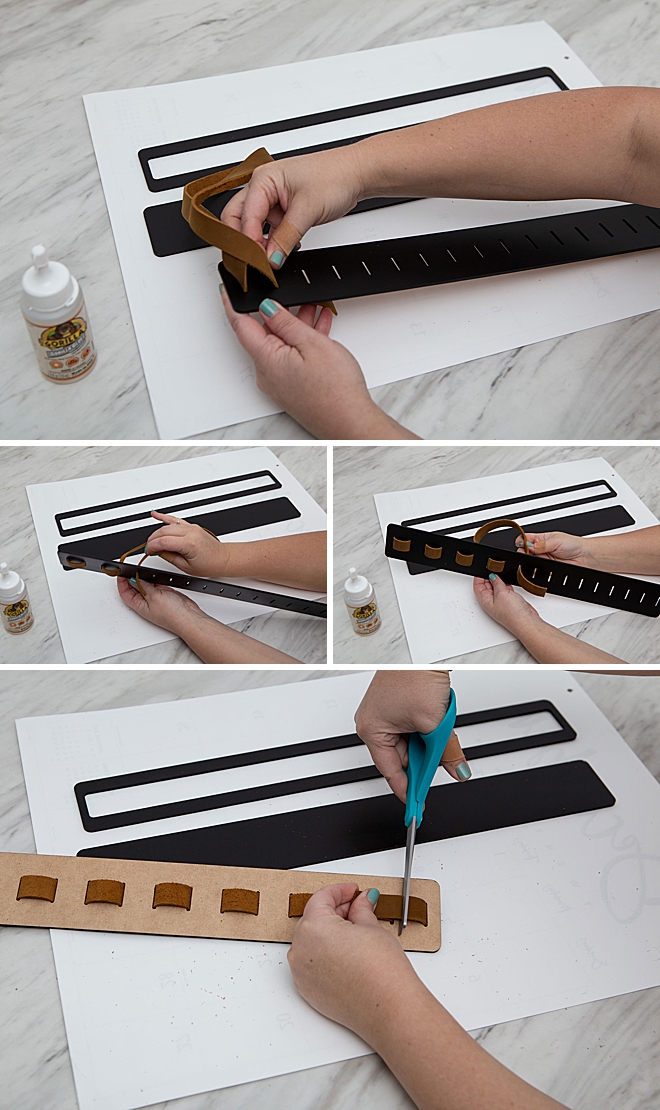
… then hot glue that end in place too.
Arrange
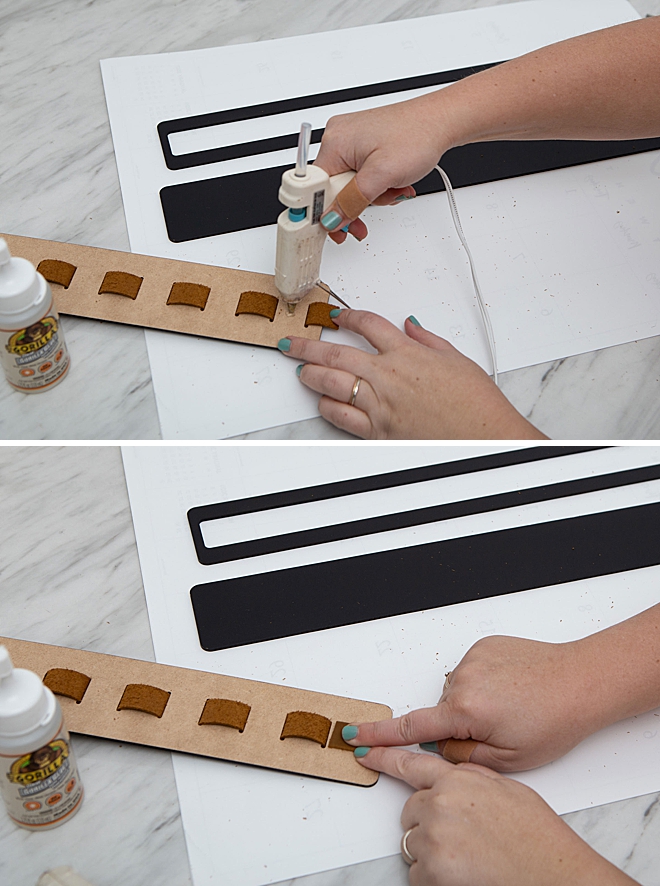
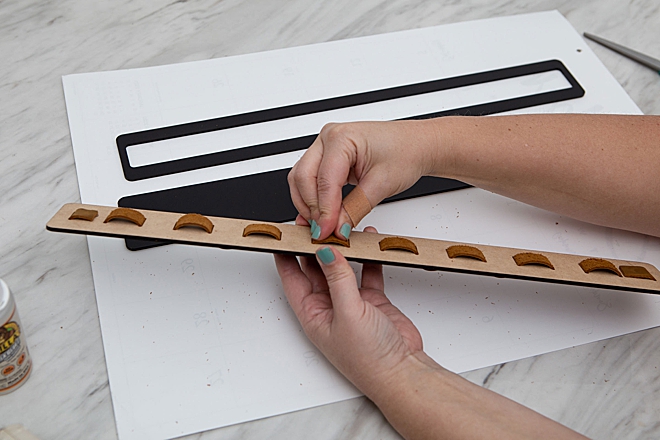
Go along the backside and push the leather down as flat as you can, no bulges on the back.
Glue To Assemble
First Gorilla Glue the middle piece to the backside. I needed to add this middle piece to afford the perfect gap for the leather straps on the backside.
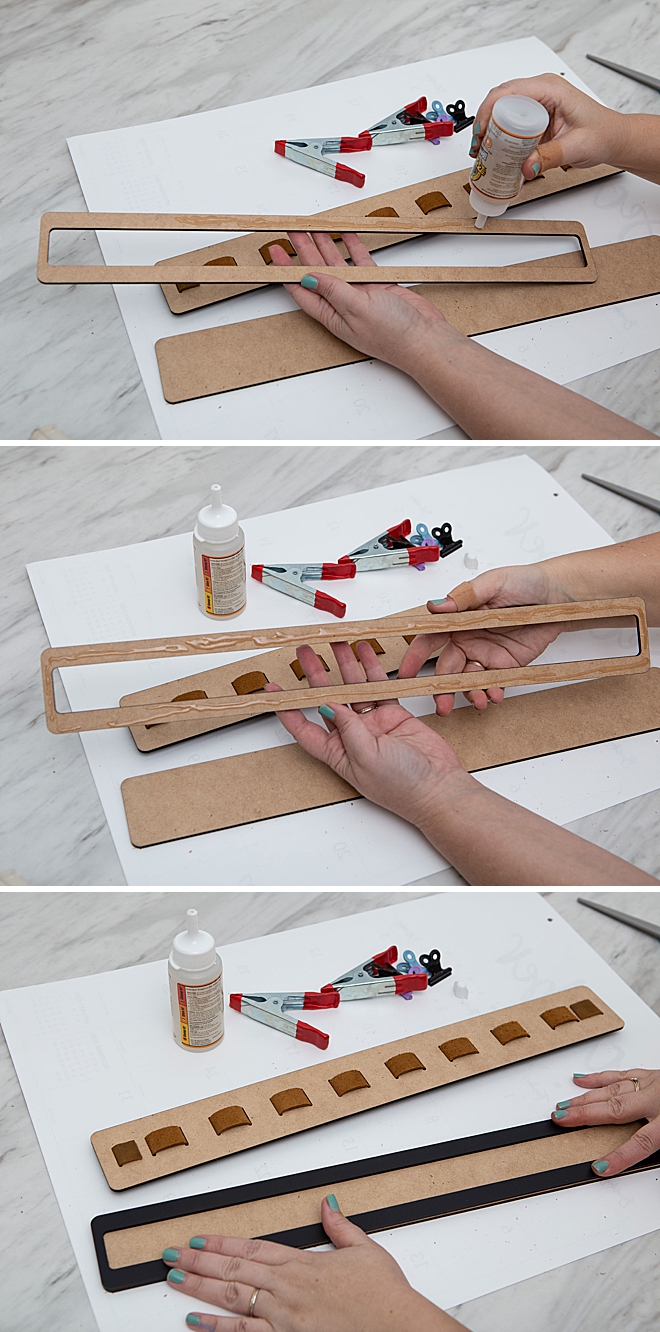
Then add glue all around the middle piece edge and inside the gap where the leather will touch and then add the top piece…

Clamp
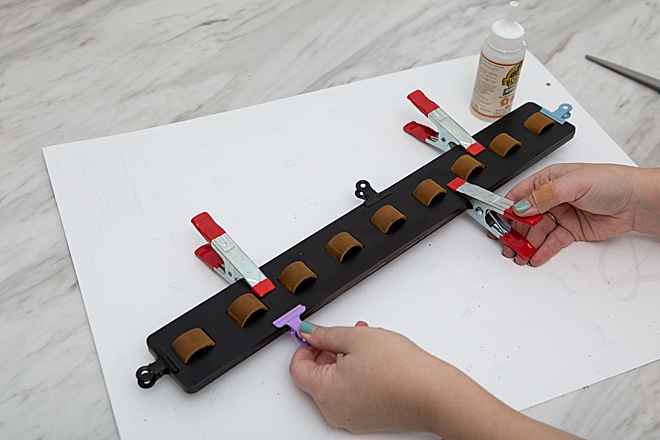
Using small/medium clamps, make sure that the piece is properly lined up all the way around and that you wipe off any excess glue. Then let fully dry per the instructions on your glue.
Finished!
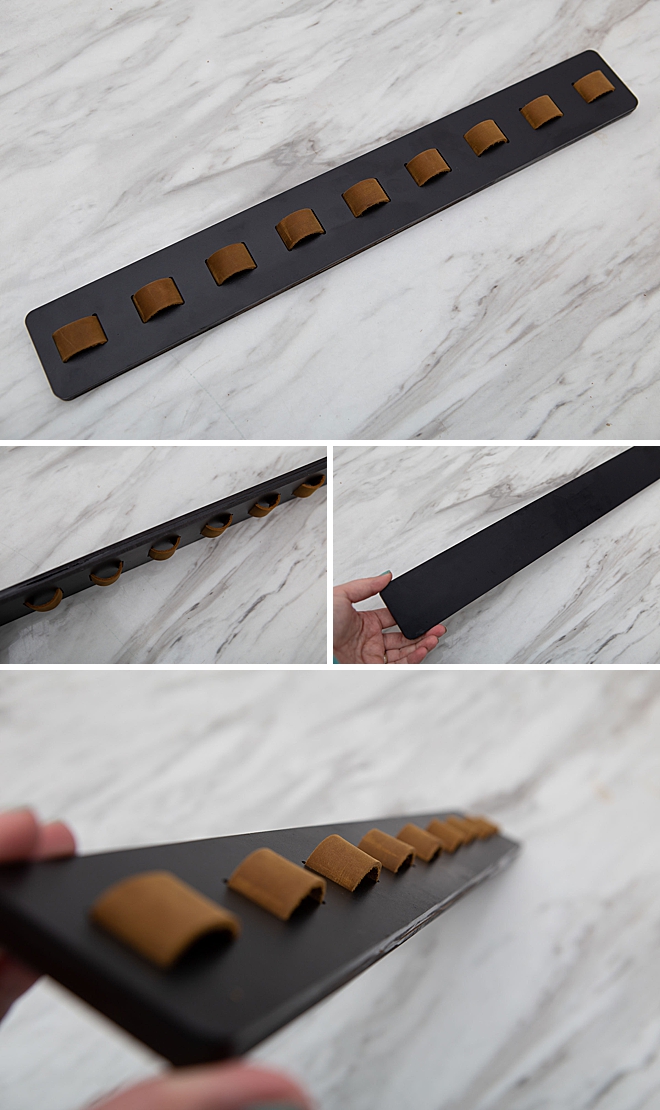
Remove the clamps, wipe clean if needed and your done!
Hang
I used three of these 3M Velcro Picture Hanging Strips across the backside to hang it and it’s worked perfectly.
If you create one of our projects, please share a picture with us on Instagram or Twitter using the hashtag #somethingturquoisediy, we regularly reshare our favorites! Your profile will need to be public for us to see it otherwise, you can always DM us!
DIY Tutorial Credits
Photography + DIY Tutorial: Jen Causey-Kidder of Something Turquoise // Exclusive, Sunglasses Holder .SVG Cut File: Shop Something Turquoise // Save up to $500 on your Glowforge purchase here: Glowforge.com // 1/8″ White Oak: Smokey Hill Designs // 3/4″ Leather Strap: Amazon // Gorilla Glue: Amazon // Minwax Polyurethane Spray: Amazon
Shop The Supplies:
Find the supplies you’ll need for this project from our affiliate links below:



Comments