
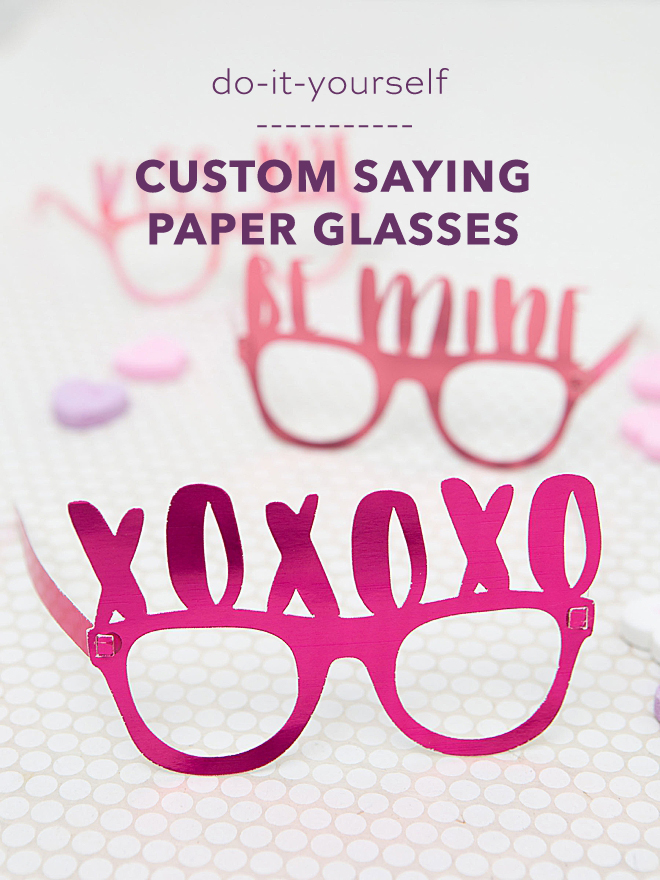
Fabulous, Custom Paper Glasses (For All Occasions) With Cricut
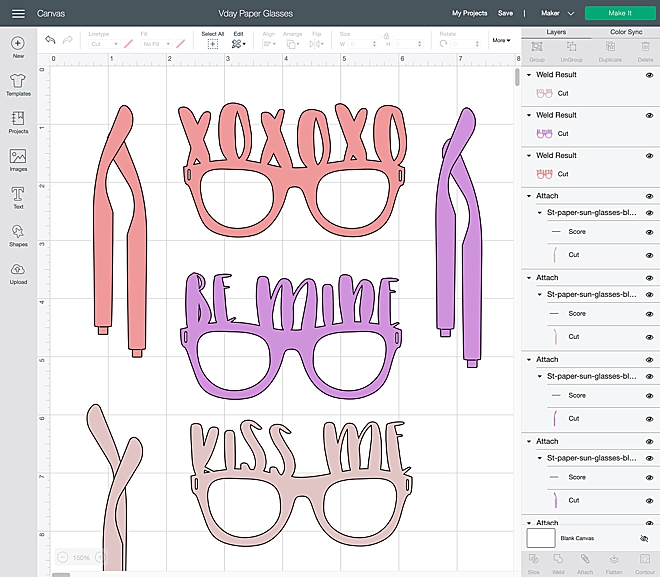
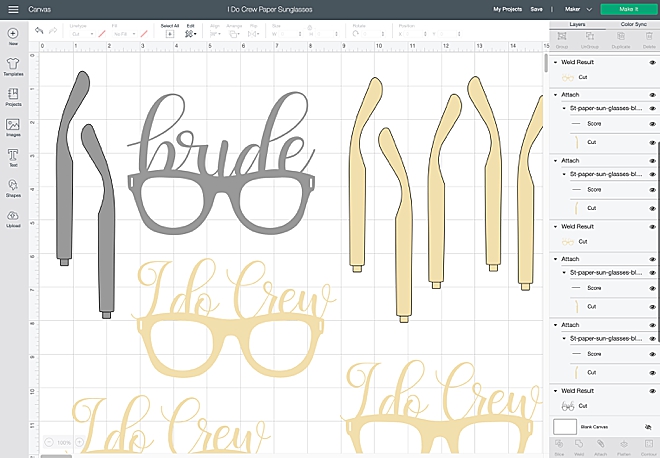
As a Mama and party planner extraordinaire, I like to think of myself as a magic maker… and fabulous little things like this are the cherry on top of my mama magic. My kiddos got VERY cheap paper play glasses for Christmas and as soon as I saw them I thought, man, I could totally cut those with my Cricut using WAY better paper. So I did. I designed the file to be BLANK, that’s right, BLANK so that you can weld ANY font, saying, or design on top of these glasses yourself. Just in case you’ve never done any significant file editing in Design Space, I recorded a video that I’m sharing below of just how easy it is. Including a fantastic tip about how to contour certain design elements to eliminate them from a cut. I hope you have as much fun with this file as I have, and as I plan to over this next year. Oh, it’s your birthday? Custom glasses for you! Oh it’s 4th of July, custom glasses all around… and don’t even get me started on Halloween ?

Any Occasion
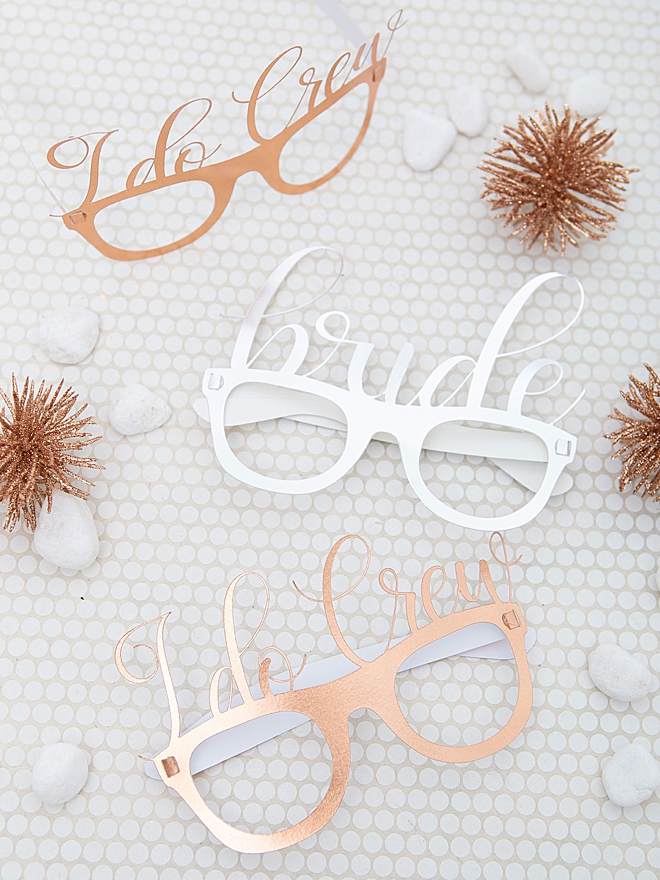
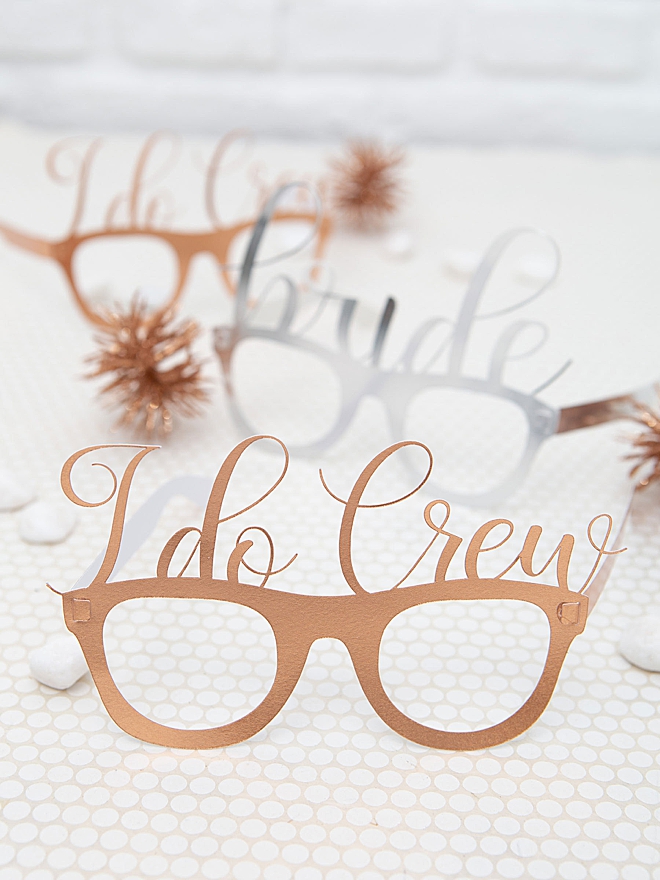
Personalizing some fun paper glasses is a great idea for any occasion… especially weddings, and definitely Bachelorette Parties! They are terrific for all holidays of course, anyones birthday, or possibly even a fun addition to a homeschool lesson. We just started learning about Dinosaurs in our homeschool and I’ll be making the girls some Dino glasses next!

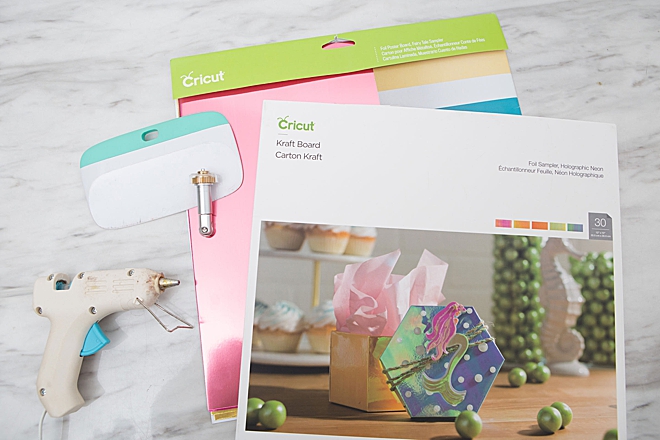
SUPPLIES:
- Cricut Maker or Cricut Explore
- Cricut Foil Poster Board, Cricut Holographic Kraftboard, or any other thick specialty paper
- Cricut Scoring Wheel (or stylus)
- Hot Glue Gun
- Our exclusive, .SVG cut file for the BLANK pair of paper glasses, only a few $ in our shop!

How To Use Our BLANK Paper Glasses File:
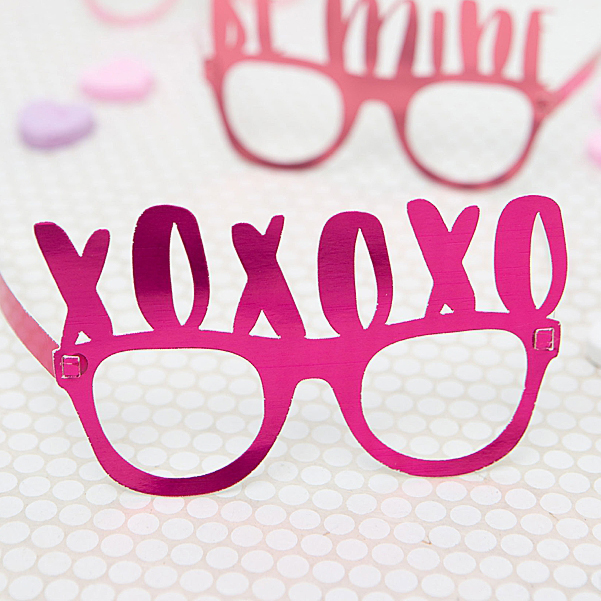
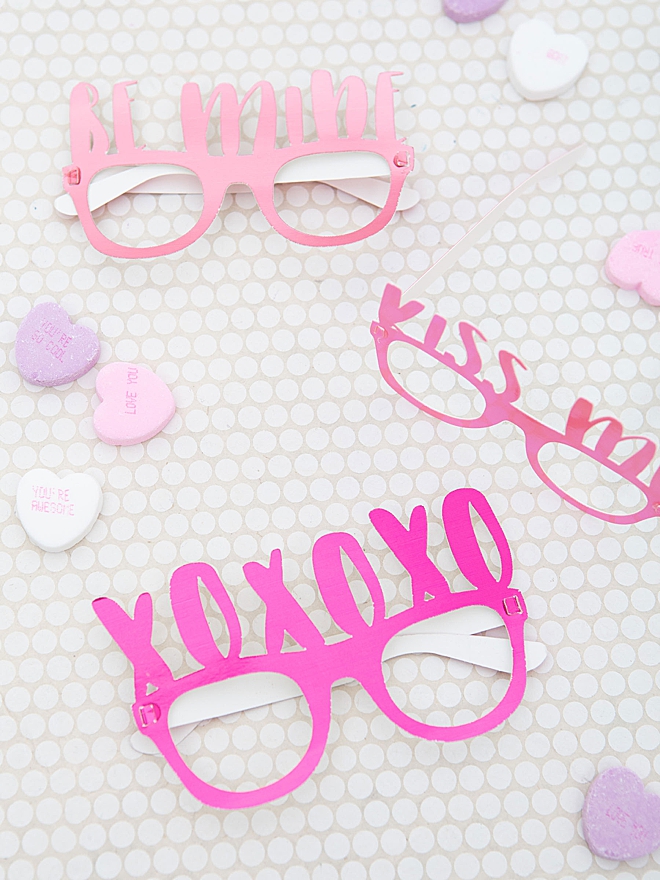
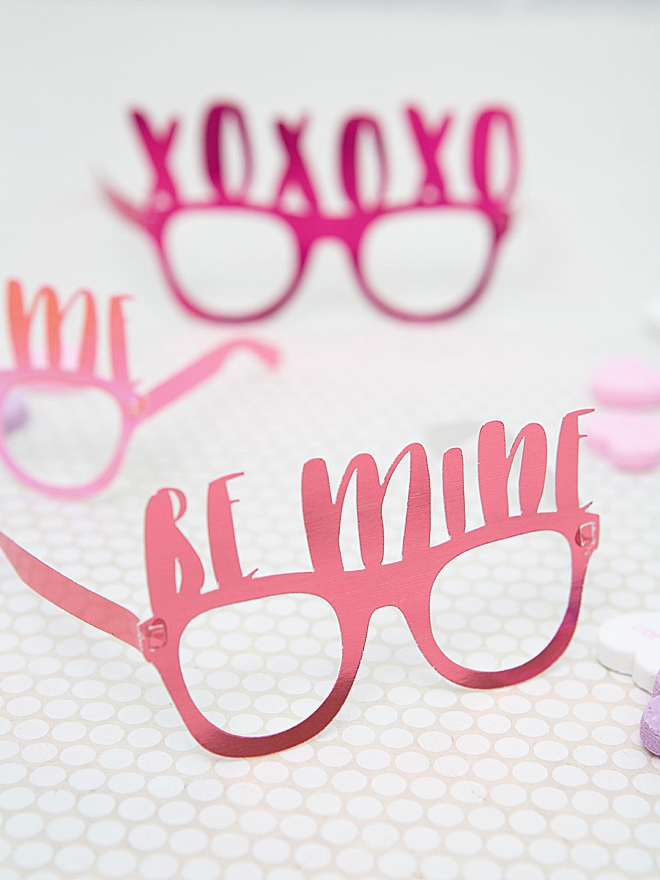
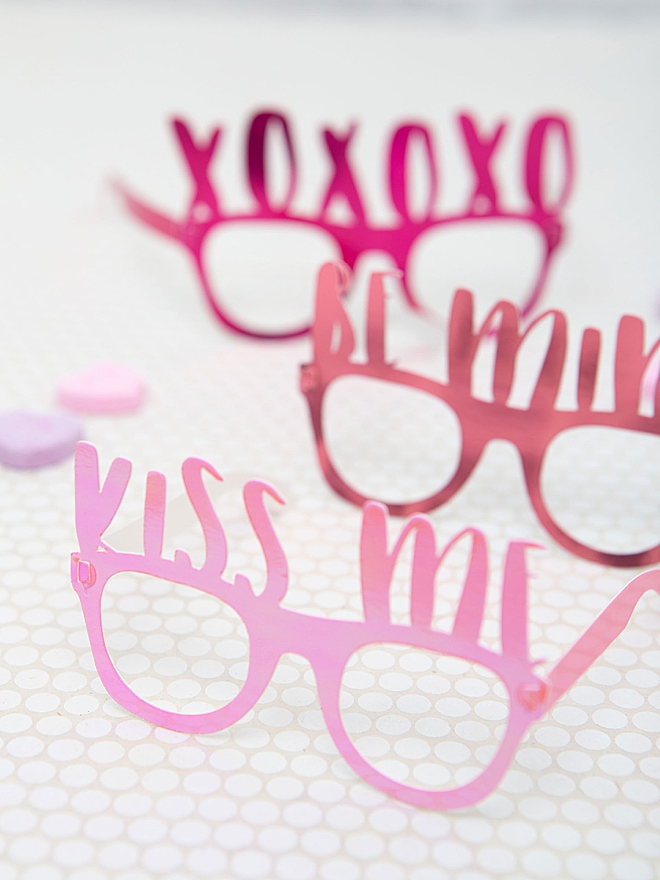
Valentine Glasses
- Font: Broklyn
- Paper: Holographic Kraftboard and Foil Posterboard in Pinks
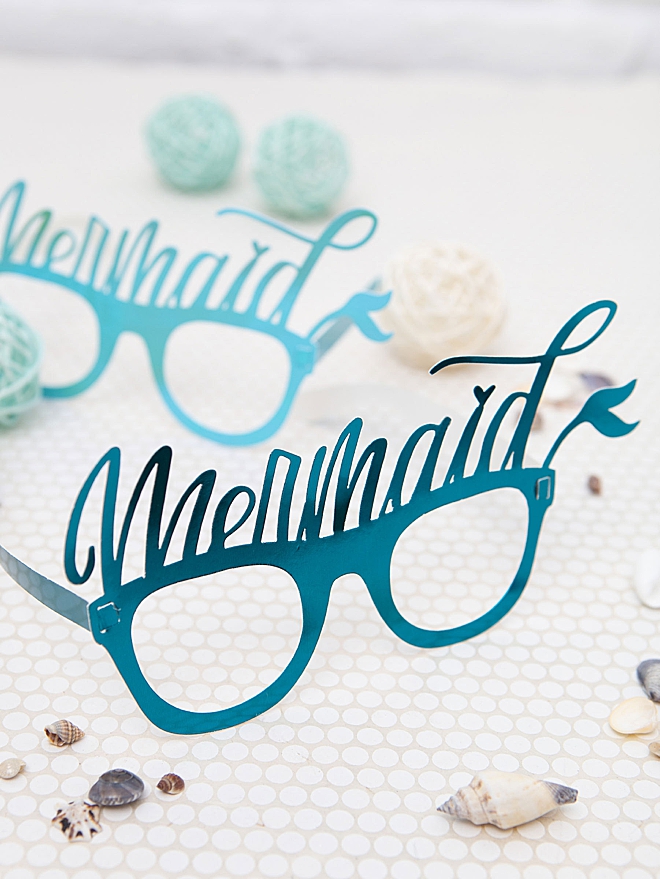
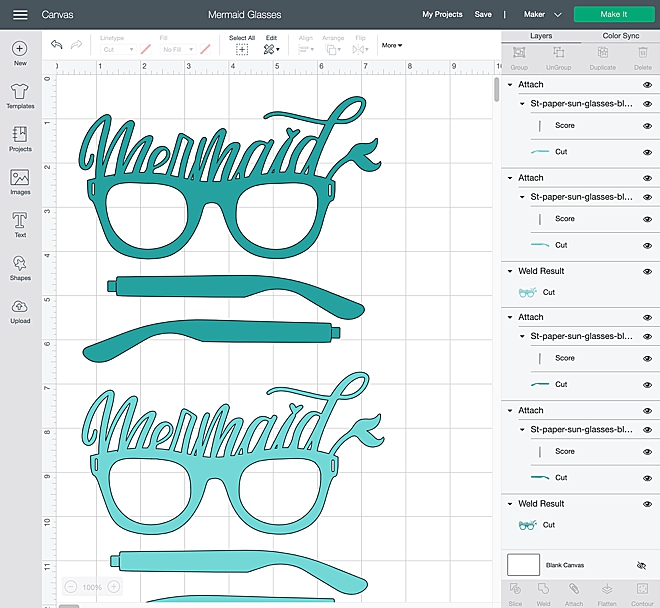
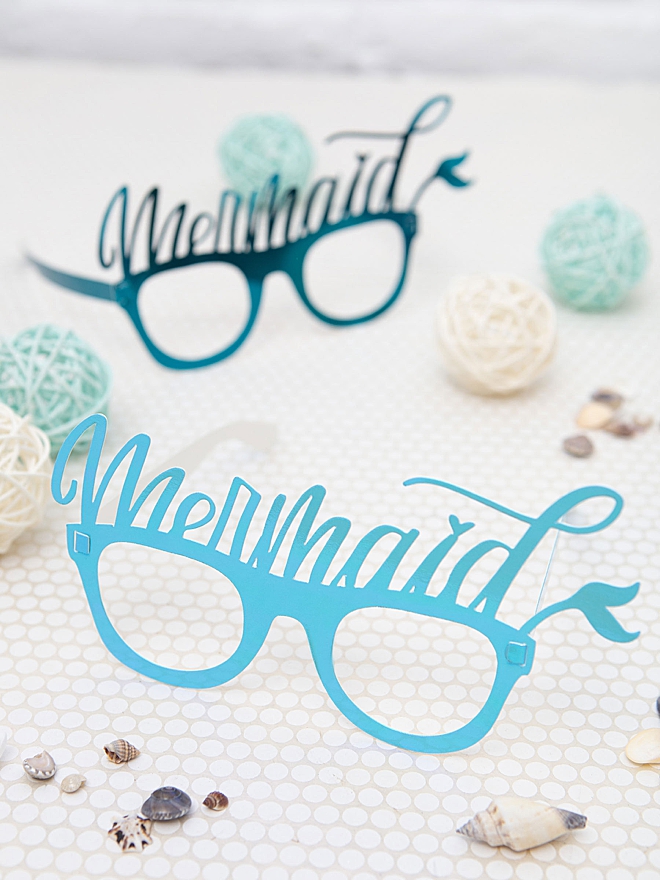
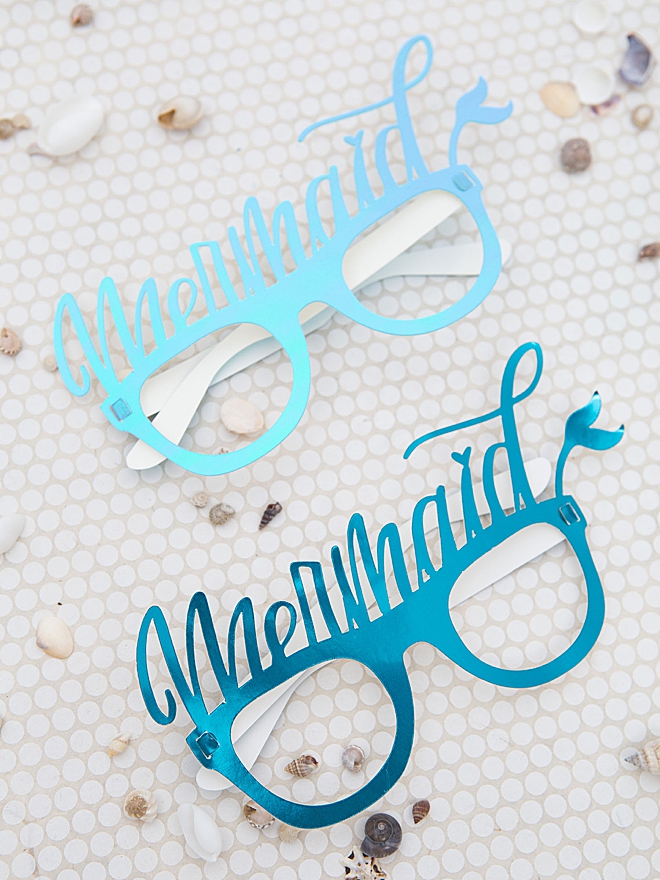
Mermaid Glasses
- Design: I modified our hand-lettered Mer-Maid SVG file in Design Space to fit the glasses
- Paper: Holographic Kraftboard and Foil Posterboard in Blues
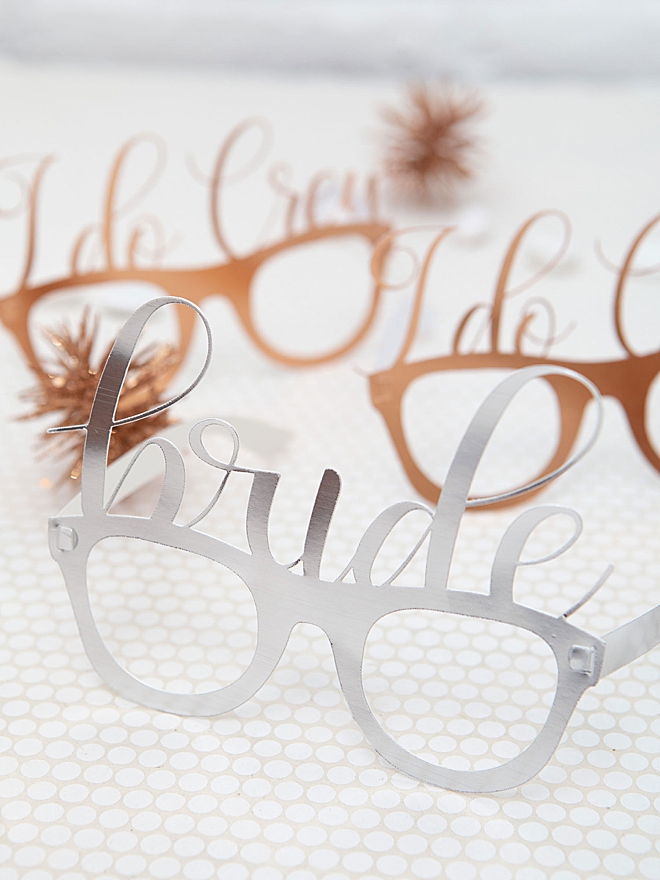
Valentine Glasses
- Font: Leisha
- Paper: Foil Posterboard
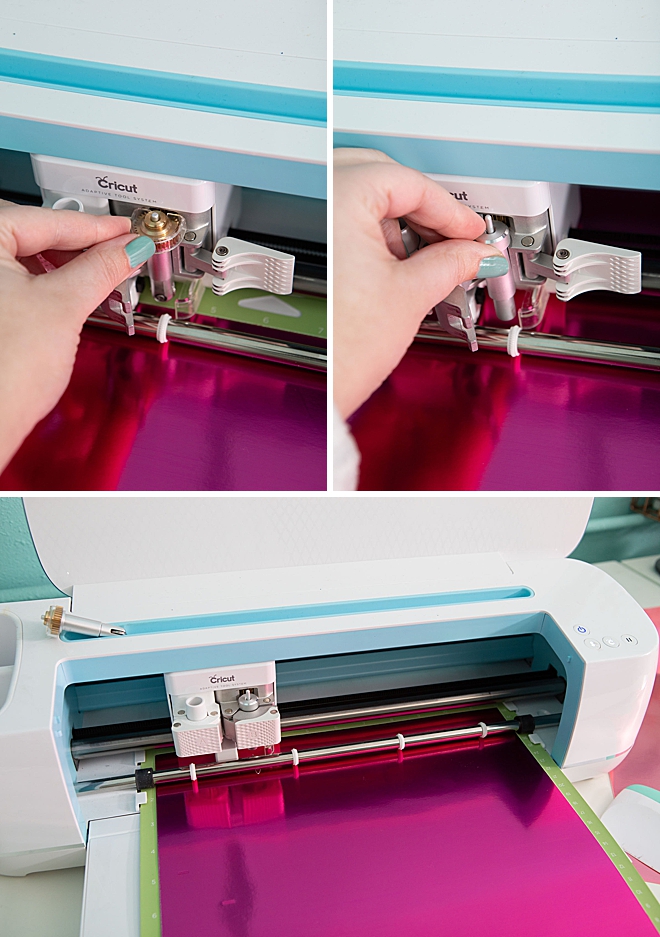
Prepare To Cut
If you have a Cricut Maker you’ll want to use the double scoring wheel, if you have a Cricut Explore, you’ll need to use the scoring stylus.

Score + Cut
You’ll start with scoring and then the Cricut will prompt you to add the Fine Point Blade.
Remove From The Mat
Carefully remove the paper pieces from the cutting mat…
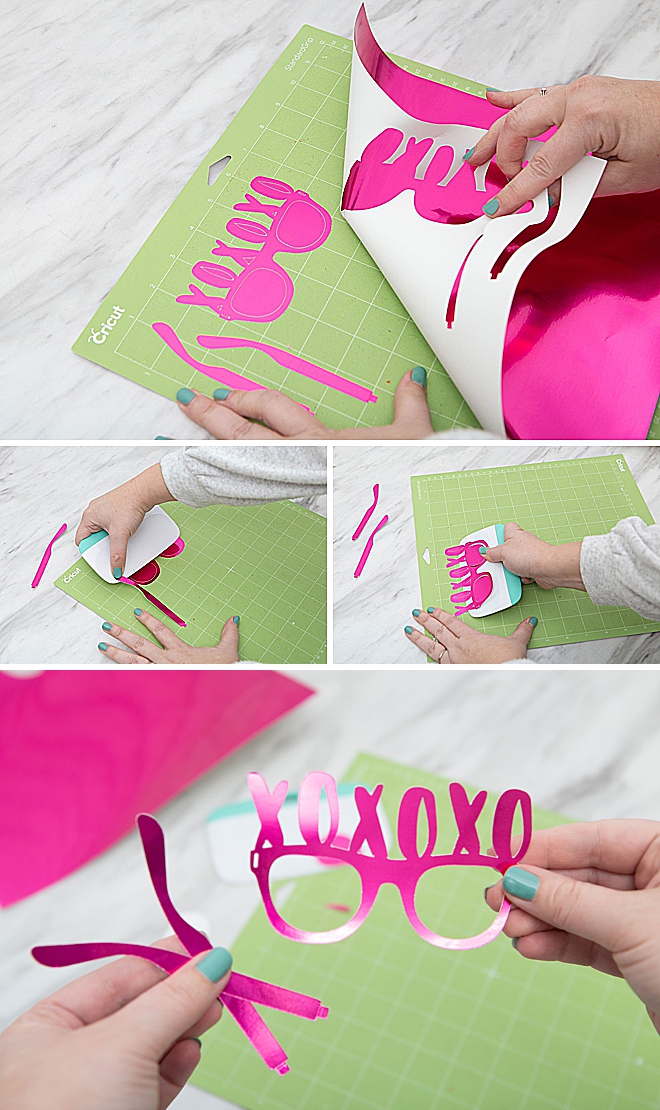
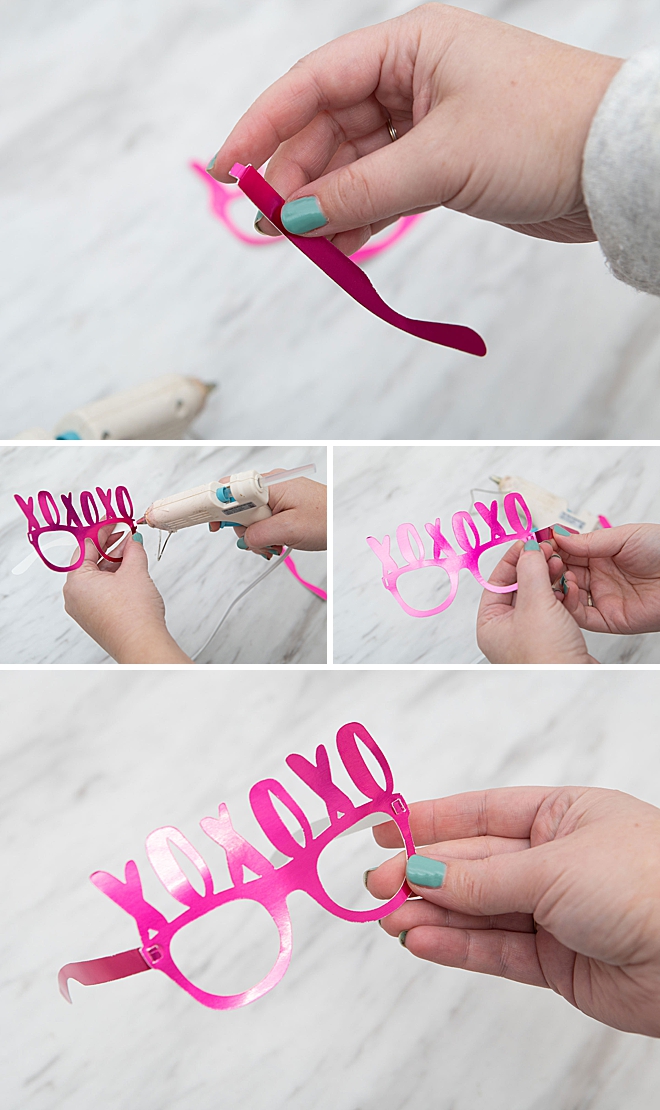
Hot Glue
Gently fold the corners of the ear pieces and slip into the glasses frame, then add very small dots of hot glue to secure.
Fun For All
OMG, this one is too much. Full disclosure, I told her I’d give her a piece of candy if she didn’t ruin her special glasses right away so during our very quick shoot she just kept saying, “I’m getting a treat!” LOL. She thought they were super fun but wanted to pull them apart right away, of course.

If you create one of our projects, please share a picture with us on Instagram or Twitter using the hashtag #somethingturquoisediy, we regularly reshare our favorites! Your profile will need to be public for us to see it otherwise, you can always DM us!
DIY Tutorial Credits
Photography + DIY Tutorial + File Design: Jen Causey-Kidder of Something Turquoise // Cricut Maker: Amazon // Cricut Foil Poster Board: Amazon // Cricut Holographic Kraftboard: Amazon // Cricut Scoring Wheel: Amazon // Exclusive Paper Glasses File: Shop Something Turquoise
Shop The Supplies:
Find the supplies you’ll need for this project from our affiliate links below:


Comments