
How To Make Happy Planner Page Markers
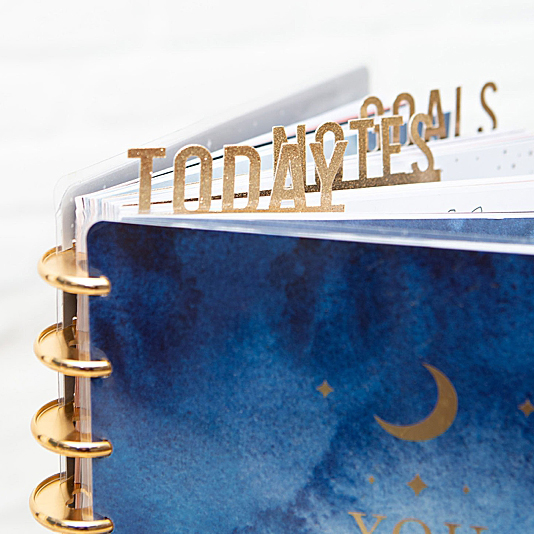
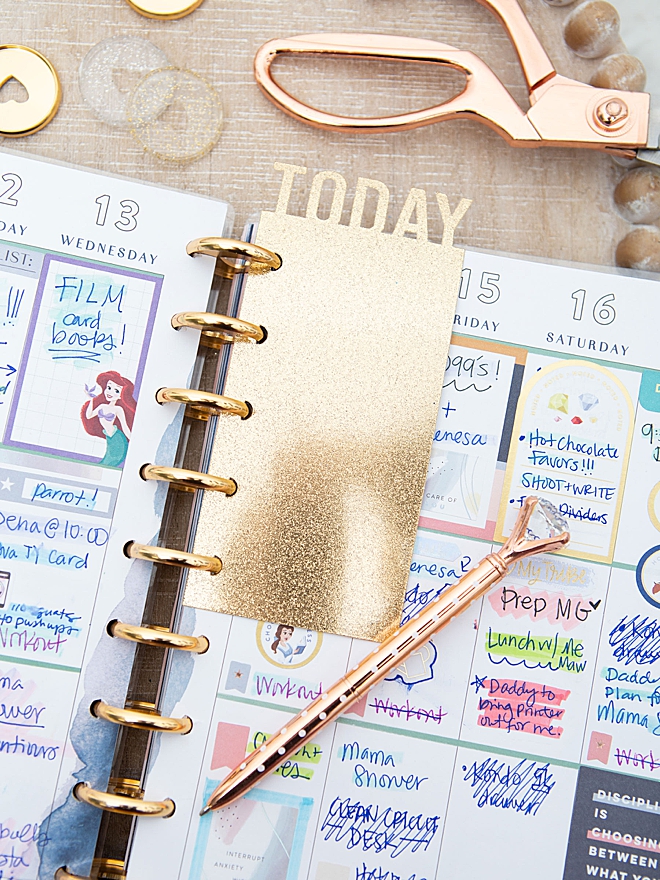
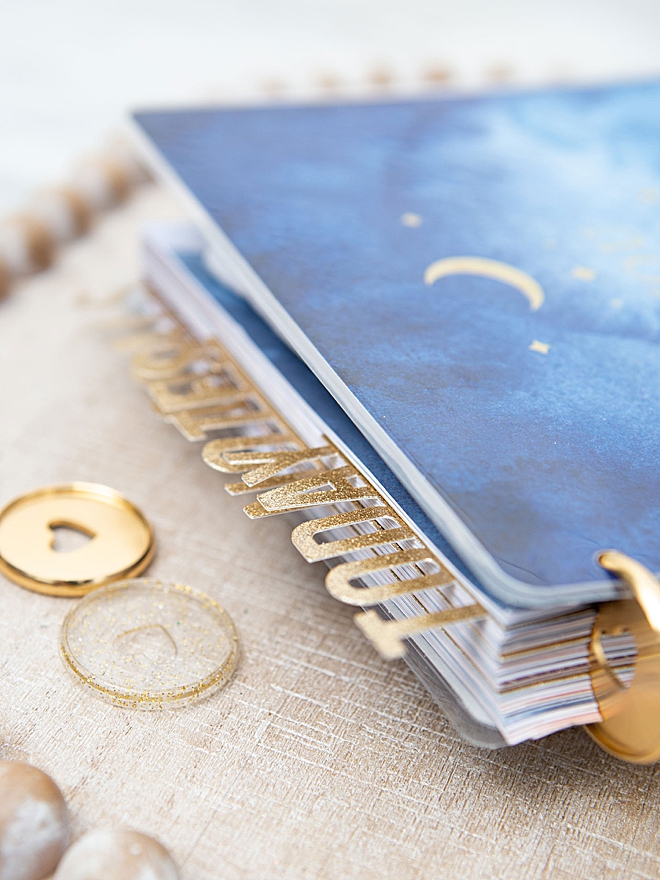
Yes, I am a Happy Planner person. I’m in love with it all from the stickers to the binder and everything in between. The layout works perfectly for what I need to keep track of, however, I couldn’t find “page markers” anywhere. So I designed a set just for me and I’m sharing them with you today, stop by our shop to download my exclusive SVG files designed to work perfectly with your Cricut so you can cut them too. Clip into your Happy Planner to easily turn right to the day, your notes, your goals, and more!
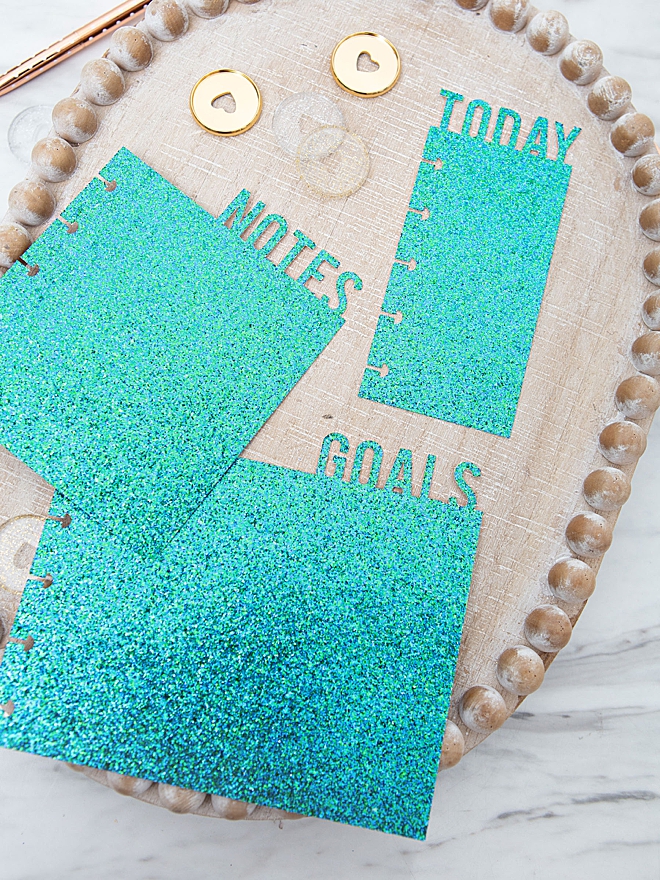
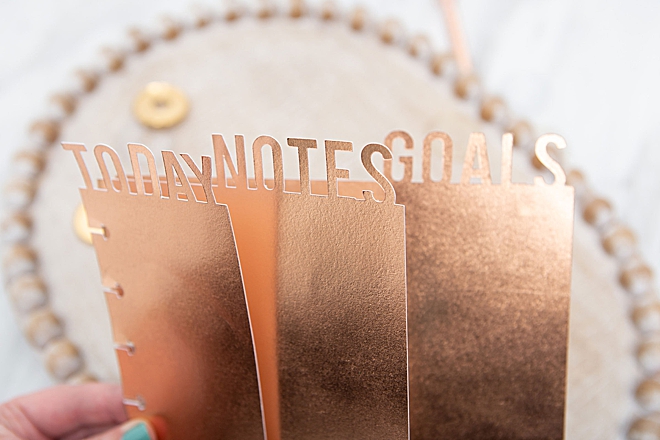
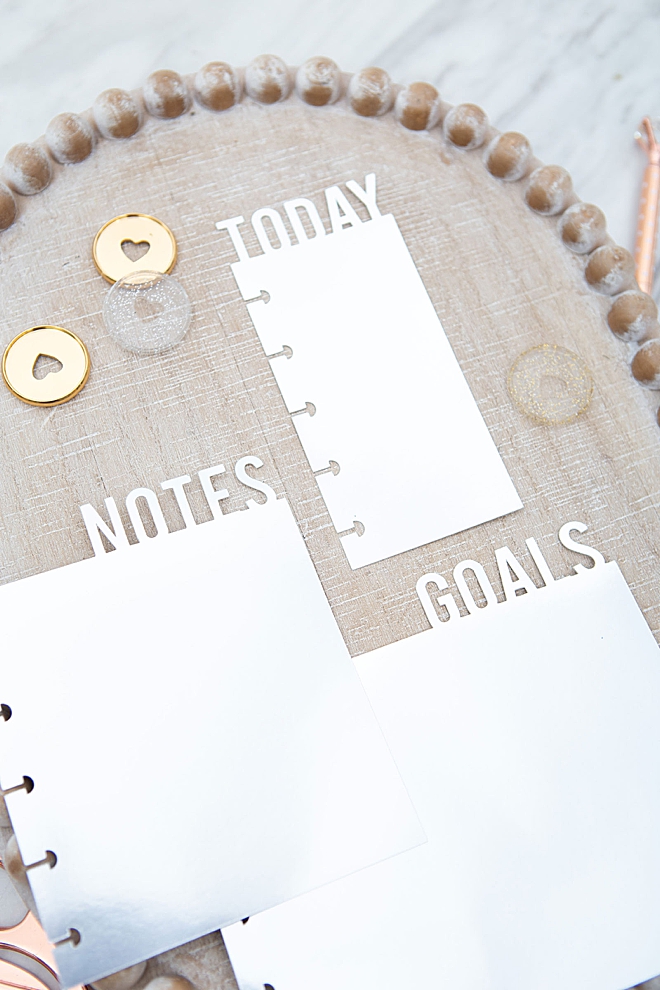
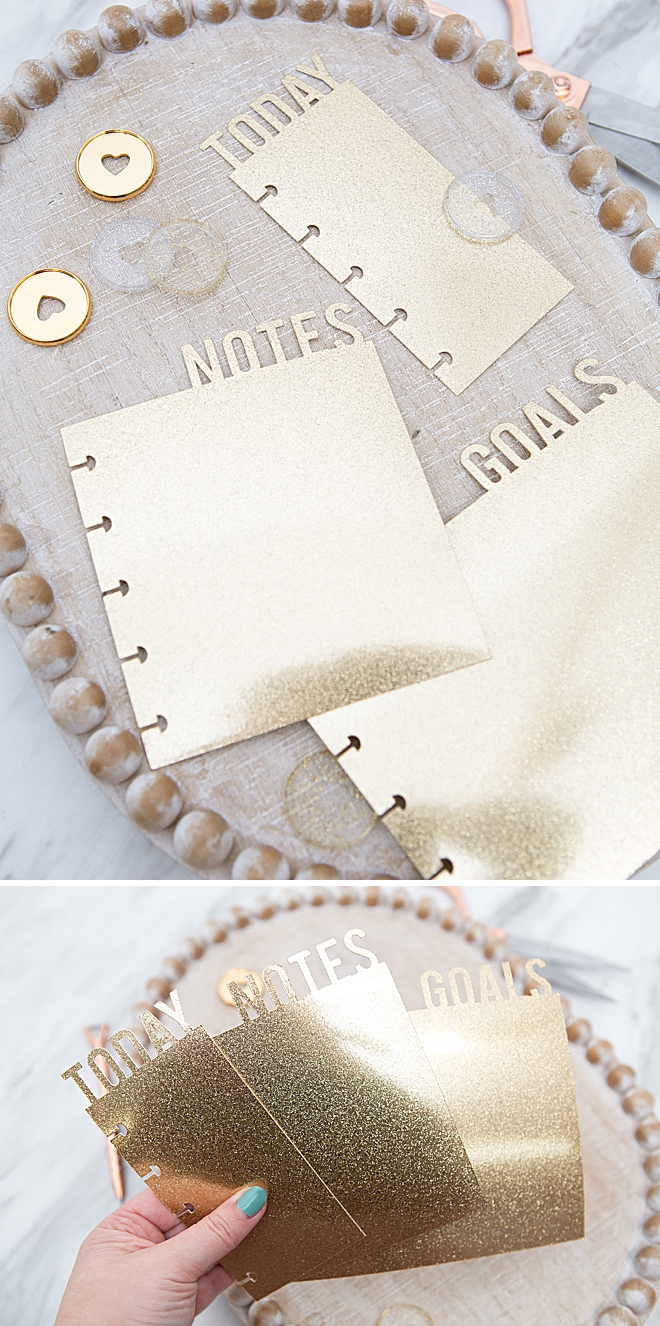
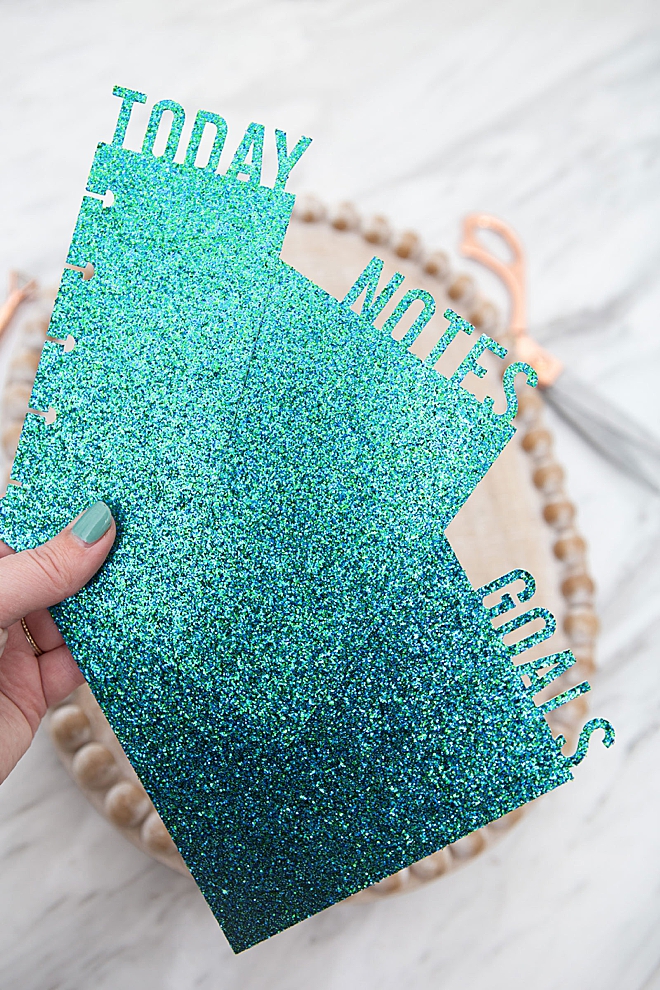
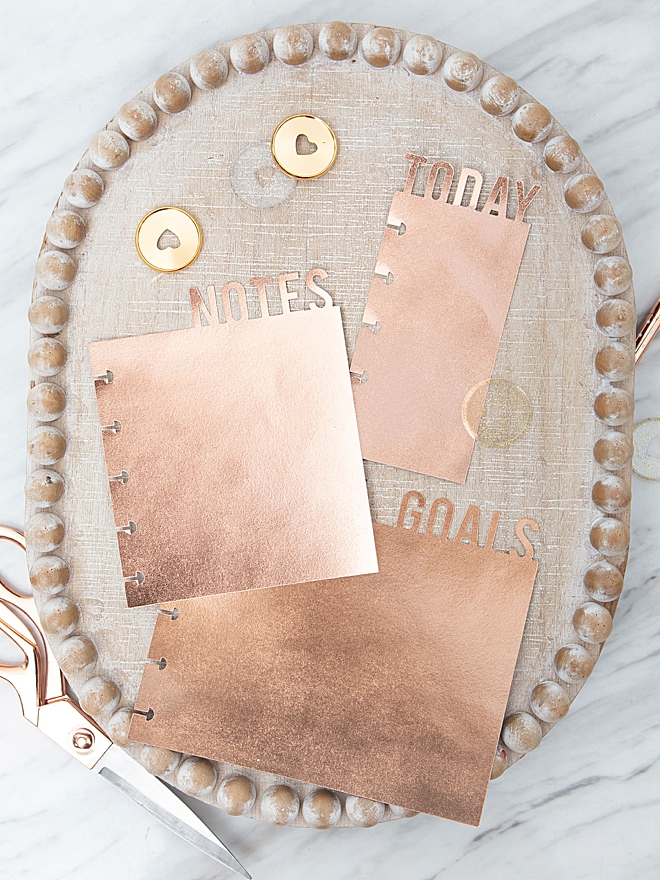
TODAY, NOTES, GOALS + BLANK
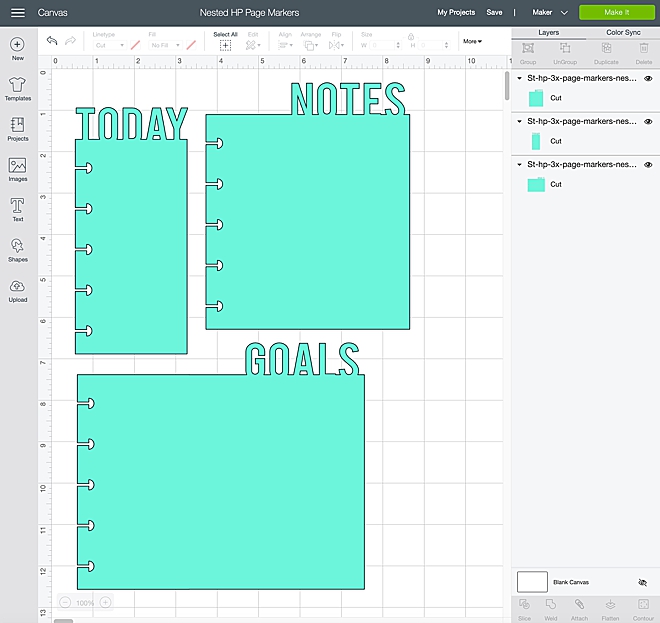
The files I created include the TODAY, NOTES, and GOALS nested page marker designs, along with blank markers too! So that you can add any font/wording to them in Cricut Design Space.
At this time, uploading custom SVG. files from your smart phone using the Cricut app isn’t supported, hopefully that will change soon. So this needs to be done on your laptop or desktop computer.
SUPPLIES:
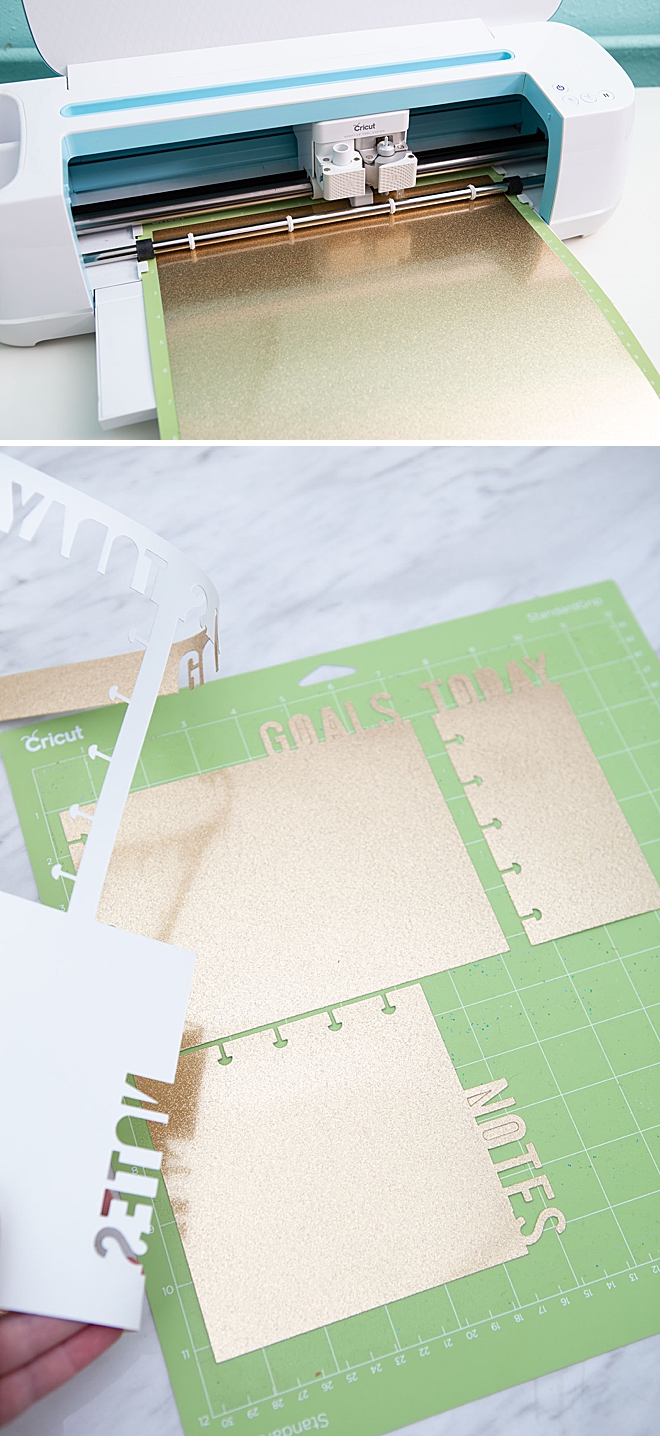
- Cricut Explore or Cricut Maker
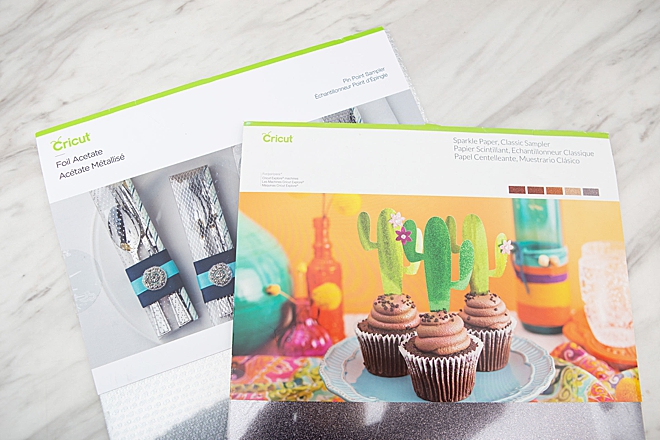
- Glitter Cardstock, Acetate Sheets, Sparkle Paper or something similar!
- Our exclusive, SVG. cut files designed to work with your Cricut! Stop by our craft file shop to grab them!

Download + Upload
Once you purchase our SVG cut files, upload them into Cricut Design Space! If for some reason they don’t import at the correct size, make sure that they are exactly 5.95″ tall. Then prepare to cut…
Make Your Own Sayings
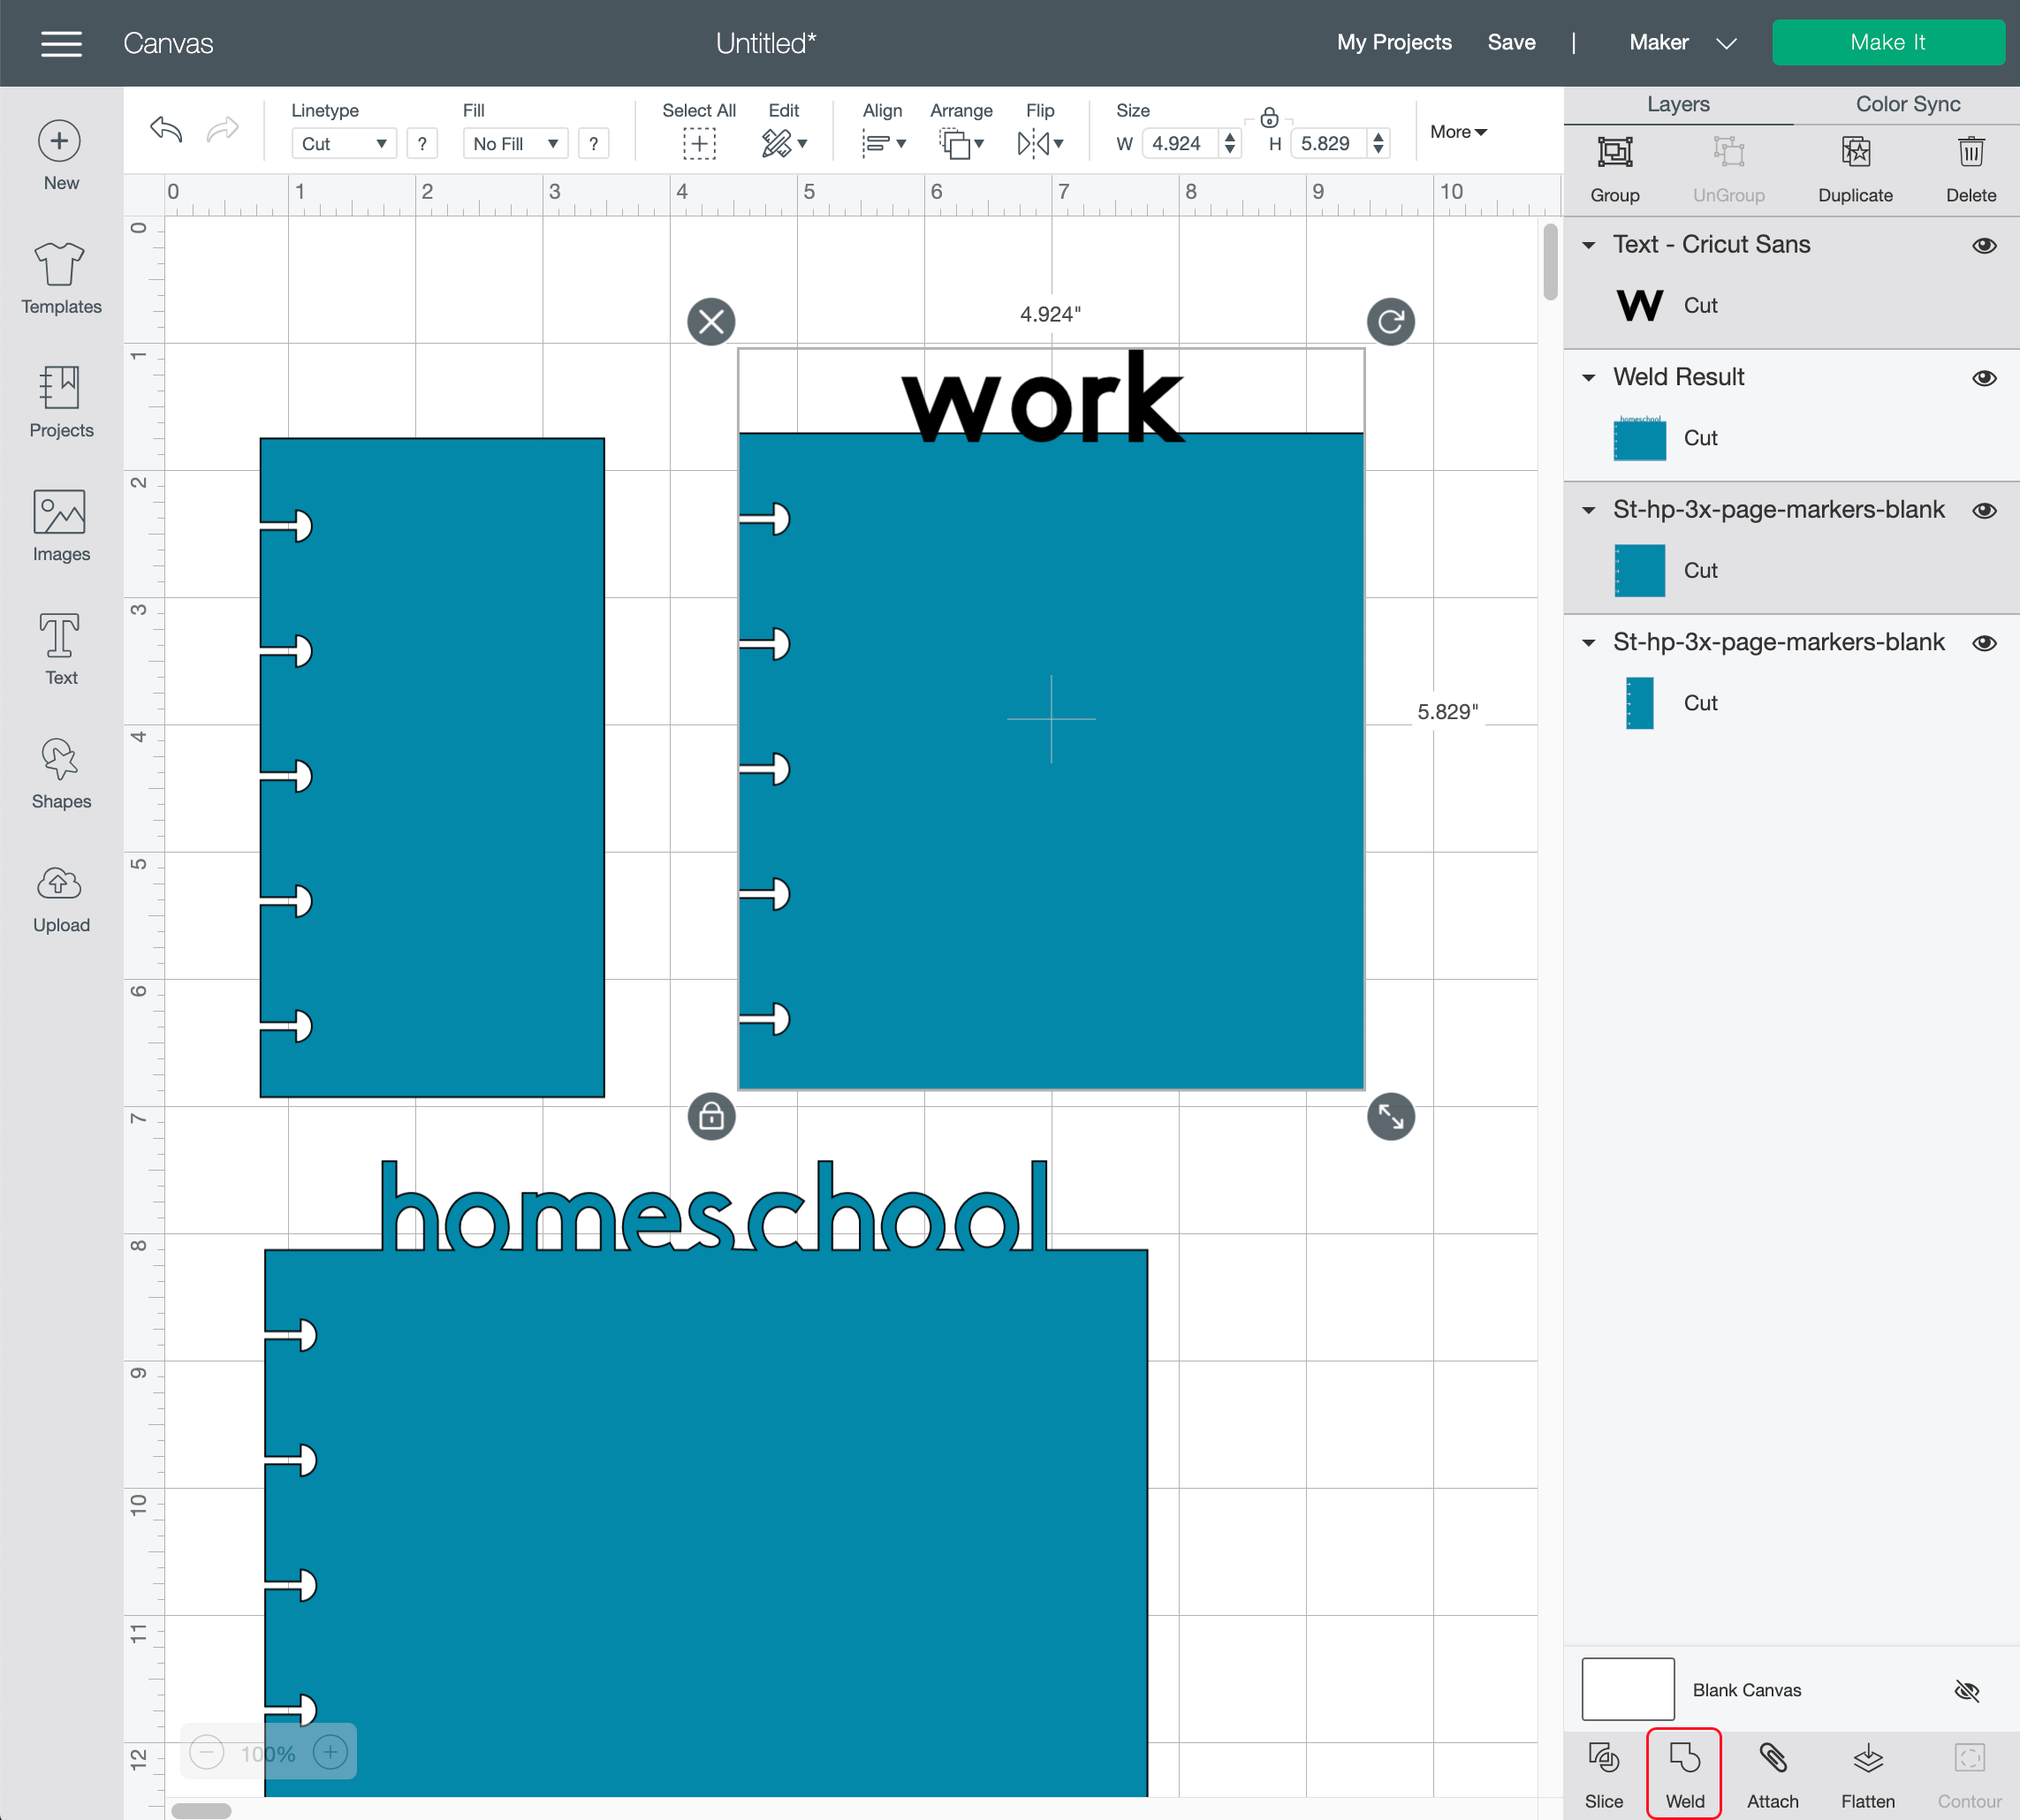
Included are our TODAY, NOTES, and GOALS nested page marker files along with 3 blank files that you can add your own font/text to ~ so you can make your page dividers say whatever you want! You’d do this by placing the text on top of the page marker, then select both the page marker and text and click weld, to make it all one piece.
For the font I used Bebas Neue, but here I used lower case Cricut Sans.
Let Your Cricut Work It’s Magic
It’s best to cut the page markers out of thicker paper like glitter cardstock, sparkle paper, or acetate. Then carefully remove them from the cutting mat. All three fit on a 12×12 sheet with some room to spare.
Cut As Many Times As You Need
Since you’ll be moving at least the TODAY page marker every week, it’s going to wear out over time. So the awesome thing about having the cut file is you can just cut it again! Even by season if you wish!
Plan Your Heart Out

If you create one of our projects, please share a picture with us on Instagram or Twitter using the hashtag #somethingturquoisediy, we regularly reshare our favorites! Your profile will need to be public for us to see it otherwise, you can always DM us!
DIY Tutorial Credits
Photography + DIY Tutorial + SVG File: Jen Causey-Kidder of Something Turquoise // Exclusive HP SVG File: Shop Something Turquoise // Stargazer Happy Planner: Michaels // Cricut Maker: Amazon // Cricut Acetate Sheets: Amazon // Cricut Sparkle Paper: Amazon
Shop The Supplies:
Find the supplies you’ll need for this project from our affiliate links below:


Comments