
How To Make A 3-Tier Octagon Decor Tray With Your Glowforge
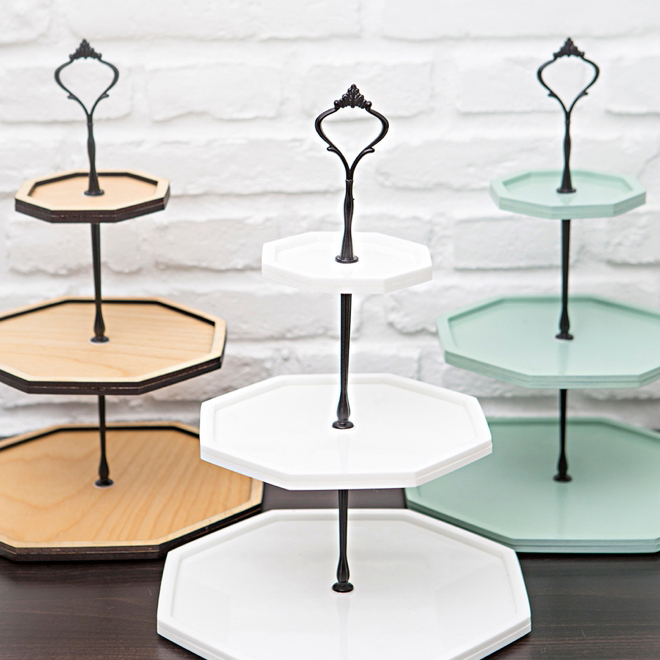
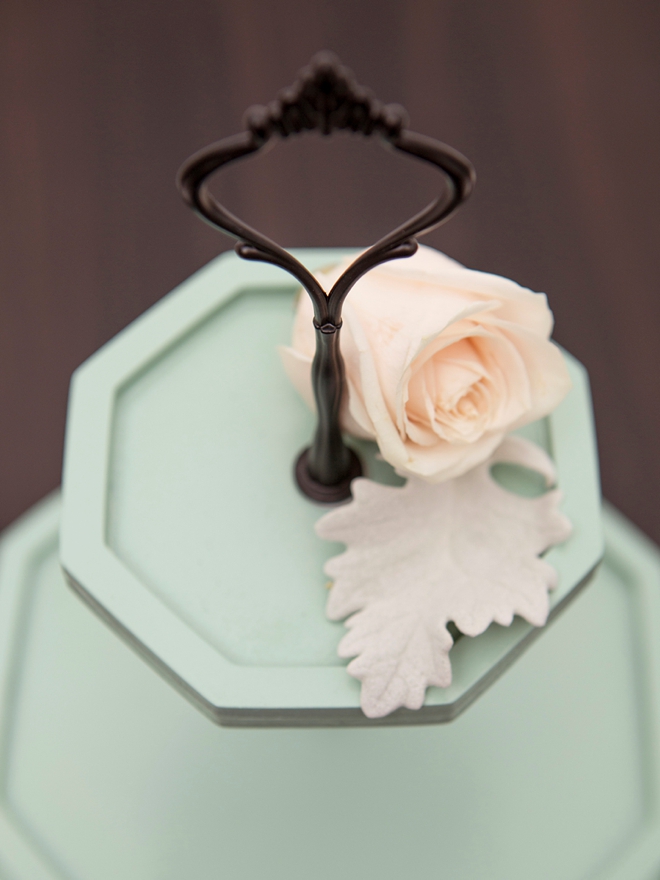
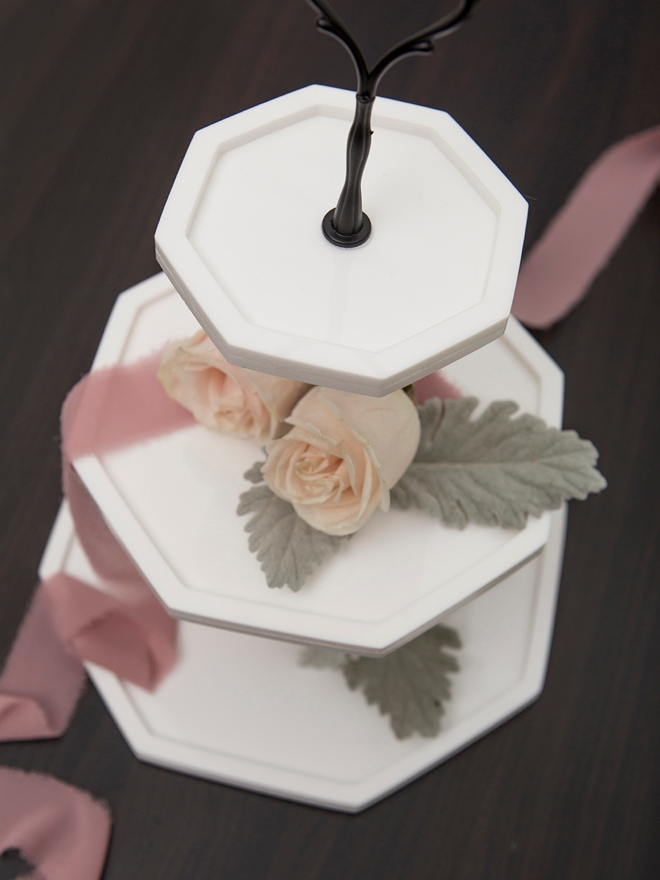
If you’ve spent any time on Pinterest, Etsy or in Hobby Lobby, you’ll know that these 3-tier decor trays are all the rage. I’ve seen other Glowforgers make circle and square trays but I haven’t seen an Octagon – so I made one! Let me tell you, these trays are STUNNING in person and the photos here don’t do them justice at all. This project is high up on my list of things that I have made that look as if they came from a store, and the Glowforge makes their construction ultra-easy. I’ve designed the .SVG cut file, (for sale in our shop for $6.99) to work perfectly with your laser printer and will require 1.5 sheets of material. Here I’m sharing how you can make them using plywood, acrylic, and draftboard. The white acrylic is by far my favorite and I want to make more so badly but I literally have nowhere to put them!
You can use this referral link to save up to $500 on your Glowforge purchase!

1/4″ Material
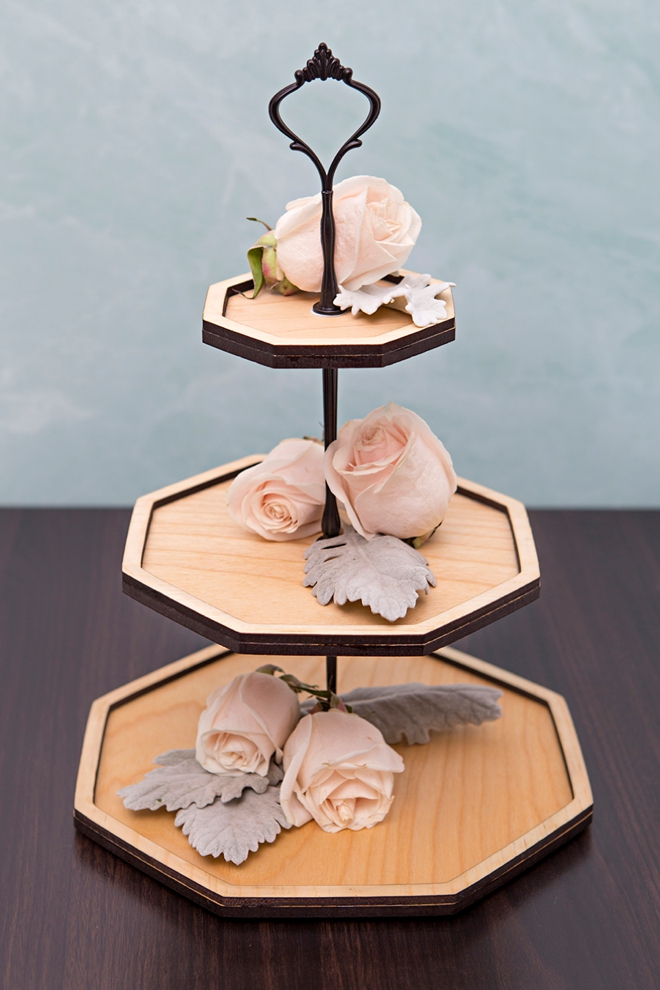
These trays are made with 1/4″ material ~ and the material is totally up to you! You can use wood, draftboard, or acrylic. You can make them 3 or 2 tiers and the height will be dependent on the hardware you purchase.
- Bottom Tray: 10″ wide
- Middle Tray: 7.75″ wide
- Top Tray: 4.5″ wide
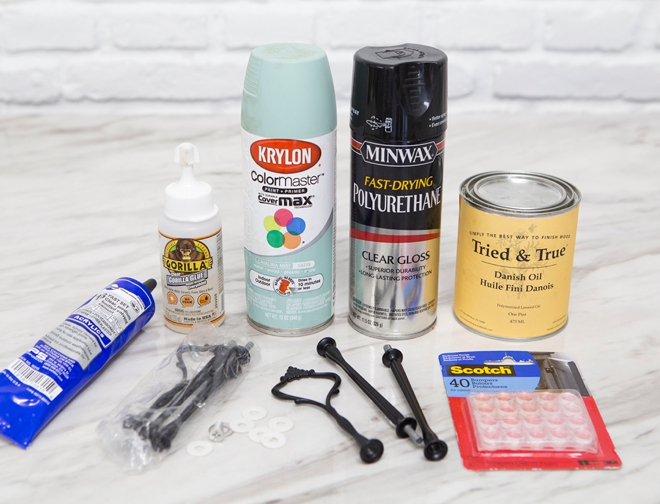
SUPPLIES:
- Glowforge (all 3 models will work)
- 1/4″ White Birch
- 1/4″ White Acrylic
- 1/4″ Proofgrade Draftboard
- 3-Tier Cake Plate Hardware
- Gorilla Glue, if you’re using wood
- Acrylic Plastic Cement, for acrylic
- Small Clamps
- Paint or Stain
- Screw Driver
- Our exclusive, 3-Tier Octagon .SVG cut file for sale in our shop for $6.99!
When you purchase any of our .SVG cut files they come with a commercial license which means you can cut and sell the items you make using our files! (you just can’t resell the file)
Download + Upload
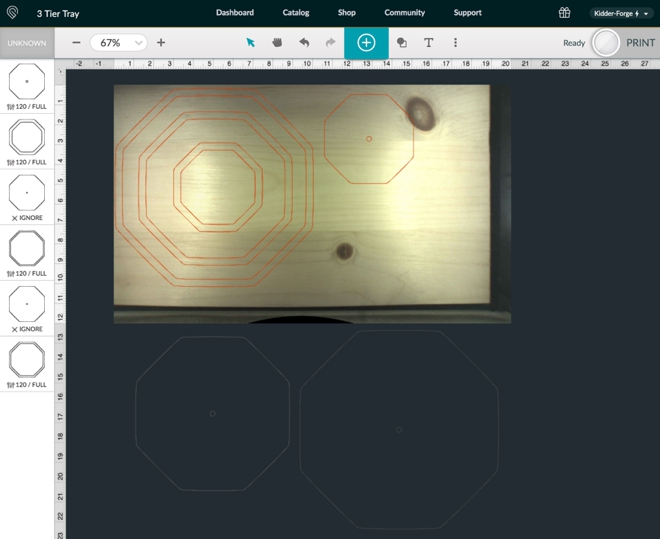
Visit our craft file shop to purchase our laser ready cut file. Then upload it into your Glowforge dashboard, or other laser software to customize. The files are designed to fit together perfectly using the cake stand hardware so I wouldn’t recommend resizing the files unless you have experience doing so. You can however add a scored or engraved pattern to the bases or even an engraved message for someone special.
Glowforge Settings
Here are the settings I used for each 1/4″ material:
- 1/4″ Proofgrade Draftboard: 132/Full Power
- 1/4 White Acrylic: 125/Full Power
- 1/4″ White Birch Two-Sided: 120/Full Power
Feel free to use 1/2″ materials too! Maybe even 1/4″ for the base and 1/2″ for the lip for a deeper tray.
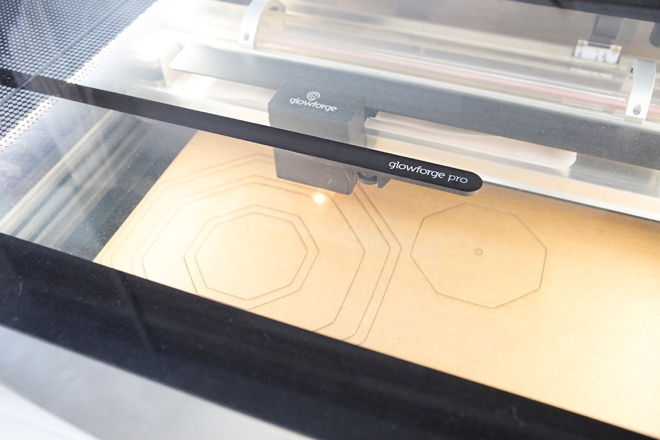
Let Your Glowforge Work It’s Magic
You’ll need 1.5 sheets of material for this project and it’s up to you to decide how to lay that out.
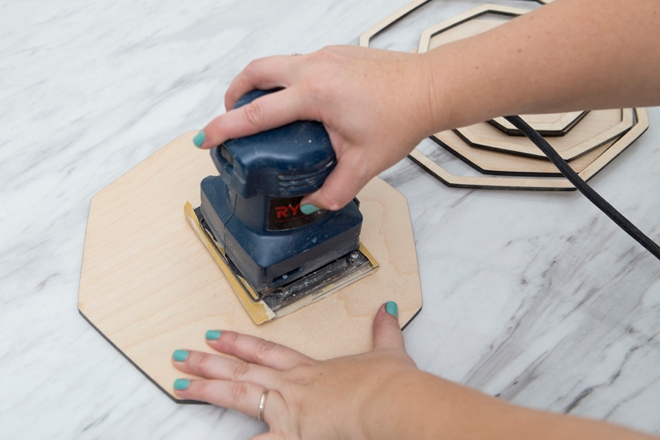
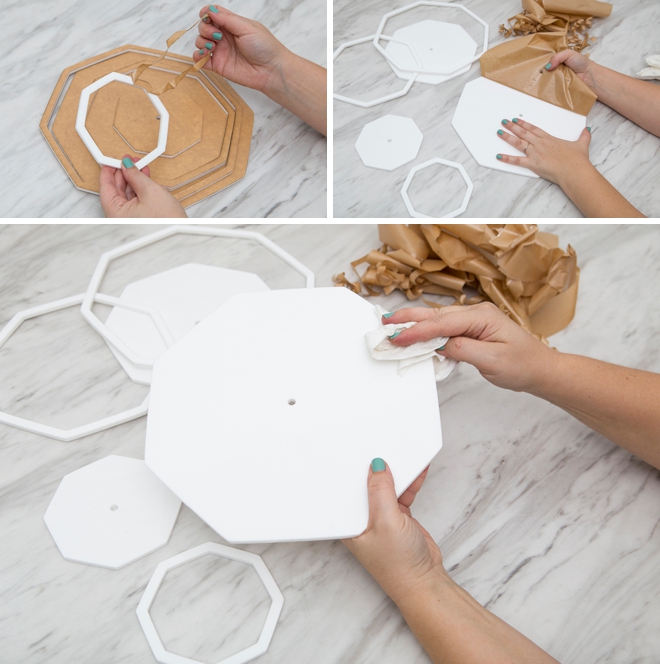
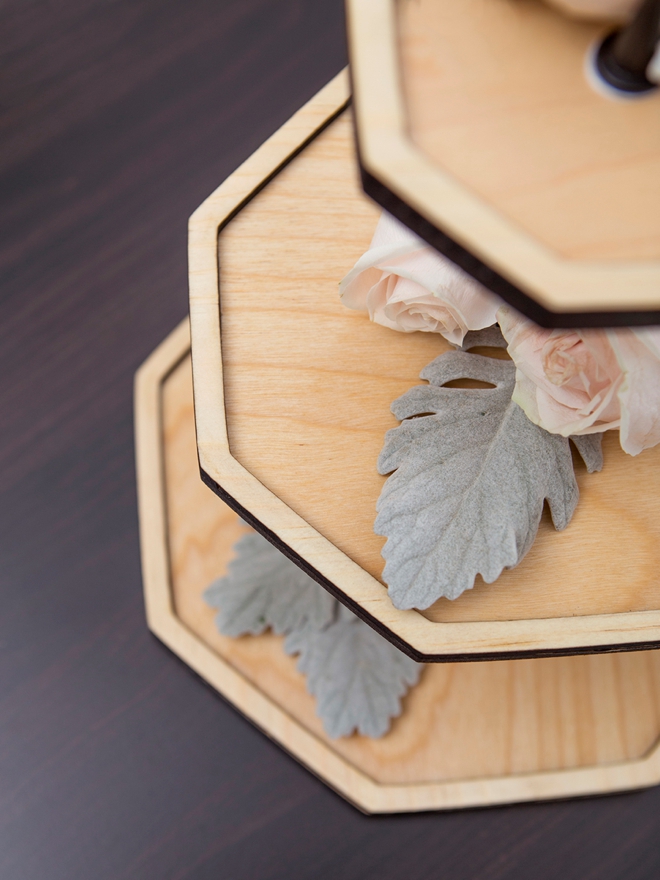
For Wood
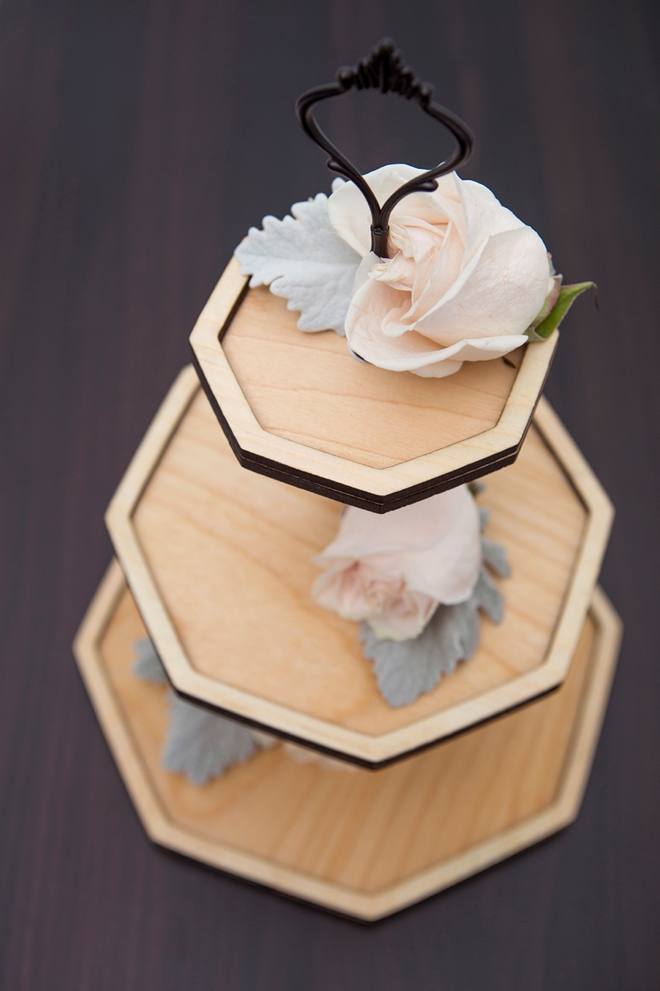
For the white birch, I cut it without masking at first because I was going to stain it a really dark color and then decided last minute to just oil it, so I needed to sand away the laser burn.
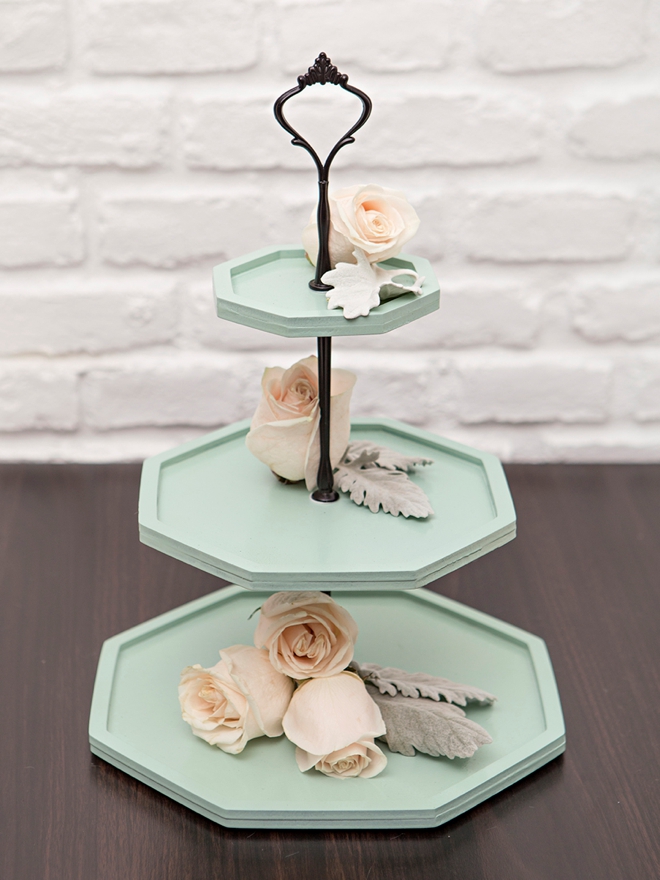
Stain
I “stained” the white birch with danish oil for a food grade surface for my mom to serve tea sandwiches and desserts on. I did both sides twice and let the oil soak in a dry up for two days before I glued the pieces together.
If staining you need to STAIN first, then glue; otherwise the glue won’t allow the stain to stain!

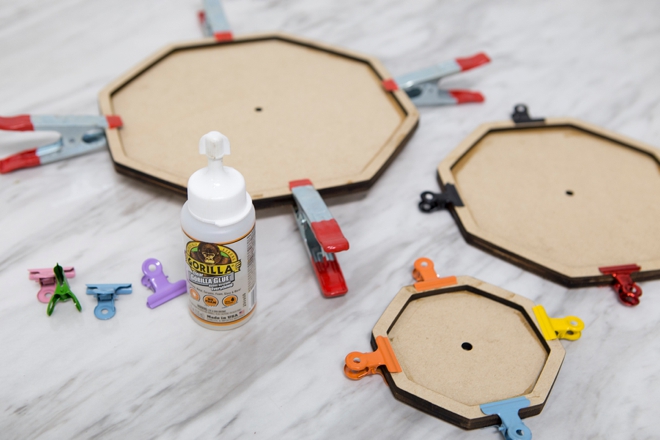
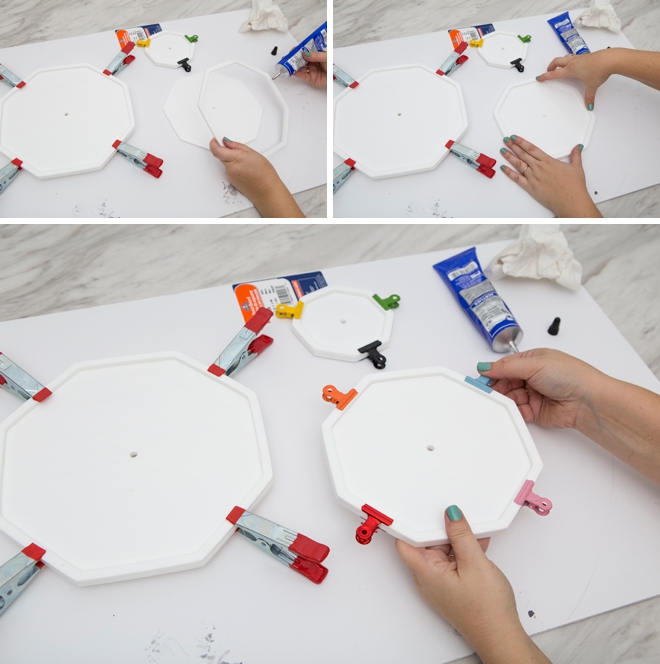
Glue
For both the white birch and the draftboard I used Gorilla Glue and little clamps to glue the tray and lip together. Make sure to wipe away any excess glue in the corners and edges.
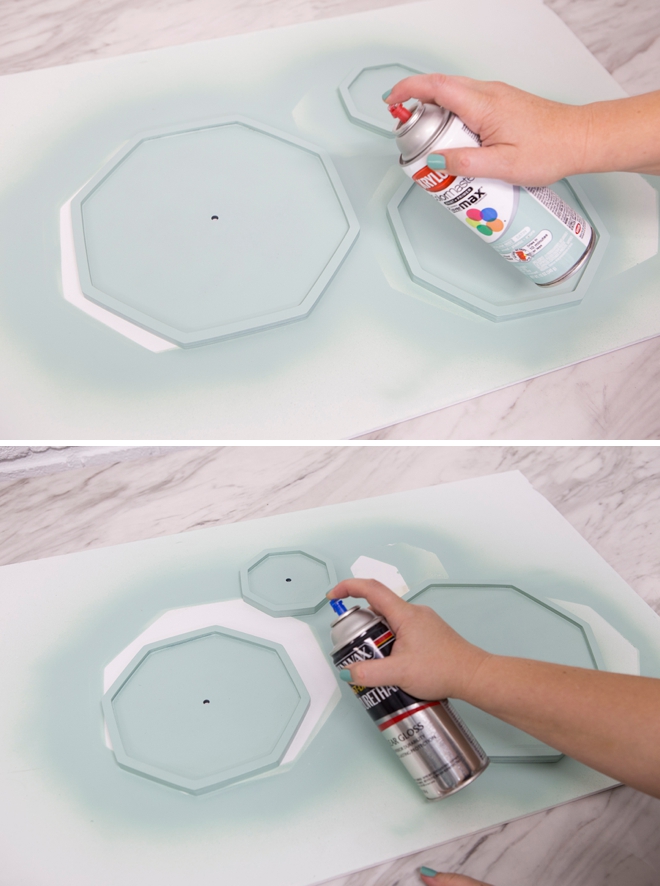
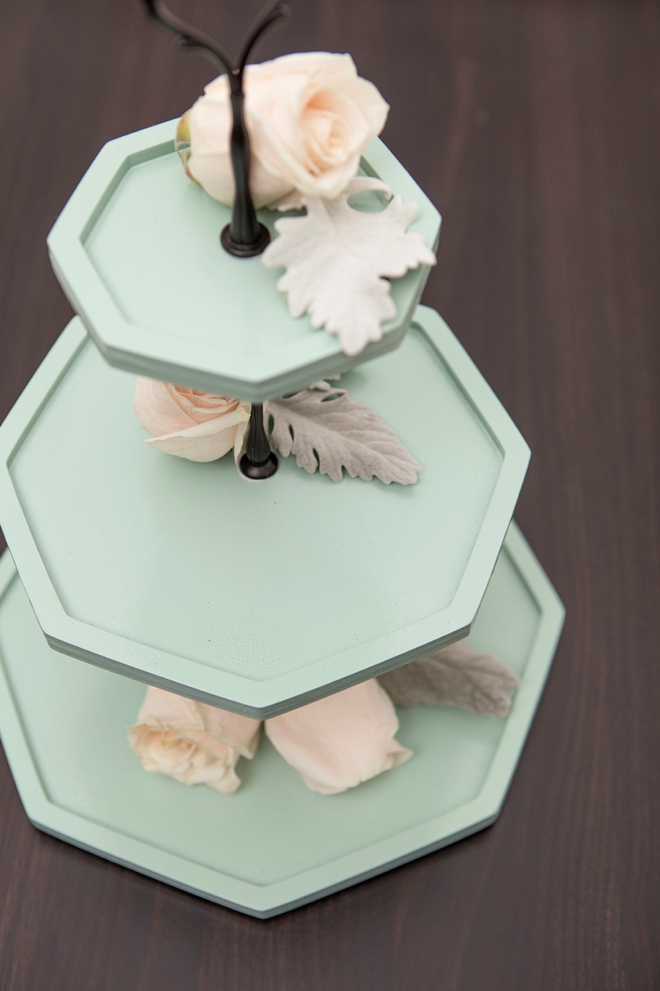
Painting Draftboard
Draftboard is very porous and sucks up paint so it’s best to pre-treat it with a sealer first like this spray Polyurethane. I did a quick high-grit sand and then sprayed front and back.
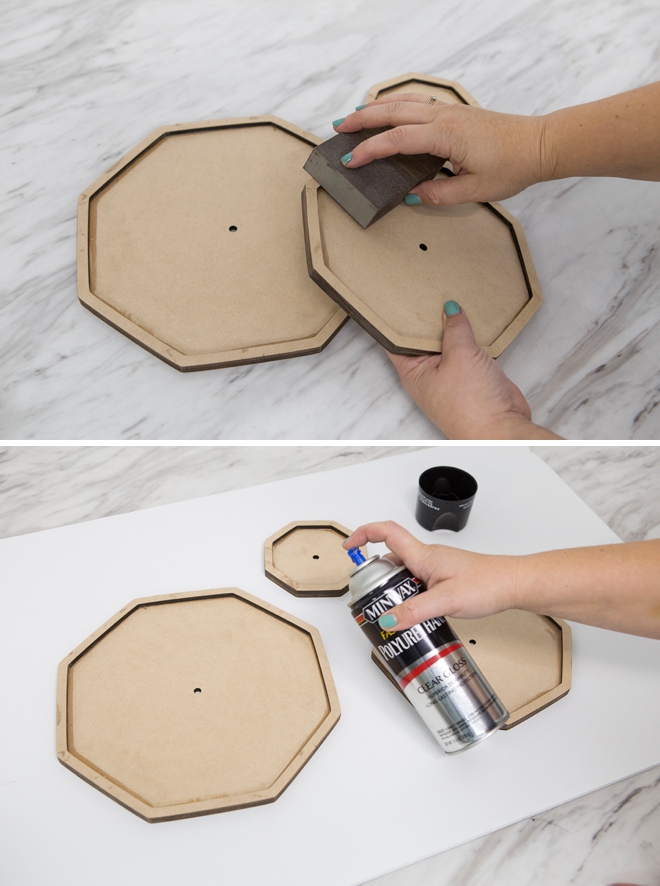
Then spray or roll with your choice of paint. I ended up doing two coats on the backside and three coats on the top with hours of dry time in between. I did it over the course of a few days. Then I finished it with two heavy coats of the clear Polyurethane. This tray is not food safe and I’ll be using it for my makeup so I wanted the paint to be sealed completely since I knew I would need to clean it regularly.
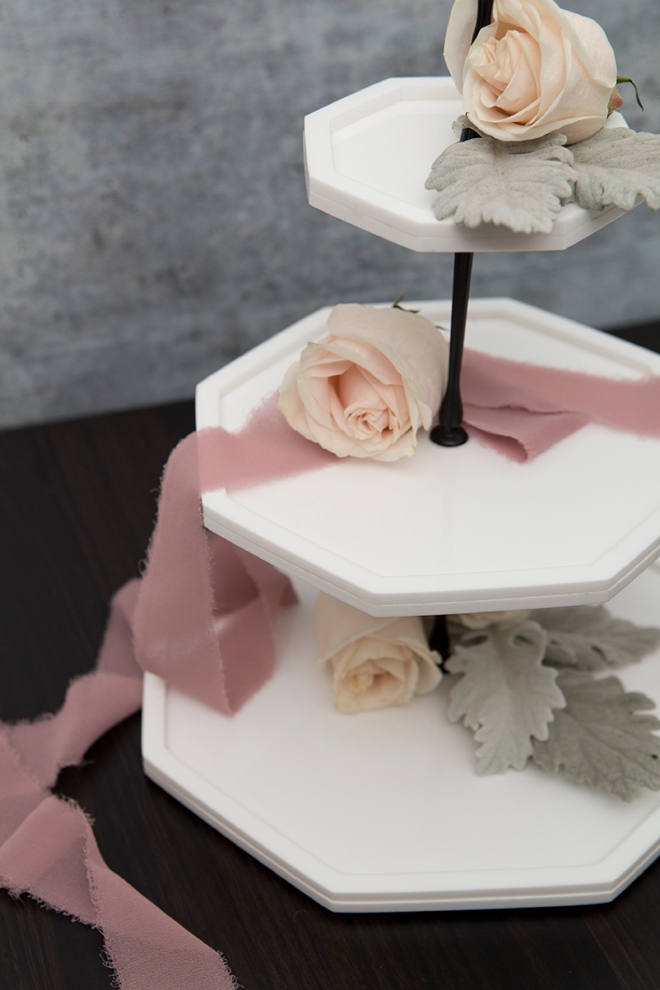
Acrylic
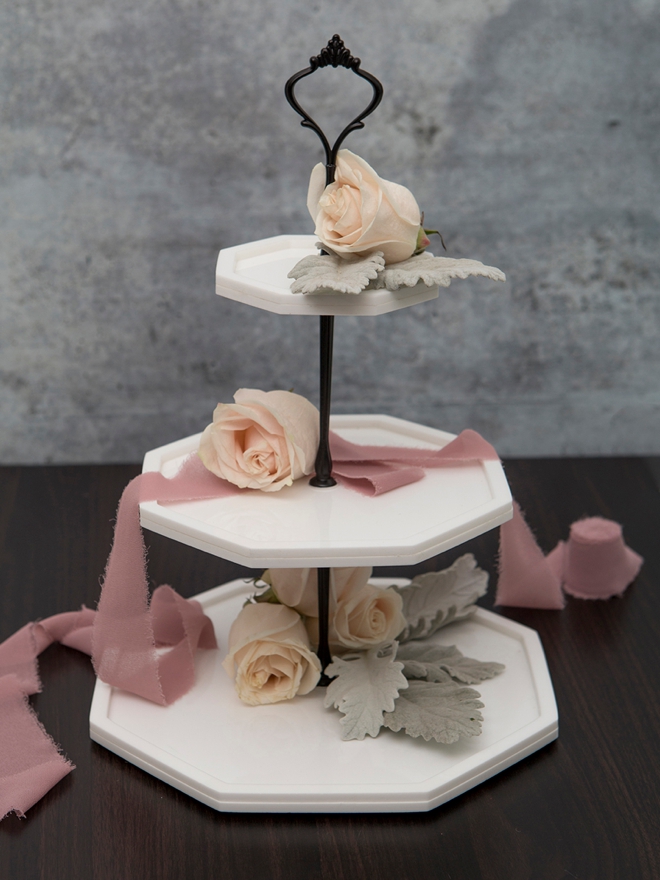
THE BEST. I didn’t expect to love this version of the tray so much, in fact I was going to give it away but now it’s on my desk! The acrylic was SO easy to work with, just cut and glue – no painting required and it’s food safe! Remove the masking and wipe the pieces clean from any burn residue with a baby wipe or the like.
Acrylic Glue
Using acrylic plastic cement, glue the tray and the lip together using the little clamps and let dry. Make sure to really wipe off all the extra glue from the base and the edges.
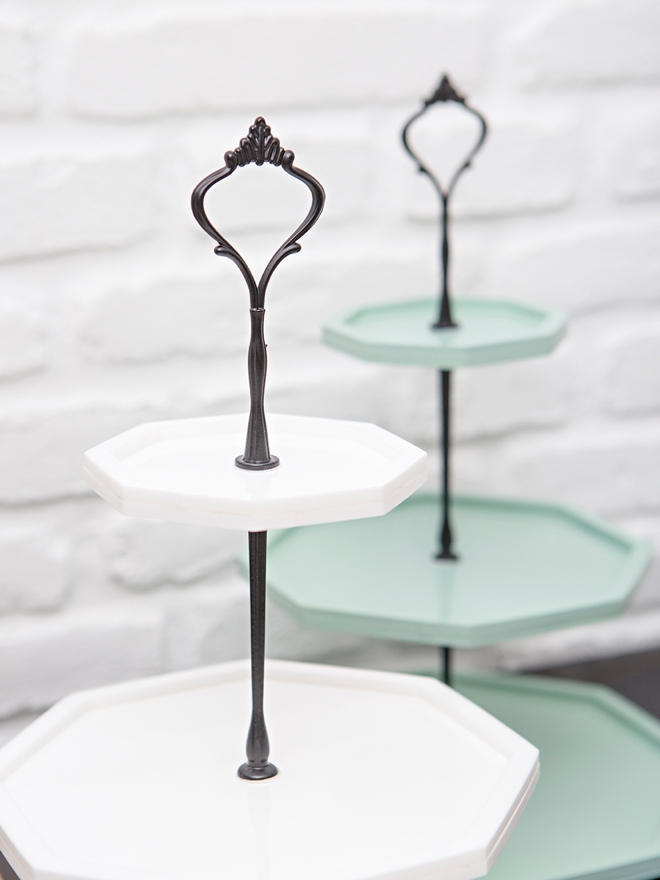
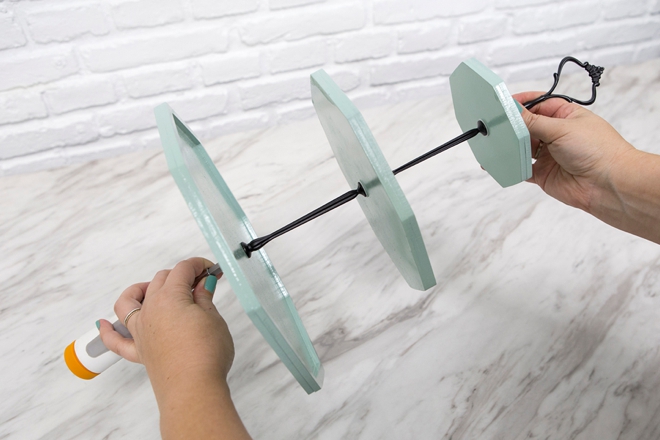
Assemble
Once your 3 trays are dry and ready it’s time to assemble and this is by far the best part. Start at the base and work your way up using the foam washers provided. Ahhh are you in love!!?!?
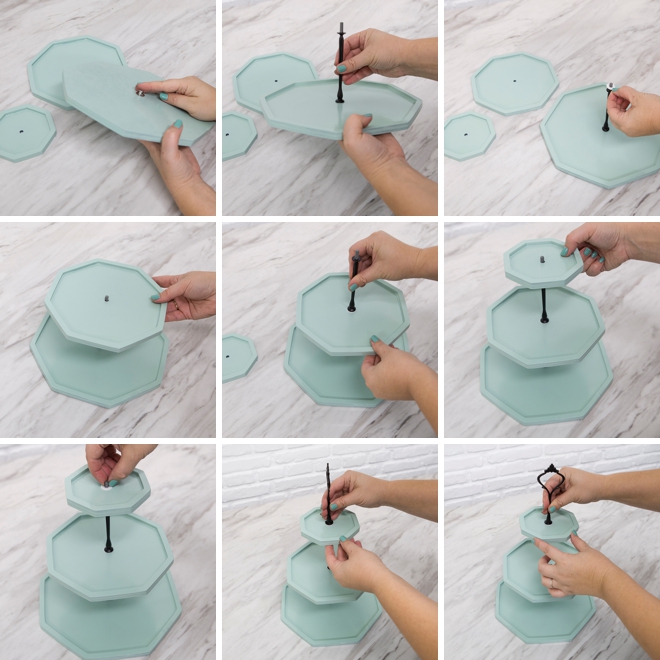
Tighten
Hold a screw driver in the bolt on the bottom of the tray and twist to tighten everything together. Make sure that all tray sides are properly lined up along with the top loop.
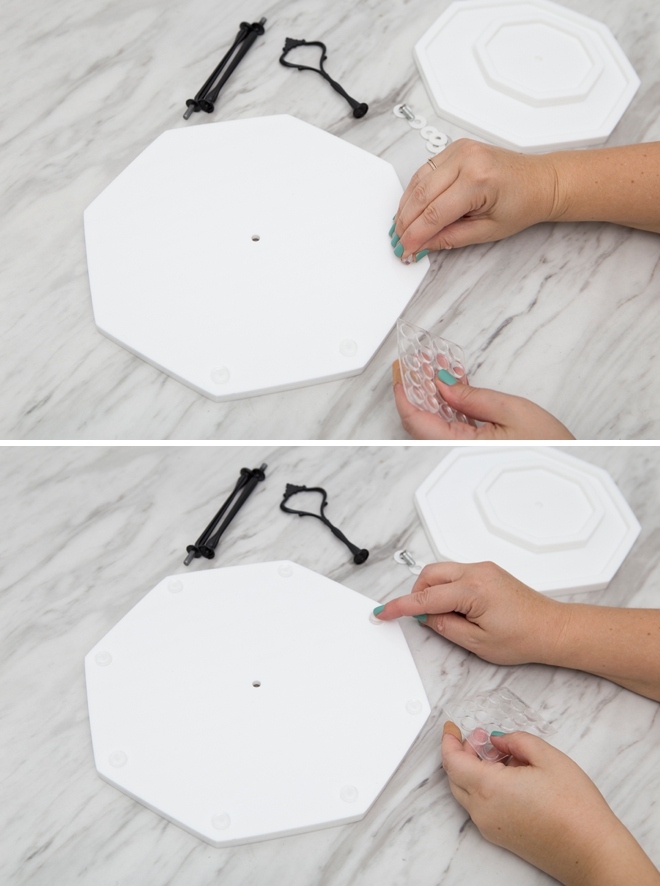
Rubber Feet
These little rubber (or felt) feet are optional but a very, very nice touch. I added 8 to the bottom of each tray so that they would have a nice sturdy grip on whatever surface they sit on.

I’m Obsessed
I am unusually obsessed with these trays and I just want to keep making them! Maybe I should just start selling them, I think they’re just absolutely adorable and have so many different uses.
If you create one of our projects, please share a picture with us on Instagram or Twitter using the hashtag #somethingturquoisediy, we regularly reshare our favorites! Your profile will need to be public for us to see it otherwise, you can always DM us!
DIY Tutorial Credits
Photography + DIY Tutorial + File Design: Jen Causey of Something Turquoise // Save up to $500 on your Glowforge purchase here: Glowforge.com // Exclusive 3-Tier Cut File: Shop Something Turquoise // 3 Tier Cake Stand Hardware: Amazon // 1/4″ White Birch: Smokey Hill Designs // 1/4″ Translucent White Acrylic: Cerulean Tides // Gorilla Glue: Amazon // Polyurethane Clear Gloss: Amazon // Krylon ColorMaster Catalina Mist: Amazon // Acrylic Plastic Cement: Amazon //
Shop The Supplies:
Find the supplies you’ll need for this project from our affiliate links below:


Comments