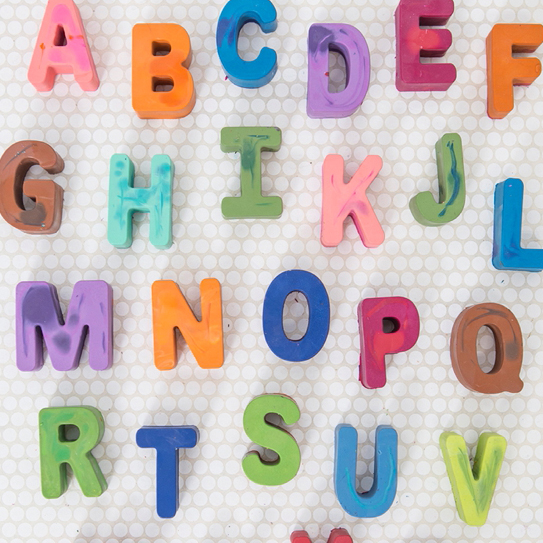

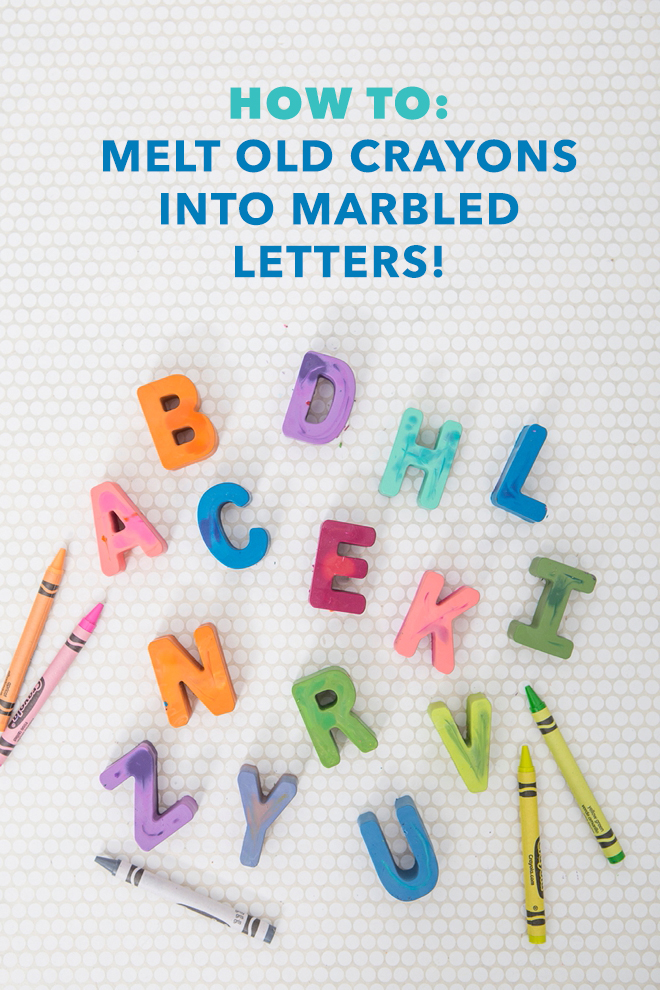
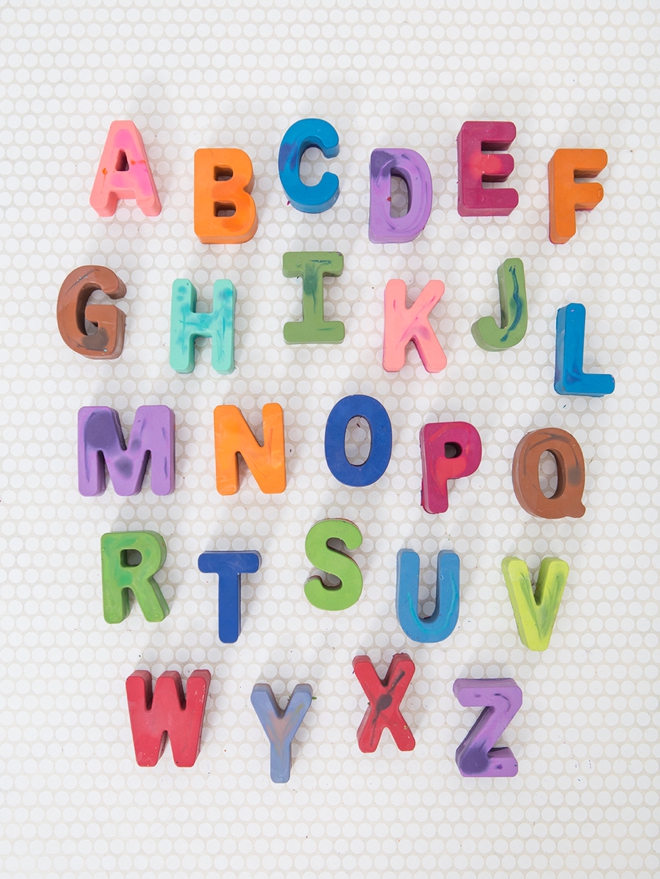
How To Melt Old Crayons Into Awesome, Marbled Alphabet Letters
How do they absolutely mutilate crayons? And with ease, I might add. I mean, my 2-year-old rips the paper off crayons with expert precision, while I’m sitting here having a hard time. Kids are amazing. If you’re like me, you have TONS of broken, messed up, mutilated crayons all over your house. So each night as I’m picking up, I’ve been saving them off to the side to remelt. This is my first remelting project and I thought you might like to see it! Since I used mainly broken pieces I was a bit limited on color. I did add a few “ok” crayons to the mix just to beef it up a bit. Yes, there are easier ways to do this, but I didn’t want to make those crazy multi-colored crayons, I wanted a bit more control. So here is how I melted our yucky crayons down into awesome new marbled alphabet letters!
OMG. I’m on TikTok… and I shared this project in my first little DIY TikTok, see it here!
Gifts
Of course you don’t HAVE to use yucky crayons for these! You can always buy a few inexpensive packs and make these special for someone’s birthday or holiday. Great Easter Egg or Stocking Stuffers. Awesome birthday gifts, especially in a kids name!
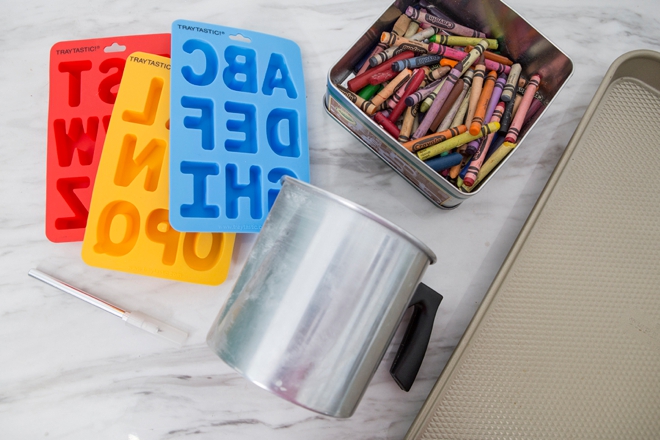
SUPPLIES:
- Yucky, old broken crayons
- Candle pouring pot
- Cookie sheet
- Alphabet letter mold (mine is from Amazon and it was fantastic!)
- Wrapper removing tool
- Chopstick
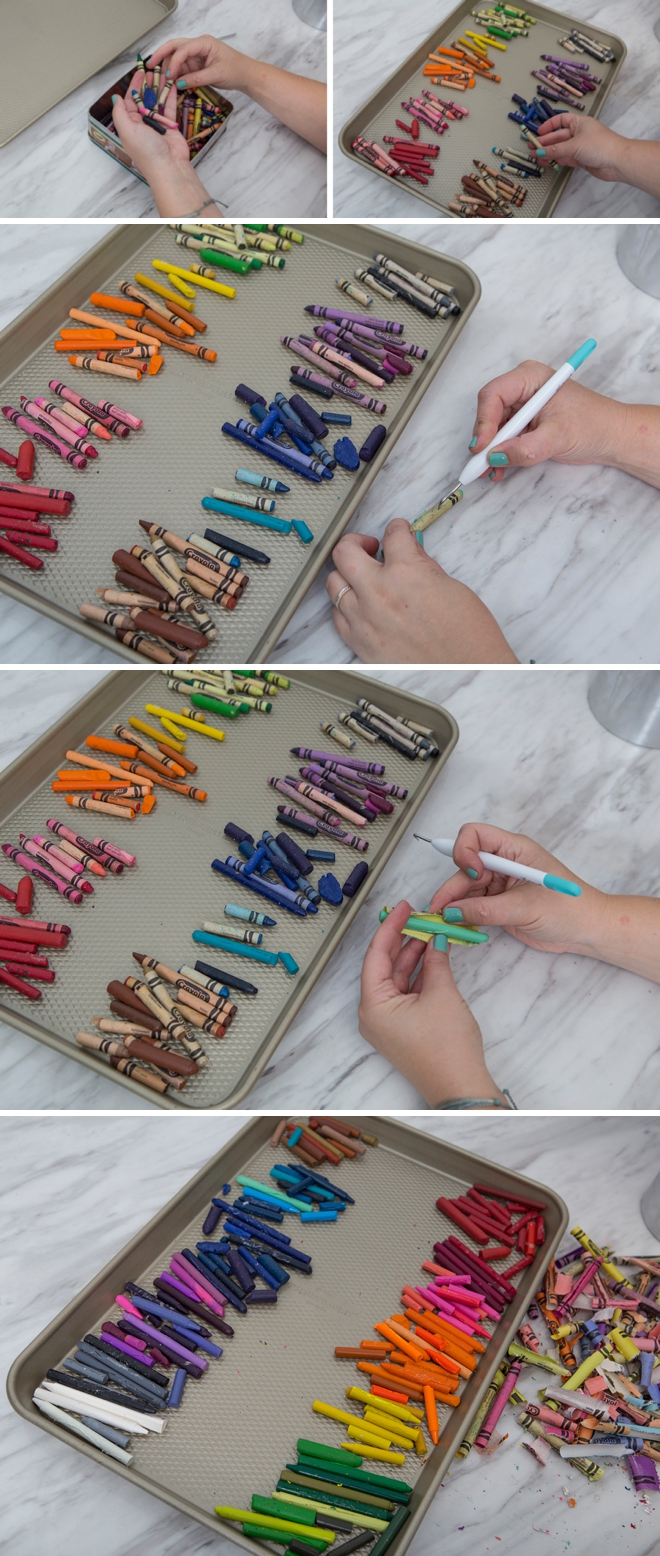
Sort + Remove Wrapper
Start by sorting your crayons by color. Then remove the wrappers, you can do this with a craft knife or a Cricut weeding too, LOL. Or make your kids do it since they are so good at it! At this point I looked at the piles and grabbed a few non-yucky crayons to add to the mix.
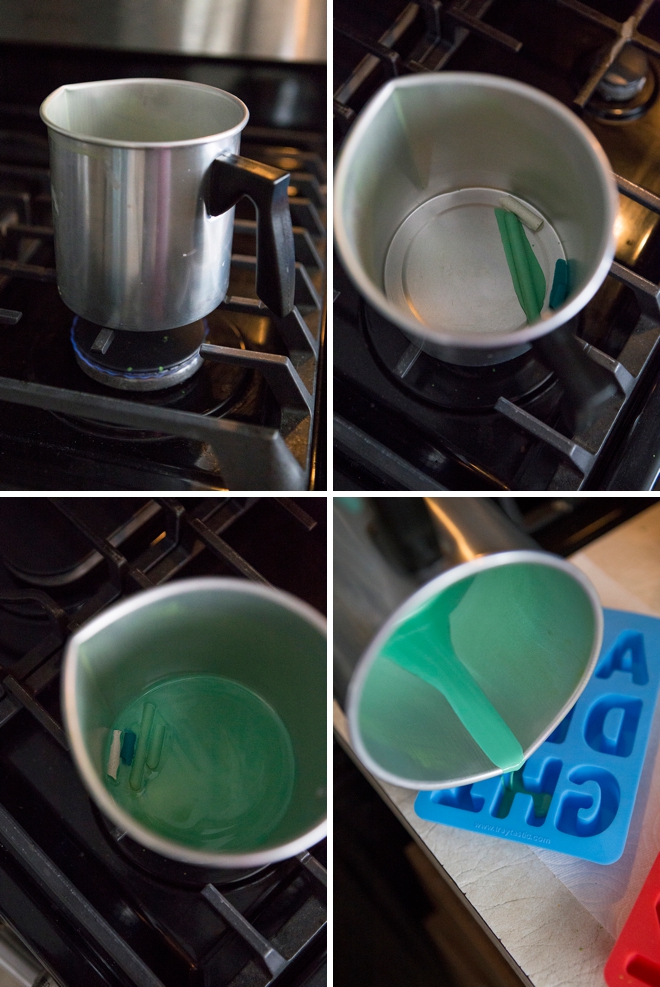
Melt
Start with the lightest shade of the color you’re melting first. Add a little white to make it lighter if you want. Melt over low heat, stirring with a chopstick or the like. Pour your first layer.
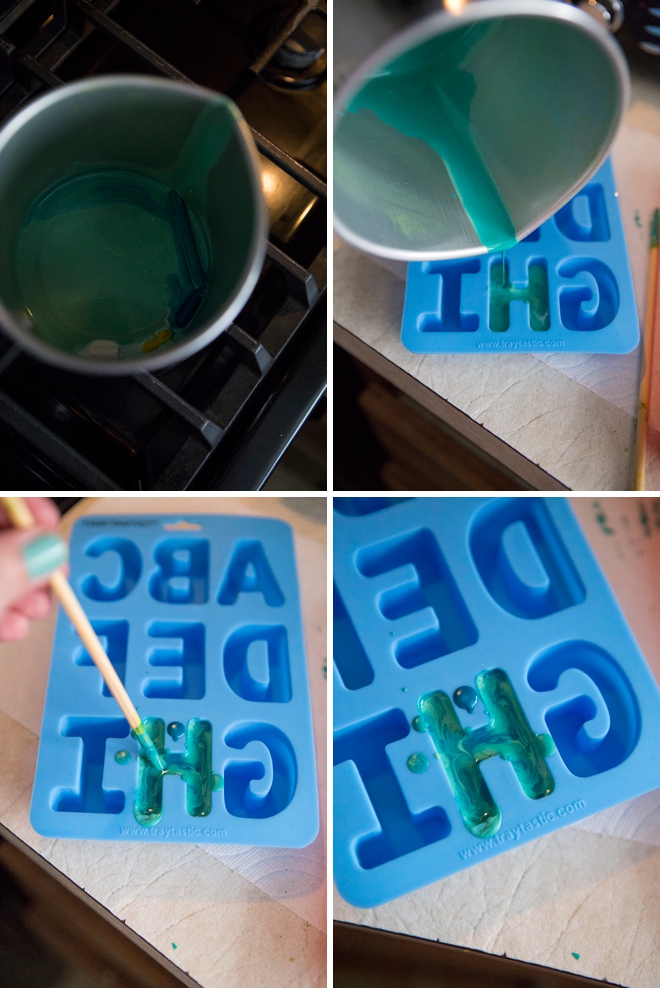
Darker Color Next
Next up, melt a slightly darker shade of the same color and pour it into the same letter mold. If you have another shade do that too! Then gently mix with the chopstick.
You can easily do two or three letters at the same time, just split the two/three meltings in each mold.
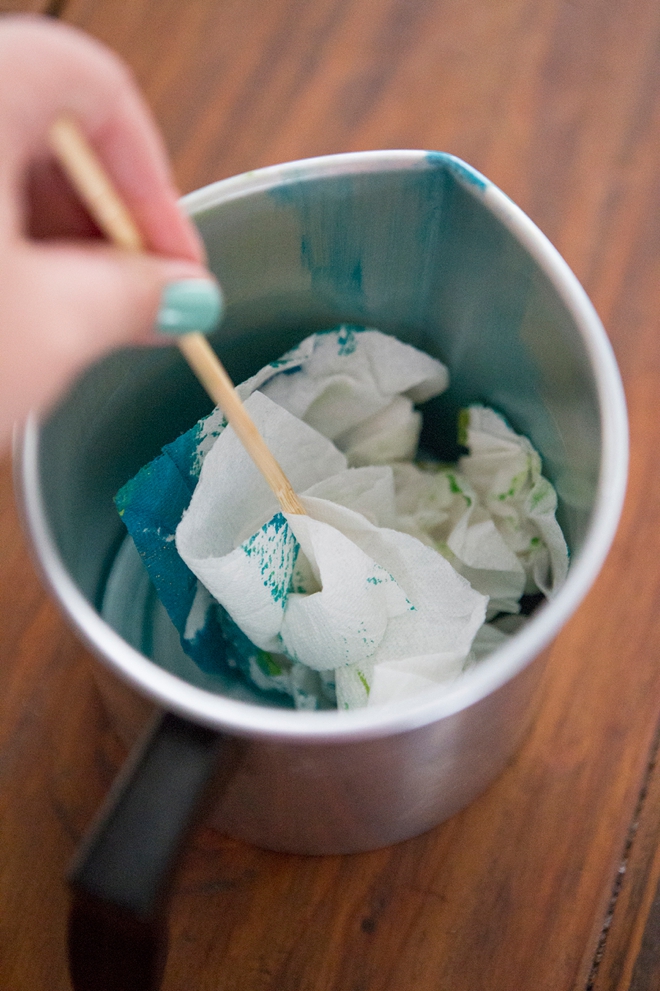
Clean Up
Heat the pot on the burner a bit with no crayons it it, just to warm the left over wax. Then put a paper towel inside and wipe it all clean using the chopstick as the pot will be hot. Might take a few times to really get it clean. Cleaning between each set of colors is recommended.
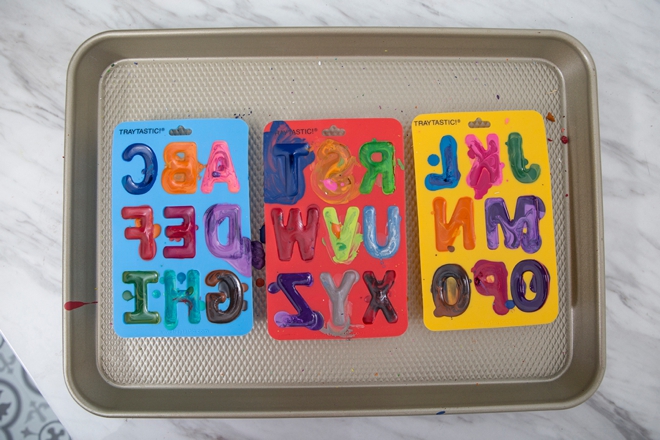
Pour On The Cookie Sheet
As I kept melting and pouring I found it best to pour while the molds were on the cookie sheet so it was easy to move. They took about 30ish minutes to fully set up. I probably waiting 3 hours before un-molding just because of kid stuff.
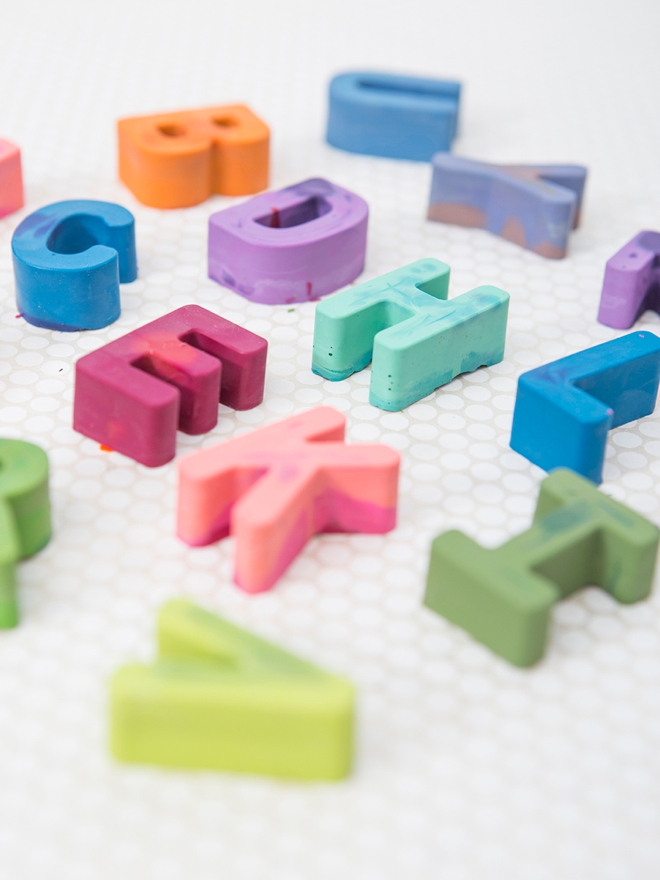
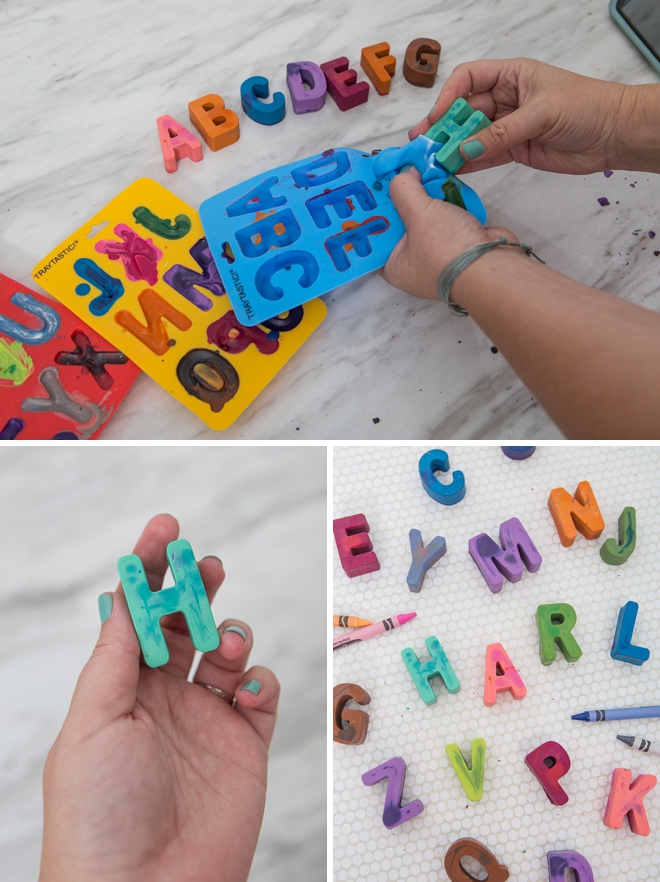
Un-Mold
Carefully peel your new alphabet crayons from their mold! This mold was FANTASTIC. Held up super well, no rips or tears, it’s still in great condition. The letters are large and thick enough that it’s been hard for the girls to break them!

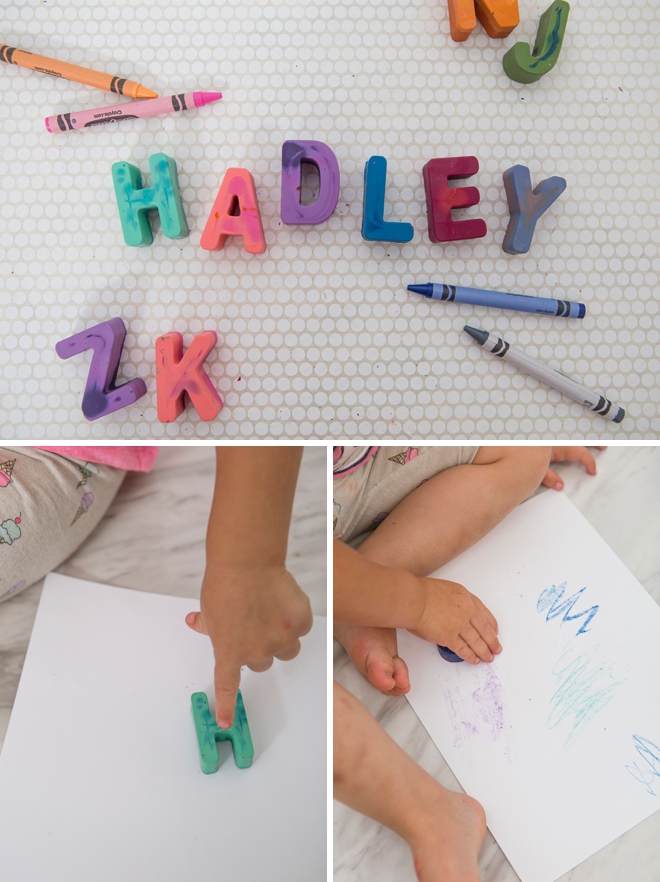
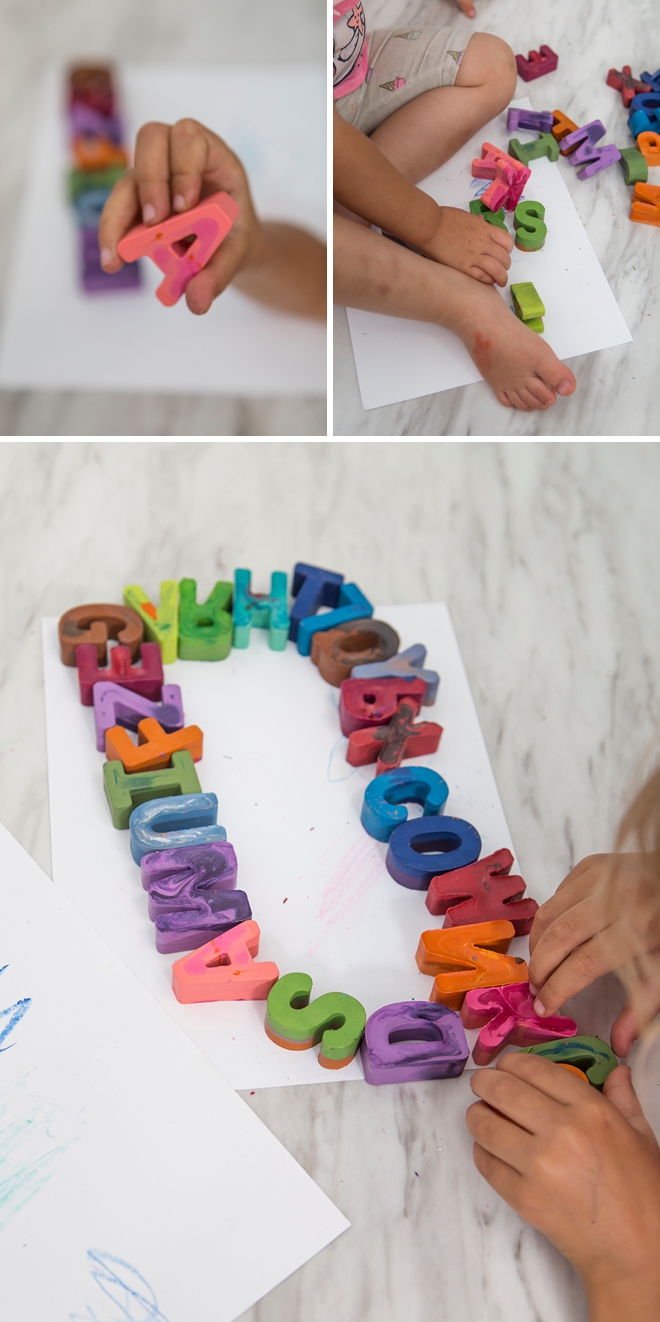
Learning Their Letters
Now when we color or pick up we talk about each letter. Just another opportunity to drill them into their brains, LOL.
If you create one of our projects, please share a picture with us on Instagram or Twitter using the hashtag #somethingturquoisediy, we regularly reshare our favorites! Your profile will need to be public for us to see it otherwise, you can always DM us!
DIY Tutorial Credits
Photography + DIY Tutorial: Jen Causey of Something Turquoise // Yucky crayons: the kids! haha // Alphabet Molds: Amazon // Candle Pouring Pot, small: Amazon // Stiring Sticks: left over chopsticks from take-out // Gold Cookie Sheet: Threshold at Target
Shop The Supplies:
Find the supplies you’ll need for this project from our affiliate links below:


Comments