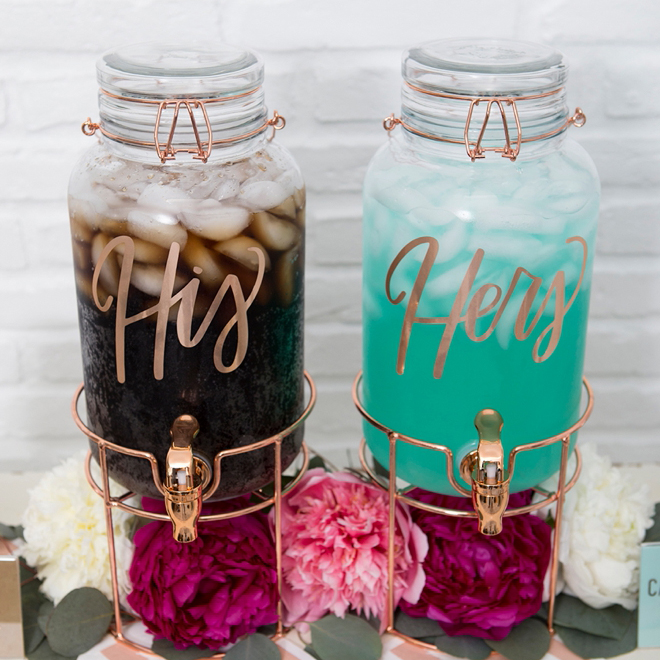

How To Create An Adorable “His & Hers” Cocktail Station
Ceremony cocktail stations are my favorite! Whether you use this idea for before/during your ceremony, or at an engagement party or even an anniversary party ~ it’s a lovely idea. Save money by providing only your favorite hard beverages for your guests in an adorable way. With only a few computer clicks your Cricut does most of the hard work for you, and in minutes you’ll have personalized beverage jars that look like you bought them like that! Now the question is what cocktails will you serve?
Just A Sip
This is the perfect little station to set up before your ceremony. Many times guests arrive early and the main event doesn’t start on time, and let me tell you, when I arrive to a wedding and get a cocktail to sip on during the ceremony, I am one happy guest!
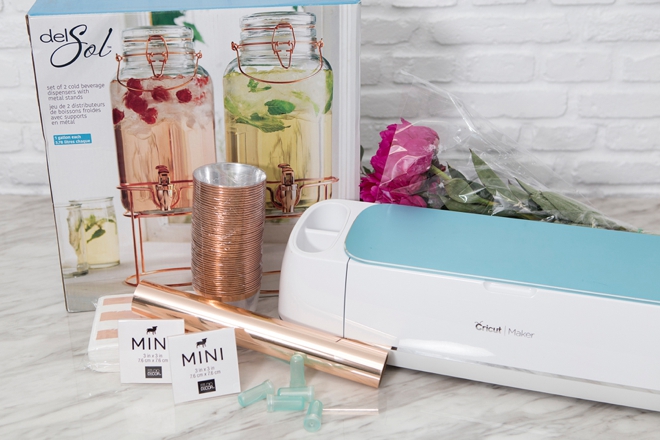
SUPPLIES:
- Pretty Drink Dispensers, these are from Amazon
- Cricut Explore or Cricut Maker
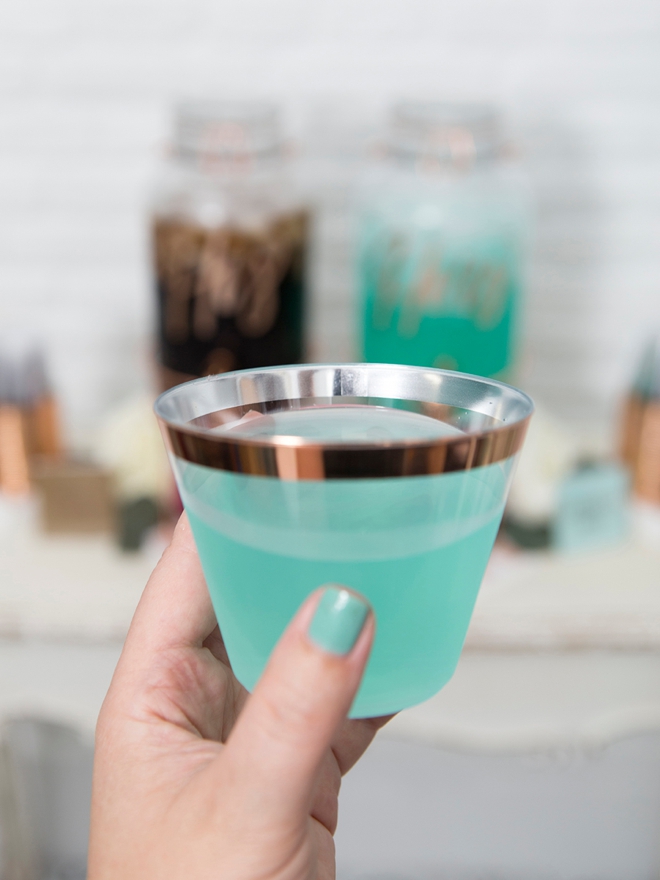
- Cocktail Cups and Napkins
- Adhesive Foil Vinyl
- Transfer Tape
- Flower Water Tubes
- Pretty Flowers
- Mini Frames
- Our exclusive, hand-lettered “His and Hers” .SVG files to cut with your Cricut, only $1.99 in our shop!
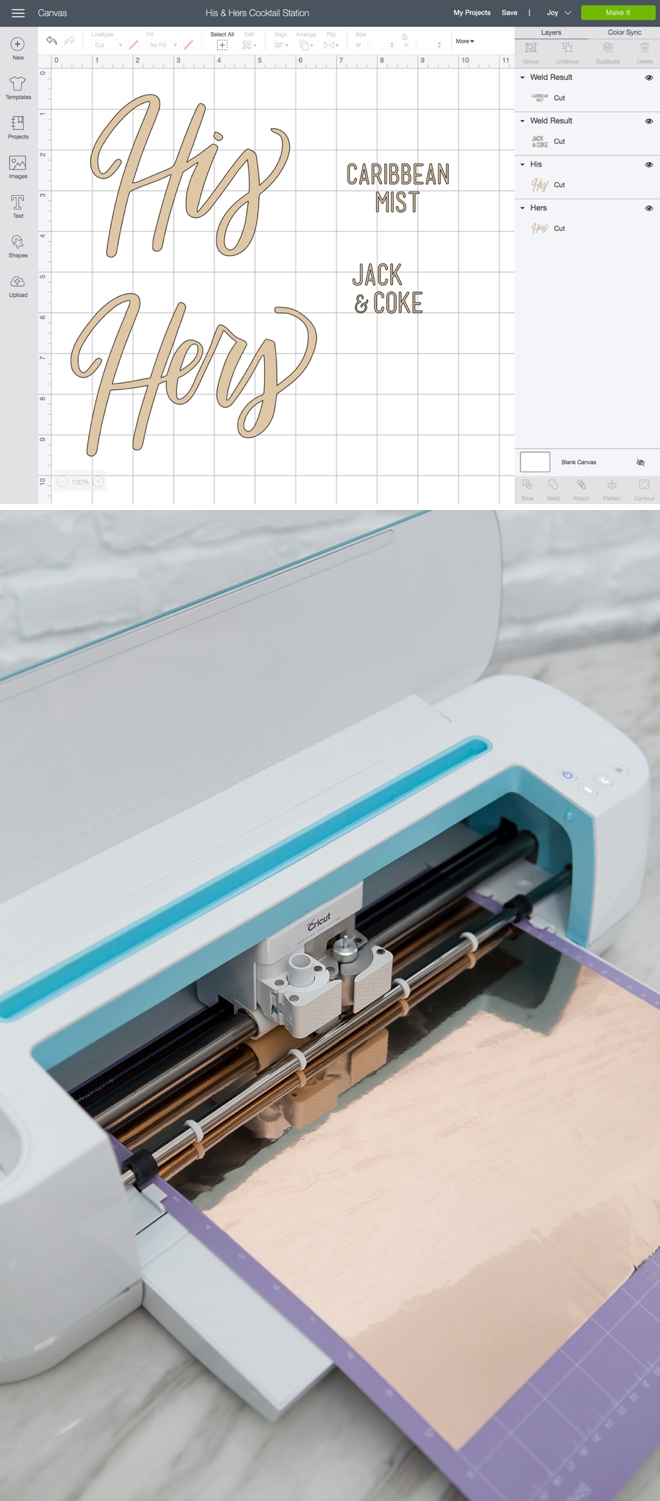
Create In Design Space
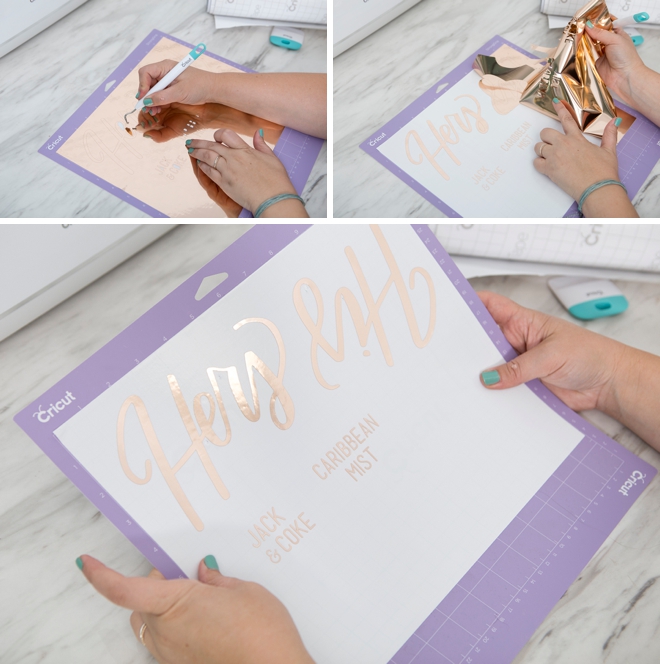
The first step is to login to Design Space and start designing your drink dispensers! Upload our exclusive Cricut cut file by using the “upload” button on the left tool bar. Locate the file on your computer and select to add it to your canvas. Then drag, resize, and add personal touches like maybe your names and possibly even the type of cocktail. I sized these to 4″ tall and the wording for the cocktails was within 3″ square. The font I used for the cocktail sign is called Mensch and the his and hers is hand lettering. Prepare your mat and let your Cricut work it’s magic!
For certain types of metallic adhesive foil, I found it best to cut on a strong grip mat.
Weed The Designs
Weed, (aka. remove) all the excess vinyl material that isn’t a part of your design. Using the Cricut weeding tools makes the removal of intricate pieces super easy. Then trim each design down to size if needed. For this project I decided to weed while it was still on the mat.
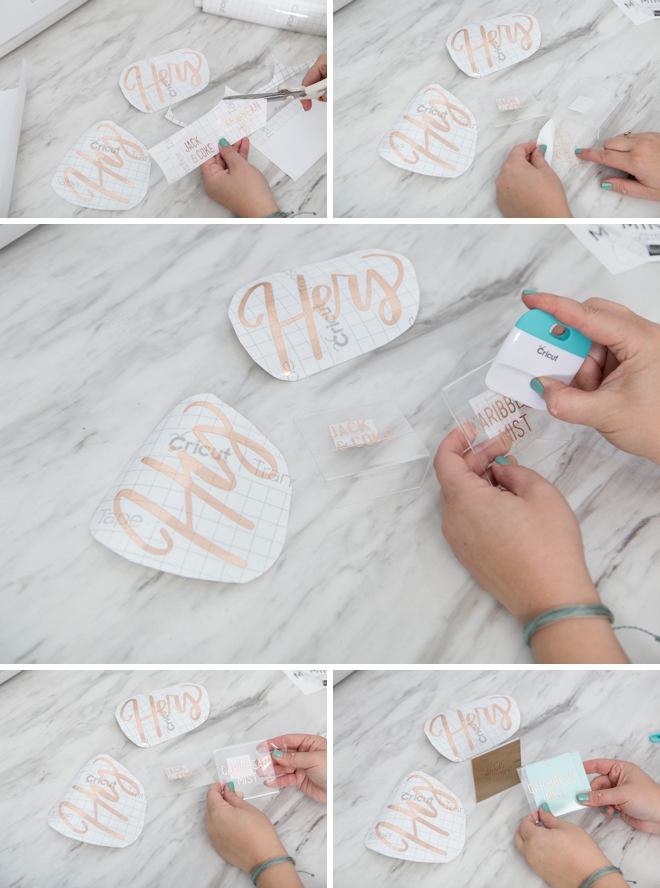
Transfer Tape
Transfer tape is the BEST and if you’ve never used it, you must try it. Basically you transfer your new vinyl stickers from their base to a clear film so you can properly position them on their final resting place. Cut a piece of transfer tape just larger than your designs, peel and evenly smooth on top of the vinyl using the scraping tool.

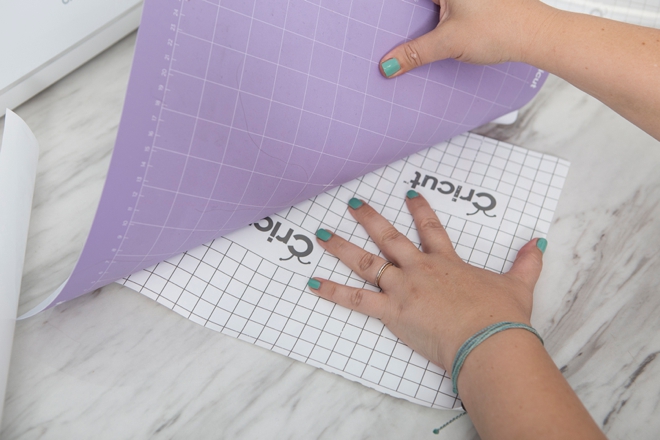
Upside Down Removal
With vinyl projects like this it’s best to turn the mat upside down and peel it away from the design, rather than peeling and curling the vinyl design off the mat. It puts less stress and movement on the sticker.
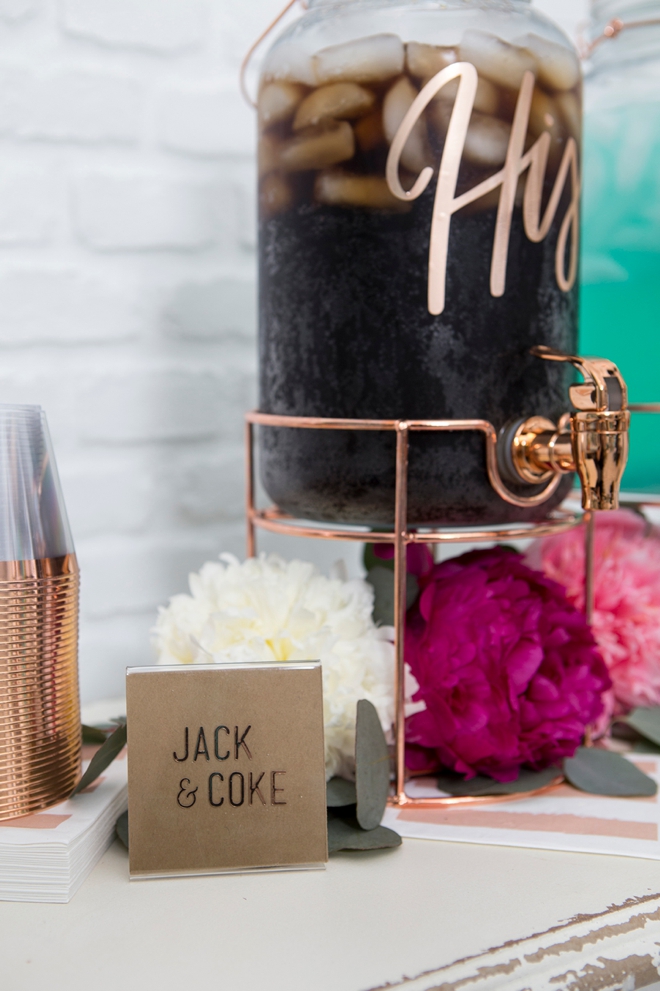
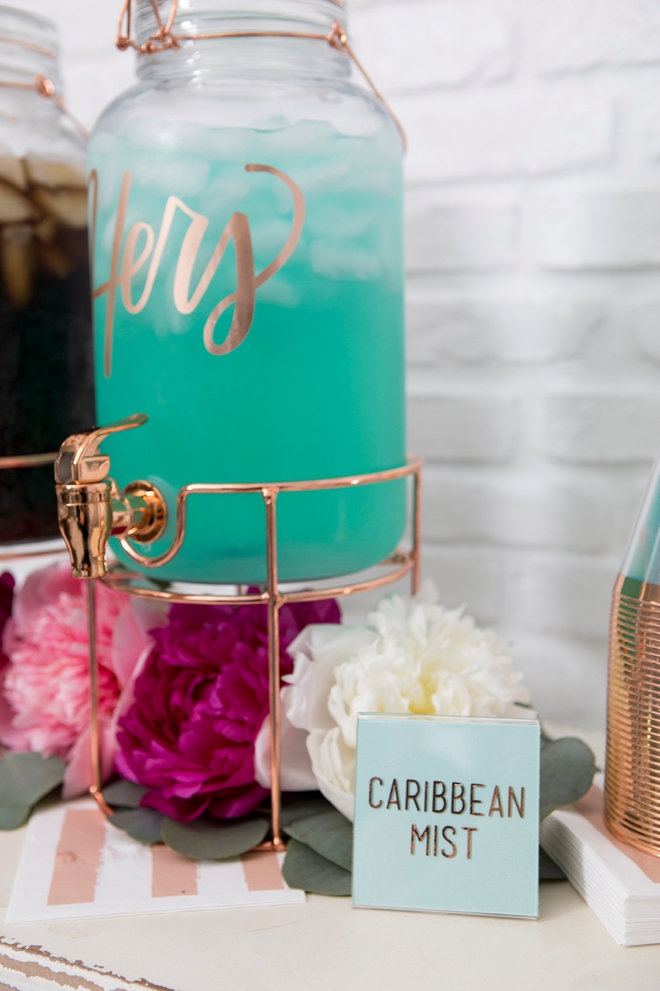
Mini Frames
To identify the cocktails I made these little frames using cardstock and vinyl. Add your new cocktail sticker on top of the acrylic frame and then slip a piece of colored cardstock inside so the text is easy to read.
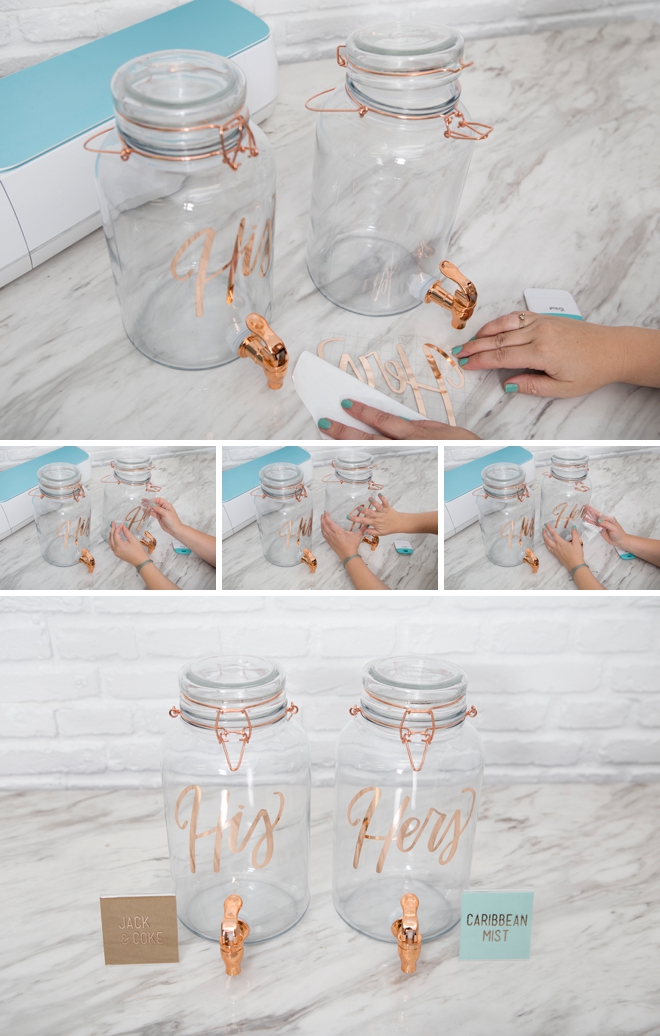
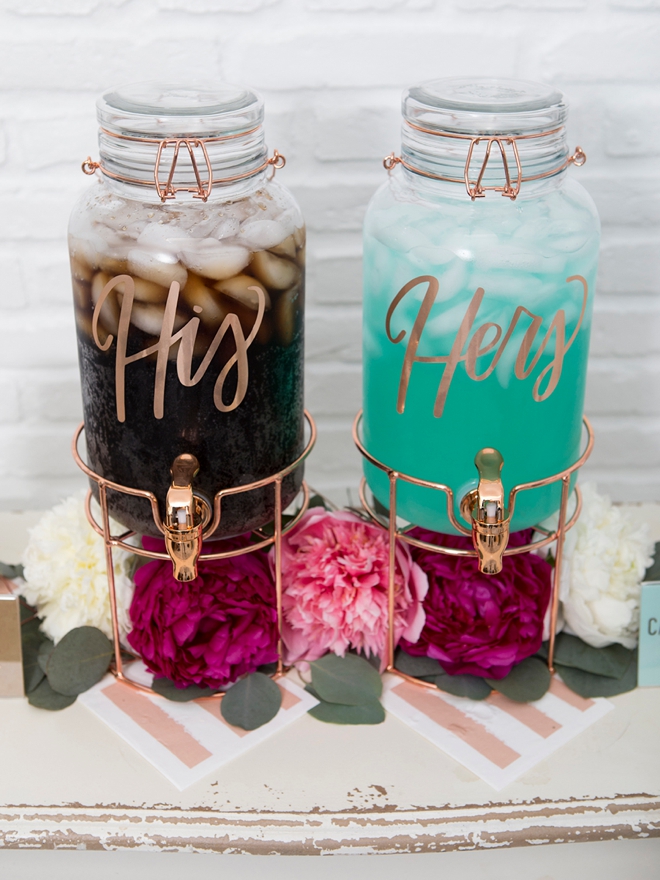
Adhere The Designs
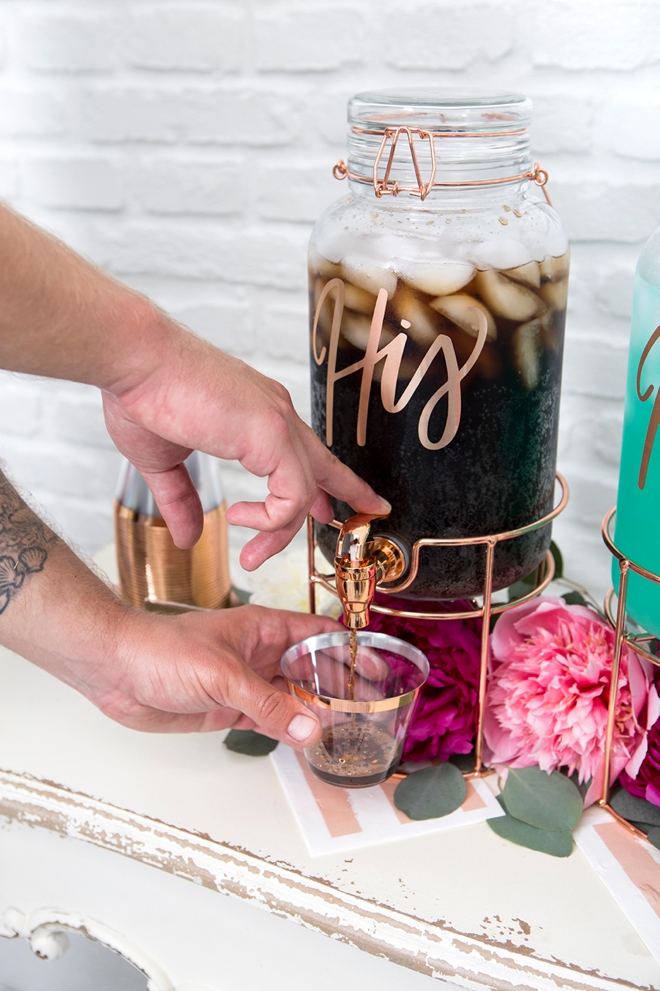
Now it’s time for the dispensers to get their upgrade! Remove the white vinyl backer sheet leaving just the clear transfer tape and your design. Then place on top of the jar and gently burnish with the scraping tool. Next, pull away the transfer tape to reveal your awesome personalized design!
This adhesive foil isn’t permanent, however I do recommend removing it from the glass jars once your event is over so that you can reuse them again for a different event.
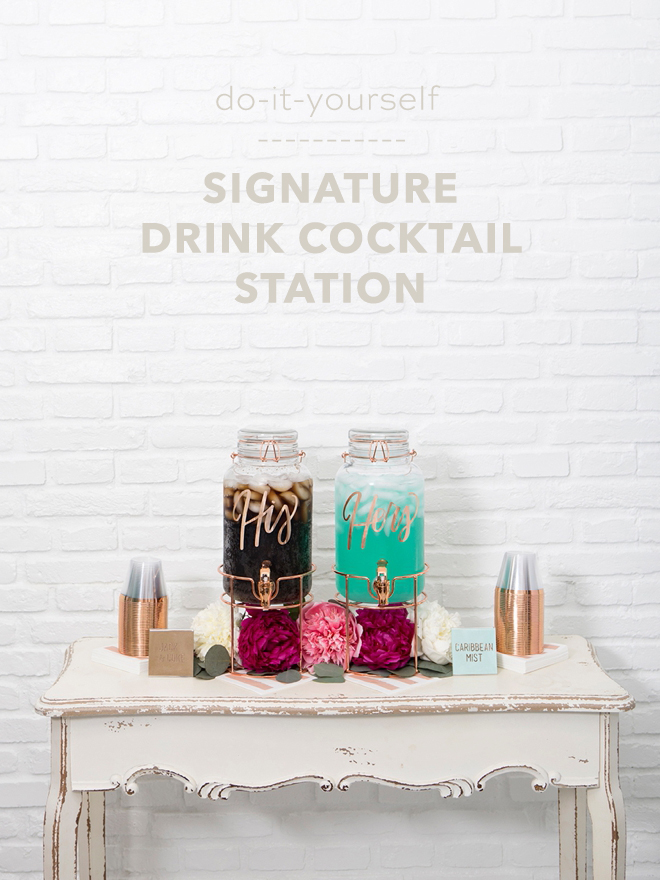
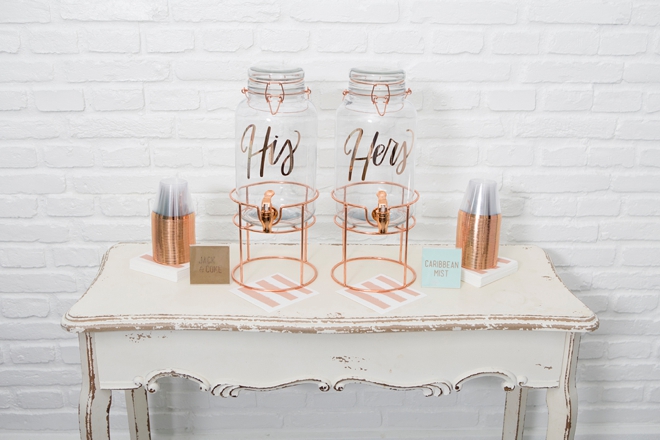
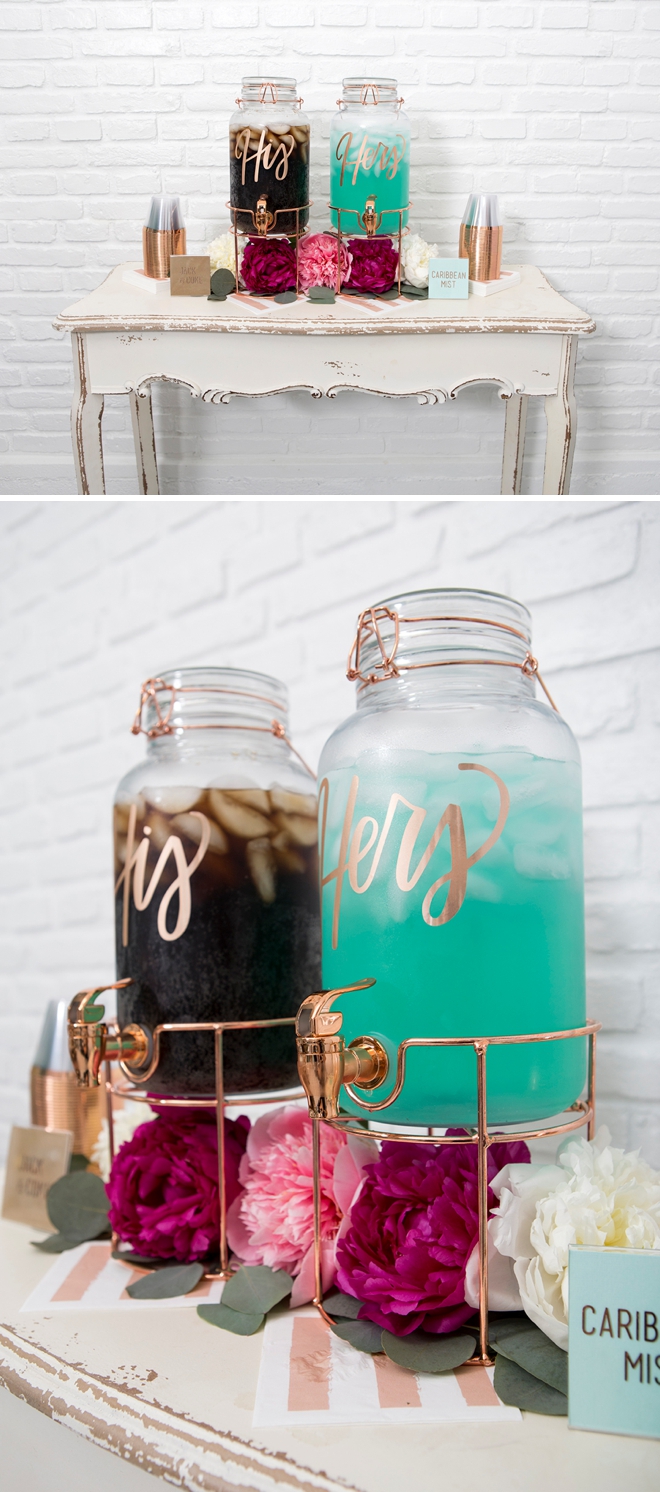
Set Up
Plan out your set up for your ceremony or reception. If you are putting these items together for someone else to set up on the day of your event, it can greatly help to snap a photo like this so they know exactly what you want.
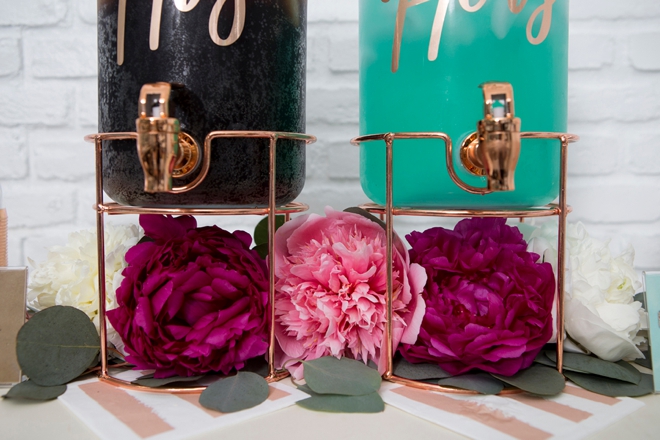
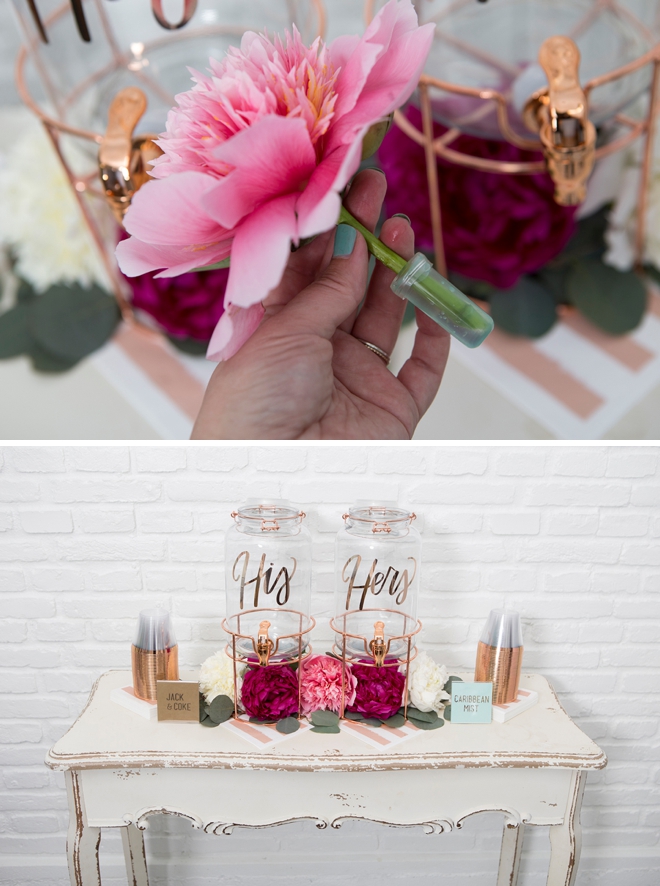
Flower Water Tubes
Peonies and other flowers can be gorgeous laid on a table like this, however if they don’t have access to water they will wilt during your event. Simply put the stems inside filled water tubes and you’ll be golden!
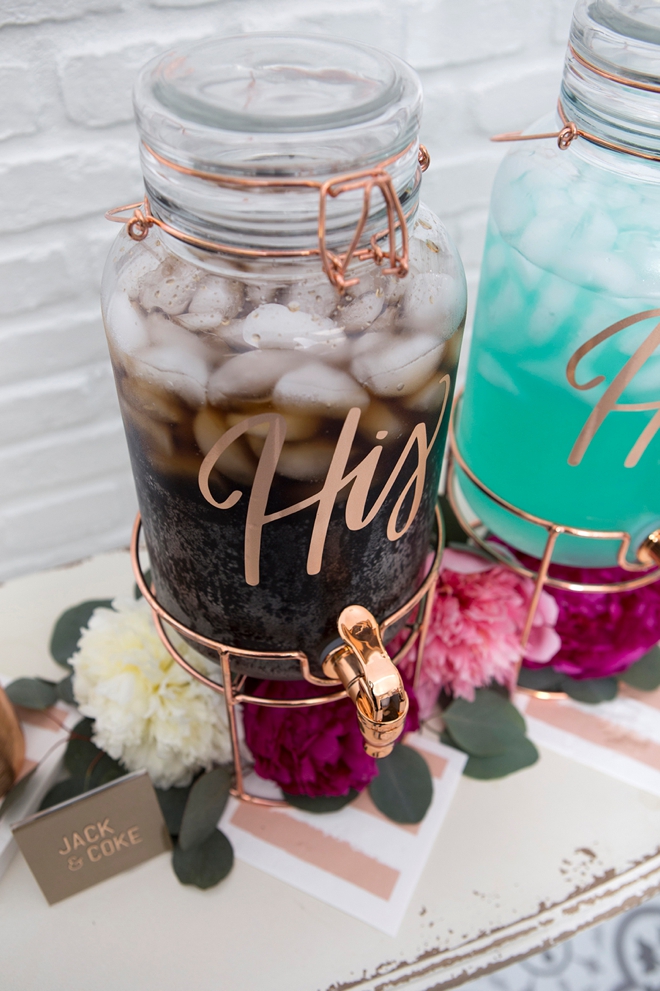
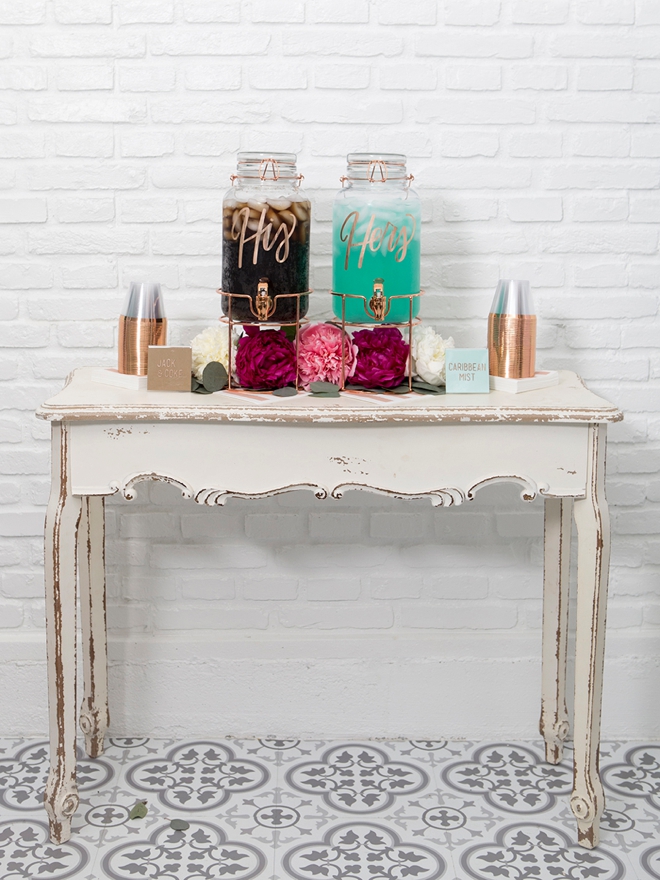
Cocktail Recipes
His: just Jack and Coke.
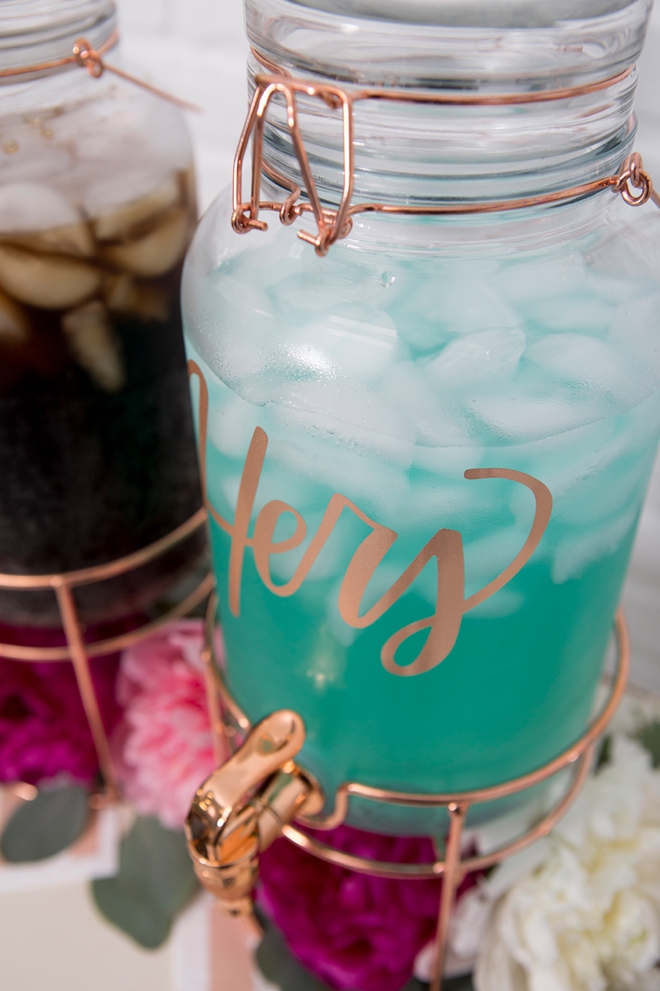
Hers: Caribbean Mist. The simple cocktail recipe (which is great for large containers like this) can be found here. My fav!
Cheers!
If you create one of our projects, please share a picture with us on Instagram or Twitter using the hashtag #somethingturquoisediy, we regularly reshare our favorites! Your profile will need to be public for us to see it otherwise, you can always DM us!
DIY Tutorial Credits
Photography + DIY Tutorial: Jen Causey of Something Turquoise // Cricut Maker and supplies: courtesy of Cricut // 1 Gallon, Rose Gold Drink Dispensers: Amazon // 9oz Rose Gold Cocktail Cups: Amazon // Flower Water Tubes: Amazon // Napkins: from Minted, no longer available
Shop The Supplies:
Find the supplies you’ll need for this project from our affiliate links below:


Comments