For Christmas, Ava our oldest who is 4, got one of those Smithsonian gemstone excavation kits and was absolutely enthralled with it. She spent over 45 minutes on two different days digging and playing with the sand and stones. Which is remarkable for her attention span, so I knew I wanted to figure out how to make that same type of sand brick. I started with the recipe floating around the internet for equal parts water-playsand-plaster, and it crumbled WAY to fast and was super wet still after the recommended 30-minute dry time. She demolished the brick and found the stones in like 5 minutes, and it took me way longer than that to make the brick, so back to the drawing board. The hubby suggested adding sanded grout, weird but ok, and it turned out GREAT! The grout made the brick significantly stronger and the texture was a lot smoother overall. Then, of course, I figured why not add some paint and glitter! Next, I took photos of the exact stones in each brick and printed them out so that my girls could match them up and make sure they found them all. Gemstones, dinosaurs, any little toys or things would be fun to find. Below I’m sharing two formulas I created, a harder one for older kids and a softer one for the younger kids!
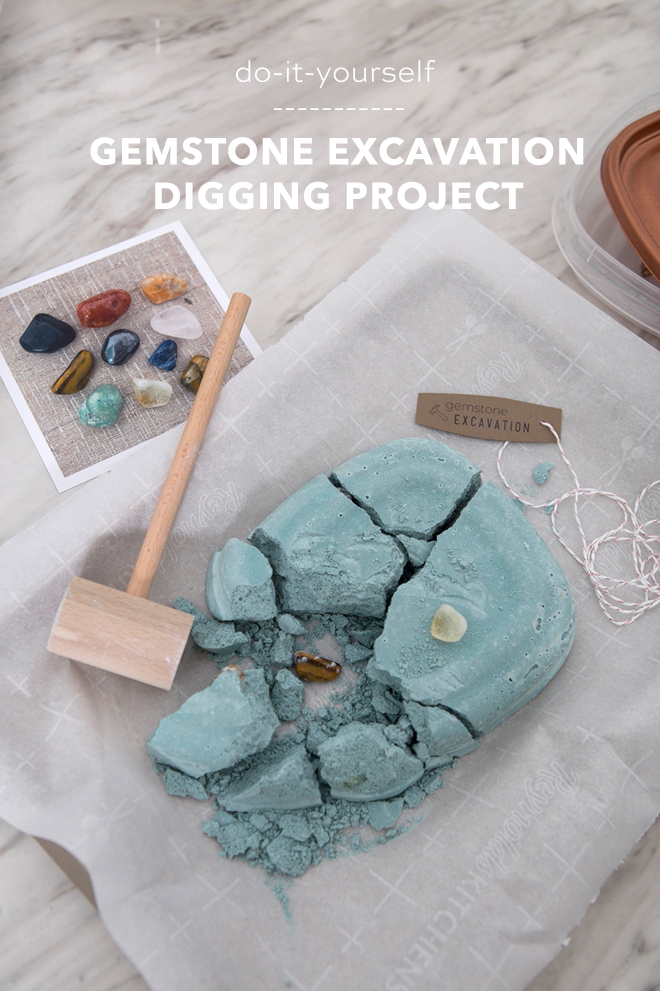
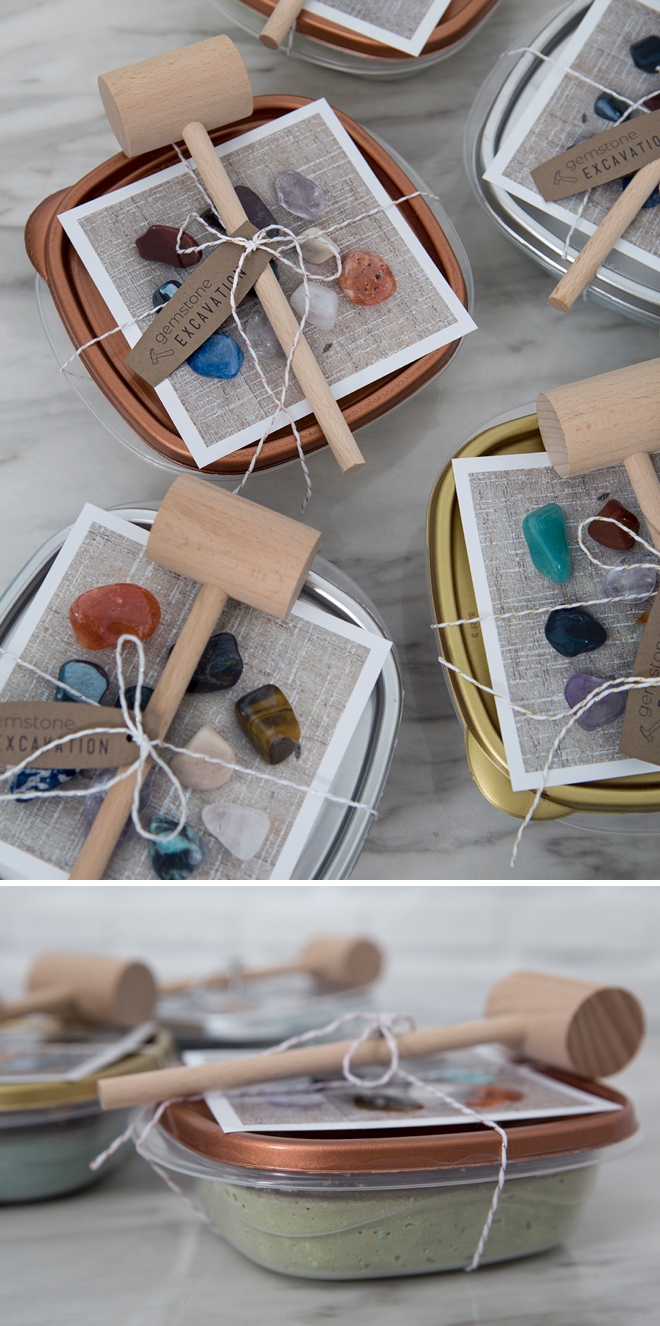
Great Gifts!
These gemstone digs are fantastic quarantine boredom busters! We drove around and dropped off 4 to our different friends throughout the neighborhood and let me tell you, those mamas were grateful for the 20 minutes or so of silence they got! They’re wonderful for…
- Quarantine Bordum Buster
- Birthday Gifts (keep a few on hand!)
- Birthday Party Activity
- Great STEM homework for discovery and matching!
SUPPLIES:
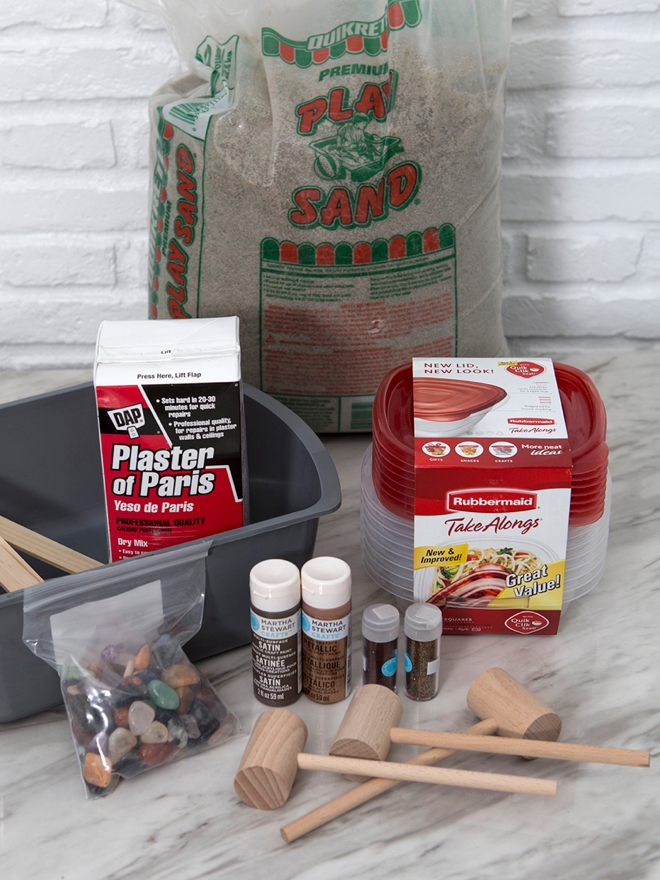
- Gemstones (I got mine on Amazon)
- Play Sand
- Plaster of Paris
- Sanded Grout
- Craft Paint (optional)
- Glitter (optional)
- Plastic Sandwich Containers
- 7″ Wooden Mallets
- Twine
- Cardstock
- 5″ x 5″ Photo Paper
- Home Printer
- Old bucket and paint sticks for mixing (don’t use anything nice)
- Our exclusive, printable gift tags available in our shop for only $1.99!
Sort The Rocks
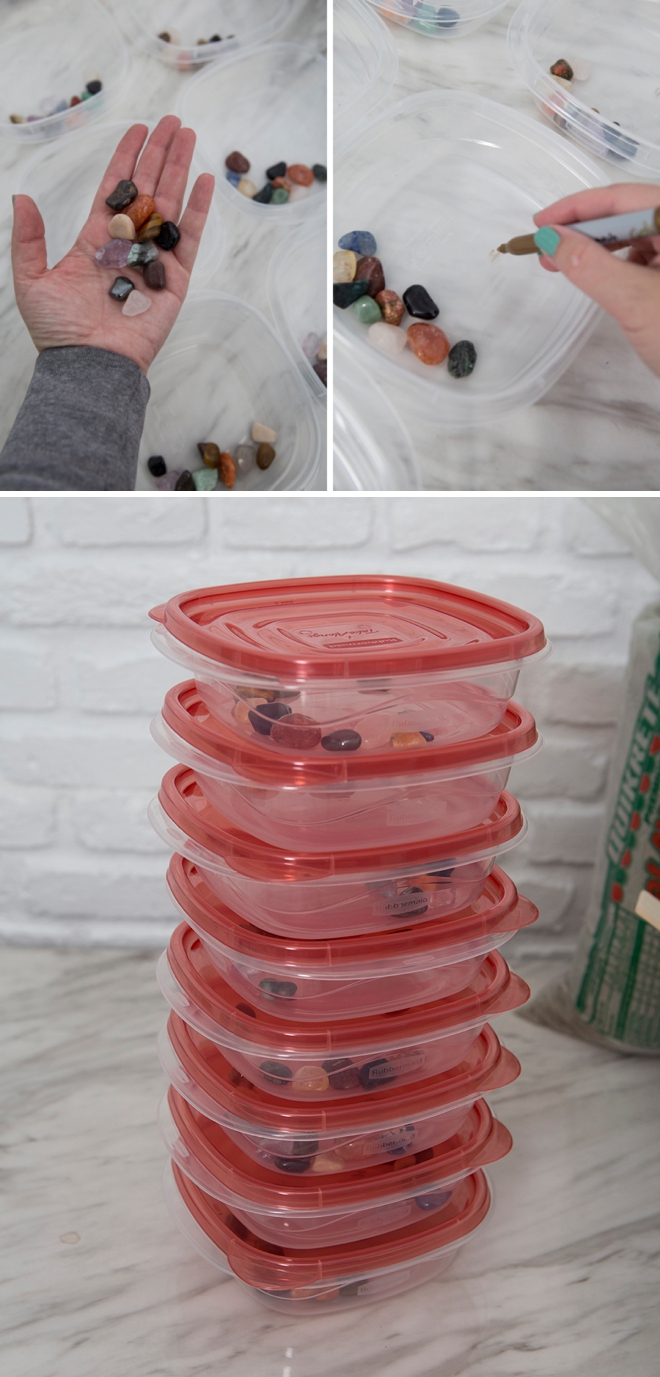
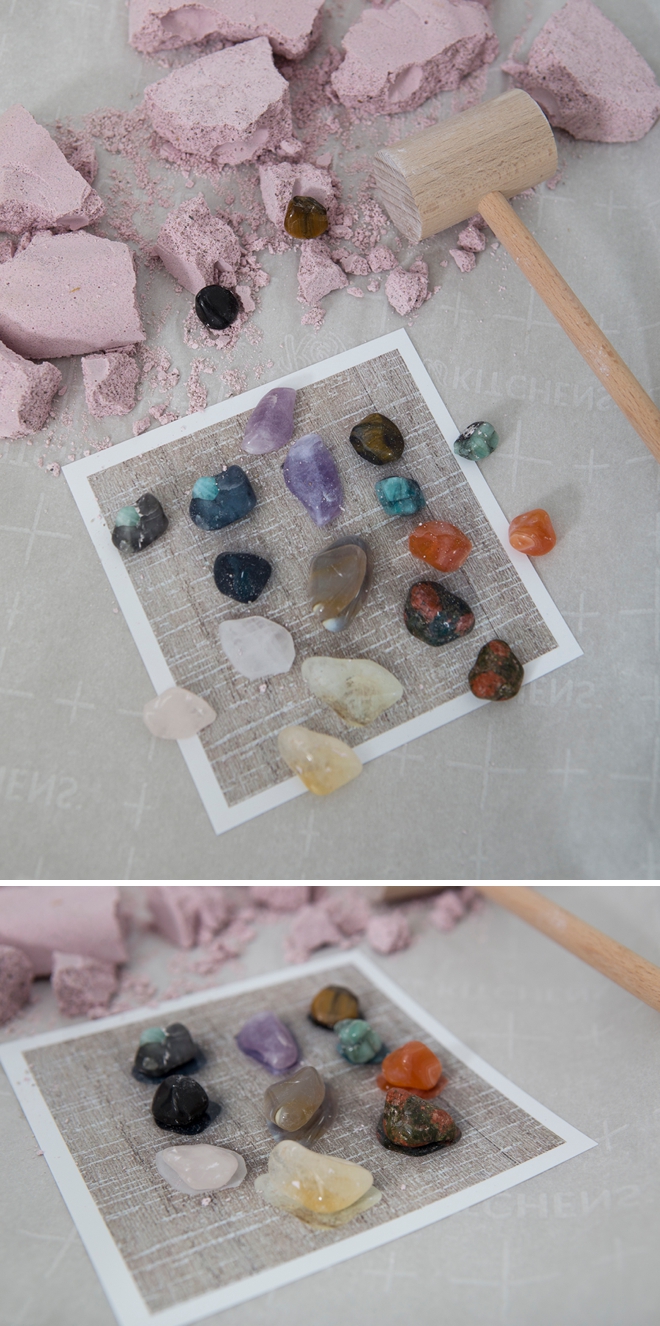
My biggest complaint about the Smithsonian kit was that it came with a chart of gemstones, but not the exact gemstones. It was like here’s 20 gorgeous gems – and you get what you get! So I knew from the beginning that I wanted to catalog the legit exact stones in each sand brick. Which was quite the task to keep track of, let me tell you. But the fact that the kids get to find the EXACT stones and match them up is totally worth the effort.
Start by numbering the plastic containers with a Sharpie, on the bottom so you can see through the backside and then sort out all your rocks. Add 8-10 per container.
Snap Pictures
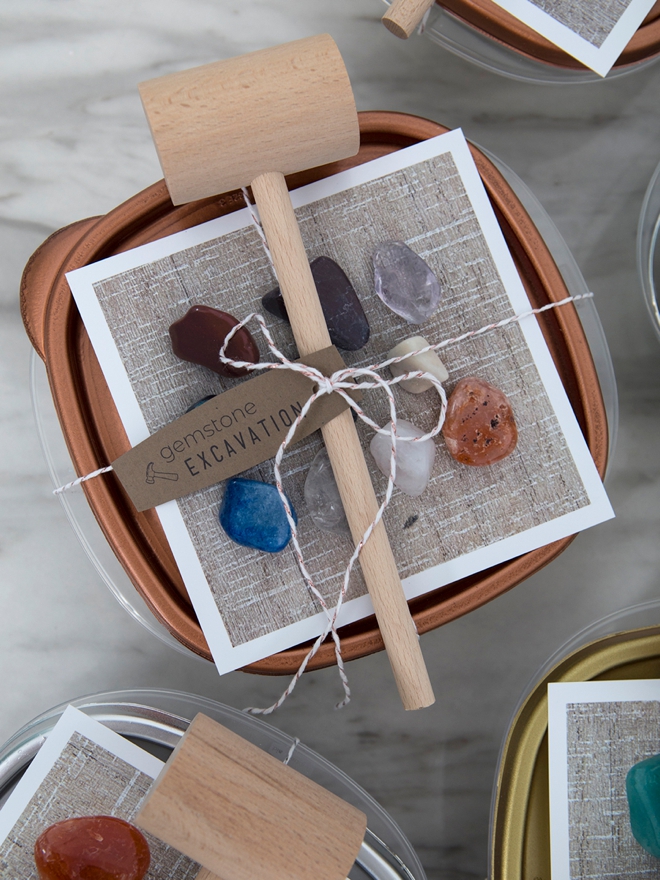
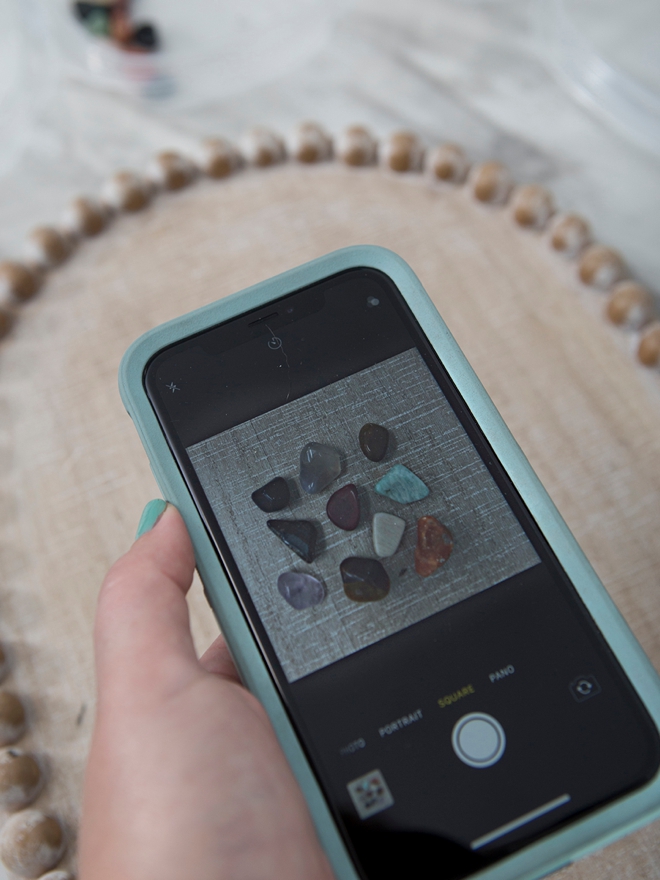
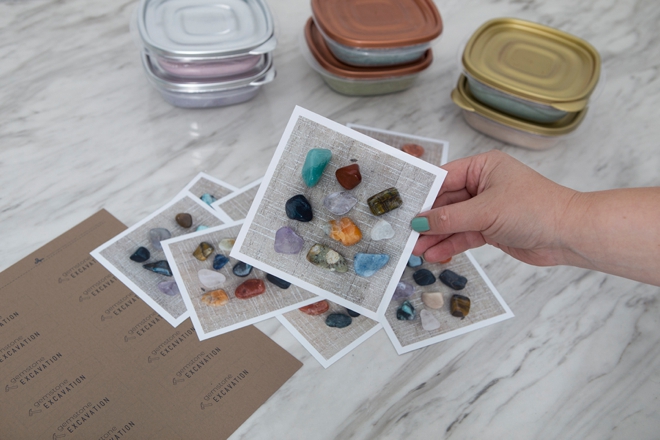
I knew I was using the 5″x5″ photo paper from Canon so I shot these pictures in a square format. I arranged each batch on a cute wood tray and also snapped a photo right before it of the container number, to keep them organized in my phone.
Find & Match
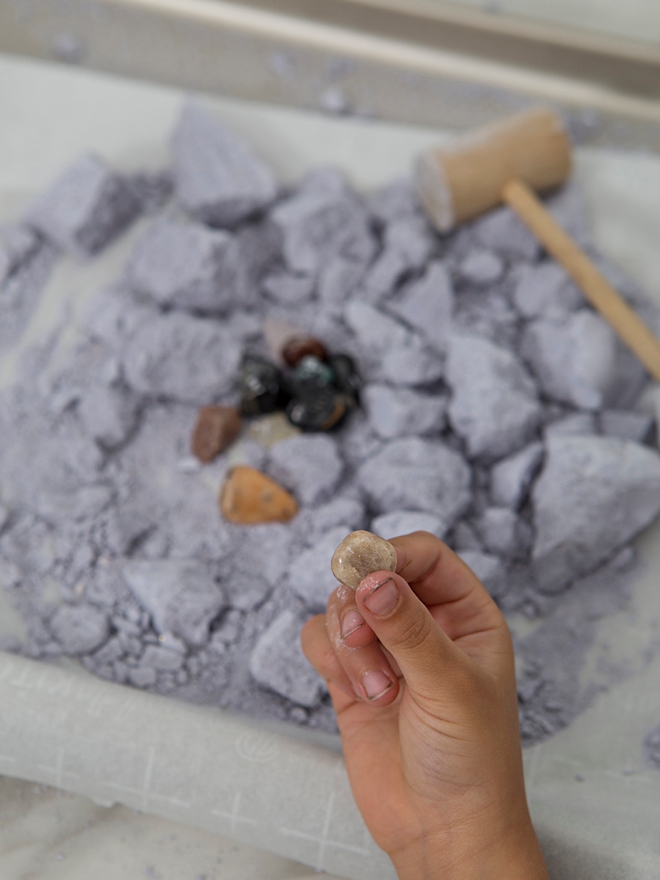
The ability to find and match the stones is awesome! My almost 2 year old can even do it and it’s adorable. This way they can easily tell if they’ve excavated all the stones!
Big Kid Recipe
I created two recipes, one for bigger kids (4+) and one for smaller kids (2-4).
Big Kid Recipe: (harder)
– 1 cup Play Sand
– 1 cup Plaster
– 3/4 cup Sanded Grout
– 3/4 cup Water
– Squirt of Paint
– Dash of Glitter
(Makes about 2 1/4 cups of mixture)
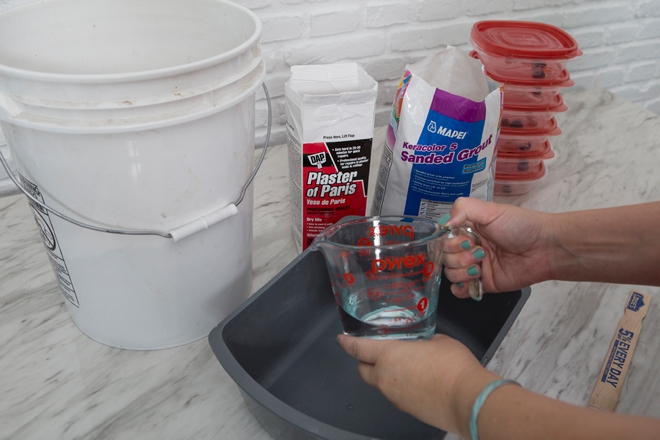
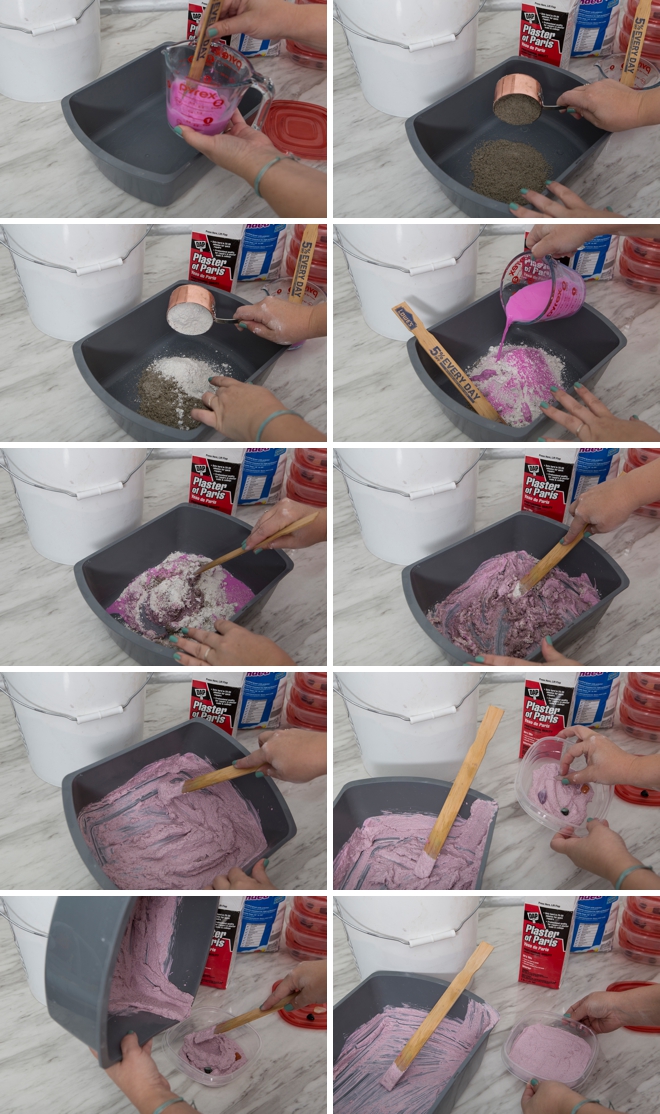
Start with 3/4 cup of water…
Add a big squirt of paint and stir until dissolved. Totally optional.
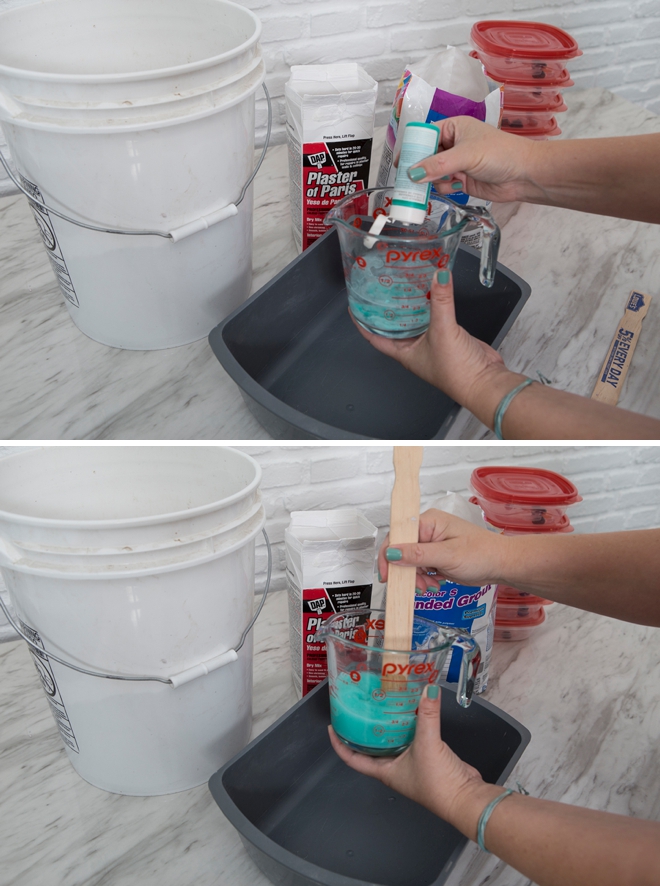
Next add the sand, plaster, and grout to a bucket.
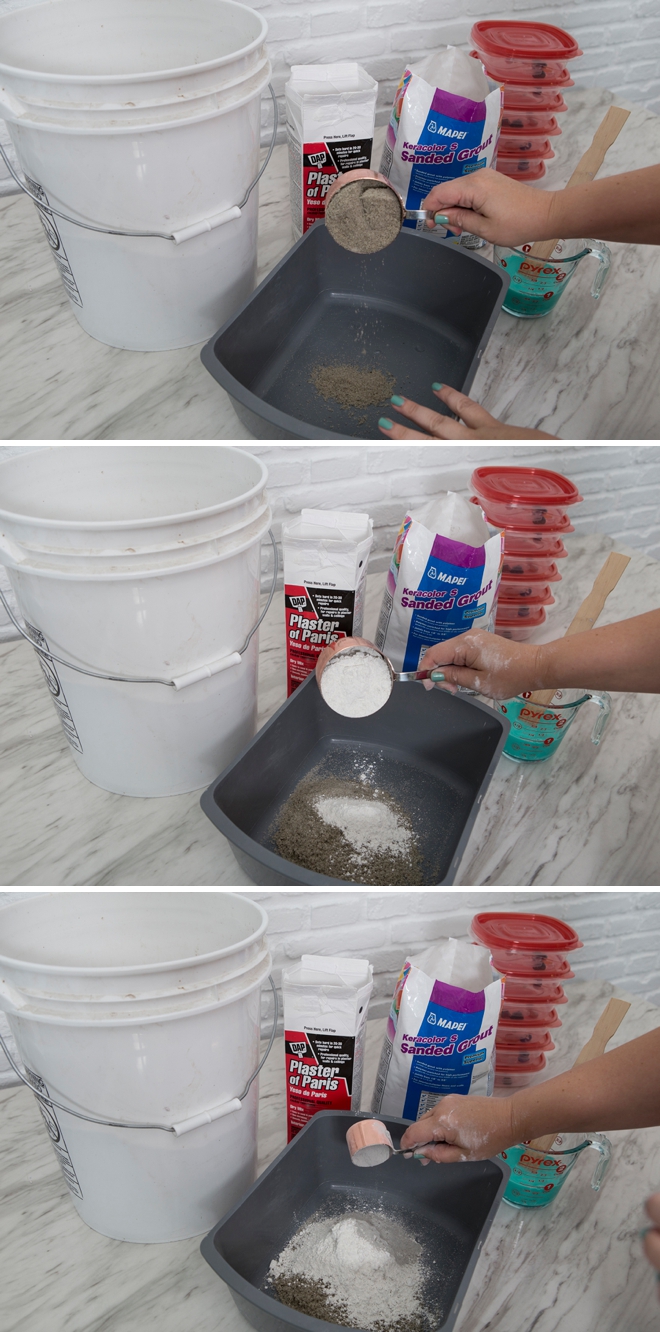
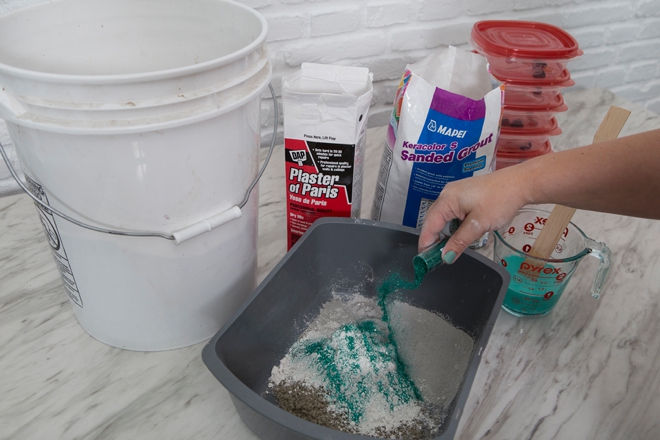
Throw in a dash of glitter because why not!
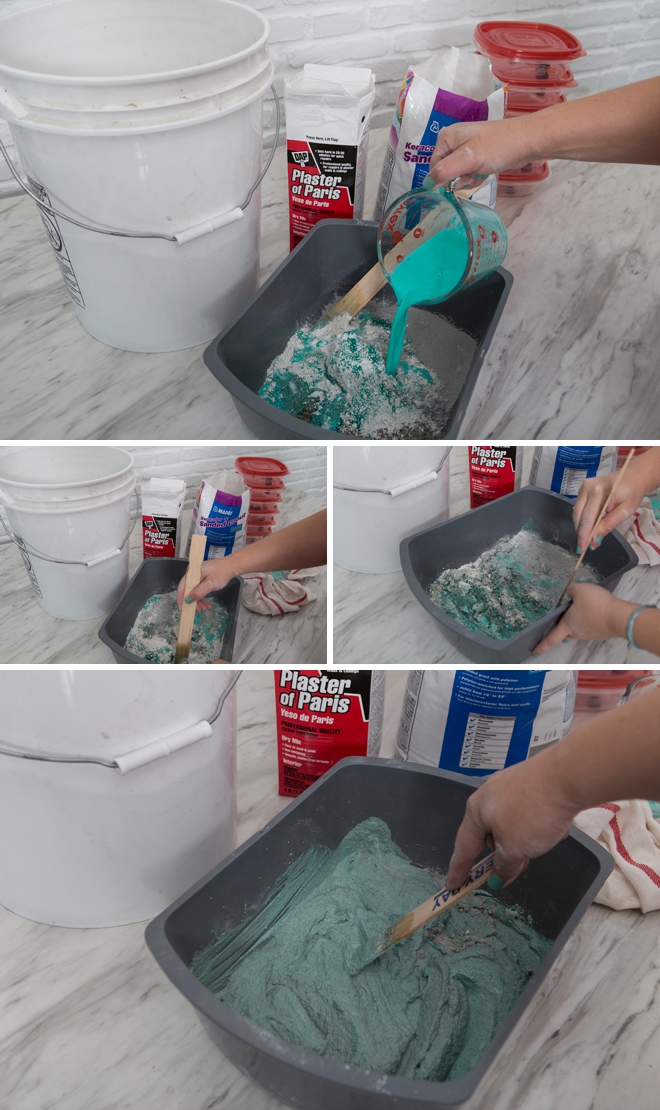
Mix
Mix, mix, mix! At first it will feel like it’s not enough water and then after a few stirs it totally changes. It should feel like slightly melted frozen yogurt.
Sand + Gems + Sand
Set the rocks aside… then add a good amount of the mixture into the sandwich container. Put in a few stones, add more mixture, more stones… and keep going until the stones and mixture are gone. Lift the container up a few inches from the table and drop to get the mixture to settle, just like you would with a cake pan and air bubbles.
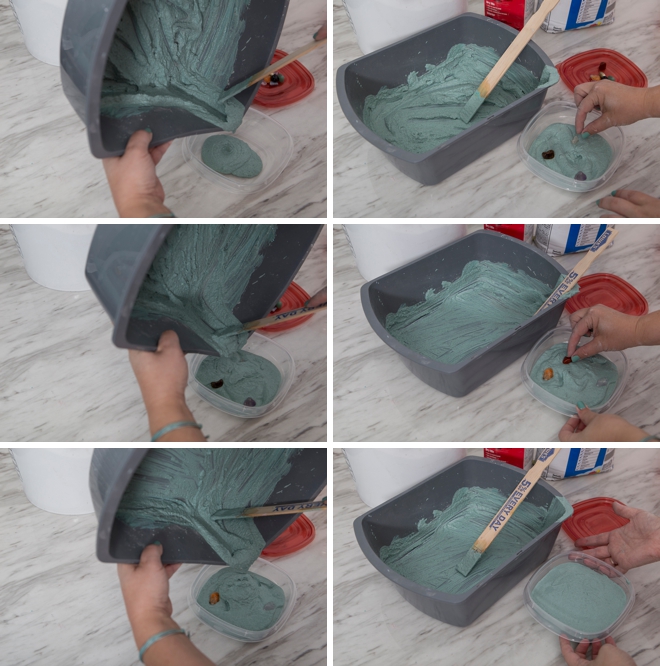
Little Kid Recipe
This is for kids 4 and under.
Little Kid Recipe: (softer)
– 1 cup Play Sand
– 1 1/4 cup Plaster
– 2/3 cup Water
– Squirt of Paint
– Dash of Glitter
(Makes just under 2 cups of mixture)
Same steps as above. Tint the water. Add the sand and plaster. Add the paint water. Mix. Add mixture and stones to containers!
Set Up
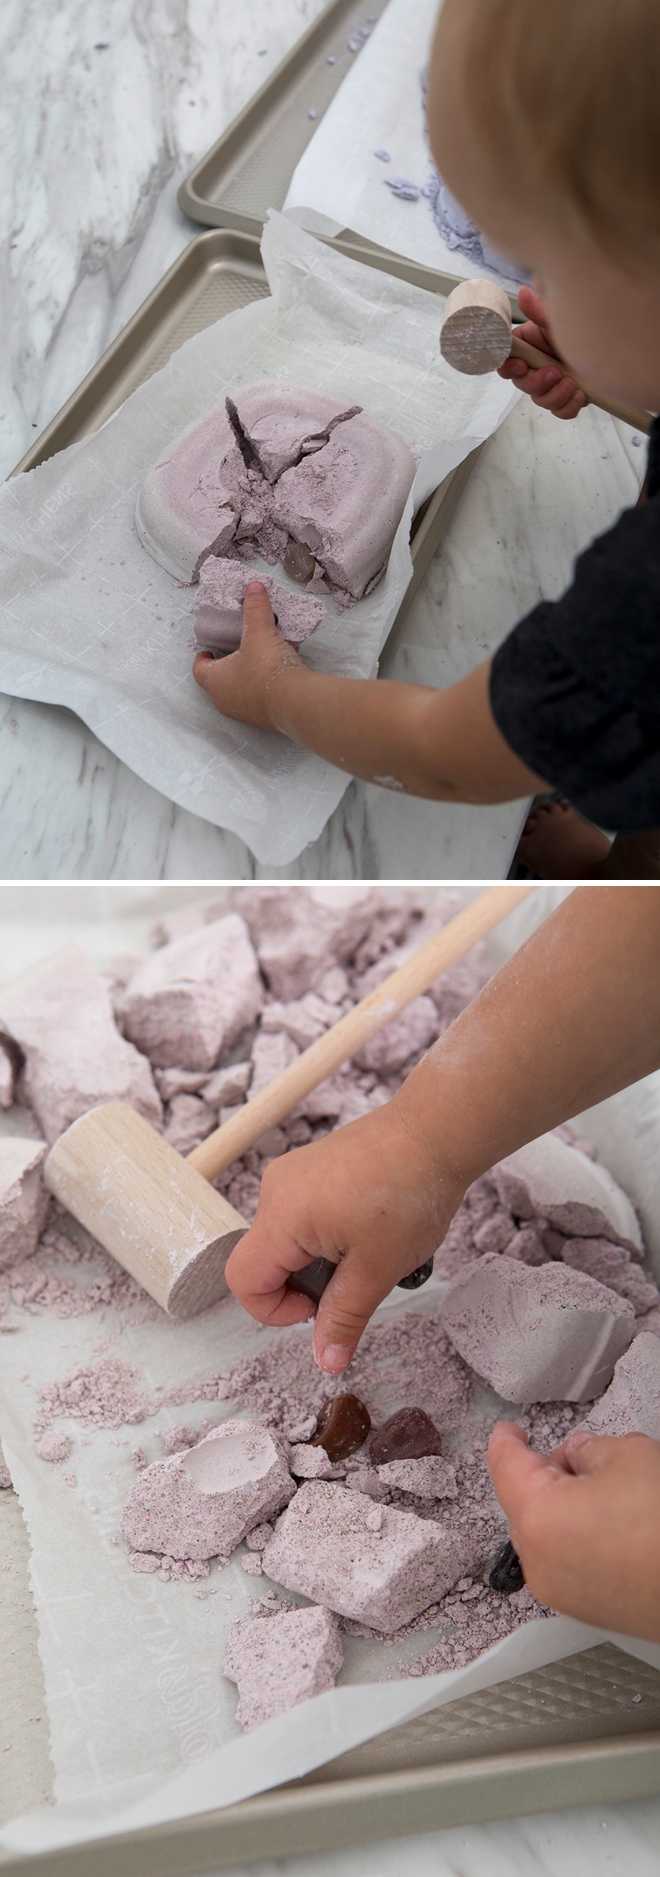
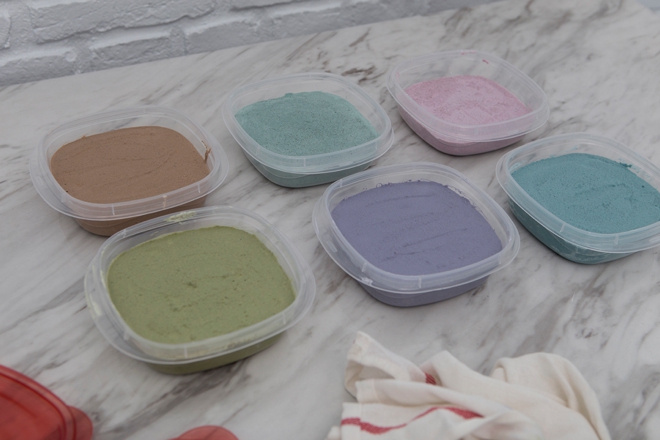
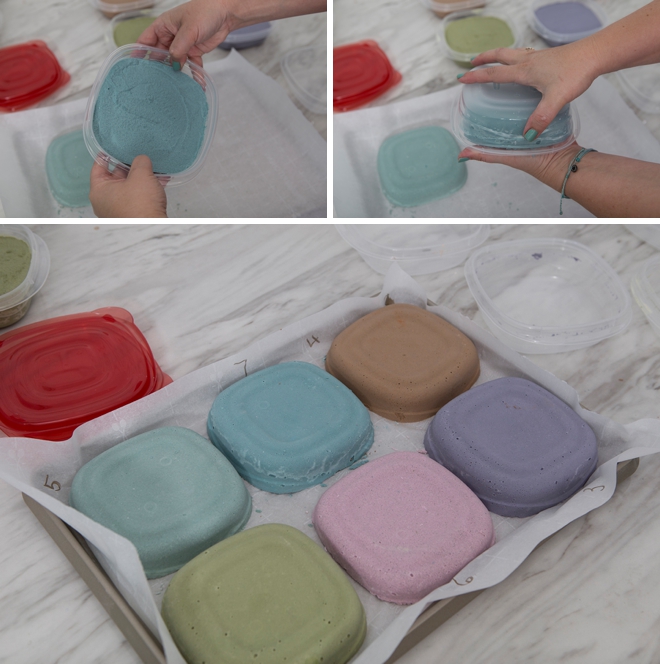
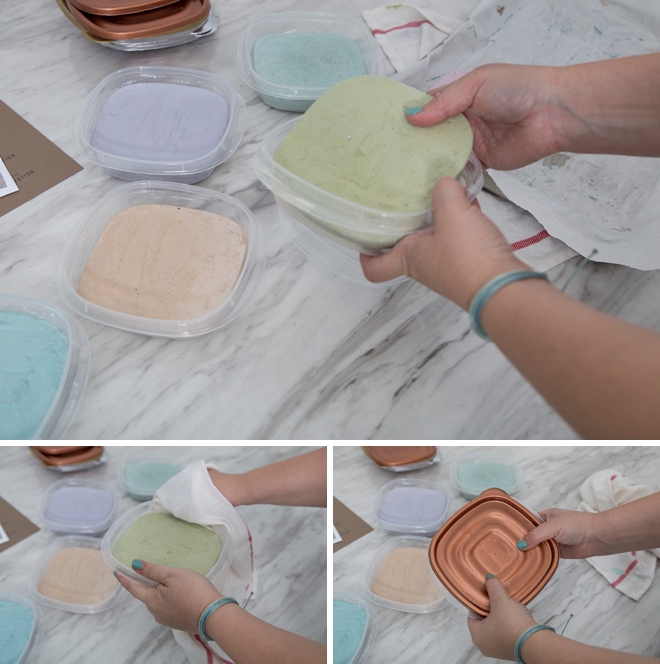
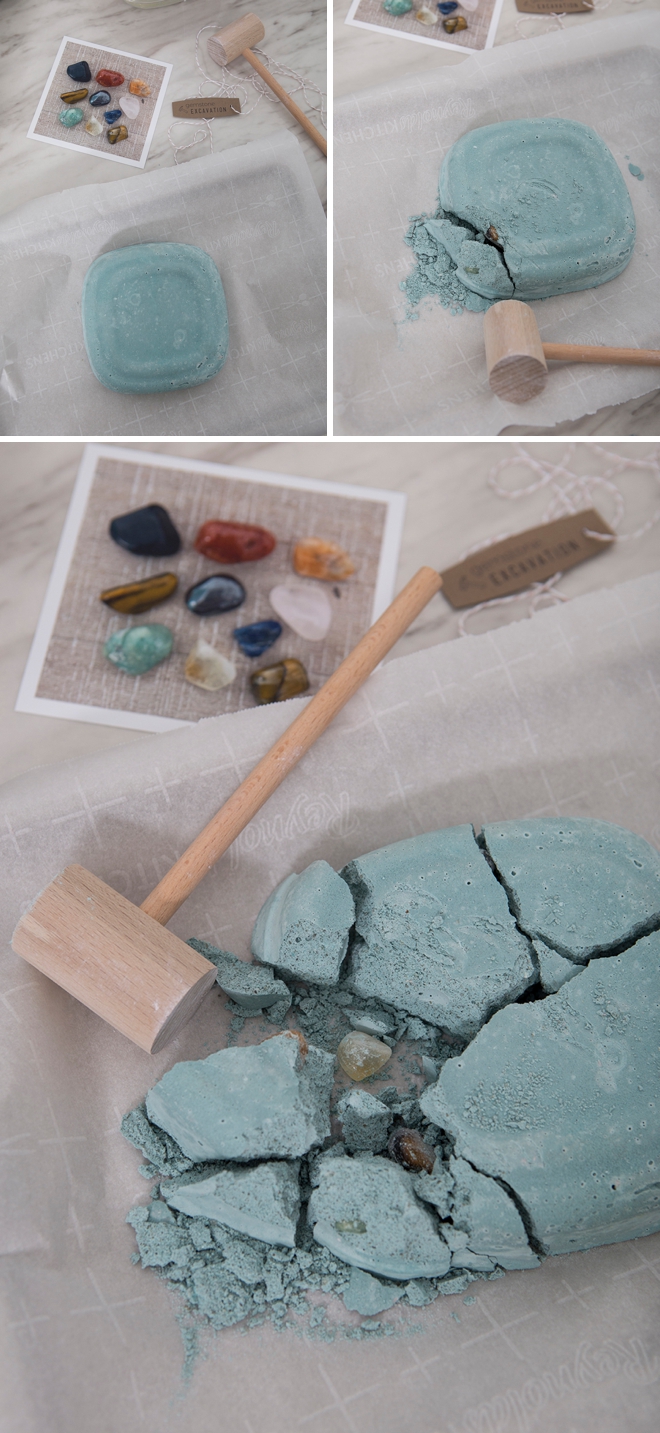
Let your sand bricks set up for about 30 minutes, after that they should be hard enough to pop out of the container, but will still feel cold and wet.
Bake To Fully Dry
This step is optional. If you want to speed up the full drying time, you can bake them! I found when they were still wet it was too easy to bust them open and this mama is trying to get all the spare time she can, LOL. Bake on a parchment paper covered cookie sheet for 30 minutes on 400º F. Then let them cool off for a few hours. I did this step at night after the kids went to bed, so they were ready in the morning! If you choose not to bake, you’ll have to wait around 72 hours for these bricks to fully cure.
TIP: to keep track of your numbered bricks, write the number with a Sharpie on your parchment paper!
Paint The Lids
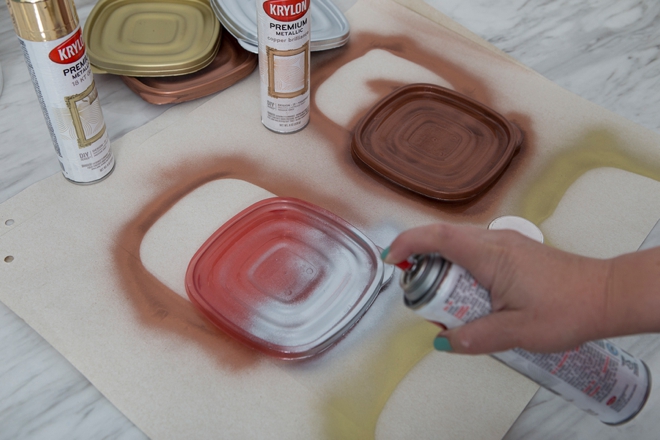
Absolutely optional but adds a really nice touch to gifts, if you have the time. Use a can of spray paint that you already have to dull down the terrible red lids, LOL.
Bricks In Containers
Put each fully dried brick into it’s proper container and seal with the lid.
Print Rock Photos
I kept things super organized by printing my 8 photos in order. As each one came out, I wrote it’s number on the back!
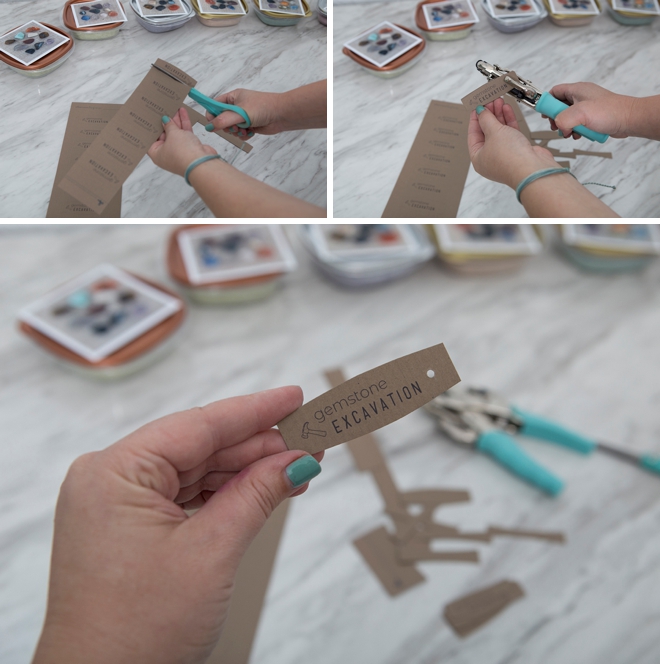
Tags
Print our “gemstone excavation” or “fossil excavation” tags onto your choice of colored 8.5″ x 11″ cardstock, then trim out each tag. There are 14 tags per sheet. Our exclusive, printable tags can be purchased in our shop for only $1.99 for both designs!
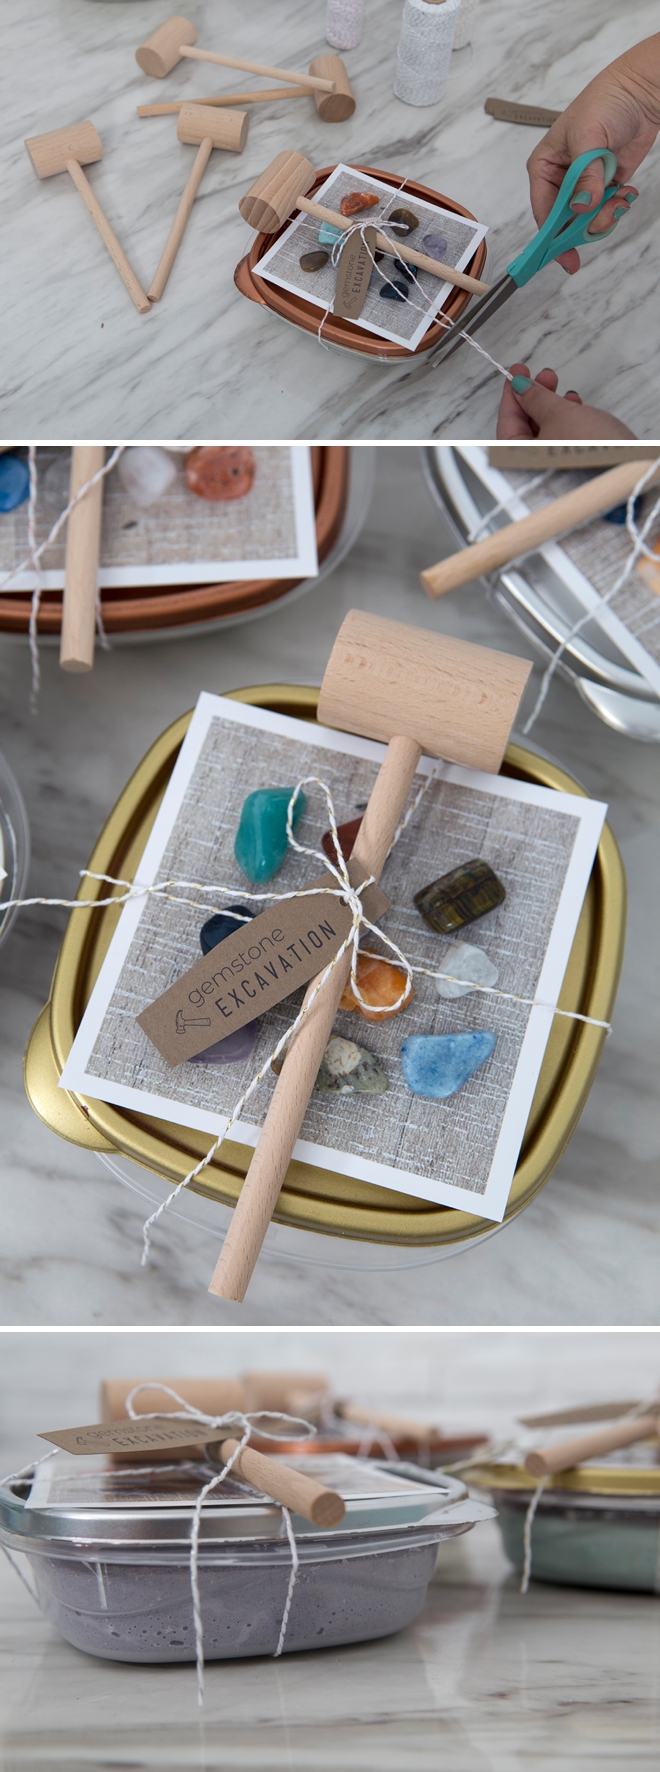
Tie Up
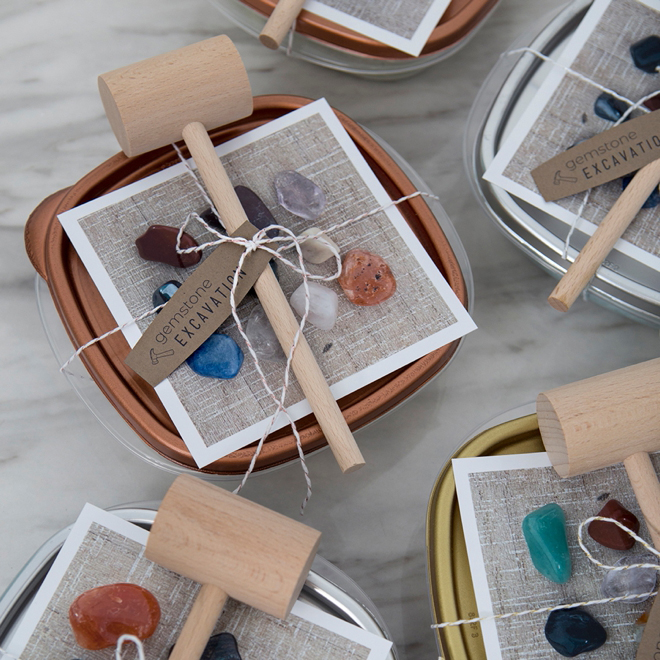
Using ribbon or twine, tie on each rock print, mallet, and tag onto the brick container… and they’re ready to gift!
Dust
If you’re concerned about dust, simply put on a mask! Everyone has one laying around these days… if not, you can make this one!
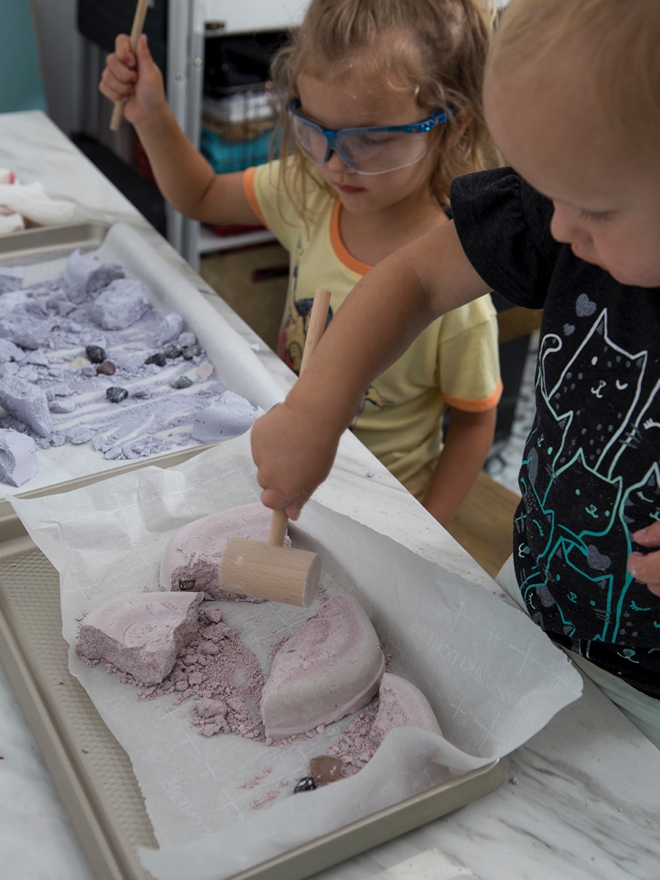
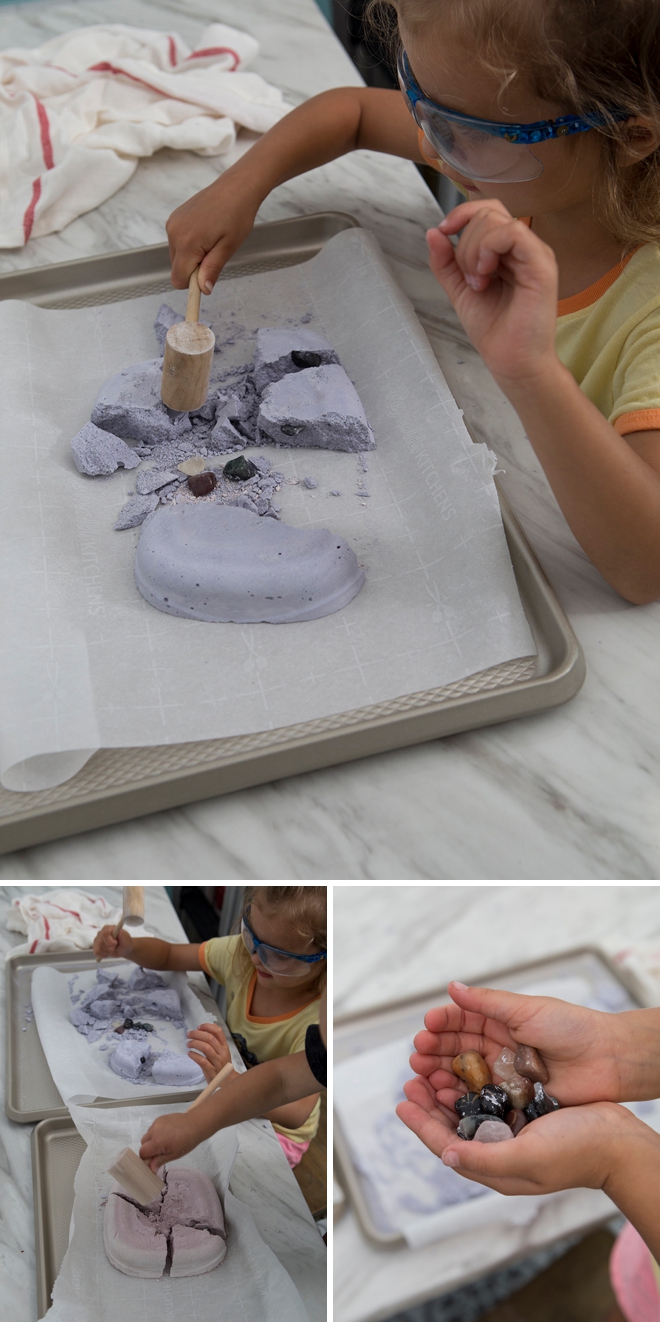
Safety Glasses Recommended
My youngest literally wouldn’t keep her glasses on, but that was ok as her brick didn’t really require serious action. The oldest did need her glasses, she was really hitting that brick hard! It was great and so fun to see them both working together. After they found all their rocks, Ava got them a bowl of water to wash them and they call them their “treasures”.
If you create one of our projects, please share a picture with us on Instagram or Twitter using the hashtag #somethingturquoisediy, we regularly reshare our favorites! Your profile will need to be public for us to see it otherwise, you can always DM us!
DIY Tutorial Credits
Photography + DIY Tutorial: Jen Causey of Something Turquoise // Exclusive Gift Tags: Shop Something Turquoise // 1/2″ – 1″ Gemstones: Amazon // Play Sand: Amazon // Plaster of Peris: Amazon // Sanded Grout: the hubby had it but it’s available on Amazon // Rubbermaid Sandwich Containers: Amazon // 7″ Wooden Mallets: Amazon // Canon 5×5 Photo Paper Plus Glossy II: courtesy of Canon // Martha Stewart Paint and Glitter: Michaels // Twine: Amazon
Shop The Supplies:
Find the supplies you’ll need for this project from our affiliate links below:


Comments