
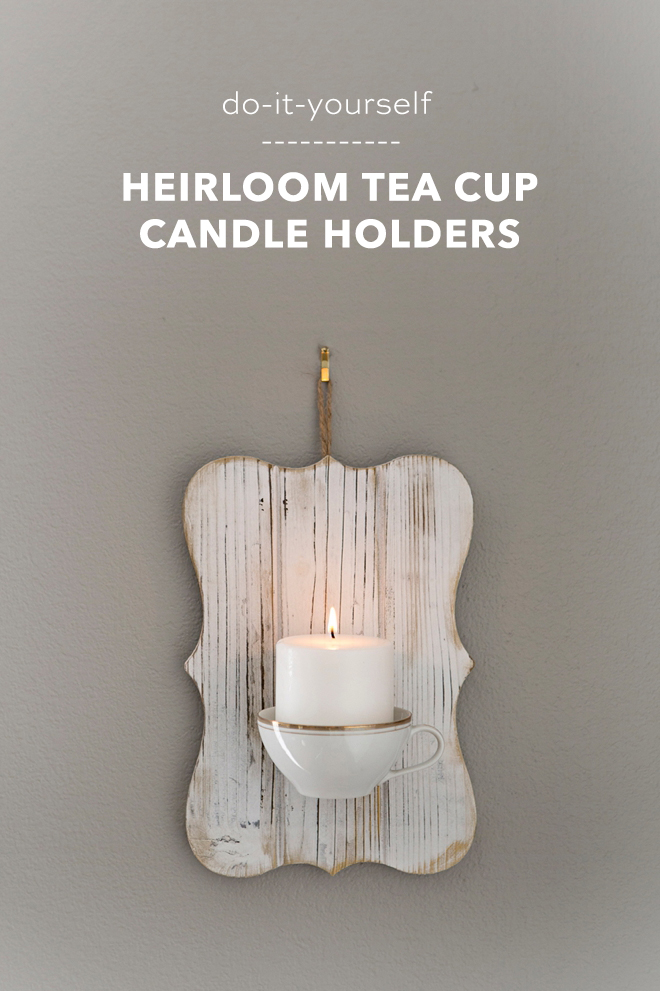
How To Make Heirloom Teacup Candle Sconce
Sadly, a few months ago we lost my husband’s Grandma. They had a very special bond and so I’ve been giving new life to many items from her home. We have a special tradition in the evening, about 30 minutes before the girls’ bedtime where we dim the lights, have no electronics on, light candles and relax into our bedtime. In going through GiGi’s things, Dean loved her teacups and I had an awesome idea to turn them into candle holders. He helped me devise a plan on how to attach them to the wood plaques I wanted and I’m sharing it with you below, in case you too might want to make your own heirloom teacup candle sconces!
Heirloom or Vintage
If you don’t have special heirloom teacups, maybe you could find some cool vintage tea cups that match your dining room! I guess they don’t have to be heirloom or vintage, they could be brand new too.

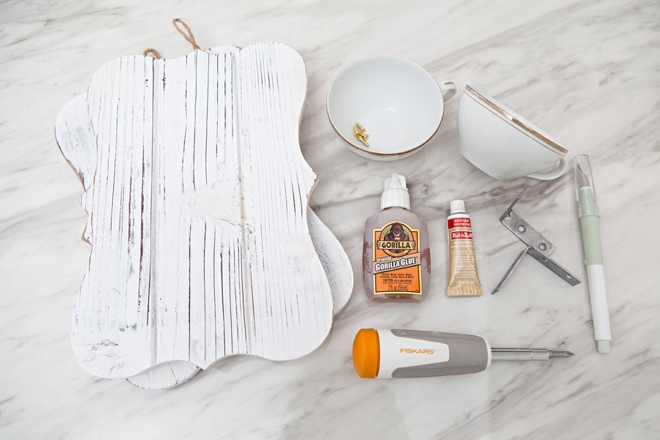
SUPPLIES:
- Teacups
- Wood Plaques
- Original Gorilla Glue
- Rub n’ Buff Antique Gold Wax
- 2″ L Brackets
- 4 Screws
- Screw Driver
- Craft Knife
- Bricks, or something similar
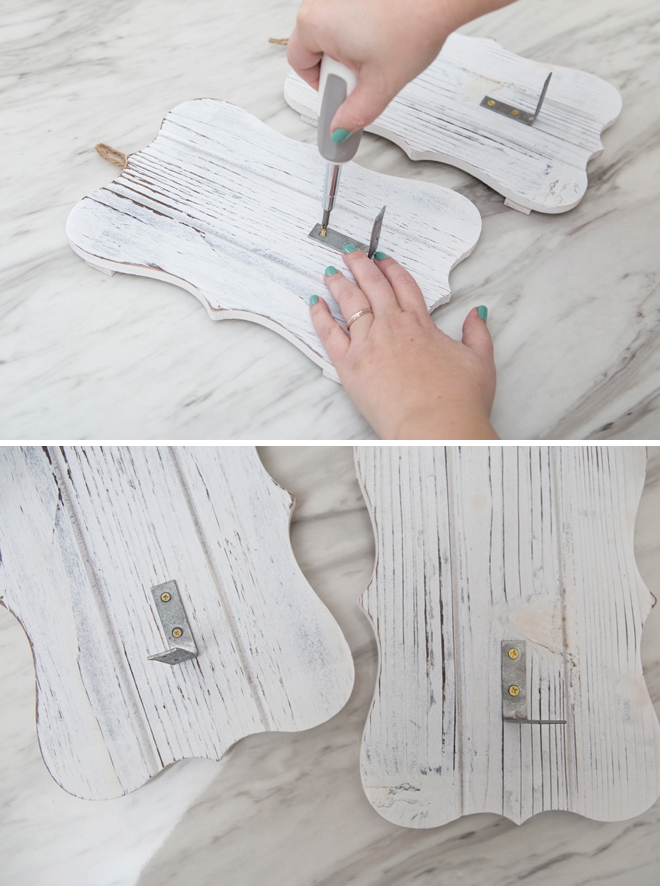
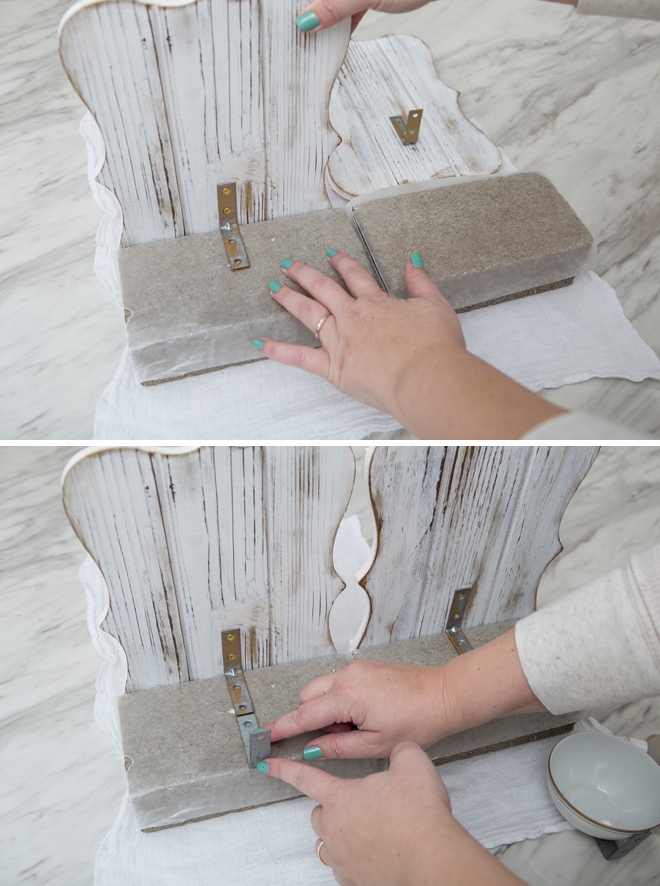
Attach L Brackets
These 8″ x 11″ wood plaques from Michaels ended up being perfect for this project! The first step is to measure where you want your teacups to sit and screw the L brackets in place.
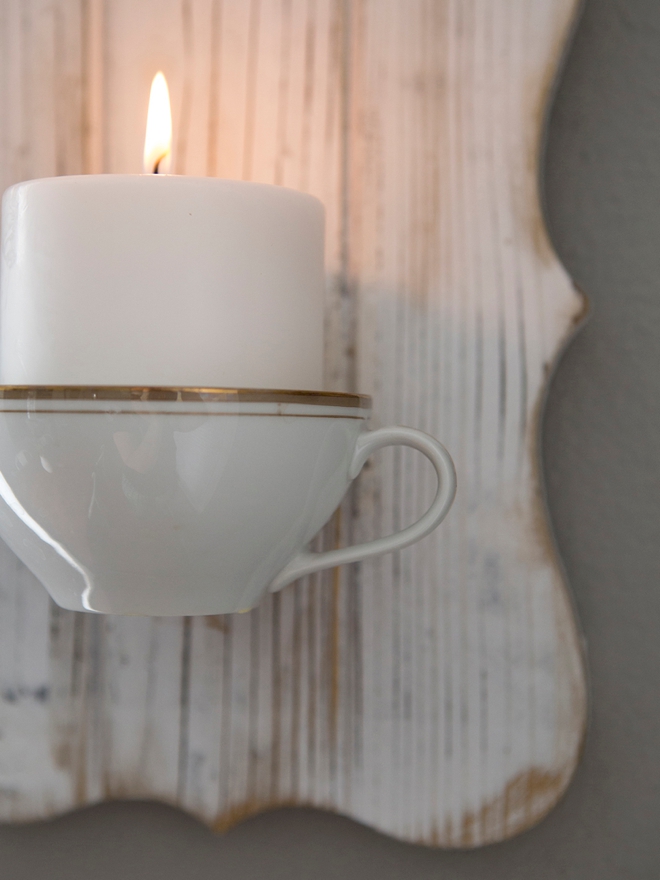
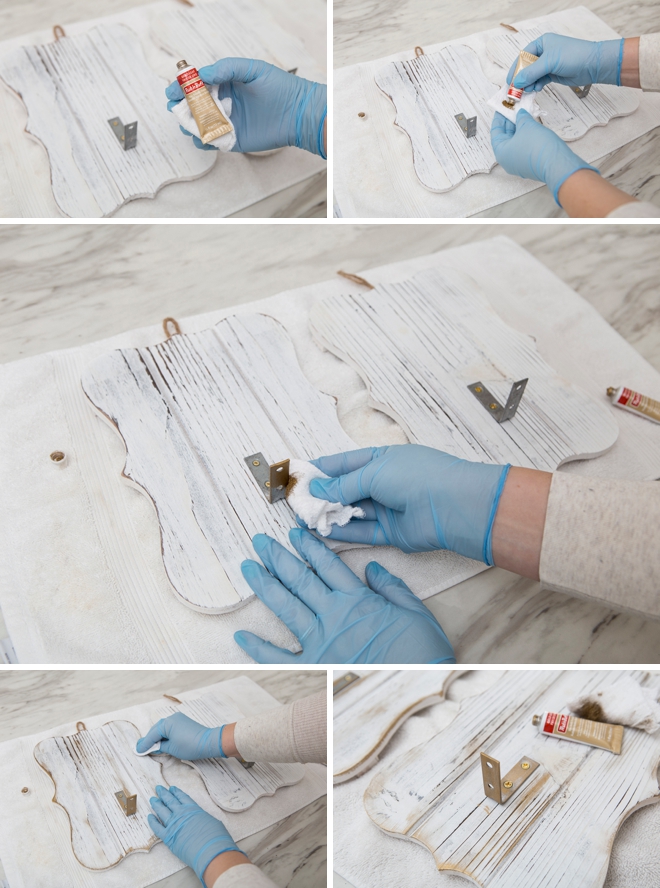
Rub n’ Buff
What an awesome find! I had no idea this stuff existed and it’s awesome. It’s like a paint and a wax all in one, with a beautiful metallic shine. I picked up the gold to add gold details to the wood plaque and cover the L bracket in gold as well, since my teacups have gold on them. Using a small piece of cloth, rub and buff (hahaha) the gold wax onto parts of the wood to add metallic shine and to turn the silver L brackets gold.
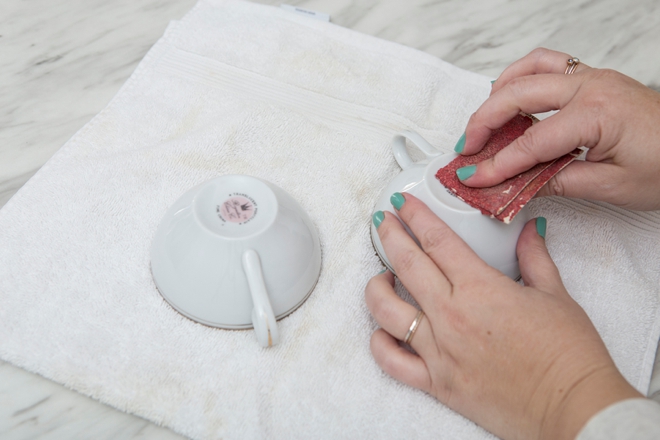
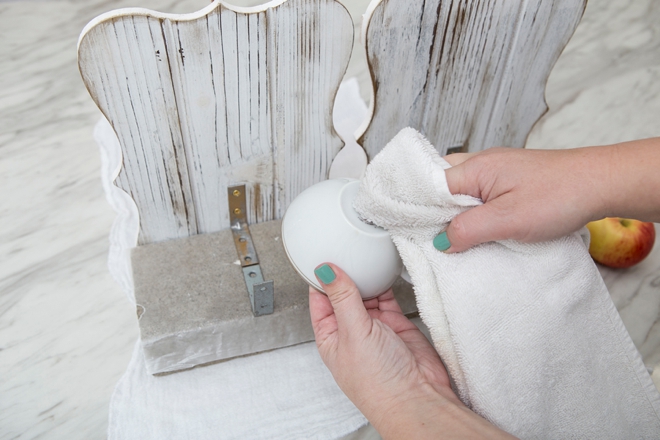
Sand
Using a low-grit sand paper, like 60-80, rough up the bottom of your tea cup a bit to give the glue a good surface to grab onto.
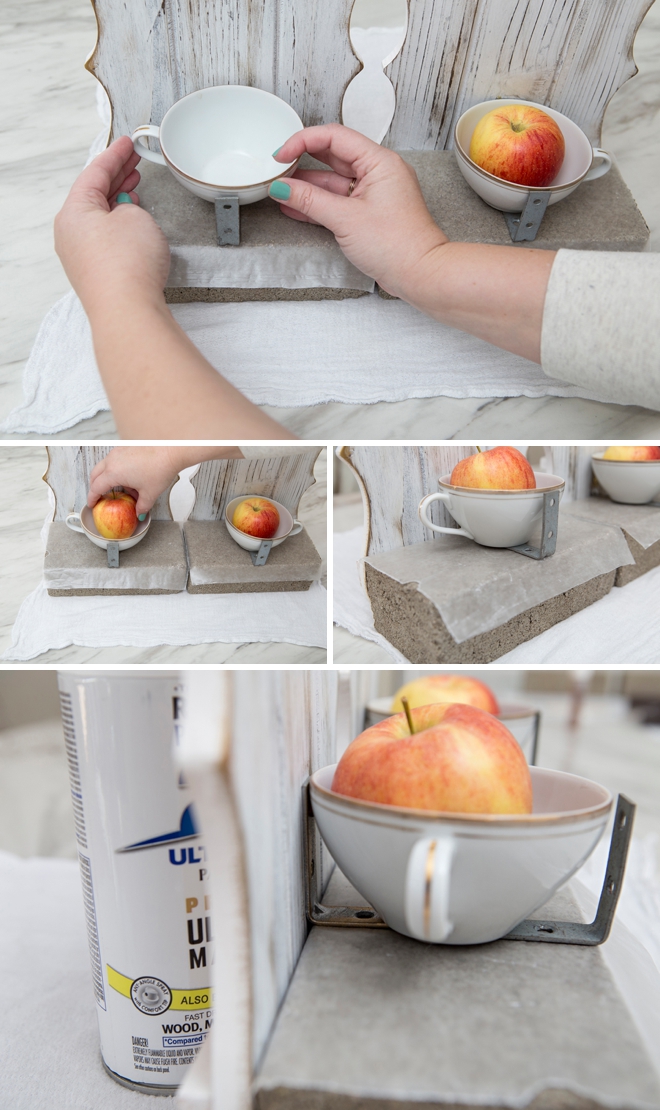
Get Set Up
Use bricks, books, really whatever works to hold the wood plaques upright so you can glue the teacups in place. I added an additional L bracket in front of the one attached to the board, to hold the opposite edge of the teacup perfectly level. I also covered the brick with waxed paper in case the glue touched it and added a can of spray paint to hold the back of the wood plaque securely against the brick.
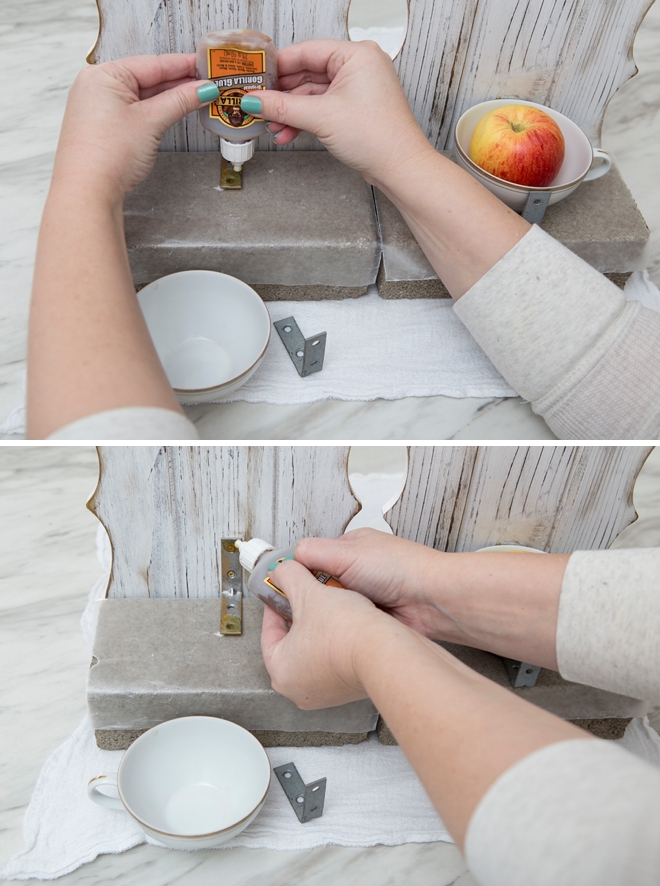
Dampen
The original Gorilla Glue is cured with water. So generously dampen the parts that will be glued.
Glue
Add glue to the top and bottom edges of the L bracket. This glue expands 3x the amount you apply, so a little goes a long way. You only need to add glue to one side of the project.
Let Dry
Full cure for the glue is 24 hours. They recommend to clamp the project or use something with weight to apply pressure – I used an apple. Make sure your teacups are level and can sit in place for 24 hours.
Scrape + Glue
After the glue has fully cured for 24 hours go back to your project and cut/scrape off excess glue that expanded where you don’t need it. Then if there are gaps, add more glue to ensure proper adhesion for the teacup and L bracket.

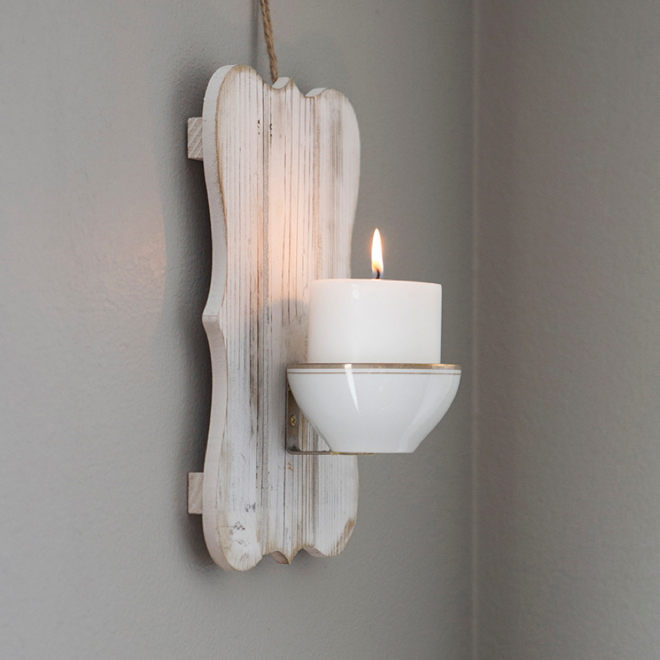
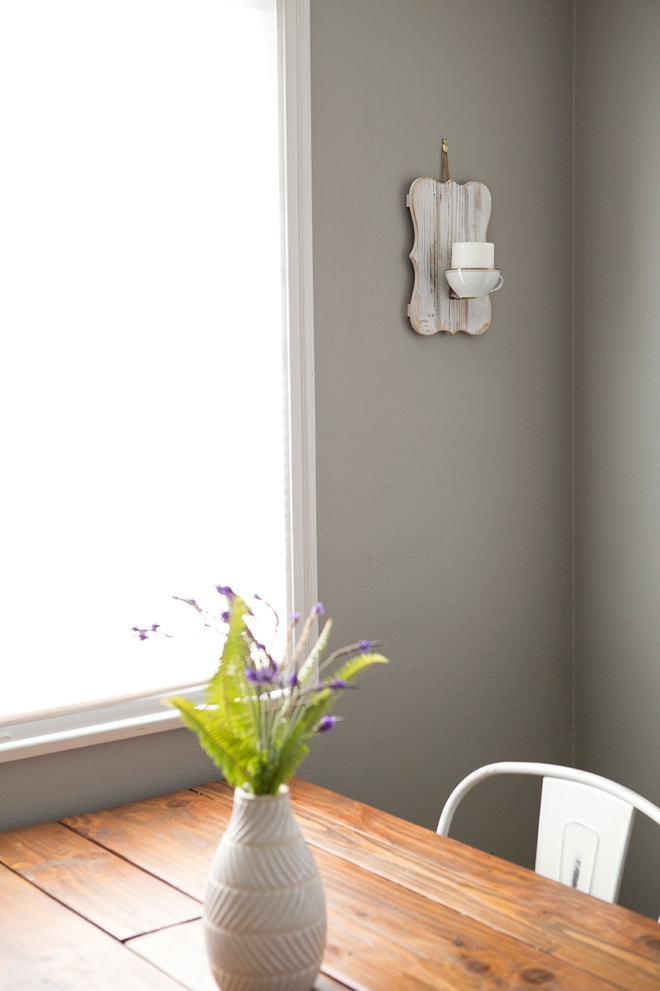
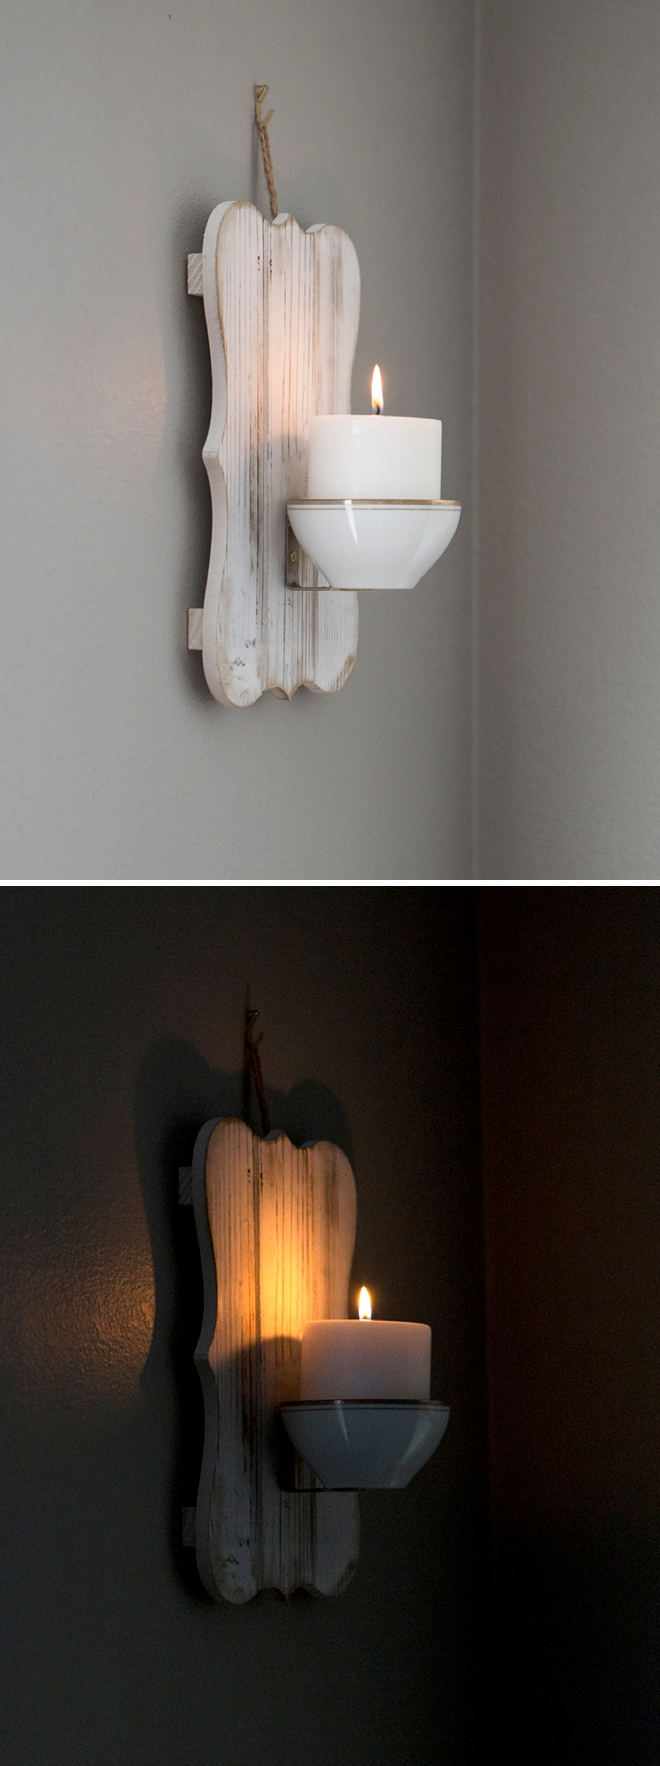
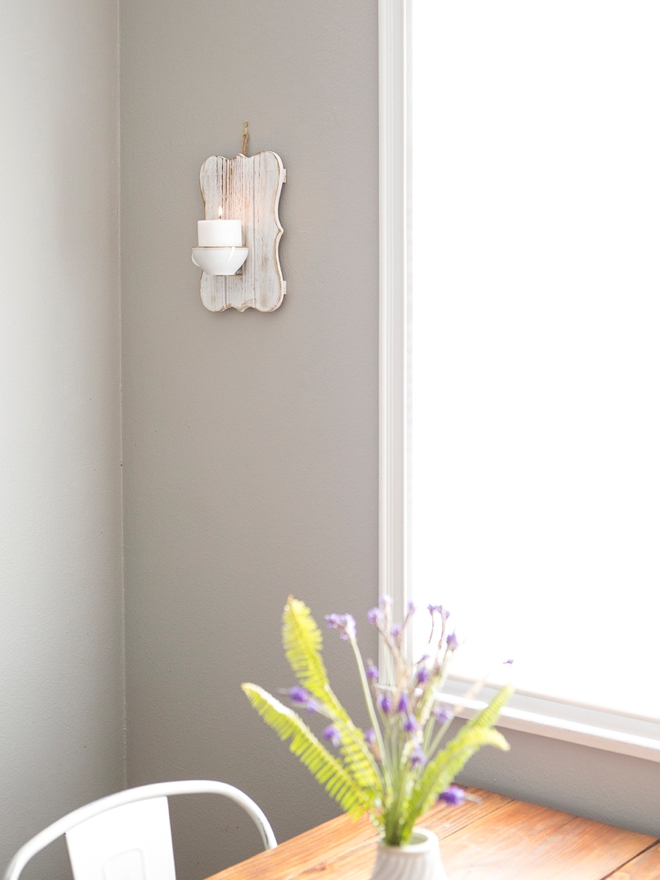
Hang + Enjoy
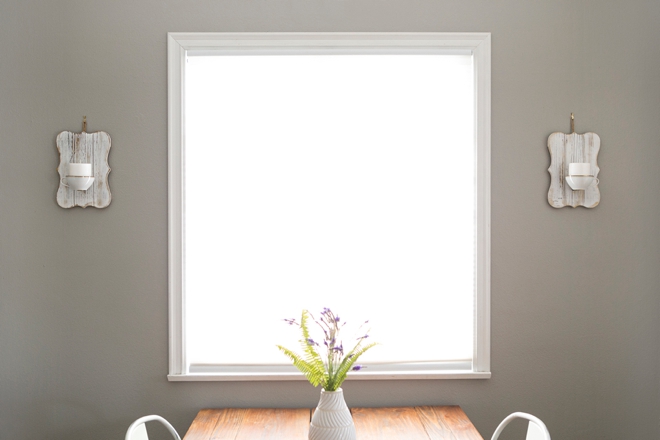
I thought the perfect place for our new teacup candle holders would be our dining room! Now it feels like GiGi is with us at every meal, and it’s especially wonderful to light these candles every evening.
If you create one of our projects, please share a picture with us on Instagram or Twitter using the hashtag #somethingturquoisediy, we regularly reshare our favorites! Your profile will need to be public for us to see it otherwise, you can always DM us!
DIY Tutorial Credits
Photography + DIY Tutorial: Jen Causey of Something Turquoise // Wood Plaques: Michaels // Gorilla Glue: Amazon // 2″ L Brackets: Lowes // Rub & Buff Antique Gold Wax: Amazon // Fiskars Screw Driver: courtesy of Fiskars
Shop The Supplies:
Find the supplies you’ll need for this project from our affiliate links below:


Comments