
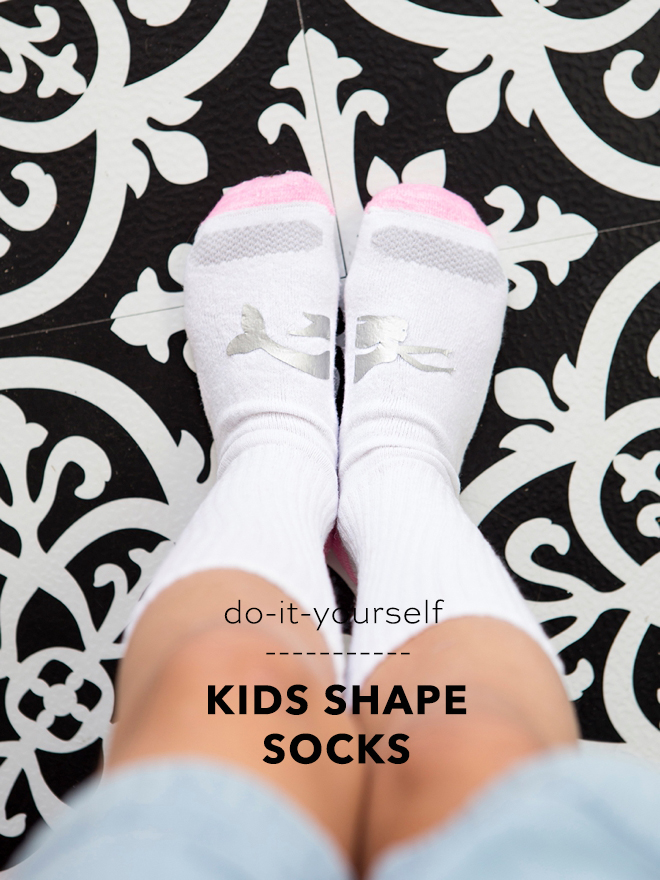
How To Make Custom, Kids Shape Socks With Cricut
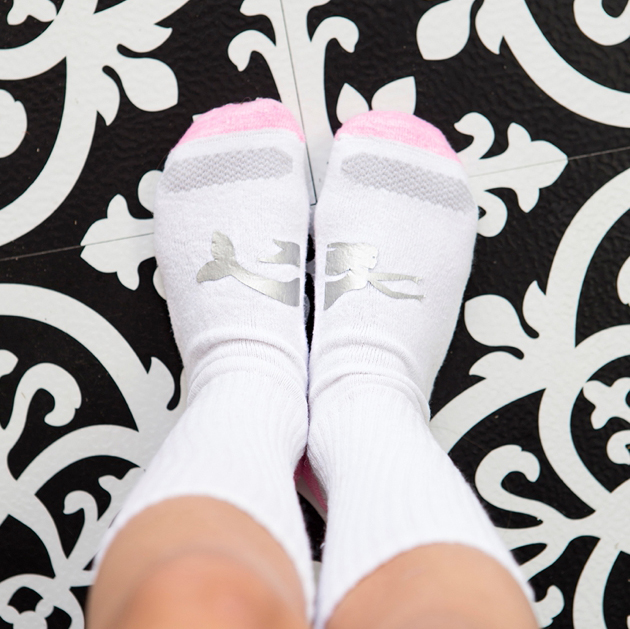
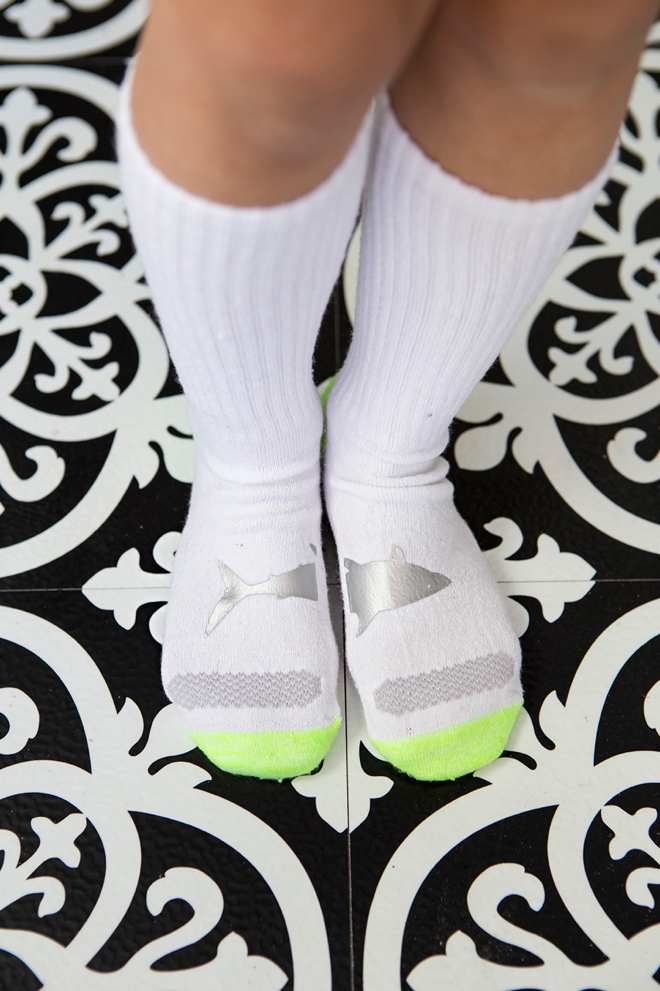
There are so many small stages of learning for kids and I’m trying to use my creativity to make each stage unique and fun, where possible. My step-daughter is now really enjoying picking out her own outfits and I absolutely LOVE what she comes up with every morning. For the most part, she knows her left from her right, but her shoes get her still a bit, and so does moving to her left or her right. So I had this idea for a tangible way to show her left and right with a picture using socks! She absolutely loves them and we talk about her left and her right sides and how she can see the full pictures when they are the right orientation. She has also now been experimenting with mixing the shapes and that creativity absolutely warms my heart.
SUPPLIES:
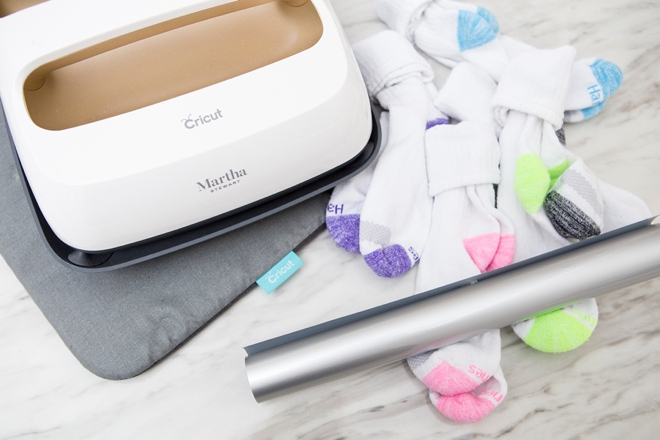
- Cricut Maker or Cricut Explore
- Cricut Easy Press
- Cricut Iron-on, I used Silver
- Cute Socks
Create In Design Space
The first step is to login to Design Space and start designing your socks! Click on this link to visit my canvas in Design Space to use my pre-designed cut files, some of the files I used for these designs require a subscription or will cost a few dollars.
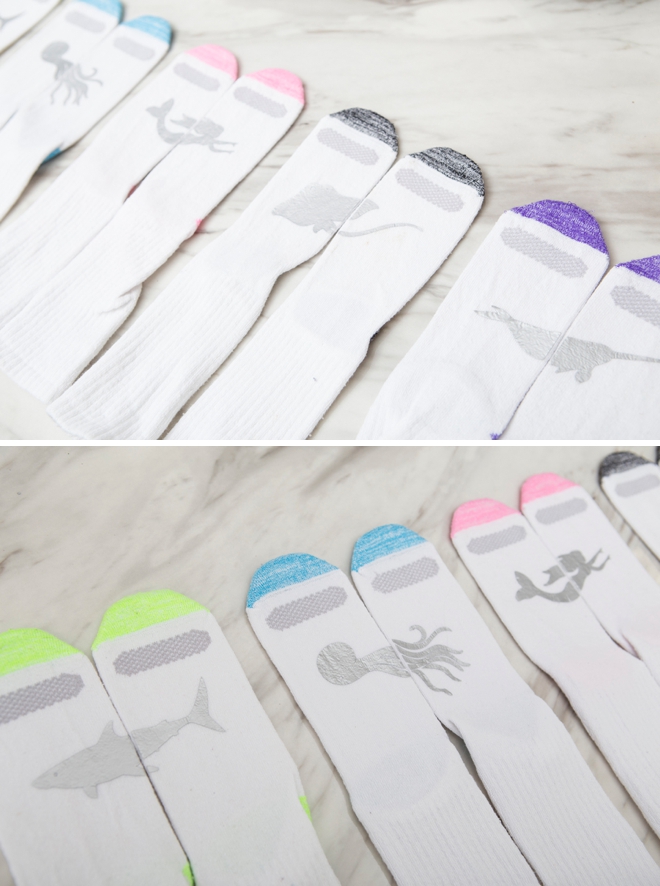
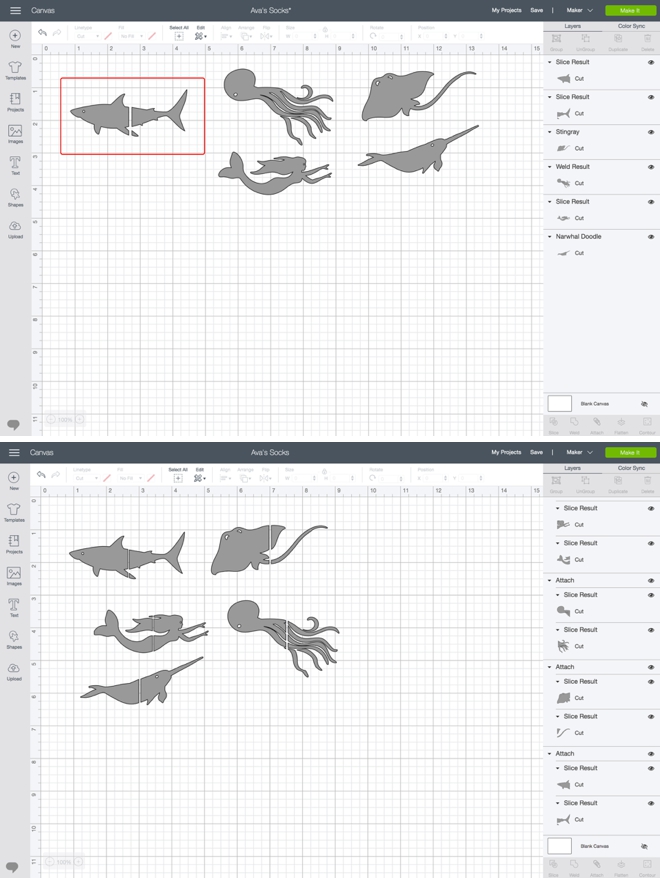
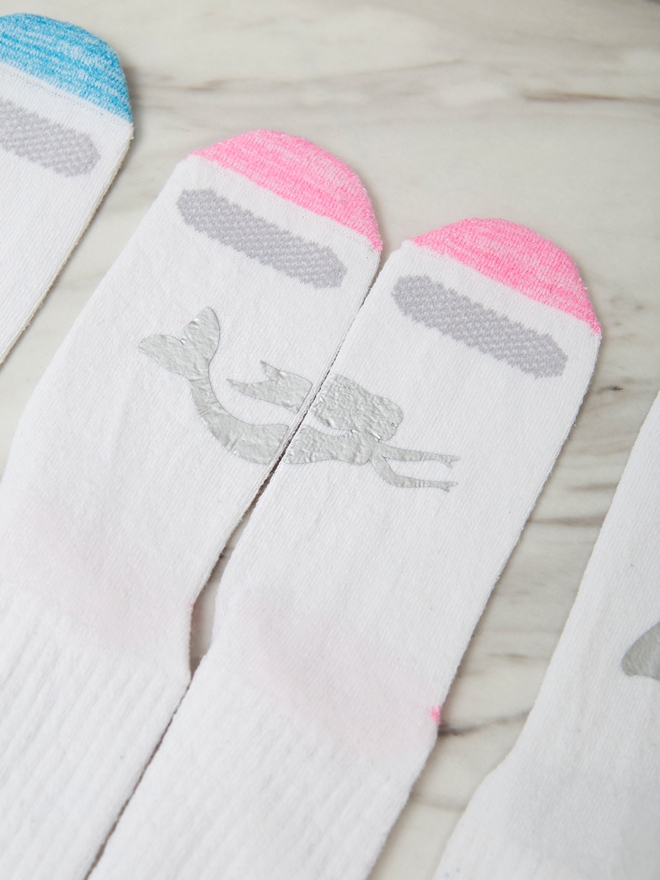
First I added all the fun “sea” themed shapes to my canvas and sized them to no larger than 3″ across. Then I created a square that was 1.5″, which I used to slice the designs perfectly in half. You could always just cut them in half yourself, but with a few extra strokes you can make the Cricut do it for you.
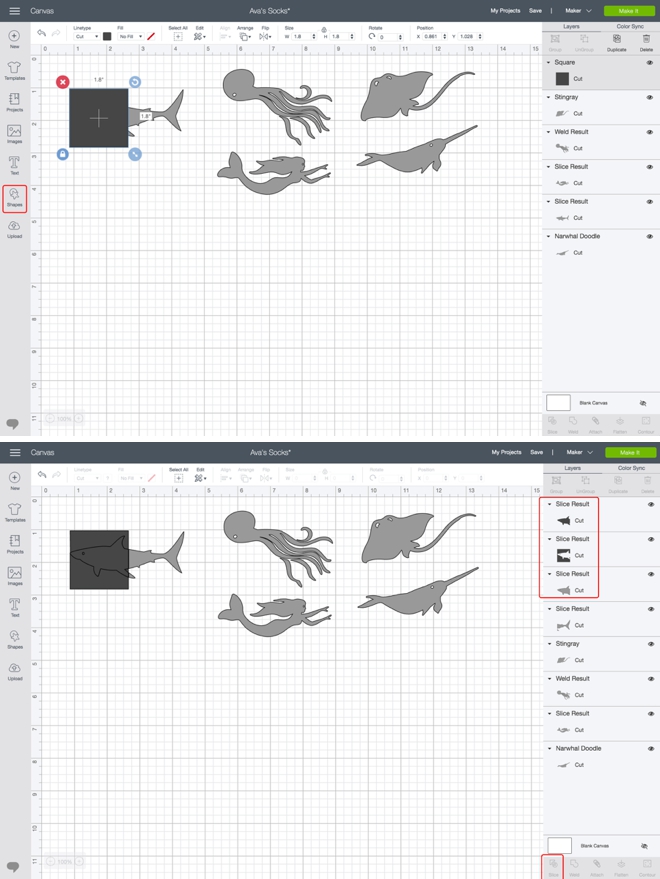
Slice
To slice something using Cricut, which I do all the time, you simply have to select two layers that are on top of each other, and then hit the slice button. It then slices one from the other and gives you new “sliced” layers in your layers panel. Keep the ones you want and discard layers you don’t need! Slice only works with two layers at a time!
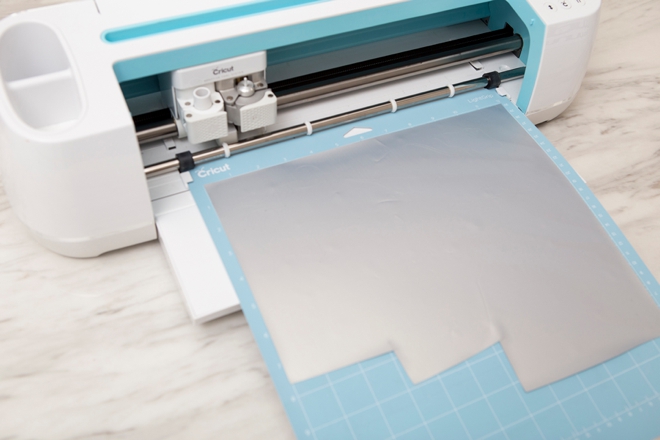
Let Your Cricut Work It’s Magic
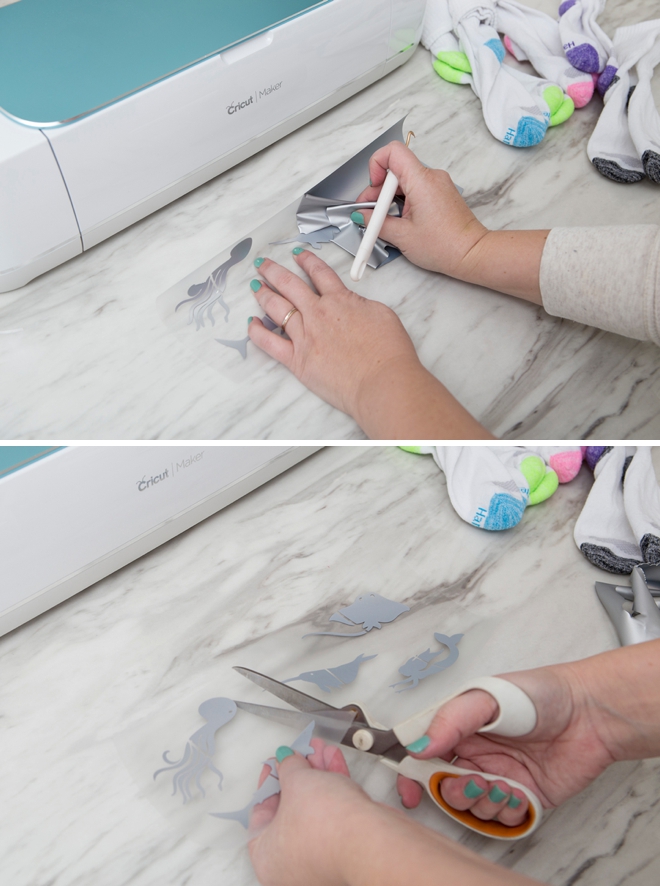
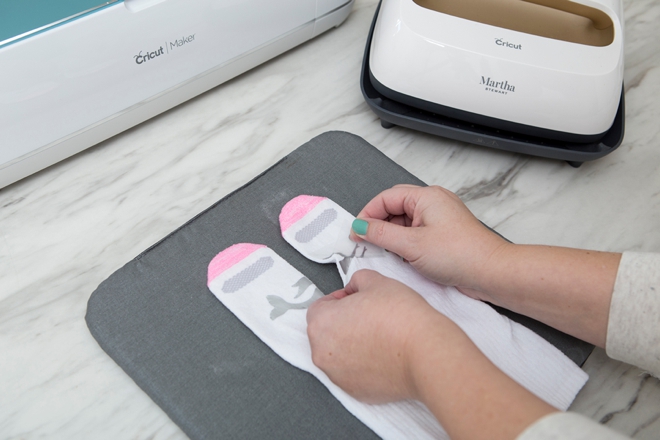
Weed The Designs
Weed, (aka. remove) all the excess iron-on material that isn’t a part of your design. Using the Cricut weeding tools makes the removal of intricate pieces super easy. Then trim each design down to size if needed.
Smooth + Iron
Layout the pair of socks so that the tops are evenly showing, then iron to smooth out the fabric using your Easy Press.
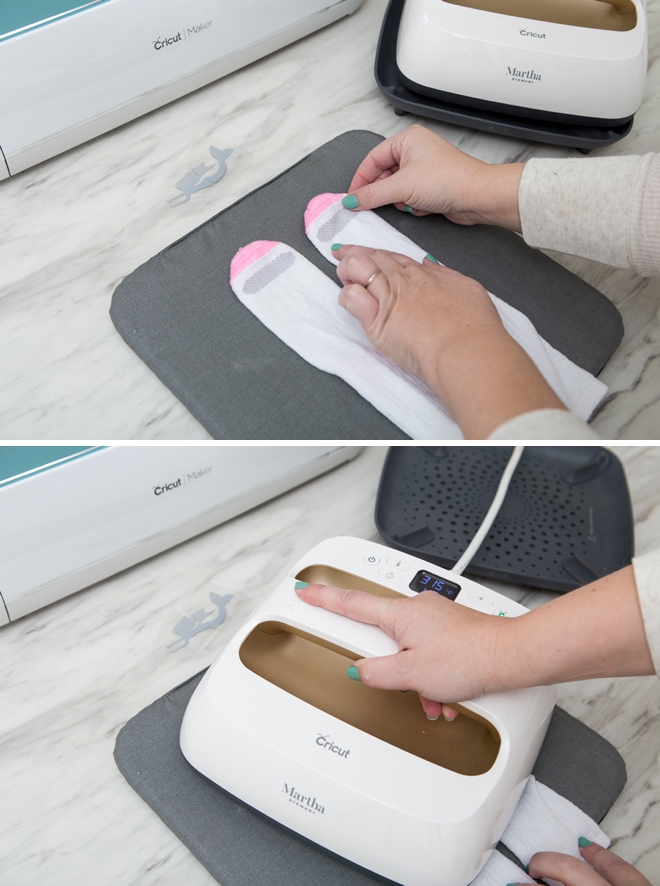
Adhere The Designs
One of my favorite aspects of using the EasyPress 2 is that Cricut has already created an amazing guide of heat times and heat temperatures for all fabrics and types of iron-on. So if you’re using everyday iron-on on a cotton/poly blend like I am here, there is an exact setting for that, which happens to be 315º for 30 seconds, light pressure, with a warm peel. No guesswork, you don’t have to hope that your iron is hot enough or that you’ve held it on the fabric for long enough. Follow this link to find the interactive chart, then simply plug the correct temperature into your Easy Press! Then remove the heat transfer sheet…

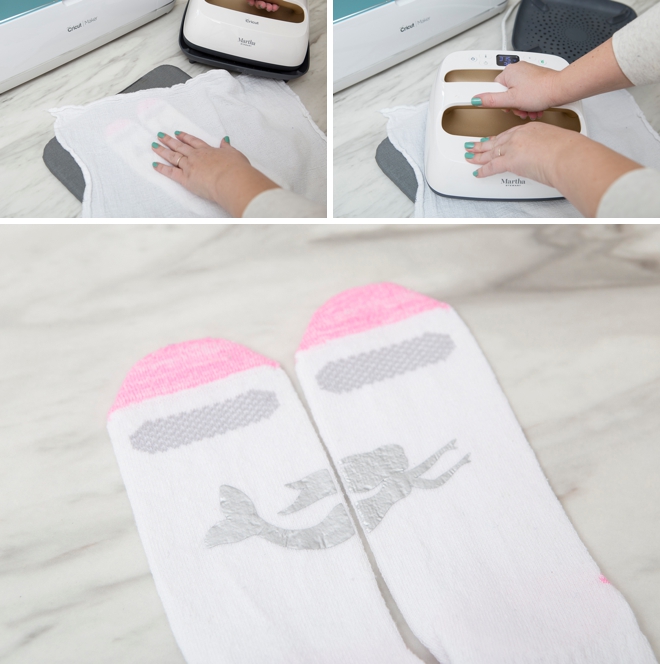
Additional Heat Pass
For the best adhesion, with these socks being stretchy I found it better to do a second heat pass using the same settings, after you’ve removed the heat transfer sheet, with a pressing cloth (thin piece of cloth) between the socks and the EasyPress. Voila! You have a darling pair of socks that your child will have fun wearing, and will hopefully help them learn left and right!
If you create one of our projects, please share a picture with us on Instagram or Twitter using the hashtag #somethingturquoisediy, we regularly reshare our favorites! Your profile will need to be public for us to see it otherwise, you can always DM us!
DIY Tutorial Credits
Photography + DIY Tutorial: Jen Causey of Something Turquoise // Cricut Maker + Supplies: courtesy of Cricut // Silver Iron-on: Amazon // Kids Socks: Amazon
Shop The Supplies:
Find the supplies you’ll need for this project from our affiliate links below:


Comments