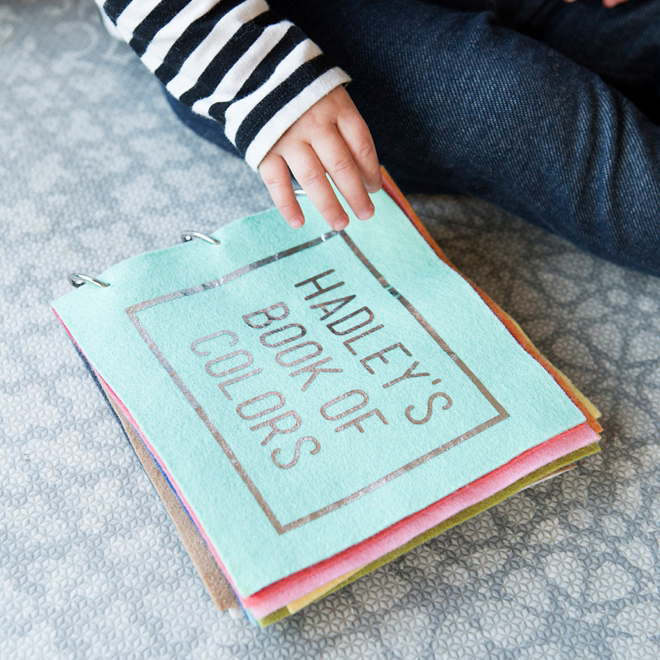

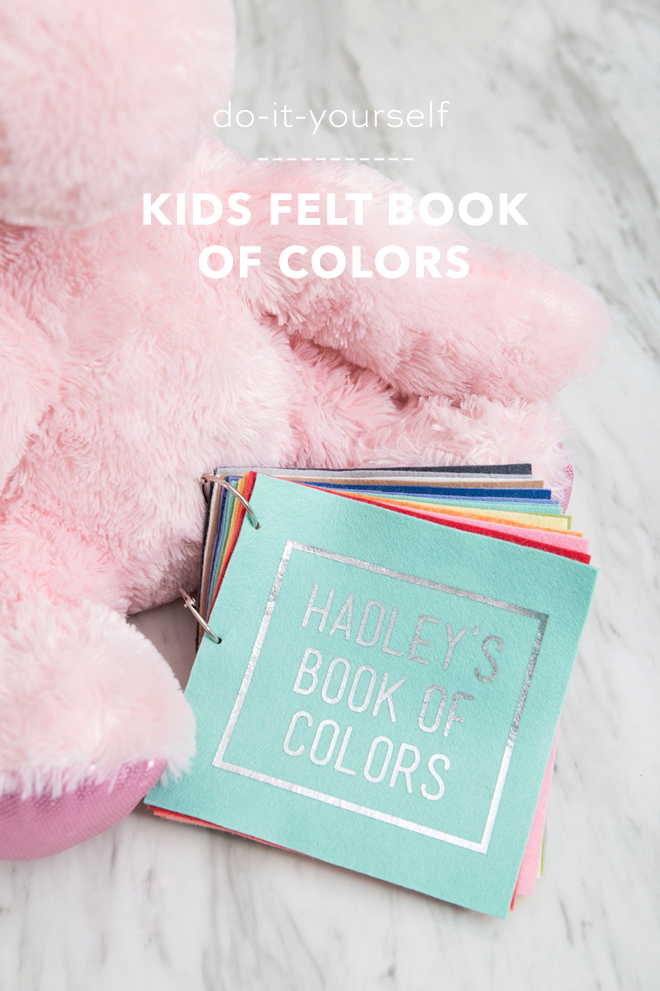
How To Make A Felt Book Of Colors For Your Toddler
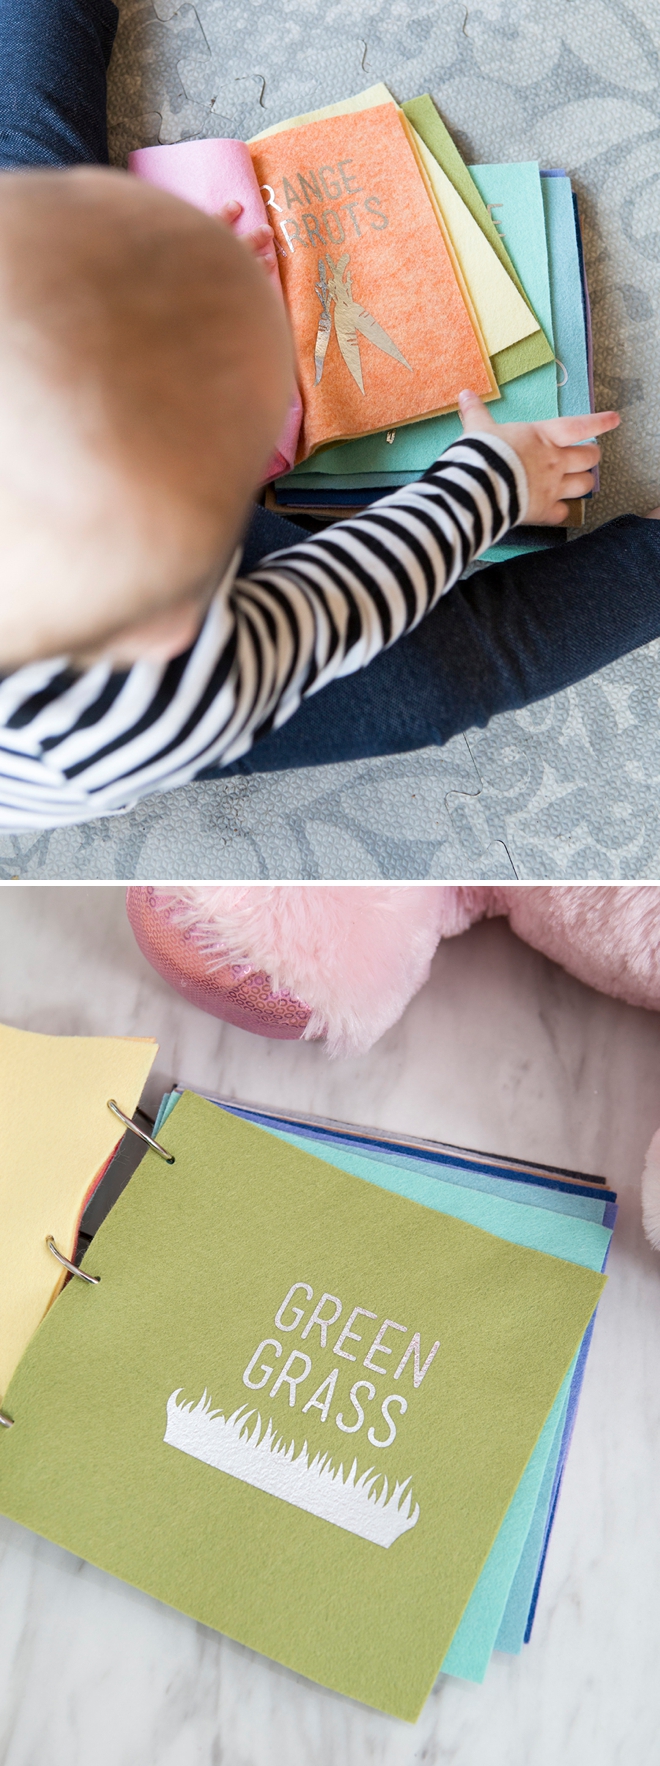
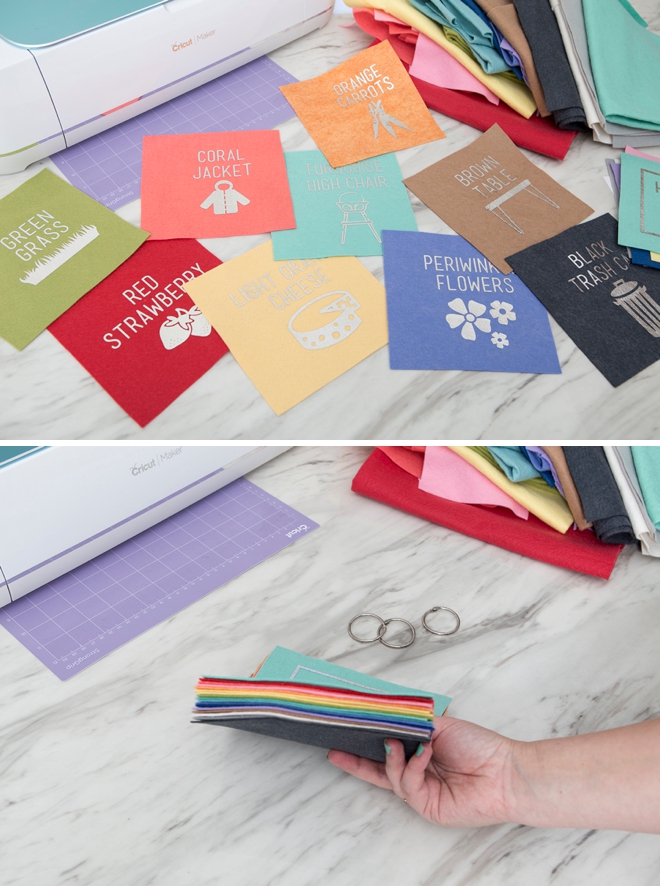
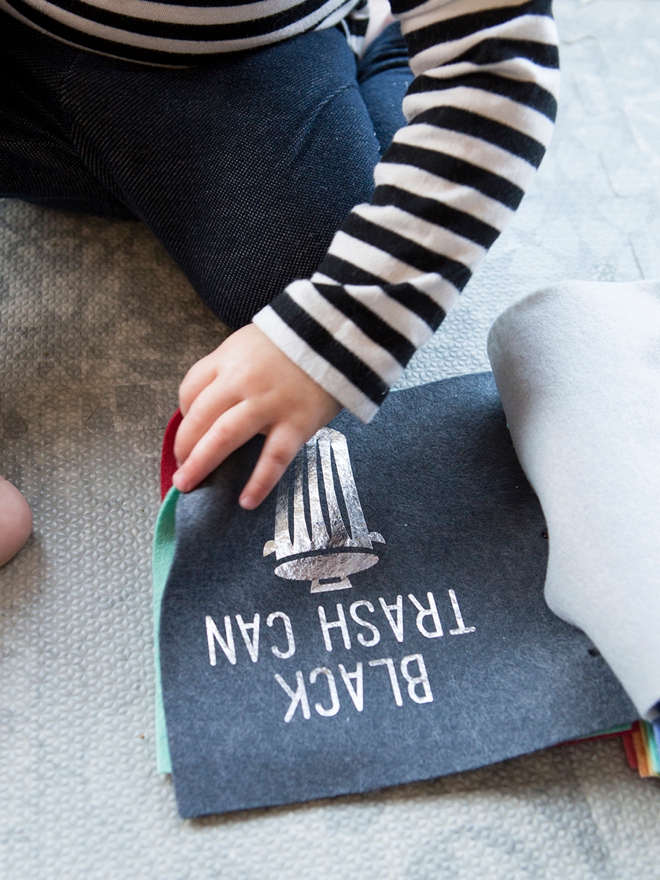
Just like guac, I am fully aware that I am extra. Yes, I want my daughter to learn about the primary colors but I also want her to learn all the other colors, especially turquoise. Actually she already knows turquoise and says “ta ta” for it, hahaha. The world is full of stunning shades and this is where her discovery of them will begin. I chose my favorite colors of wool felt from Benzie Design and created iron-on wording and pictures using my Cricut Maker. The items I chose in each color pertain to her life, things that are around her, and what we talk about every day. From her favorite strawberries to the black trash can and even Grandma’s white car – I designed this book around her life and you can do the same for your little!
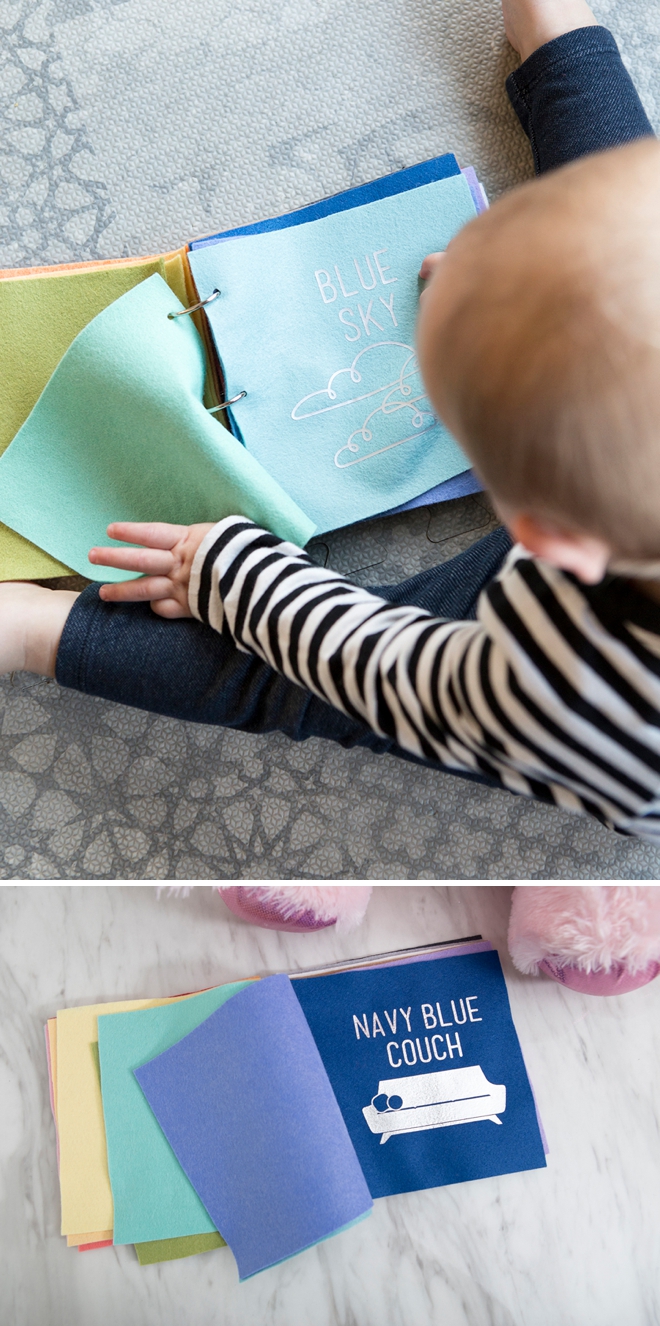
Personalize It
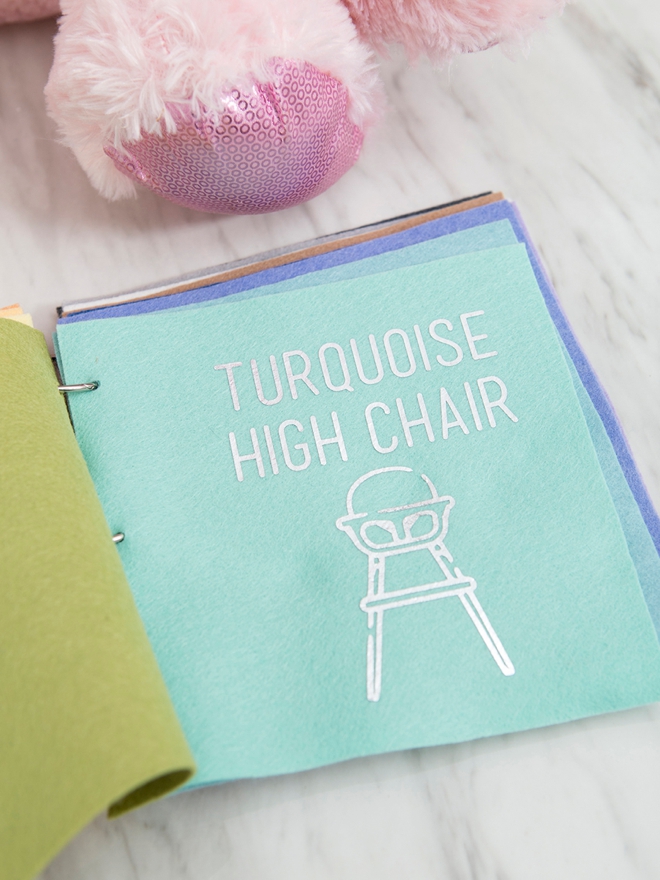
Choose the colors that you want to work on with your child and add an additional layer of learning into their life by adding the things around them that correspond to that shade! Every item in this book has been customized to fit Hadley. For example, she has a turquoise high chair, carrots, bananas, and cheese are her favorites, we have beautiful periwinkle color flowers in front of our house, she has a purple backpack, we have a brown wood table with hair pin legs…. etc.
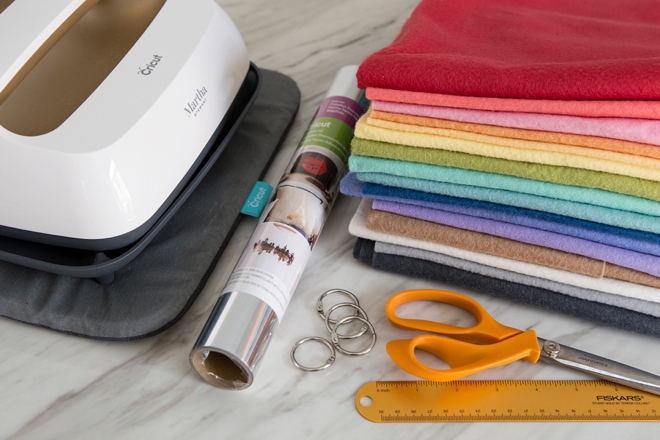
SUPPLIES:
- Wool Felt In Your Favorite Colors (mine is from Benzie Design)
- Cricut Maker or Cricut Explore
- Cricut EasyPress 2
- Iron-on Material
- 1″-1.5″ Binder Rings
- Scissors
- Ruler
- Pen
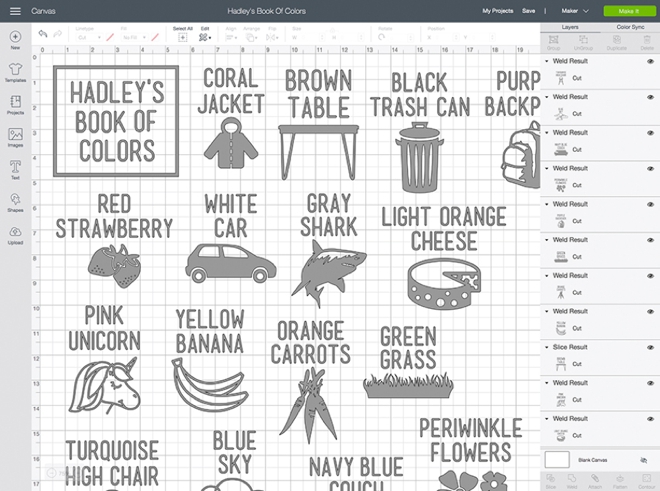
Create In Design Space
The first step is to login to Design Space and start designing your unique book of colors! Click on this link to visit my exact canvas in Design Space to use my pre-designed cut files, some of the files I used for these designs require a subscription or will cost a few dollars. I used the font Mensch for the wording. Prepare your mat and get ready to cut!
If you are having trouble viewing my canvas you need to login to DS first!
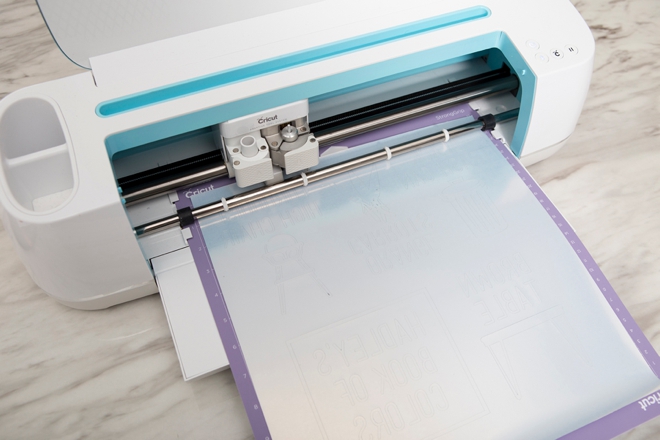
Let Your Cricut Work It’s Magic
Don’t forget for iron-on designs the backside of the iron-on should be face up and you’ll need to click the “mirror-image” button on the cut screen canvas before cutting, otherwise, your cut designs will be backward! I prefer to cut foil on a strong grip mat.
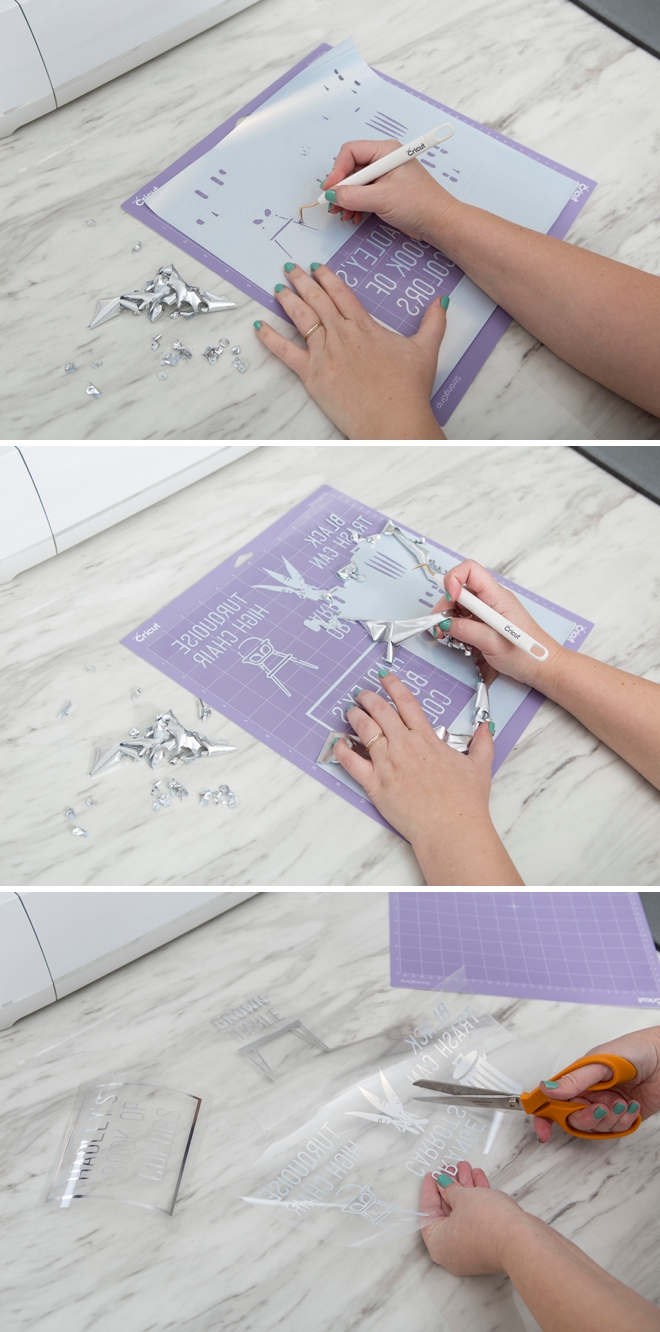
Weed The Designs
Weed, (aka. remove) all the excess iron-on material that isn’t a part of your design. Using the Cricut weeding tools makes the removal of intricate pieces super easy. When I cut entire 12×12 pages like this I prefer to weed it while it’s still on the cutting mat. Then cut each “page” apart.
Make A Template
I made each page 6.5″ square. Yes, I could have cut these squares with my Cricut Maker but since they are just squares, it was easier to do it by hand than to make 17 cutting passes. I started by cutting one square 6.5″ x 6.5″.
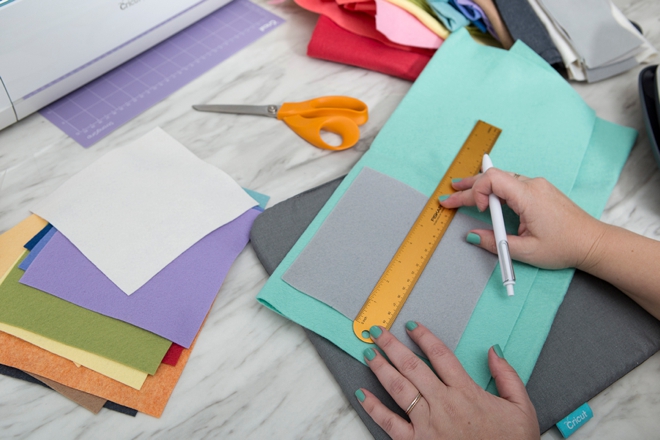
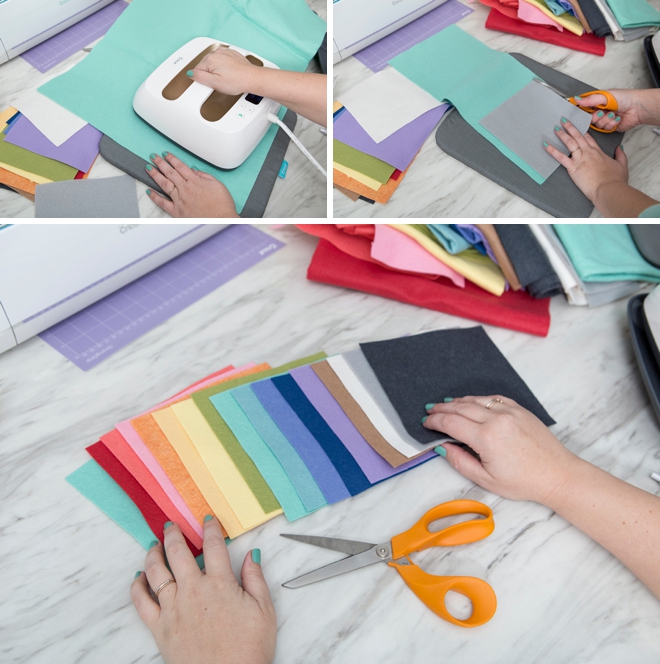
Then using that first square as a pattern (instead of say a piece of paper) I cut the rest of my squares. I used my EasyPress 2 to iron my felt before cutting.
Felt Colors Used From Benzie Design:
- Strawberry
- Coral
- Pink
- Cantaloupe
- Ginger
- Butter
- Fern
- Seafoam
- Swan
- Marine
- Periwinkle
- Thistle
- Latte
- Graphite
- Silver
- Linen
Adhere The Designs
I’m using my Martha Stewart Edition, EasyPress 2 to adhere my iron-on designs. Following the EasyPress Heat Settings Guide from Cricut, I plugged in the time and temperature into my EasyPress and created each page of my book. The heat and time settings for Foil Iron-on on Wool happens to be 280º for 30 seconds, light pressure, with a cool peel.
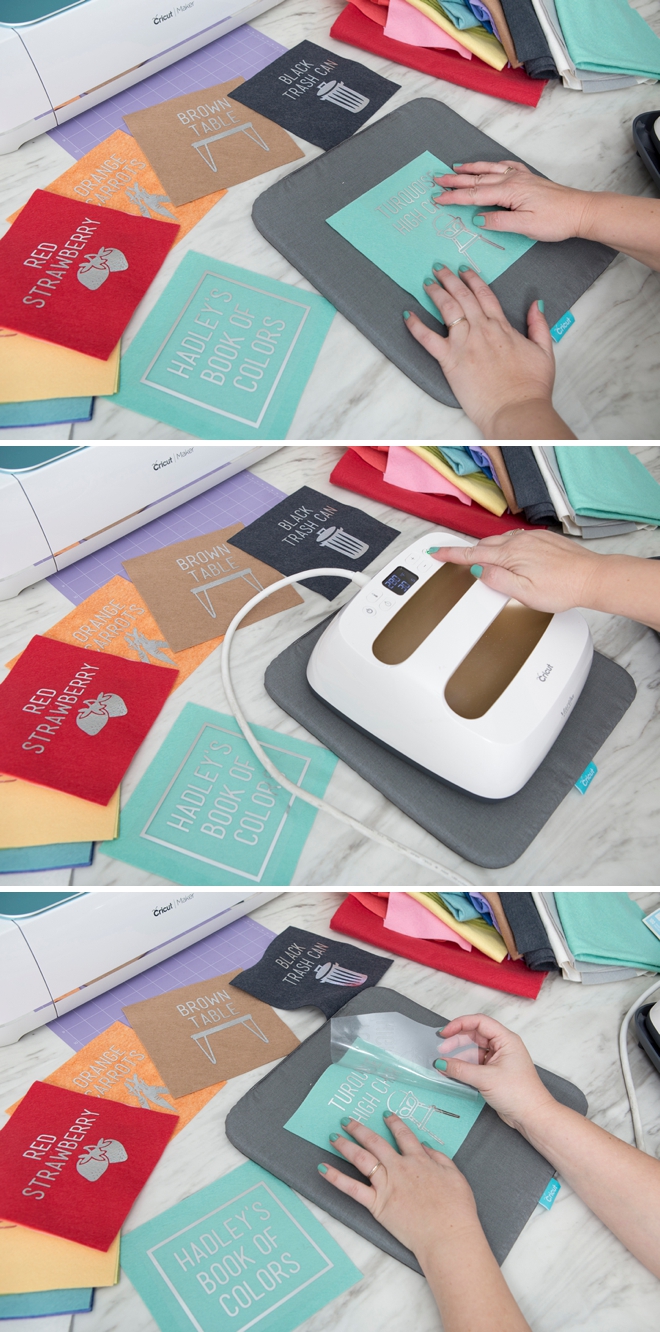
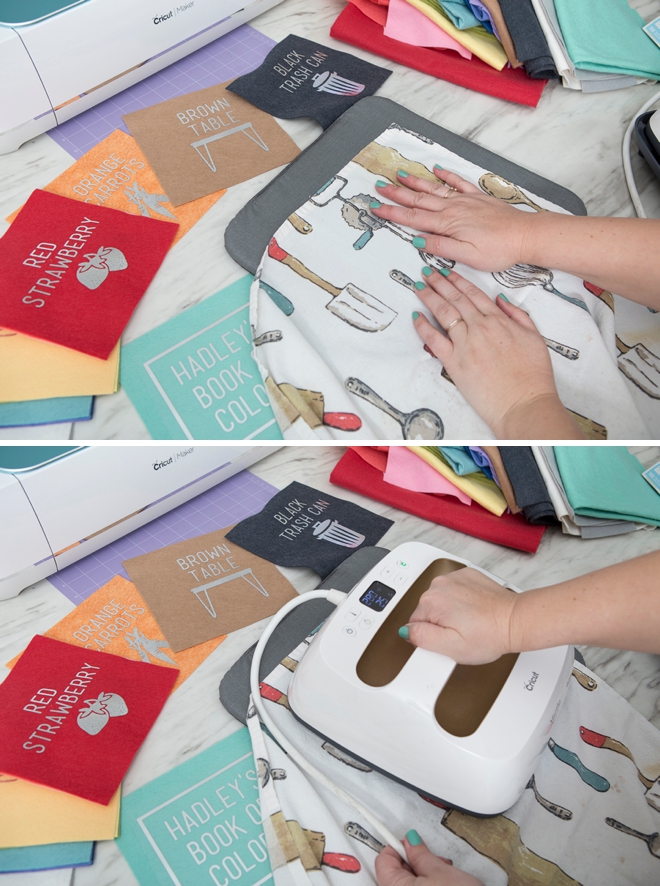
Second Heat Pass
I’ve found that when using foil iron-on on wool felt, it’s best to give it another heat pass, after you remove the clear backing sheet. Place a pressing cloth, or simple thin kitchen towel over the design so that the EasyPress doesn’t touch the foil, then heat again at the same timing.
16 Pages
I added 16 pages to Hadley’s book, plus the cover page.
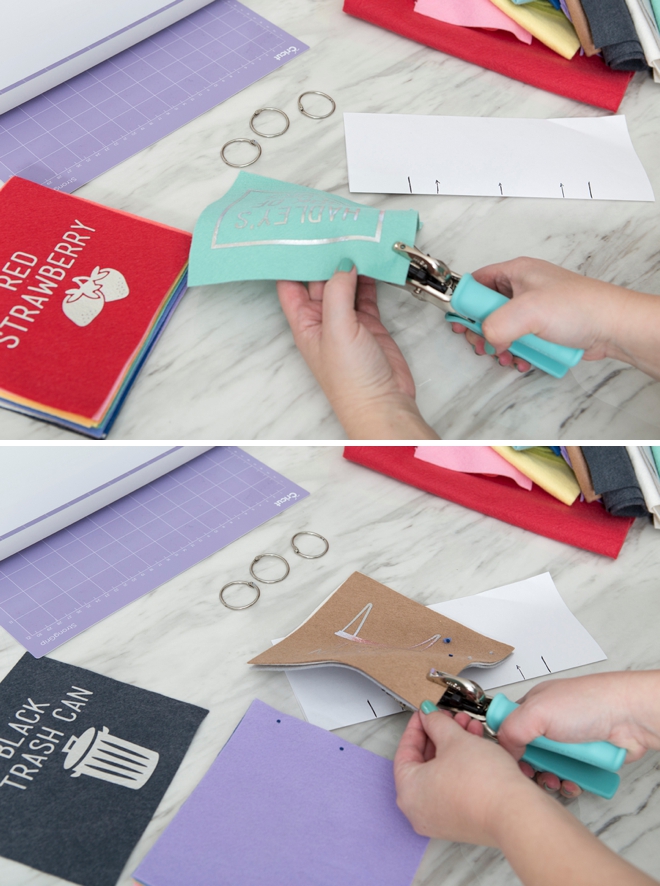
Hole Punch Template
Make a little template on a piece of paper to easily mark where each hole needs to be punched on each felt page. I did mine square in the middle and then 1″ in on either side.

Hole Punch
Using my Crop-a-Dile hole punch I could punch up to three felt pages at a time!
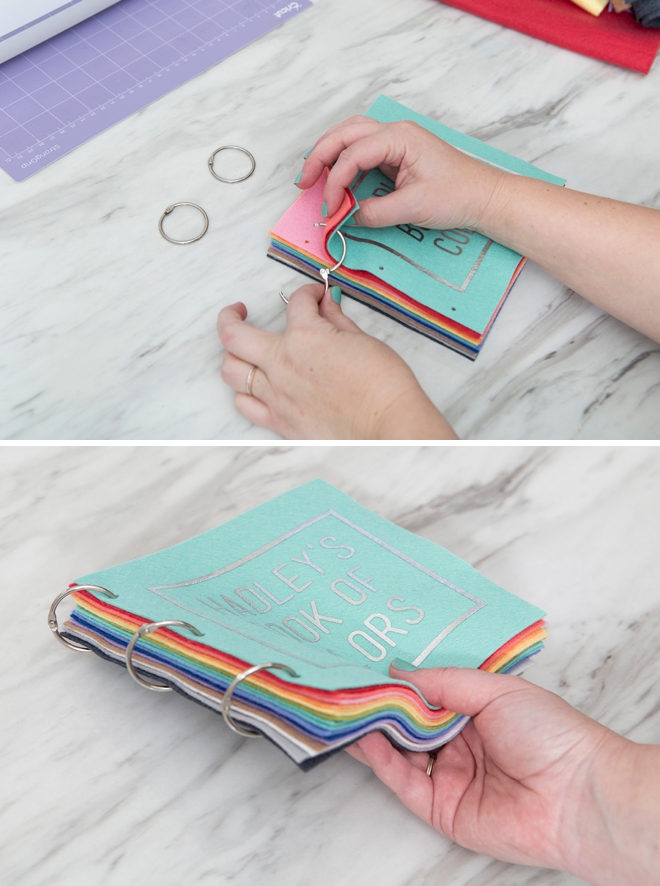
Binder Rings
For 17 pages of felt I used 1.5″ binder rings, for 12 pages or less I’d say use the 1″ rings.
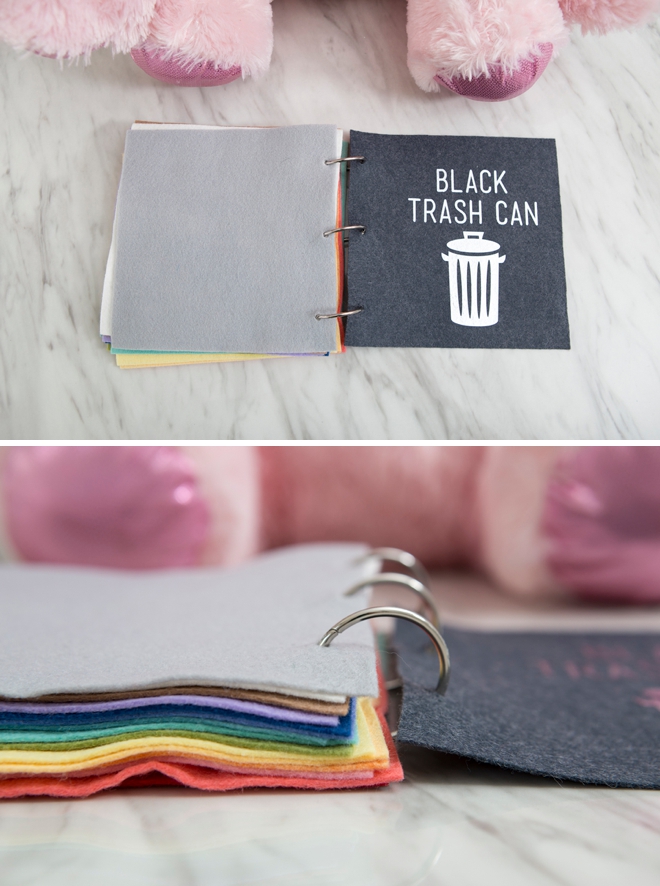
Start Learning
Their tiny little brains are sponges at this age. Hadley is 16 months old and she’s got about 25 words and her comprehension of words is at an all time high. So now is the time that I am really working on colors with her and I’m just so thrilled about this book because it’s going to be a great learning tool. Because of this book big sissy is learning a few extra colors too!

If you create one of our projects, please share a picture with us on Instagram or Twitter using the hashtag #somethingturquoisediy, we regularly reshare our favorites! Your profile will need to be public for us to see it otherwise, you can always DM us!
DIY Tutorial Credits
Photography + DIY Tutorial: Jen Causey of Something Turquoise // Wool Felt: courtesy of Benzie Design // Cricut Maker, Iron-on, and EasyPress 2: courtesy of Cricut // 1.5″ Binder Rings: Amazon // Crop-a-Dile Hole Punch: Amazon
Shop The Supplies:
Find the supplies you’ll need for this project from our affiliate links below:


Comments