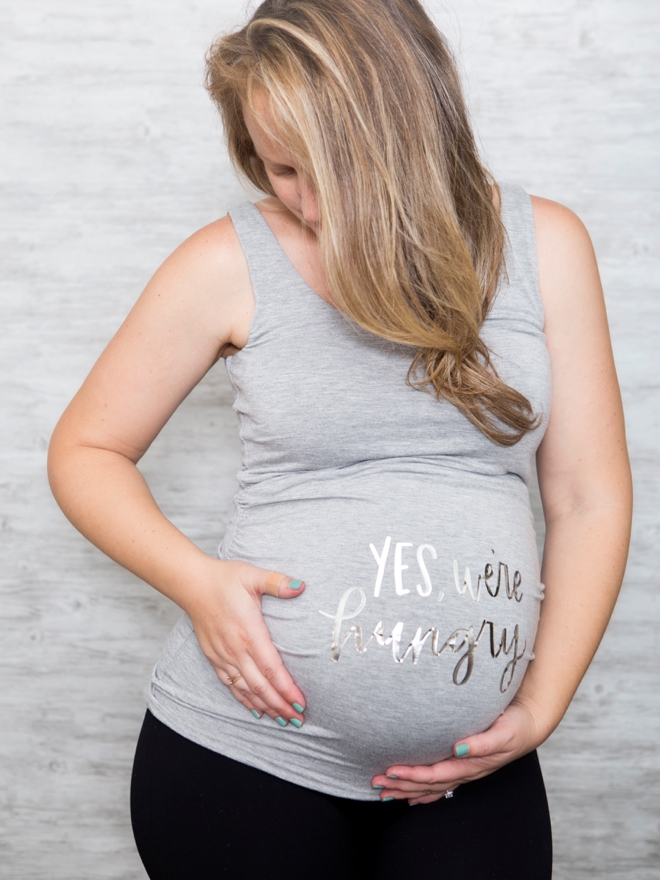
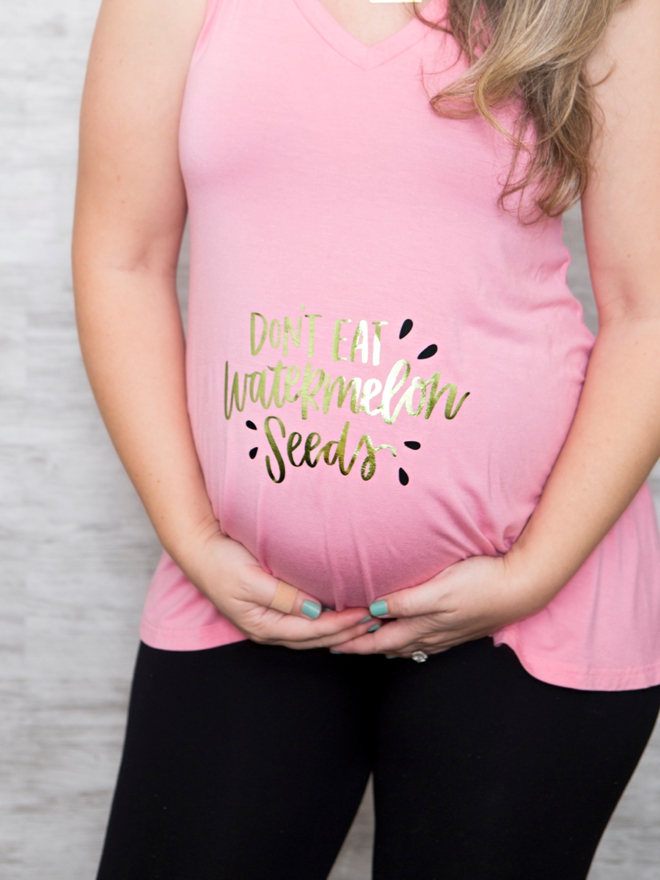
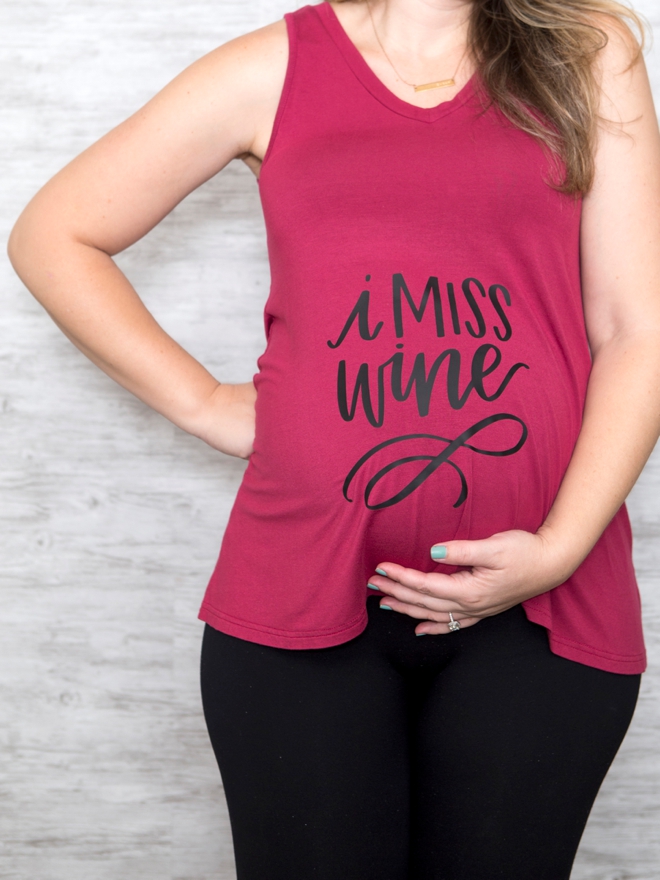
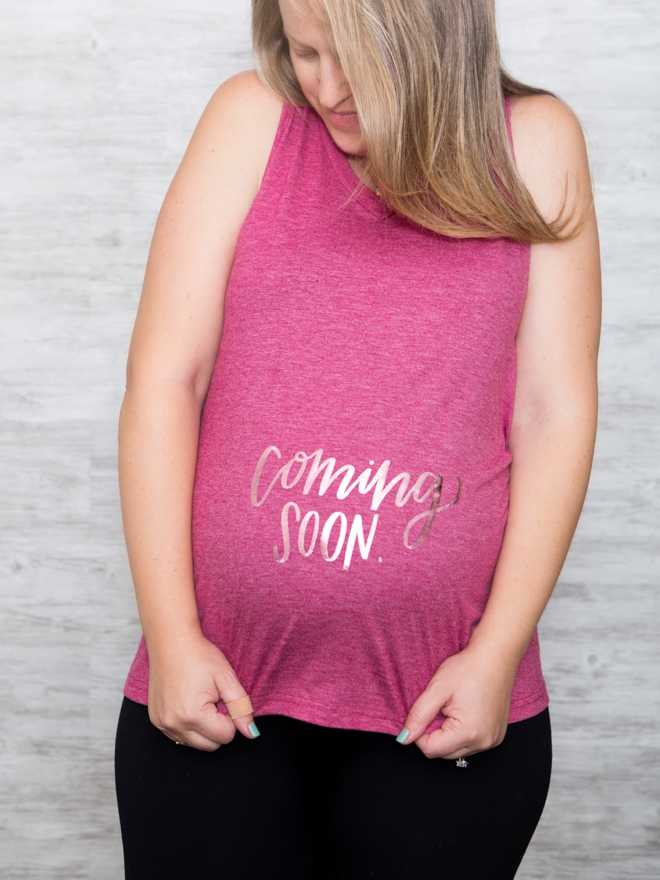
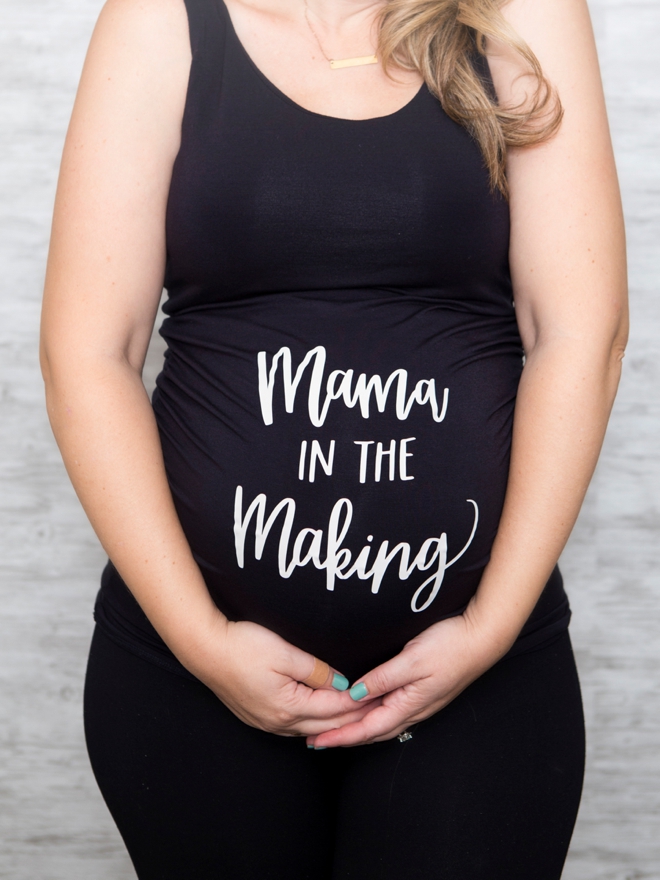
Ahhh pregnancy… when nothing fits, you’re always hungry, and you have to pee all the time. With my second pregnancy, I craved all the things you’re not supposed to have sushi (and it was a bad craving, so bad I gave in a few times because I almost couldn’t stand it), mayonnaise, sprouts (weird right!?), and wine. I also hated anything touching my belly and I pretty much lived in maxi dresses and flowy tank tops… so of course I had to personalize a few for myself. I actually shot this project only 4 days before my son was born (3.5 weeks early) and it was my last bit of work before maternity leave… so I didn’t fully get to enjoy wearing these adorable sayings, but I’m keeping them for the next time!
Our Exclusive SVG Files
If you didn’t know, we have a digital file shop FULL of exclusive .SVG cut files to use with your Cricut Explore or Cricut Maker. Right now you can purchase these darling Mama sayings for $1.99 each or pick up all 5 for $7.99!
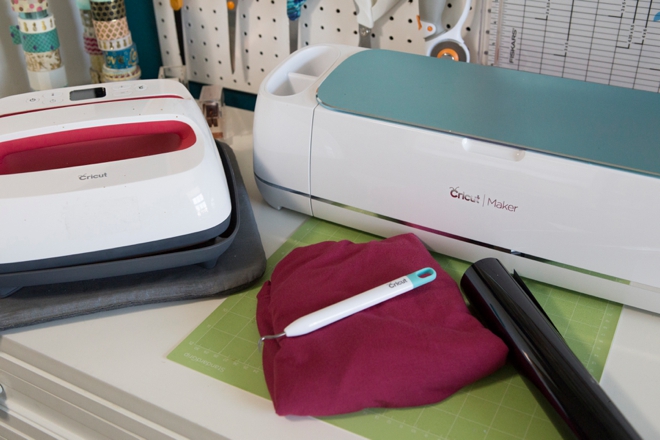
SUPPLIES:
- Cricut Explore or Cricut Maker
- Cricut EasyPress 2
- Cricut Iron-on
- Weeding Tools
- Cute Tank Tops (or other apparel items)
Our exclusive, hand-lettered .SVG cut files:
- Yes, We’re Hungry, $1.99
- Don’t Eat Watermelon Seeds, $1.99
- I Miss Wine, $1.99
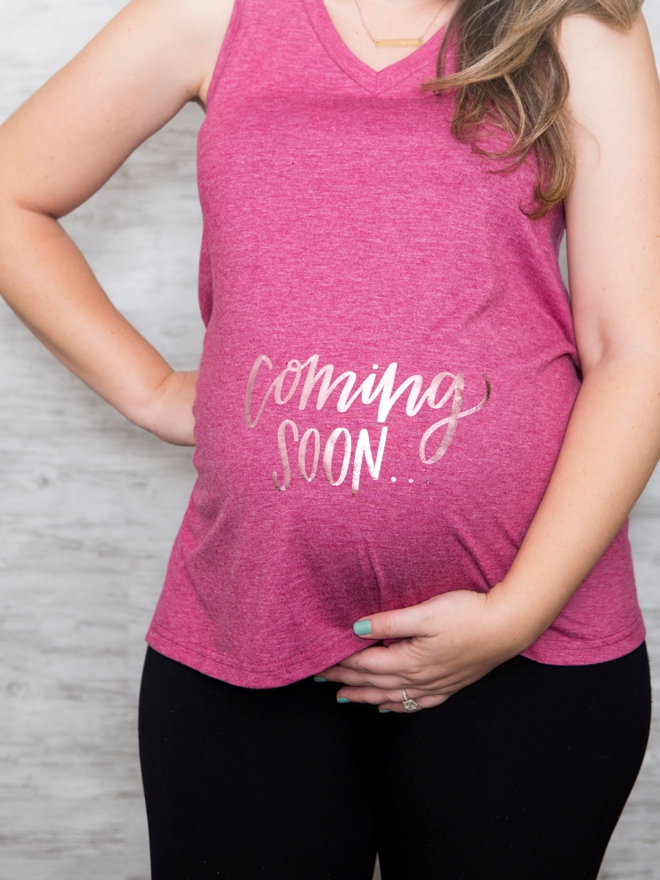
- Coming Soon…, $1.99
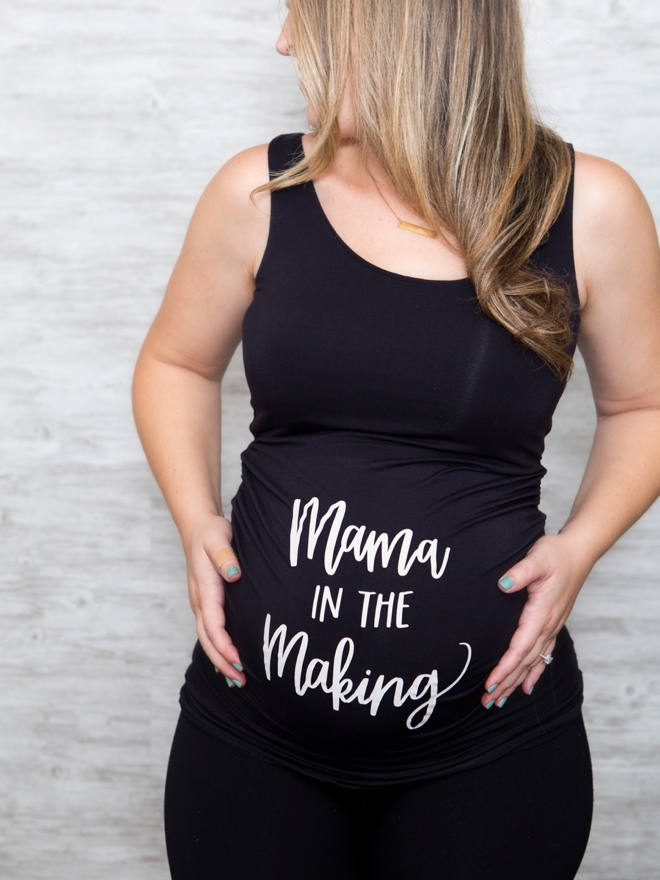
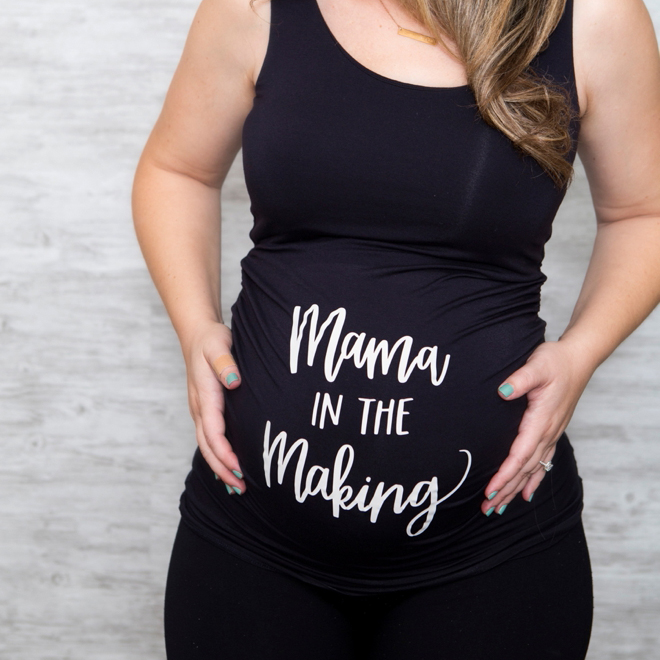
- Mama In The Making, $1.99
- Or grab all 5 for only $7.99!
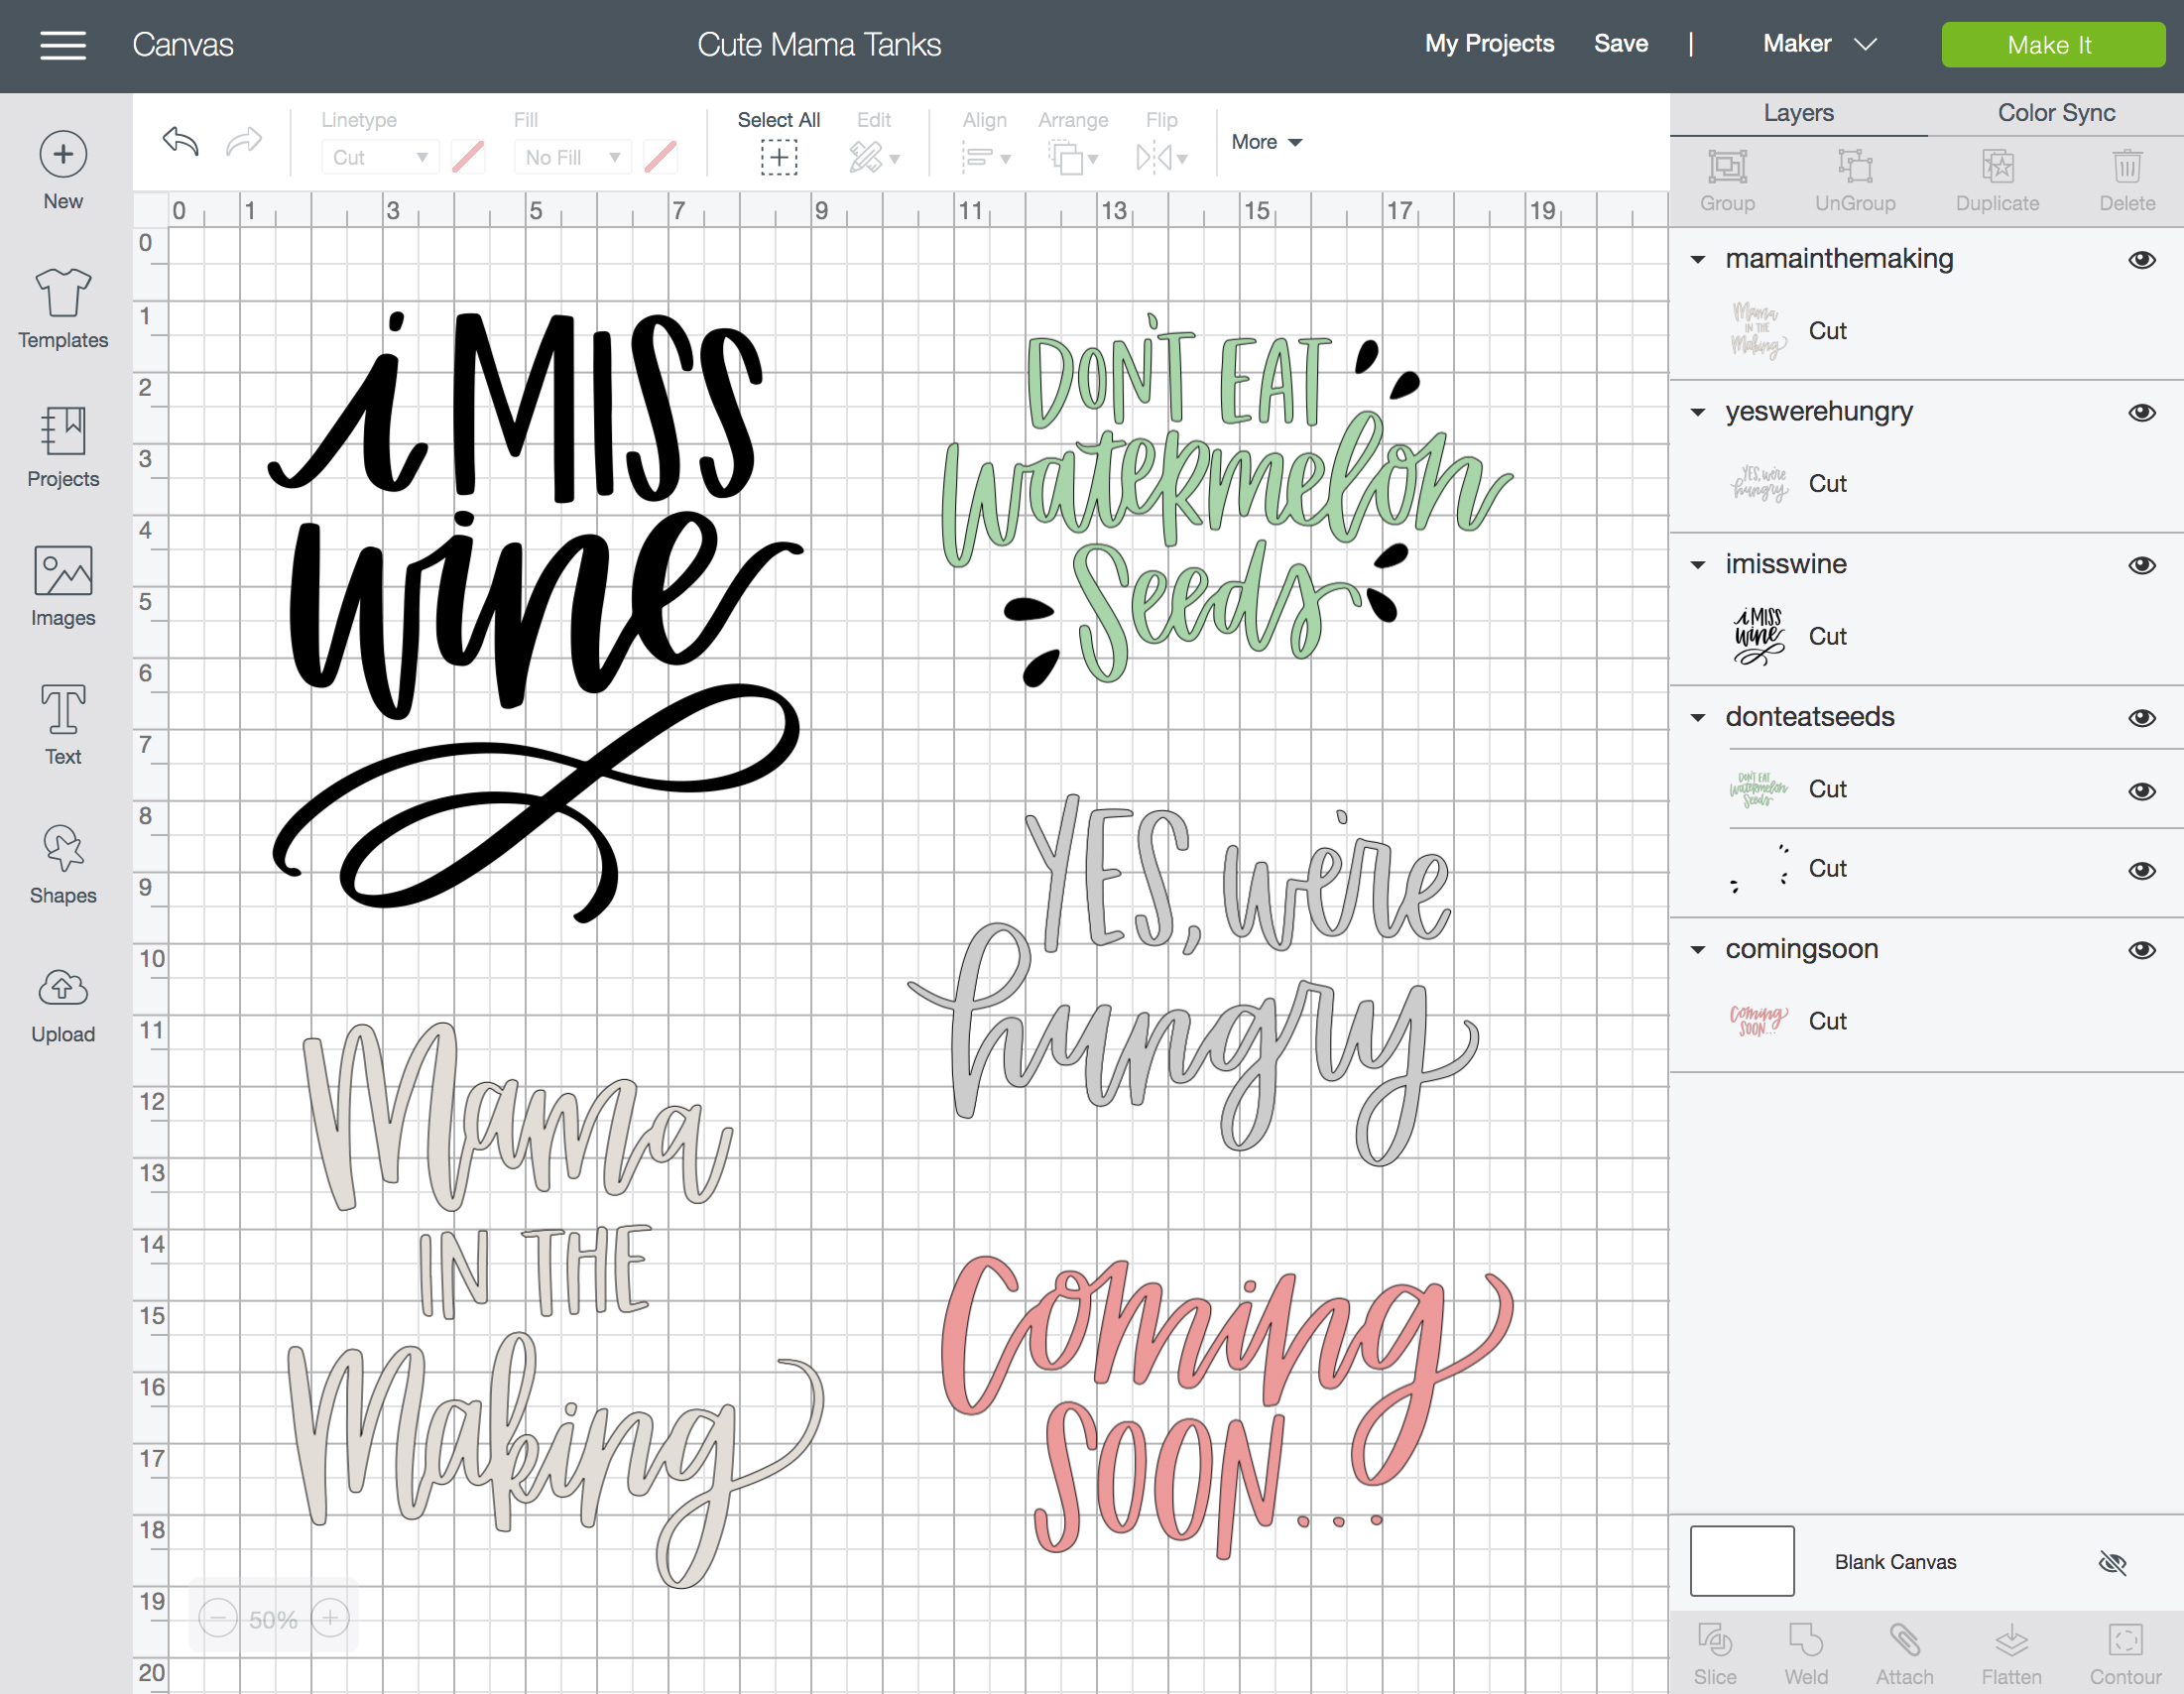
Create In Design Space
The first step is to login to Design Space and start designing your tank top! Upload our exclusive Cricut cut file(s) by using the “upload” button on the left tool bar. Locate the file on your computer and select to add it to your canvas. Then drag, resize, and add personal touches like maybe your due date. I cut these betwee 7.5” – 8″ wide. Prepare your mat and get ready to cut!
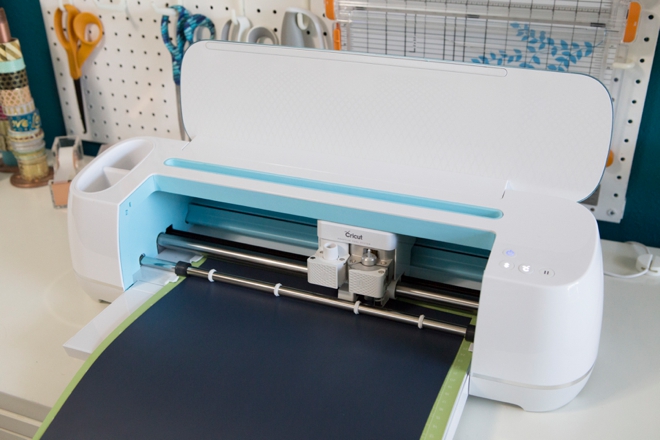
Let Your Cricut Work It’s Magic
You ALWAYS need to click the “mirror-image” button for iron-on projects, otherwise your lettering will be backwards.
Weed The Designs
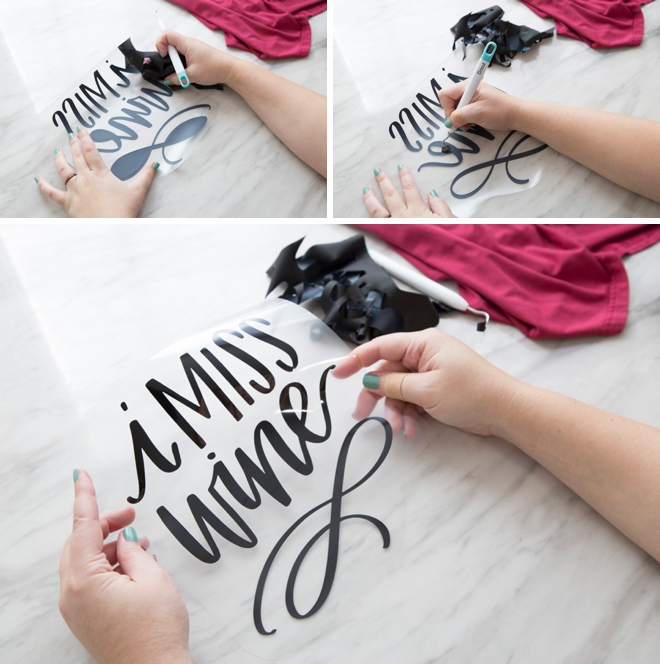
Weed, (aka. remove) all the excess iron-on material that isn’t a part of your design. Using the Cricut weeding tools makes the removal of intricate pieces super easy.
Easy Press Mat
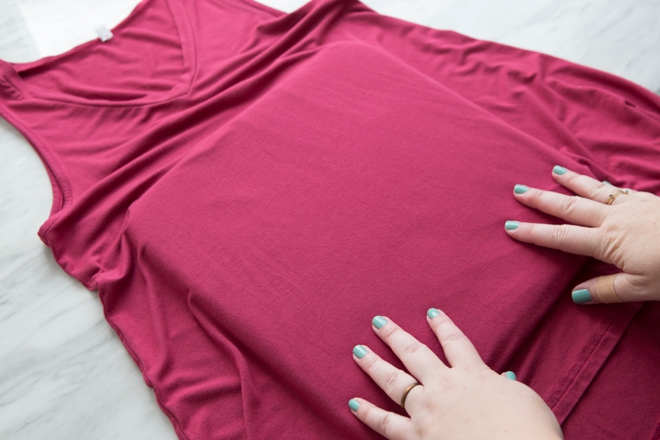
Place your EasyPress Mat between the shirt layers to create the ideal base for your iron-on application.
Easy Press Heat + Time Settings
One of my favorite aspects of using the EasyPress 2 is that Cricut has already created an amazing guide of heat times and heat temperatures for all fabrics and types of iron-on. So if you’re using everyday iron-on on a cotton/poly blend like I am here, there is an exact setting for that, which happens to be 315º for 30 seconds, light pressure, with a warm peel. No guesswork, you don’t have to hope that your iron is hot enough or that you’ve held it on the fabric for long enough. Follow this link to find the interactive chart, then simply plug the correct temperature into your Easy Press! Remove the heat transfer sheet and you have yourself an adorably personalized tank top that will celebrate that darling bump of yours!

Iron-on Colors
- I Miss Wine: Everyday Iron-on Black
- Mama In The Making: Everyday Iron-on White
- Coming Soon…: Foil Iron-on, Pink
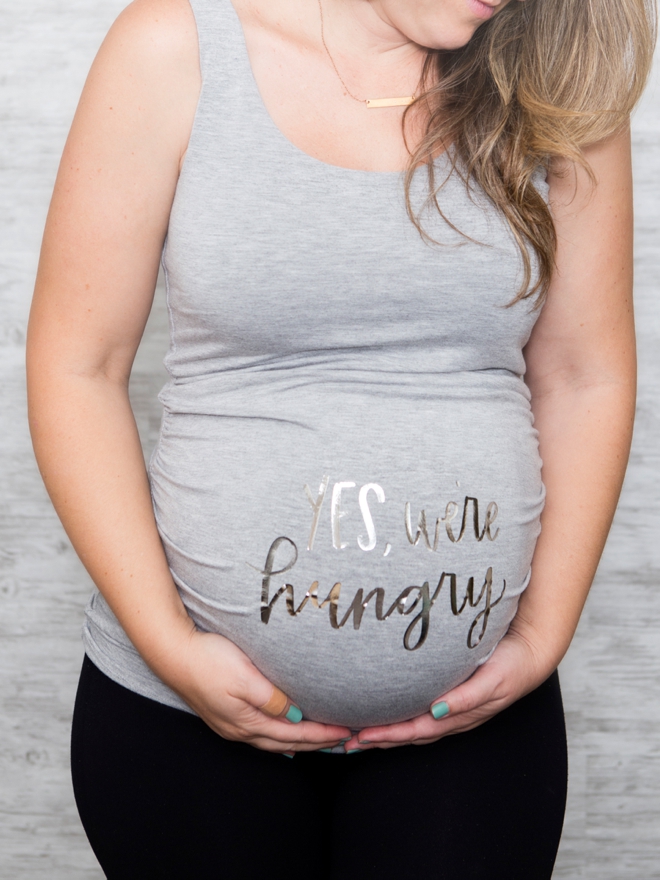
- Yes, We’re Hungry: Foil Iron-on, Chrome
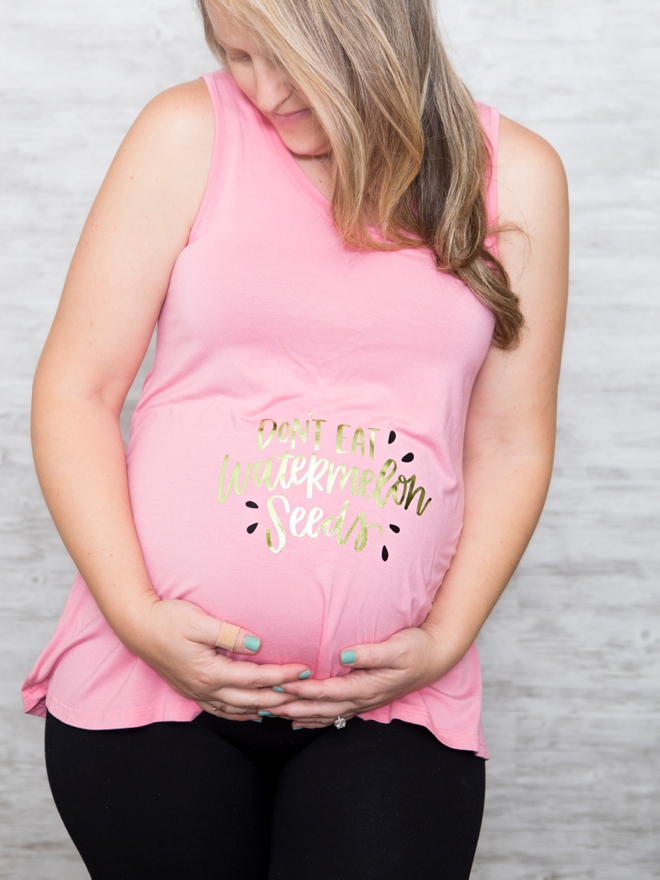
- Don’t Eat Watermelon Seeds: Everyday Iron-on Black and Foil Iron-on, Lemon Grass
As with all our DIY tutorials, if you create one of our projects please send us a picture – We Love Seeing Your Creativity! If you use Instagram or Twitter please use the hashtag #SomethingTurquoiseDIY and it will show up on our Get Social page. Happy Crafting!
DIY Tutorial Credits
Photography + DIY Tutorial: Jen Causey of Something Turquoise // Exclusive, Hand-lettered .SVG Cut Files: Shop Something Turquoise // Fitted Maternity Tank Top: Amazon // Flared Tank Top: Amazon // Cricut Maker, EasyPress 2, and Iron-on Supplies: courtesy of Cricut
Shop The Supplies:
Find the supplies you’ll need for this project from our affiliate links below:



Comments