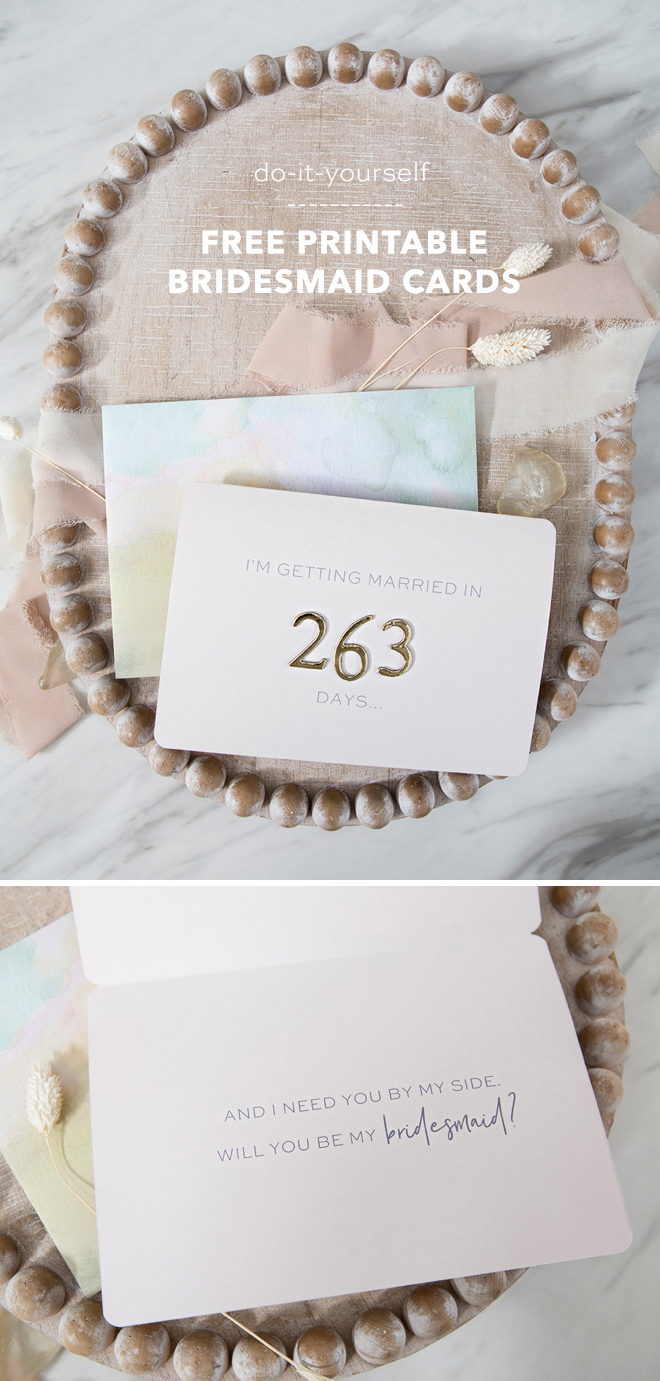
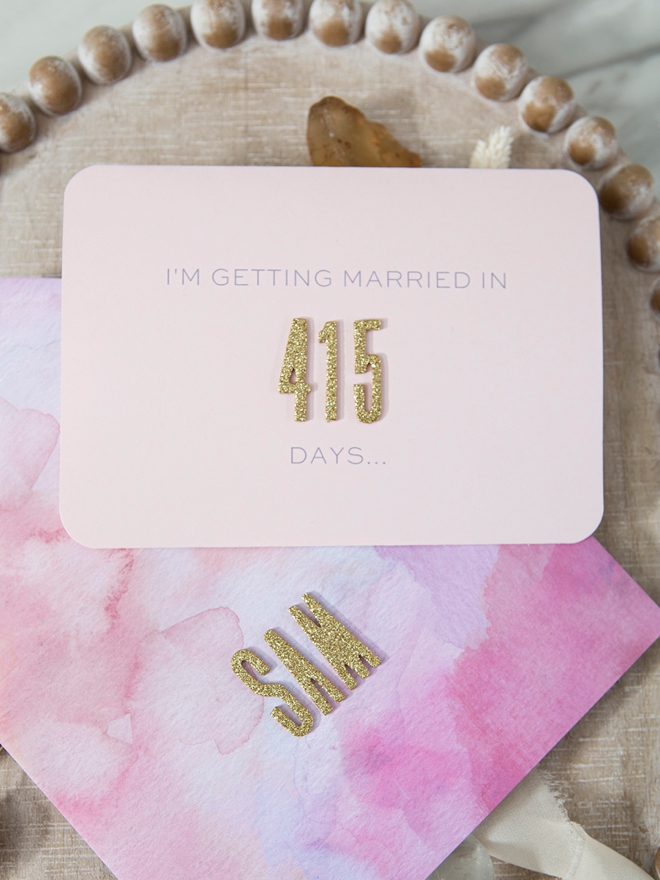
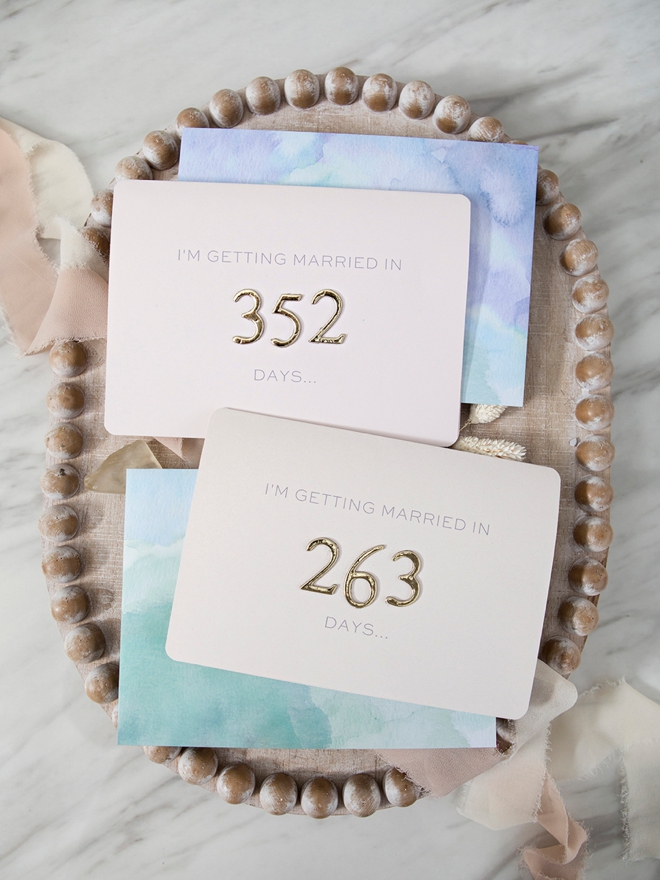
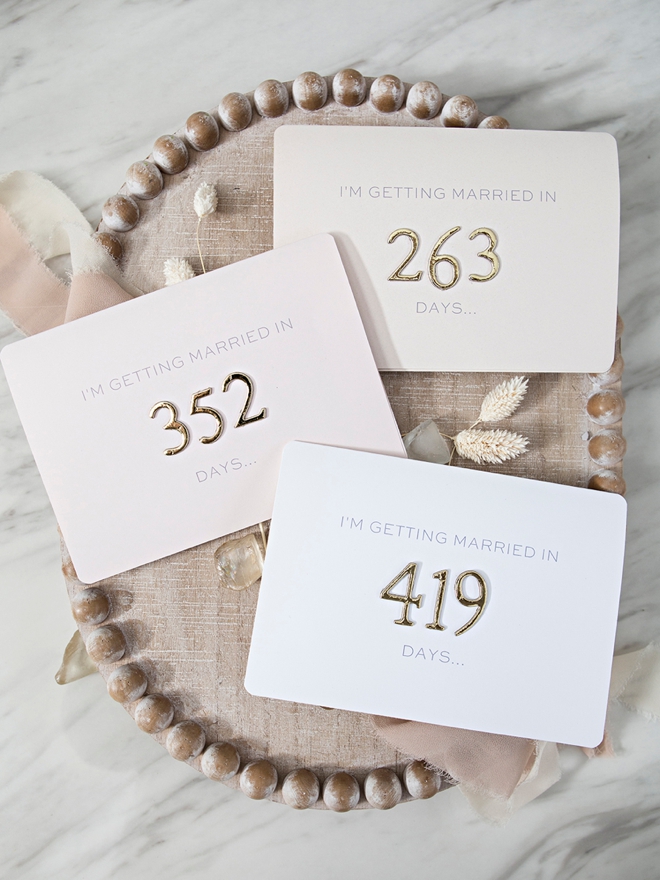
Happy 2020 everyone and welcome to all our newly engaged readers! We’re super happy you are here and let us be the first blog to say Congratulations! We’re starting the year off right by sharing FREE printable “Will you be my…” cards that have a fun and adorable little twist – you fill in the days until you’re saying I DO! Our simple printable designs are super easy to personalize to fit your unique event and personality, use your favorite color of paper and the number stickers that you love, paired with cute envelopes – no two designs will be the same. Start your creative celebration off on the handmade (and more special) foot with these sweet cards!
The Exact Days
Use this free countdown timer to find out the exact amount of days until your wedding!
Remember to take into consideration the days until the recipient will receive their card!
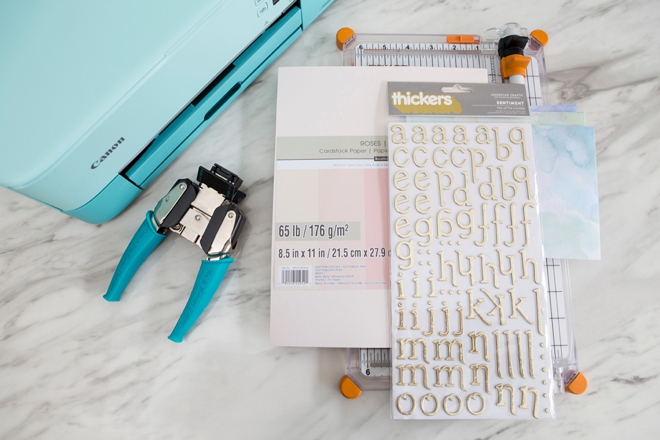
SUPPLIES:
- Home Printer (I’m using my adorable new Canon Pixma TS5320!)
- 8.5″ x 11″ Cardstock
- Paper Trimmer or Scissors
- Corner Rounding Punch (optional)
- A7 Sized Envelopes
- Cute Alphabet + Number Stickers
- Our FREE printable card files available at the end of the post!
Download + Print
Visit the end of the post and click on the graphic to instantly download all the printable card files. They will be in a zip folder that will need to be opened, which is best done on a laptop or desktop computer, not a smart phone.
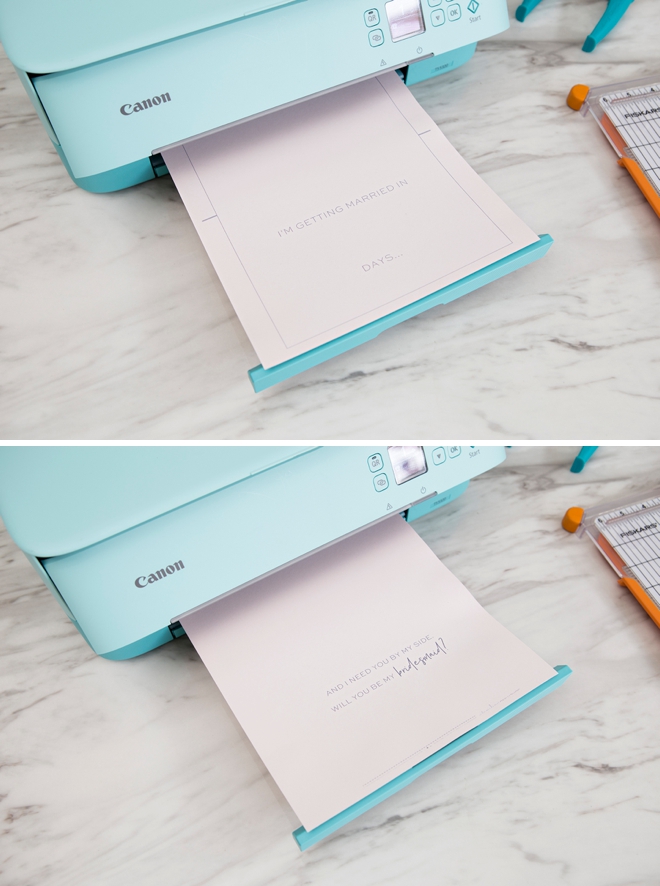
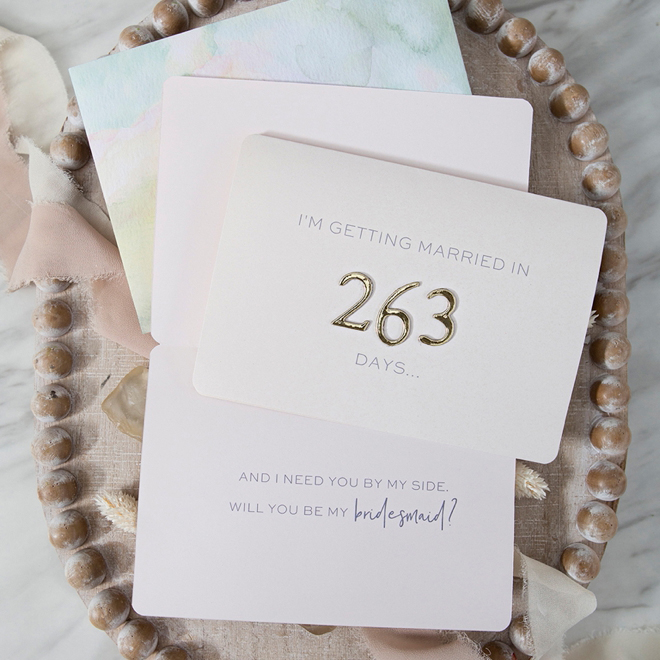
Print the front of the card onto 8.5″ x 11″ cardstock, then take out the paper and reinsert into your printer backwards, to print the secondary design on what will be the inside of the card.
The front of the card design is the same for all versions and we’re sharing all the versions below for free within the download. Will you be my…
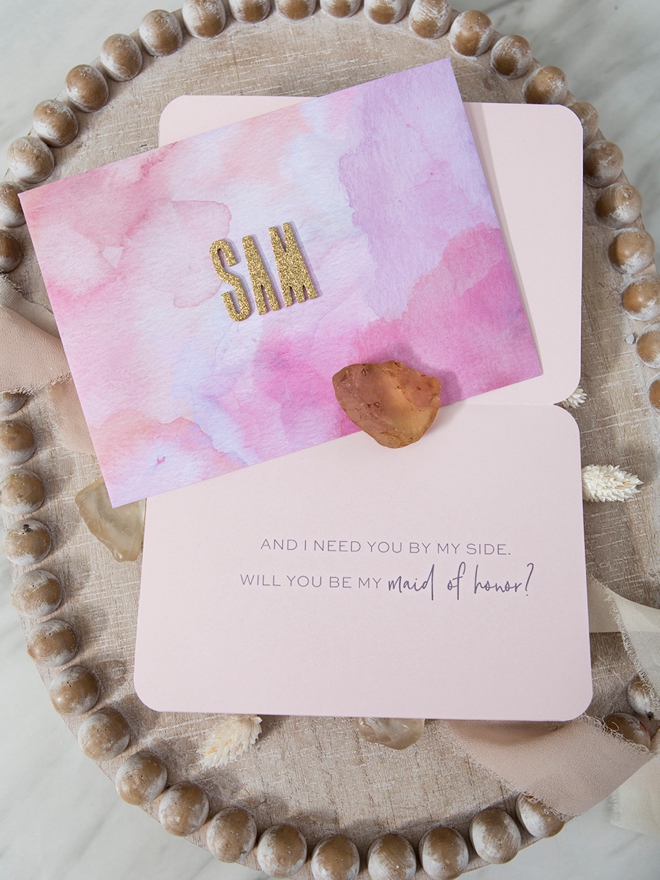
- Maid of Honor
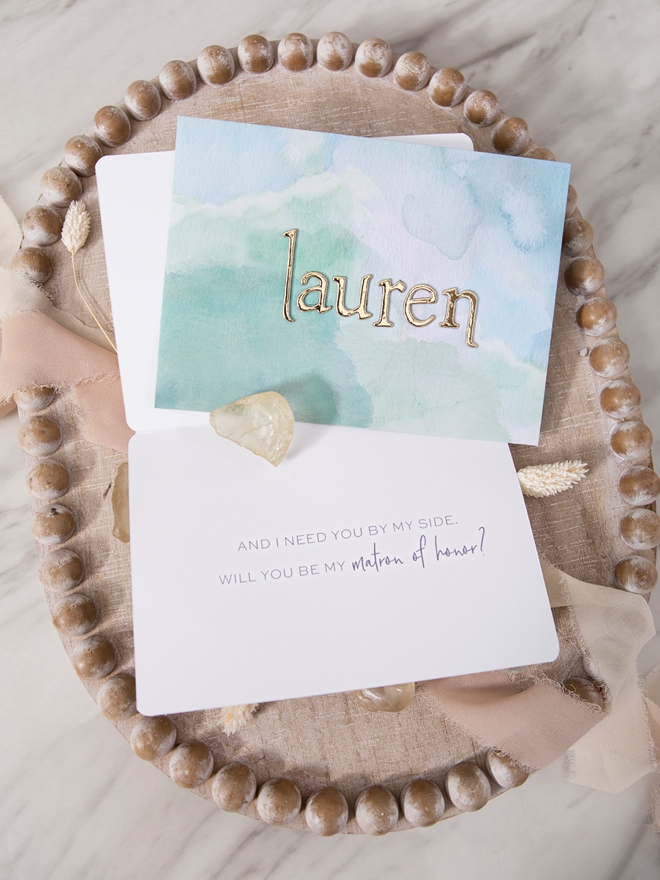
- Matron of Honor
- Bridesmaid
- Groomsman
- Man of Honor
- Brides-man
- Best Man
- Flower Girl
- Ring Bearer
Score
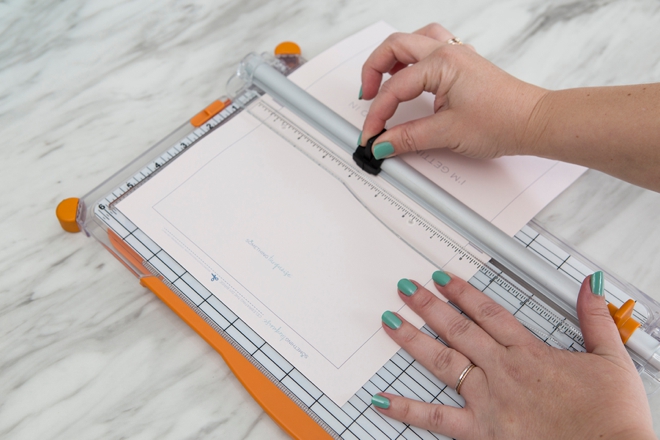
My Fiskars paper trimmer has a scoring blade which makes an indentation in the paper that creates the perfect fold line. Line up your paper trimmer with the short gray marks on the printable and score. This step is optional, you can always just fold the paper in half.
Trim
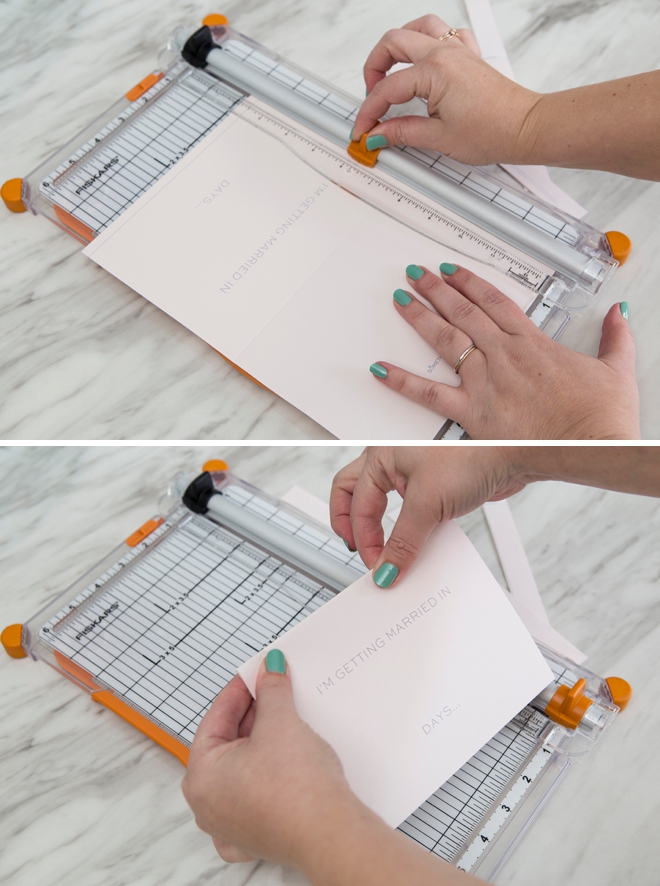
Folded these cards are 5″ x 7″ and are considered A7 size, so you’ll also need A7 envelopes. Trim on the lines provided and then fold.
Round
Use a corner rounding punch to round the corners if you desire.
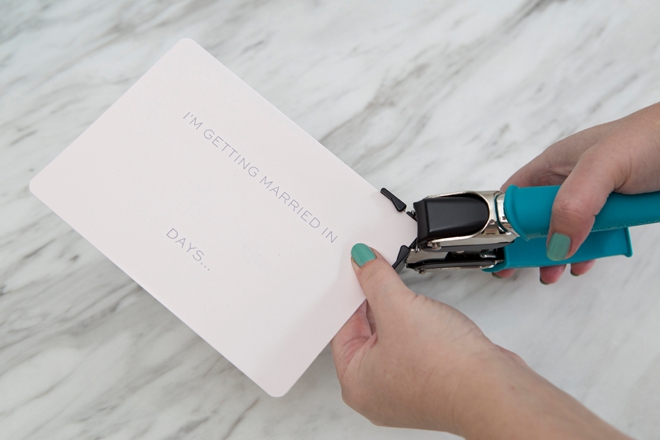
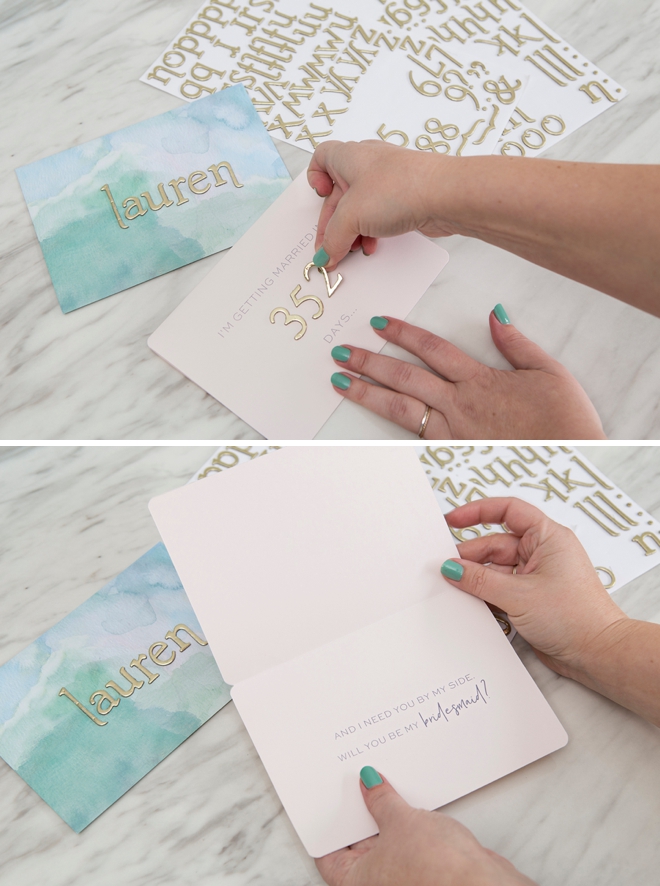
Days
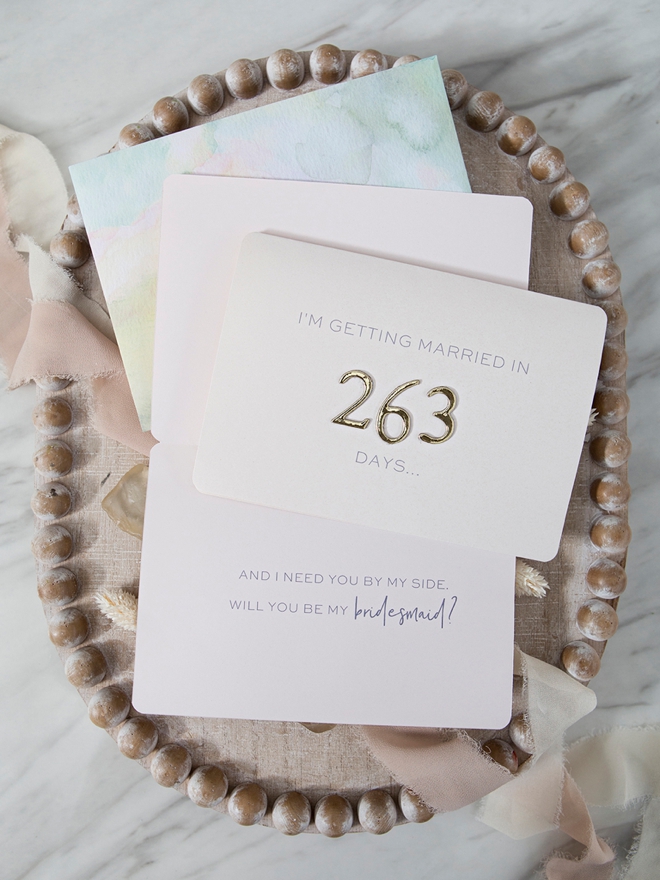
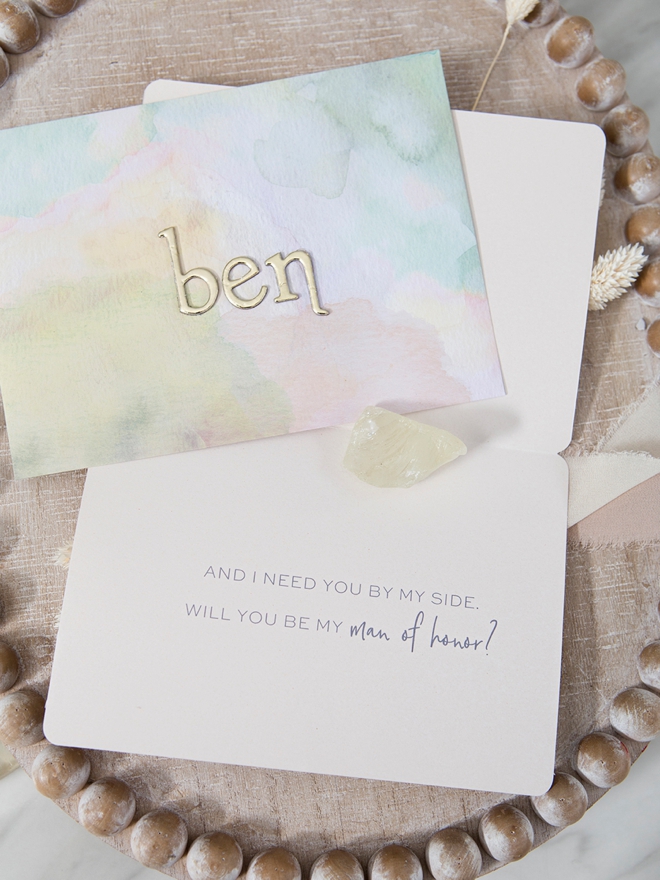
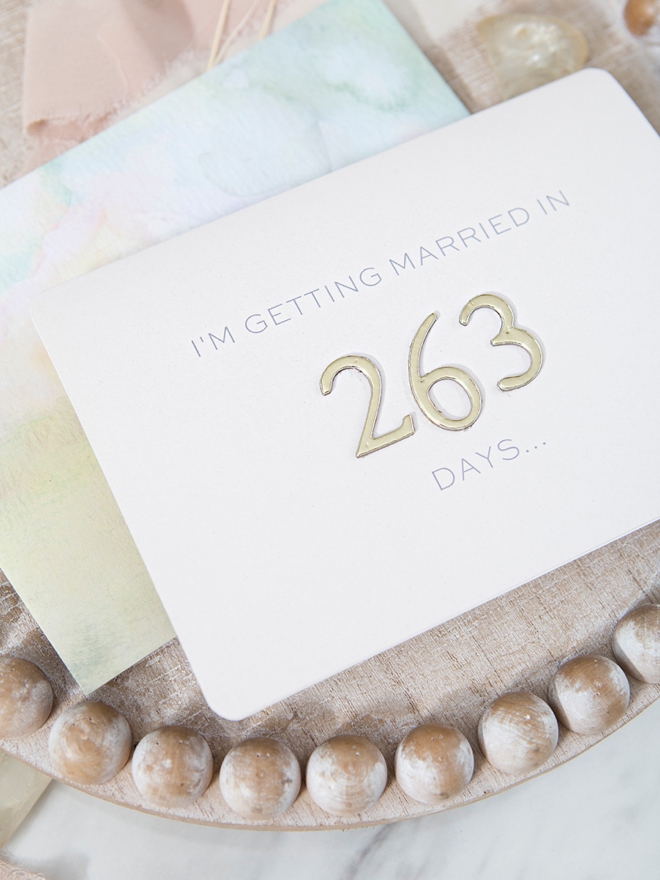
To personalize the card, add cute number stickers to the front and the recipients name on the envelope. It’s that simple!
Have Fun With Your DIY
This is the perfect project for a DIY beginner and it’s an ultra-easy project for the advanced. To us, DIY means to make it your own, put your own twist on it, enjoy yourself while doing it, create lasting memories, gain a sense of accomplishment – not get stressed out and have a “craft fail”. That’s why we only share projects that actually work and that are easy to understand!
If you create one of our projects, please share a picture with us on Instagram or Twitter using the hashtag #somethingturquoisediy, we regularly reshare our favorites! Your profile will need to be public for us to see it otherwise, you can always DM us!
DIY Tutorial Credits
Photography + DIY Tutorial + Free Printable: Jen Causey of Something Turquoise // Canon Pixma TS5320 Wireless All In One Printer, Green: courtesy of Canon // A7 Watercolor Envelopes: Michaels // 8.5″ x 11″ Pink Cardstock Pack 60lb: Michaels // Thickers, Alphabet Stickers: Amazon // White Canary Grass: courtesy of Fifty Flowers
Shop The Supplies:
Find the supplies you’ll need for this project from our affiliate links below:



Comments