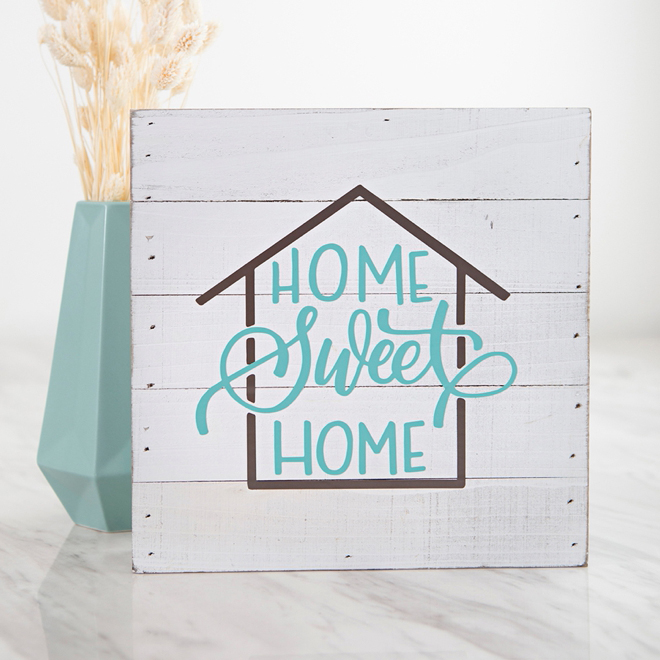

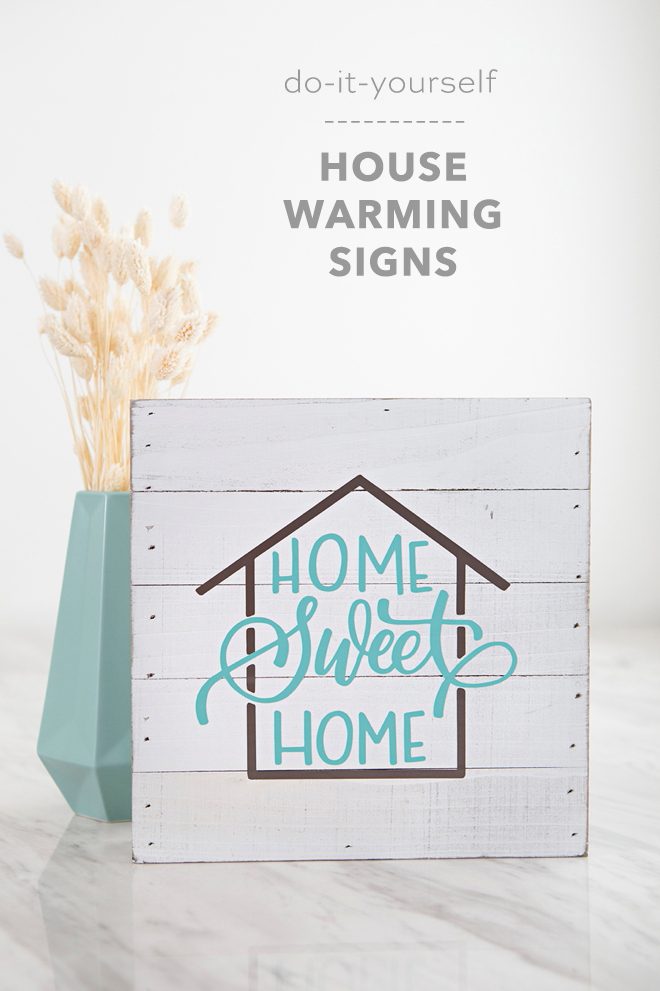
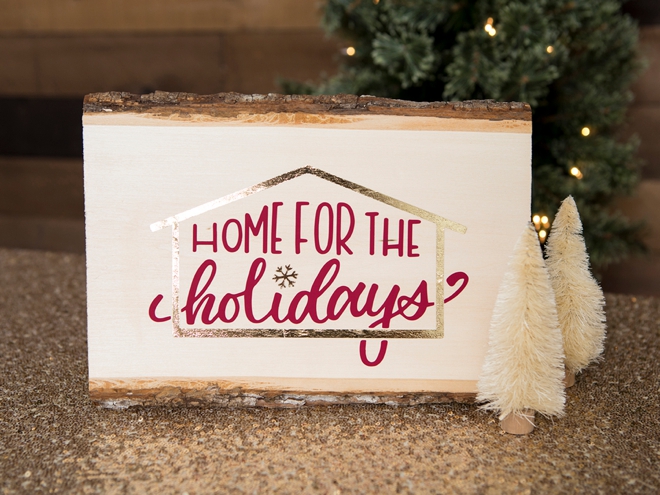
Handmade House Warming Sign
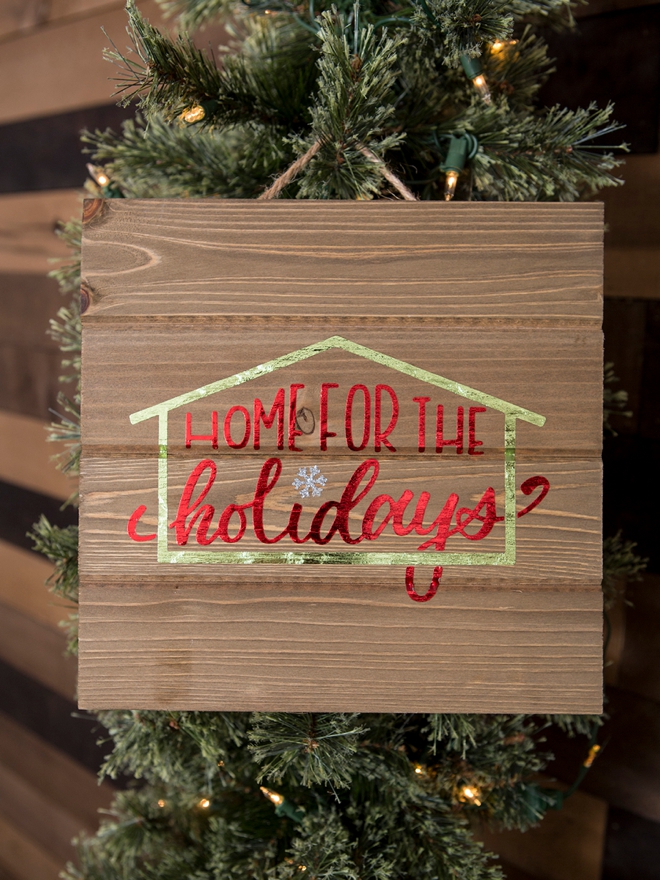
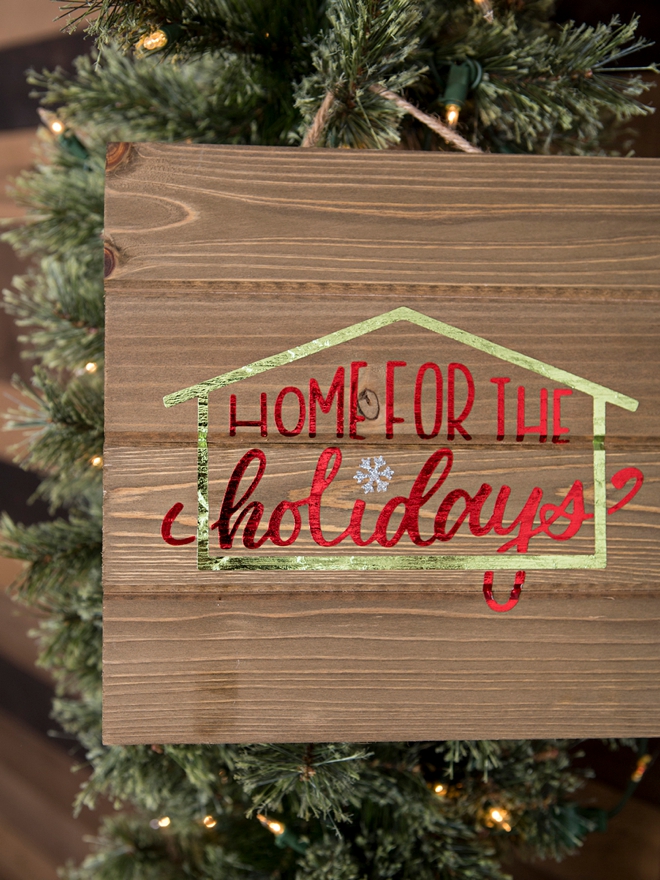
Sadly it’s the last day of #favorweek but it’s been a blast and I hope that we’ve been able to inspire your holiday crafting this year, along with your event crafting all year round. Todays project would be perfect for your new home or a friend or family member who just moved or bought a new home. The holiday version would be terrific for anyone who is staying home and getting cozy for the holidays, or maybe even your favorite hostess! I’m sharing two ways to make the signs, using vinyl or using iron-on on wood! Both of the designs are our exclusive, hand-lettered .SVG cut files for your Cricut and you can purchase them in our shop for only $1.99!

Favor Week
YAY! It’s #favorweek 2019, one of my favorite weeks of the entire year! It all started in 2015 when I realized that tons of readers were coming to the blog during the holidays to make our wedding favors as small holiday gifts. So now, each year we’ve been sharing awesome wedding/party favors that double as terrific handmade holiday gifts, and we make you a holiday version as well! We have five awesome projects in store for you this week to get your creative juices flowing!
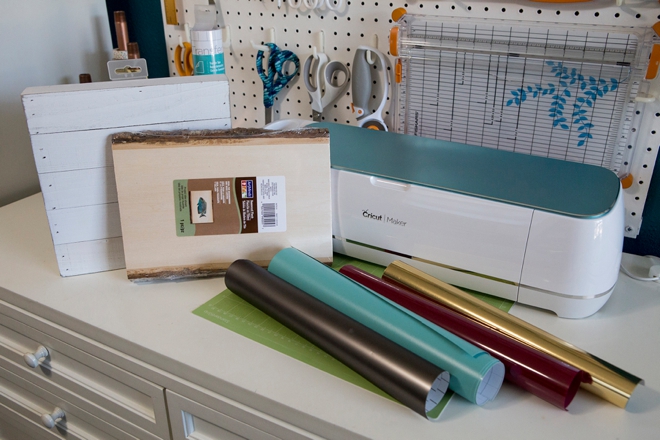
SUPPLIES:
- Cricut Explore or Cricut Maker
- Vinyl or Iron-on
- EasyPress 2 (if doing iron-on)
- Transfer Tape (if doing vinyl)
- Cute Sign Blanks, all of mine are from Michaels
- Weeding Tools
- Our exclusive, hand-lettered .SVG cut files! Purchase the “home sweet home” design and the “home for the holidays” design for only $1.99 each in our shop!
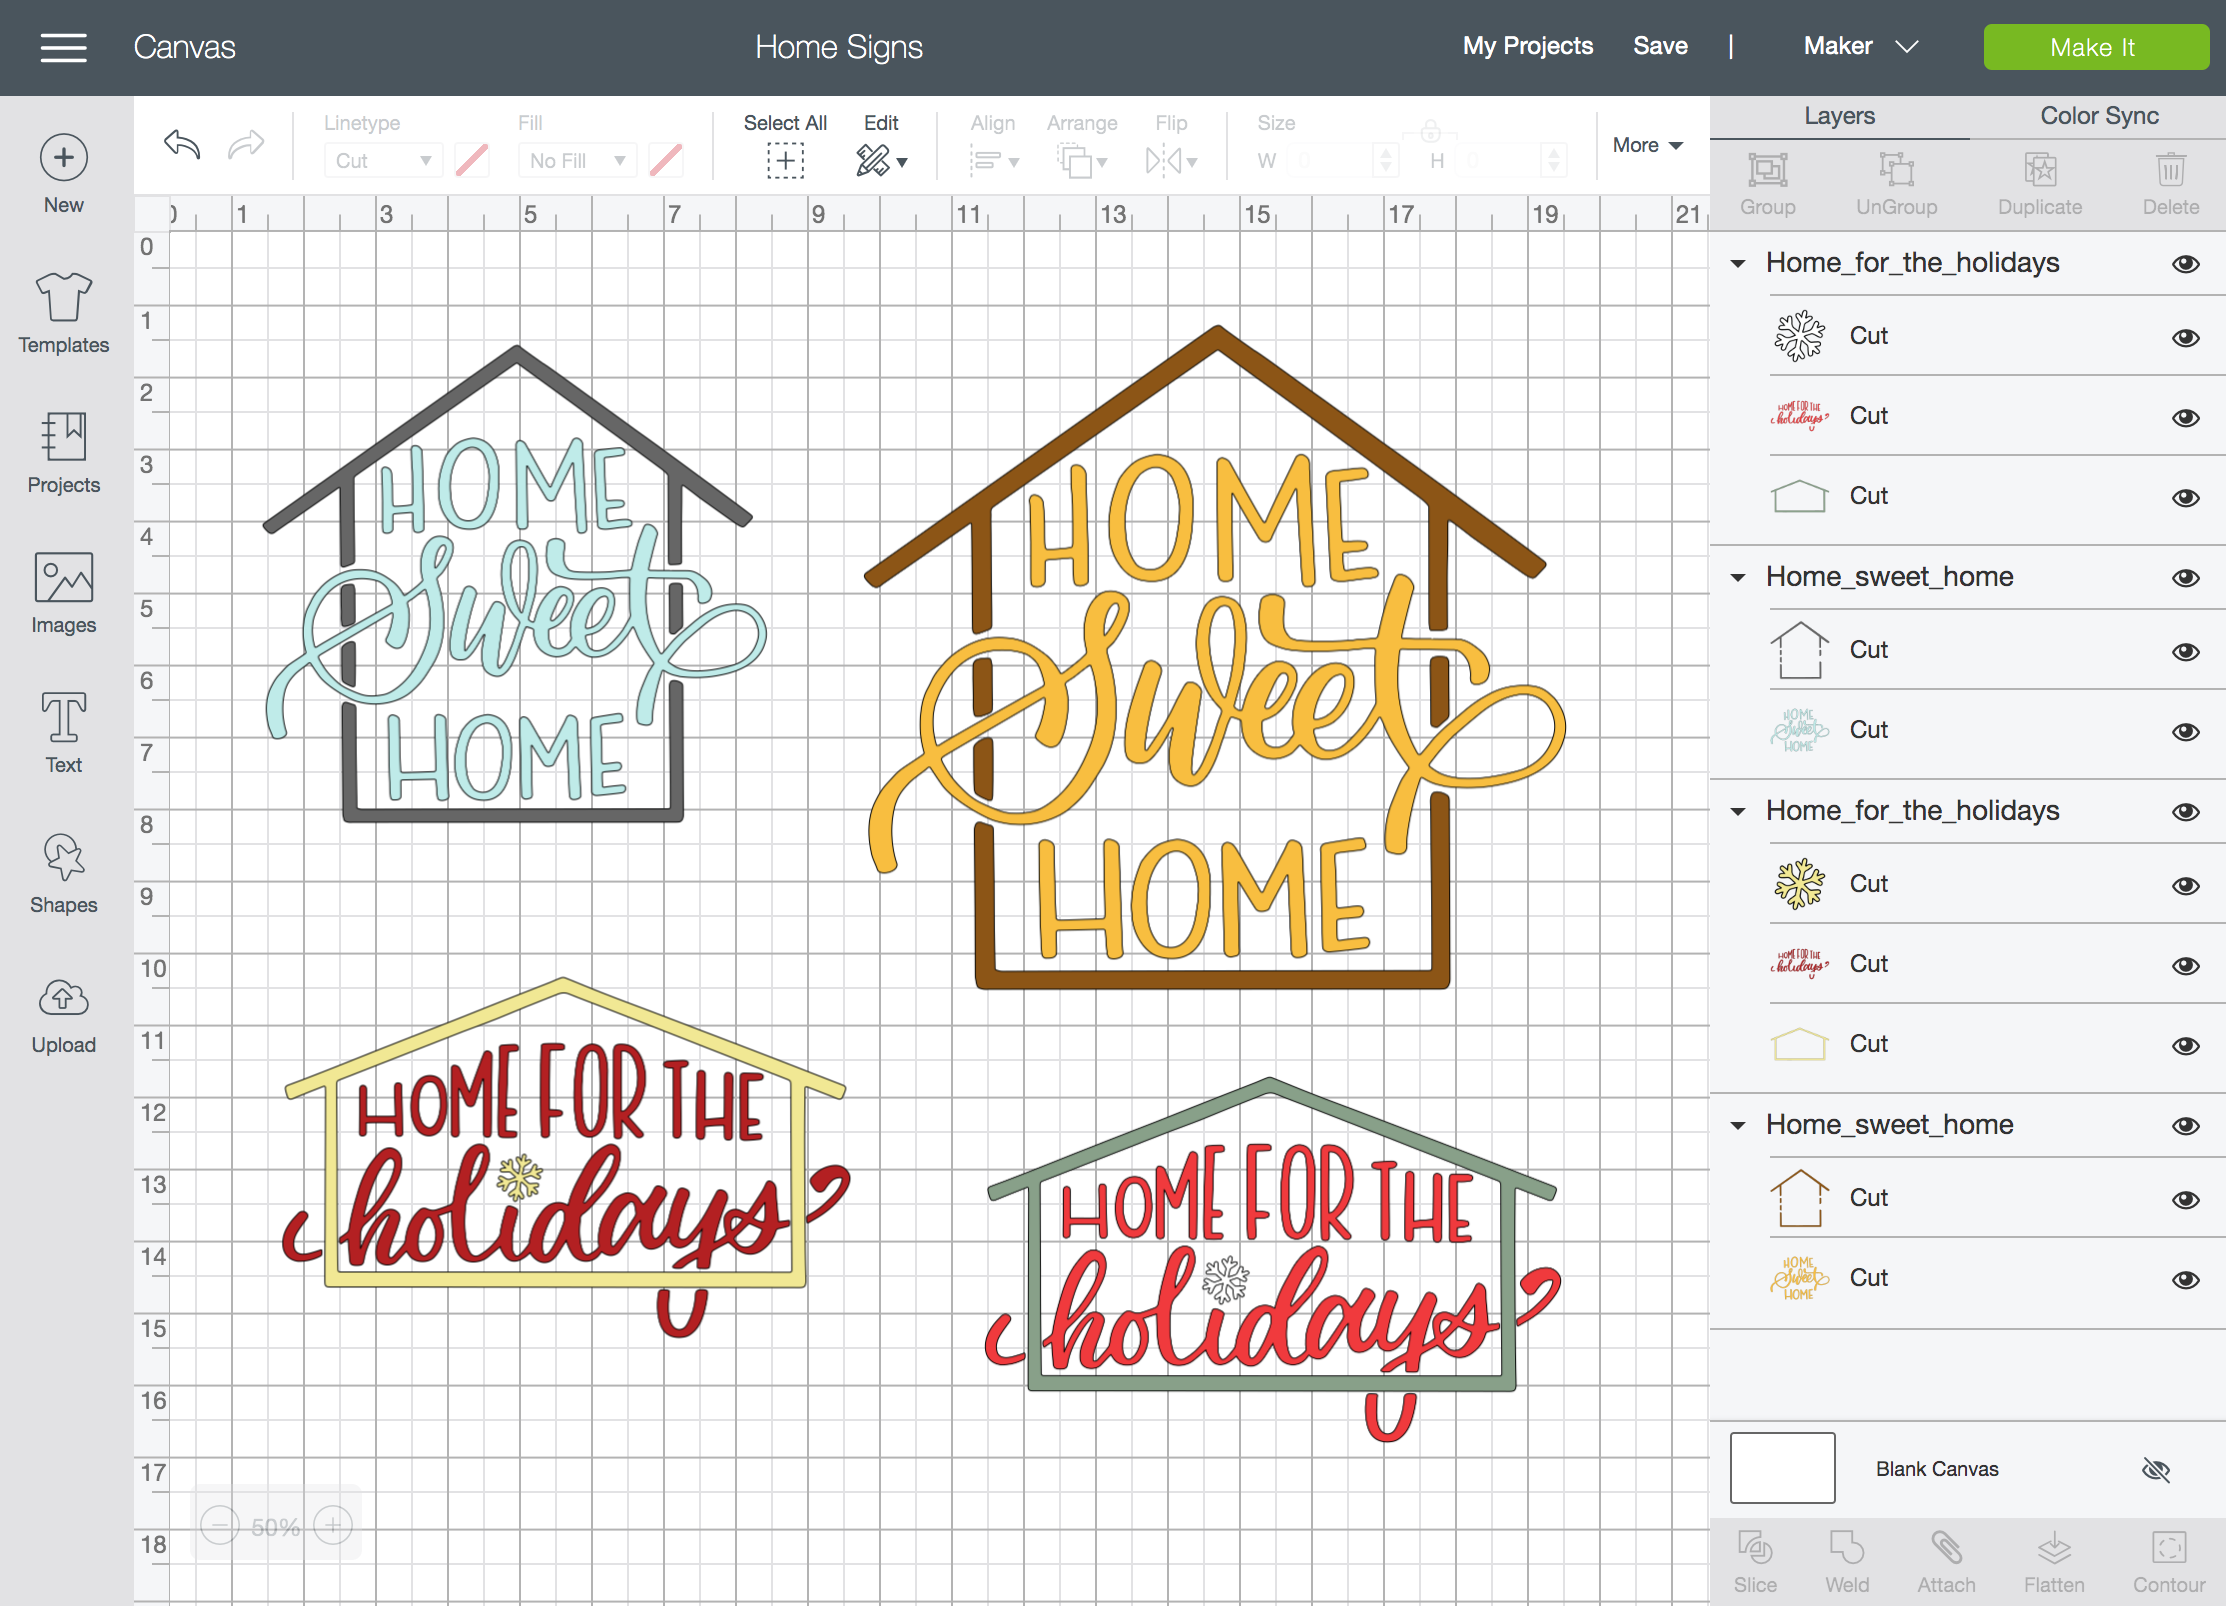
Create In Design Space
The first step is to login to Design Space and start designing your signs. Upload our exclusive Cricut cut file(s) by using the “upload” button on the left tool bar. Locate the file on your computer and select to add it to your canvas. Then drag to resize, add coloring to match your supply items and possibly add personal touches like maybe names or address. Prepare your mat and get ready to cut!
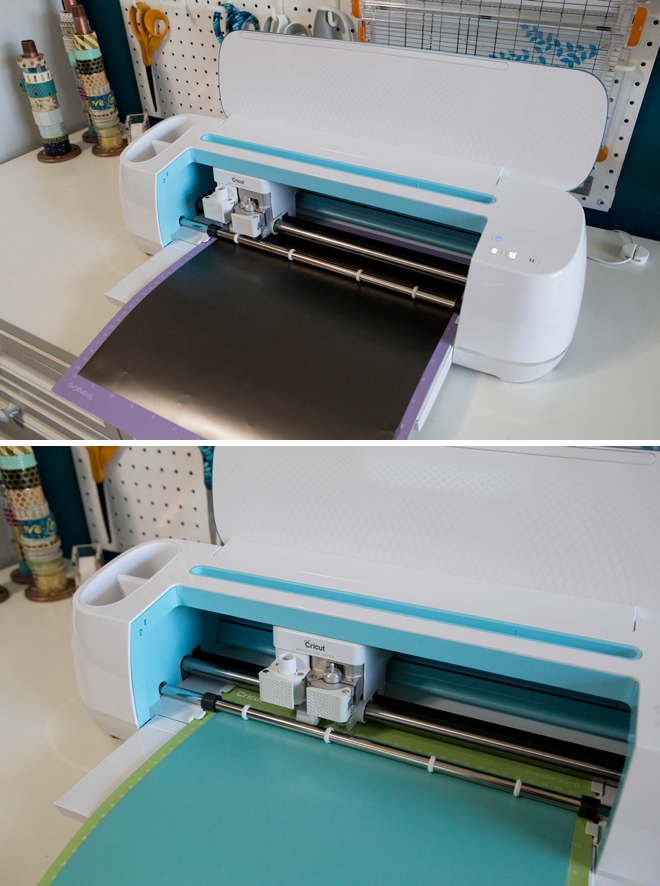
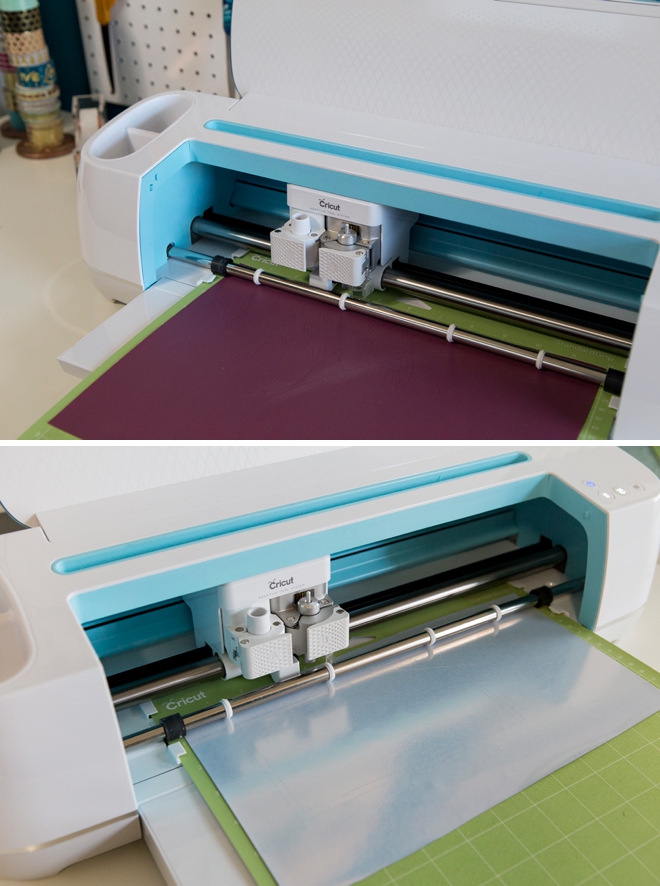
Let Your Cricut Work It’s Magic
If using different types of vinyl, like stainless, premium, or glitter, make sure to adjust your mat settings for each one to ensure the perfect cut!
Weed The Designs
Weed, (aka. remove) all the excess vinyl that isn’t a part of your design.
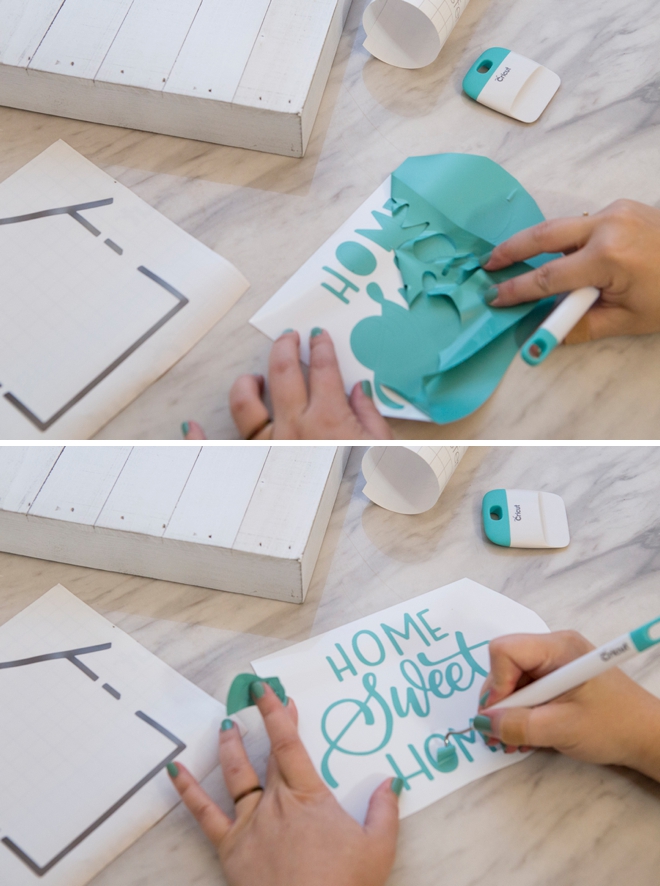
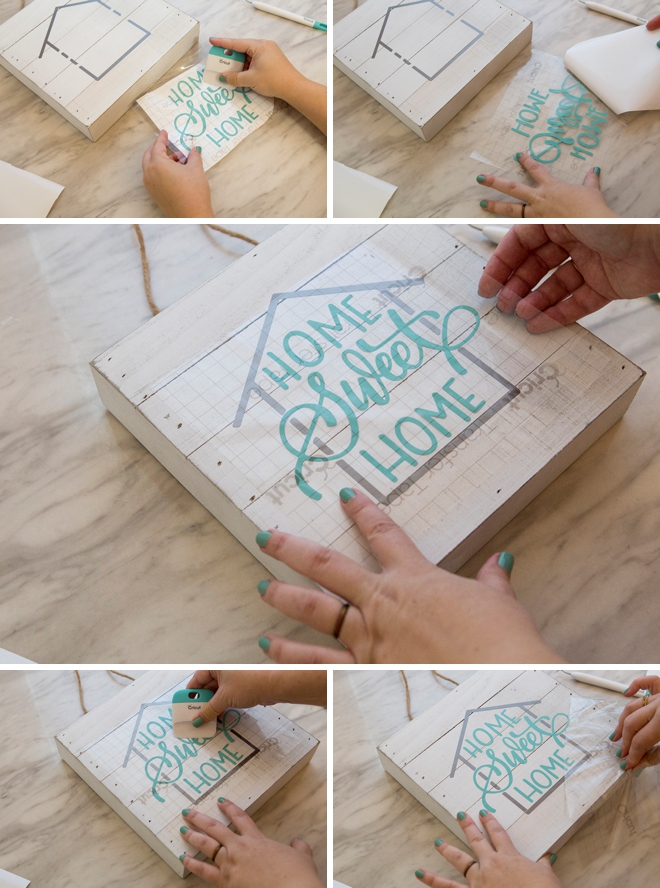
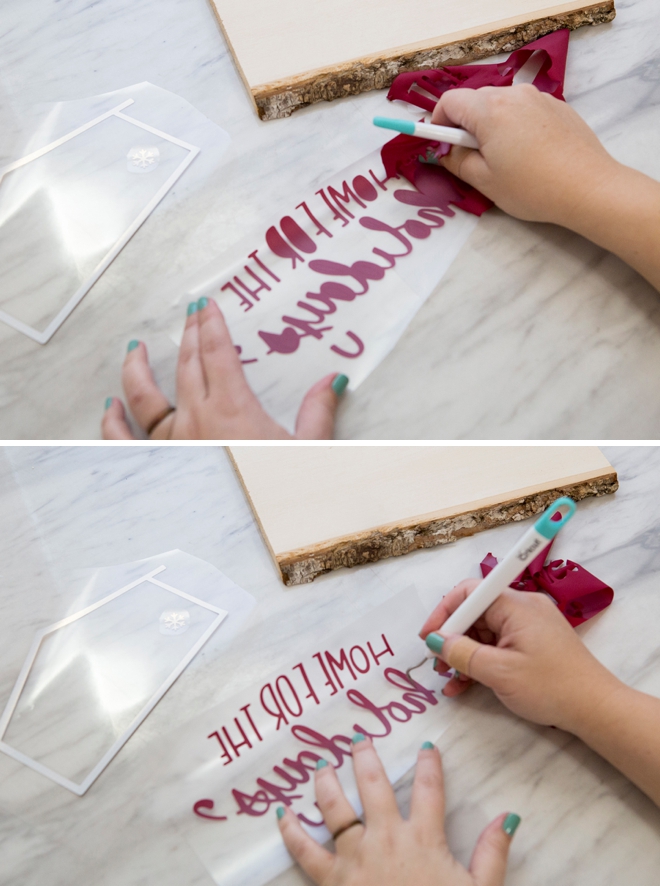
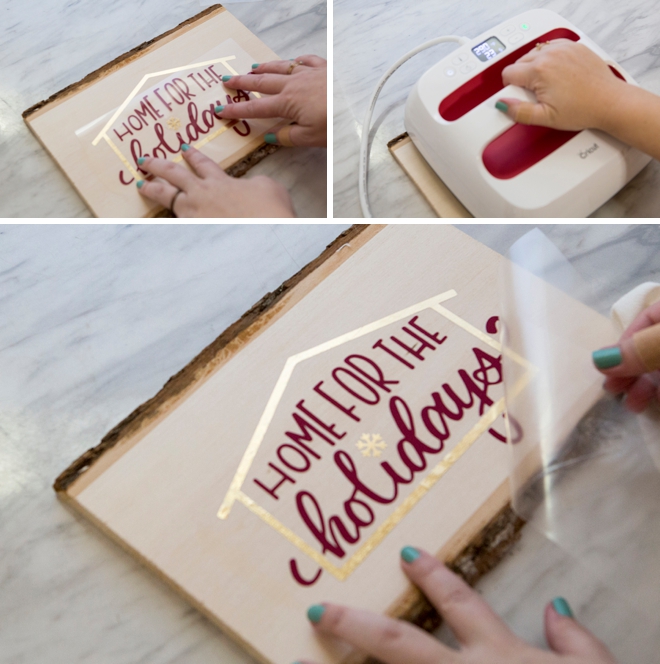
Transfer Tape
Transfer tape is the BEST and if you’ve never used it, you must try it. Basically you transfer your new vinyl stickers from their base to a clear film so you can properly position them on their final resting place. Cut a piece of transfer tape just larger than your designs, peel and evenly smooth on top of the vinyl using the scraping tool.
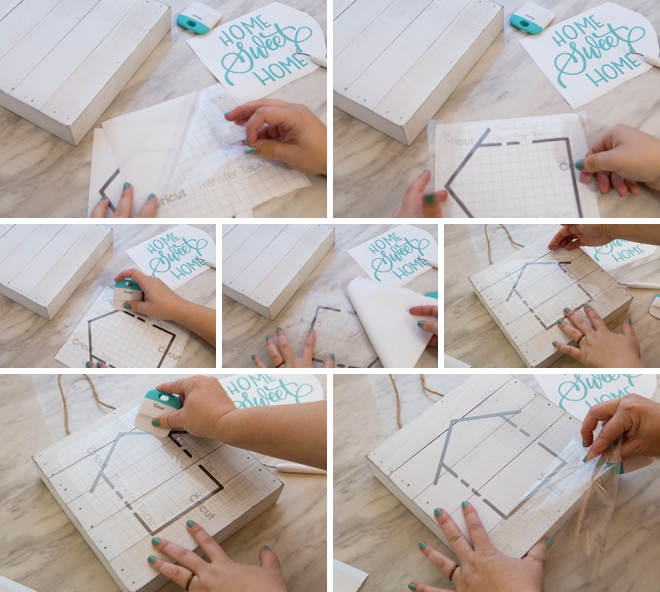
Do the house shape first, then transfer the “home sweet home” saying… that’s all there is to it!
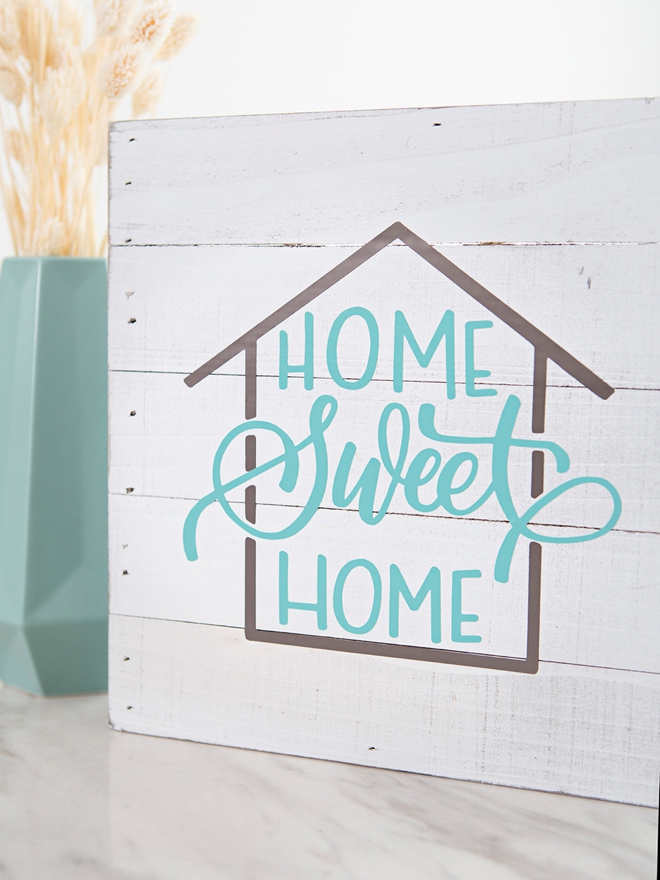
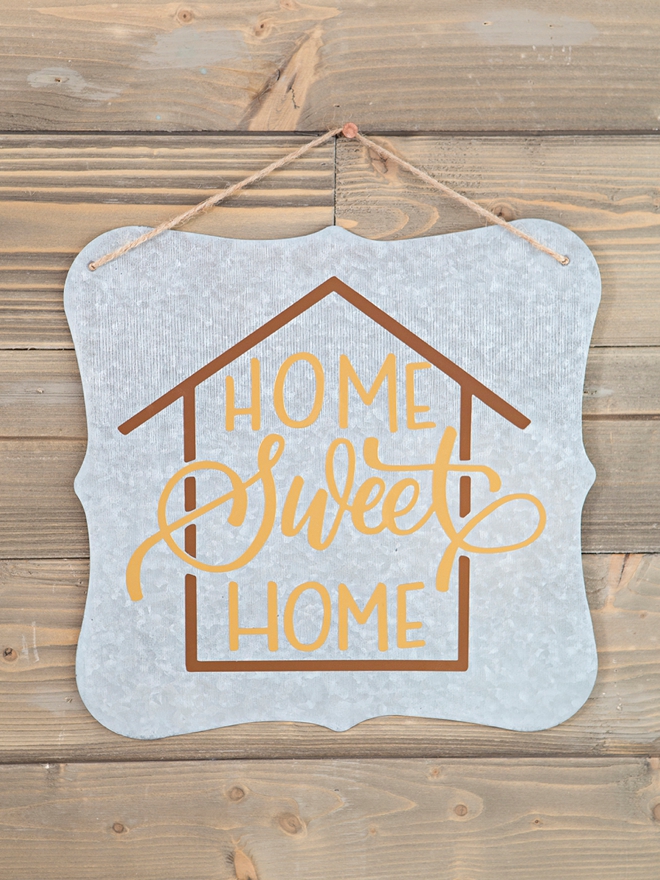
Wood, Metal, and More
This vinyl sign design can be added to wood, metal, plastic and more!
Let Your Cricut Work It’s Magic
You ALWAYS need to click the “mirror-image” button for iron-on projects, otherwise your lettering will be backwards.
Weed The Designs
Weed, (aka. remove) all the excess iron-on material that isn’t a part of your design.
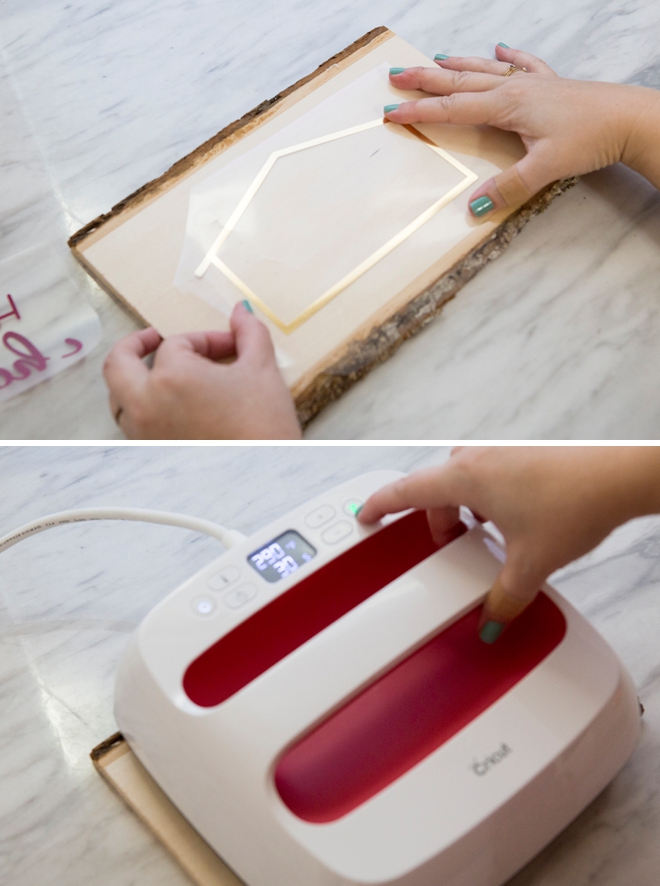
Adhere The Designs
Using iron-on on wood is almost just like on fabric, if not easier. Follow this link to find the interactive heat setting guide for the EasyPress to find the exact heat setting for your project materials…
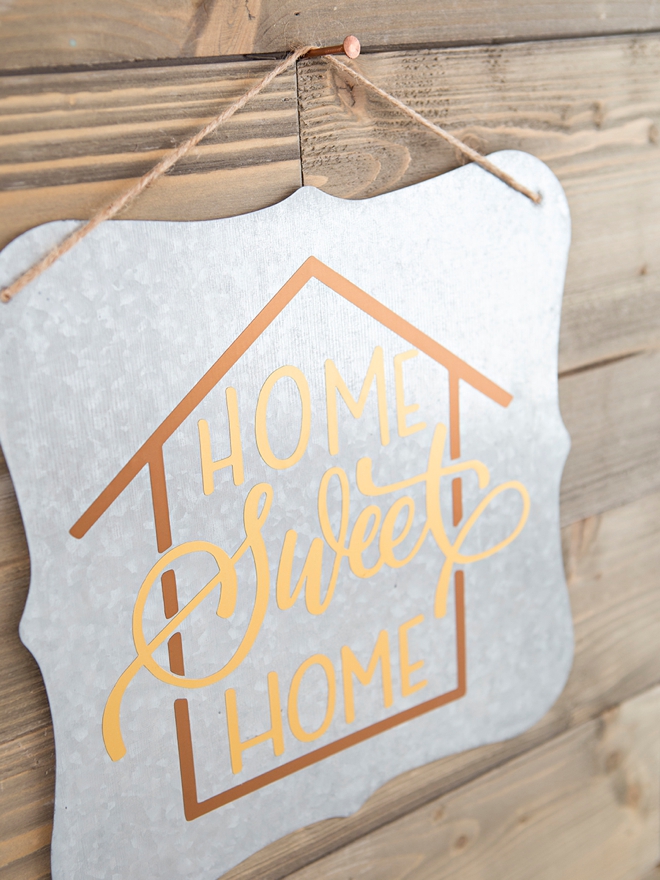
- Wood + Foil Iron-on: 290˚ for 30 seconds, cool peel, firm pressure!
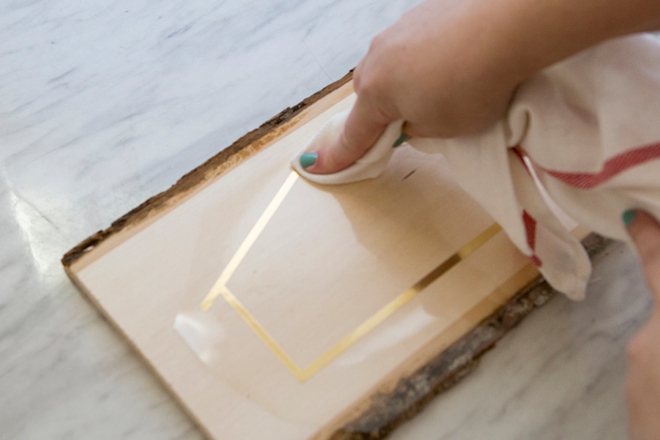
Smooth
Cricut Tip: I found that for wood projects, right after you remove the EasyPress, while the design is still hot, it’s best to use your finger and a piece of fabric to press the iron-on firmly onto the wood surface before you peel off the clear backing sheet. This helps the iron-on adhere to the rough surface of the wood.
Second Layer
Next, adhere the saying part of the design, making sure that the house design is fully covered up by the sayings clear backing sheet so that none of the gold house touches the EasyPress, or it will melt. Smooth the saying just like the house and peel to remove the clear backing sheet. There you go, ready for the holidays!
As with all our DIY tutorials, if you create one of our projects please send us a picture – We Love Seeing Your Creativity! If you use Instagram or Twitter please use the hashtag #SomethingTurquoiseDIY and it will show up on our Get Social page. Happy Crafting!
DIY Tutorial Credits
Photography + DIY Tutorial: Jen Causey of Something Turquoise // Hand-lettered SVG Cut FilesL Shop Something Turquoise // All Cricut Supplies: courtesy of Cricut // All Plaques: Michaels // Nail Polish: OPI – Withstands the Test of Thyme
Shop The Supplies:
Find the supplies you’ll need for this project from our affiliate links below:


Comments