
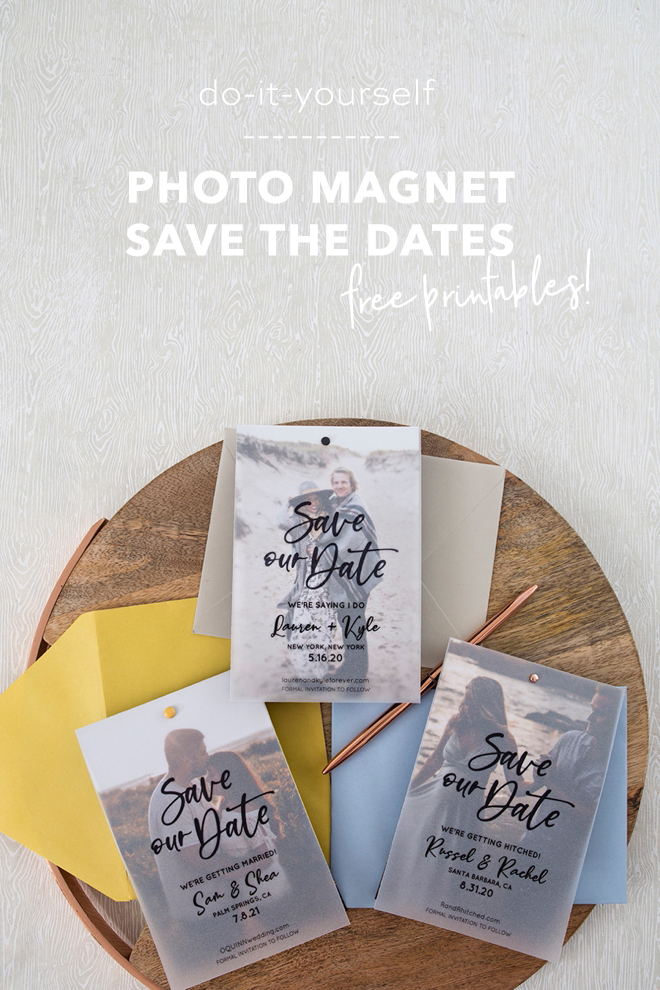
Free, Edit + Print Photo Magnet Save the Date Invitations
-Sponsored Post-
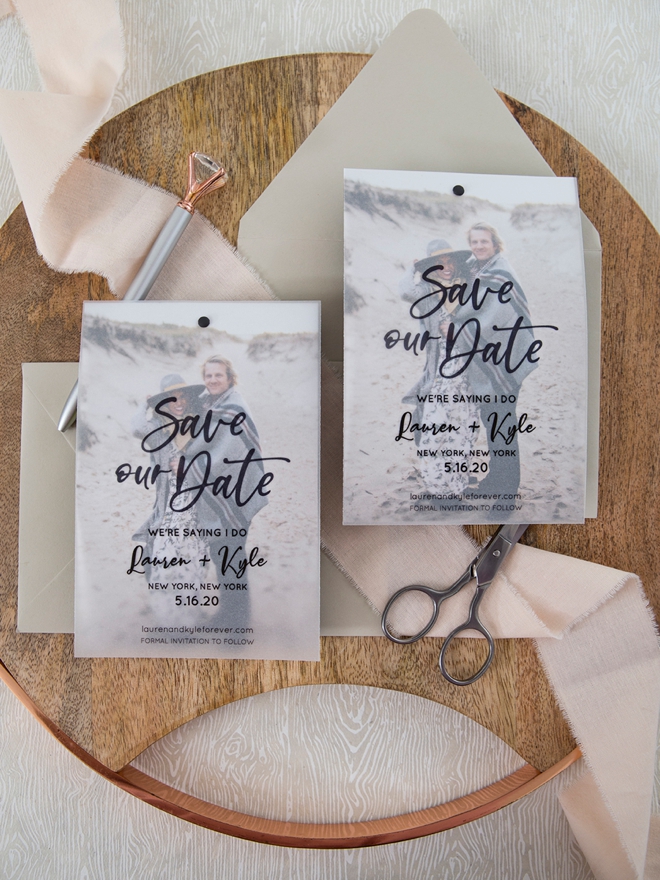
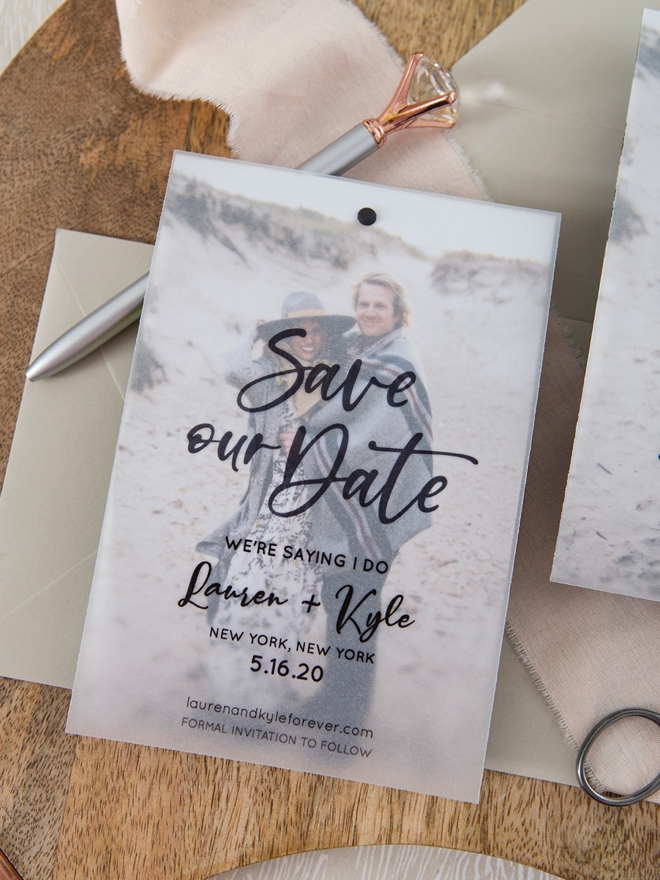
Making Save the Date invitations is one of my all-time favorite wedding projects. Start your creative celebration off on the right foot by sending handmade cards to your guests, sharing your special news. We’ve partnered with Canon to bring you this adorably free, edit and print Save the Date design that you can easily personalize to fit your unique event. All you need is a pretty photo of you and your partner, some cute scrapbooking brads, and colorful envelopes!
Free Printable Design
We LOVE LOVE LOVE sharing free, edit and print designs with our readers because you gals truly make them fabulous! Visit the end of the post to download our unique file, edit to add your info, and then get to crafting! Your guests are sure to love these magnet invitations as they will cling to their fridge until your big day!
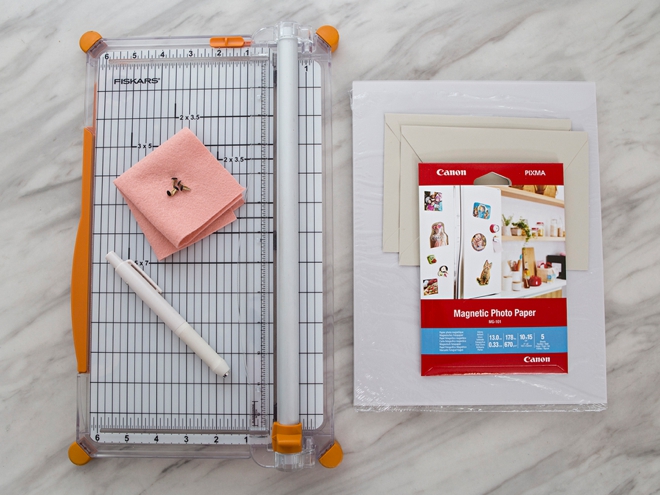
SUPPLIES:
- Canon PIXMA TS9521C Crafting Printer
- Canon Glossy Magnetic Photo Paper, 4×6
- 8.5″ x 11″ Inkjet Vellum
- Paper Trimmer or Scissors
- A4 Size Envelopes
- Craft Knife
- Brads
- Small piece of felt or fabric
- Our FREE, editable file at the end of the post!
Download + Edit
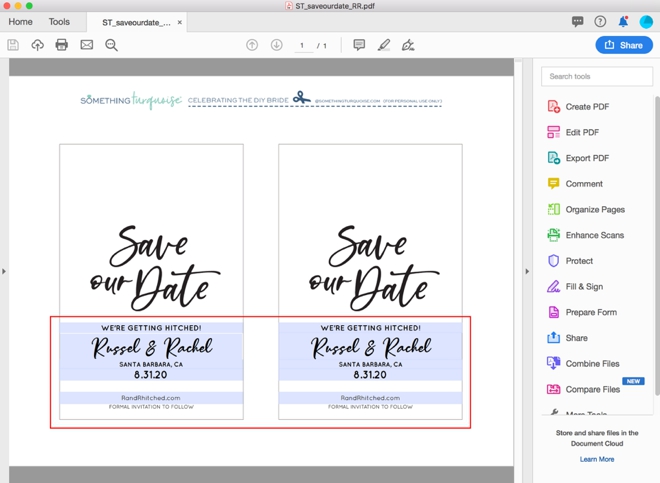
First, visit the end of the post and click on the graphic that says “free printable”. It will automatically start a download for you of the editable file. Before you can edit the document properly, you’ll need to download the free fonts Quicksand and Valentine Vibes, and then install them on your computer.
Open the file using Adobe Acrobat Or Adobe Reader where you can edit to add all of your special wedding information and then save the file. Once you edit one side of the invite, click the other side and it will automatically update the text for you, awesome! There are two 4×6 cards on each 8.5″ x 11″ sheet.
Select To Print
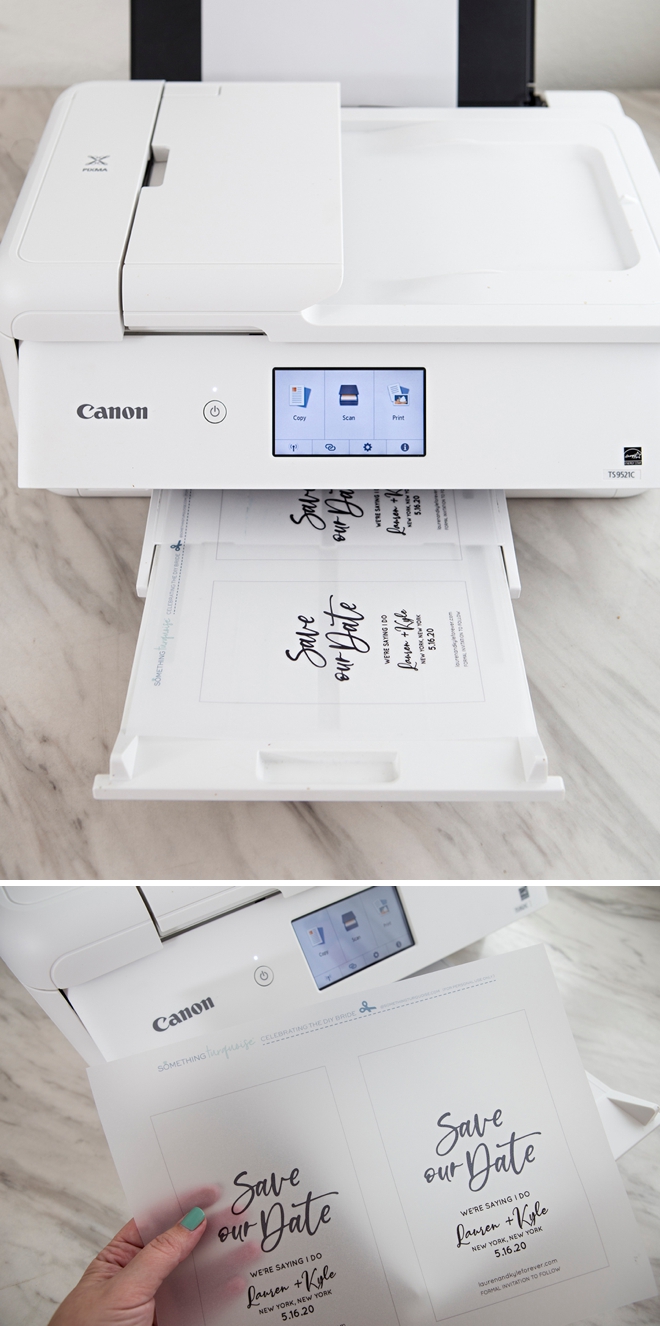
Using the fantastic Canon PIXMA TS9521C Crafting Printer gives you the ideal options to print these invitations and have them look professionally printed, when you really just printed them from home. There are a few steps you need to take to ensure they print at the proper size:
Click to select the following in the print queue along with selecting the actual printer:
- Page Sizing: Actual size
- Orientation: Landscape
- Paper Size: US Letter Borderless
- Media Type: Photo Paper and Best Quality (I know, it’s not photo paper but the thickness and texture are very similar and the print quality works best for the inkjet vellum we’re using)
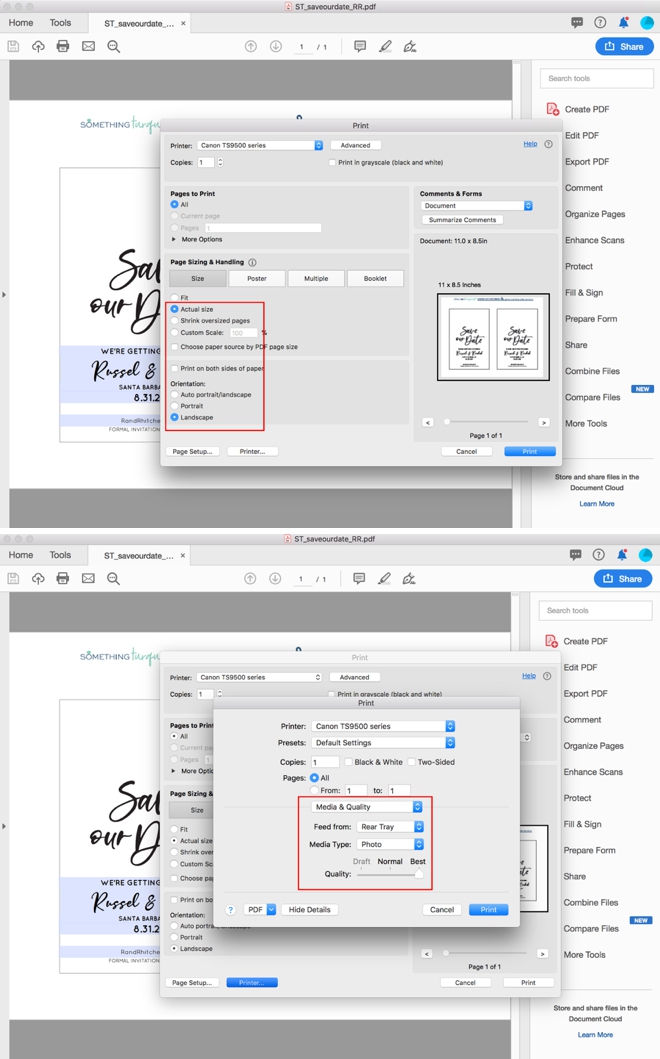
Then print your personalized Save the Dates on 8.5″ x 11″ inkjet vellum. You MUST buy vellum that is for your inkjet printer – if you don’t and use just craft style vellum the ink WON’T stick!
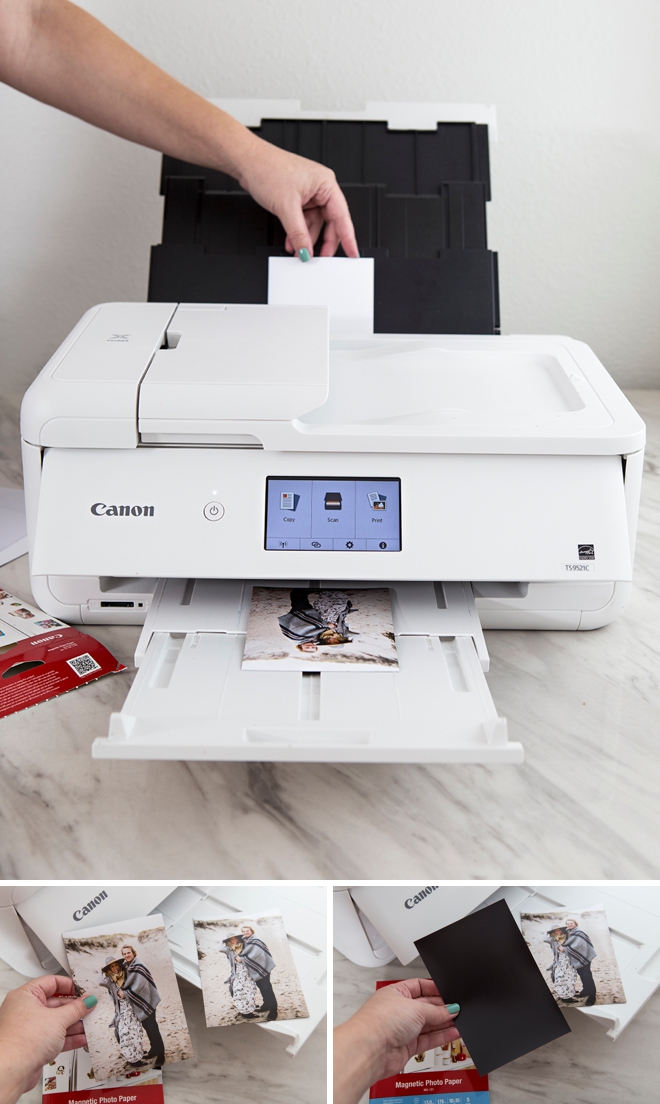
Magnet Photo Prints
Next up is printing your photo magnets! Canon makes this super easy. Their 4×6 Magnetic Photo Paper is ready to go right out of the box. All you have to do is pull up your favorite photo and click to print it at 4″x6″ borderless on glossy photo paper. I found that hand-feeding the rear tray on my PIXMA TS9521C worked the best, as the magnets have a tendency to stick together. These prints came out SO pretty!
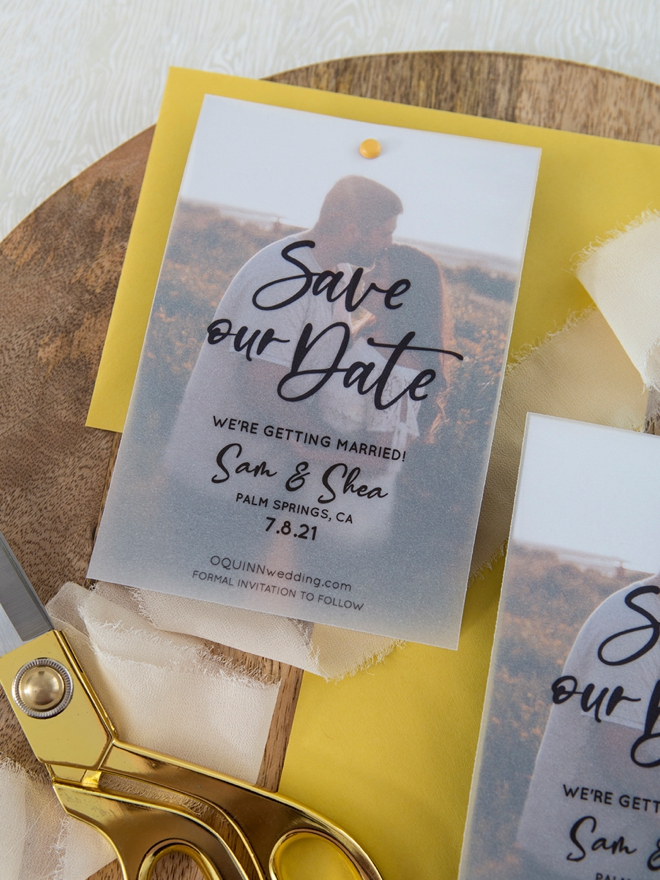
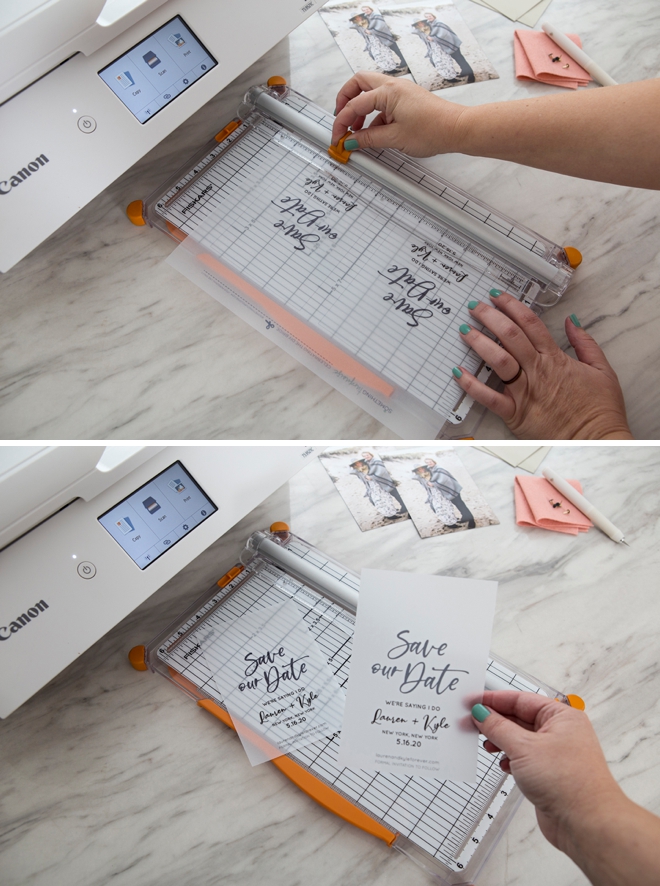
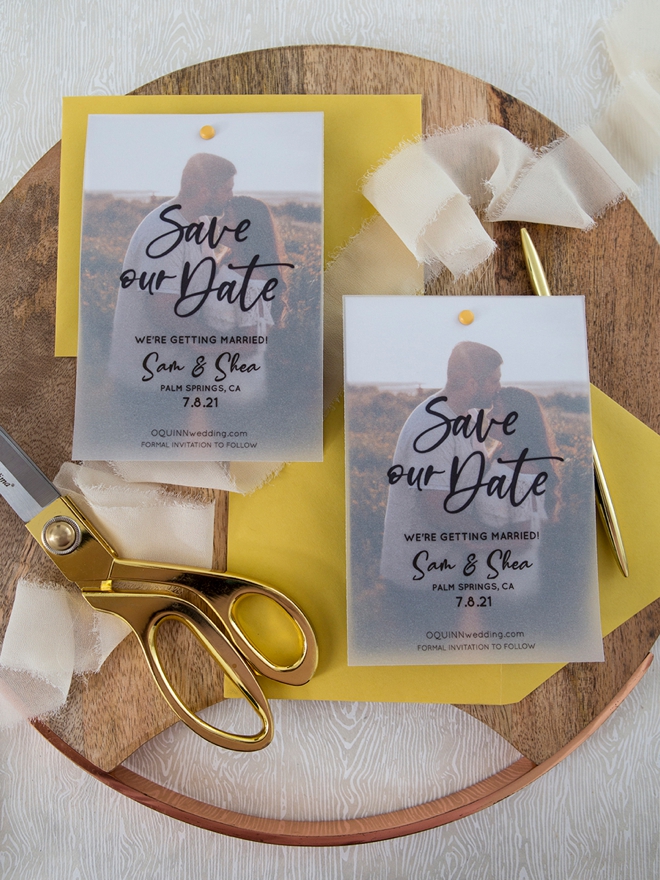
Trim
Trim your custom Save the Dates down to size by using a paper trimmer or scissors.
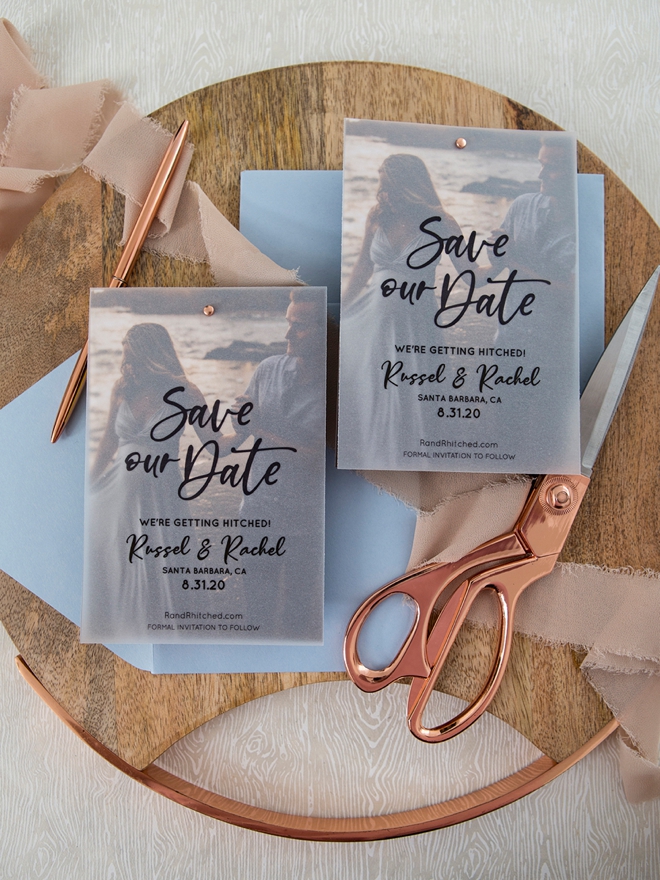
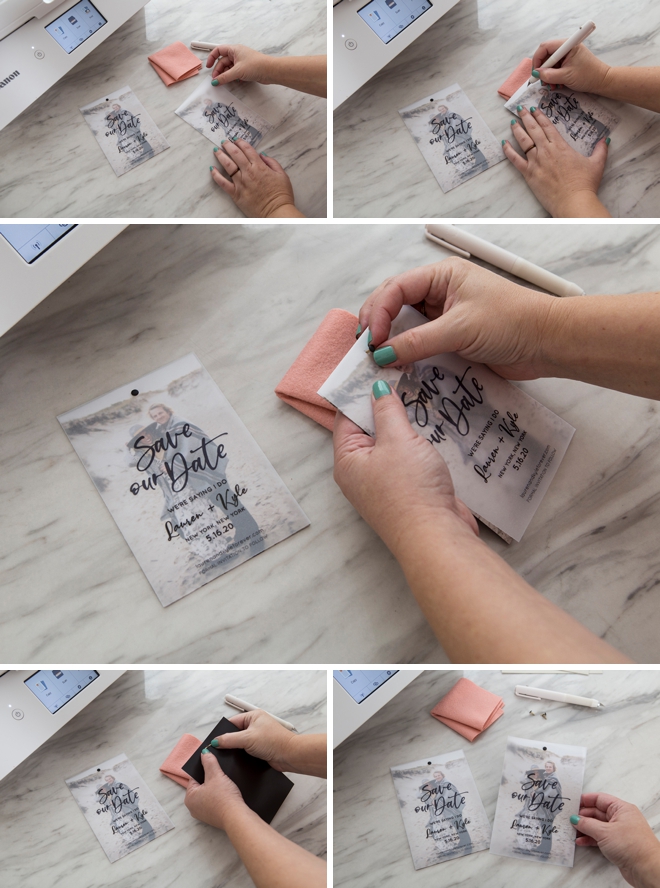
Assemble
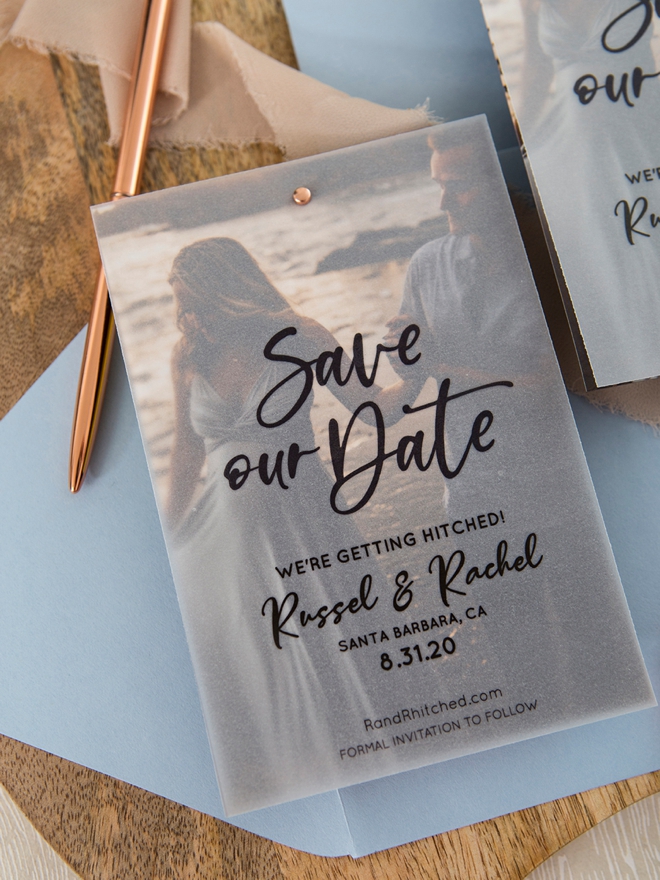
Layer the printed vellum invite card on top of the photo magnet. Then on top of a piece of folded felt or fabric cut a little slice through the two pieces and insert a scrapbooking brad to hold them together. Super simple… and now your guests can place these on their fridge to save your date!
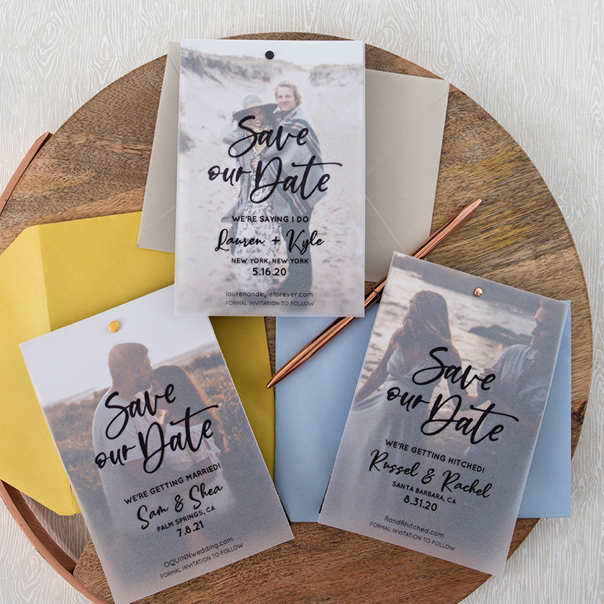
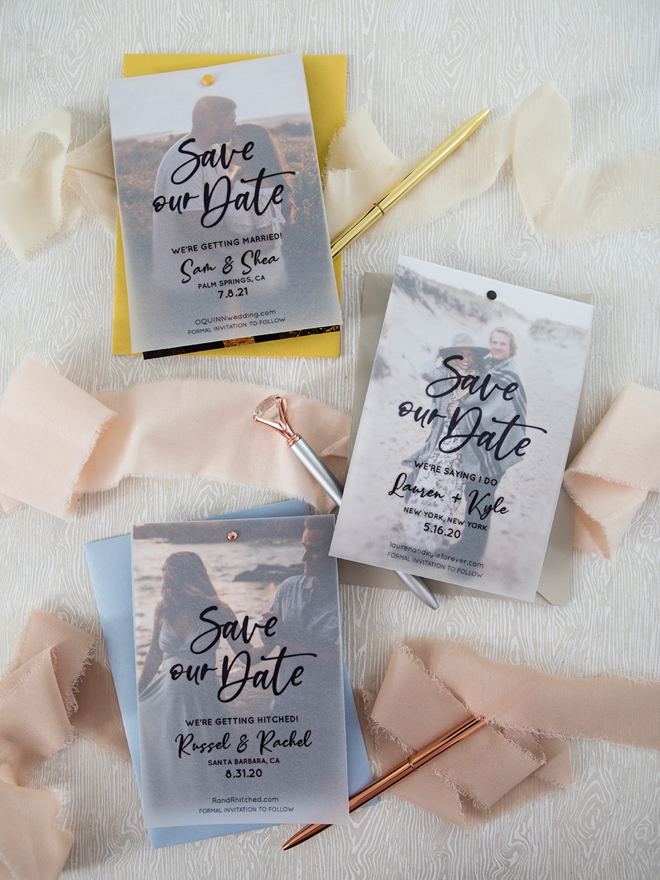
Your Unique Style
Our free printable design can fit ANY style of wedding! As you can see from these three examples below, your unique photo, brad choice, and envelope color is what will make your Save the Date unique! I used the same design for all three, but they look incredibly different and fabulous.
DIY Tutorial Sponsored By:
Canon U.S.A., Inc. prides itself on allowing consumers to create and preserve beautiful imagery, from capture to print. With wireless technology and seamless printing capabilities, you can print your photos and printables with precision and ease.

As with all our DIY tutorials, if you create one of our projects please send us a picture – We Love Seeing Your Creativity! If you use Instagram or Twitter please use the hashtag #SomethingTurquoiseDIY and it will show up on our Get Social page. Happy Crafting!
DIY Tutorial Credits
Photography + DIY Tutorial: Jen Causey of Something Turquoise // Canon PIXMA TS9521C Wireless Inkjet All-in-One Printer and 4×6 Magnetic Photo Paper: courtesy of Canon // Printable Design: Julia Ensign // 8.5″ x 11″ Inkjet Vellum: Paper Source // Paper Trimmer: Amazon // Craft Knife: Amazon // Brads: Amazon // Nail Polish: OPI – Withstands the Test of Thyme
Shop The Supplies:
Find the supplies you’ll need for this project from our affiliate links below:


Comments