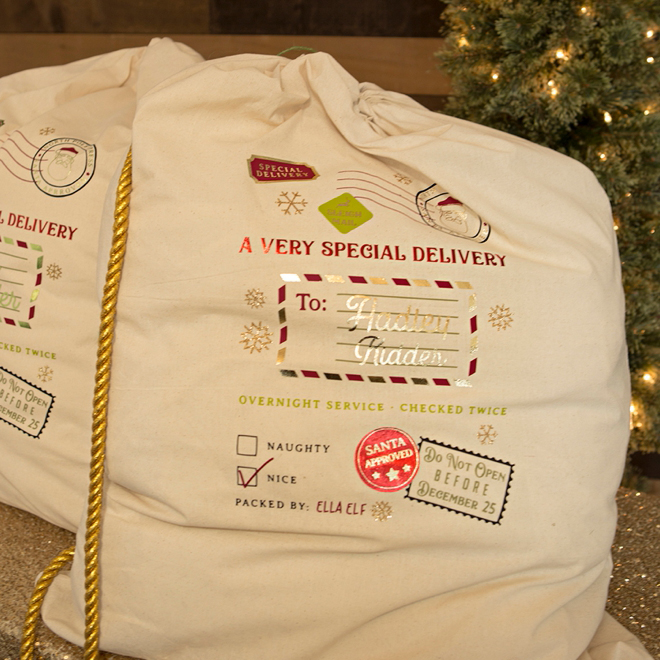

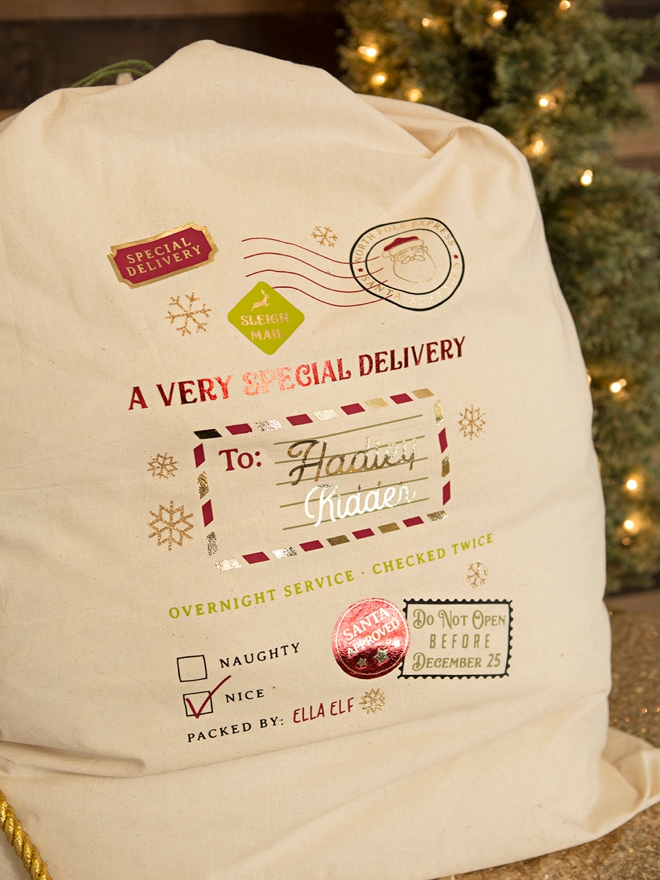
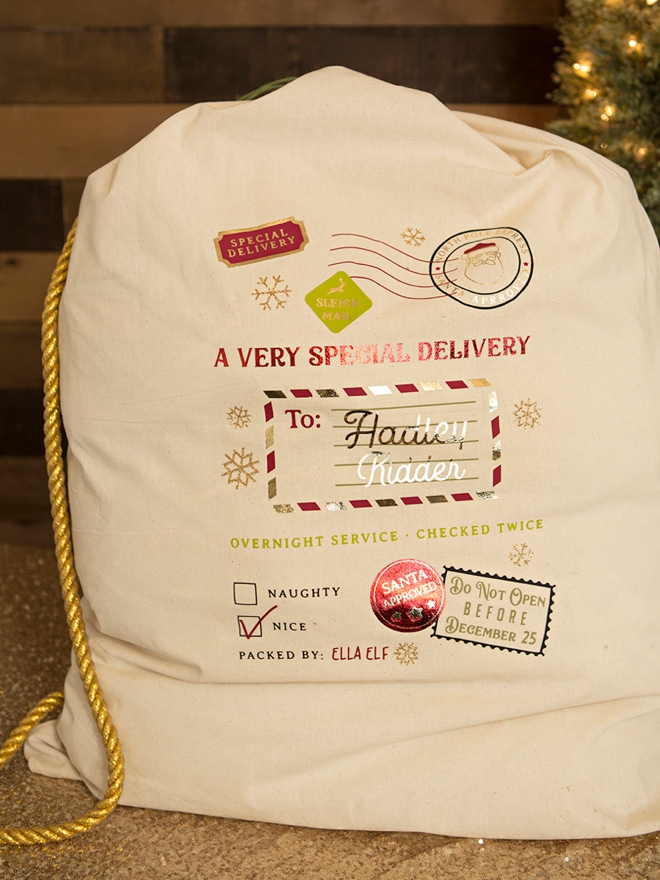
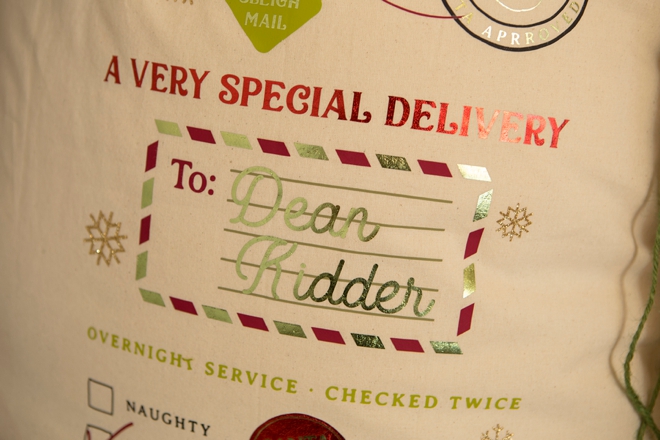
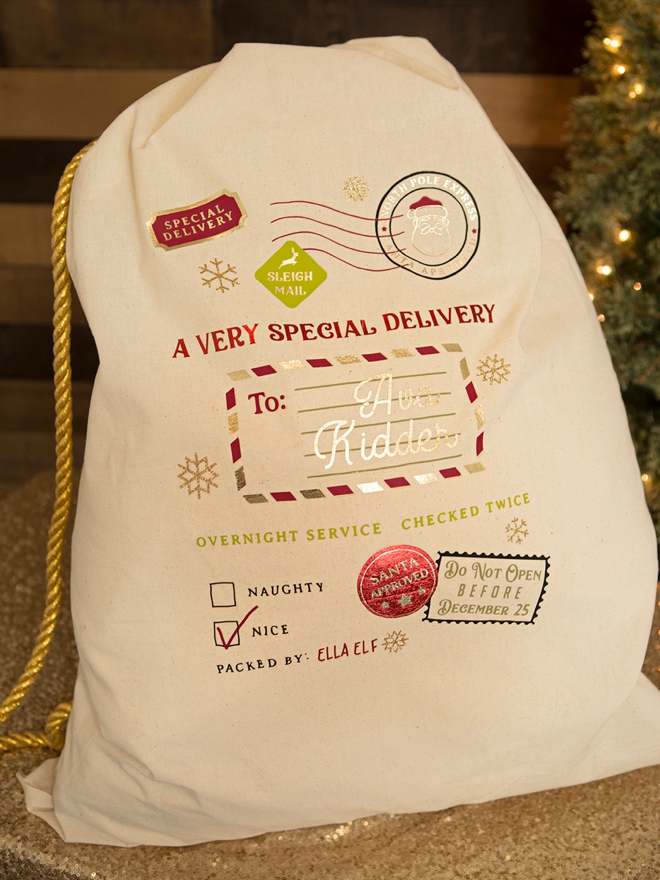
Personalized Kids Santa Bags With Cricut Maker (wine bags too!)
I would say the biggest reason I use my Cricut is for personalization. Adding a little something special to a garment, piece of wood or other item to create a one-of-a-kind gift or element of decor is what I do most. Today I’ve partnered with Cricut to bring you the ultimate in holiday personalization: the most adorable, custom Santa Gift Bags ever. The best part is that our exclusive .SVG cut files are FREE for you to download and use to create your very own! I’ve also created a version for wine bags because everyone can use an extra bottle of wine around the holidays. This heavily layered iron-on project might bring tears to the mamas out there like it is me right now. Why is Christmas so far away already, I’m dying for my littles to see their new Santa bags and to now be able to create a special tradition of using them year after year. All their “Santa” presents will be inside these giant bags and won’t be wrapped (yay, me! and you’re welcome, haha) and they’ll get to imagine Santa himself packing their bags and dropping them off for them. The question is since we don’t have a chimney, do I leave them on the porch for them to find? Or where do I put them? How does Santa get in without a chimney… they are currently too small to ask this question, but I need to come up with something!


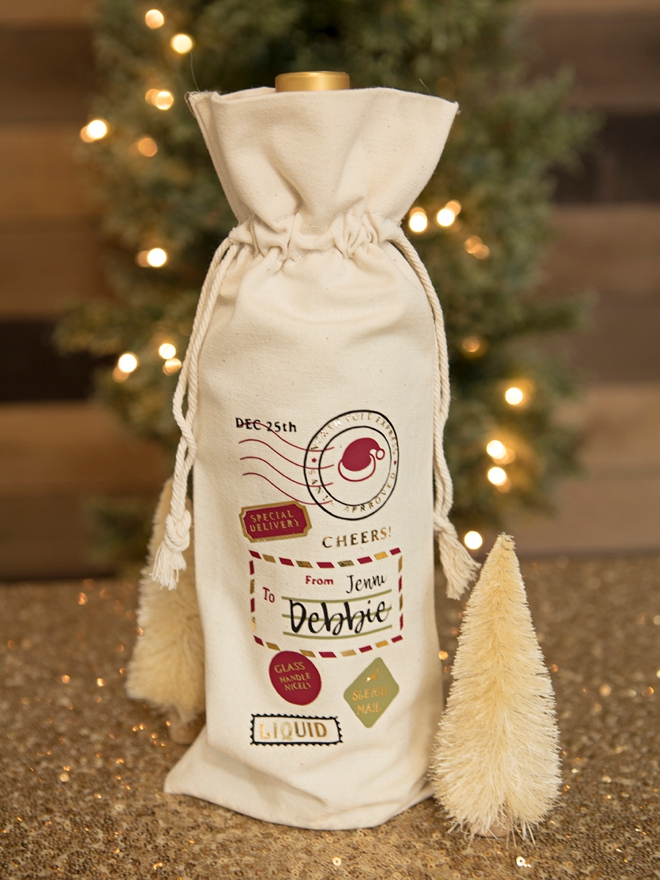
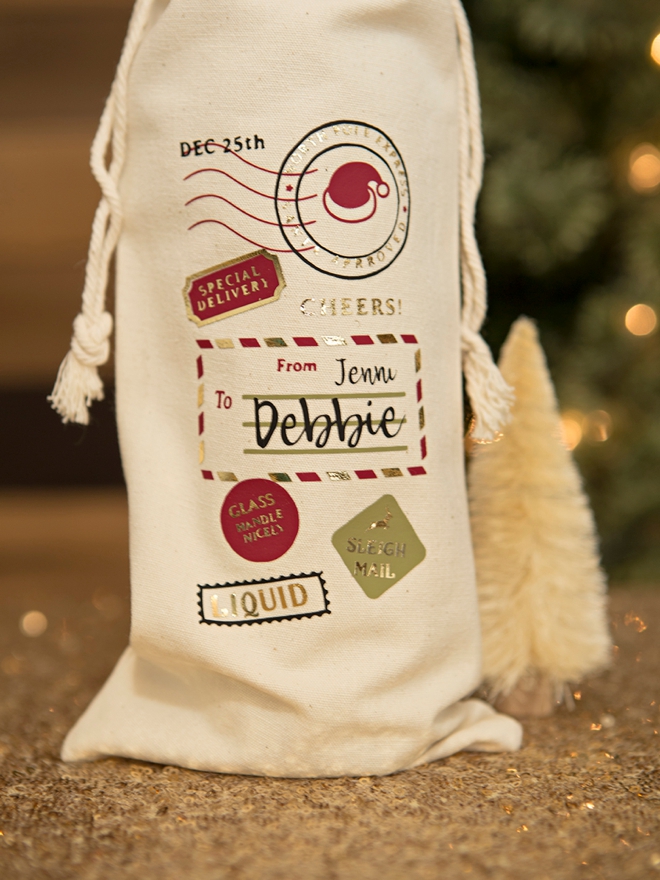
Wine Bags Too!
We can’t let the kids have all the fun! I just had to make a version for wine gift bags because Mama’s deserve all the wine, hahahaha. But really, your friends might actually save this gorgeous bag to tote a bottle around in because it’s so gorgeous! Easily personalize our FREE .SVG cut files with your names and use your favorite iron-on colors to make the design truly yours!
SUPPLIES:
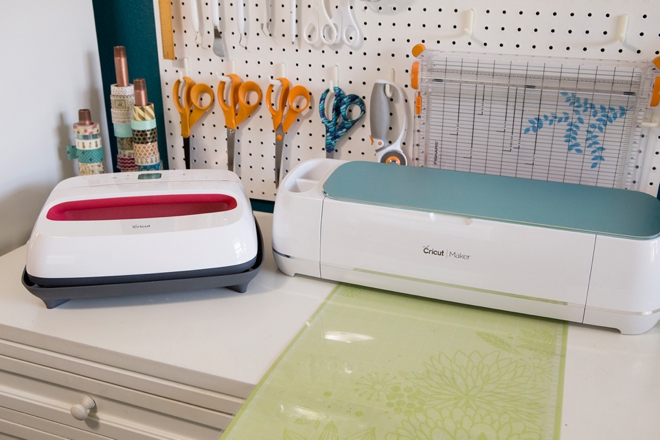
- Cricut Maker or Cricut Explore
- Cricut EasyPress 2, 12″ x 10″
- Cricut EasyPress Mat, 20″ x 16″
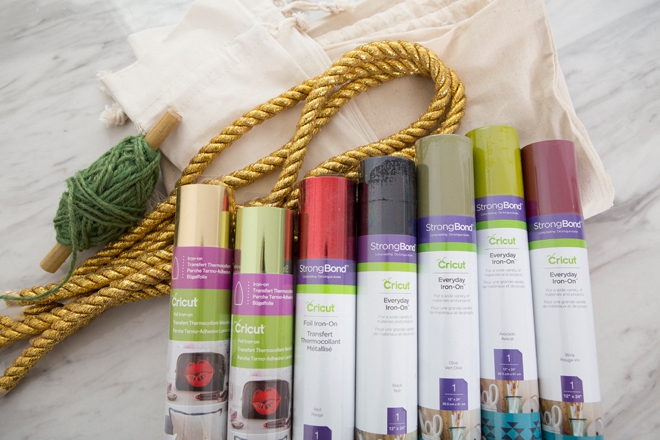
- Multiple Colors of Cricut Iron-on
- Cricut 12″ x 24″ Cutting Mat
- Cricut Weeding Tools
- Oversized Canvas Bags
- Canvas Wine Bags
- Gold Cording and Twine (optional)
Cricut Iron-on from left: gold foil, lemon-grass foil, red foil, black, olive, avocado, and wine. I also ended up adding gold glitter but somehow it didn’t make it in the photo.
Personalize In Design Space
The first step is to login to Design Space and start personalizing your Santa bags! Download our exclusive cut files at the end of the blog post by clicking on the graphic. Upload to Design Space by using the “upload” button on the left tool bar. Locate the file on your computer and select it to add to your canvas. Select each layer to customize the colors to match your iron-on of choice.
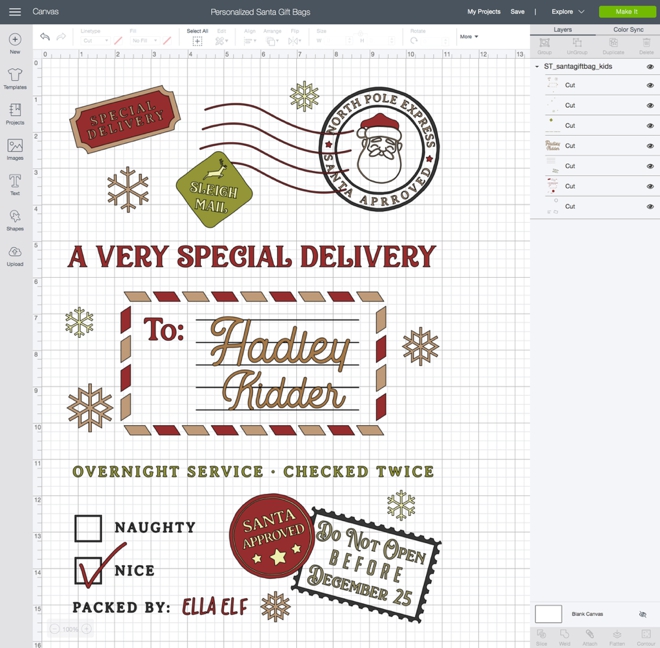
Add Names
Select to delete our name layer and add your own! I used the font Garment District but feel free to use any font you’d like.
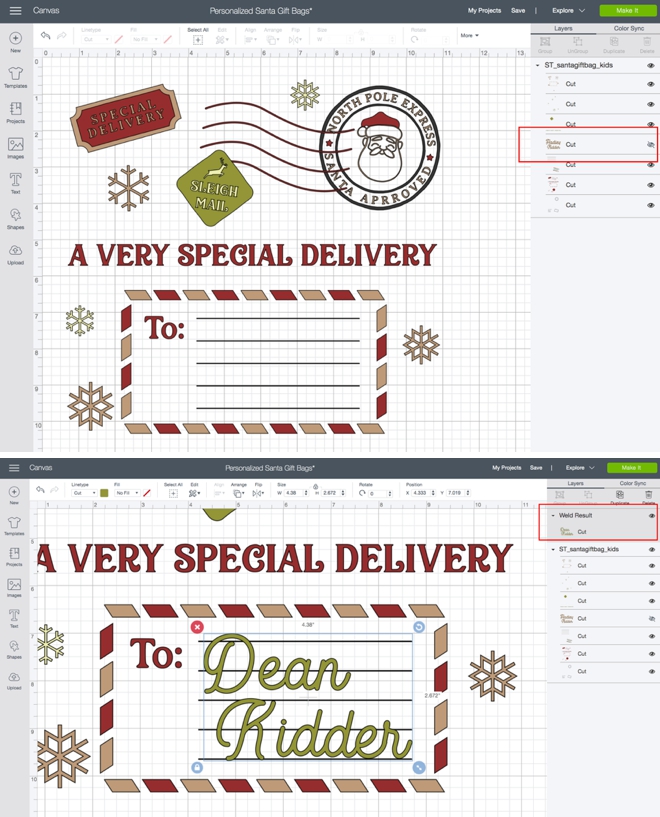
Ready To Cut
I am now the very proud Mama to three babies and and like I said, I could not be more excited about using these bags now year after year. Here are my three bag designs finished and ready to cut.

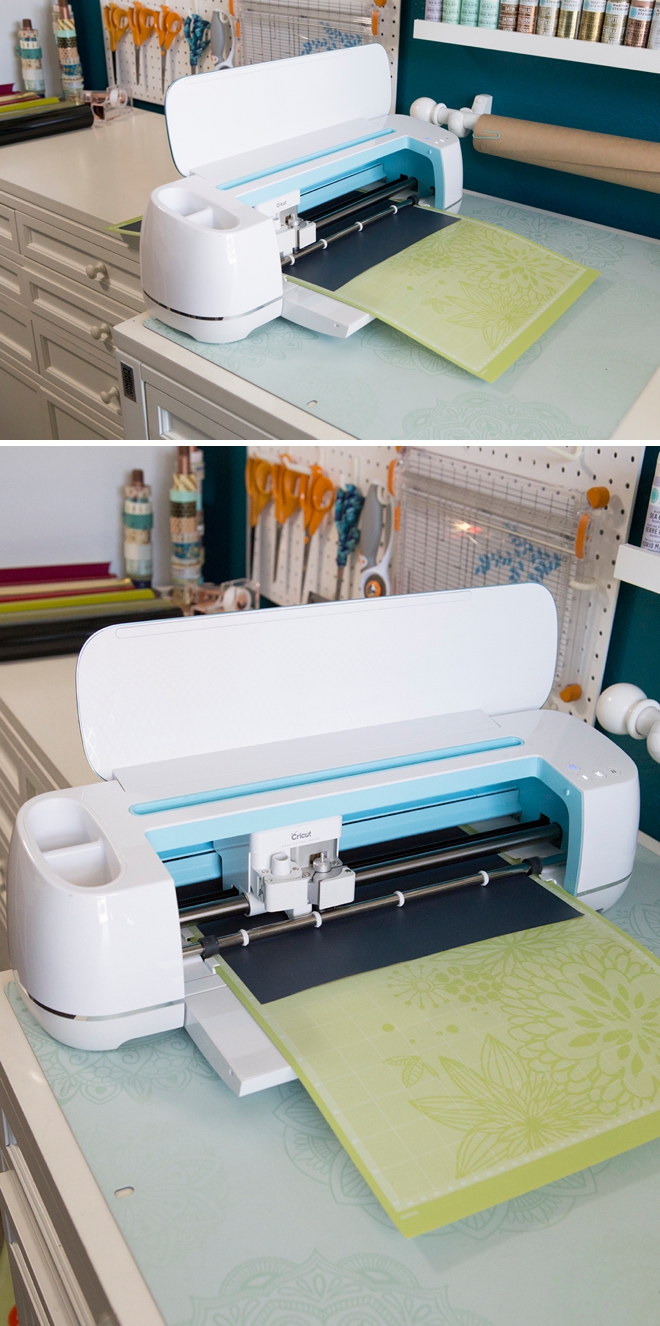
Let Your Cricut Work It’s Magic
My Cricut Maker is always plugged in and almost always cutting something. It has 10x the power of my Explore and cuts over 300 materials making it the most powerful and versatile cutting machine. You can of course use your Explore for this project but if you’re looking for a reason to upgrade to the Maker – this is it. Since the Santa bag file is 11.5” x 16”, I had to turn my machine to run across my desks so I could use my 12″ x 24″ cutting mats for a few of the layers. Make sure to click the “mirror-image” button for every iron-on layer, otherwise your lettering will be backwards!
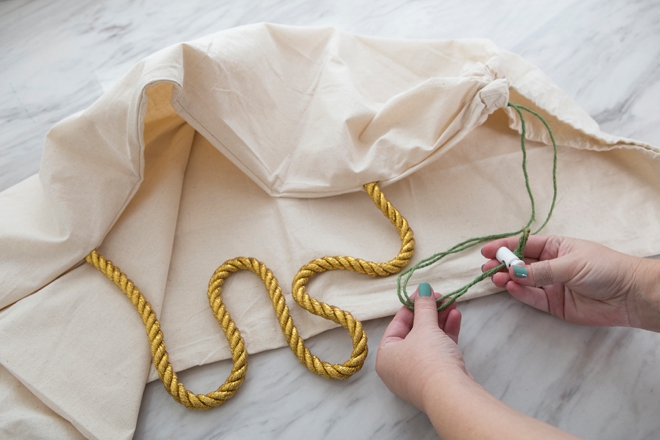
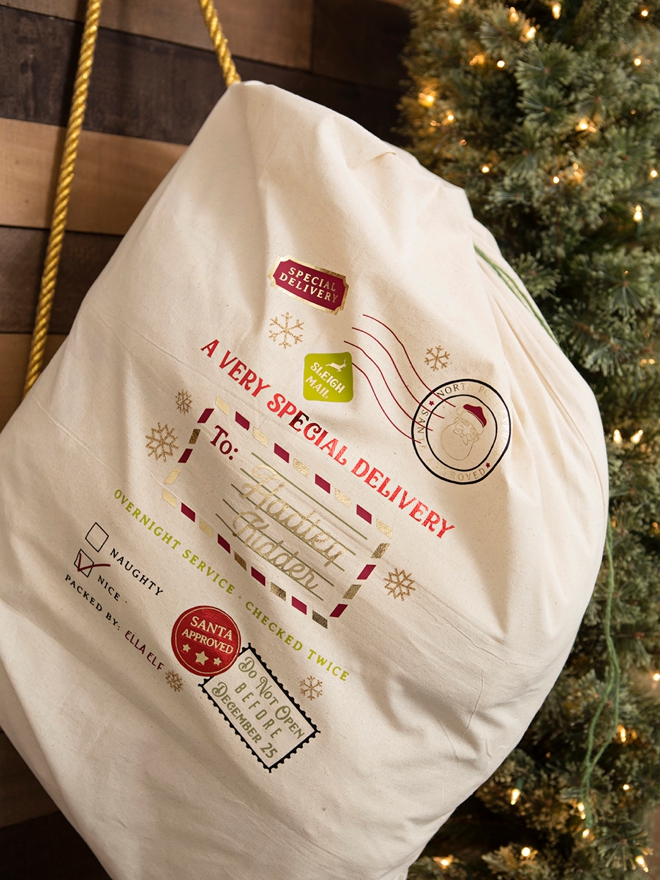
Add A Strap
To fancy up the canvas bags I added a 3/4″ gold cording strap and replaced the drawstring with a green twine.
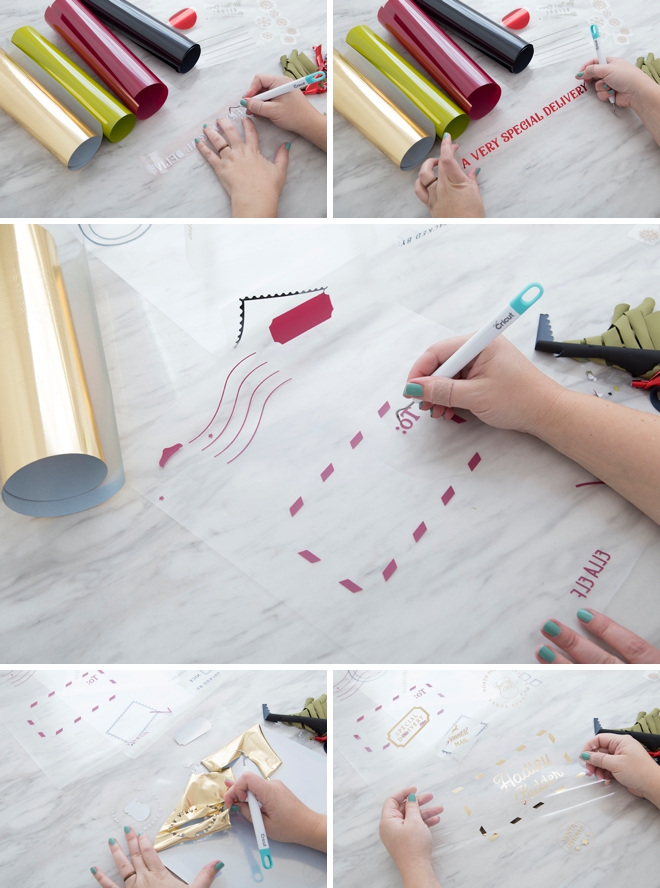
Weed The Designs
Weed, (aka. remove) all the excess iron-on material that isn’t a part of the design for each iron-on layer. Using the Cricut weeding tools makes the removal of intricate pieces super easy. Then trim each design down to size if needed. I recommend leaving at least the black layer as is, meaning don’t cut it down, so that it can be the base for the design layout – using that layer as a guide for where the rest of the pieces go.
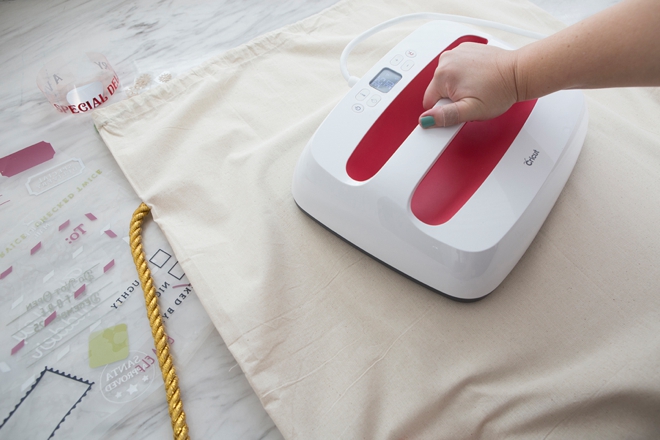
Iron The Bag
Use your Cricut EasyPress 2 to warm up and iron out all of the wrinkles in the canvas before you get started.
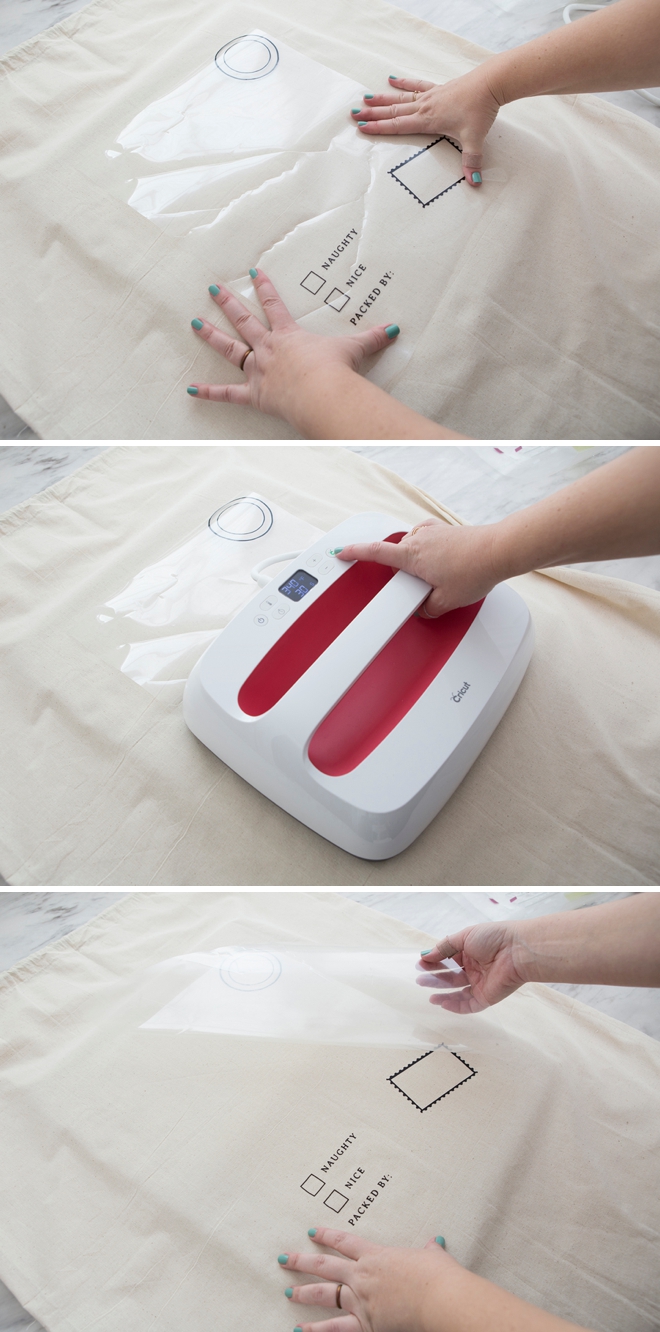
Adhere The Designs
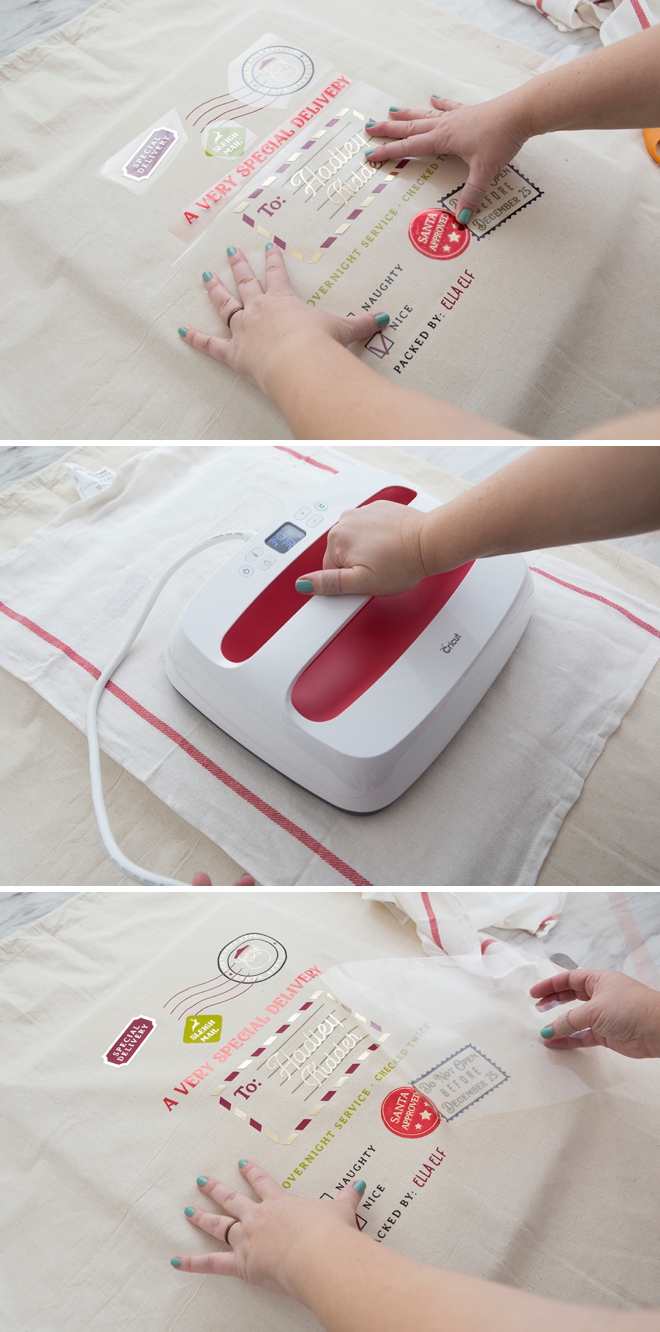
Finally, the fun part. This layered iron-on process takes time so don’t rush yourself. Move slow and make sure to use a pressing cloth (thin piece of fabric) with each new layer. Start with the black first… I found the best settings for these canvas bags was:
- All iron-on used: 340˚ for 40 seconds, cool peel. This is not a normal setting, but after making all these bags I found it was the best setting.
Based on my design colors by layer, I recommend ironing the: black designs first, then red, then greens, then foil and glitter last.
Easy Press 2
The Cricut EasyPress 2, is the hottest in iron-on essentials and will have you creating right out of the box! It features an advanced heat plate design with a ceramic-coated surface that gives you professional iron-on results in 60 seconds or less. The entire plate heats up to the exact temperature you set it to, unlike an iron that is the hottest in the center. The precise temperature control takes all the guesswork out of iron-on projects. The EasyPress 2 is simple to use, it’s lightweight, portable, and easy to store… in fact, it’s completely replaced my iron. I’m excited to share that it now comes in four sizes: mini, 6”x7”, 9”x9”, and 12”x10” (the one I’m using here)!
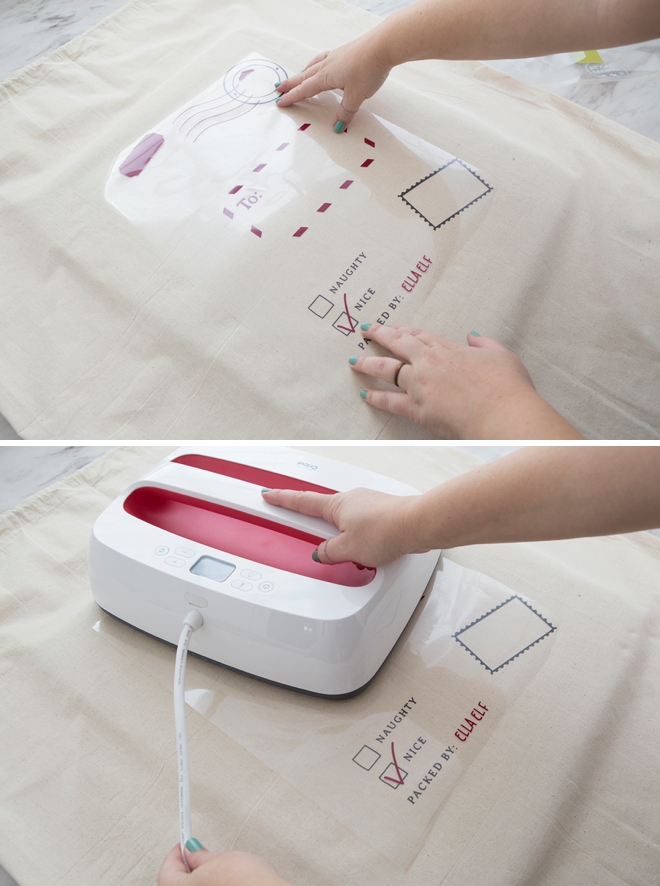
Piece Together
For the design elements that I cut out of the greens, I could cut each element and hand place them on the design to iron all at once. Pressing cloth on top so that the EasyPress 2 doesn’t touch any of the other freshly ironed layers.
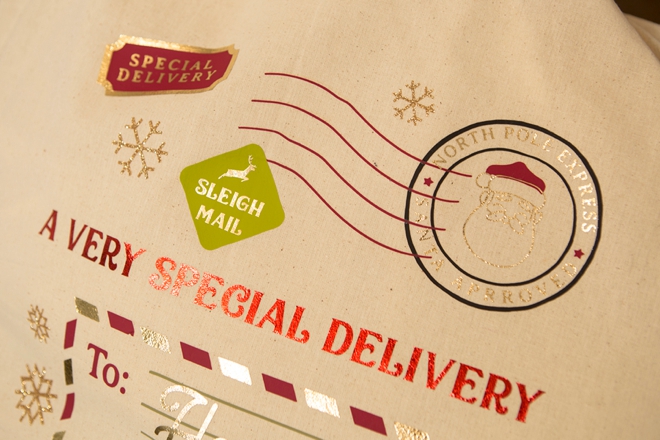
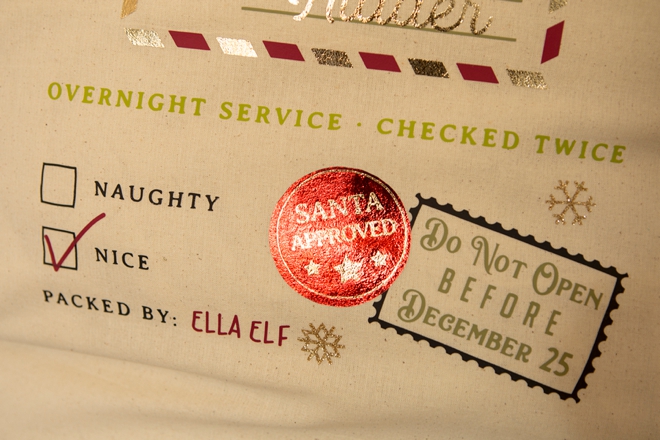
Foil
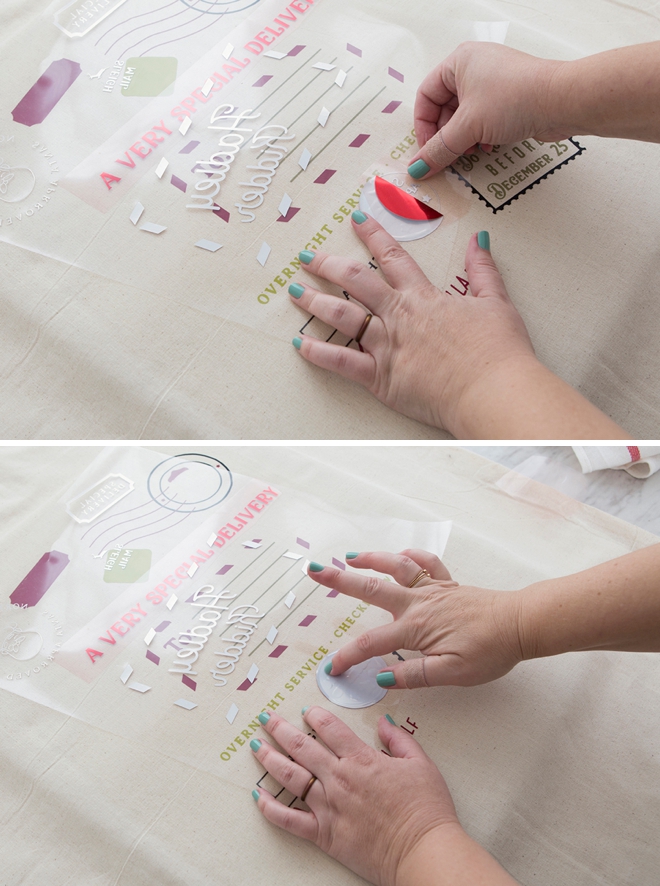
The next layer I ironed on was all the foil. For the little “Santa Approved” seal, I actually added the red circle by hand to the back of the wording before I iron-ed it on. Foil on top of foil works great!
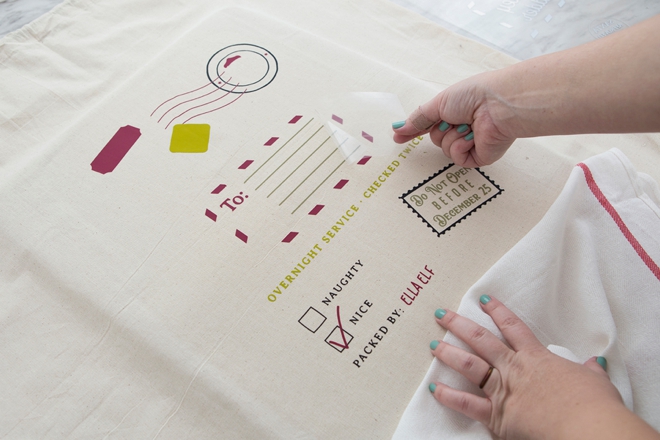
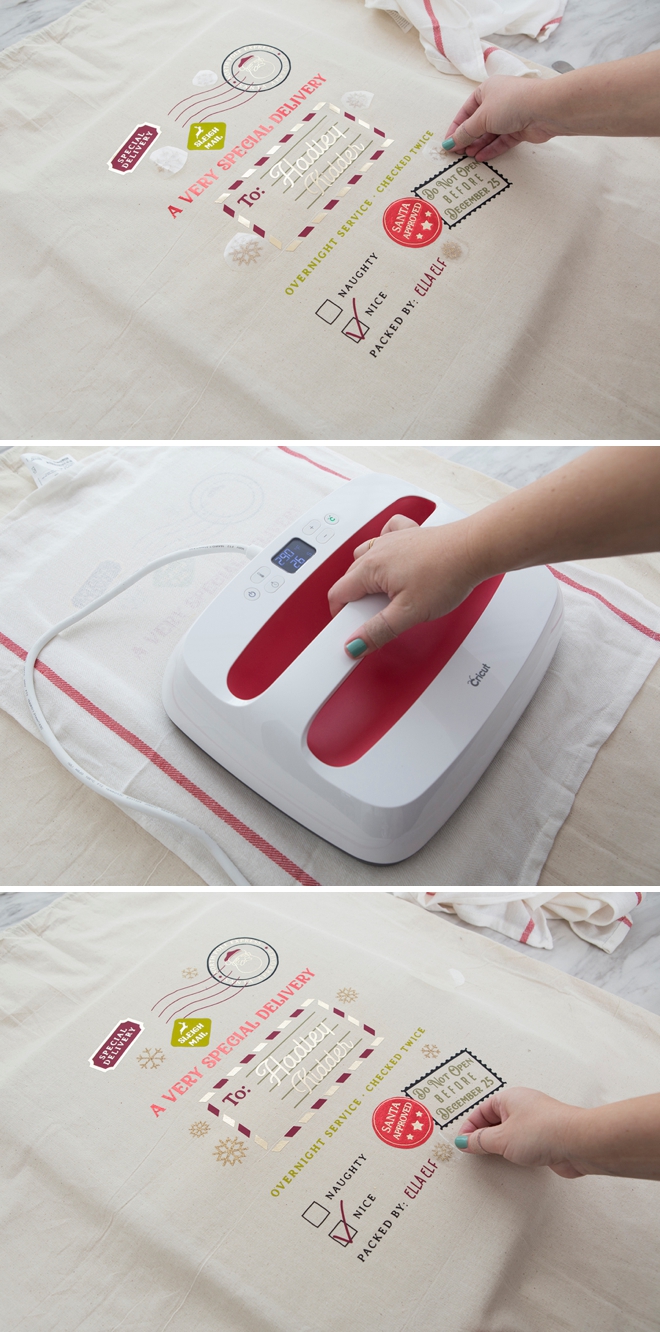
Glitter
The last layer to go was glitter, which was all of the little snowflakes. Remember to always use your pressing cloth in between the design and the EasyPress 2 so that pre-ironed layers won’t get melted by the hot plate!
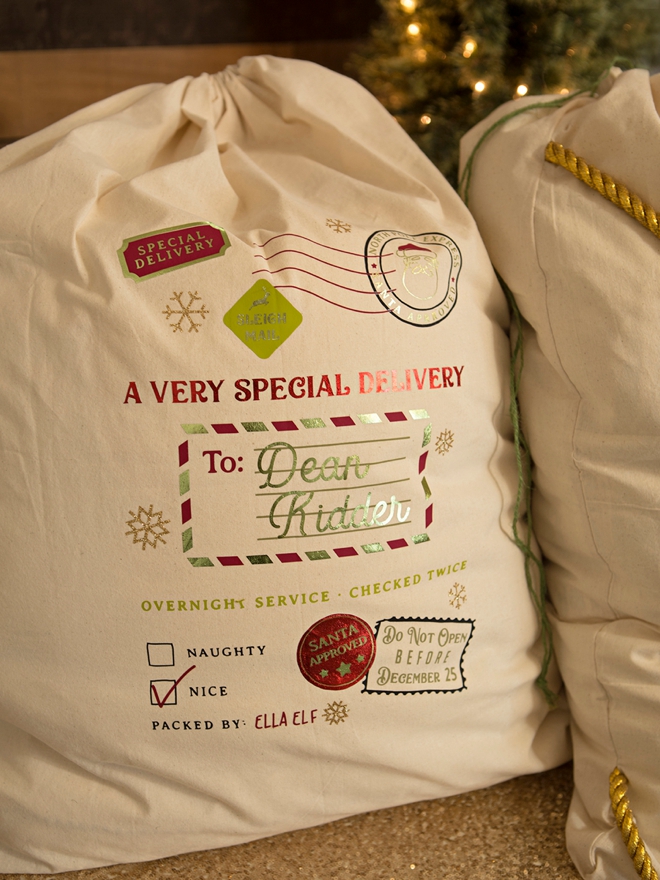
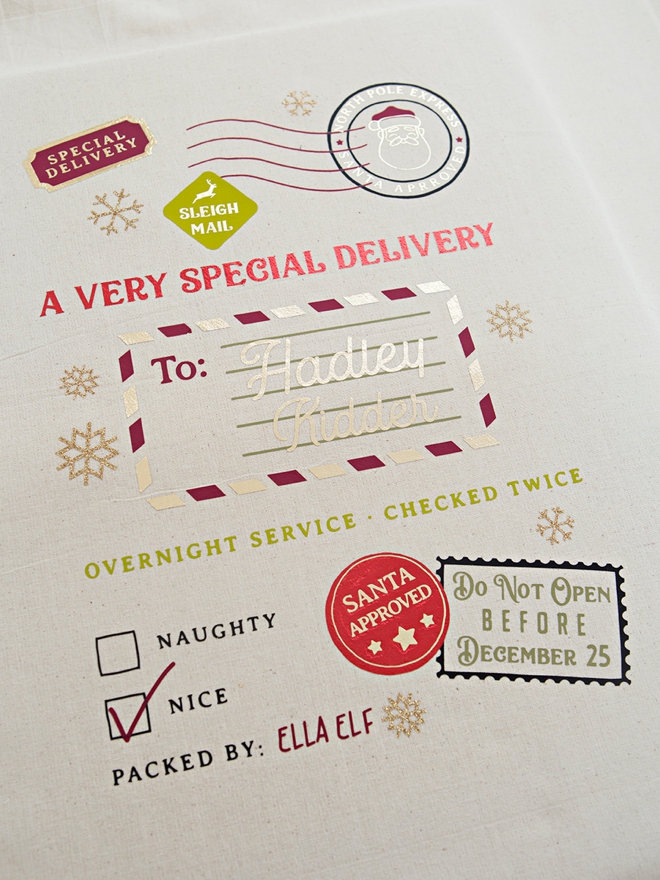
Santa Would Approve
How gorgeous are these!?! I’m dying and I get a little misty thinking about my kids getting to use these year after year and… then… wondering after they “know the truth” if they’ll still want me to fill the bags for them? (5 balling eyes emojis)
Wine Bags
The same steps apply when it comes to using our wine bag files. Personalize by adding you and your friends names and updating the colors to fit your iron-on layers of choice. Then iron your layers and really impress your friends!

One Of A Kind
My favorite thing about this project is the level of personalization possible. Each Santa (or wine) bag will truly be a one-of-a-kind creation because of how many elements you have control over personalizing. I cannot wait to see what you creative Cricut-ers do with our free files! Please, please share your designs with us on Facebook or Instagram!
DIY TUTORIAL SPONSORED BY:

Cricut is a world-class leader in personal electronic cutting machines that has enabled people to achieve their creative best for over 50 years. Today, millions of people use Cricut products to create unique projects, and they focus on enhancing lives with this power of creativity. Let Cricut help you take your wedding personalization and project creativity to the next level!


As with all our DIY tutorials, if you create one of our projects please send us a picture – We Love Seeing Your Creativity! If you use Instagram or Twitter please use the hashtag #SomethingTurquoiseDIY and it will show up on our Get Social page. Happy Crafting!
DIY Tutorial Credits
Photography + DIY Tutorial: Jen Causey of Something Turquoise // Cricut Maker, Cricut EasyPress2, all Cricut Iron-on: courtesy of Cricut // Oversized Canvas Bags: Amazon // Canvas Wine Bags: Amazon // Gold Cording and Twine: JoAnn // Custom .SVG Designs: Julia Ensign // Nail Polish: OPI – Withstands the Test of Thyme
Shop The Supplies:
Find the supplies you’ll need for this project from our affiliate links below:


Comments