
Free, Edit + Print Full Wedding Invitation Suite With Canon
-Sponsored Post-
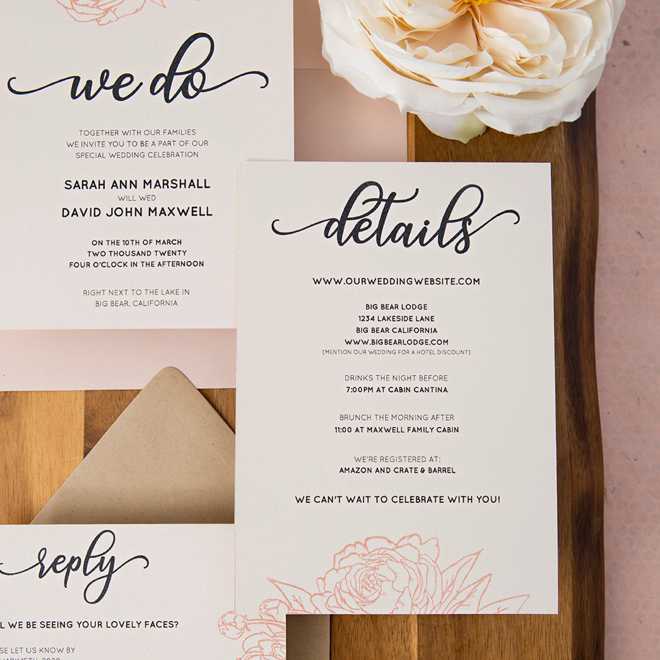
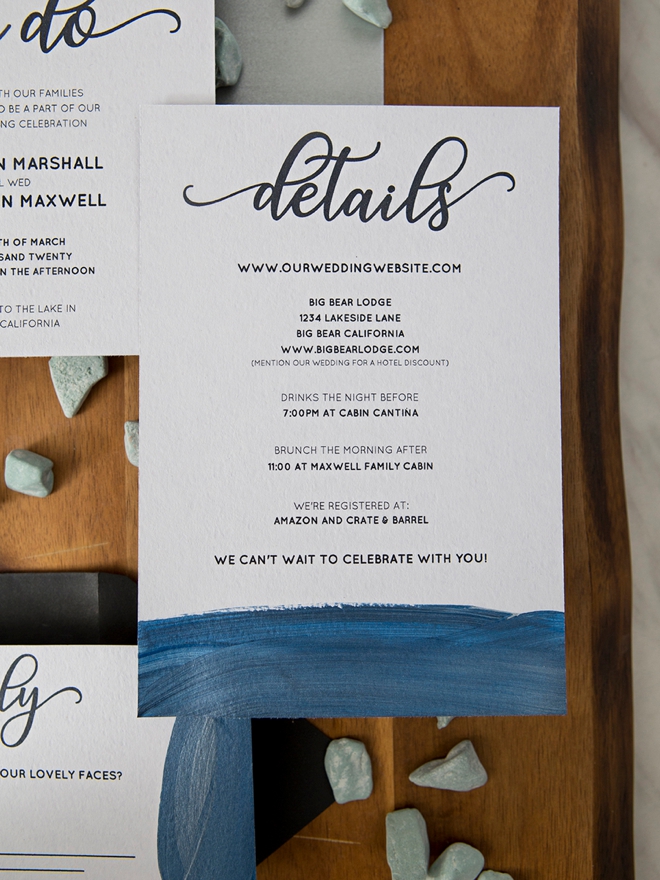
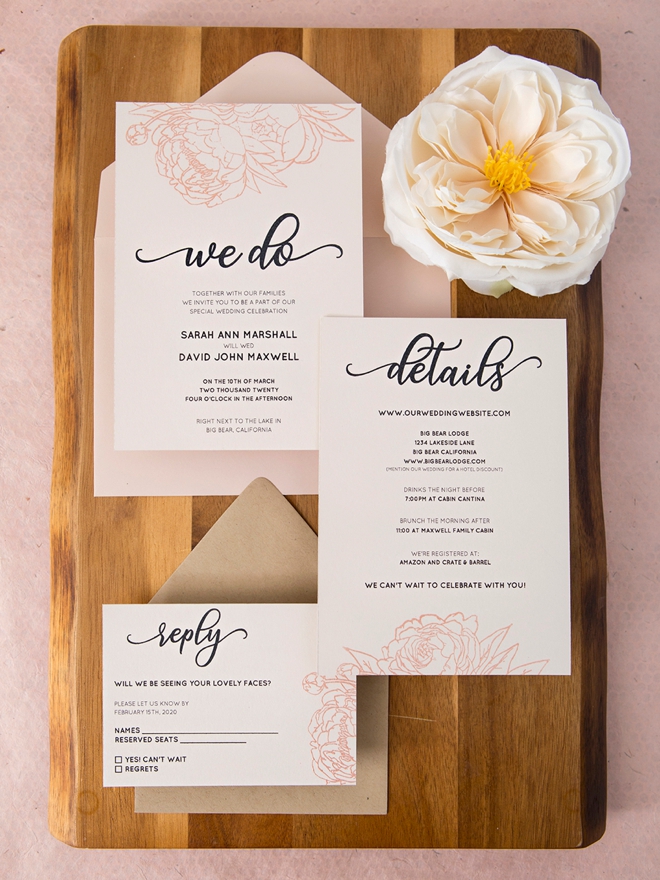
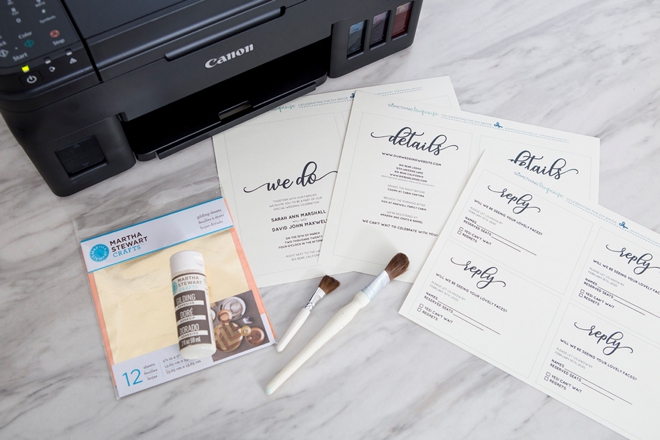
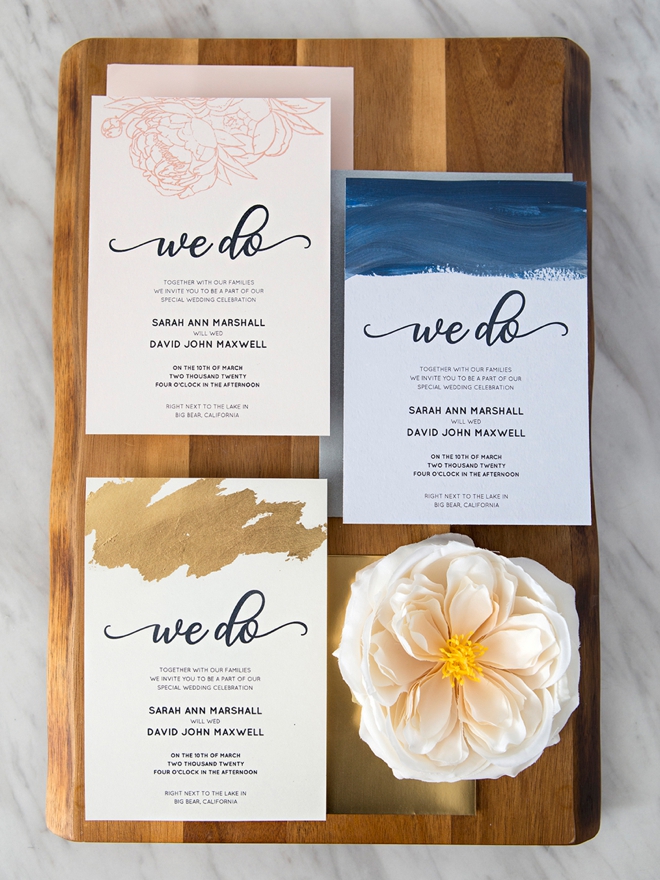
Calling all scrapbook goddesses, paper queens, and stationery obsessed, we have the ultimate, customizable wedding invitation suite for you today! We’ve partnered with Canon to bring you an adorably free, edit and print wedding invitation design that you can personalize to your heart’s content. There is empty space built into each card so that you can paint, emboss, gild and more. Your choice of paper and your choice of embellishment will make this simple, on-trend design really shine! Print with your Canon PIXMA G4210 Wireless MegaTank All-In-One Printer and don’t worry about replacing any ink cartridges as it’s called MegaTank for a reason. Here I’m sharing three techniques on how to embellish this suite, but the sky is the limit on what can really be done!
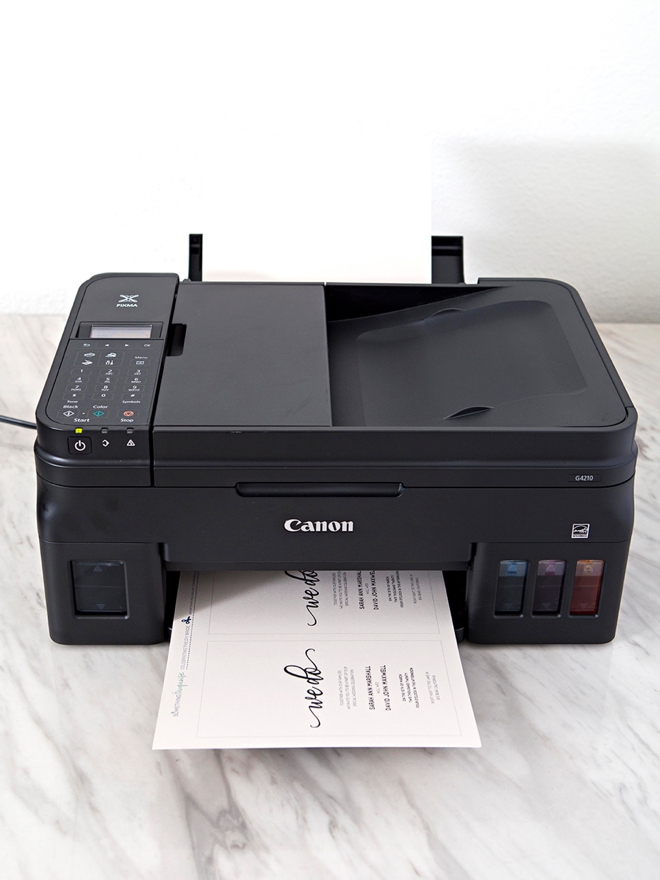
Canon PIXMA G4210 Wireless MegaTank All-In-One Printer
DIY Brides need tools that work, and let me tell you the Canon PIXMA G4210 Wireless MegaTank All-In-One Printer is a work horse. If you have lots of things to make and print, you must look into this printer. With enough ink to print up to 6,000 vivid colored pages, you can print everything you’d need for your handmade wedding and more!
Download + Edit
First, visit the end of the post and click on the graphic that says “free printables”. It will automatically start a download for you of these files. Before you can edit the documents properly, you’ll need to download the free font Quicksand in Bold and Book, and then install them on your computer.
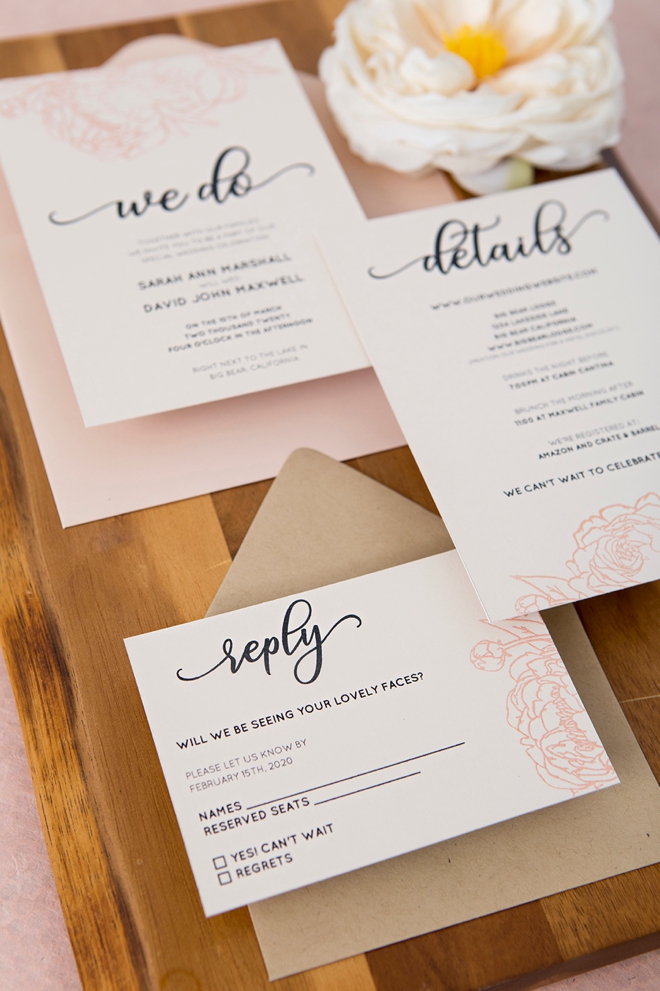
Open the file using Adobe Acrobat Or Adobe Reader where you can edit to add all of your special wedding information and then save the file. Once you edit one side of the invite, click the other side and it will automatically update the text for you, awesome! There is an invitation, a details card, and a response card – all can be edited for free!

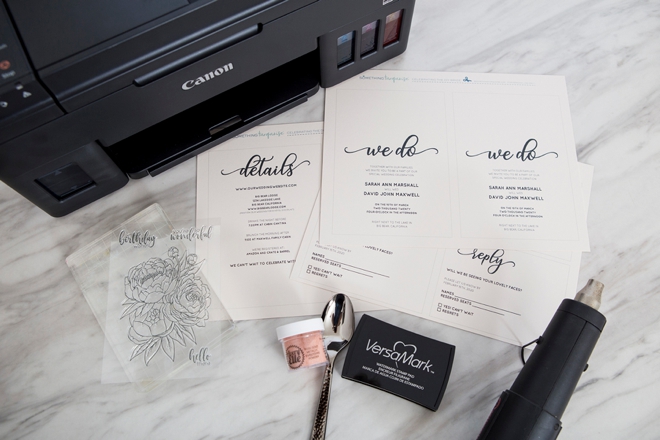
Select To Print
Using the amazing Canon PIXMA G4210 Megatank gives you the ideal options to print these invitations and have them look professionally printed, when you really just printed them from home. There are a few steps you need to take to ensure they print at the proper size:
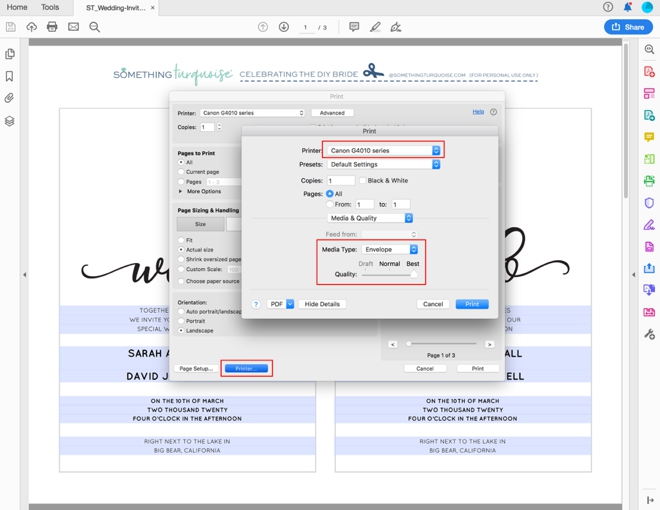
Click to select the following in the print queue along with selecting the actual printer:
- Page Sizing: Actual size
- Orientation: Landscape
- Paper Size: US Letter Borderless
- Media Type: Envelope and Best (I know, it’s not an envelope but the thickness and texture are very similar and the print quality works best for cardstock like we’re using)
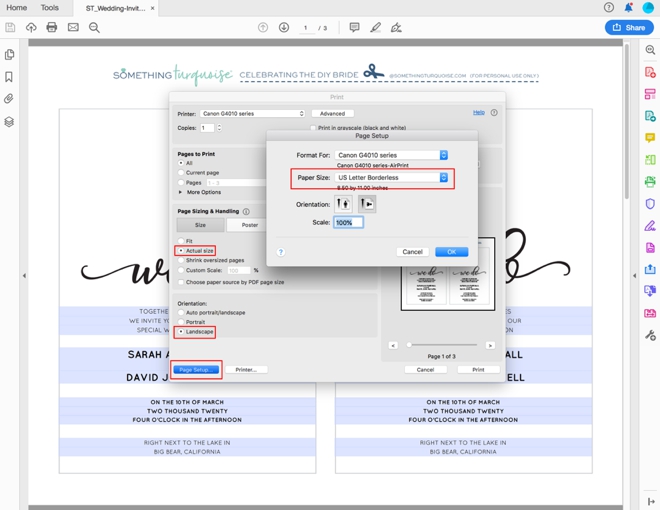
Then print the three pages of your personalized wedding invitation suite on 8.5″ x 11″ cardstock in your choice of color! Lighter colors will work the best.
- Invitation Card: 2 per sheet, cuts to A7 (6.75” x 4.75″)
- Details Card: 2 per sheet, cuts to A7 (6.75” x 4.75″)
- Reply Card: 4 per sheet, cuts down to 4 Bar, 3 1/2” x 4 7/8”
You’ll need one A7 envelope and one 4 Bar envelope for each invitation.
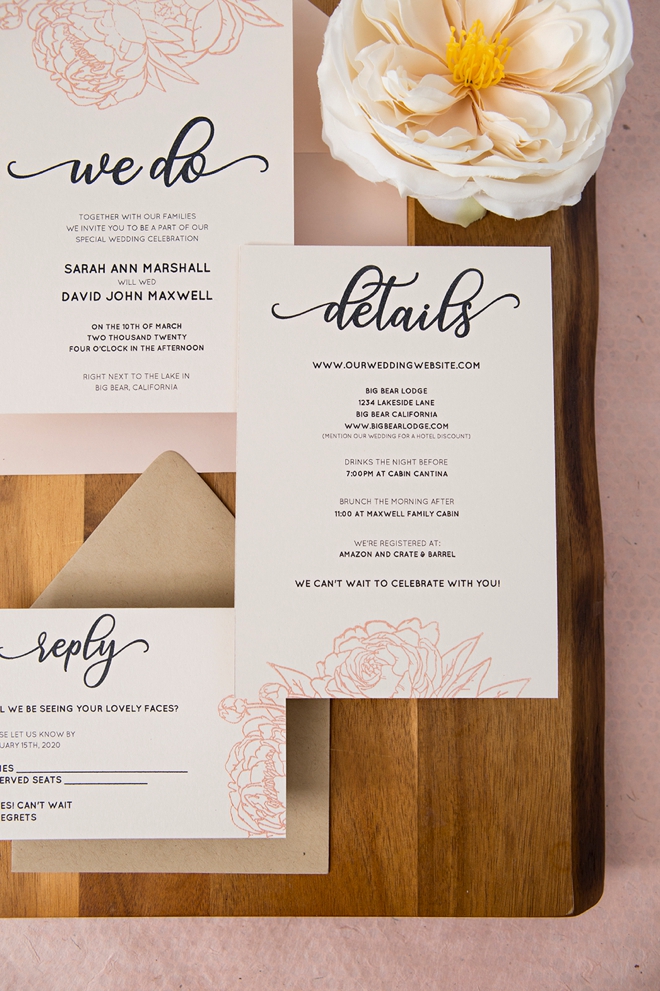
Embossing Technique
Rubber stamping and embossing is always a gorgeous touch. Use any rubber stamp you’d like and pair with either a colored stamp pad and clear embossing powder -or- a clear stamp pad and colored embossing powder like I’m using here. After heated it becomes a glass-like 3D design that is beautiful!
EMBOSSING SUPPLIES:
- Your Custom, Home Printed Invitations
- Embossing Gun
- Embossing Powder
- Embossing Stamp Pad
- Spoon
Stamping Block
Add your rubber stamp to a clear stamping block, if it is the separate kind like this one. Many are attached to their own wooden blocks!
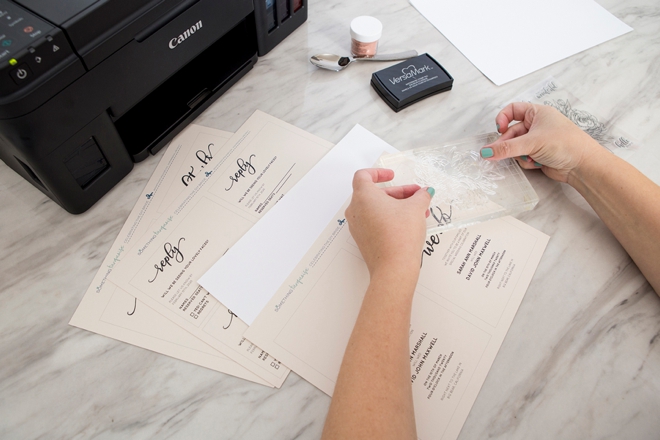
Stamp
Liberally pounce the clear embossing ink pad onto the rubber stamp and stamp into the “free” area of each card design. Don’t worry about getting each one perfect, no one will know as they only receive one! Use a different part of the stamp for each card or make them all different, it’s up to you. For certain stamps and cards you might need to do this over a scrap piece of paper so you aren’t stamping your desk.
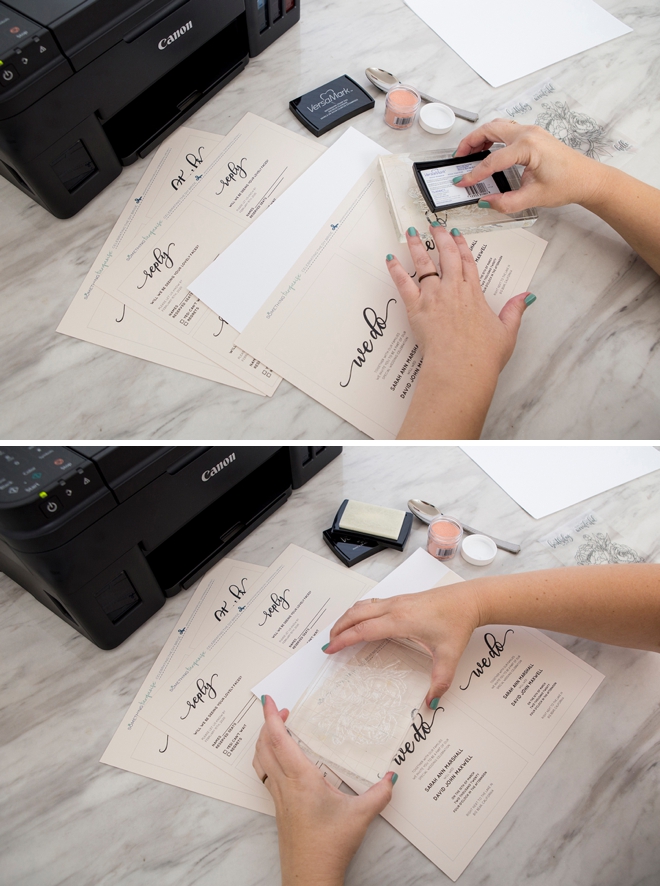
Powder
Immediately following the stamping, dust the wet clear stamp with your choice of colored embossing powder. Like I mentioned before, you either use a clear stamp pad with colored powder -or- a colored stamp pad with clear powder, both are great. Tap off the excess powder onto a scrap piece of paper.
Save
After each dusting, save/return the excess embossing powder into it’s container.
Stamp + Dust
Stamp and dust a few cards in a row and lay them out, not touching anything, on your desk. Do a few or a lot depending on the space you have. Keep in mind the powder can get knocked off or ruined until it’s heated!
Heat
Turn on your embossing gun and evenly heat the stamped area until it turns glassy, this is my favorite part! Now your design is permanent. The photo doesn’t do this beautiful rose gold metallic powder justice, it’s just so pretty in person.
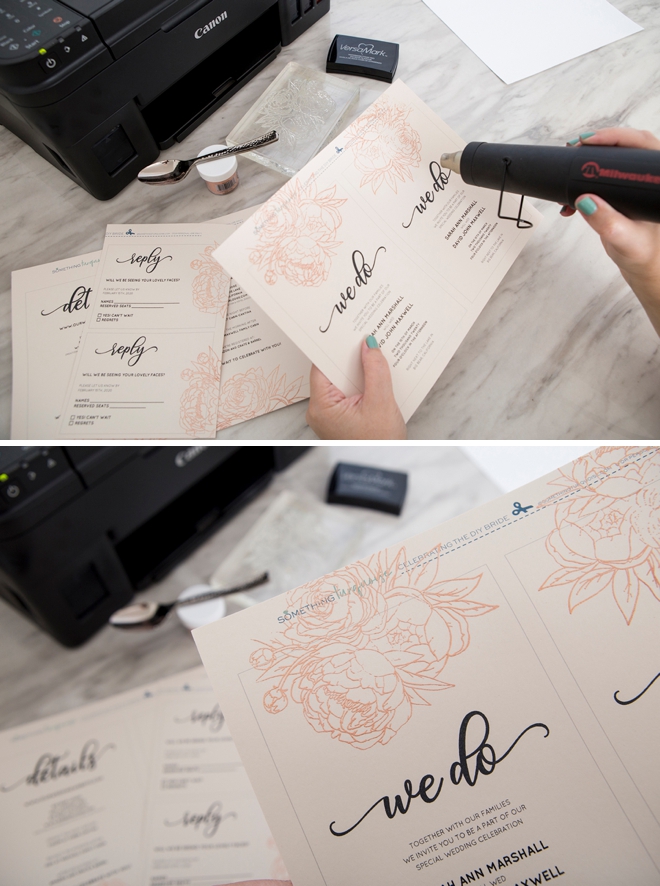
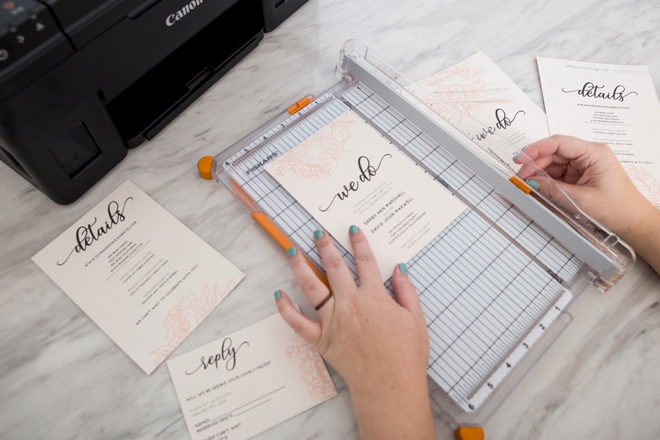
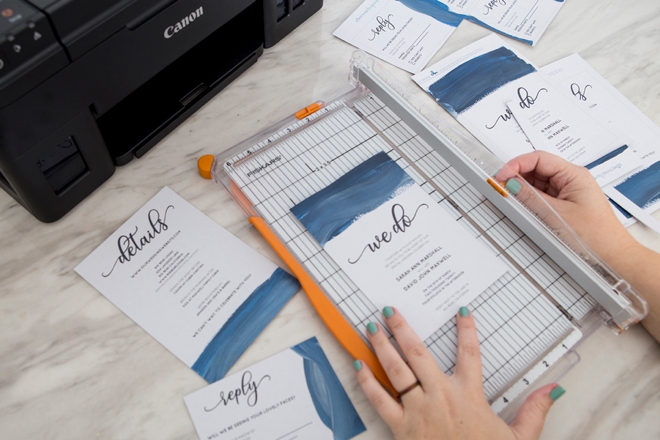
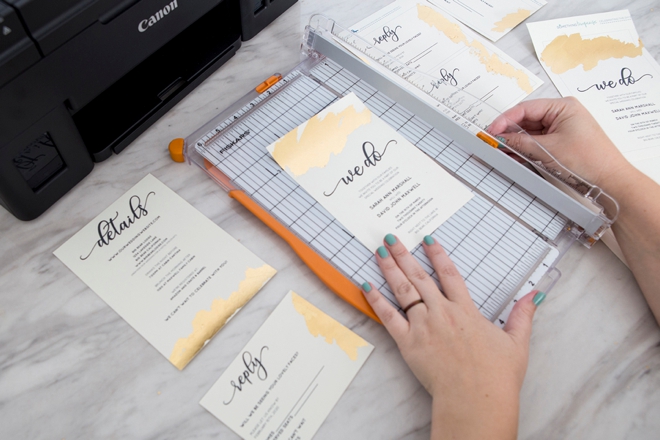
Trim
As with all the embellishment techniques, trimming your cards out is easiest once your finished. Follow the lines provided using a paper trimmer.
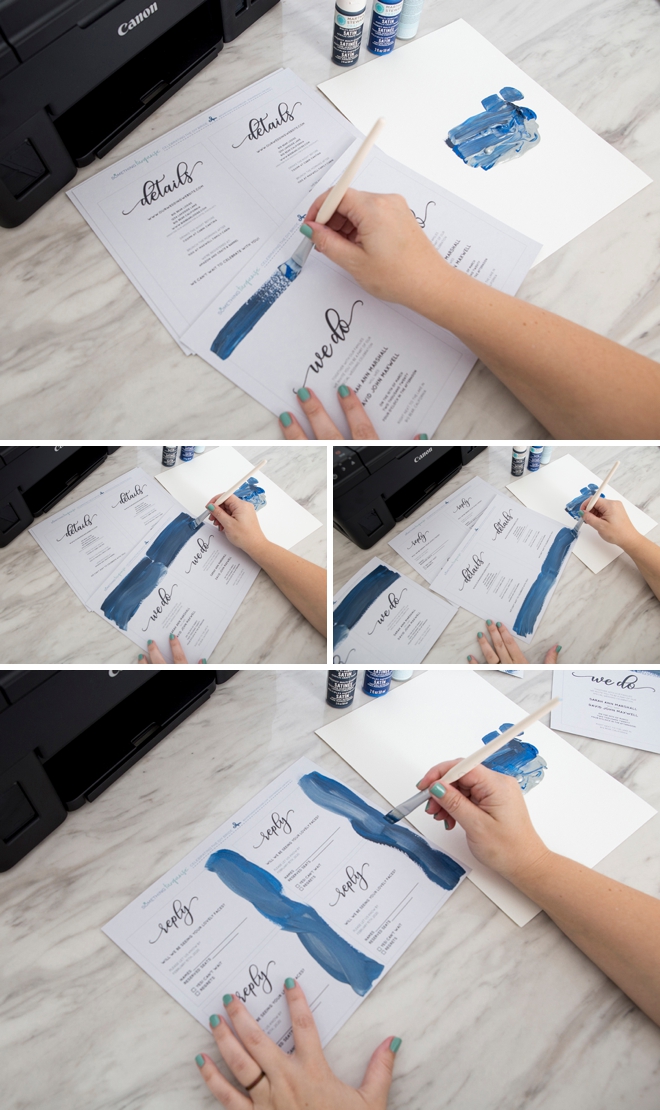
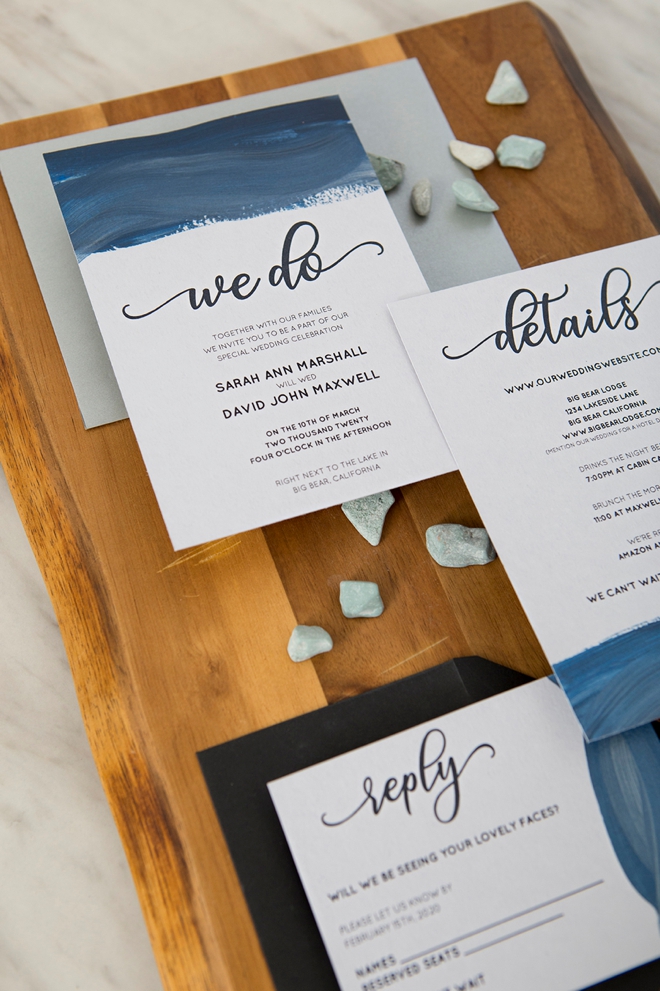
Hand Painting Technique
LOVE this one! It’s fast, cheap, and can be super pretty. Hand paint any type of design into the free space on these cards for a very unique look where each and every card will be different!
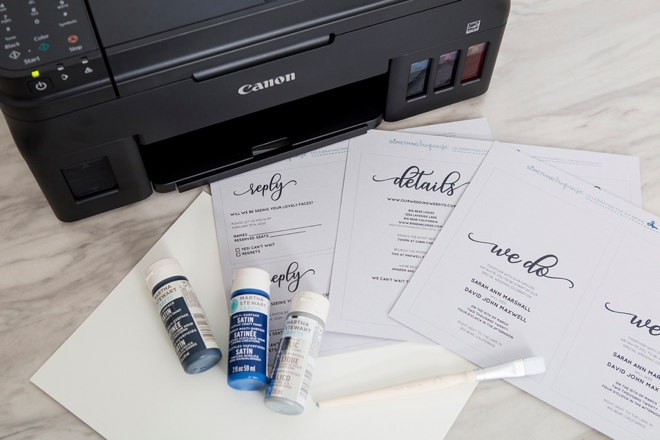
PAINTING SUPPLIES:
- Your Custom, Home Printed Invitations
- Craft Paint
- Paint Brushes
- Palette Paper
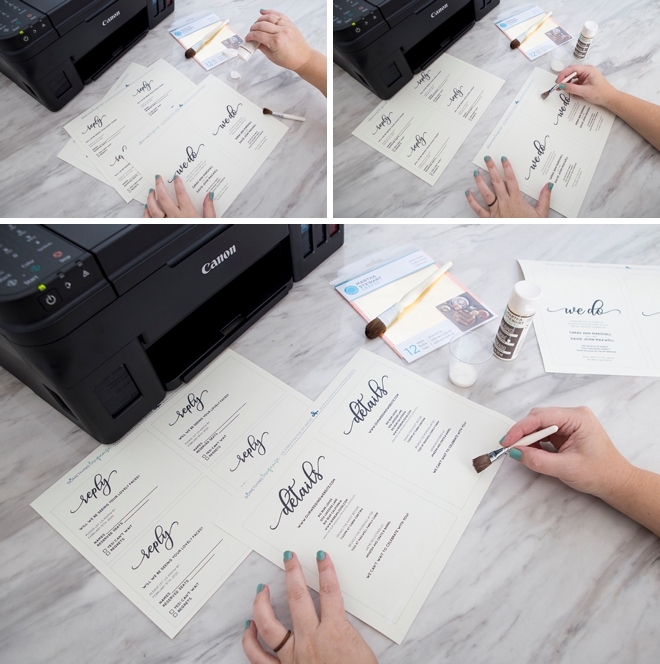
Mix Paint
Here I’m using a piece of palette paper to mix my paint on, you can also use a plastic plate or anything similar. I added three colors of paint and mixed them a bit for a unique look.
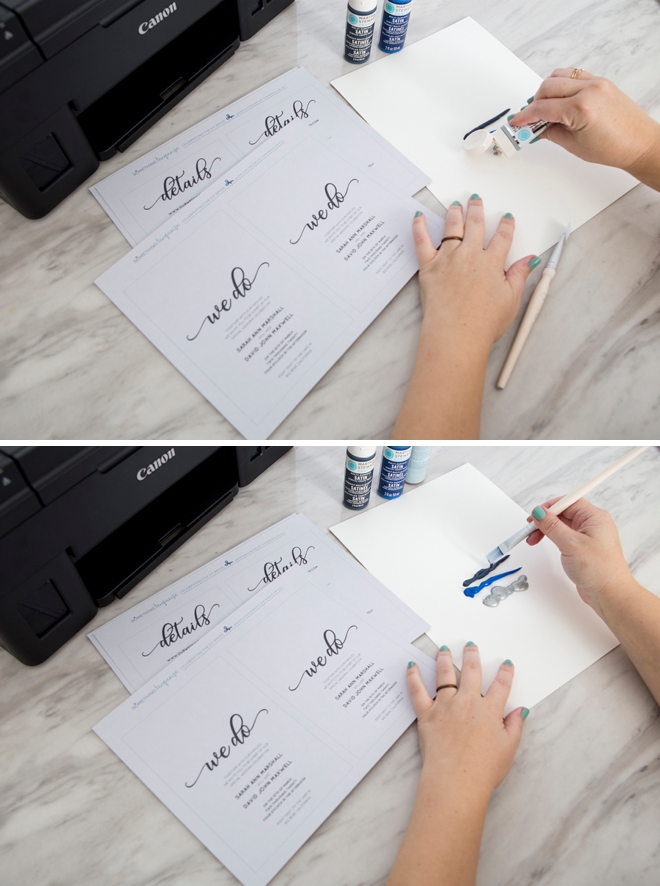
Paint
Across the free space on each card, paint lines across the cards with different amounts of each color paint. Go back and add touches of colors that didn’t show up as well. Each one can be different, that is the beauty of this idea.
Trim
As with all the embellishment techniques, trimming your cards out is easiest once your finished. Follow the lines provided using a paper trimmer.
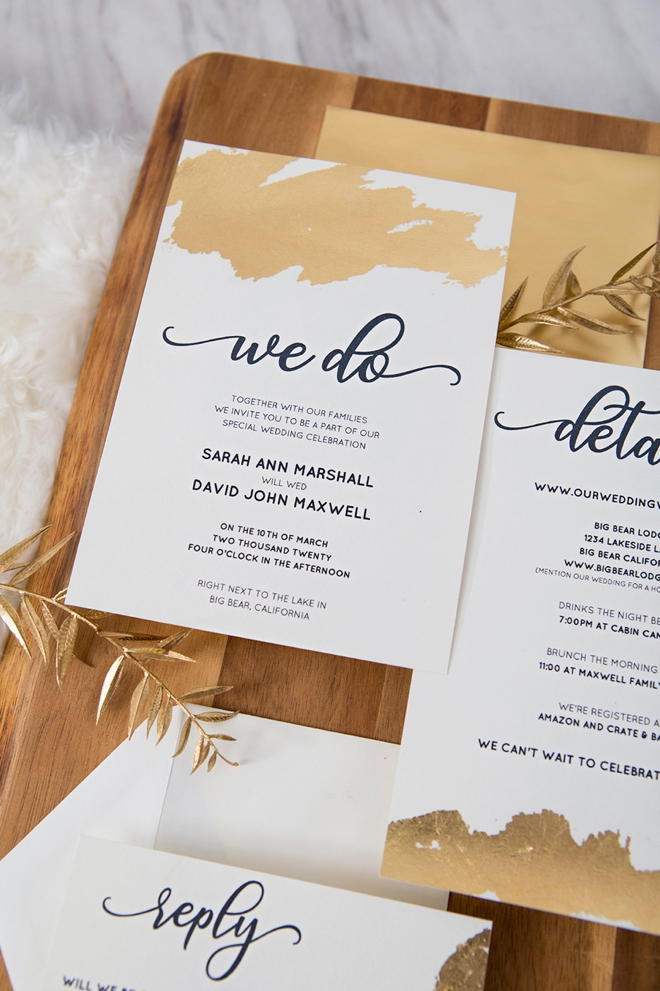
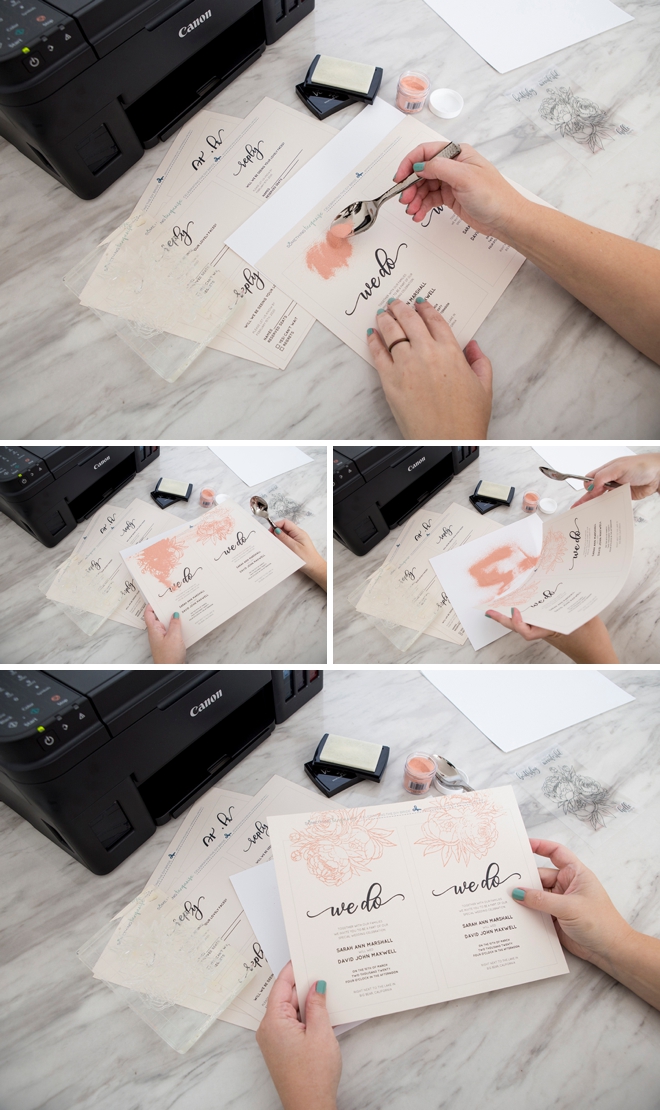
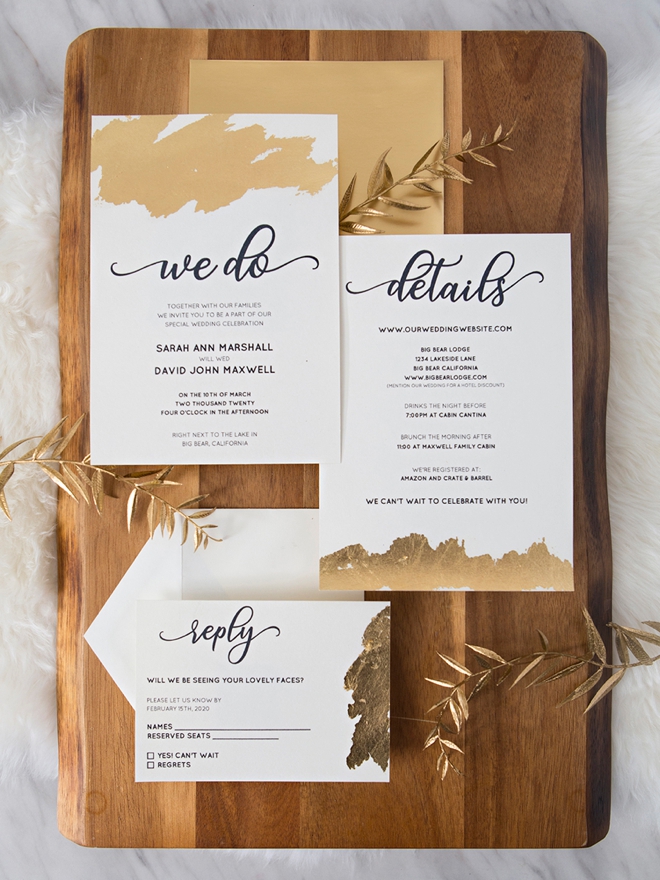
Gold Foil Gilding Technique
This technique is absolutely stunning. It’s also the most time consuming and potentially the most expensive depending on how cheap you can find the foil and how much of it you use… but man is it worth it. Foil everything has been trending for a while and this is how you make it happen on paper!
FOILING SUPPLIES:
- Your Custom, Home Printed Invitations
- Gilding Liquid
- Gilding Sheets (they come in silver, gold, and copper)
- Gilding Brushes
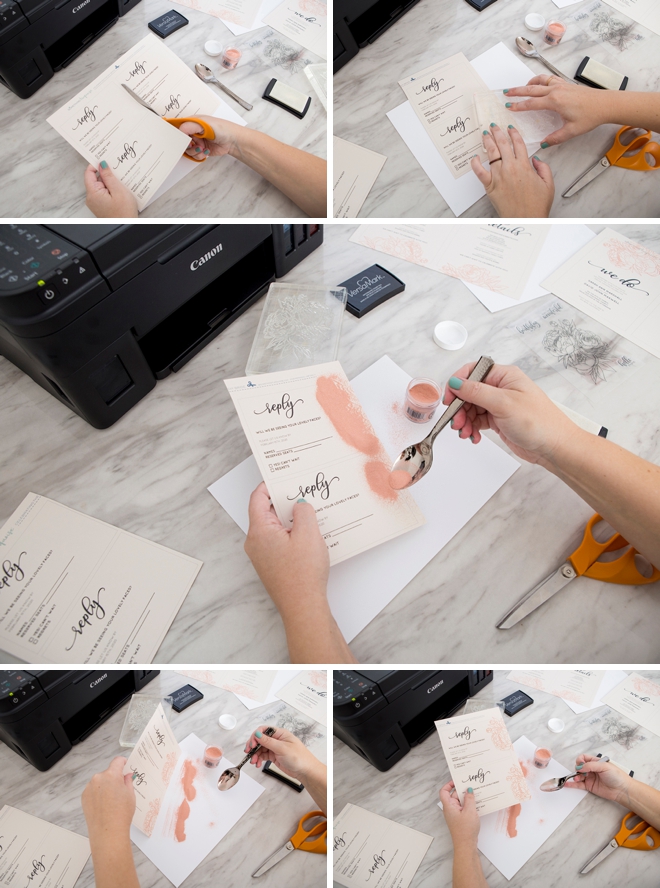
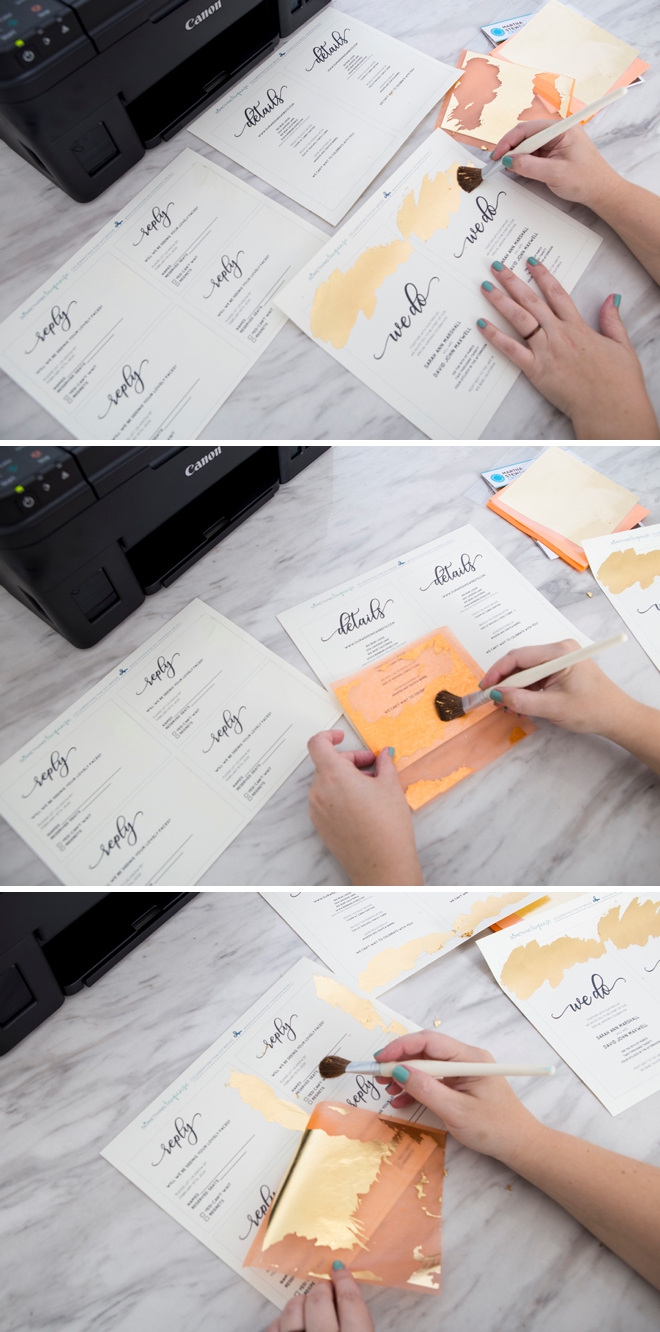
Gilding Liquid
Apply the gilding liquid with a soft bristled brush onto the free areas of the invitation cards. The liquid is like a glue, wherever you paint it – that is where the foil will stick. So if you paint a solid stripe, it will stick there. If you paint a flower or a word, it will stick to it. I did random swipes with my liquid. Let it dry until it becomes tacky.
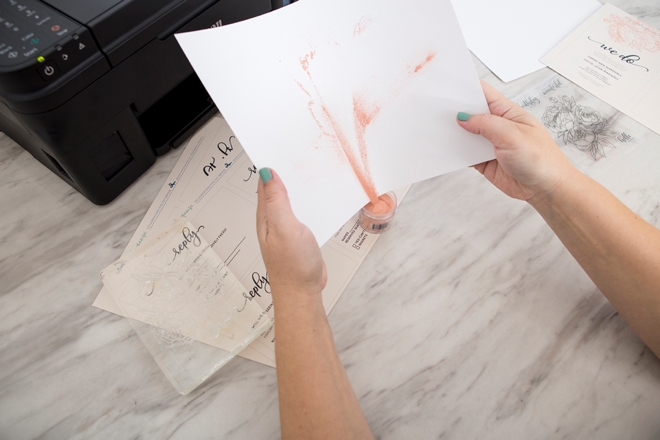
Apply The Foil
Place a piece of the foil gilding sheet face down on top of the tacky liquid and burnish using a soft bristle brush. Make sure to burnish (gently rub) the entire area that you added the liquid to. Then peel the foil sheet away to reveal what is left behind! Then burnish the foil with the brush to ensure it’s adhesion. If there are spots you missed, go back and do it over, as long as the area is tacky you can add more. You can always add more liquid if there is a spot that needs it, but you’ll need to let it dry again.

Foil Saver
Use up extra foil bits still left on the foil sheets on the smaller reply cards so that you waste as little as possible.
Trim
As with all the embellishment techniques, trimming your cards out is easiest once your finished. Follow the lines provided using a paper trimmer.
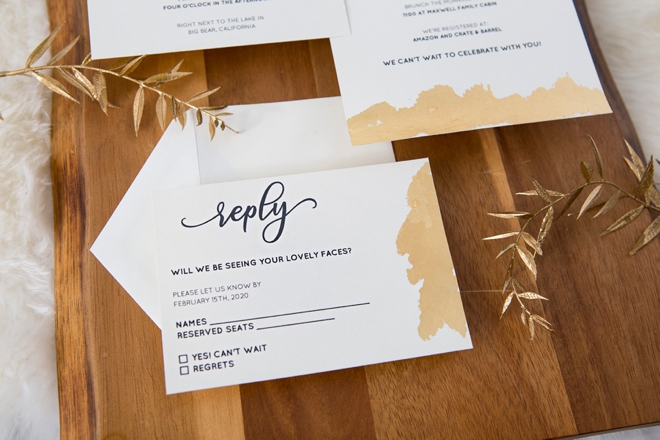
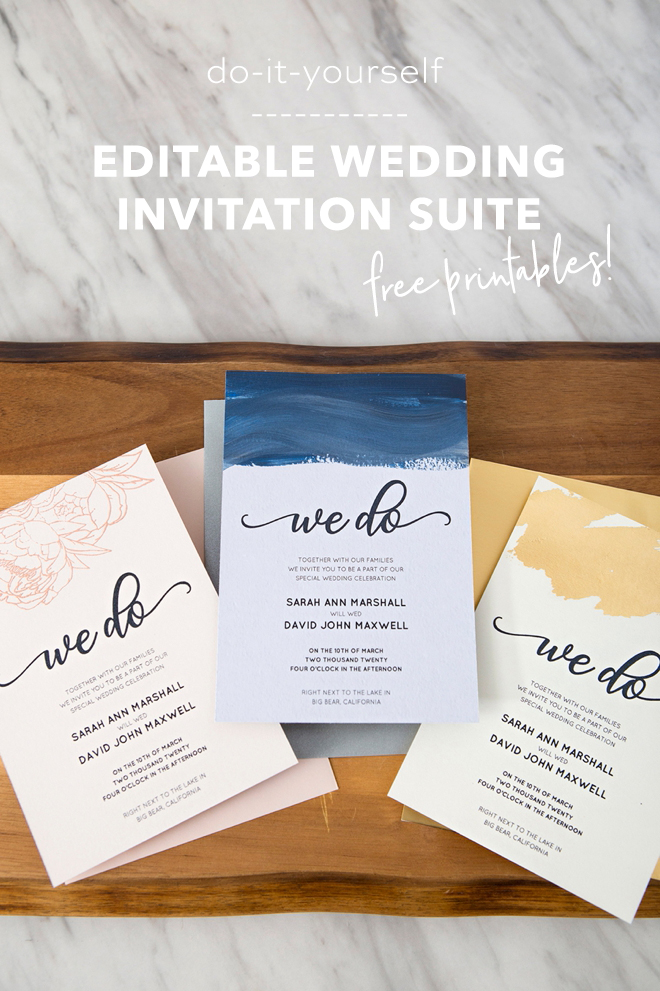
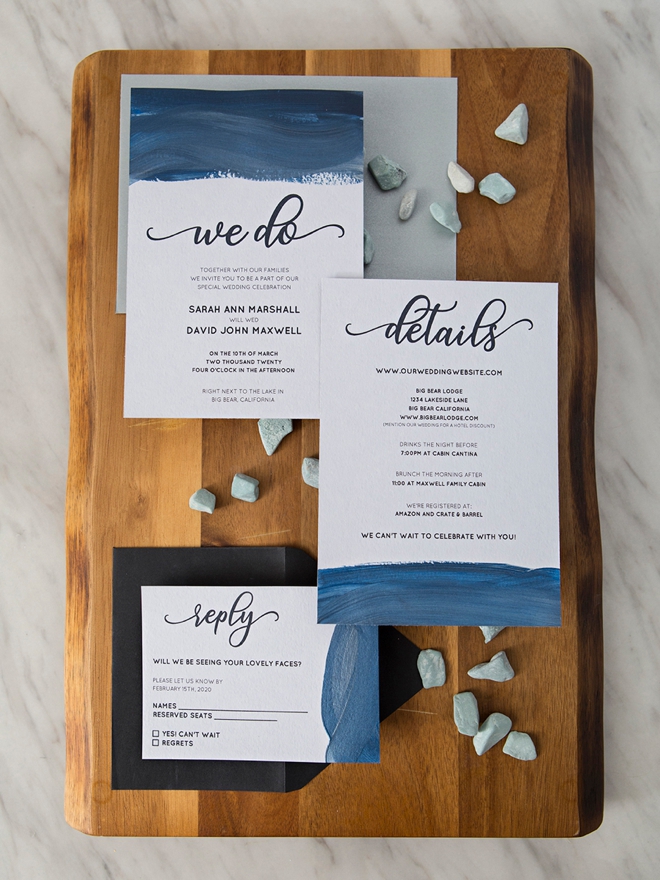
Three Very Unique Looks
When you see all three techniques together, in different colors and paper shades – it’s kind of crazy to see how different that one design can look! These are only just three ideas and techniques, there are so many other things you could add or embellish these designs with, we truly can’t wait to see what you create with them!
DIY Tutorial Sponsored By:
Canon U.S.A., Inc. prides itself on allowing consumers to create and preserve beautiful imagery, from capture to print. With wireless technology and seamless printing capabilities, you can print your photos and printables with precision and ease.

As with all our DIY tutorials, if you create one of our projects please send us a picture – We Love Seeing Your Creativity! If you use Instagram or Twitter please use the hashtag #SomethingTurquoiseDIY and it will show up on our Get Social page. Happy Crafting!
DIY Tutorial Credits
Photography + DIY Tutorial: Jen Causey of Something Turquoise // Canon PIXMA G4210 Wireless MegaTank All-In-One Printer: courtesy of Canon // 8.5″ x 11″ Cardstock in Luxe Cream, Luxe Blush, and Luxe Grey: Paper Source // Large Peony Rubber Stamp: Amazon // Rose Gold Metallic Embossing Powder: Amazon // Embossing Gun: Amazon // Versamark Embossing Ink Pad: Amazon // Craft Paint, Paint Brushes, Gilding Supplies: Martha Stewart Crafts via Amazon // Paper Trimmer: Fiskars // Nail Polish: OPI – Withstands the Test of Thyme
Shop The Supplies:
Find the supplies you’ll need for this project from our affiliate links below:


Comments