
3 Different Ways To Make Your Own Flower Crowns
-Sponsored Post-
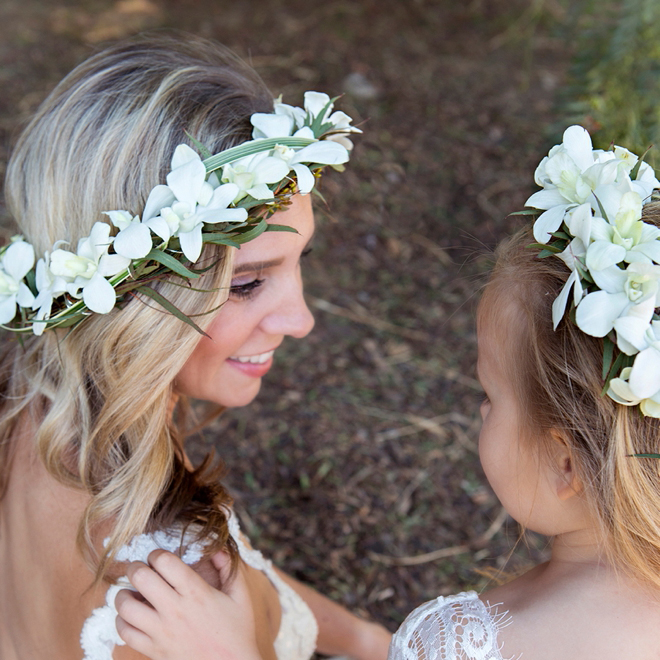
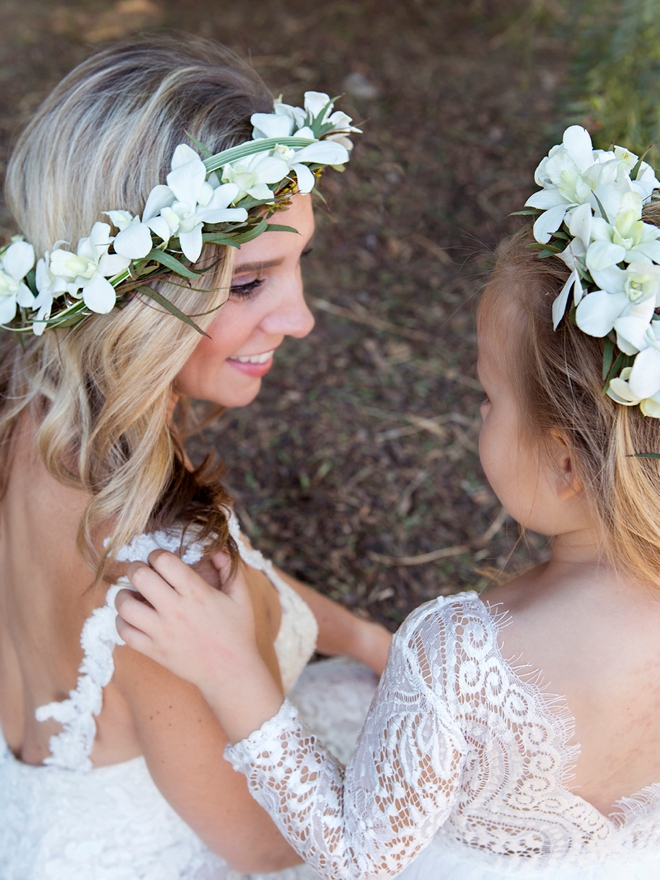
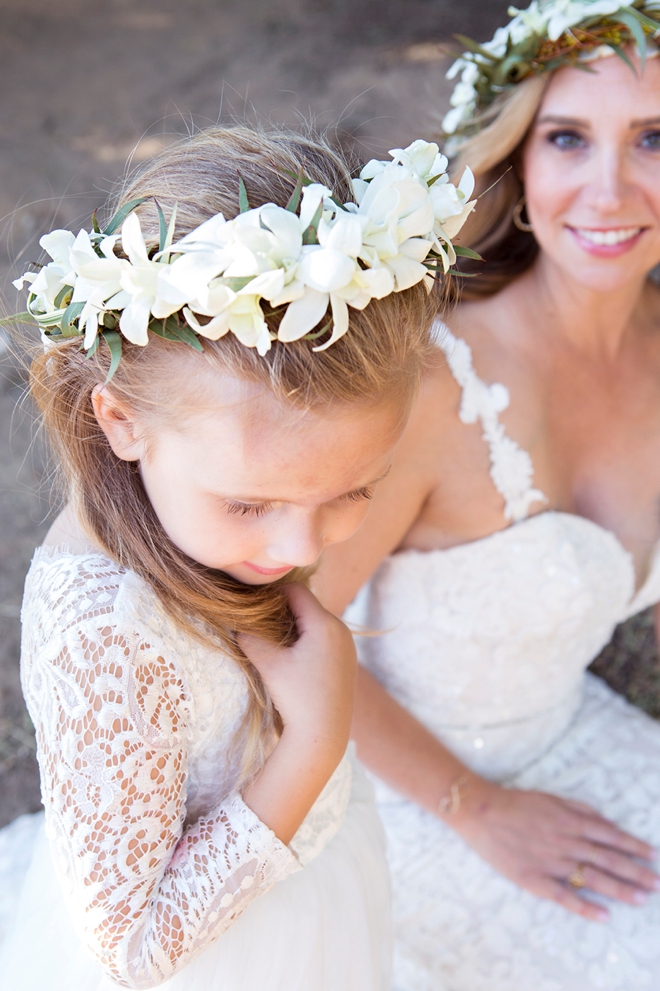
Ahhh flower crowns! Is there anything more beautiful than a flower crown on a bride? Ok, maybe a flower crown on a flower girl!? Today I’m excited to have partnered with FiftyFlowers.com to bring you three terrific techniques for making these gorgeous crowns. They’re actually much easier than you might think to assemble and the key with all of them is using floral glue, it will be your best friend. Your choice of flowers will arrive at your door, ready for water, and then you get to play florist to create these stunning arrangements for your head. Perfect for weddings, engagement shoots, maternity photos, baby showers, and more!
Flowers, Delivered To Your Door
Now that I’m a mom, early mornings are a daily occurrence. However, I have absolutely no interest in getting up even earlier to drive downtown LA to the flower mart to buy my flowers. While that is an option for me, it might not be an option for you. So where can you get wholesale flowers? Easy, from FiftyFlowers.com and the best part is that they deliver them to your door. They will also help you with the ordering process, the rehydration process, and anything else you could possibly need help with; their customer service might be better than Nordstrom.
Make Ahead
These crowns will look best if made the morning of your event, but can also be created the night before and stored in the refrigerator. They will last about 12 hours out of the fridge, and can start to show signs of wilting after 4 hours in warm weather.
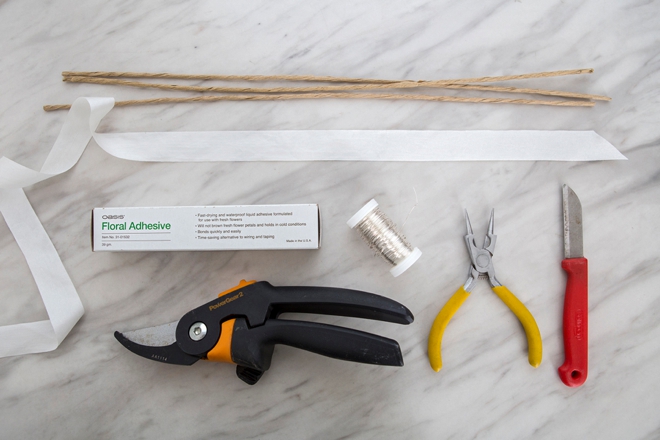
SUPPLIES:
- Floral Adhesive
- 26 Gauge Floral Wire
- 18 Gauge Paper Wrapped Wire
- Bullion Wire
- Wire Cutters/Knife
- Round Nose Pliers
- Pruning Shears
- Tape Measure
- Silk Ribbon
FLOWERS: (from the left)
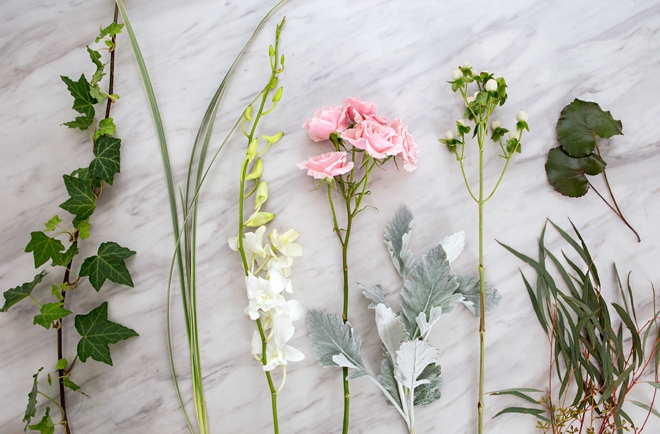
Since FiftyFlowers is a farm to customer, wholesale flower company, it means that your flowers are shipped straight to you from the farm and they will arrive in large cardboard boxes…
- Using hardware store buckets, fill them up 1/4 of the way with water, make sure they are clean to start with.
- Carefully unbox and un-package your flowers, per the instructions from FiftyFlowers.
- Each flower is different and their team can walk you through the prep for each flower if needed.
- It is 100% normal for your flowers to look a bit tired and lifeless, they’ve been on a long journey to you.
- Give each stem a fresh diagonal cut and place in the water to rehydrate for 4-12 hours.
- Keep out of the heat and sun while rehydrating.
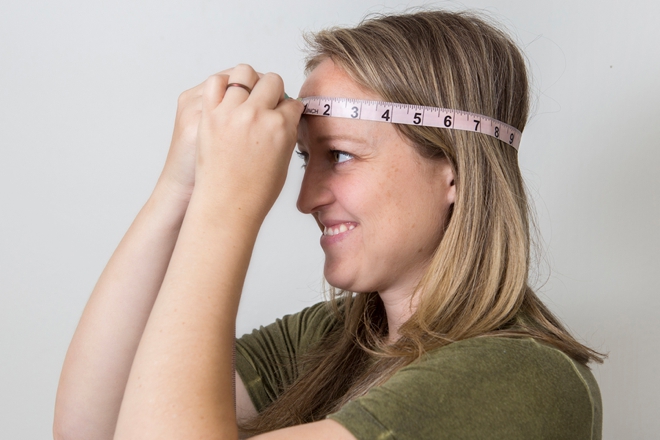
Head Measurement
Use a tape measure to measure the flower crown recipients head to ensure that what you create will fit properly and comfortably. Place the tape measure around the head where the crown will be worn.
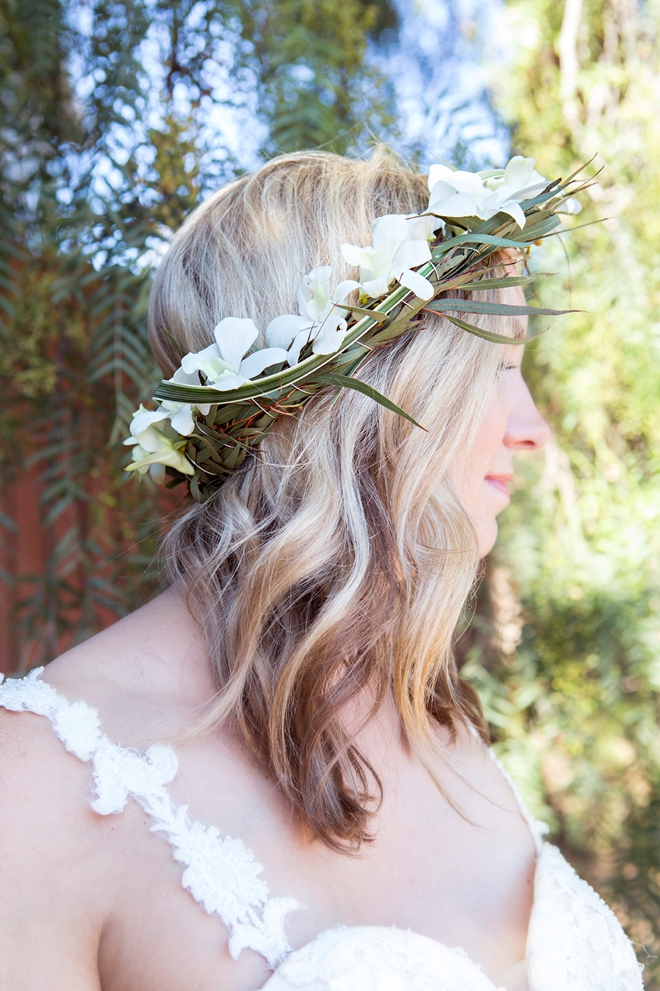
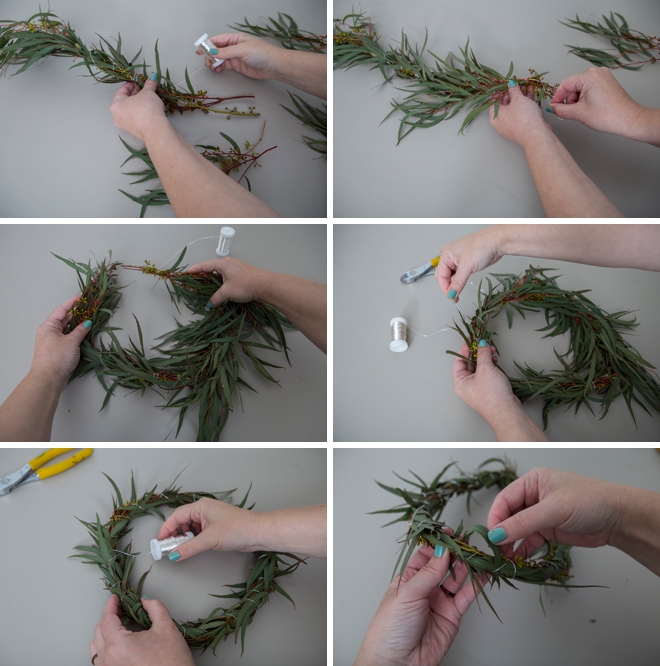
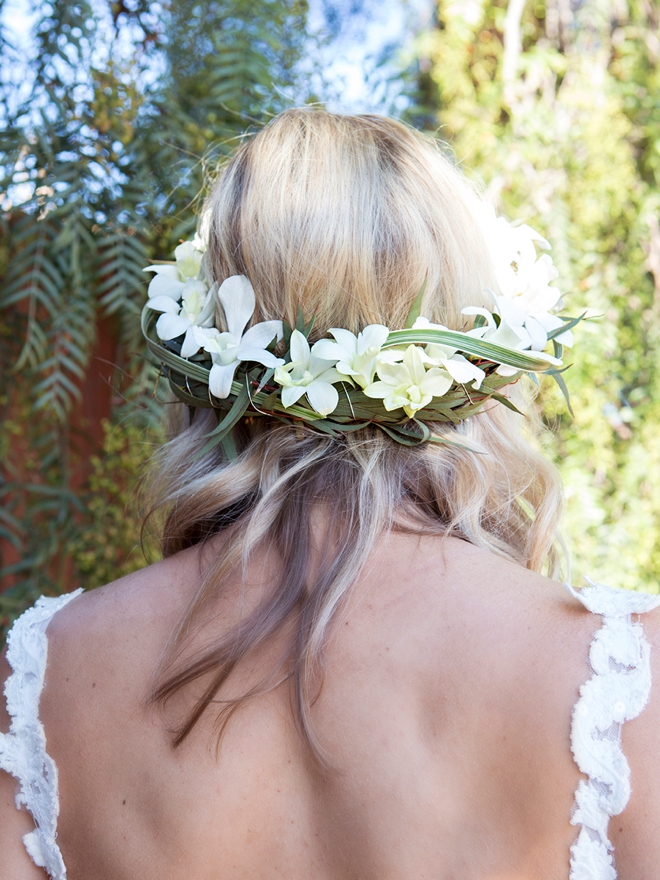
The Full Crown
For this crown we’ll be building the base out of seeded eucalyptus bunches and bullion wire. Simply wrap the wire around multiple pieces of eucalyptus, at your desired size (based on the head measurement). For a thinner crown use less eucalyptus and use more for a thicker look.
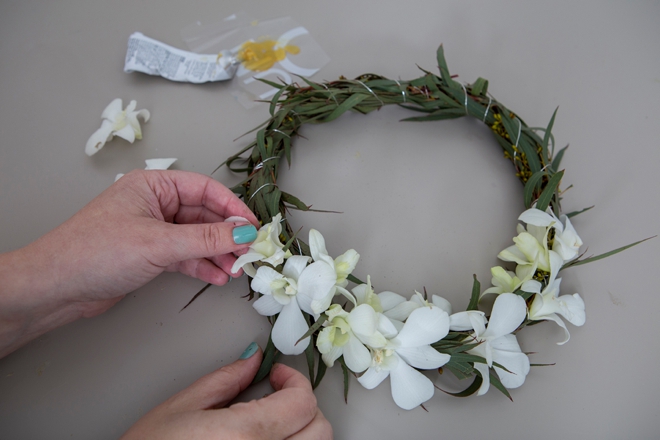
Glue Orchids
Carefully remove orchid petals from their stems and glue them individually into the seeded eucalyptus. Dip the petal stems into the glue and then hold in the eucalyptus leaves until dry, only 30 or so second. Fill the crown with petals for a rich, tropical look.
Floral Adhesive Tip: This stuff is the BEST. Squirt some out on scrap plastic to dip your flowers into it. The easiest plastic to use is what the flowers come wrapped in, cut some off and squirt some out. It dries quickly so only use a little at a time.
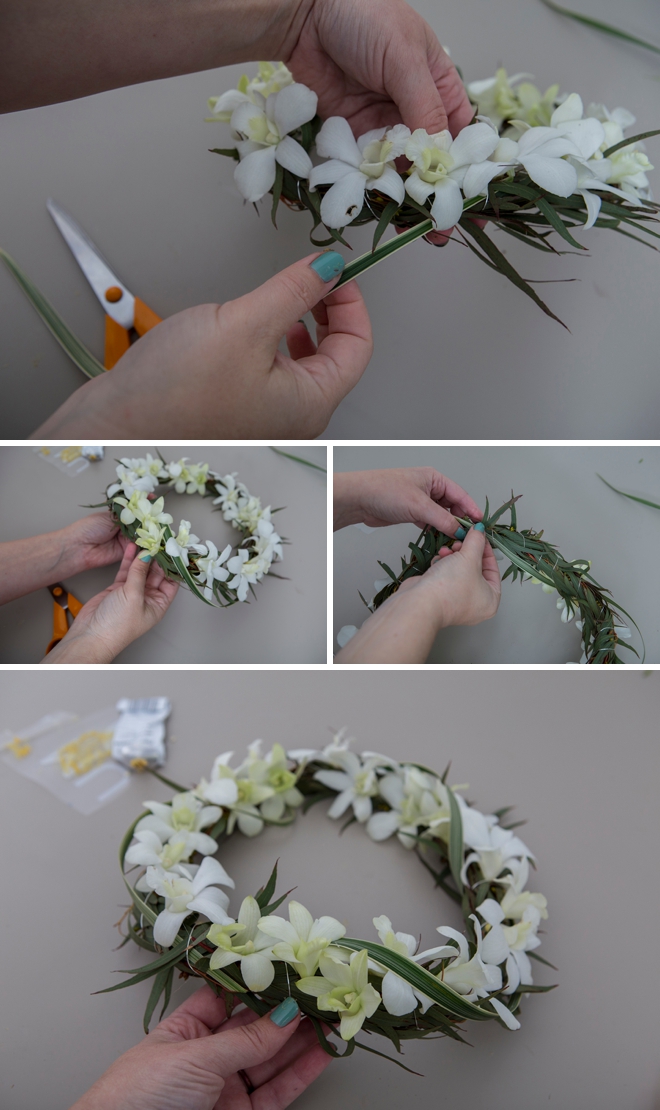
Weave In Some Grass
The element that really takes this crown style up a notch is the lily grass. Weave pieces of the long grass in and out of the crown, around, over, and under the petals fo finish off this tropical look and glue ends in place.
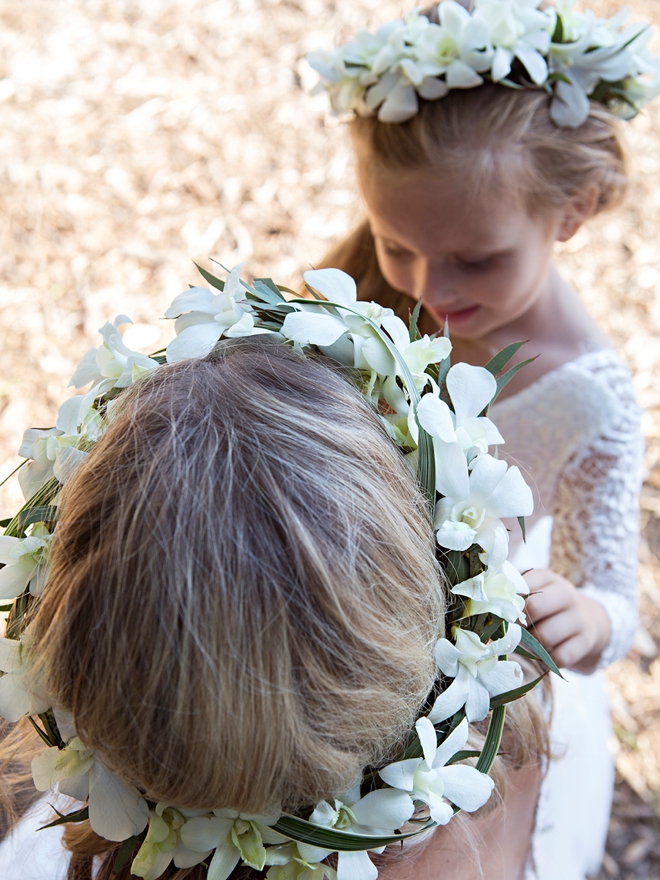
Only three elements to make this gorgeous crown! Perfect for a beach or tropical destination wedding!
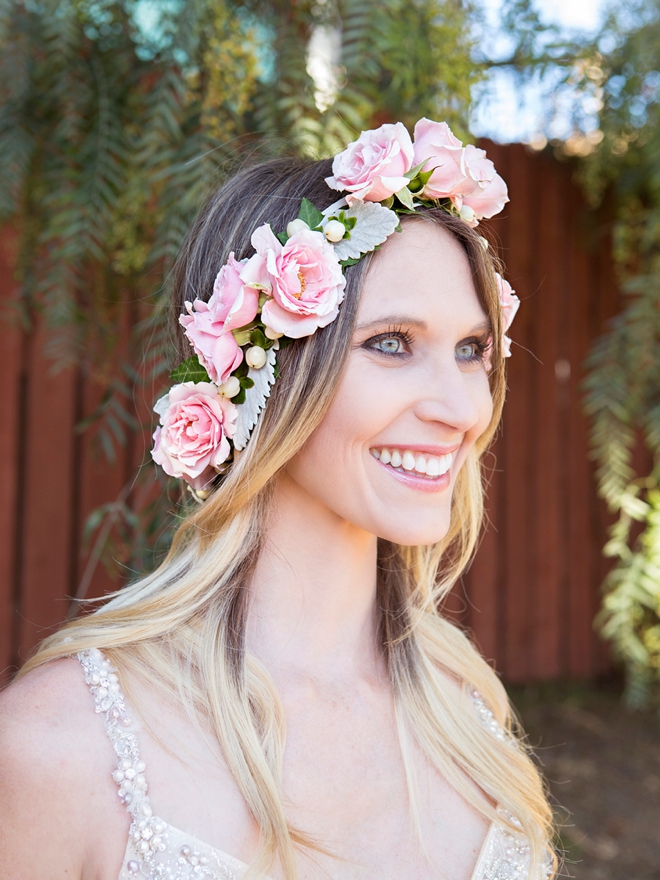
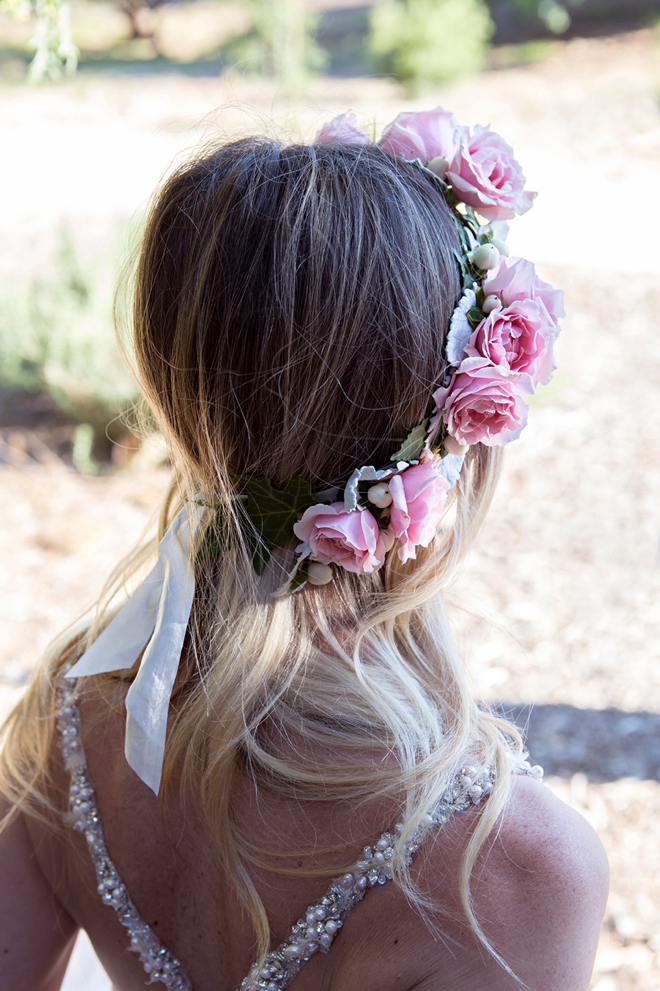
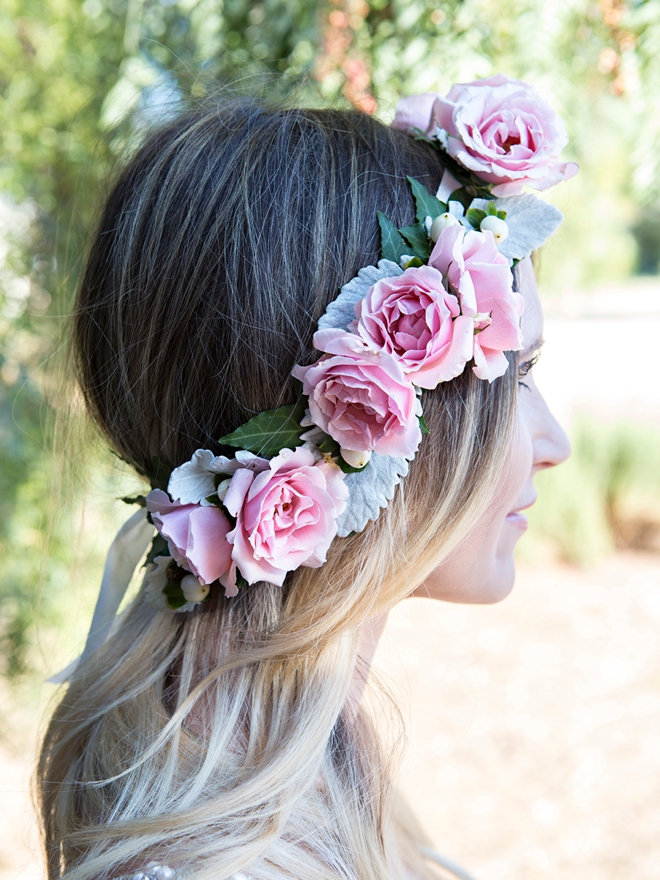
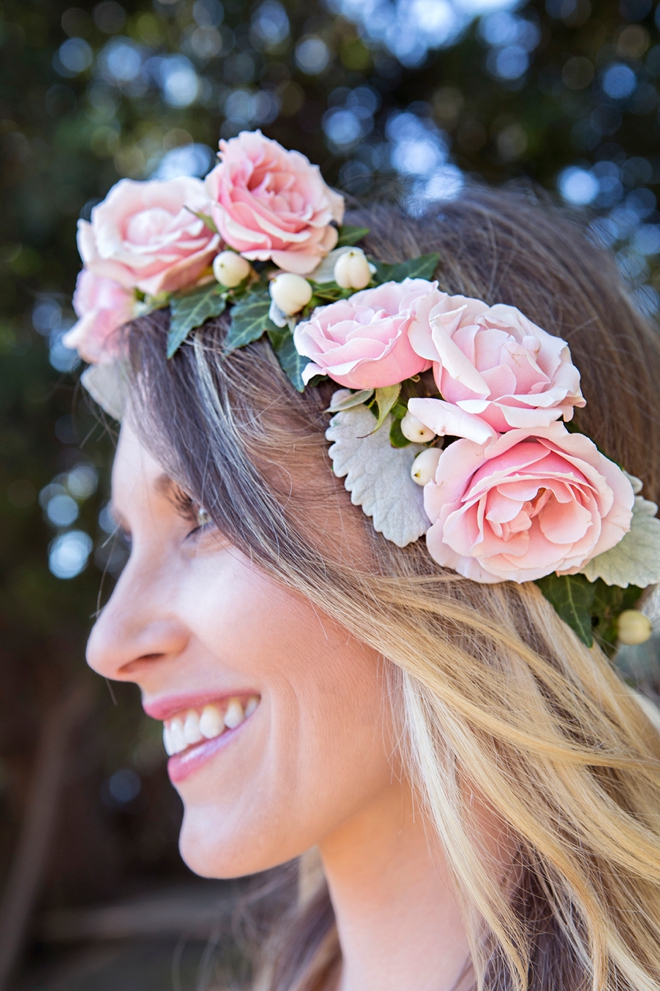
The Ribbon Crown
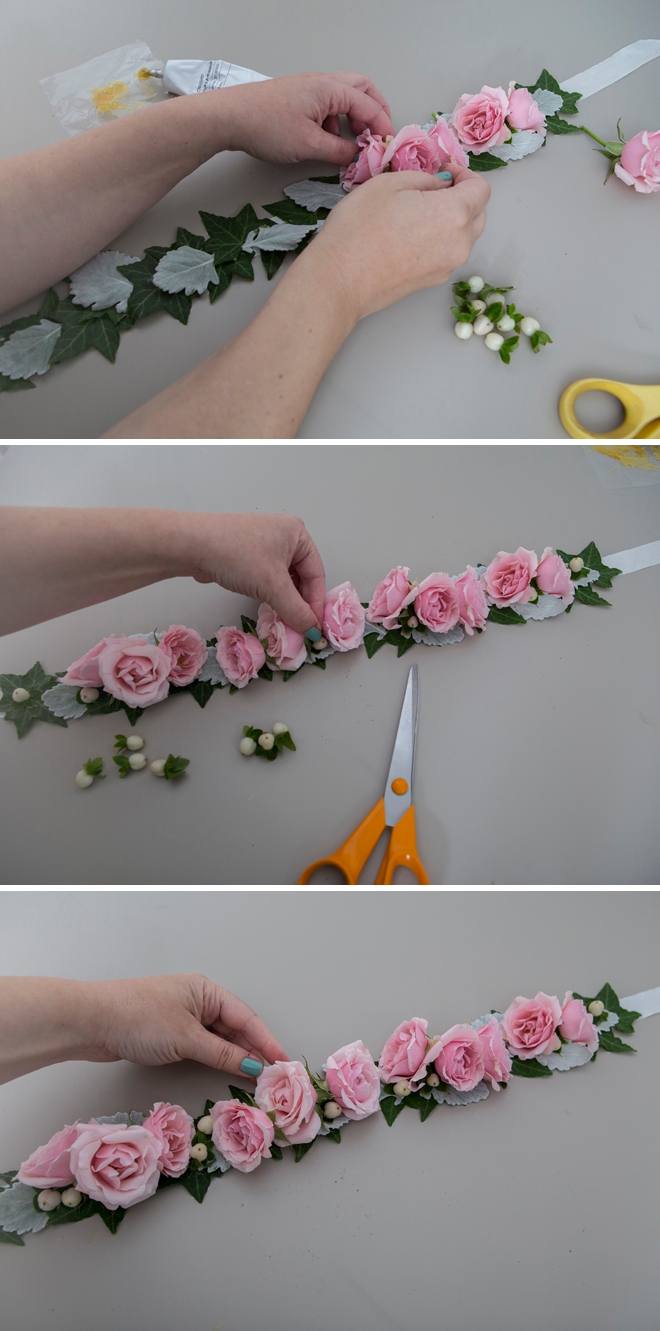
This one is the easiest to size because you are tying it on the persons head! Start with at least 60″ of ribbon for the base, yep, we’re gluing the flowers right to the base! Add the ivy leaves first, then glue on the dusty miller leaves, and the spray roses. Try to arrange the roses in little clusters that face different directions.
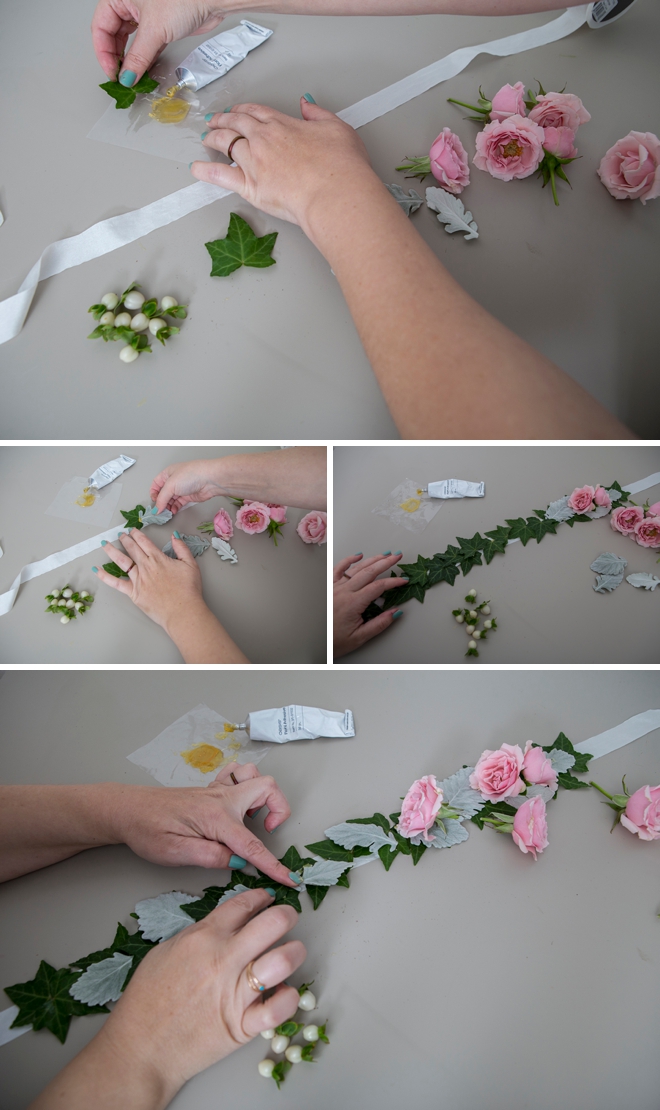
…then in fill in all the bare spots with little hypericum berries, my favorite! Let the design be lighter (less flowers) towards the ends and try it on your own head to see how you like it!
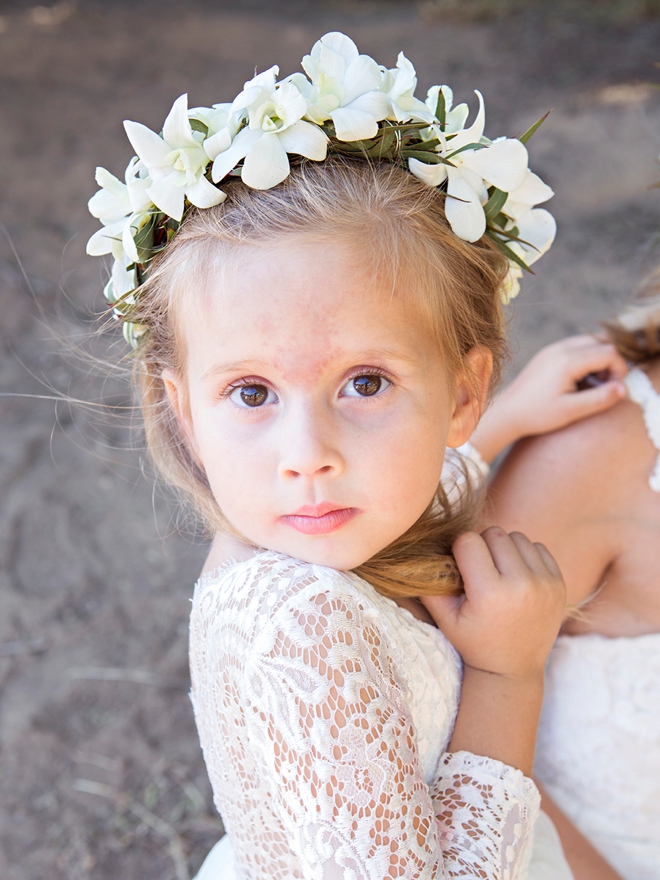
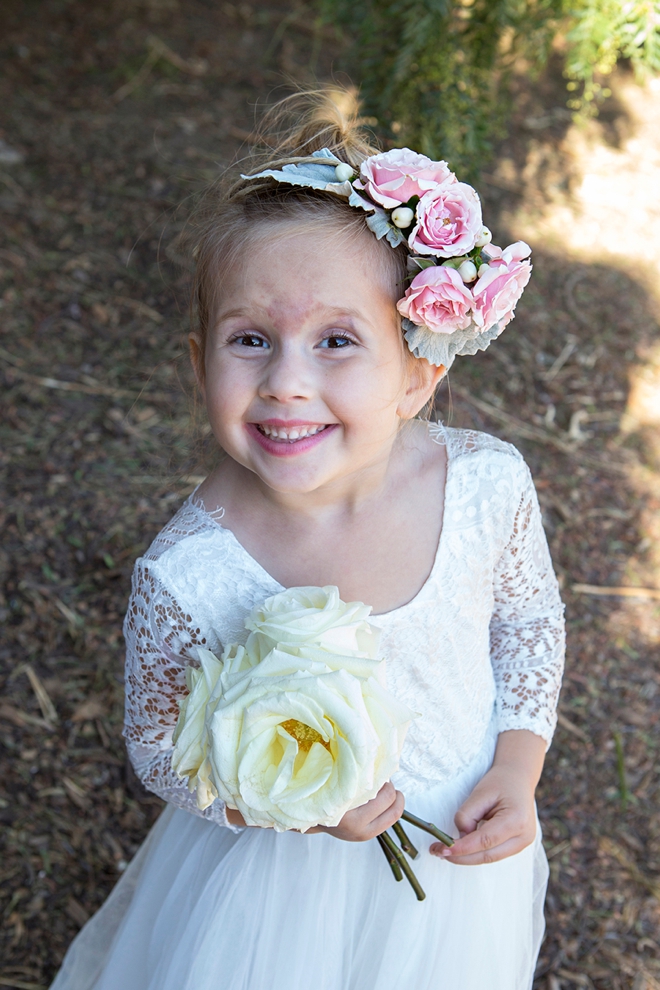
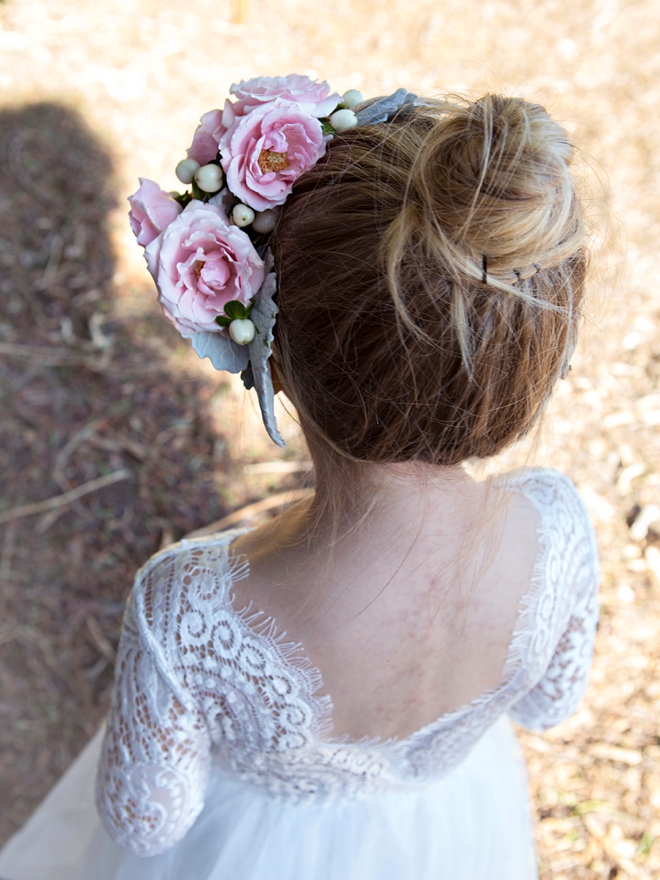
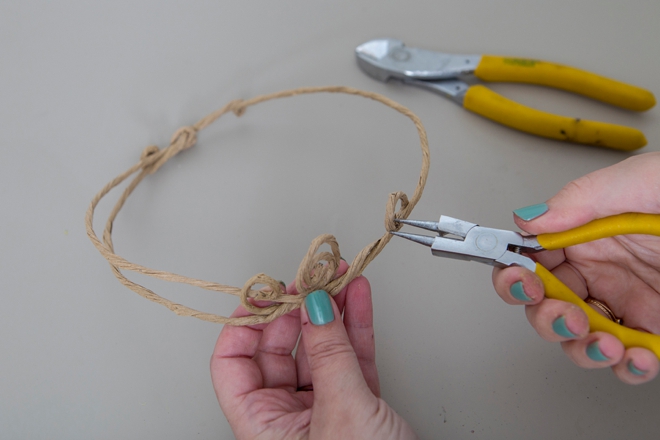
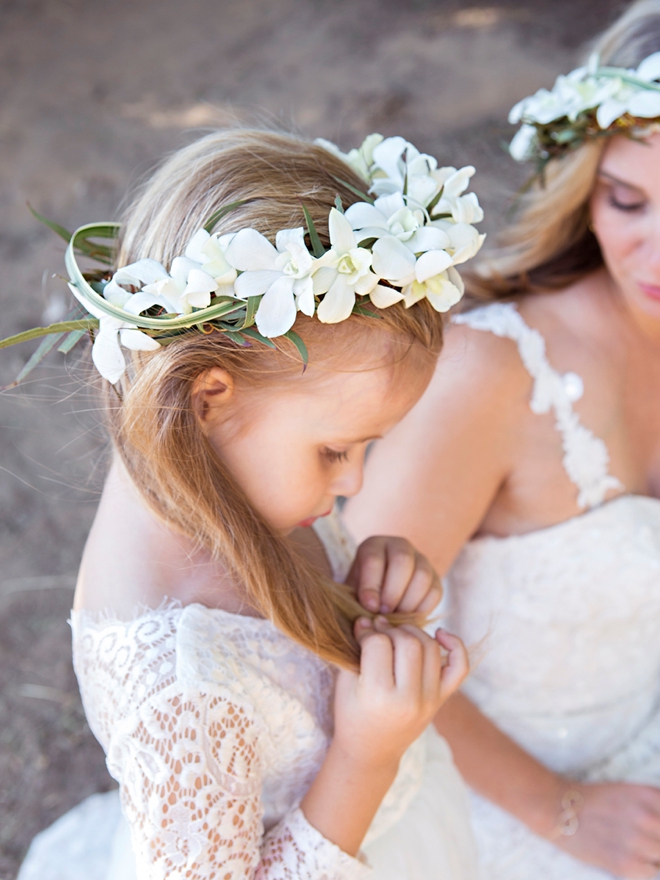
The Side Crown
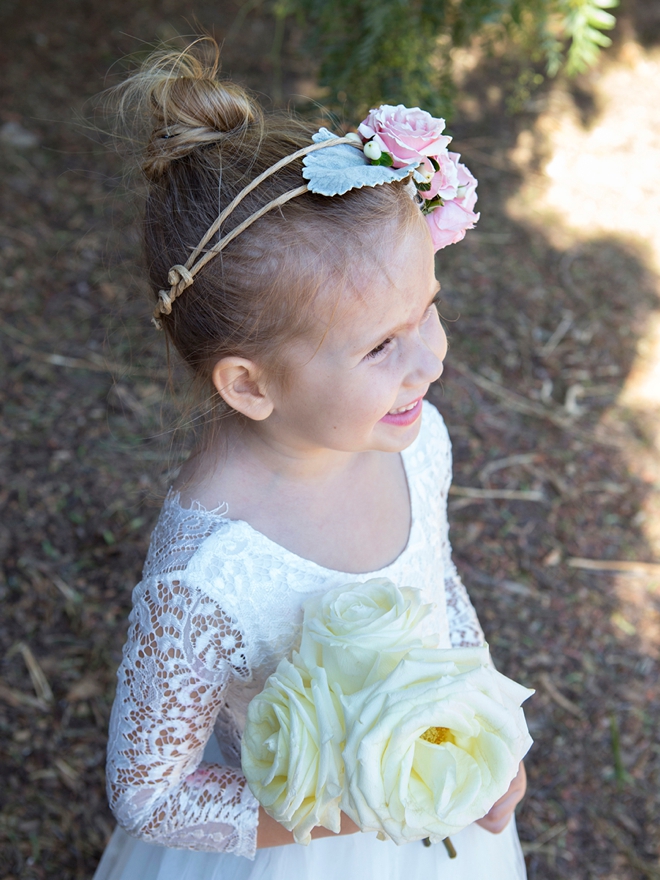
I love this paper wrapped floral wire from Michaels. It’s almost like a faux curly willow, I even made myself a felt flower crown using this same wire for my maternity shoot! Bend and wrap the wire to fit the special head that will be wearing this crown. We used two pieces and connected them with decorative spirals created with round-nose pliers.
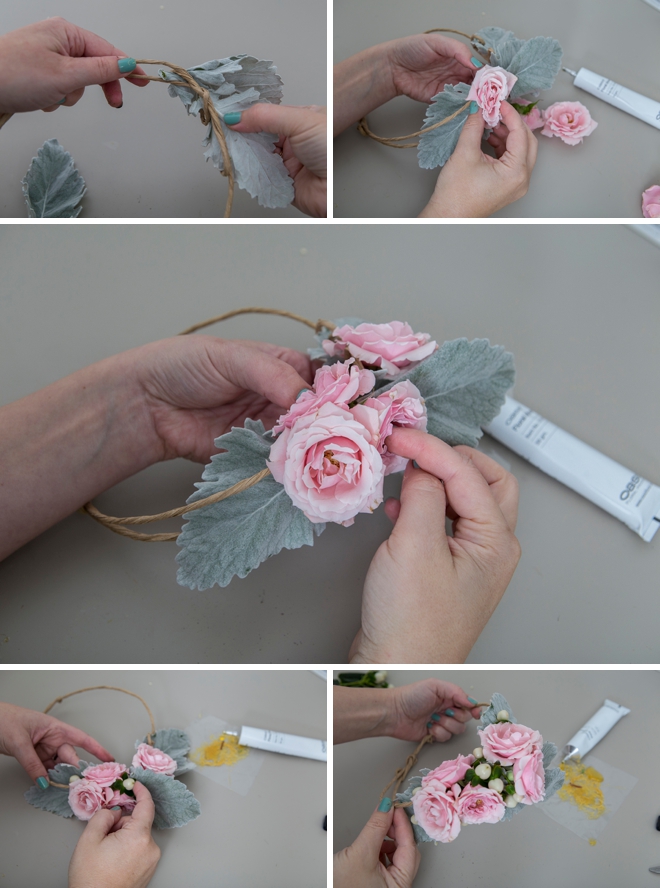
Add The Flowers
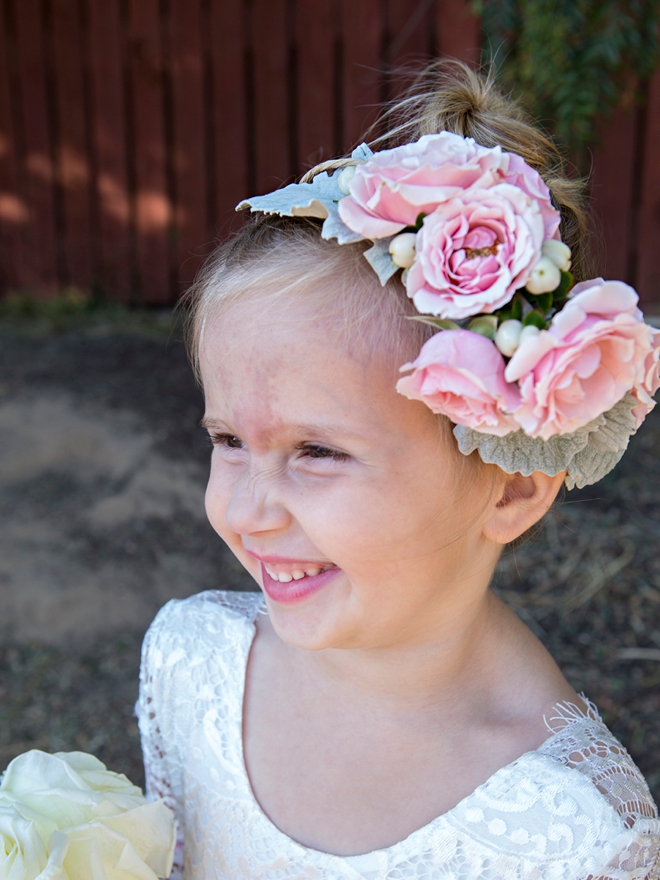
Then simply glue the flowers into the wire base, only on one side. Start with the dusty miller leaves and then add a few spray roses. Finish by filling in the gaps with hypericum berries. You can see how only a few flowers and leaves make such a huge statement for this darling flower girl. Quick and simple!
Store + Travel
The best way to store these gorgeous crowns will be individually in large ziplock bags in the refrigerator. Transport them flat in a box with bubble wrap or the like in between layers of crowns to prevent accidental damage from travel and stacking.
DIY Tutorial Sponsored By:
FiftyFlowers is the customer-centric, online destination for wholesale wedding flowers, shipped fresh from the farm straight to your door! Inspired by the DIY bride, we offer an extensive selection of fresh flowers, greenery, and floral accessories because we believe anyone can create their own wedding flowers.
As with all our DIY tutorials, if you create one of our projects please send us a picture – We Love Seeing Your Creativity! If you use Instagram or Twitter please use the hashtag #SomethingTurquoiseDIY and it will show up on our Get Social page. Happy Crafting!
DIY Tutorial Credits
Photography + DIY Tutorial: Jen Causey of Something Turquoise // All Flowers: courtesy of FiftyFlowers.com // Floral Tape and Wire: FiftyFlowers.com // Fiskars Pruner: Amazon // 18 Gauge Paper Wrapped Floral Wire: Michaels // 1″ Silk Ribbon: Amazon // Wedding Dresses (Karlee #2382, Elena #2392, Elise #2384): courtesy of Casablanca Bridal // Nail Polish: OPI – Withstands the Test of Thyme
Shop The Supplies:
Find the supplies you’ll need for this project from our affiliate links below:


Comments