
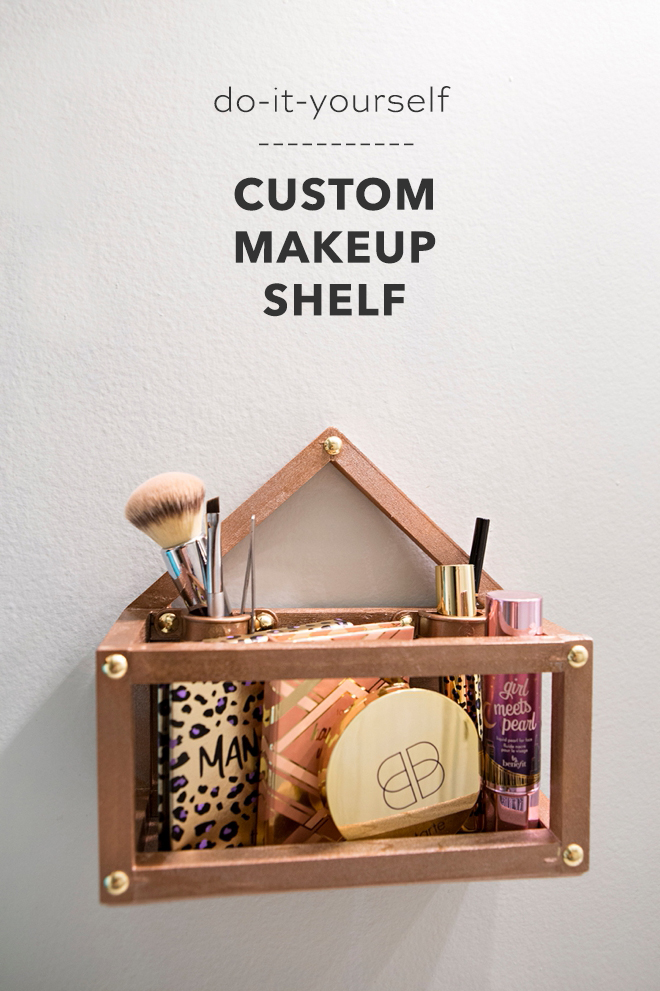
How To Make A Custom Makeup Shelf Without Power Tools
-Sponsored Post-
This is my very first “home” DIY tutorial I’m sharing with you and I couldn’t be more excited about it. This is by far not my first home project, as I’ve improved every place I’ve lived, but it’s the first in our new home category here on the blog. I’ll be honest, I’m a SUPER busy mom. The hubs and I have two properties, two kids and another on the way, I run this business, and we have extended family that we attend to. It’s an insane time in our lives right now and so for me to even get mascara and eyebrow pencil on each day is a major win. I used to have a large (too large) basket full of every type of makeup thing you could imagine, partially because my background is in the beauty industry. But still, way way too much stuff. I recently “Kondo-ed” our house and I never made it around to that makeup basket for some reason. Anyway, the girls were starting to get into it, it was gathering dust, and I felt like I could never just find my mascara and eyebrow pencil. Digging in it was a stress I didn’t need in my life so I designed this adorable mini, custom makeup shelf to only hold my 9 makeup essentials. On a special day I’ll get to all 9 but having this new little display sure helps me get to those basic 2 on the daily. I love that I was able to create this entire shelf without using power tools, I only used my awesome new Precision DIY Tools from Fiskars and I’m thrilled with the outcome!

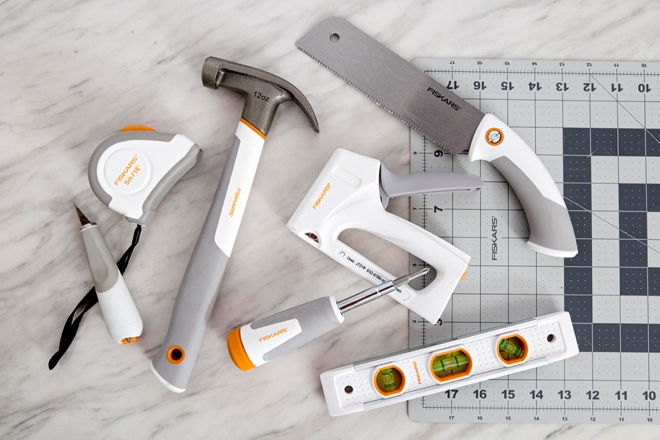
Fiskars DIY Tools
Today I’m using quite a few of my new Precision DIY Tools from Fiskars. I was part of a team that actually helped refine and bring these tools to market. They have so many uses from weddings to home decor, but today they’re helping me turn a few pieces of wood into a custom makeup shelf for this busy mama!
The full line is available at Fiskars.com, Amazon and JoAnn; and select Fiskars DIY tools are available at Michaels, Hobby Lobby, and Target!
FISKARS DIY TOOLS:
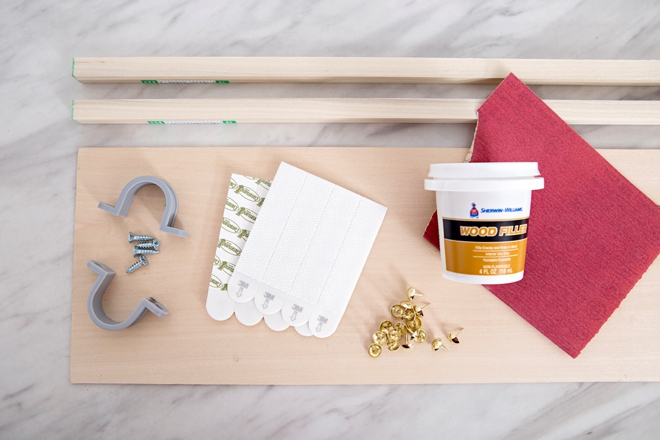
OTHER SUPPLIES:
- 1/16″ x 6″ x 24″ Basswood Sheet
- 2 – 1/2″ x 24″ Square Dowels
- 2 – 1″ Plastic Pipe Straps
- 4 Small Wood Screws
- Wood Filler
- Sand Paper
- Furniture Tacks (optional)
- Command Picture Hanging Strips
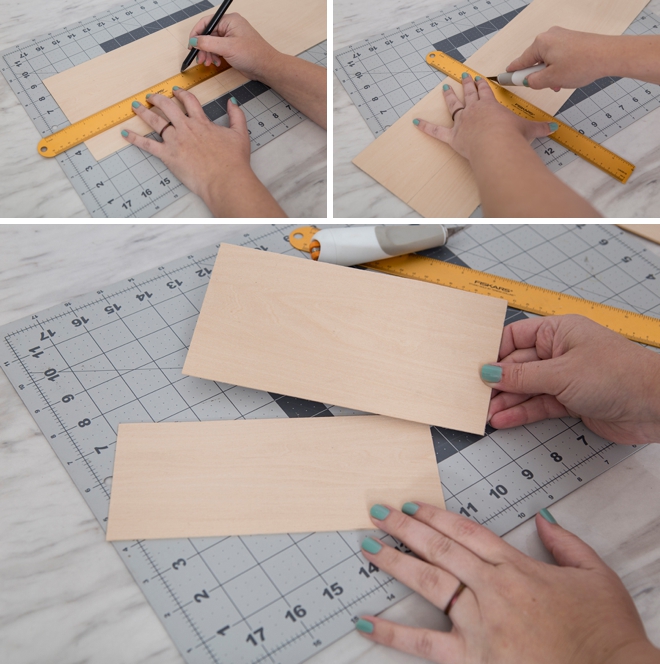
Back + Bottom
First, I measured the wall space in my bathroom and the size of my essential makeup items. You might want to do the same thing to make sure you create the prefect size shelf for your items!
Using my Heavy Duty Detail Craft Knife on top of my Cutting Mat I measured and cut the following two sizes of basswood from an 1/16″ x 6″ x 24″ sheet. These pieces will be the bottom and the back of the shelf:
- 3.5″ x 8″
- 4″ x 8″
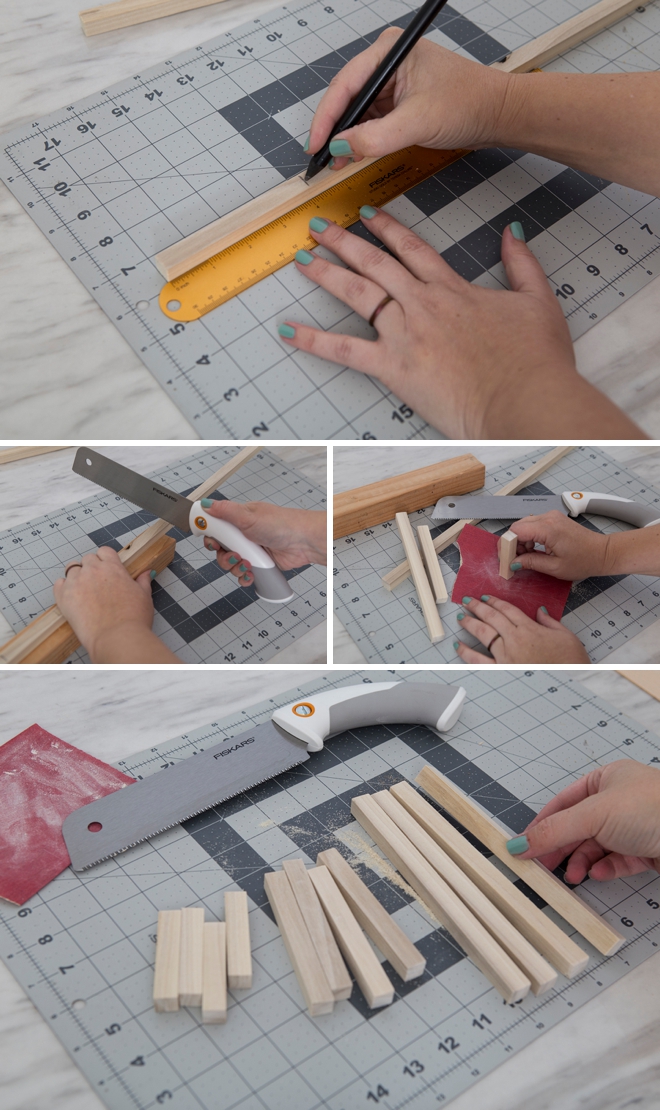
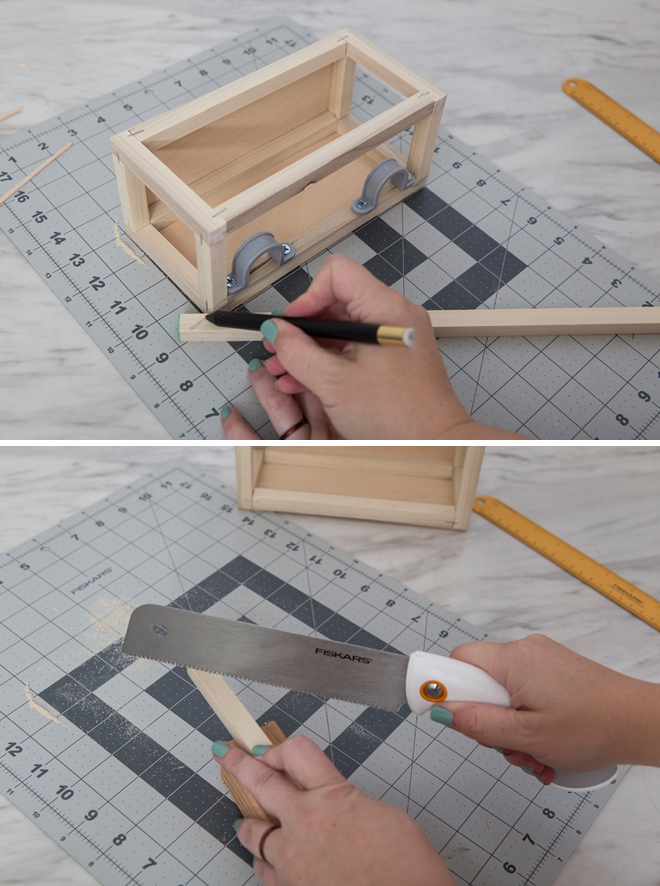
Frame
Next up, the frame! I used my Precision Hand Saw to cut the 12 pieces of 1/2″ square dowel that made up the frame, sanding a bit as I went:
- 4 – 2.5″
- 4 – 4″
- 4 – 7.5″
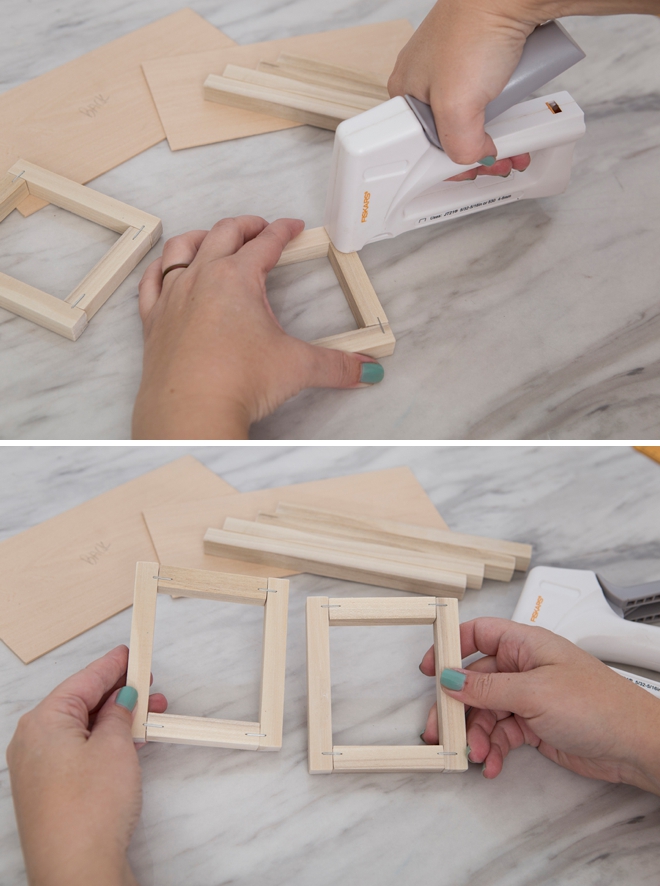
Build
This was so fun. First I started with the sides and stapled two 2.5″ pieces and 4″ together, did that twice. Staple on both sides to secure. This Precision Staple Gun is hands-down the best staple gun I have ever used. No hand pain at all, I could use it all day!
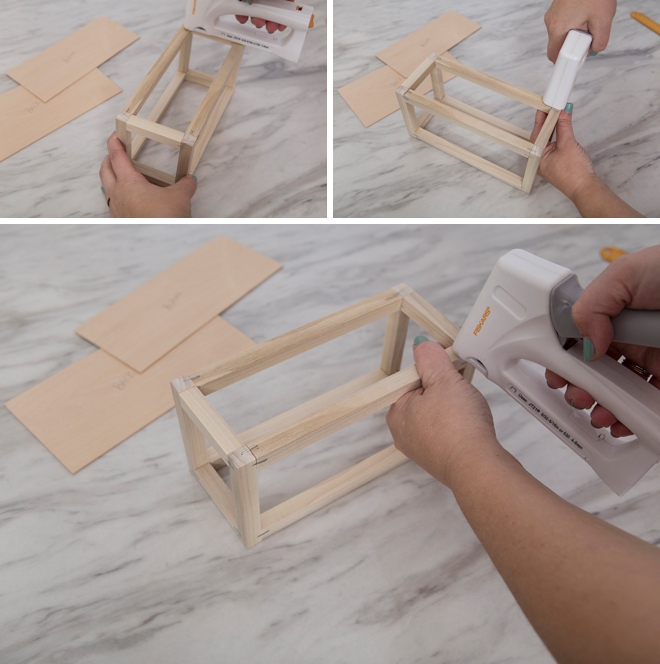
…next up, adding the long pieces and securing with staples.
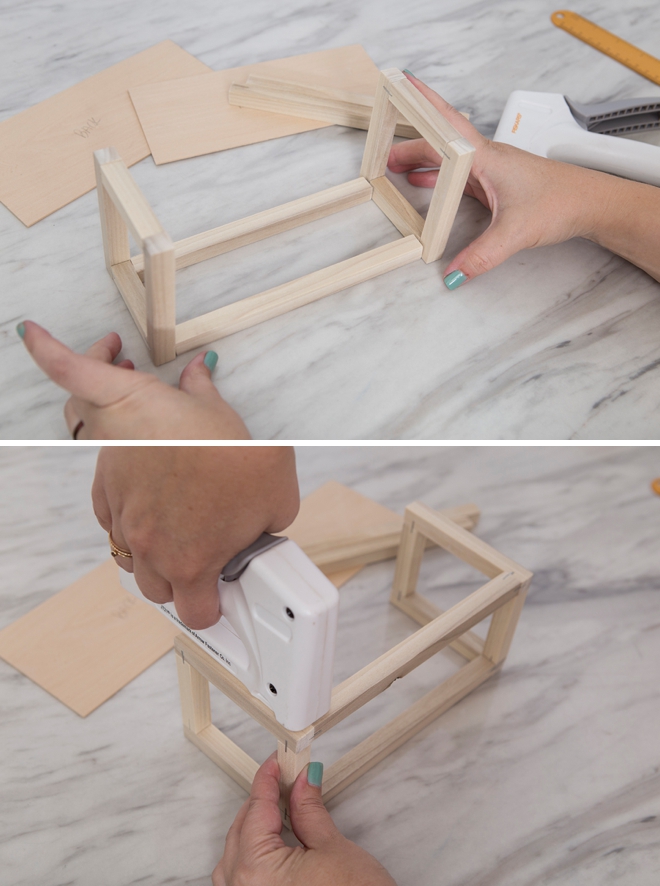
…and finishing the frame with staples!
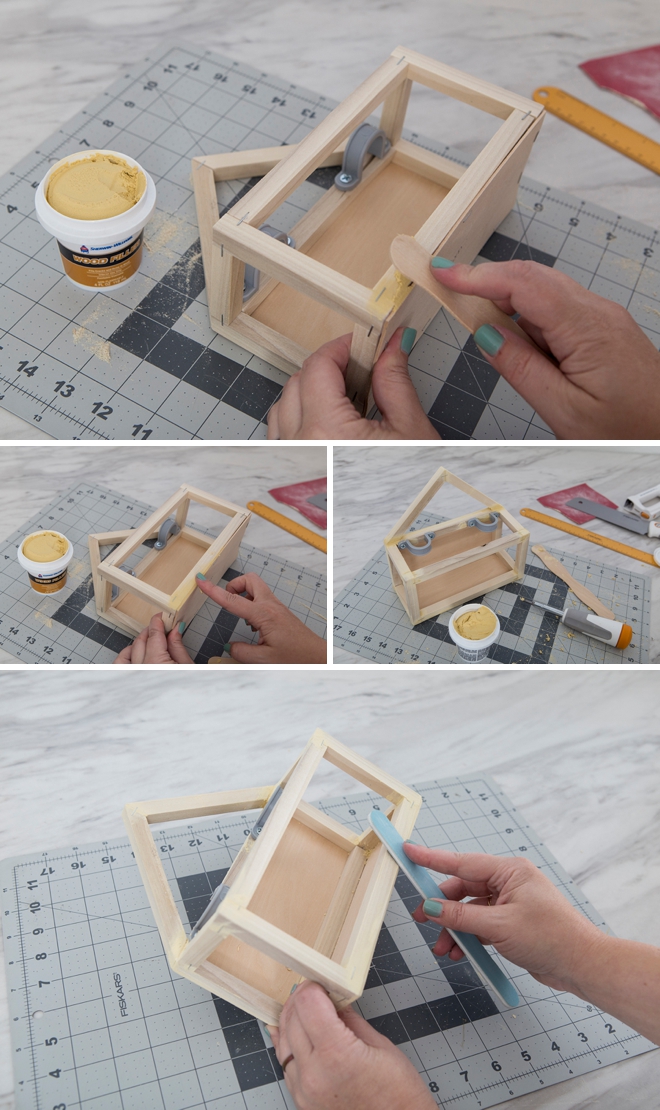
Back + Bottom
Now staple the back and bottom wood pieces onto the frame. I added quite a few staples to hold it securely.

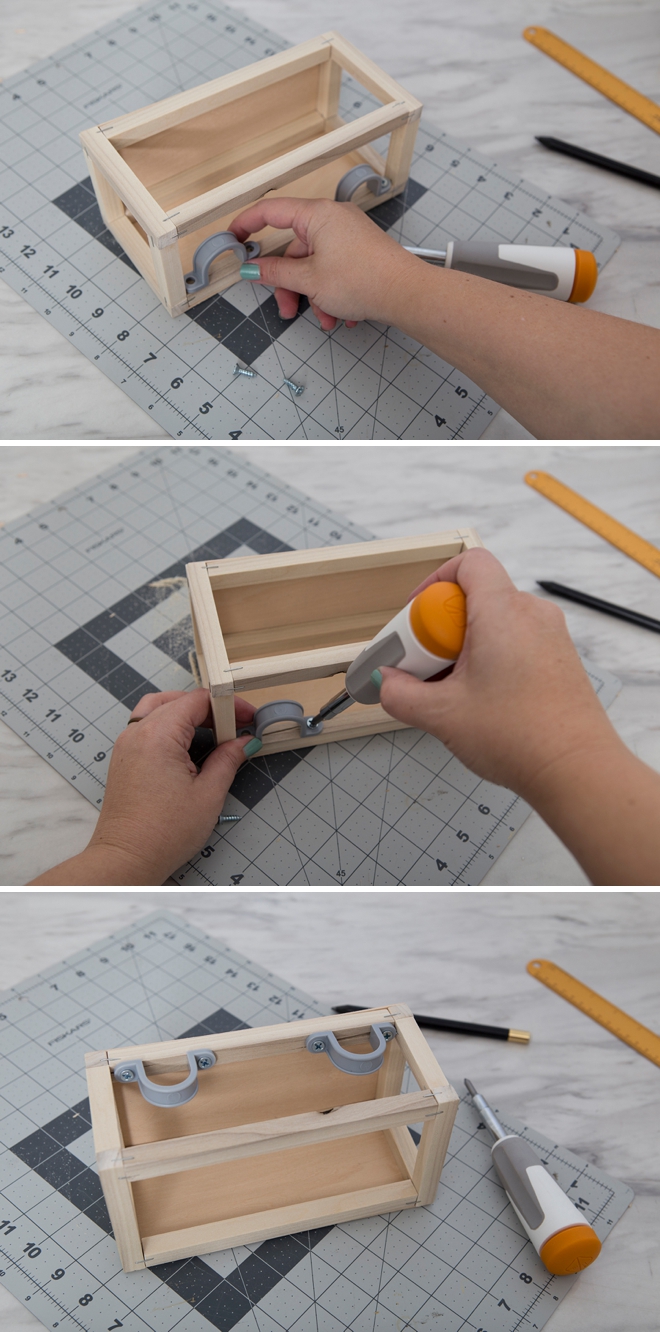
Tool Holders
The hubs had some random plastic pipe straps in the garage that ended up being the PERFECT size to “hold” my makeup brushes, mascara, and eyebrow pencil. I screwed them into the wood using my Precision Screw Driver.
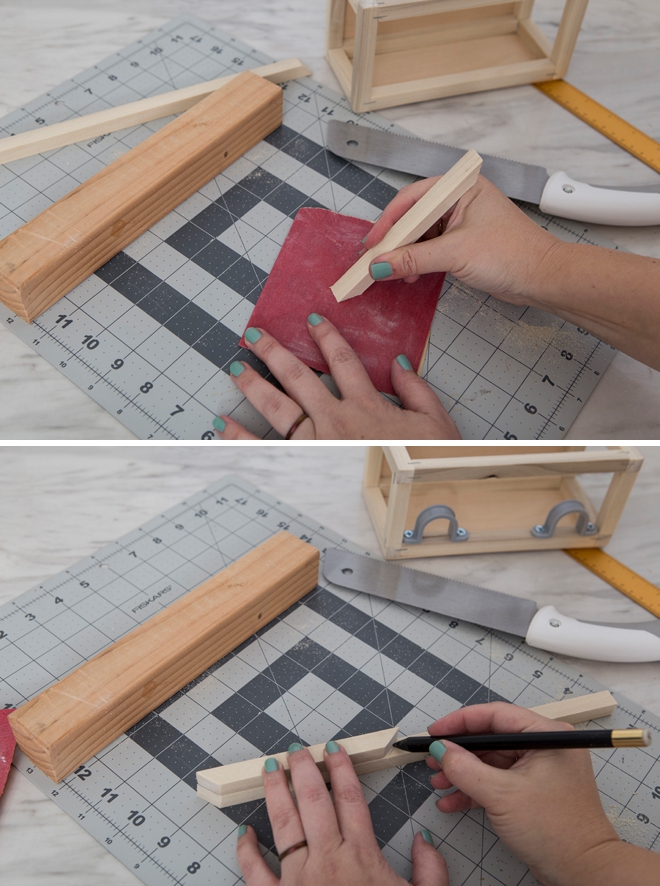
Detail Triangle
This addition is 100% decorative, there is no use for it at all. By using the lines on my cutting mat I cut angled pieces to make a little triangle top.
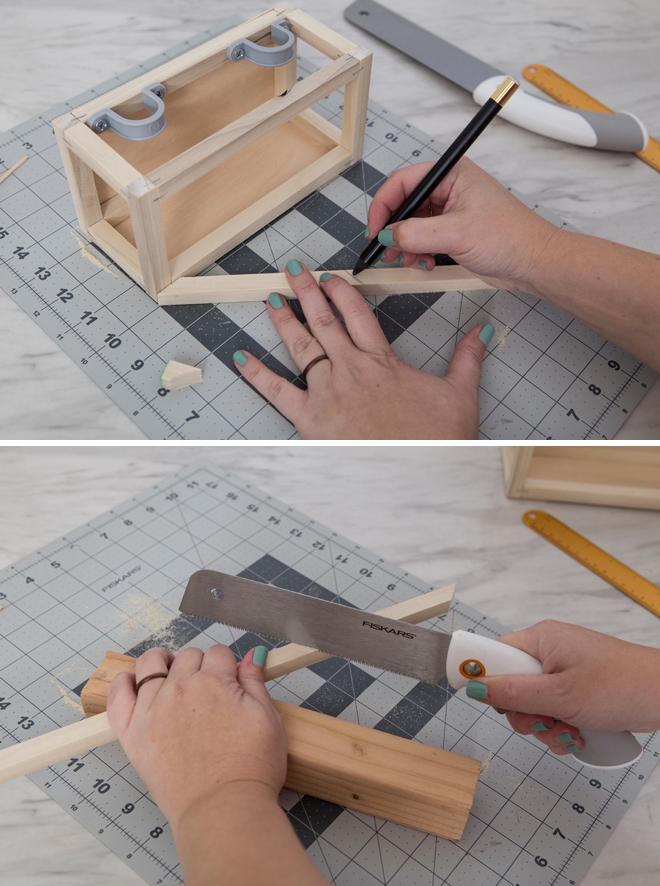
I cut the second piece by tracing the first… sanding in between.
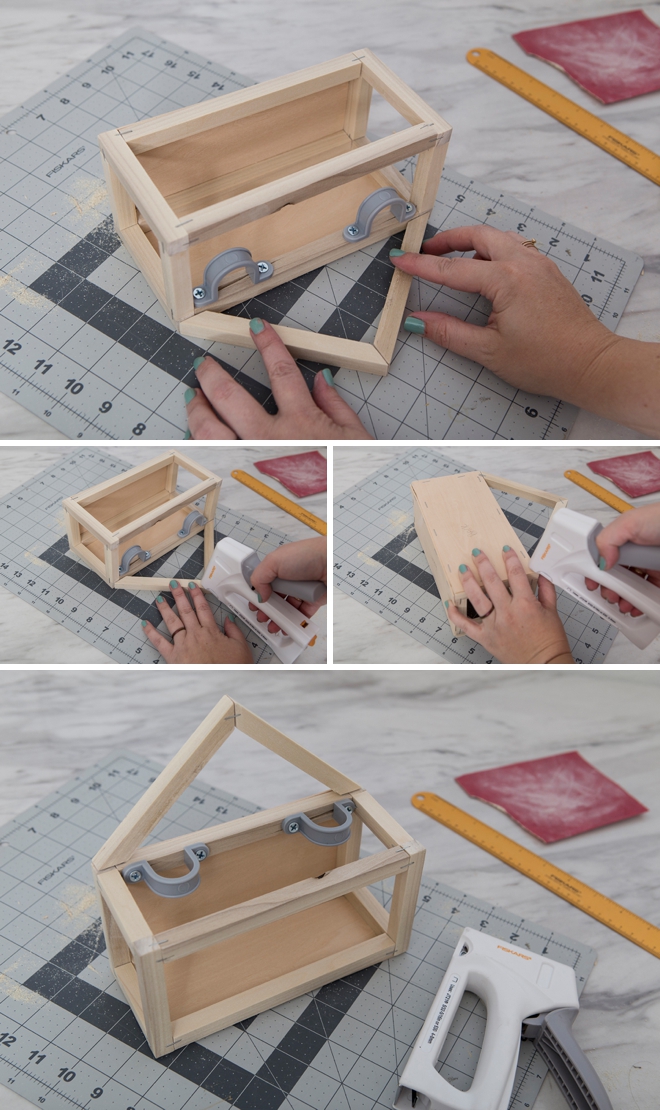
Staple It On
I used my staple gun once again to add the triangle detail onto the frame of the shelf.
Sand, Putty, Sand
Now that the shelf is together, give it a good sand and then add a wood filler type putty to fill in cracks, gaps, and etc. Once dry give it a nice sand again. One of my favorite “sanders” is just a regular old nail file :-)
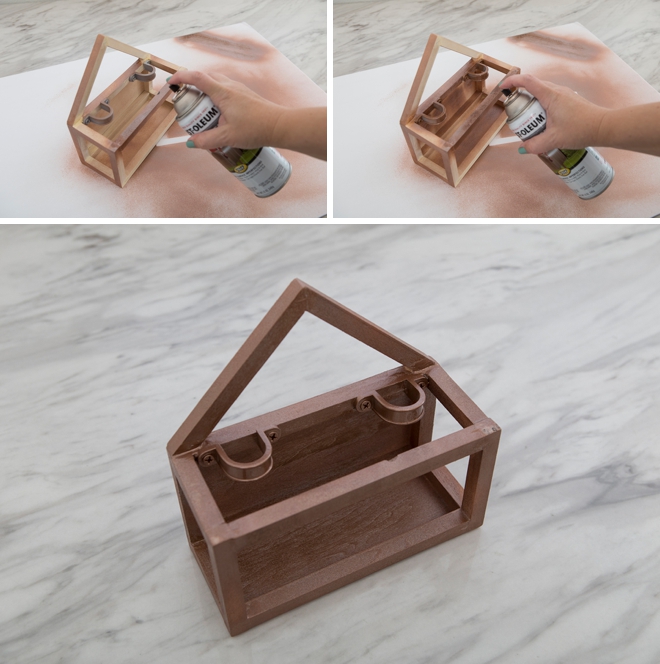
Paint
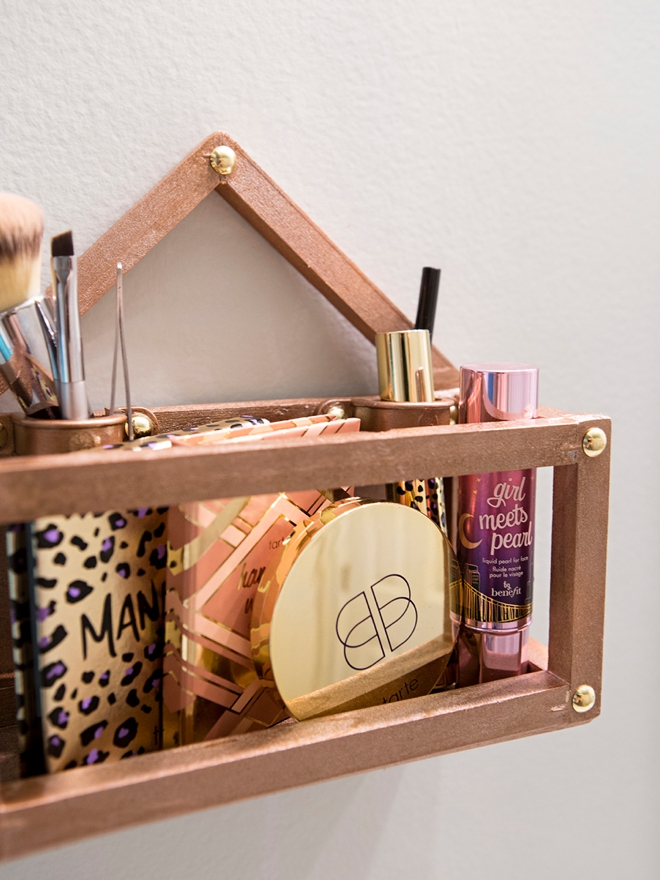
Finally! Once construction, sanding, and touching up is done – it’s time to paint. The fixtures in my bathroom are all copper so I sprayed it copper…
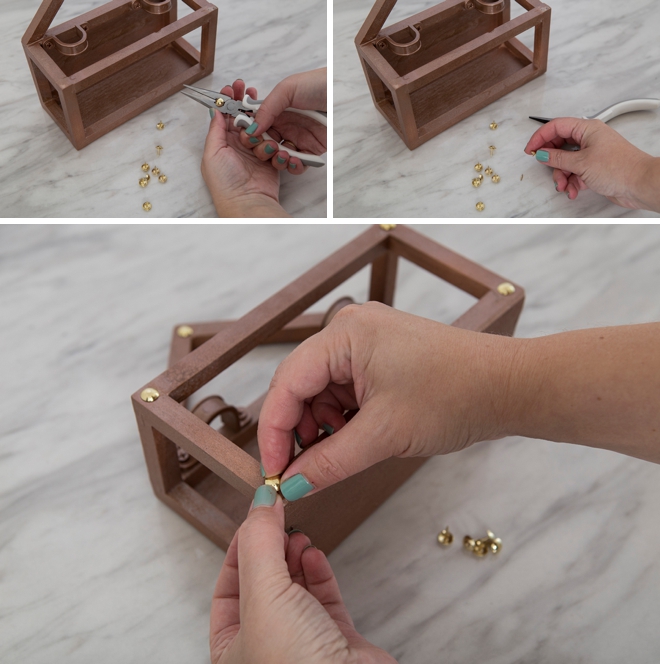
Gold Details
When I looked at my makeup I noticed that most of it had gold details… so I decided to add gold furniture tacks to the corners for a little sparkle. I also glued them on top of the screws in the pipe straps. Using the wire-cutter built into my Needle-nose Pliers, I clipped off the long ends of the gold furniture tacks to make them shorter. Then just pressed them into the wood.
Hanging Strips
My favorite thing since sliced bread. I use these ALL the time. Since this shelf isn’t even two pounds with my makeup on it, there is no need to add a hole in the wall. I added four velcro wall hanging strips to the backside and hung my new shelf up in seconds. Each strip is rated for like 6 pounds so I’m totally covered.
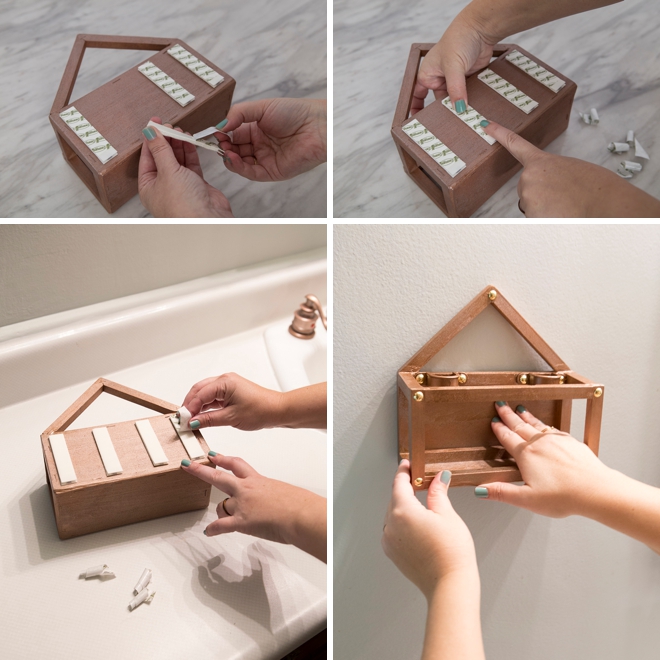

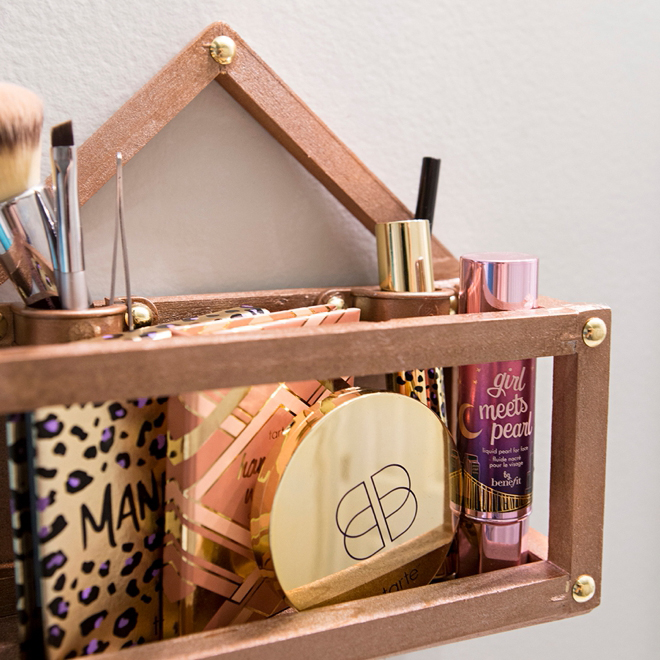
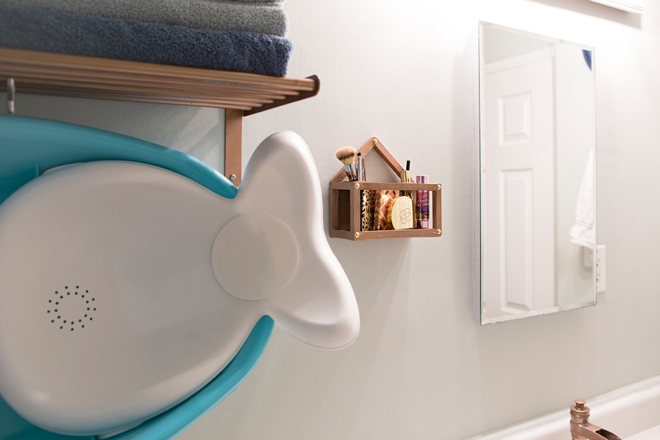
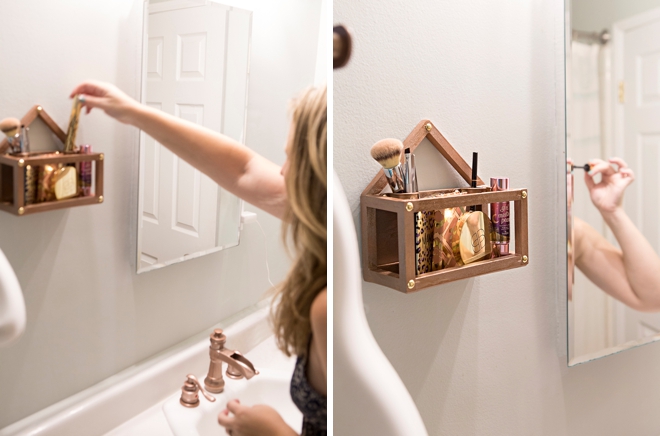
Within Arms Reach
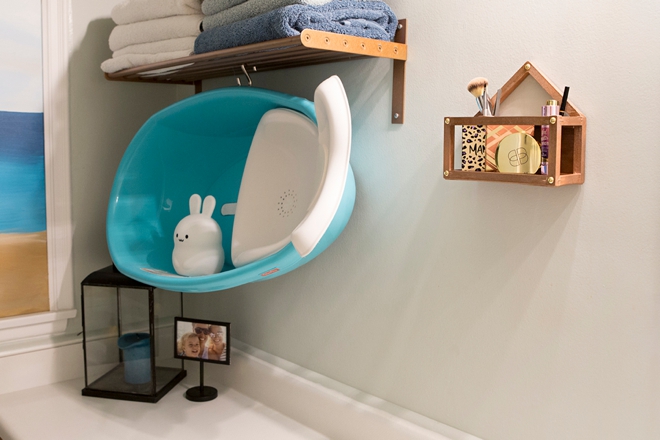
Up and away from the girls, super cute, and always in arms reach… I’m in LOVE with my new shelf!
ps. yes, that is the baby’s bath tub hanging on the towel rack. Seriously, where the heck are you supposed to store those things when not in use???

DIY Tutorial Sponsored By:

Known for its iconic Orange-Handled Scissors™, Fiskars is a 369-year-old company that empowers everyday creativity through purposeful design. Fiskars is a leader in the DIY industry with tools spanning the categories of crafting & sewing, gardening & yard care, kids & school, and cooking. In addition to providing scissors, punches, trimmers, rotary cutters and many other tools, Fiskars shares inspiring project ideas to help DIY-ers do what they love using tools that make projects easier.
As with all our DIY tutorials, if you create one of our projects please send us a picture – We Love Seeing Your Creativity! If you use Instagram or Twitter please use the hashtag #SomethingTurquoiseDIY and it will show up on our Get Social page. Happy Crafting!
DIY Tutorial Credits
Photography + DIY Tutorial: Jen Causey of Something Turquoise // All Fiskars Tools: courtesy of Fiskars // Wood, Plastic Pipe Strap, Sandpaper, Spray Paint, Furniture Tacks : Lowes // Wood Filler: Sherwin Williams // Nail Polish: OPI – Withstands the Test of Thyme
Shop The Supplies:
Find the supplies you’ll need for this project from our affiliate links below:


Comments