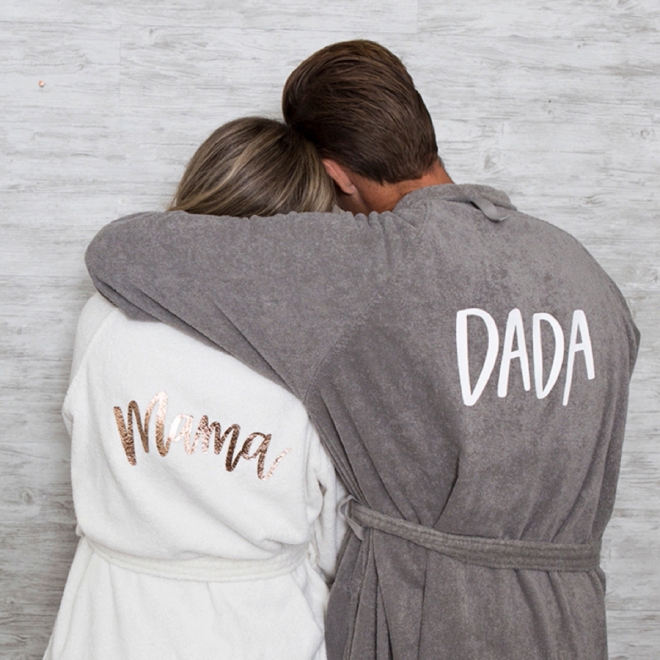

How To Easily Make Your Own “Mama & Dada” Robes
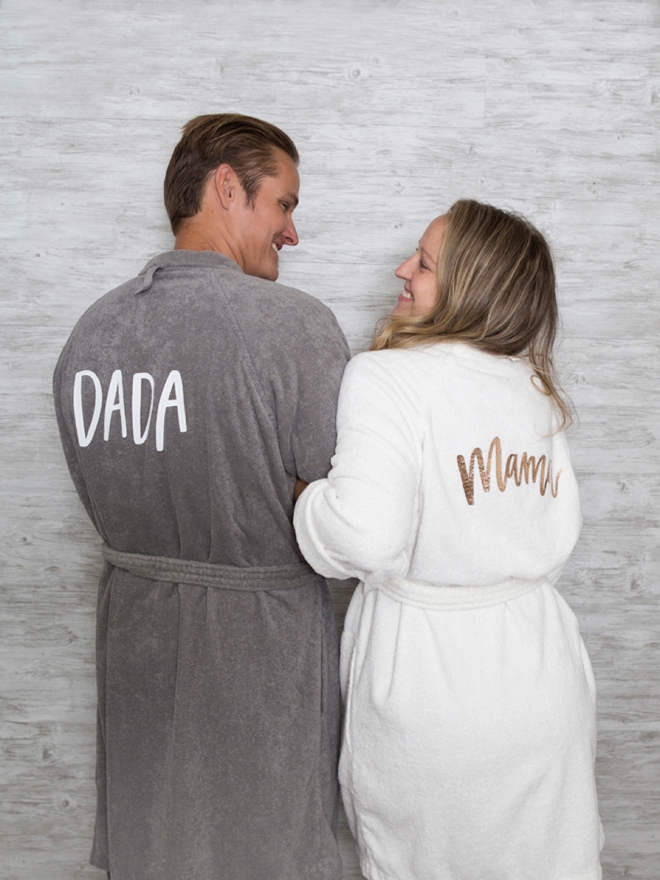
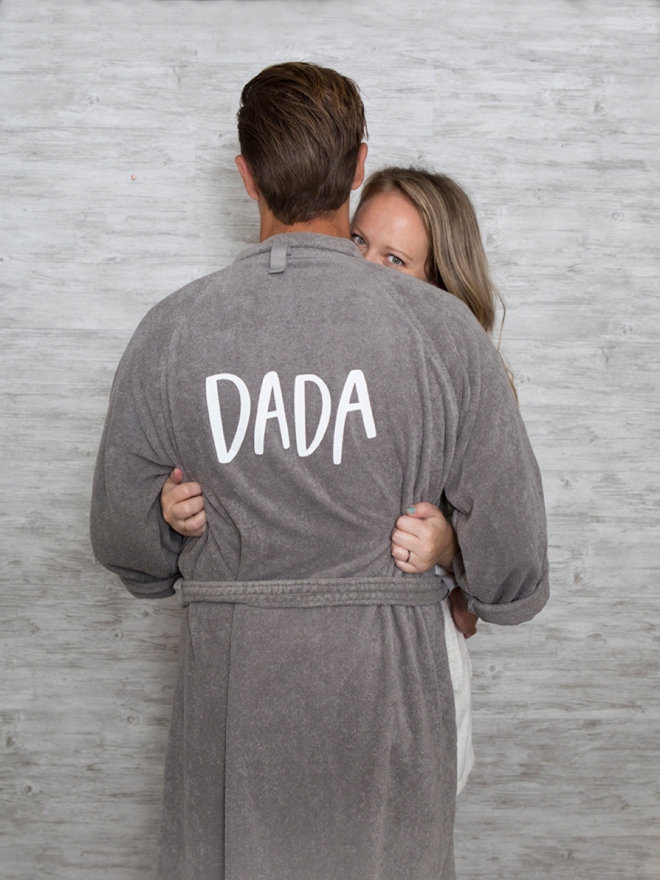
After 8 years of not really making projects for myself, this is a dream! I’m so excited to finally be sharing things that I’m making for myself and my family. Dean and I have Baby #2 on the way… and it’s a BOY! Something I wish I had packed for the hospital would have been a nice, cozy, plush robe. Not the foo-foo, matchy-matchy, stretchy deal I had for me and Hadley. It’s all about comfort on round two, now that I know what to expect. But of course, I had to add a little something special to it! Now in our shop, we have exclusive, hand-lettered .SVG files to use with your Cricut Explore or Cricut Maker that say… Mama, Dada, Mom, Dad, Mommy, and Daddy. Only $1.99 per set!
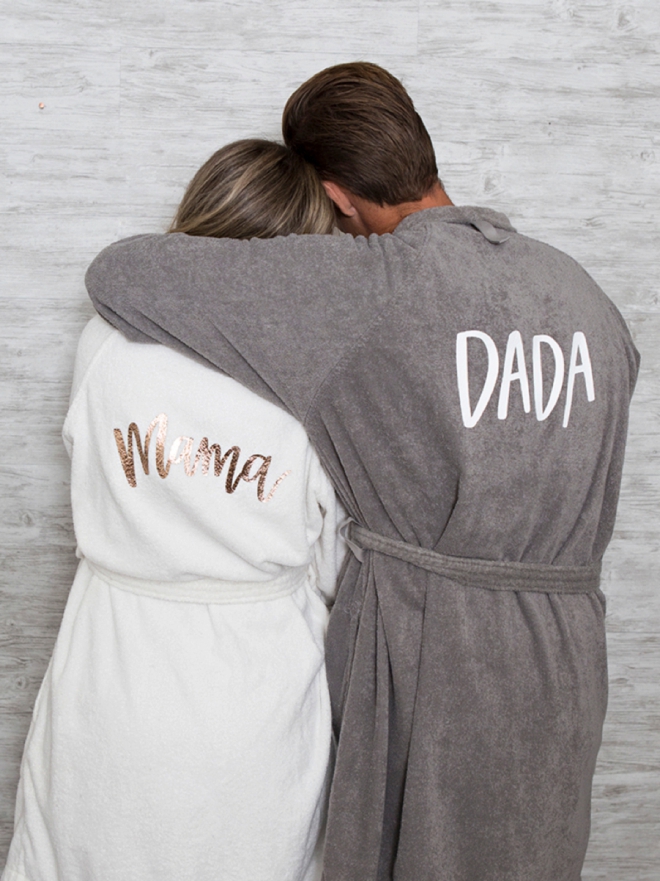
Ready For Winter
It may be hot right now but when you’re preparing for a baby, especially Baby #2 – it’s always great to be ahead. These lovely robes are now hanging in our closet for when the weather turns cool… and mine will be in my hospital bag for sure!
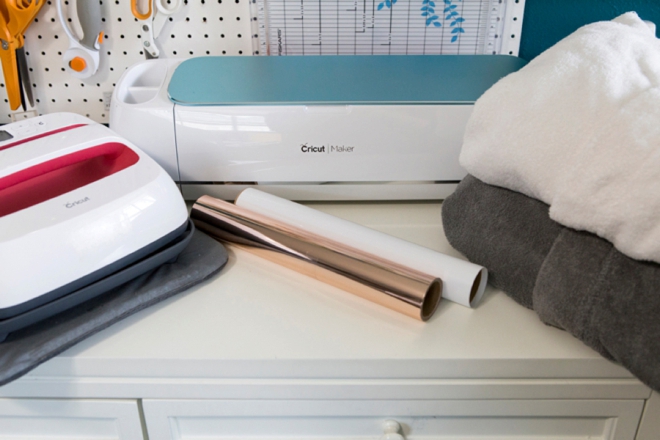
SUPPLIES:
- Cricut Maker or Cricut Explore
- Cricut EasyPress
- Robes
- Iron-on, in your choice of colors
- Our exclusive, hand-lettered “Mama + Dada” .SVG cut files!
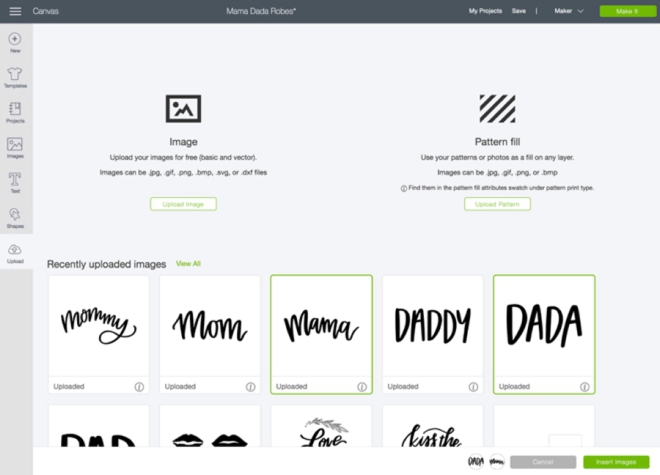
Create In Design Space
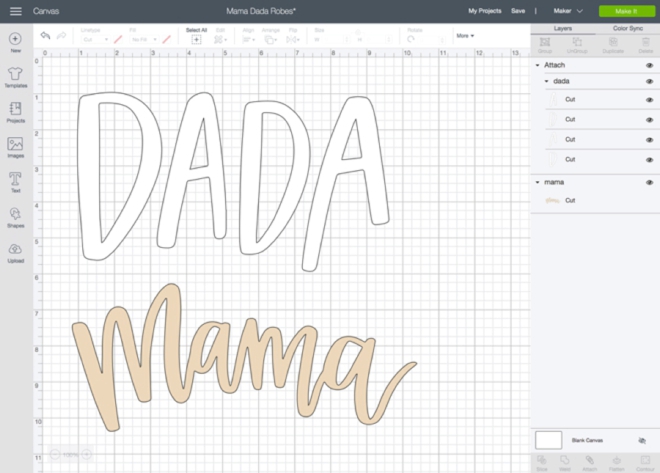
The first step is to login to Design Space and start designing your robes! Upload our exclusive Cricut cut files by using the “upload” button on the left tool bar. Locate the files on your computer and select to add it to your canvas. Then drag to resize to fit your robes. I cut these at about 8″ long. Color code your cut files to keep your mats organized. Prepare your mat and get ready to cut!
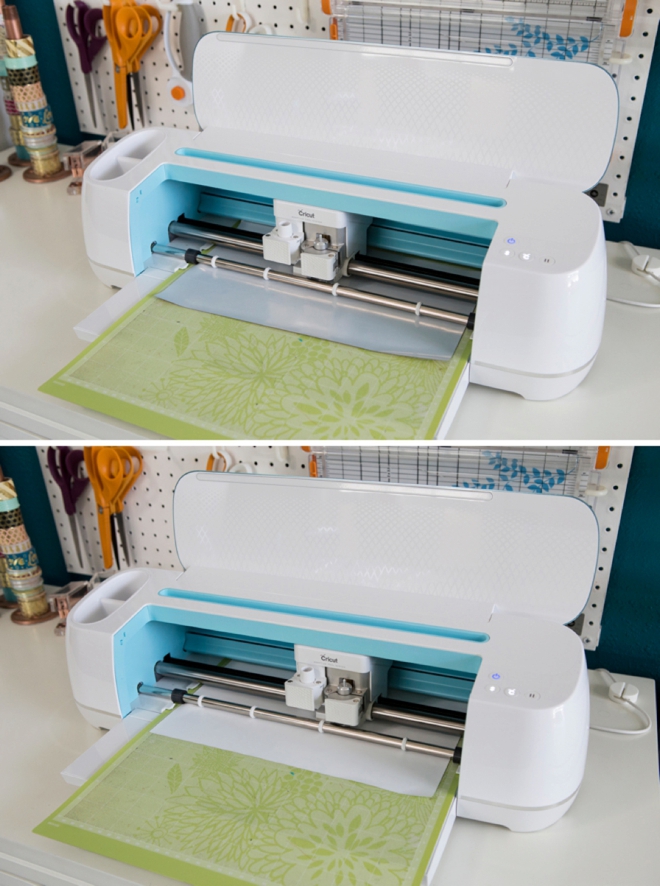
Let Your Cricut Work It’s Magic
You ALWAYS need to click the “mirror-image” button for iron-on projects, otherwise your lettering will be backwards.
Weed The Designs
Weed, (aka. remove) all the excess iron-on material that isn’t a part of your design. Using the Cricut weeding tools makes the removal of intricate pieces super easy. Then trim each design down to size if needed.
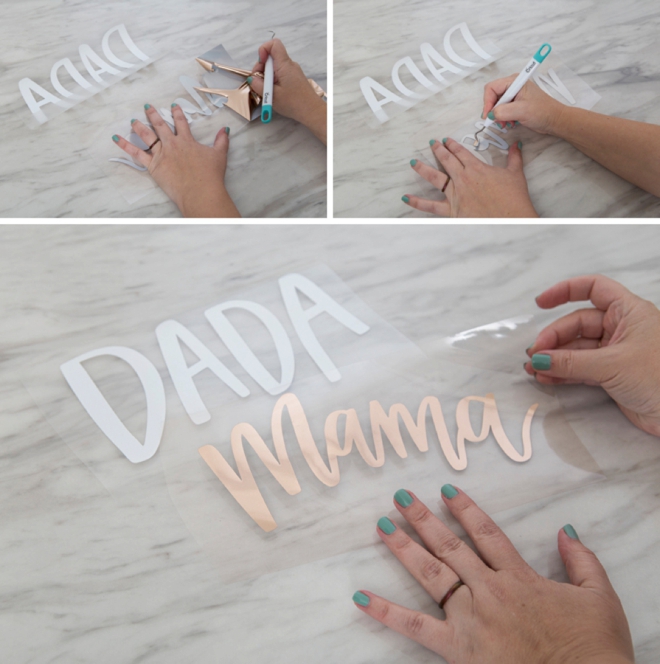
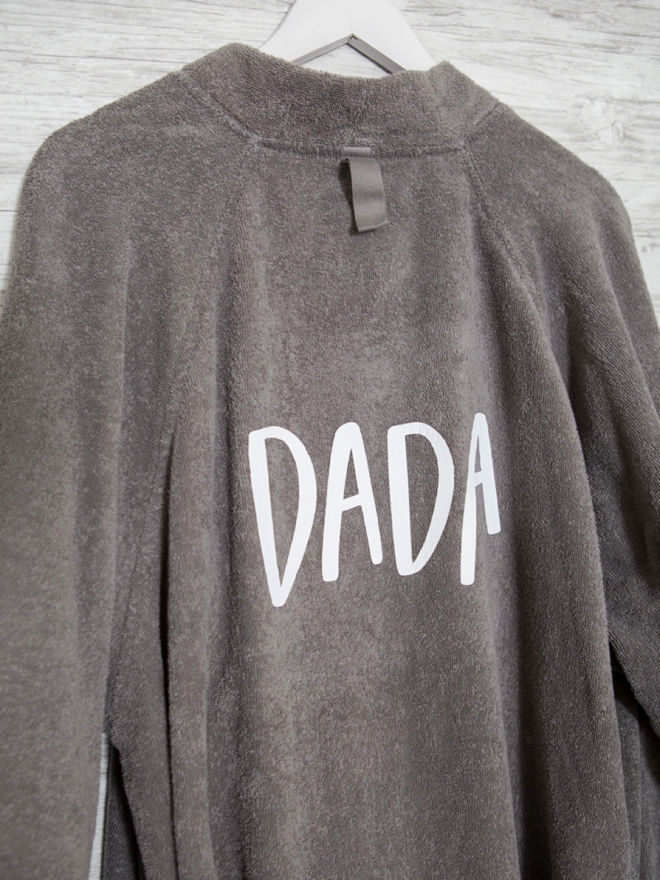
Layout
I placed each design centered at 7″ from the hanging tab on the collars.

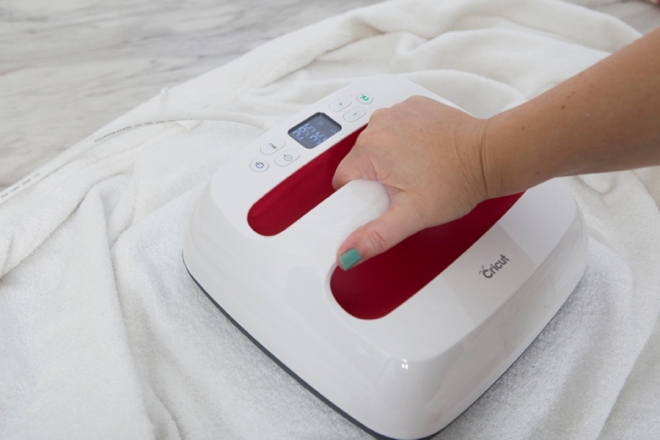
Pre-Heat
Just like the interactive heat guide instructs, I preheated my robe fabric for about 5 seconds. I really moved it around and gave the fabric a good “ironing”. Plug in your robe fabric and iron-on type to get your exact heat and time settings for your EasyPress.
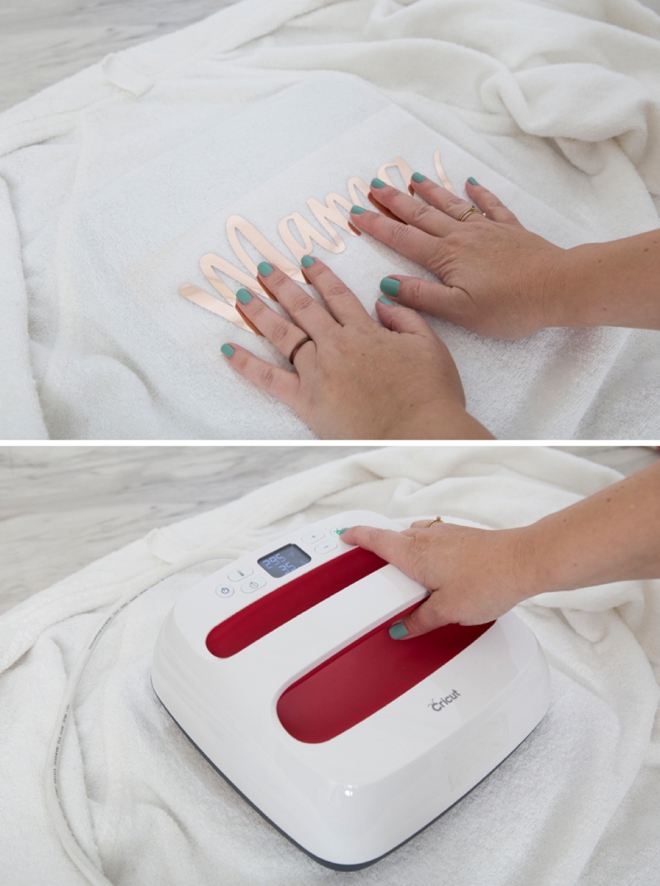
Adhere The Designs
My terrycloth robes are 100% cotton and I used Everyday Iron-on in White and Rose Gold Foil Iron-on. So the heat settings were….
- Everyday Iron-on: 315˚ for 30 seconds, warm peel
- Foil Iron-on: 295˚ for 30 seconds, cool peel
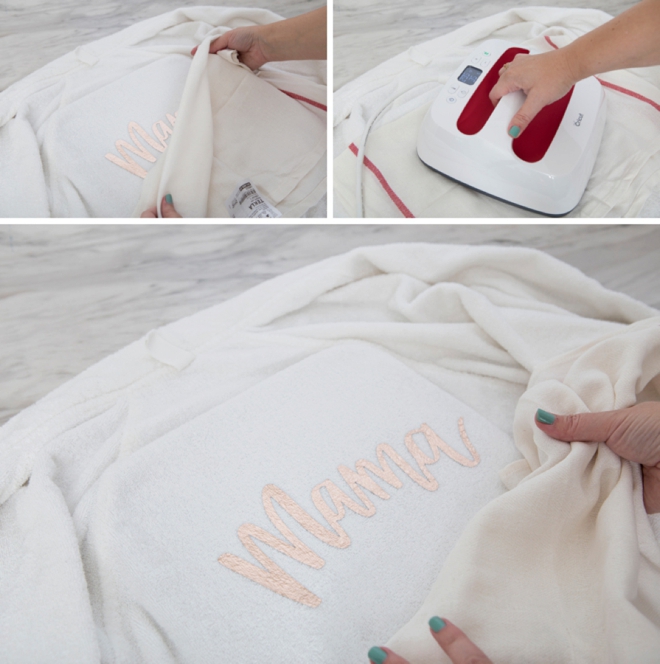
Additional Heat
Because terrycloth has a unique texture, after I removed the clear iron-on protective sheet I needed to hit the designs with heat again. Same temperatures and times, but this time with a simple pressing cloth between the robe and the EasyPress. This step really adhered the design to the fuzzy robes.

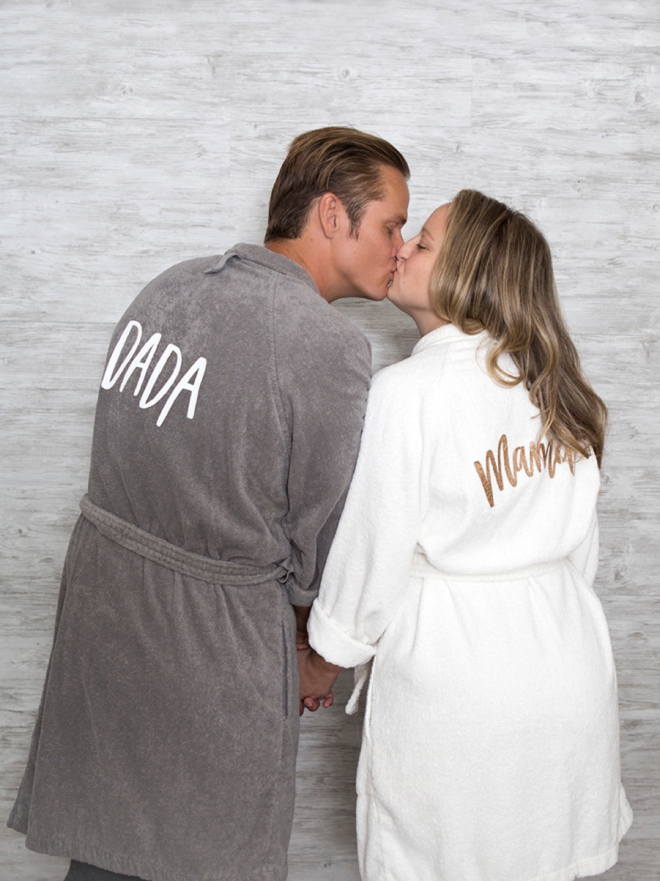
Personalization Made Easy
If you’re on the fence about getting a Cricut, or you need a gentle nudge to make the decision to buy one – our projects are it! Seriously, the sky is the limit when it comes to what you can make for your home and your family with the Cricut. From simple personalized robes like these to amazing felt flowers and everything in between. It will be your number one crafting tool throughout every season!
As with all our DIY tutorials, if you create one of our projects please send us a picture – We Love Seeing Your Creativity! If you use Instagram or Twitter please use the hashtag #SomethingTurquoiseDIY and it will show up on our Get Social page. Happy Crafting!
DIY Tutorial Credits
Photography + DIY Tutorial: Jen Causey of Something Turquoise // Mama & Dada .SVG Cut Files: Shop Something Turquoise // Cricut Maker and Supplies: courtesy of Cricut // Mens Gray Robe: Amazon // Womens White Robe: Amazon // Nail Polish: OPI – Withstands the Test of Thyme
Shop The Supplies:
Find the supplies you’ll need for this project from our affiliate links below:


Comments