
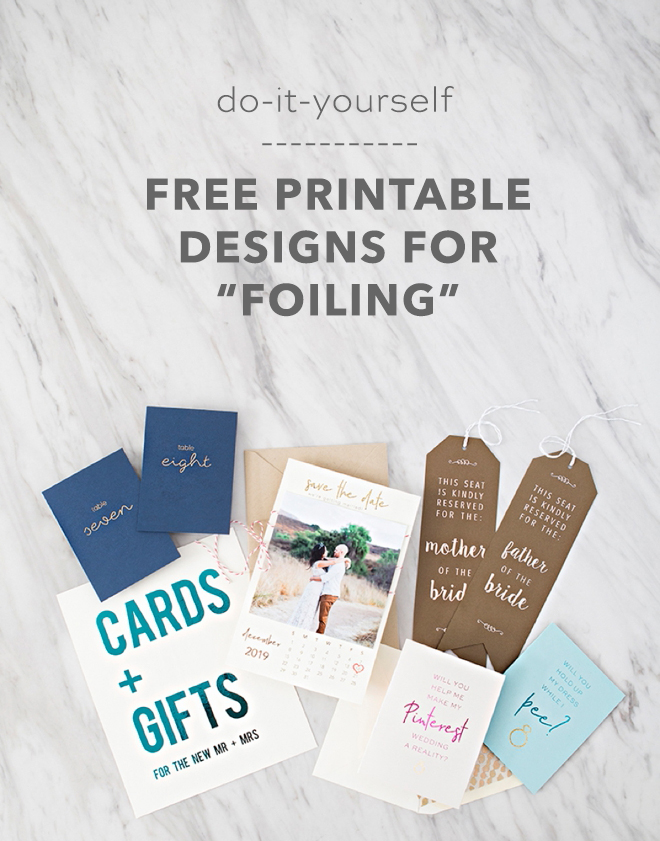
How To Add Metallic Foil To Any Laser Printed Design
I have been wanting a Minc for a long time, and I have no excuse for my delay, other than I didn’t have access to a laser printer. But when I found out this awesome Wireless Canon Laser Printer was super compact and only $80, I was sold. Honestly, I’ve been dying to Minc everything and now I can and I’m having a blast!!! So I figured I’d share a post in case you haven’t heard about this amazing foiling machine, or in case you needed an extra reason to get your own. Today I’m sharing how easy the machine is to use, how fabulous the foil looks, and 20 of our free printable designs that would be absolutely perfect for this technique!
Laser Printing
The toner in the laser printer is what reacts with the foil once it’s put through the Minc machine, meaning you can’t use an inkjet printer. Some of you lucky ladies might have access to a laser printer at work but if you don’t, this little Canon I’m using is an absolute gem. It’s crazy quick and so compact that you won’t feel like you’re buying a clunky piece of technology that belongs in an office. A simple black laser printer is all you need!
SUPPLIES:
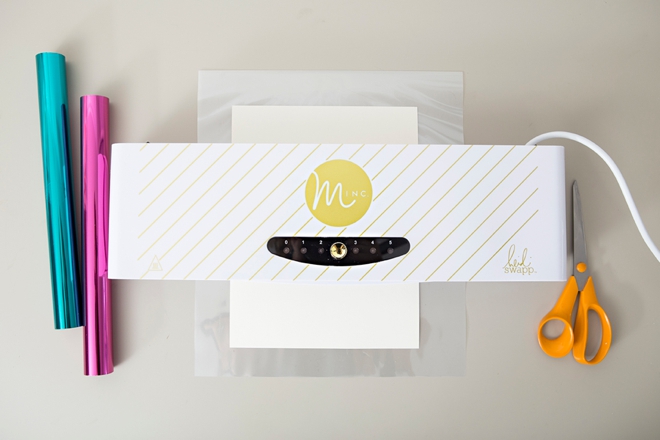
- Heidi Swapp Minc Foil Machine
- Minc Carrier Sheet
- Heidi Swapp Foil
- Access To A Laser Printer
- Cardstock, Acetate, Paper, or Chipboard… and more!
- Scissors
- All black printable designs work best!
The free printable Something Turquoise designs I’ve used in this post are below:
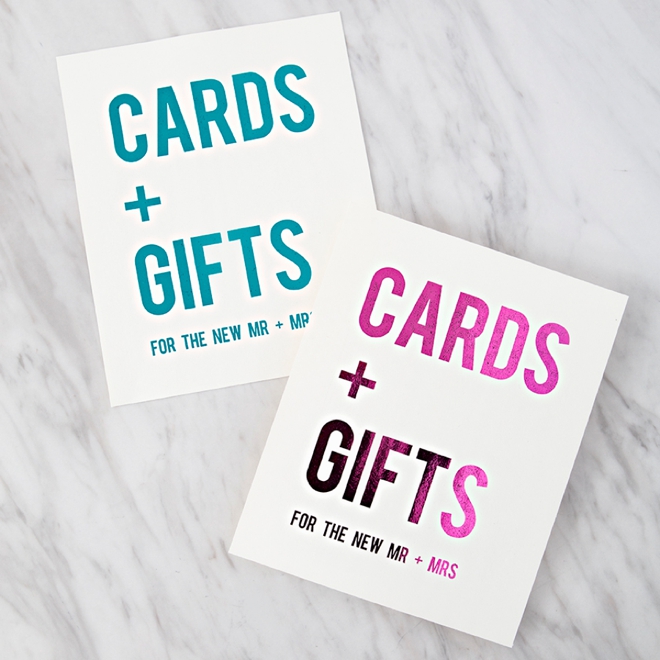
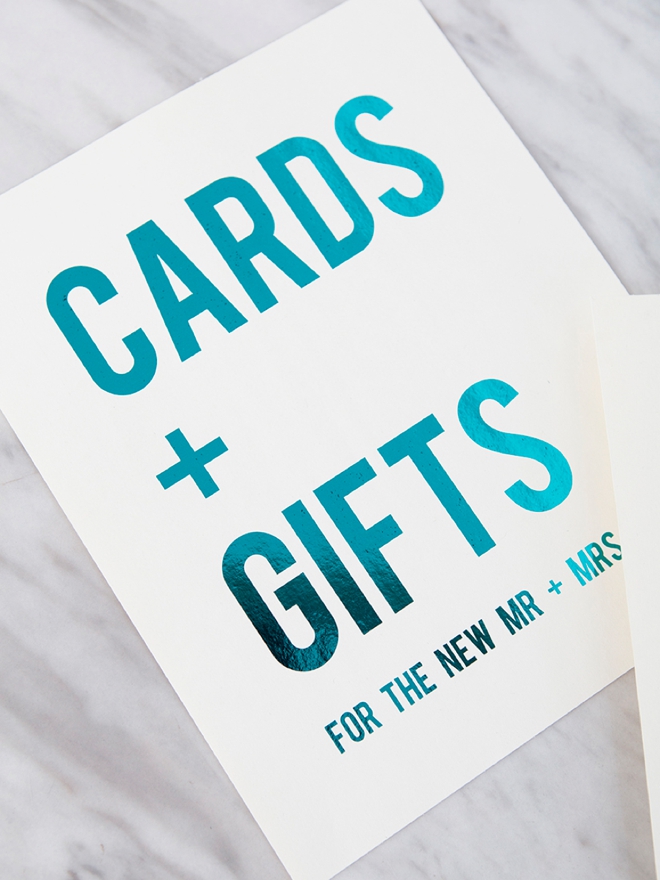
- Cards + Gifts Sign, part of the DIY Wedding Card Mail Box Project
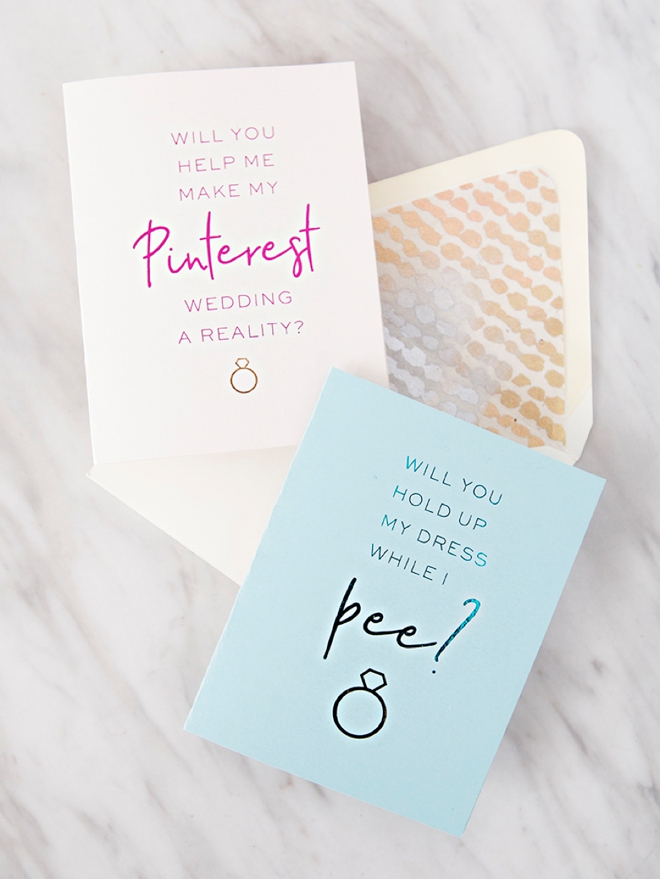
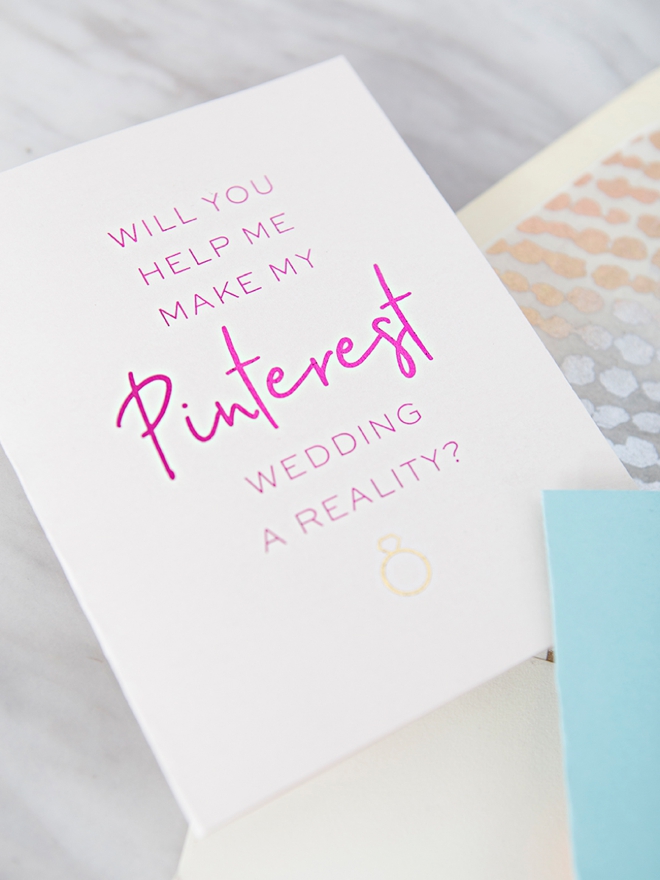
- 30+ Free Printable Will You Be My “Bridal Party” Cards
- Free Printable Wedding Ceremony Chair Tags
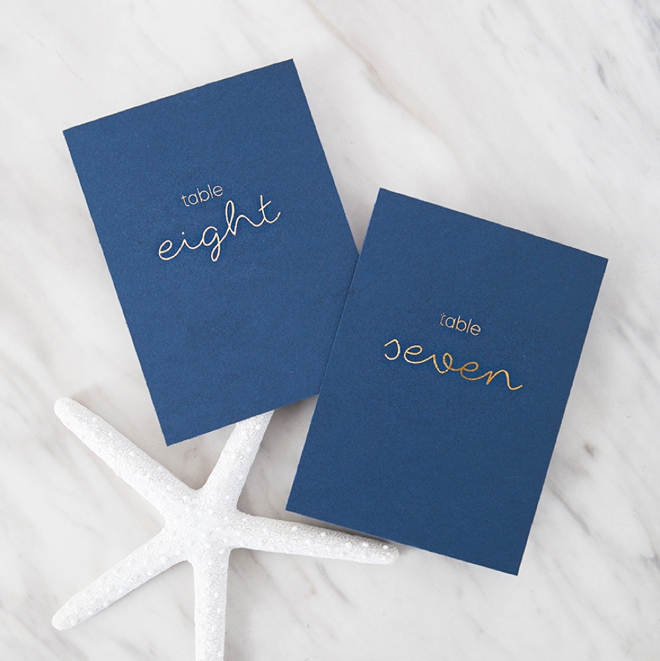
- Free Printable Table Numbers #7
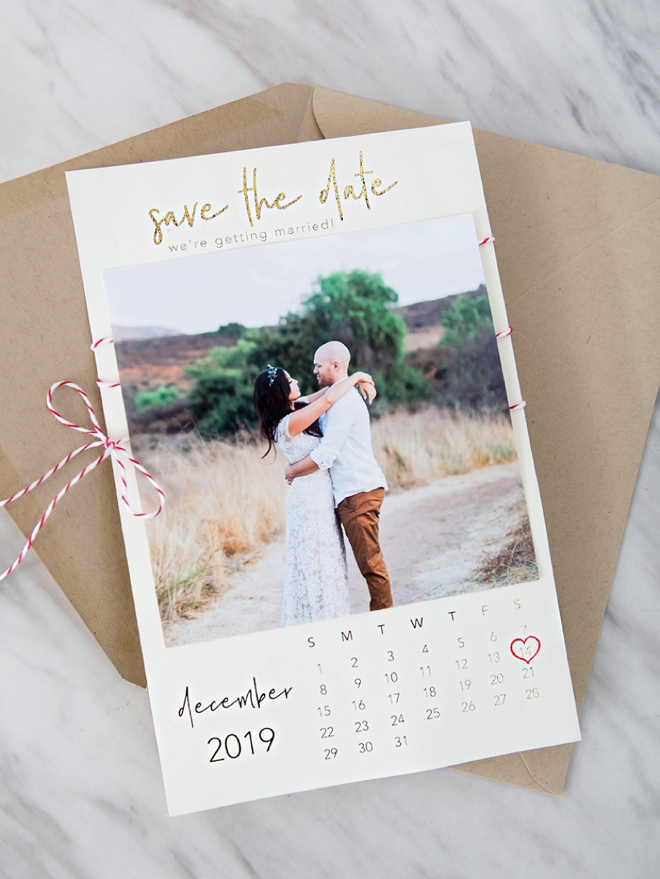
- Free Printable Calendar Style Photo Save the Dates
Watch The How-To:
- Print your design onto your choice of paper, using a LASER printer
- Trim the design down to size if necessary
- Cover the printed design with your choice of toner-reactive foil
- Slip both inside the carrier sheet
- Insert into the Minc machine and let it work it’s magic
- Remove from carrier sheet and reveal your stunning new foil design!
If you’re using a Minc for the first time, I highly recommend watching this YouTube video from Heidi Swapp herself on getting started with your machine. It will answer a lot of questions you might have!

Files Galore
We have SO many free printable files that are absolutely perfect for “Minc-ing”, and we’ll be sharing many more! I’ve featured 5 of my favorites here in the post and here are another 15 that are just begging for you to cover in foil:
- Wedding Countdown Sign
- She Said Yaas Banner
- Thank You Tie The Knot Cards
- Free Printable Floral Table Numbers
- Printable Photo Thank You Cards
- Watercolor Save the Dates
- Printable Vendor Thank You Cards
- Wedding Guest Advice Notebooks
- Free Printable Mini-Alphabet Banner
- Free Printable Alphabet Banner #1
- Wedding Dancing Shoes Bucket
- Today I Have Loved You For… Card
- Wedding Notebooks
- Cork Keepsake Frame
- Date Jar Guestbook
As with all our DIY tutorials, if you create one of our projects please send us a picture – We Love Seeing Your Creativity! If you use Instagram or Twitter please use the hashtag #SomethingTurquoiseDIY and it will show up on our Get Social page. Happy Crafting!
DIY Tutorial Credits
Photography + DIY Tutorial: Jen Causey of Something Turquoise // Canon imageCLASS LBP6230dw Wireless Laser Printer: Amazon // Heidi Swap Minc Foil Application Machine: Amazon // Minc Foils: Amazon // Nail Polish: OPI – Withstands the Test of Thyme
Shop The Supplies:
Find the supplies you’ll need for this project from our affiliate links below:

Comments