
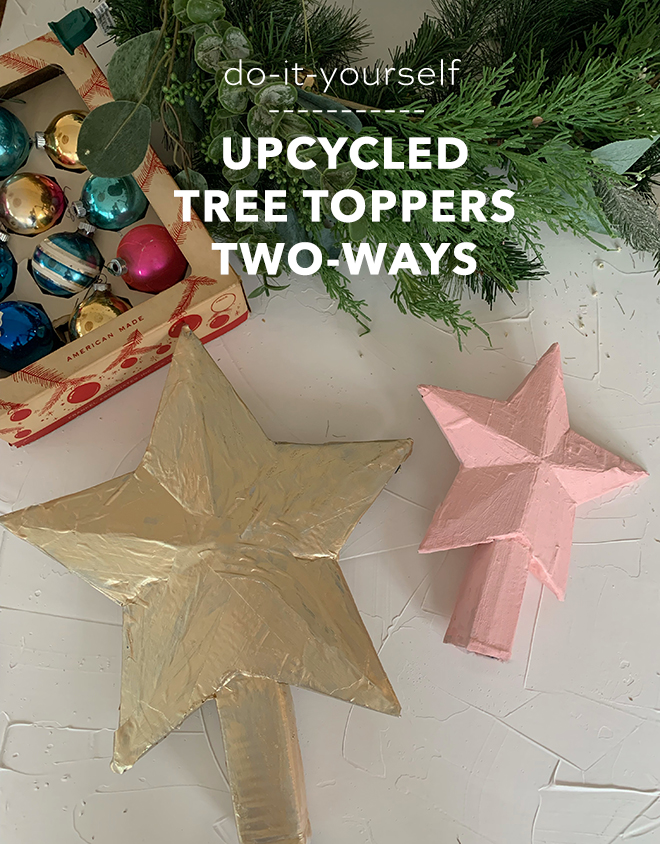
DIY Upcycled Tree Toppers Two Ways
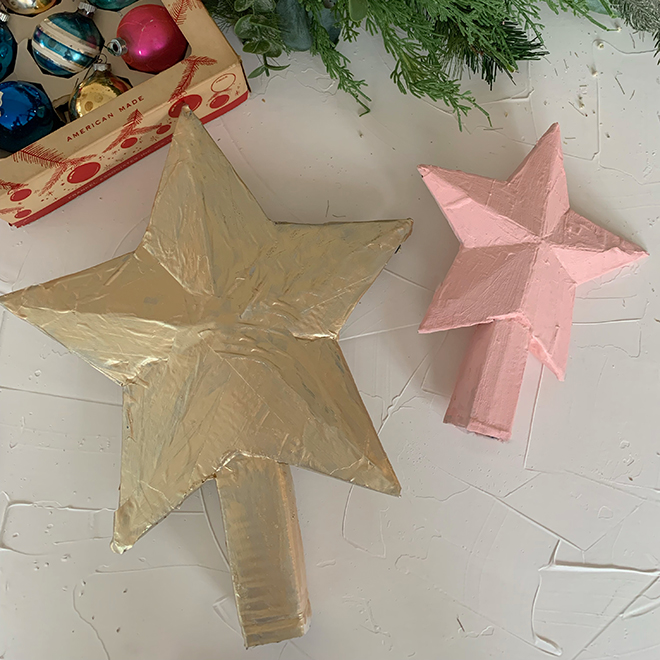
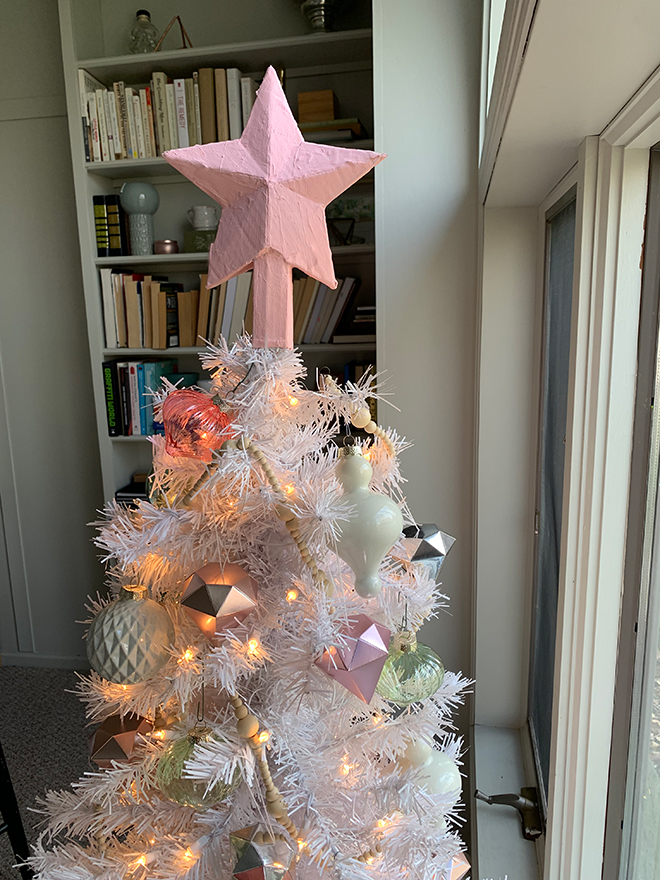
Have you tried to do any holiday decor shopping this year. In my neck of the woods, the store shelves are bare! The supply chain issues are real! I was in need of a new tree topper and wasn’t finding anything that spoke to me out there in the world, so I decided to make my own. The best part – they are made from upcycled cardboard boxes and supplies I had on hand! If you are even a basic level of crafter, you probably have tape, glue, mod podge and paint and can create these yourself without even making a trip to the craft store! And because I didn’t want to just give you one option, I am sharing two ways to customize this DIY. The first way is a classic gold paint. I created the star and used a champagne metallic acrylic paint to give it it’s shine. For the second version, I went in the opposite direction and made a matte, pink star to top a secondary pastel tree! I used the baking soda/paint technique that I shared here in Spring of 2020 and it made it’s way around the internet shortly after.
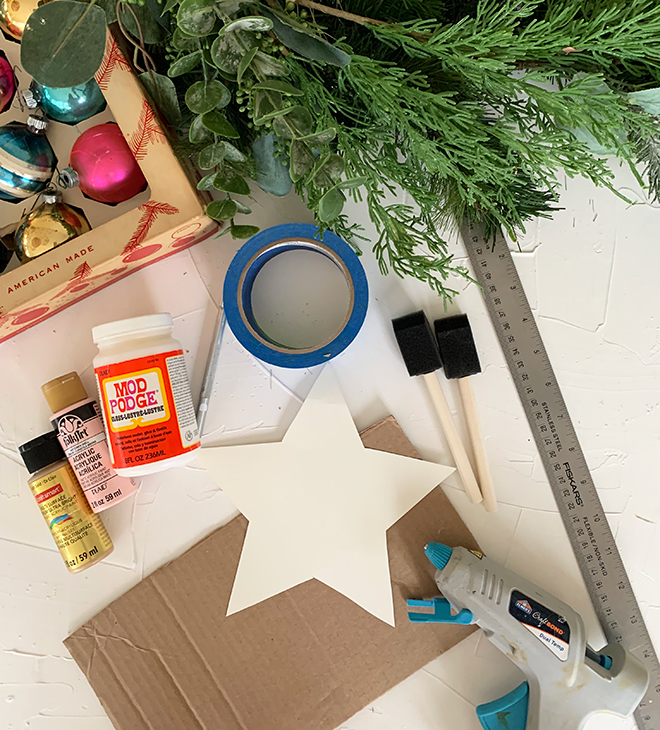
SUPPLIES:
- large cardboard pieces
- star template
- craft knife
- tape
- ruler
- Mod Podge
- glue gun
- paint brushes
- paint
- baking soda (optional)
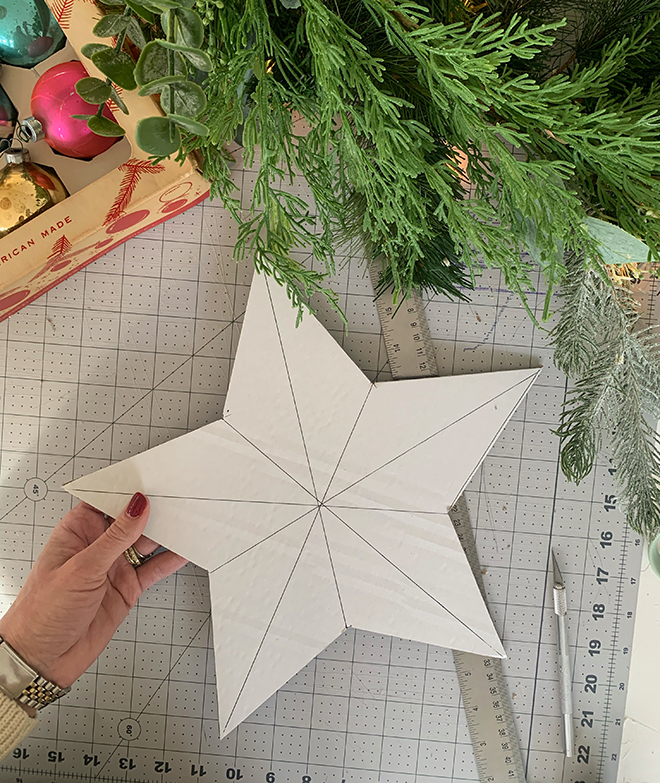
CUT TWO STARS
Use a star template, I just found one via google, to cut two stars out of cardboard. For reference, the larger star I made is 12″ and the smaller one is 8″.
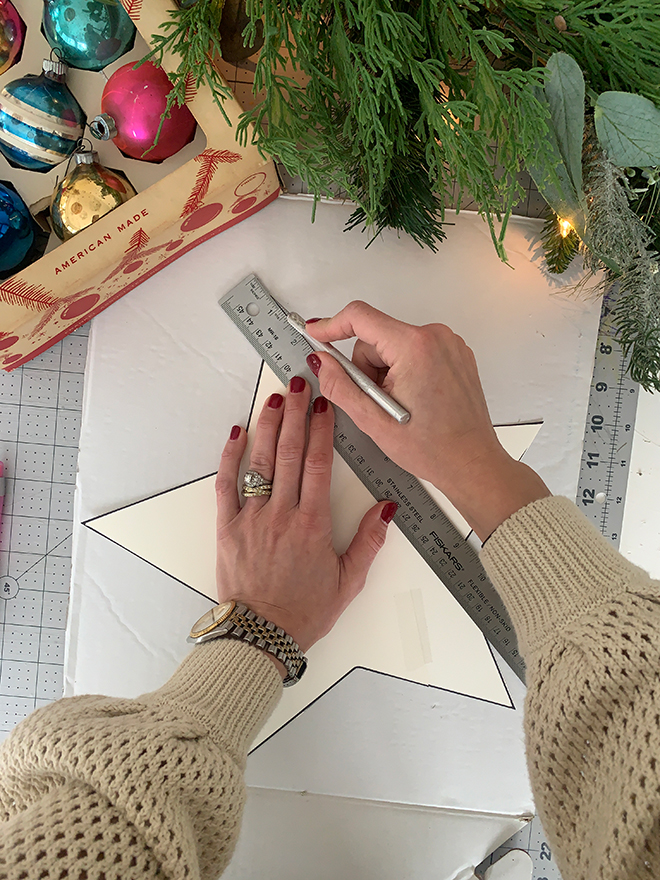
DRAW FOLD LINES
Use a ruler to draw lines from point to valley on each point of the star.
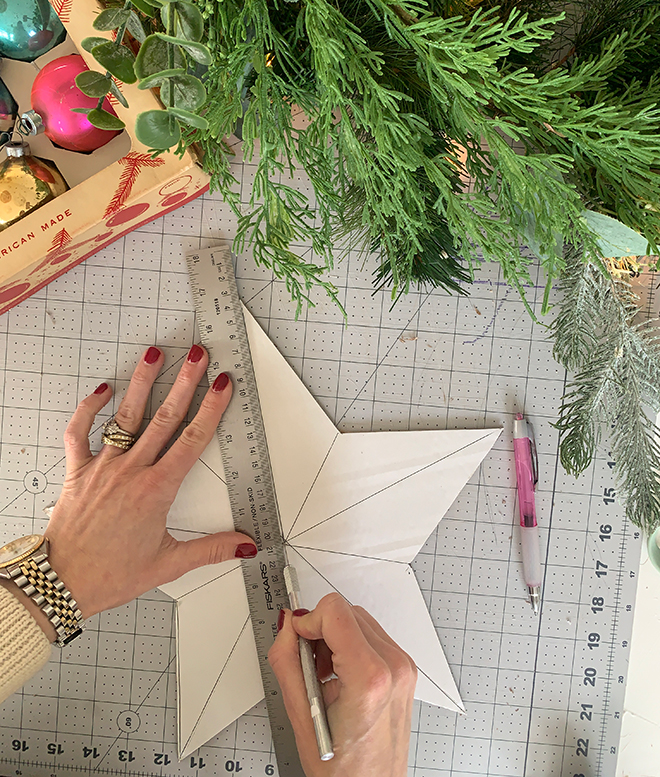
SCORE FOLD LINES
You will score from point to center of star on front. These will be the parts of the star that fold out.
SCORE FOLD LINES ON BACK
You will then flip it over and score from center of star to valleys on the back. These will be the parts of the star that fold in.
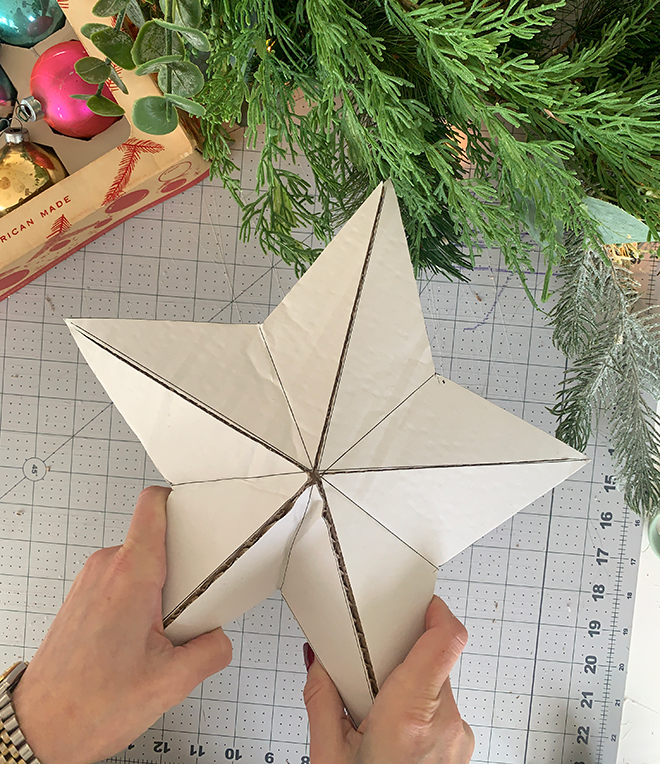
FOLD STAR
Now you get to create the 3-D effect.
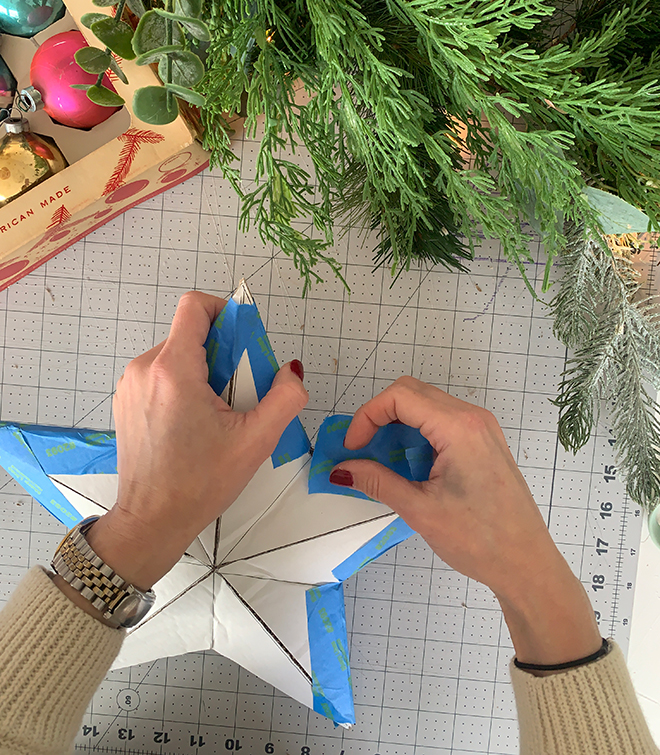
ATTACH FRONT AND BACK SIDES
Use masking tape to connect front and back sides of the tree topper. Make sure you tape all the gapes or you will notice holes when you paint. Keep one side, between two points open.
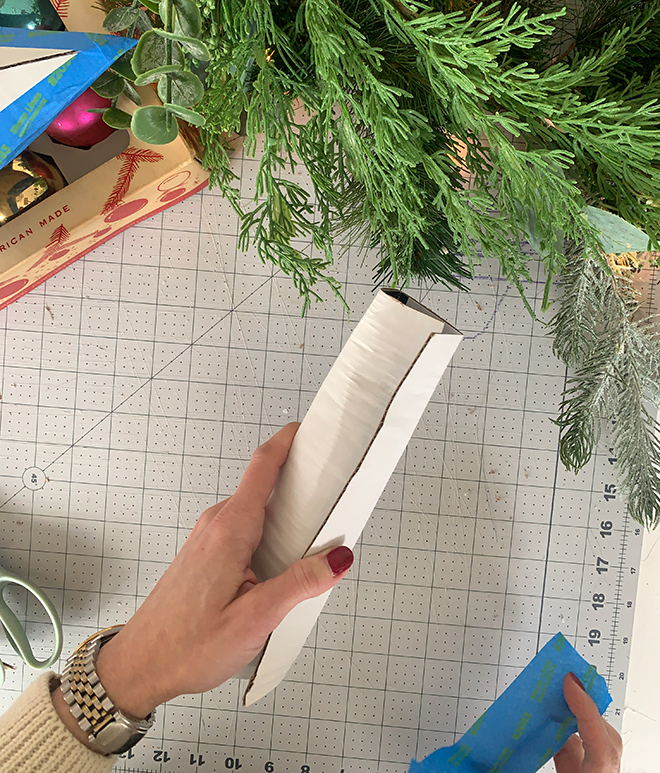
MAKE THE CONE
Cut a piece of cardboard for the cone shape that will sit on top of the tree. You may need to work it a little to get it to fold nicely in a cone. Tape or glue closed.
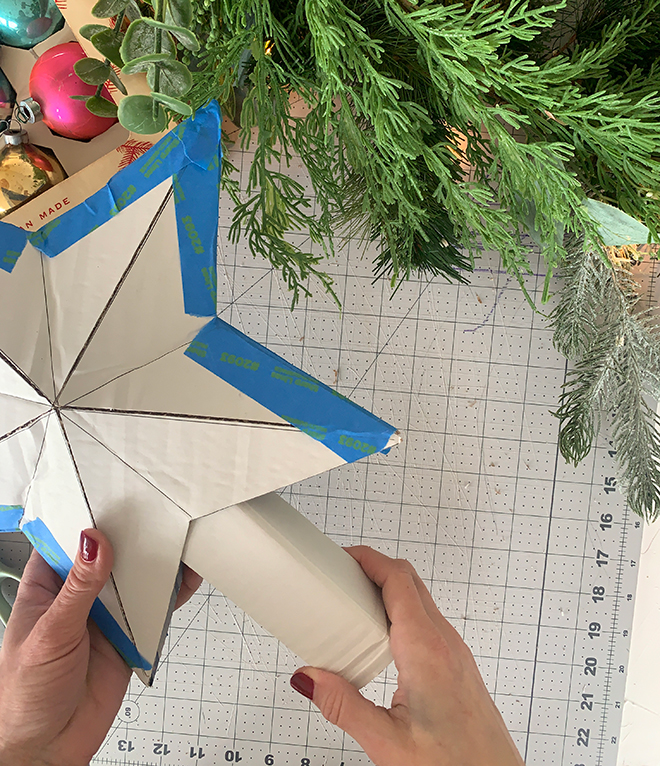
ATTACH THE CONE
Insert the cone that goes on the tree. Use a glue gun to fix the cone to the star. This will also help the topper keep its shape.
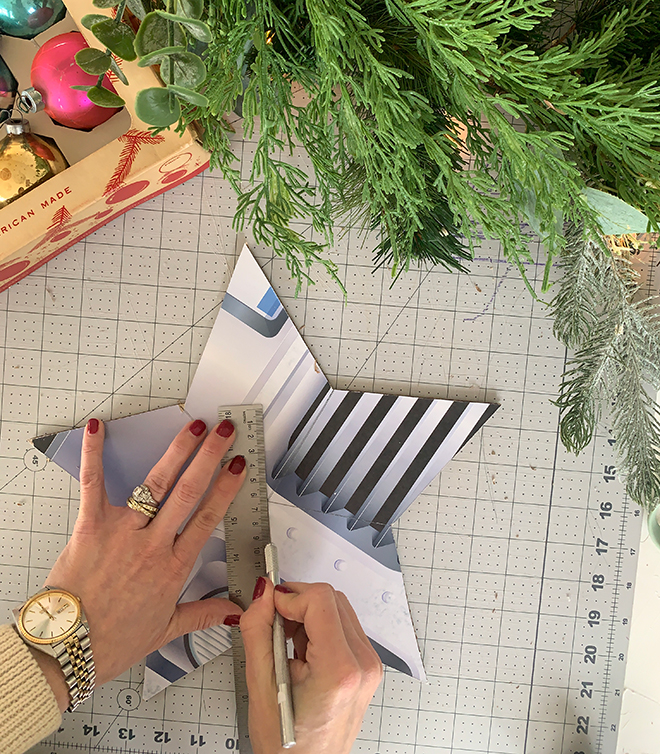
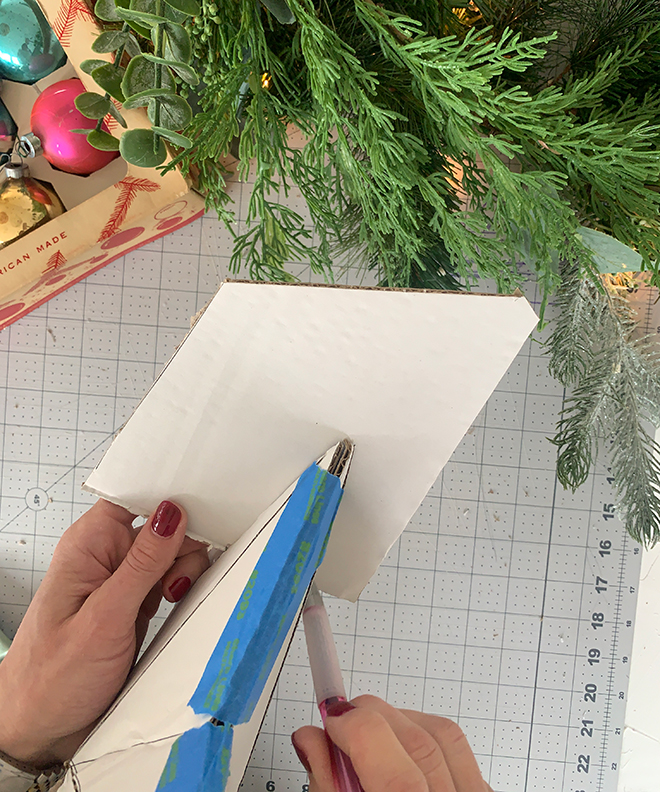
FILL IN THE GAPS
Use a pen to trace the shape of the gaps in the bottom of the star. Cut pieces and glue or tape into place.
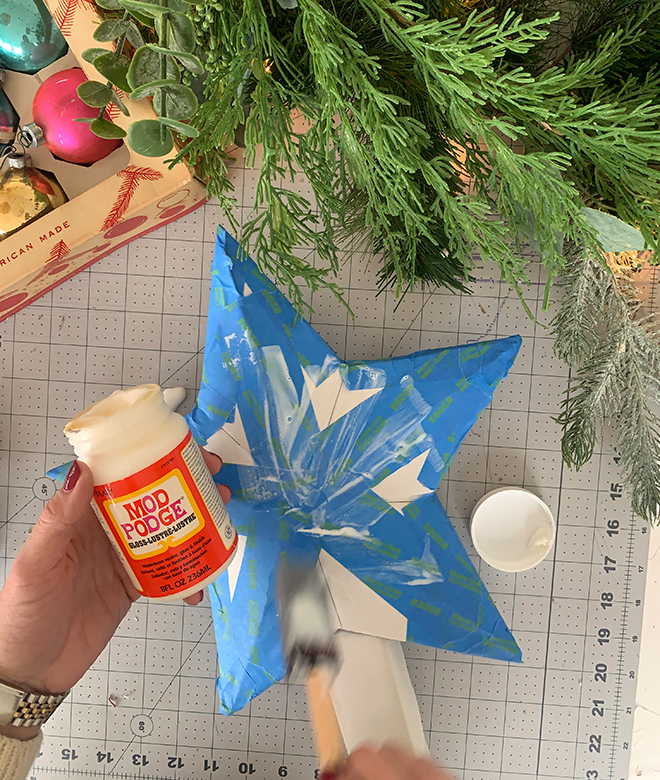
MODGE PODGE
Paint on a layer of Mod Podge. You could also use paper mache.
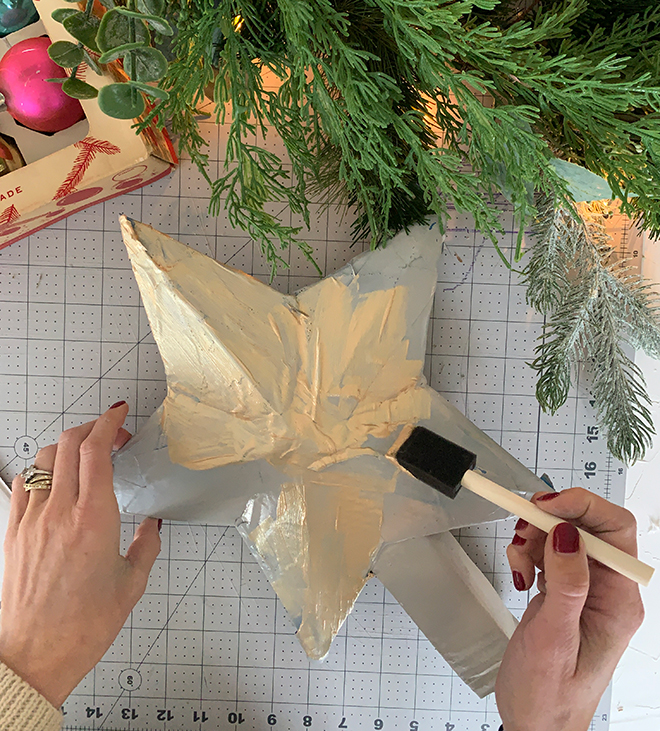
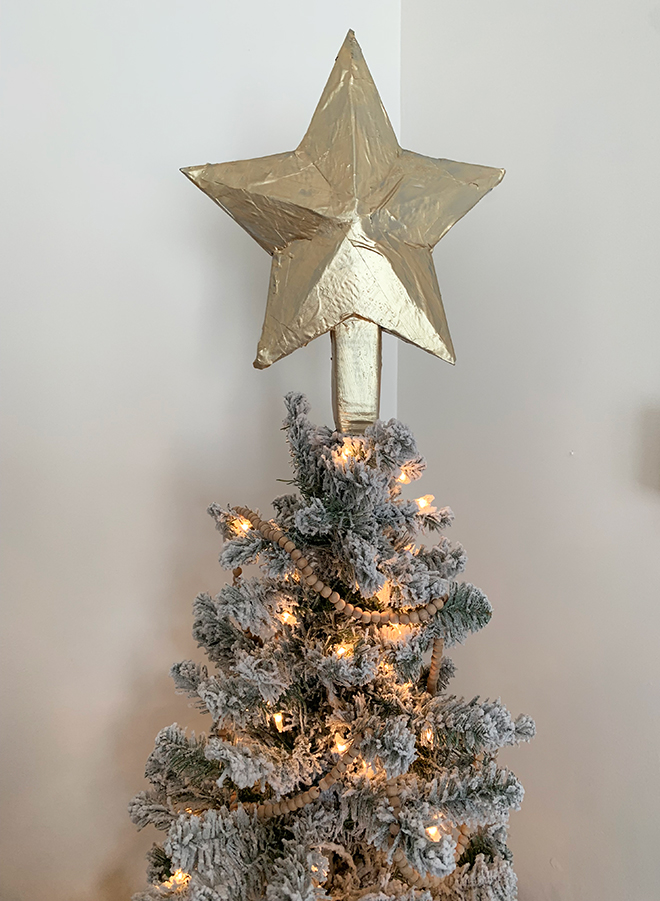
PAINT YOUR COLOR OF CHOICE
Paint your color of choice. I chose a champagne gold. Since I used blue tape and the metallic doesn’t cover very well, I started with a quick coat of solid spray paint.
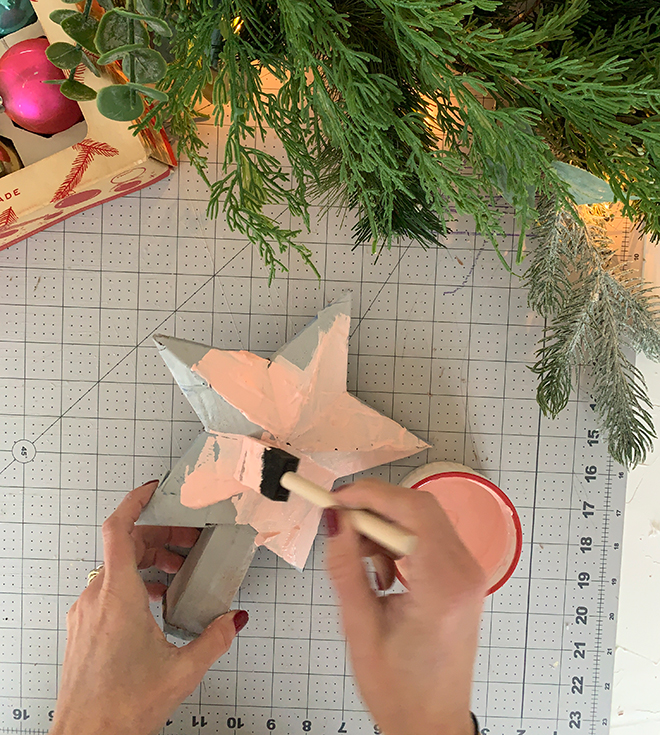
CREATE TEXTURE
For my second topper, I mixed several tablespoons of baking soda with paint.
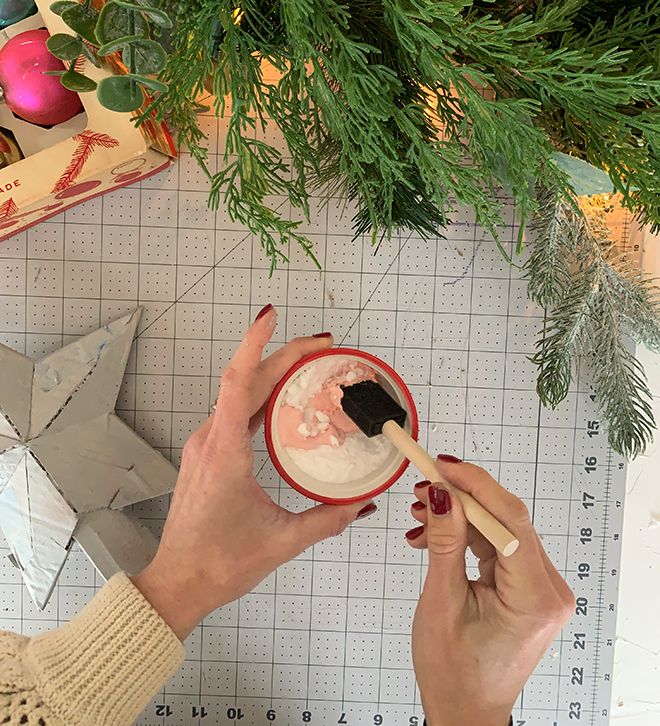
PAINT
Paint and top that tree!
As with all our DIY tutorials, if you create one of our projects please send us a picture – We Love Seeing Your Creativity! If you use Instagram or Twitter please use the hashtag #SomethingTurquoiseDIY and it will show up on our Get Social page. Happy Crafting!
DIY TUTORIAL CREDITS
photography + DIY tutorial: Lauren Koster of Lauren Koster Creative // large cardboard pieces // star template // craft knife // masking tape // Mod Podge // glue gun // paint brushes // paint // baking soda


Comments