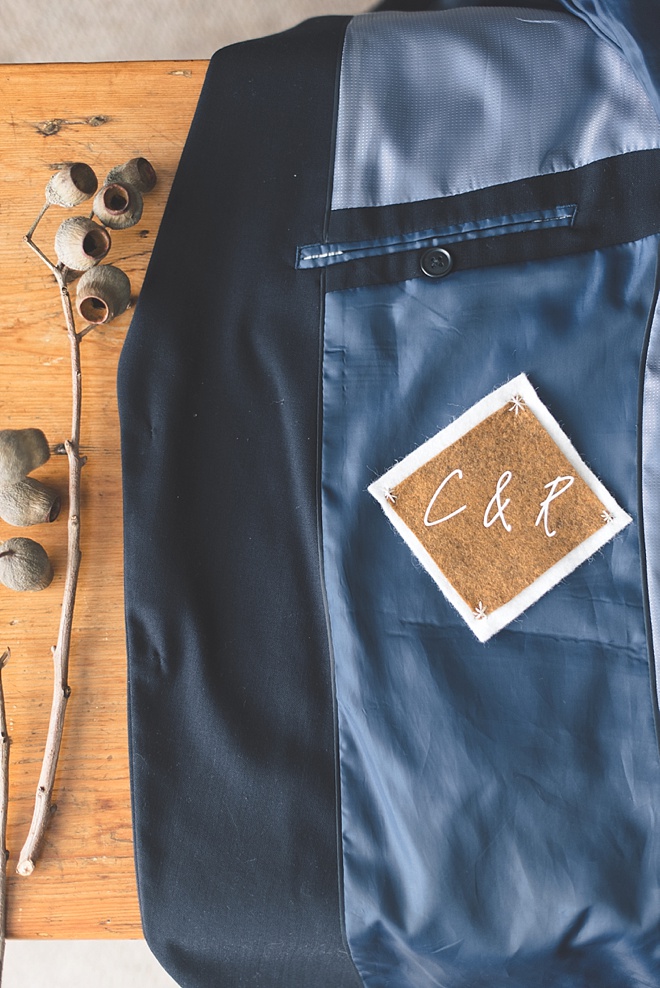

DIY Removable Felt Wedding Patch
It’s fall, y’all, and it’s my personal favorite season to do felted crafts! Felt is cozy, versatile, and comes in so many different colors making it perfect for an autumnal or winter wedding celebration, especially for accessories like wedding patches. However, most wedding tie, jacket, or dress patches are semi-permanent, and it doesn’t make it multi-purposeful. You either have a heat-bond/iron-on backing or you hand-stitch the patch into your fabric. But what if you want to put it in your keepsake box after the big day? Well, here enters the trusty safety pin in a discreet kind of way!
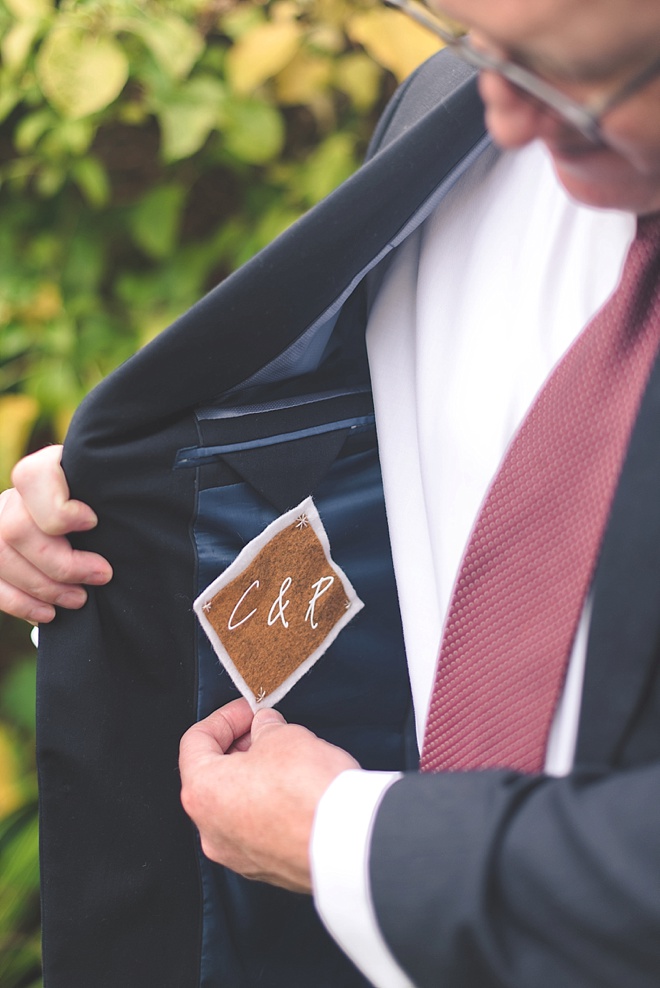
With a few high quality felt scraps and iron-on vinyl, you can create your own personalized wedding patch with your initials, wedding date, or special short words, stick the patch where you want it, and then remove after the wedding to add to your memory box for safe keeping. (And like all wonderful crafter husbands, a special thank you to mine for modeling this fine project patch! It’s always a treat when his handsome self gets into his wedding suit!)
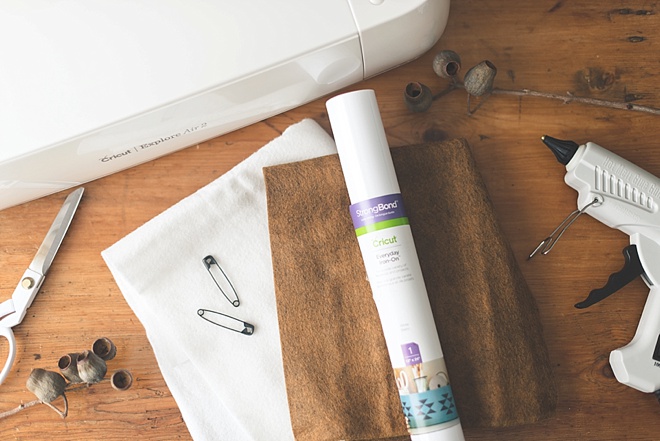
SUPPLIES:
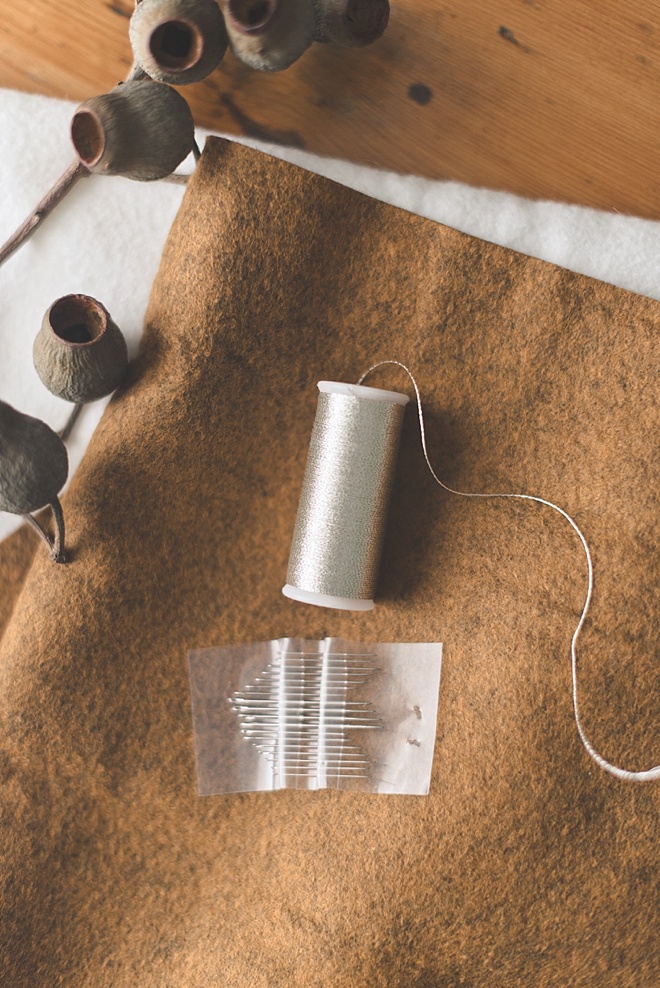
- Felt sheets or bolt end scraps (I used Benzie’s Acorn and White colors)
- Fabric scissors
- Hot glue gun with glue sticks
- Black safety pins
- Iron-on vinyl
- Electronic cutting machine (e.g., Cricut)
- Standard cutting mat
- Household electronic iron
- Metallic gold embroidery floss (optional)
- Hand sewing needles (optional)
Maker’s Note
It’s best to use a high quality felt for this project. Skip the stuff that costs pennies in your local craft store and hop online for an affordable wool blend felt. Not only will wool blend felt be a better, more natural texture, its chances of pilling are lower which is important when a patch is rubbing against other fabric all day. Something Turquoise’s personal favorite felt source is Benzie Design due to the sheer range of felt colors available as well as gorgeous thickness. Love felt beyond this project? You can also see how I made no-sew coffee cup cozies a few years ago using similar fall-colored Benzie felt and gold iron-on.
If you’re not particular on a specific color or want to be more eco-conscious with your crafting, look out for when Benzie has bolt end bundles available! These bundles have the same felt quality you love, but vary in colors and sizes since they consist of the end bits. You can also save a bit of money going this route, too. Totally still usable and perfect for small DIYs like this one!
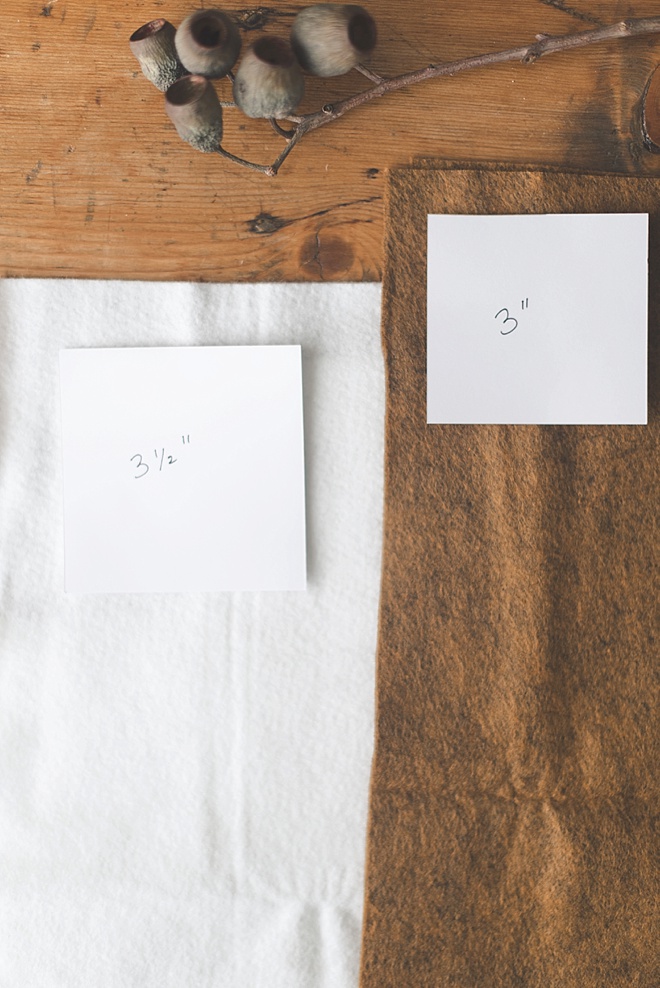
DETERMINE PATCH SIZE & MAKE TEMPLATES
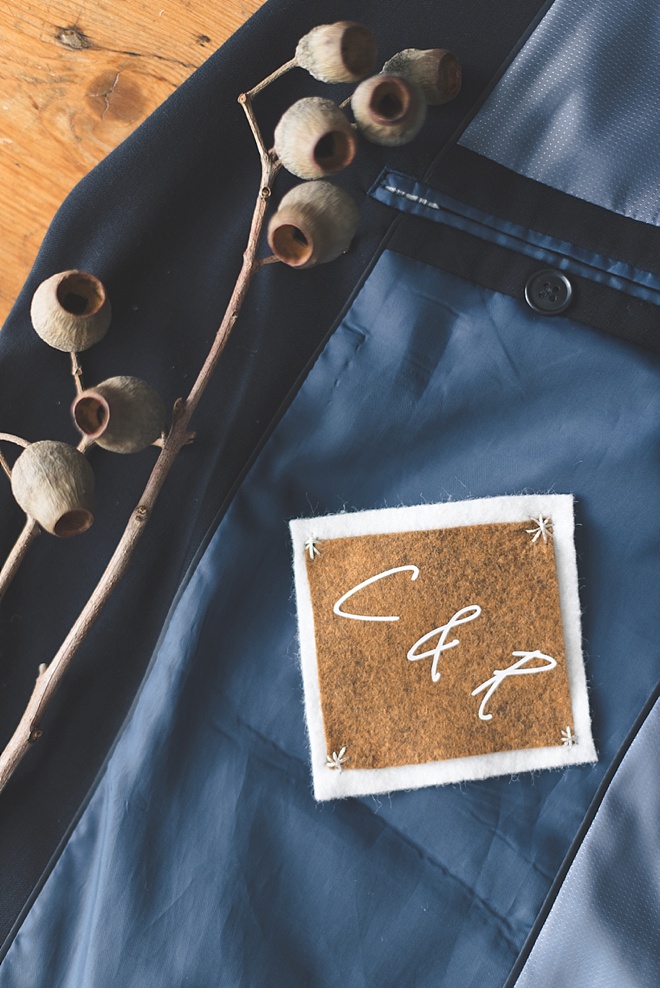
Measure the size and shape of your ideal patch and then cut out the appropriate template from cardstock paper. If you have an electronic cutting machine, you can use it to cut felt as well, but for simple shapes, it may just be easier to cut by hand since there is sometimes a process involved with cutting felt by machine. Our patch was 3″ for the smaller square and 3.5″ for the larger square.
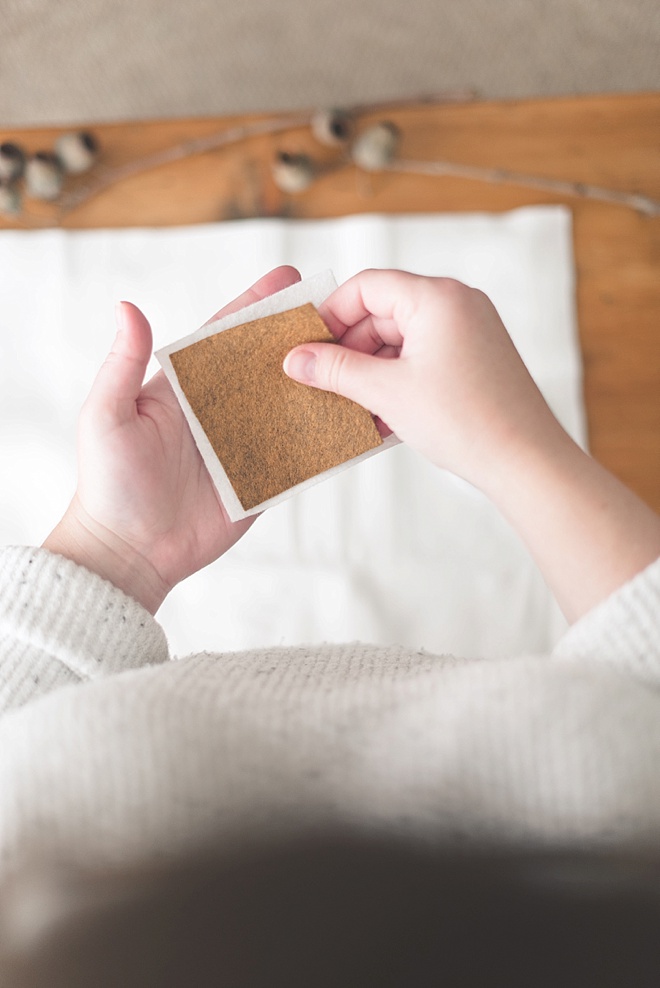
Whatever shape you make, you will want two layers to your patch to prevent any safety pin poke-throughs as your safety pin will go through the bottom layer.
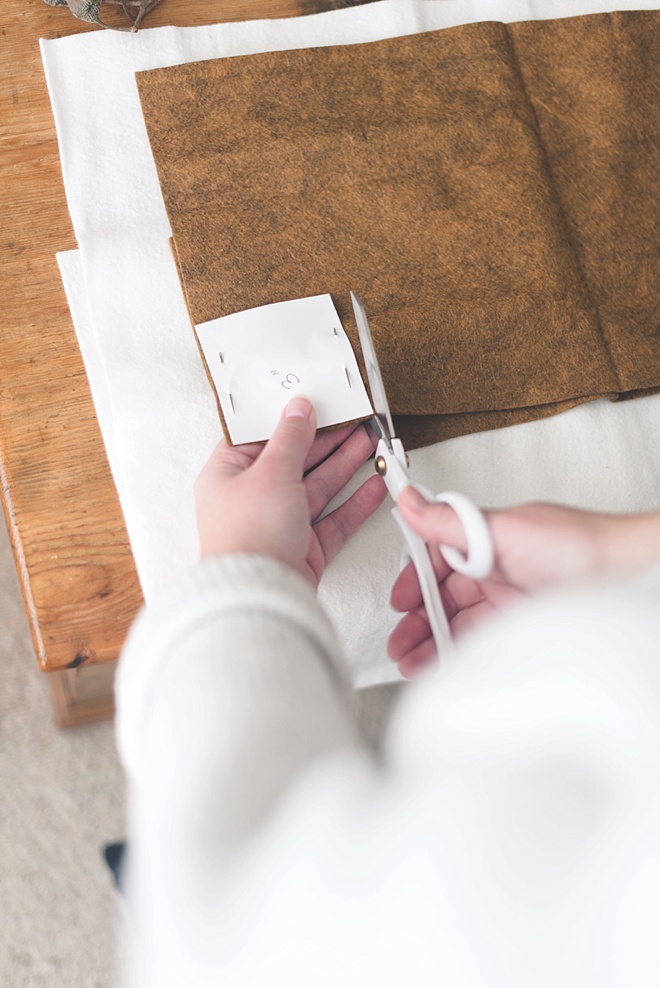
CUT FELT
Using a few of your hand-stitch needles, pin your template to your felt to avoid your felt getting wiggly as you cut. Cut around your cardstock templates and trim as needed with your fabric scissors. If your felt is wrinkled, just do a quick iron before cutting.
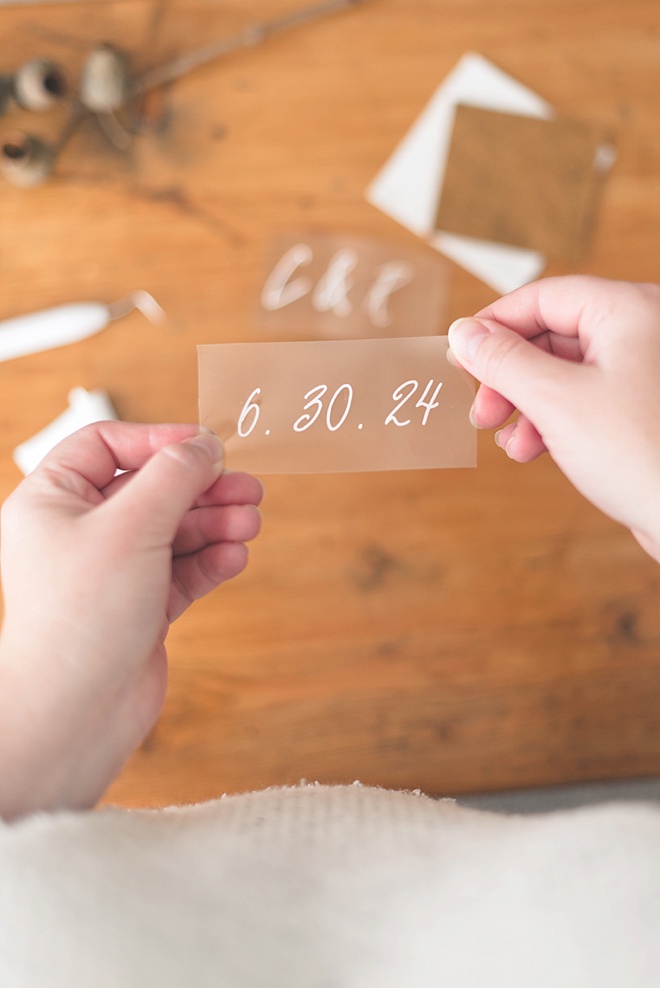
DESIGN YOUR TEXT
Depending on your electronic cutting machine, use its Design Space or Studio to create your text for your patch. Keep it short and simple like your initials or wedding date. Measure how wide you want your words and how they will fit on your patch. Choose a font that is easy for your machine to cut since you’re working on a smaller scale. For my samples, I wanted my words no wider than 2.75″ and used the de novembre font.
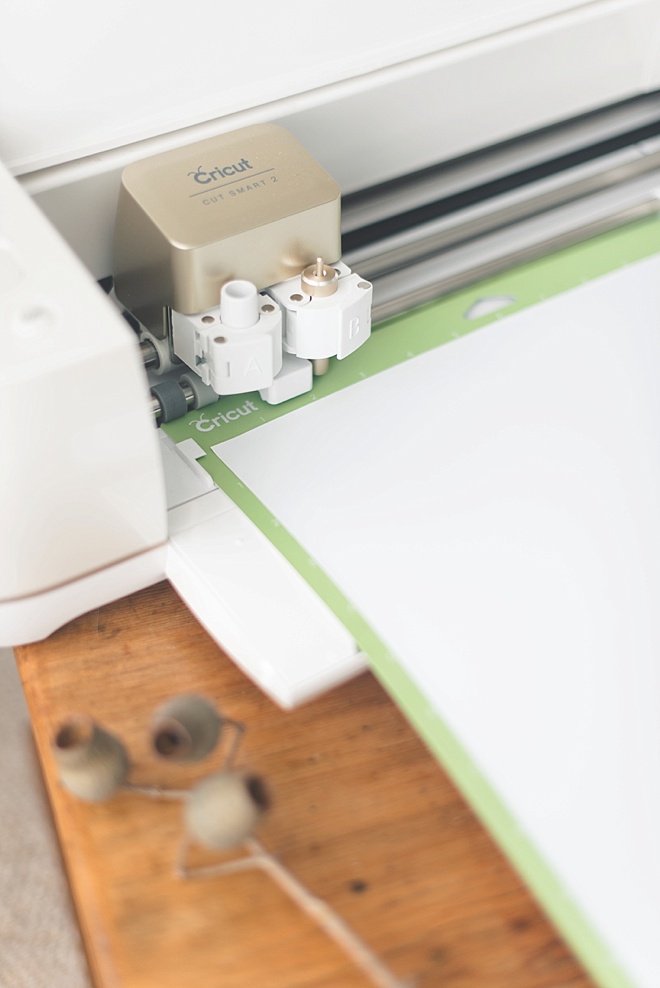
CUT & WEED
Since you are using iron-on vinyl, be sure to click “Mirror” before cutting and make sure shiny down is down against your cutting mat. Your machine will need to cut “in reverse” so it’ll show up correctly after ironing on! After it has cut, use a weeding tool to take away the iron-on material that doesn’t belong in your design.
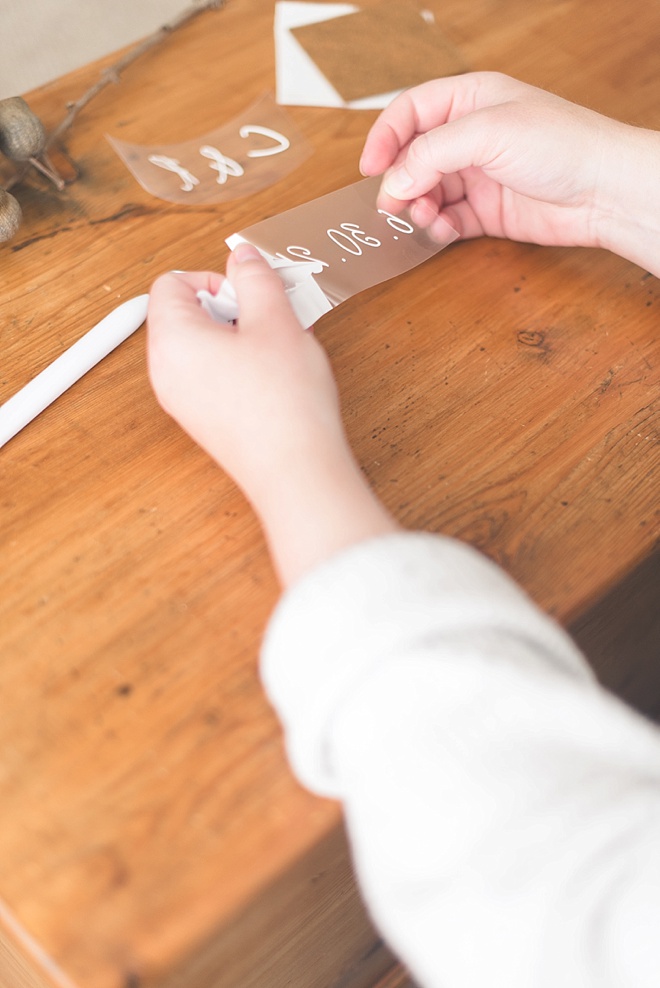
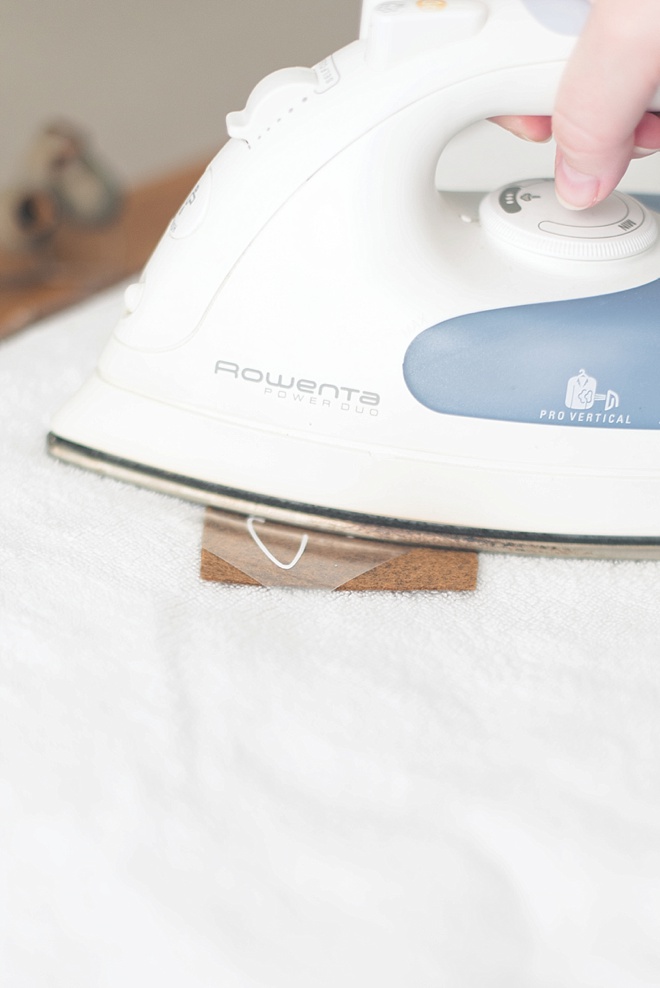
PRE-HEAT & IRON
Always use the guidelines given for your iron-on material and the fabric you’re ironing onto to ensure best results. In this project’s case, turn your iron on the highest heat. Once properly heated, pre-heat the felt fabric itself for 5 seconds and then place your text shiny side up onto the felt patch where you want it. Place your hot iron onto your iron-on and give light pressure for 30 seconds. Set aside iron and allow your fabric to cool down. Once your plastic backing is cool to touch, remove the backing slowly. This is called a cold peel, and it’s a must for this kind of iron-on!
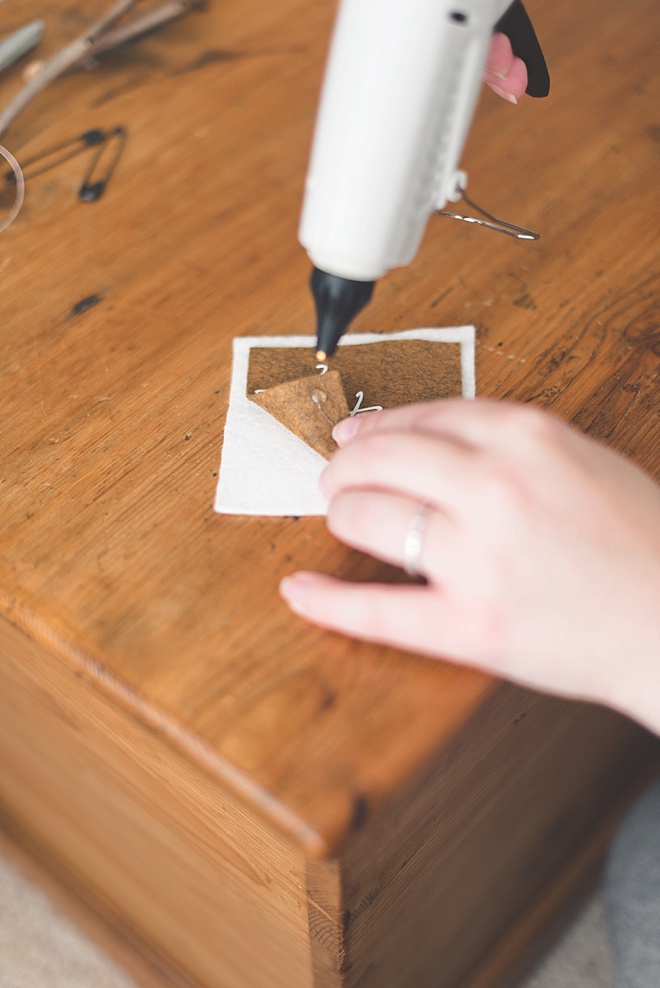
HEAT UP THE GLUE GUN
If you haven’t worked a lot with felt before, you’ll soon learn the hot glue gun is your best friend as it’s one of the best glues to use with felt. You’ll need to use your hot glue gun to attach both of your felt squares. Once your glue gun is heated and ready, place a small dot of hot glue in each corner of your felt. Lightly press and allow to harden.
EMBROIDER (optional)
If you want to add a fancy touch to your patch, consider stitching some easy stars on your corners using some metallic embroidery floss. Make sure your hot glue has been fully hardened before stitching anything! I used Benzie’s Light Silver thread for this. If you’re not fussed with a metallic detail, then carry on to the next step!
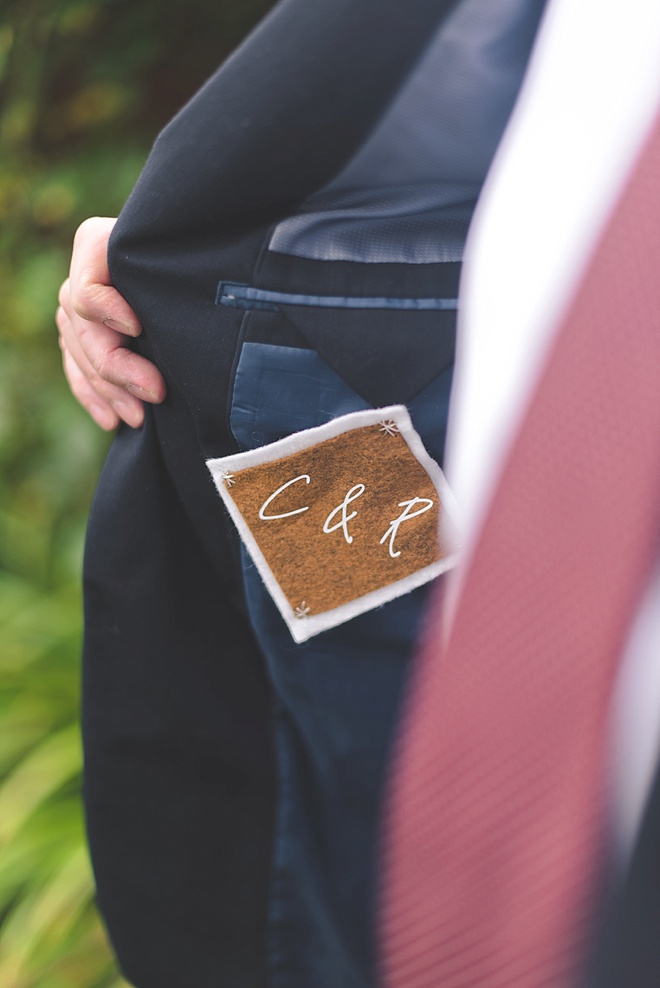
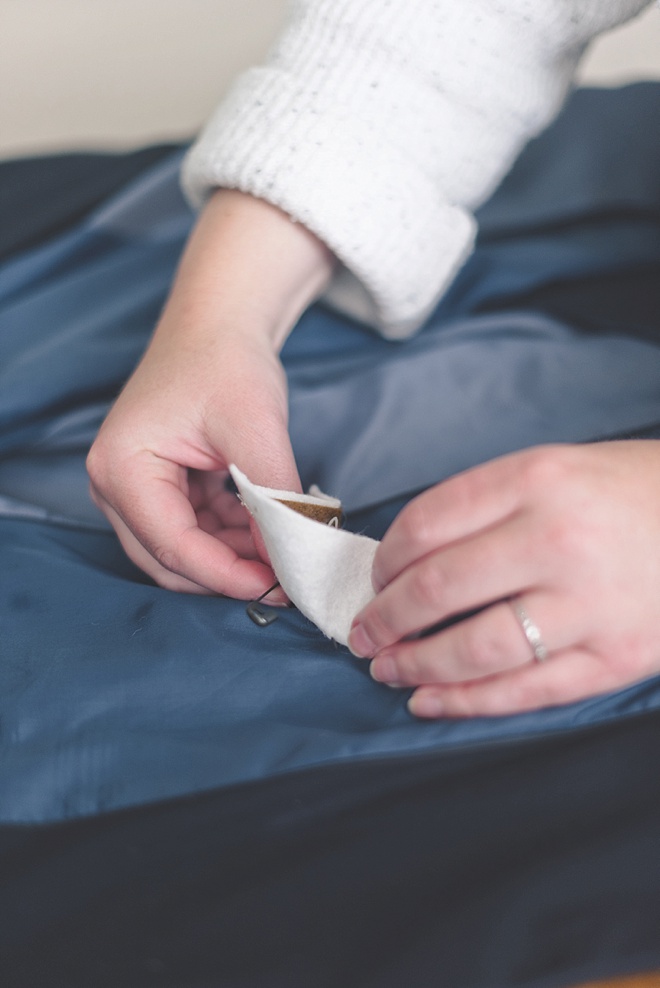
ATTACH PATCH
Using a large safety pin on the backside of your patch, attach to your jacket, tie, dress, or wardrobe. You may need a few pins depending on how secure you’d like it. I used a large 50mm pin for the middle and also stabilized the patch with a medium 38mm pin for the top.
TRIM FUZZIES
Should your new felt patch have any edge fuzzies from being handled, take your fabric scissors and gently trim.
WEAR AND MAKE MEMORIES
Enjoy and then store your personalized patch in your keepsake box after the wedding!
If you create one of our projects, please share a picture with us on Instagram or Twitter using the hashtag #somethingturquoisediy, we regularly reshare our favorites! Your profile will need to be public for us to see it otherwise, you can always DM us!

ABOUT THE MAKER
Considered an enthusiastic creator in the wedding industry since 2009, Chelsea LaVere Barton is a retired wedding photographer, editor-in-chief of Coastal Virginia’s online wedding publication, Tidewater and Tulle, and co-owner of UK-based wedding signage shop, High Oak & Co. Before her photographer days, Chelsea was a classroom art teacher and adheres to the mantra of “making life more beautiful” in all she does. When she’s not DIYing, she loves to go on local British adventures with her husband, write about said UK adventures on It’s a Hard Biscuit Life, and quietly relax at home with their cat Pickles Barrington. You can find her scrapbook of life on Instagram.
DIY TUTORIAL CREDITS
Photography + DIY Tutorial: Chelsea LaVere Barton // Wool Craft Felt Sheets & Embroidery Floss: Benzie Design via Etsy
SHOP THE SUPPLIES
Find the supplies you’ll need for this project from our affiliate links below.


Comments