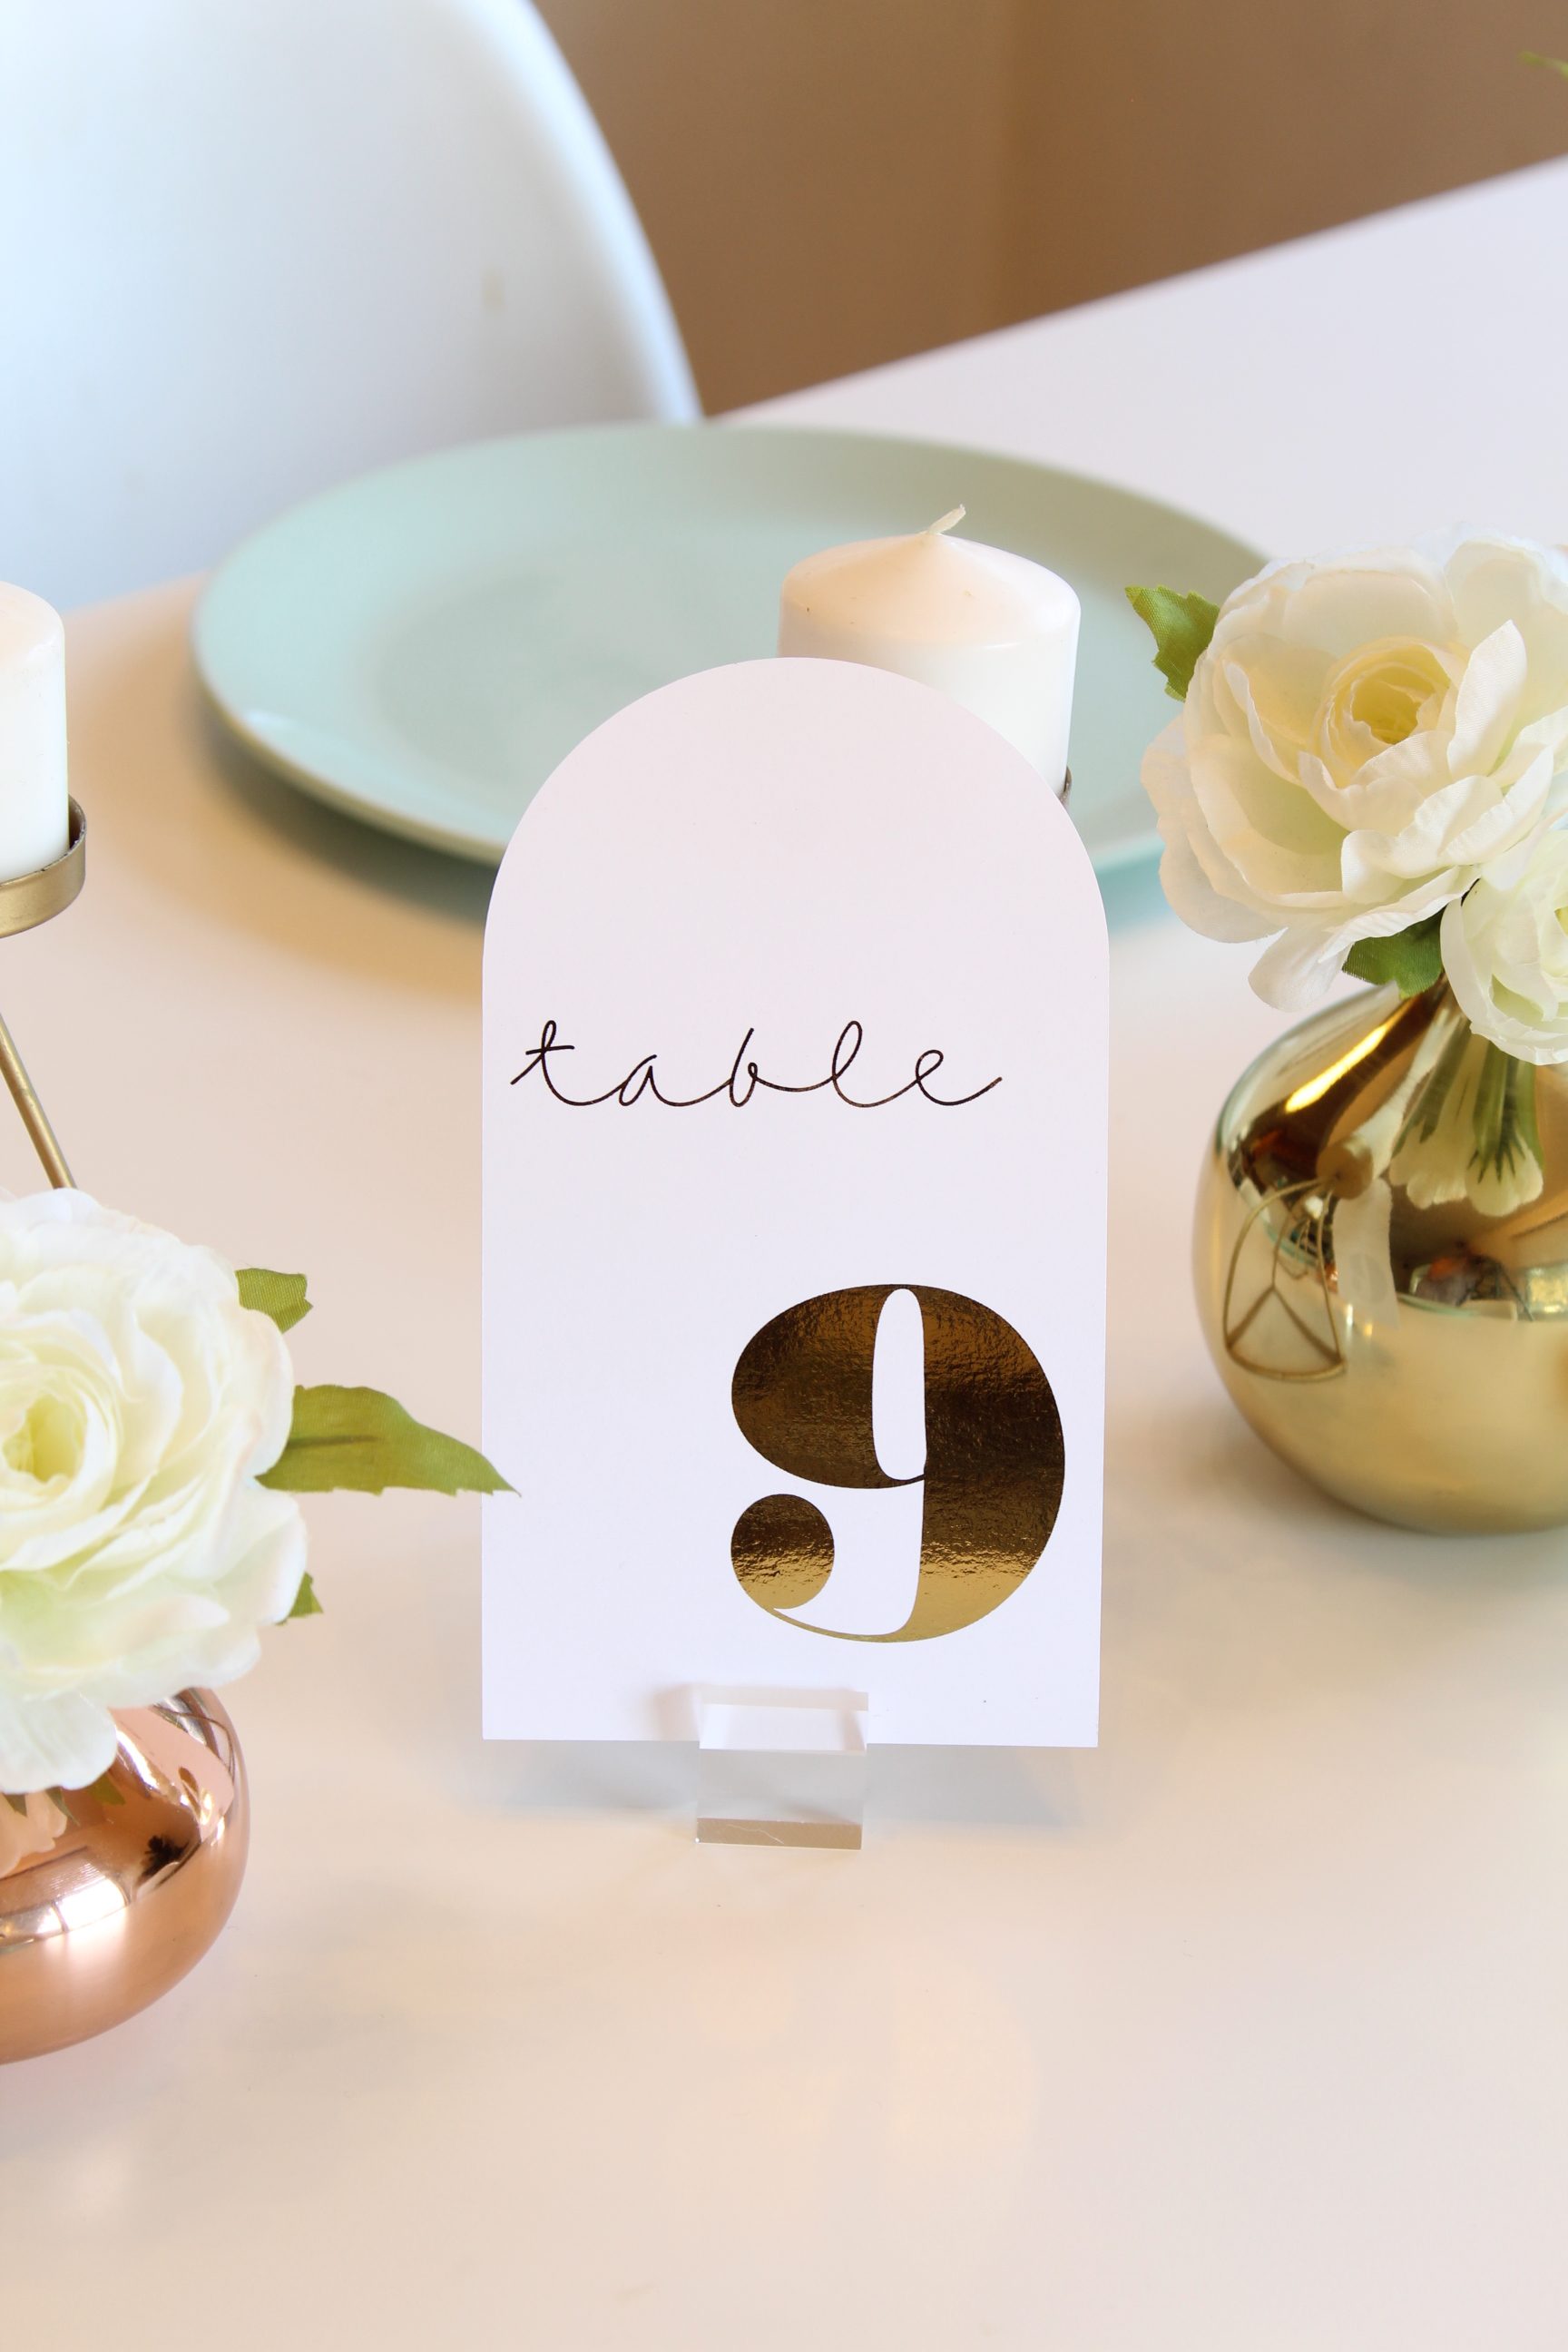

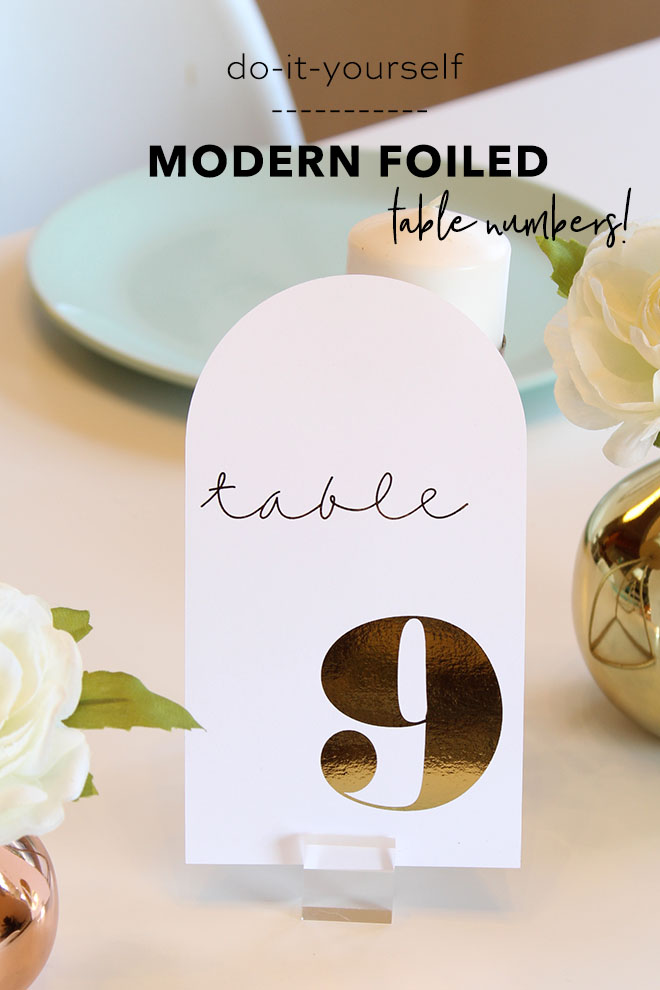
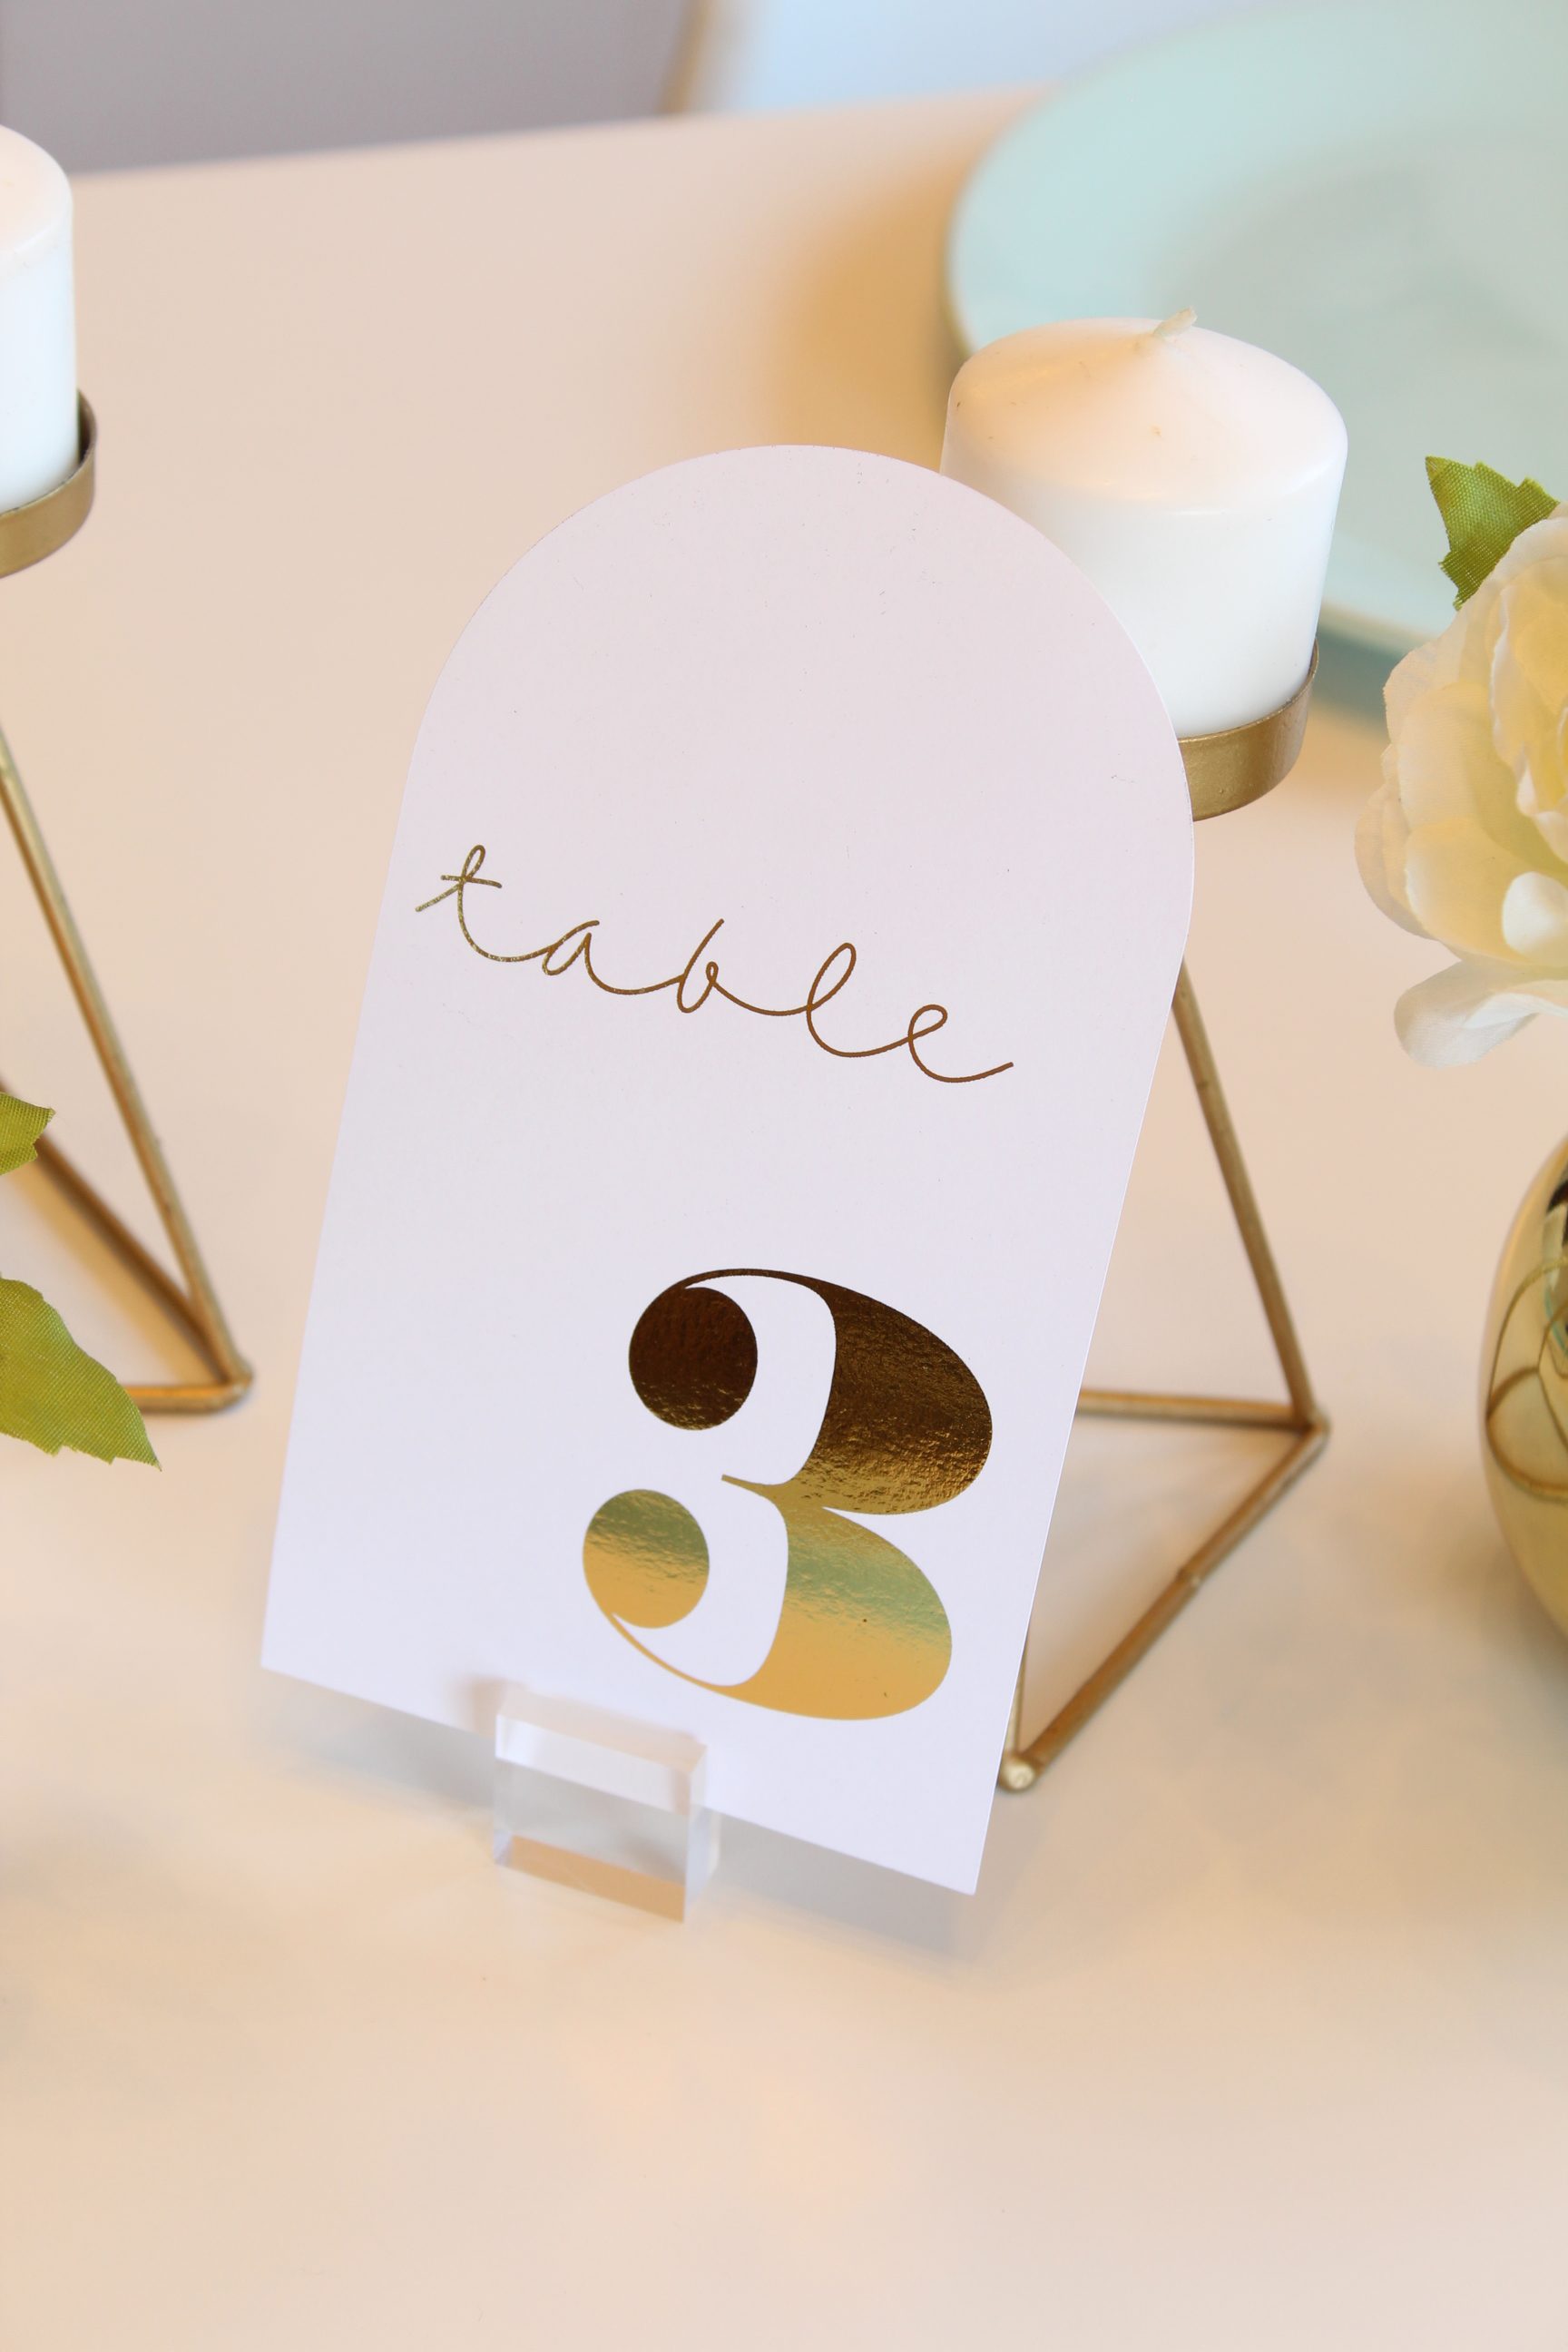
Diy Wedding Table Number ideas
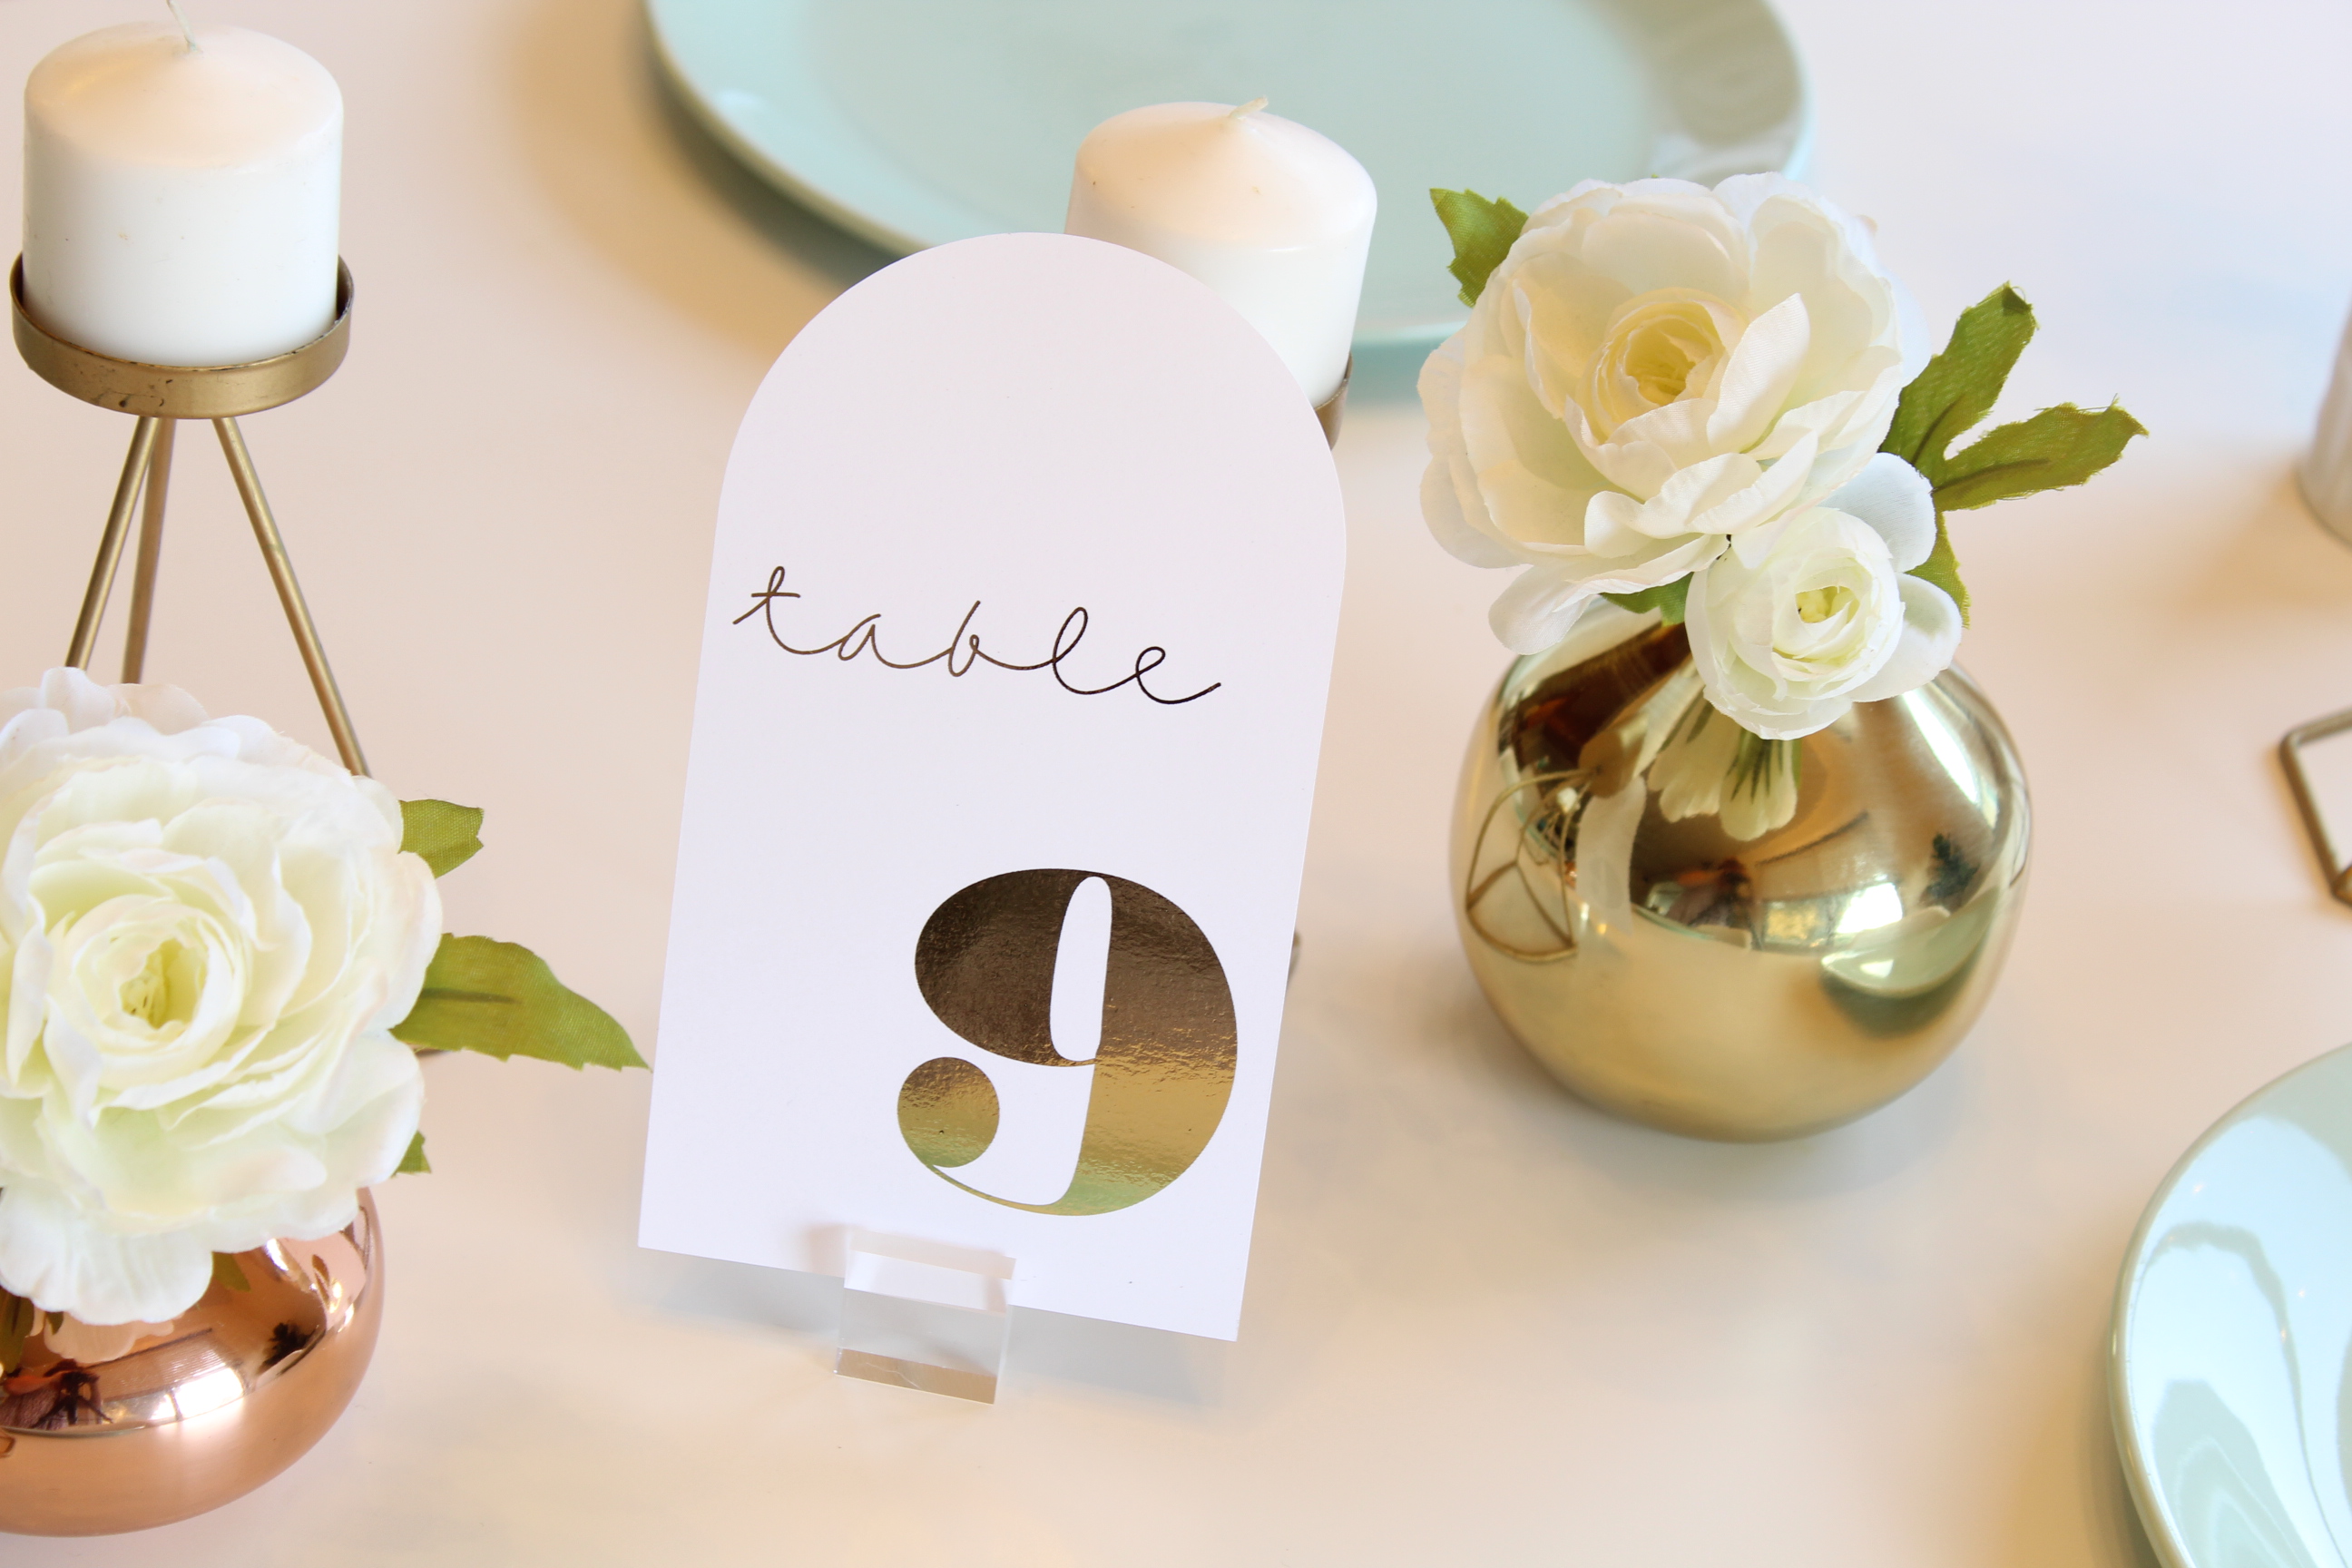
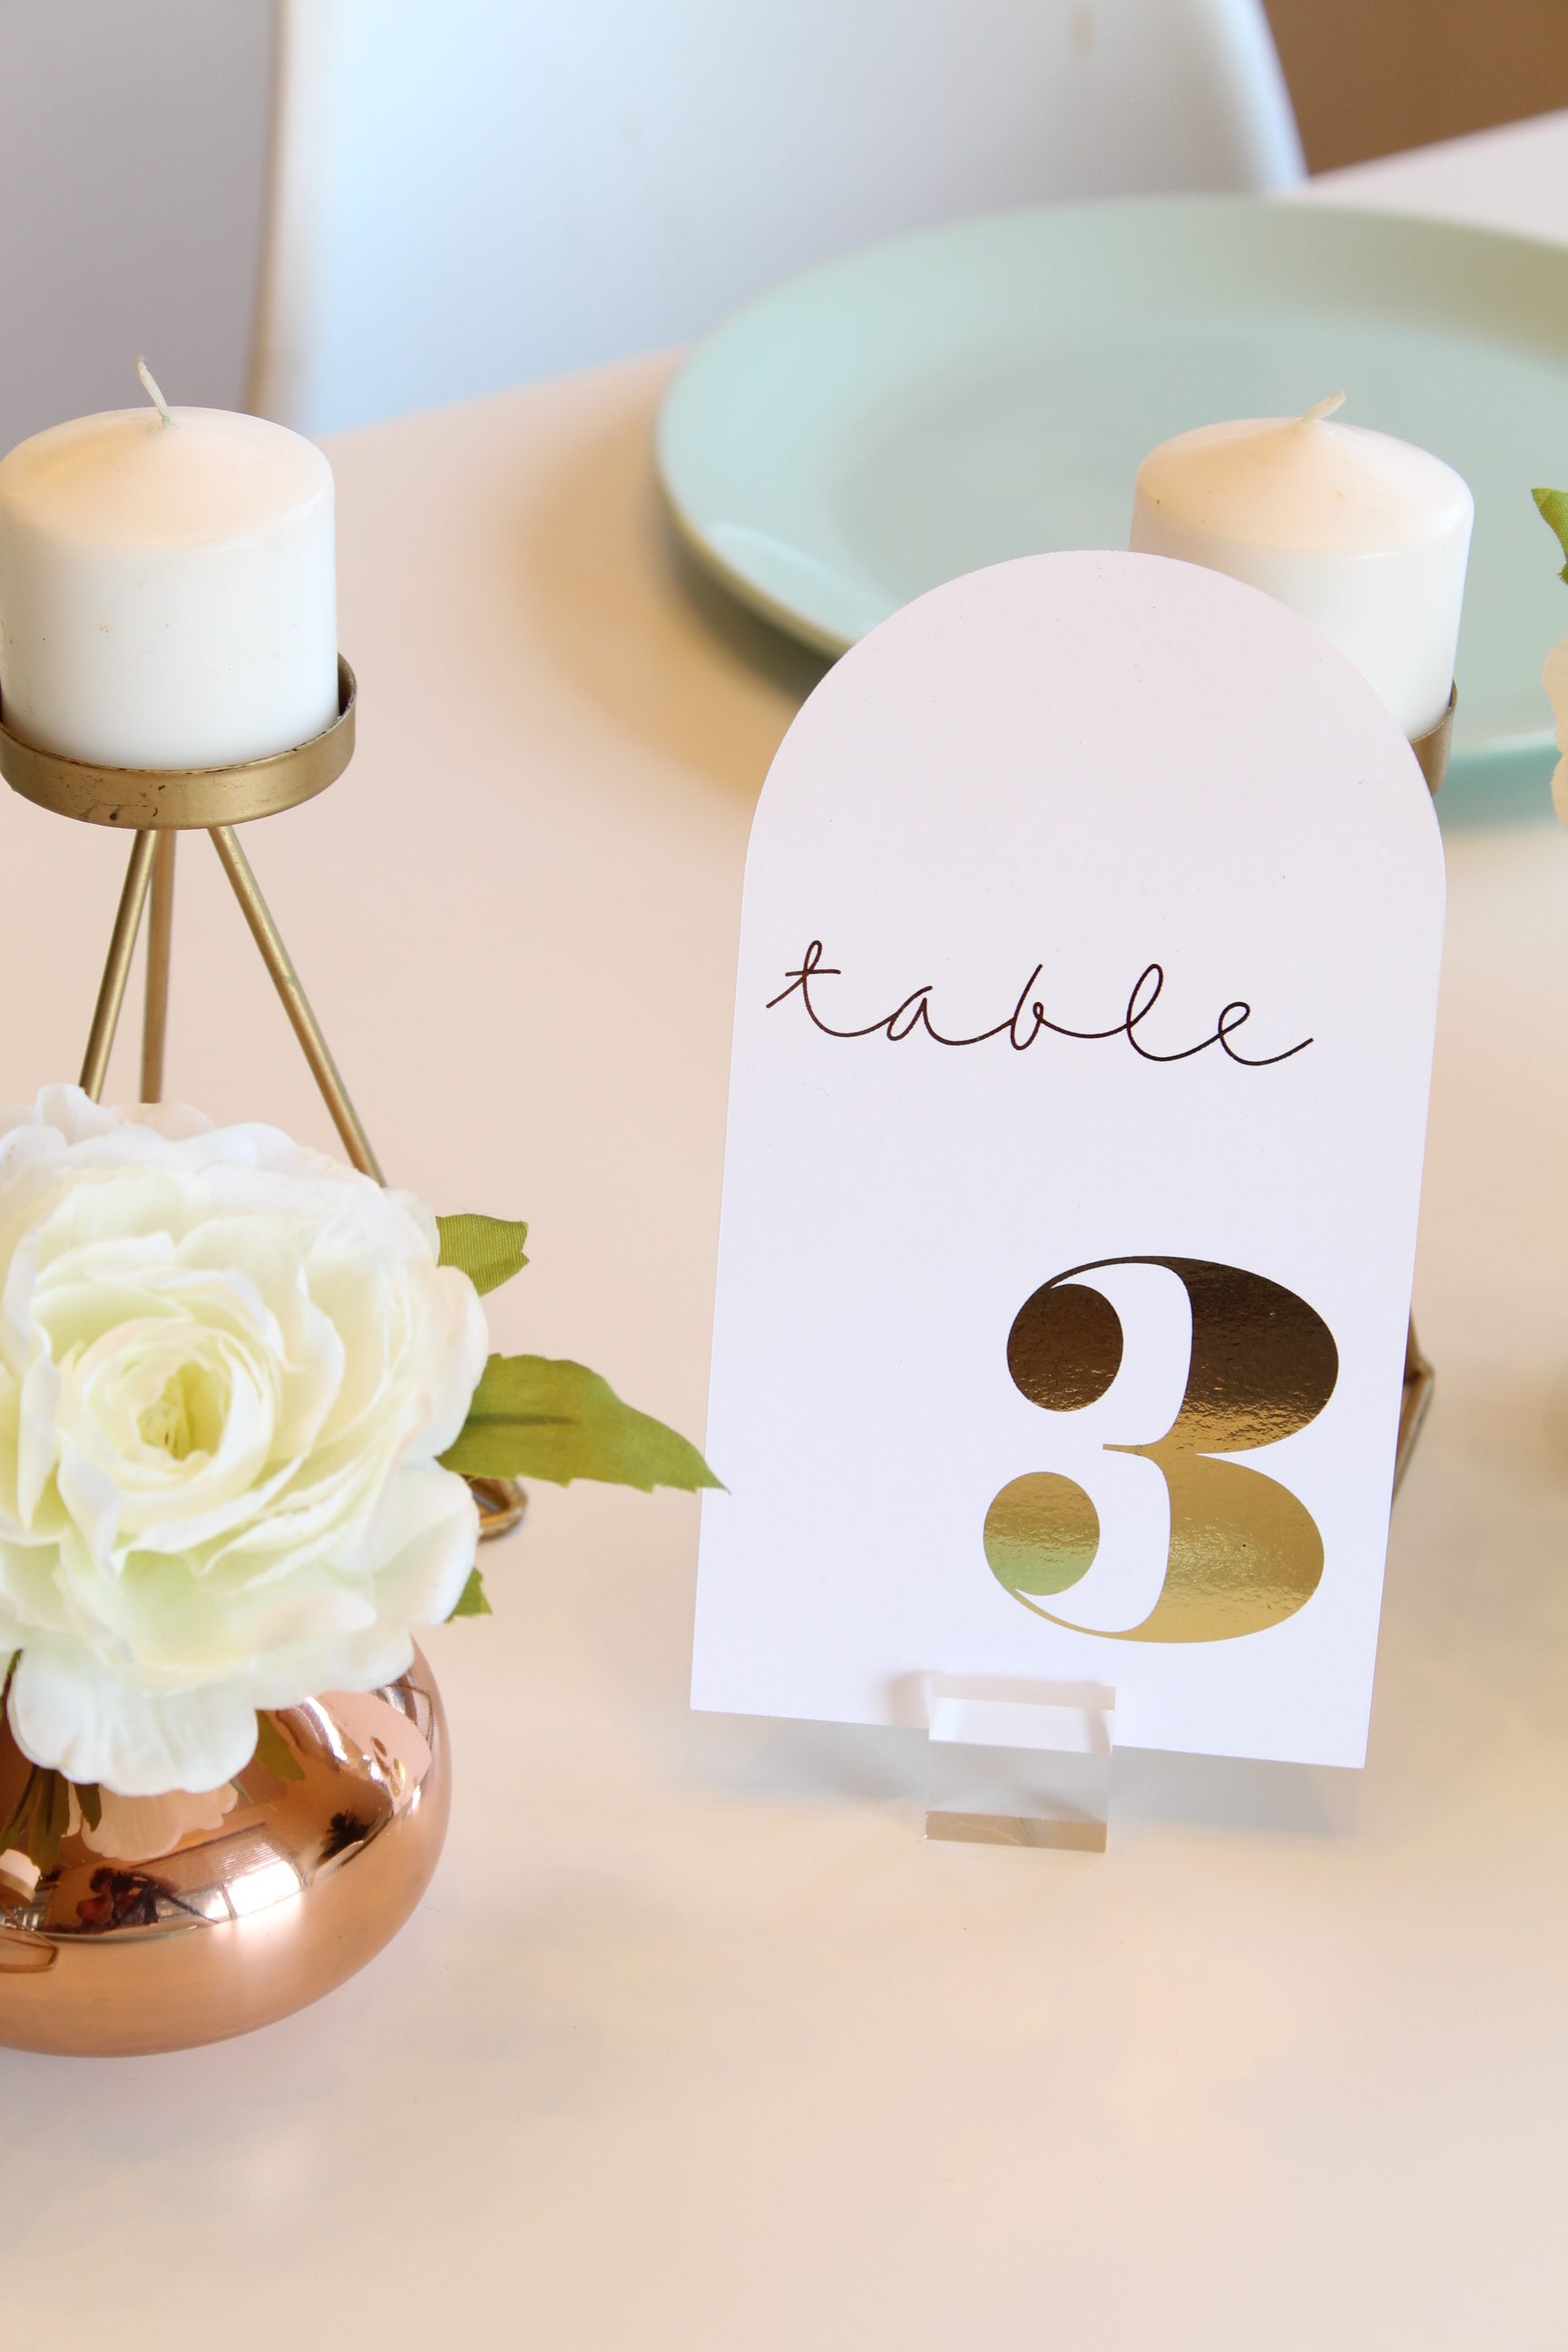
Hi friends! Shea back with another DIY for all you brides-to-be looking for a simple modern table number idea. So I actually got married almost seven years ago now but I still love looking at wedding trends and inspirations. Lately I’ve been loving the modern arch shape that has been taking over the wedding scene. And I always love a good gold foiled element so that is where this table number idea was born.
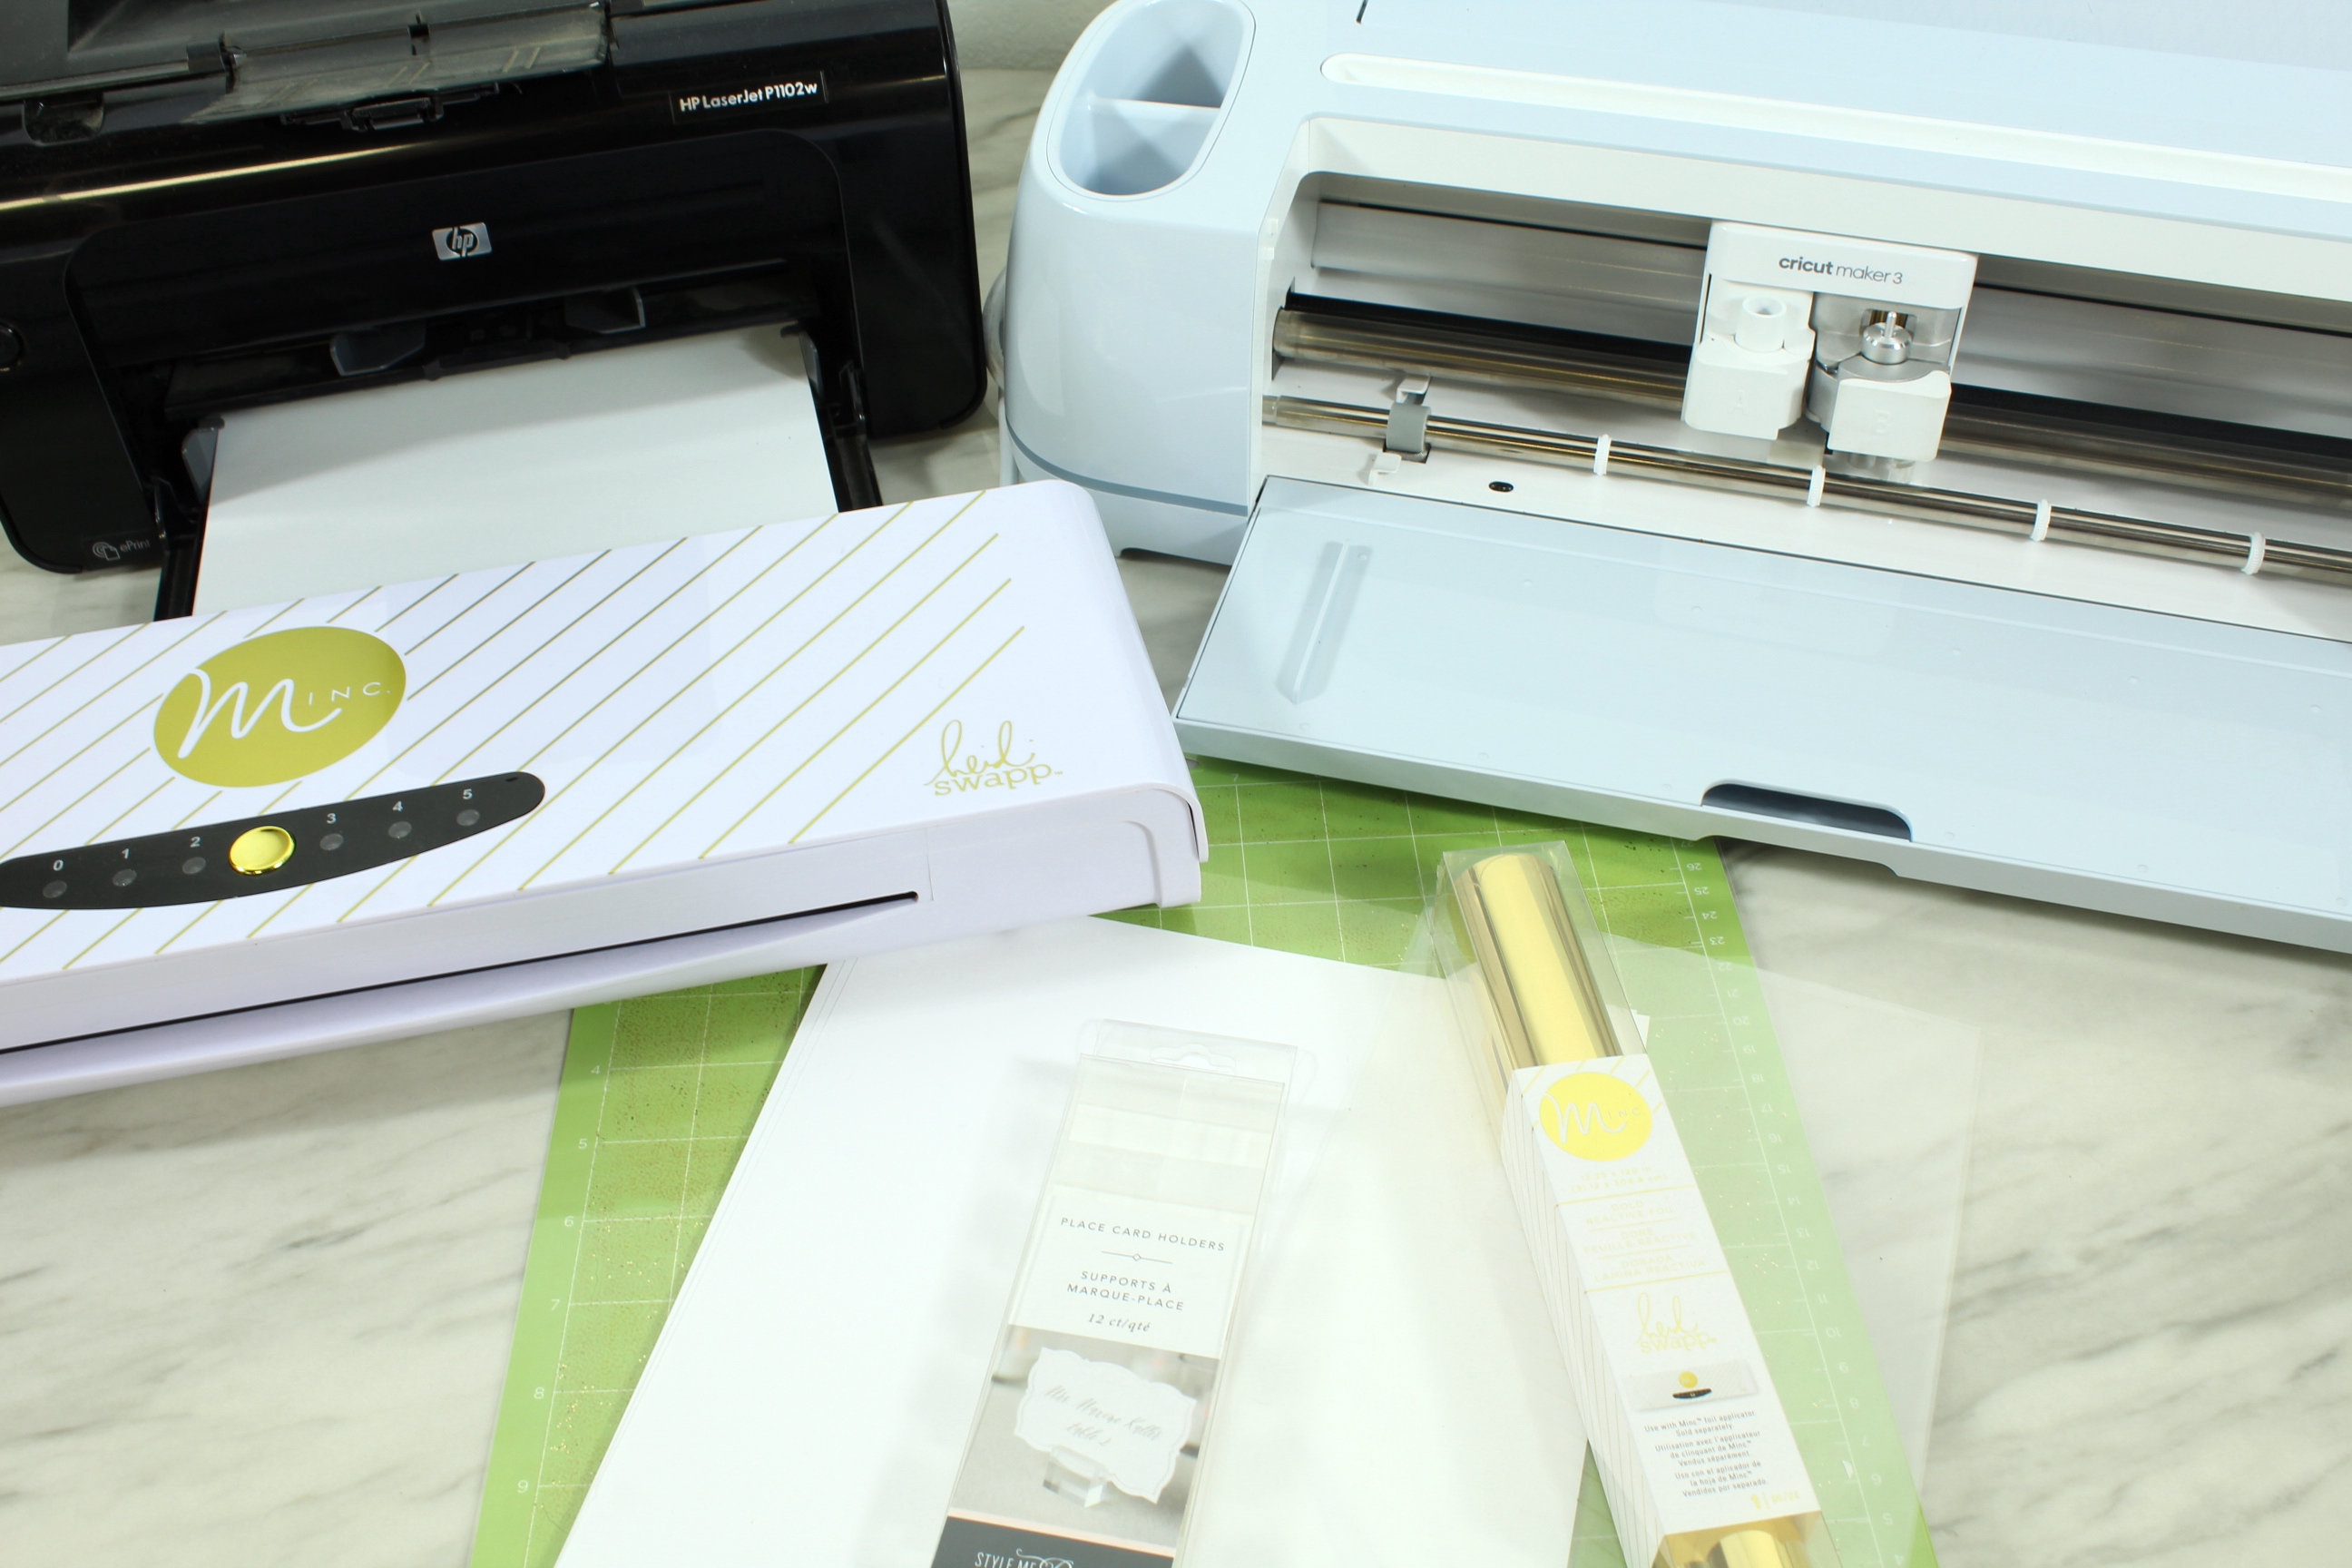
Supplies:
- Cricut Machine
- Cricut Standard Grip Mat
- Laserjet Printer
- White Cardstock
- Heidi Swapp Minc Machine
- Minc Carrier Sheet
- Gold Heat Reactive Foil
- Acrylic Place Card Holders
NOTE: You can absolutely do this project without using a laserjet printer and foiling if you’d prefer just a black and white look also.
Open Design Space
All the design work has already been done for you! Simply click HERE to open the design space file. Then click “Make It” and you will be prompted to print.

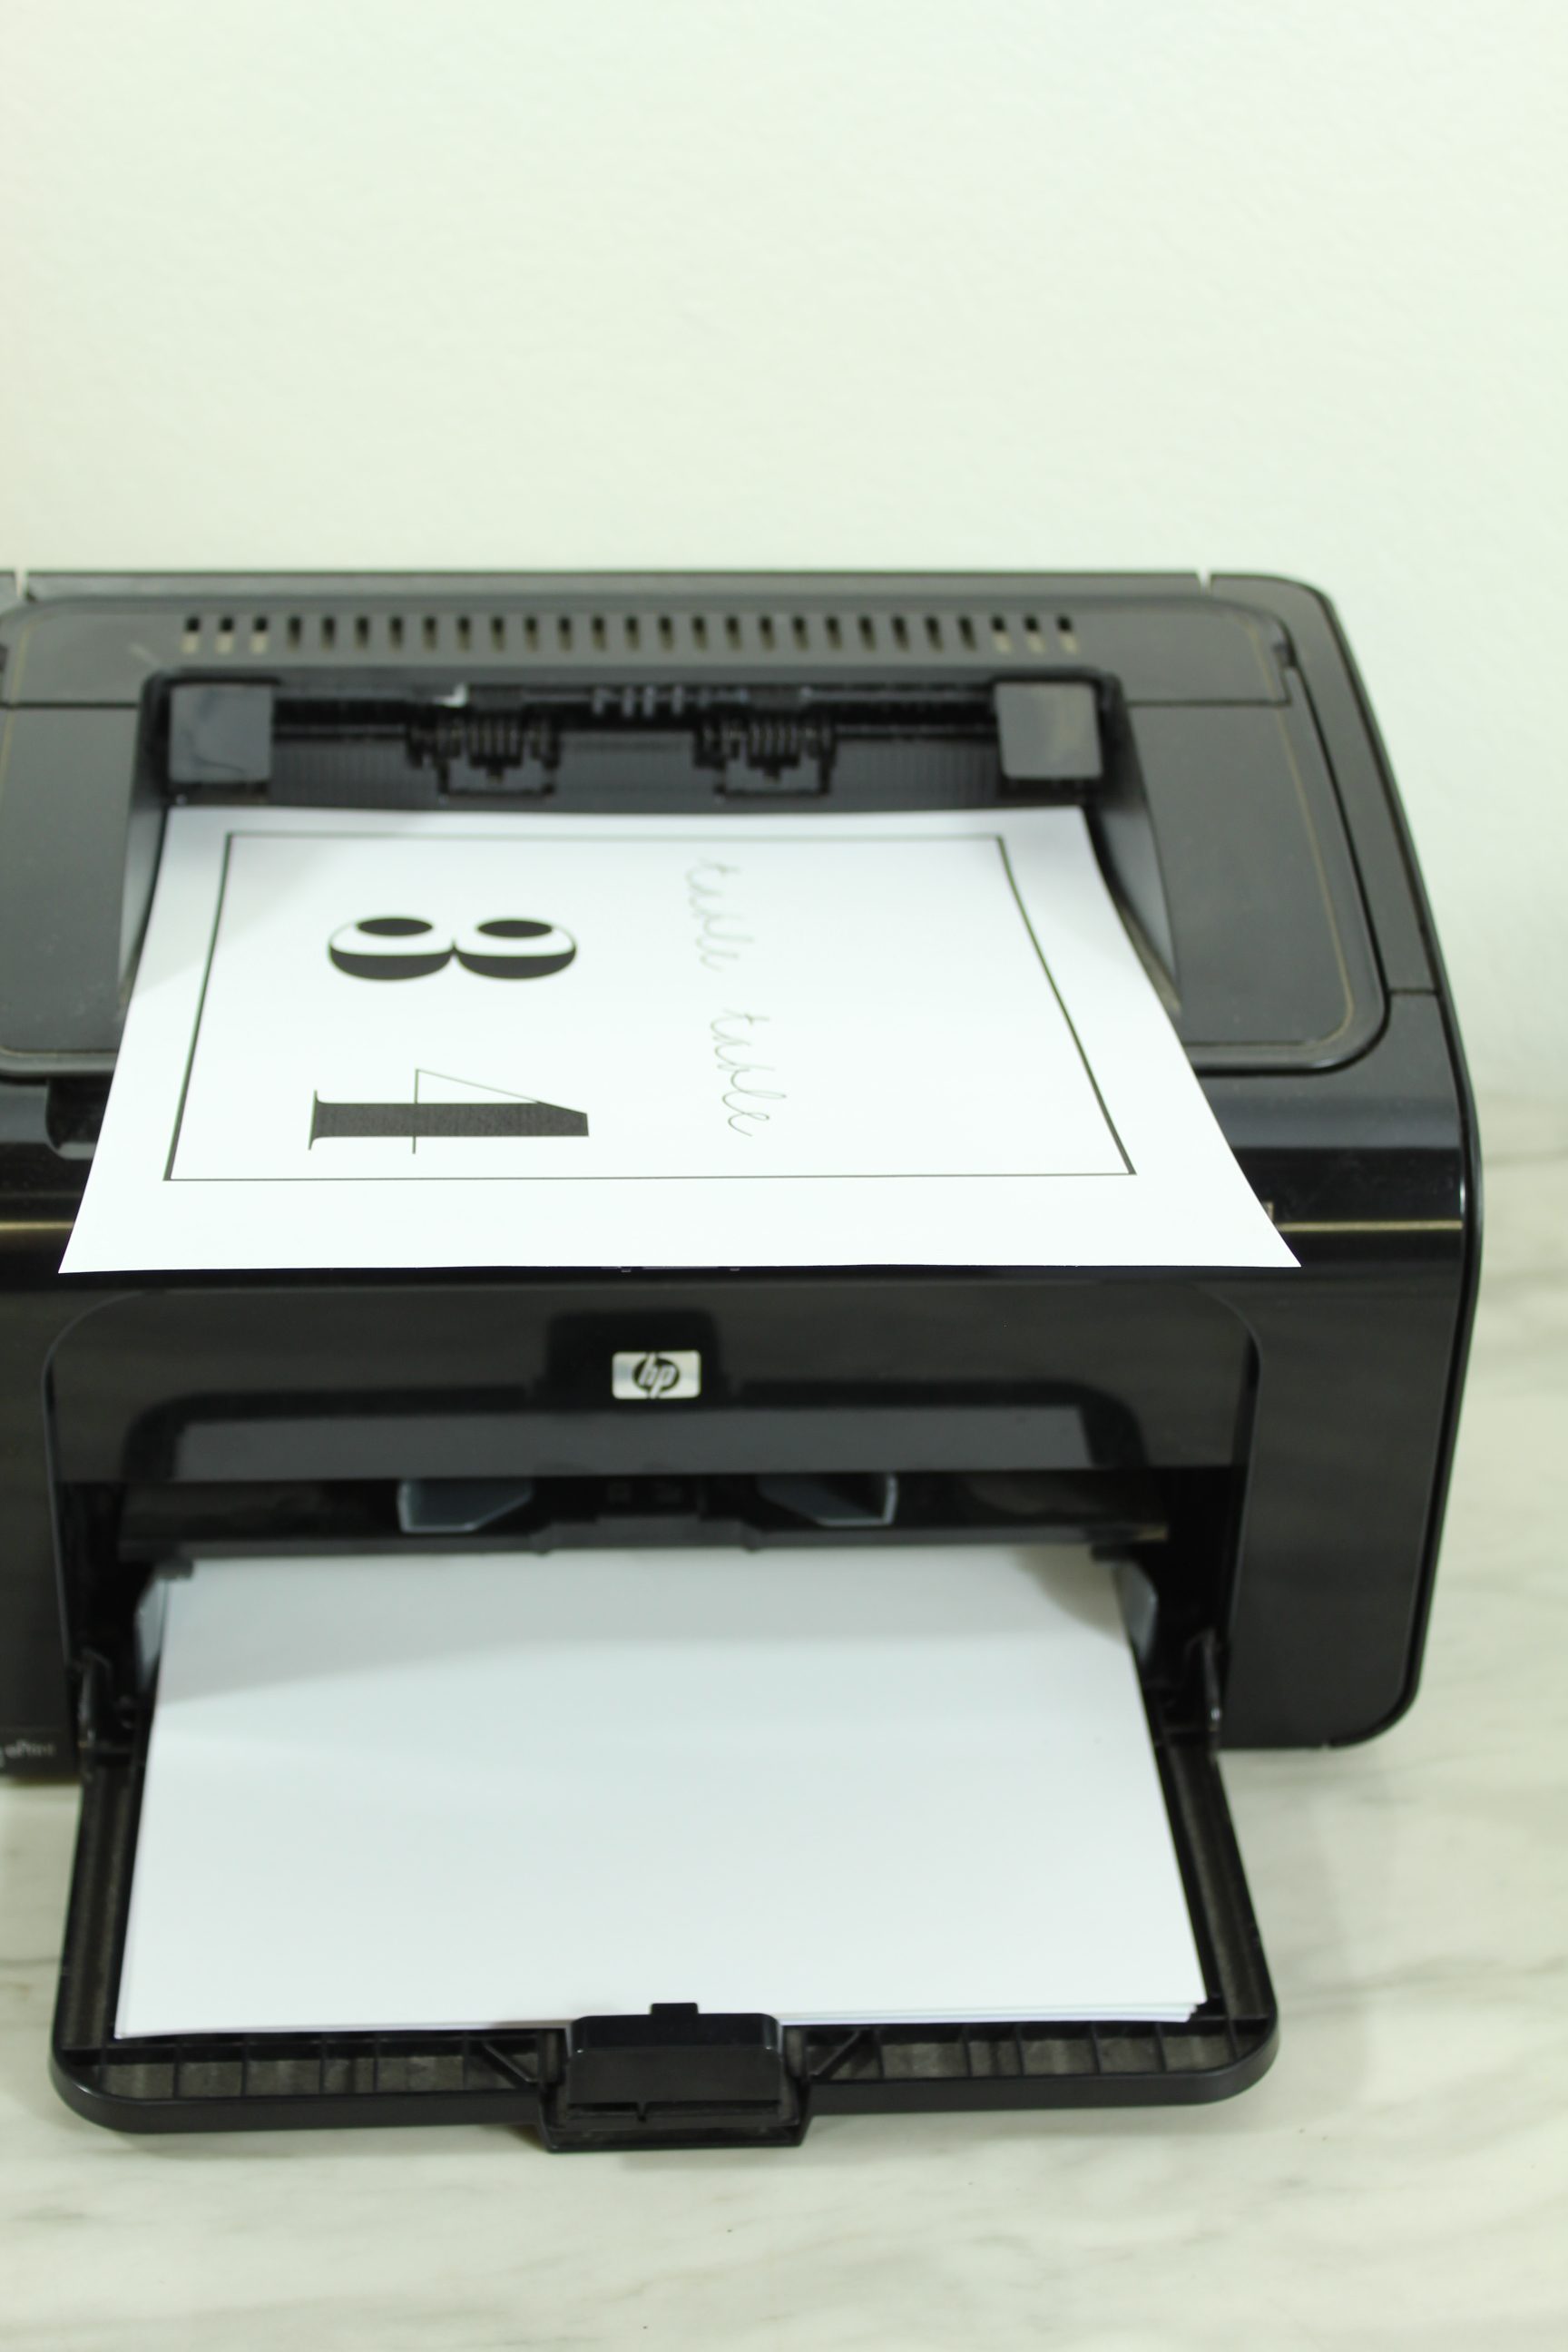
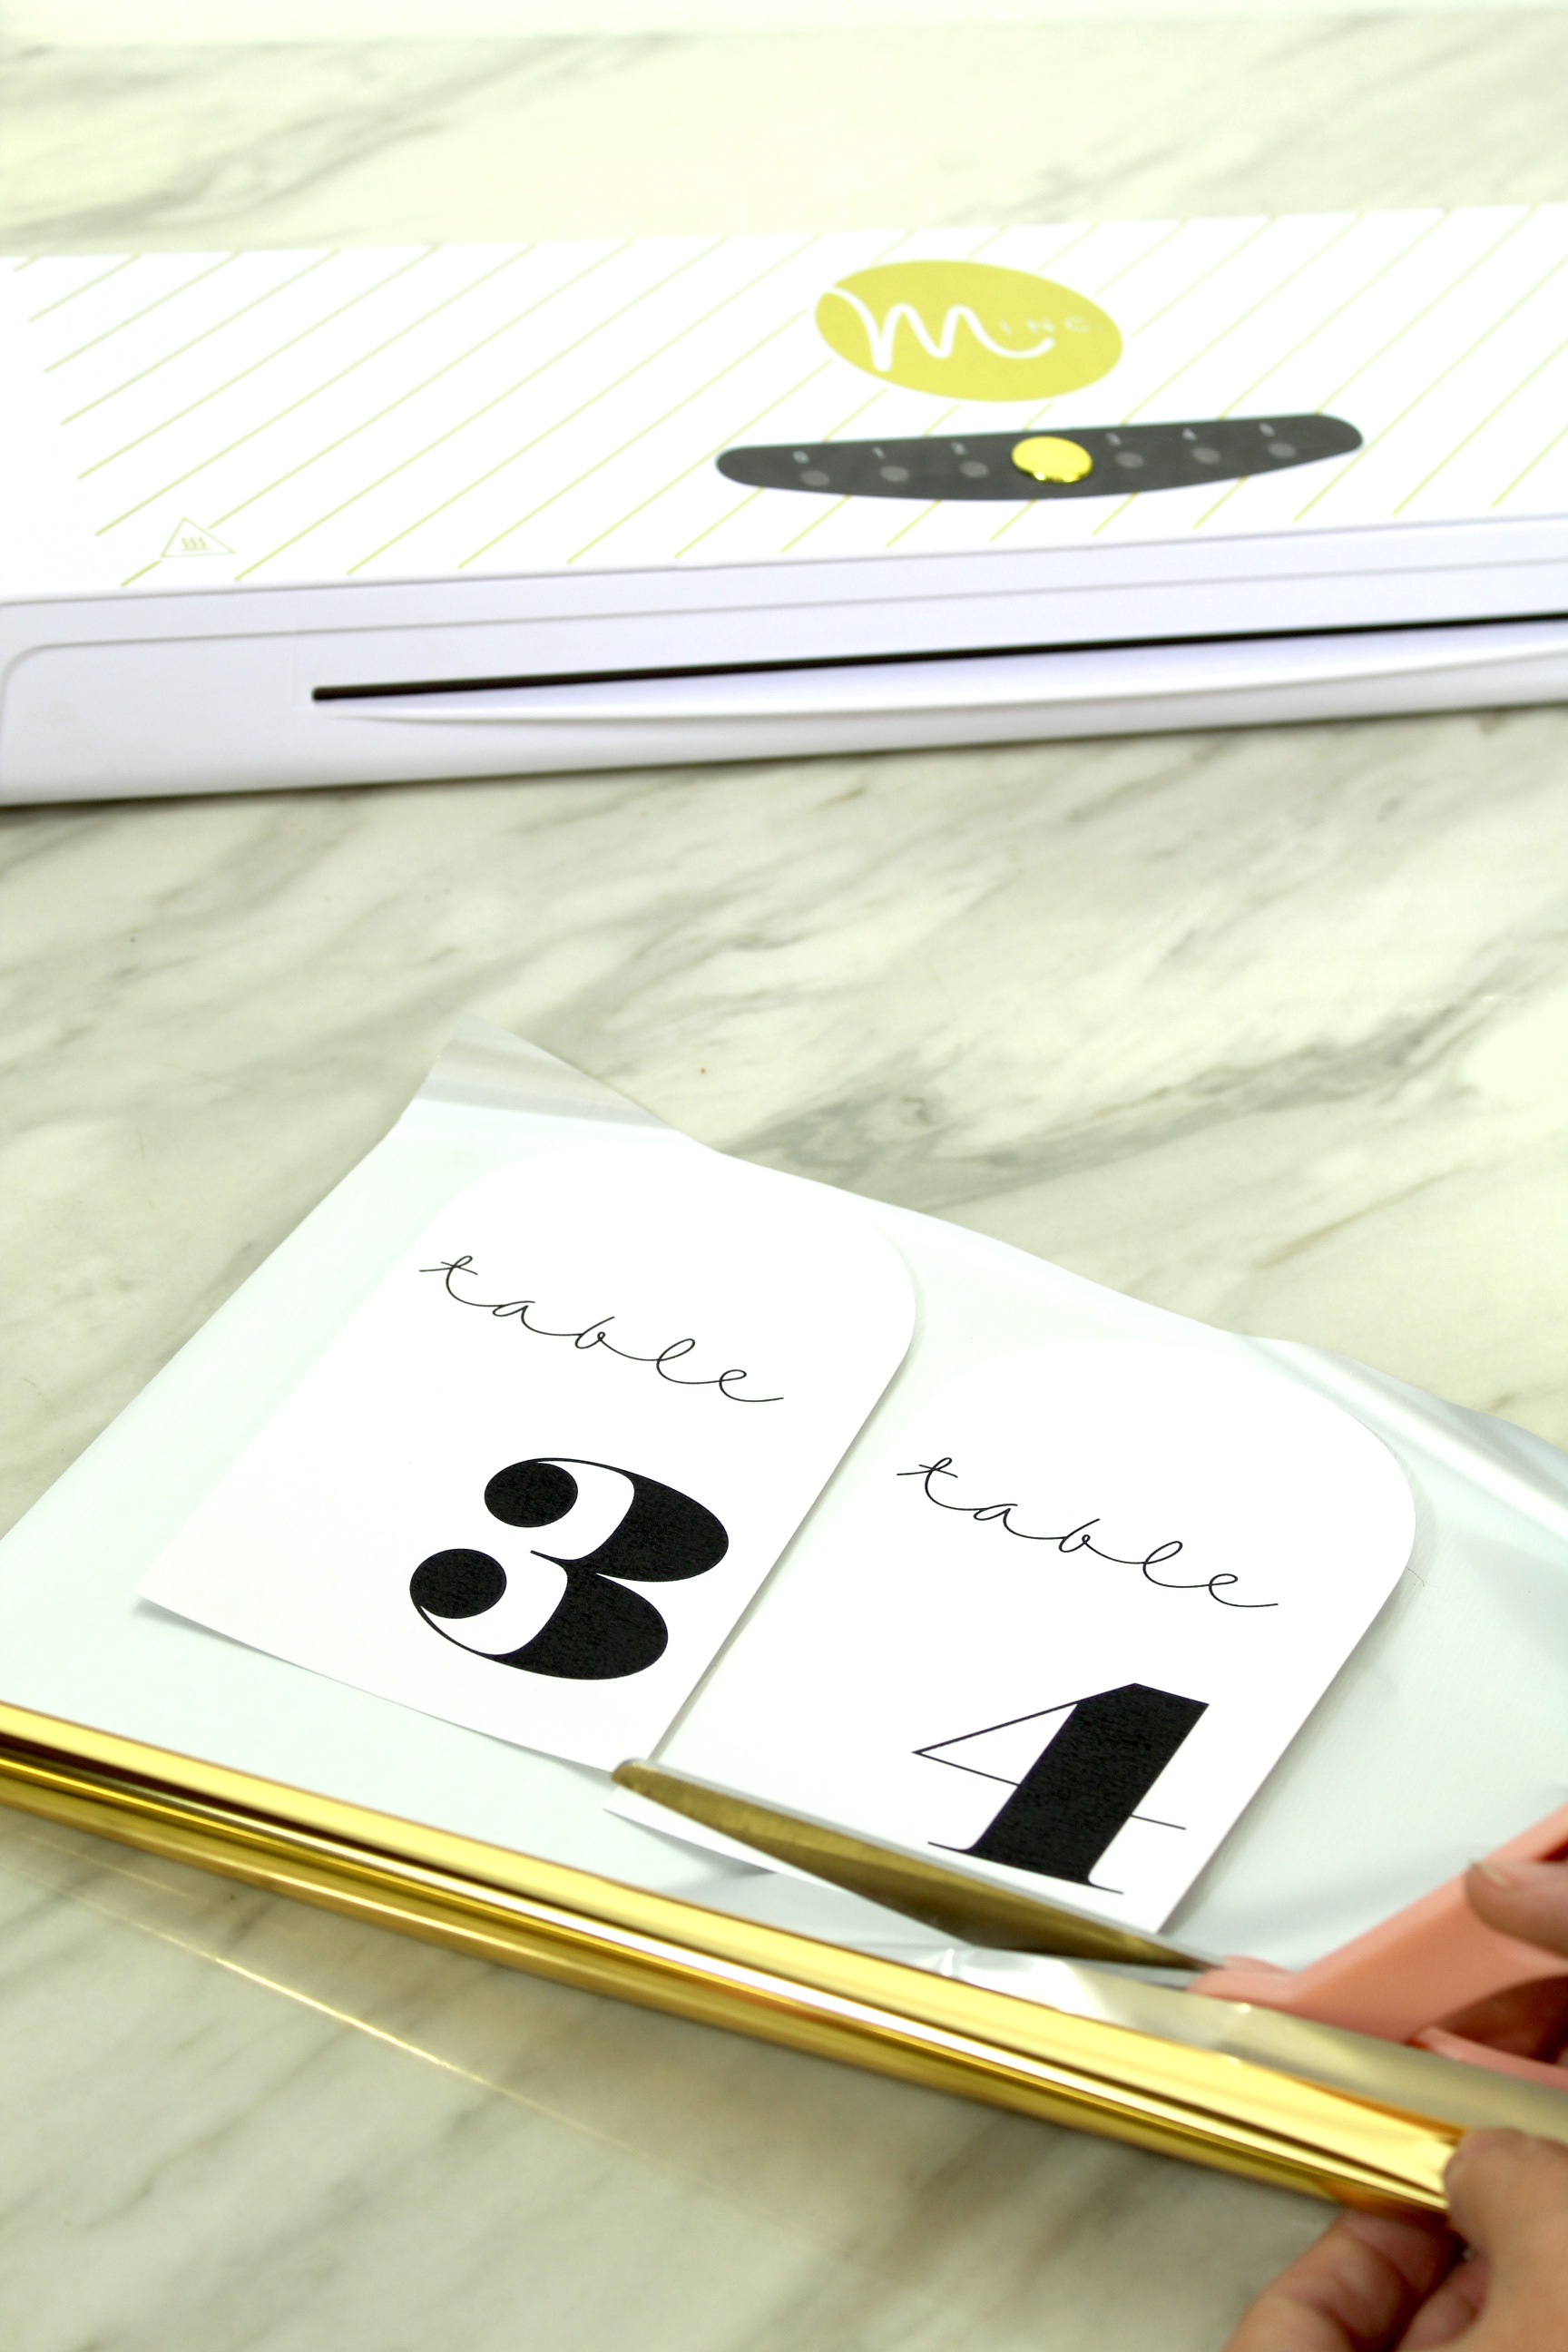
Print Your Table Numbers
Print however many table numbers you might need (our file goes up to 12 but if you need more than that feel free to reach out and we can add more).
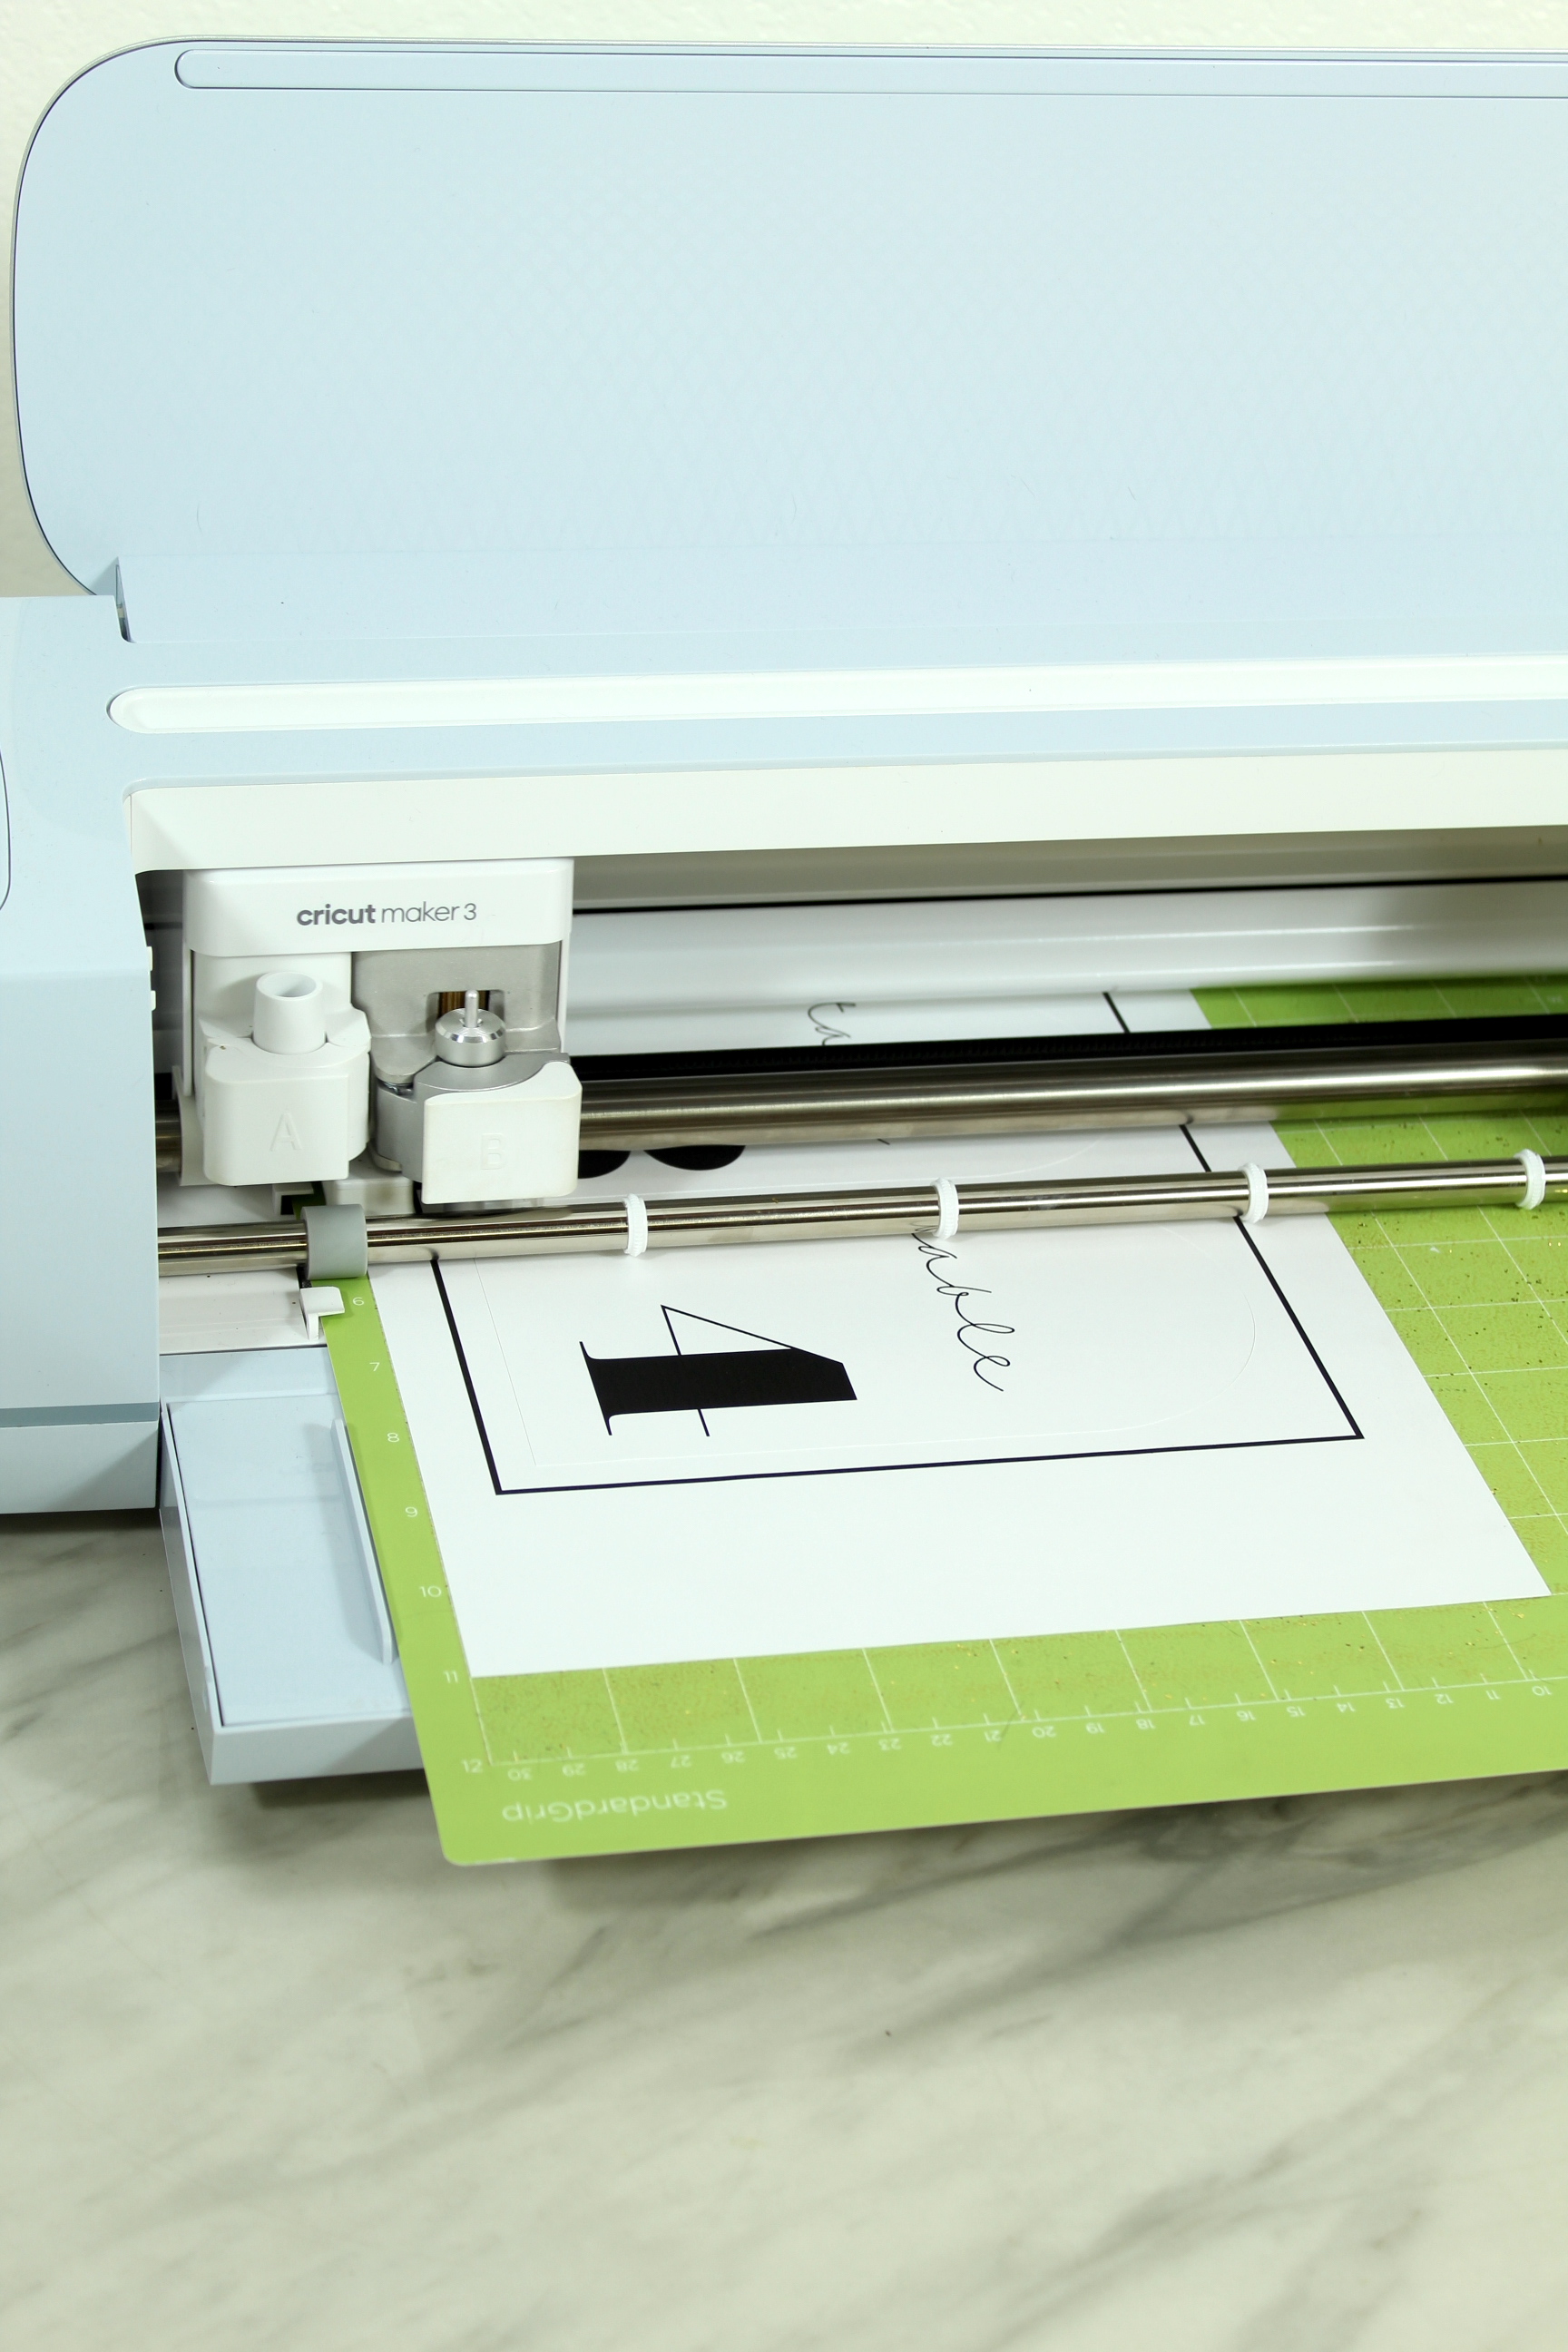
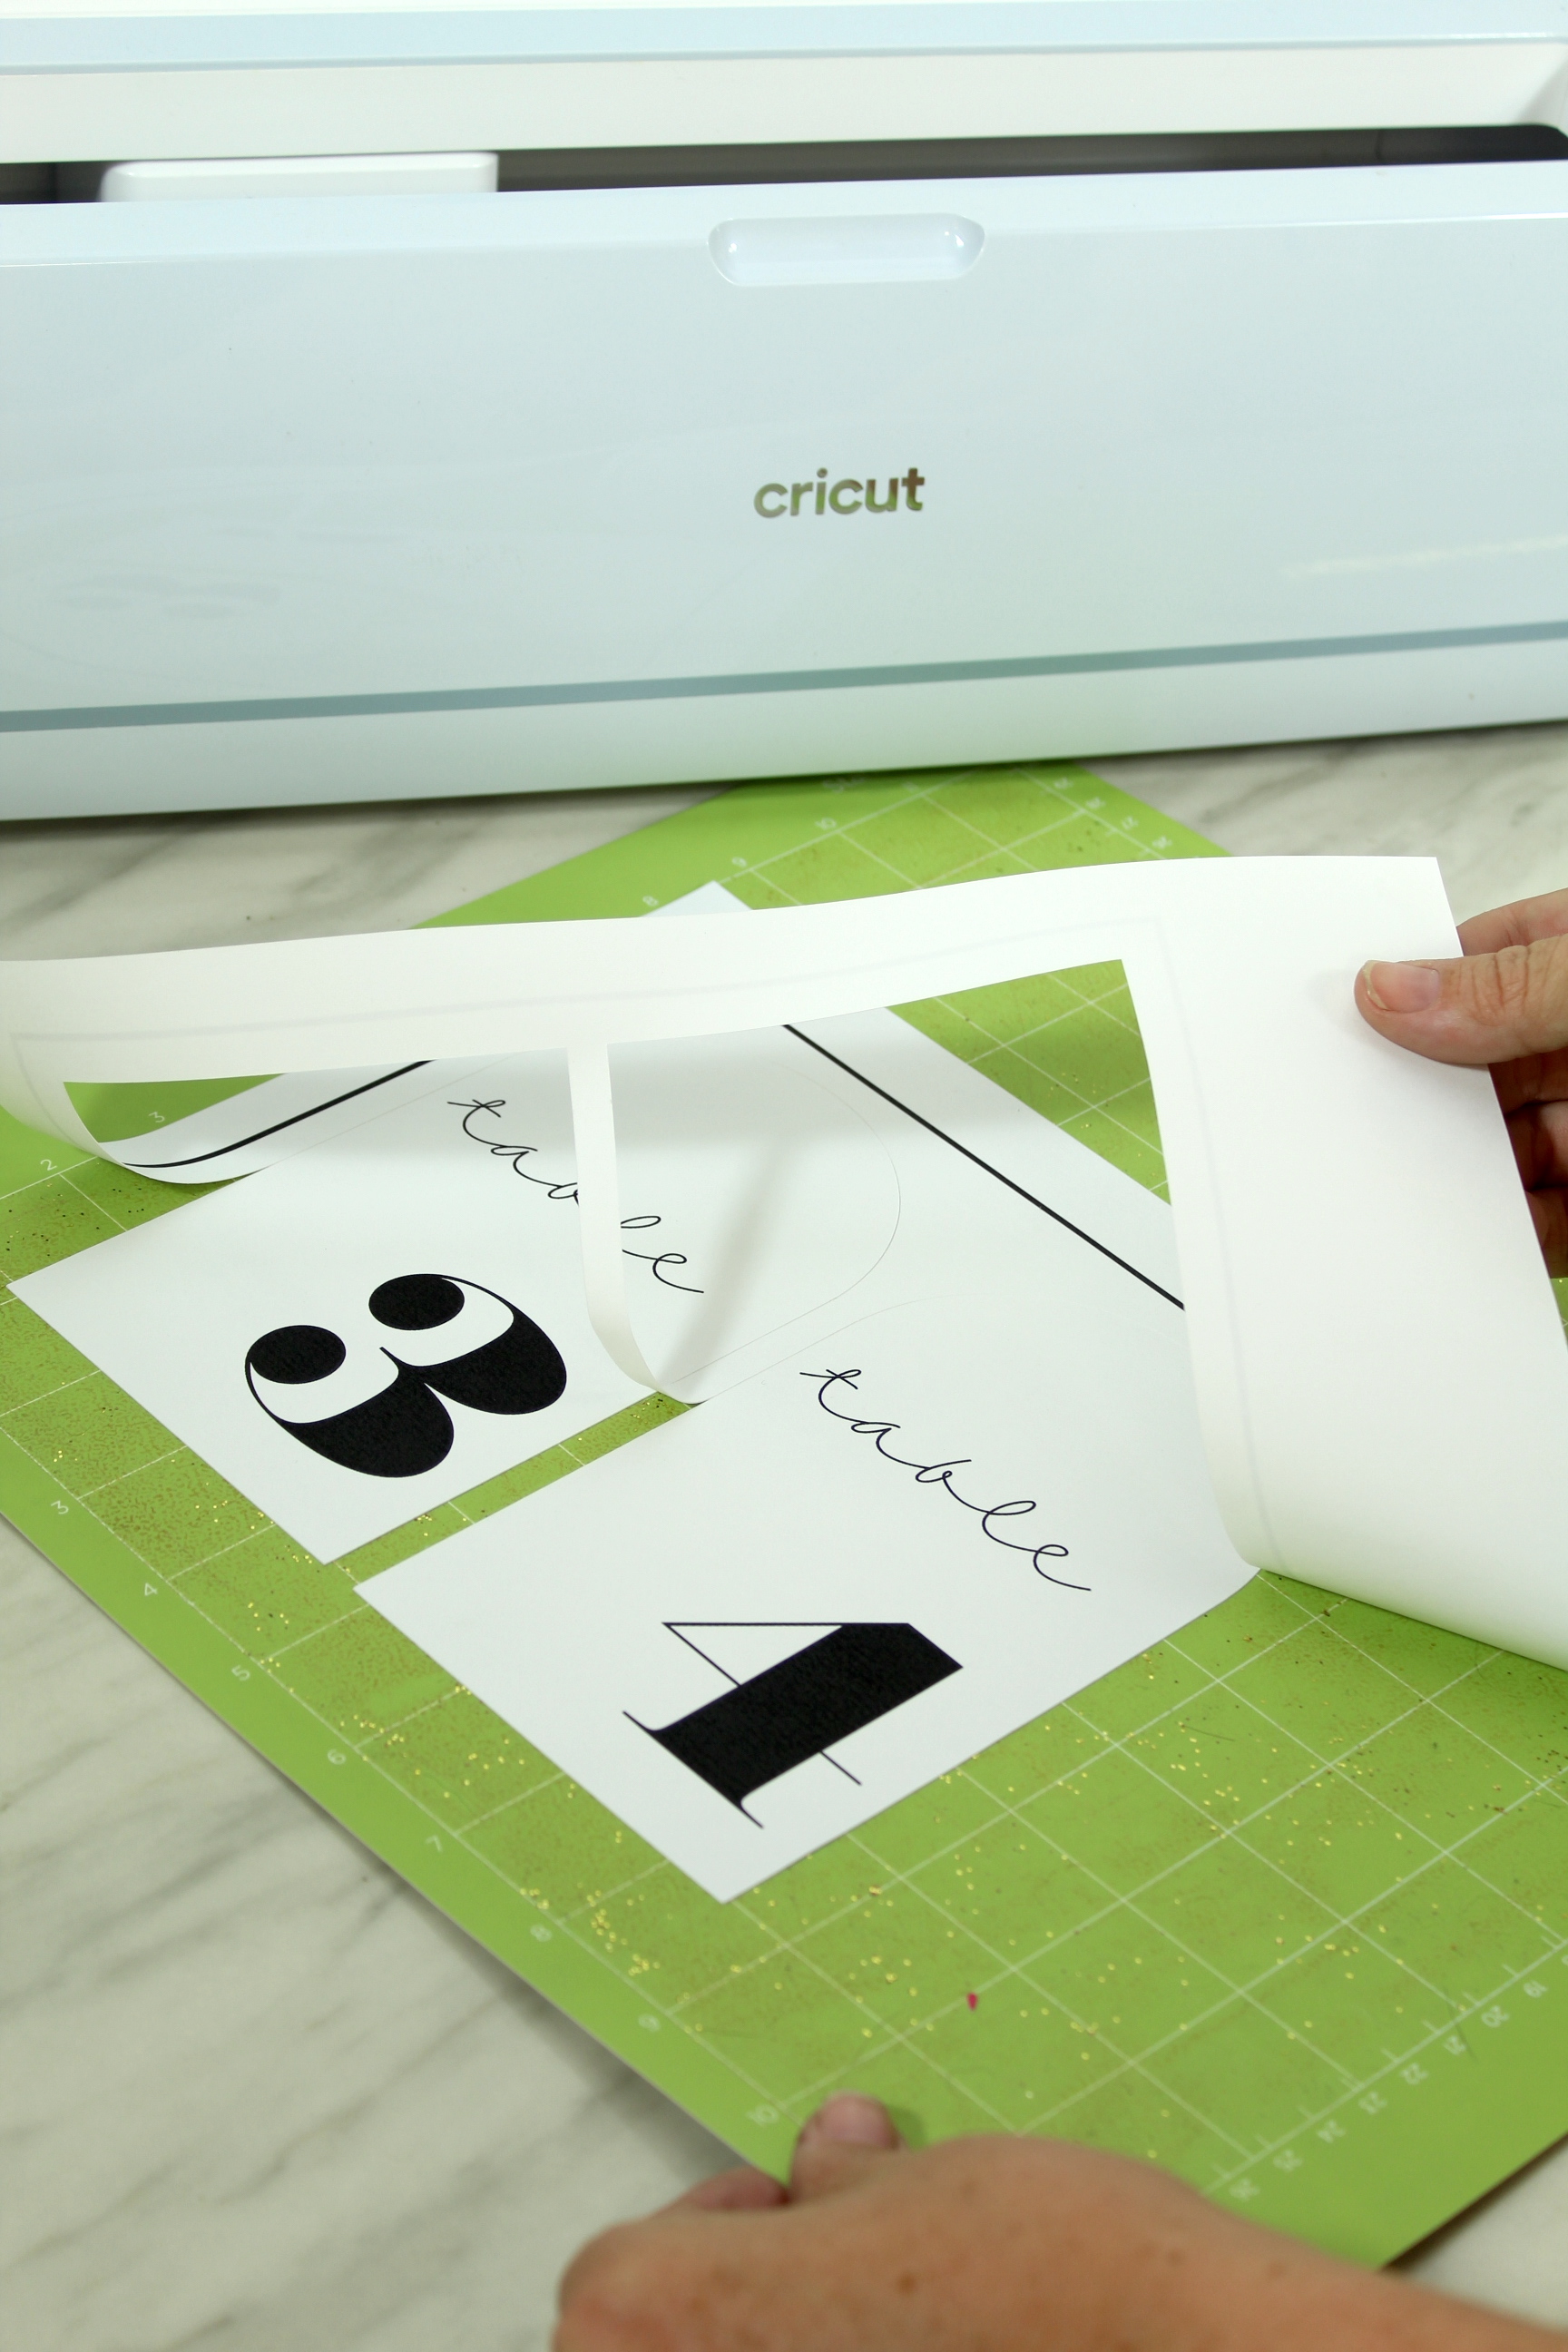
Cut Your Project
Using the print then cut feature is seriously my favorite thing to do with my Cricut. I was always that person in grade school that would take forever to finish any project that involved cutting because I wanted it to be just right. Having a Cricut means everything is cut perfect EVERY. SINGLE. TIME. It seriously never gets old.

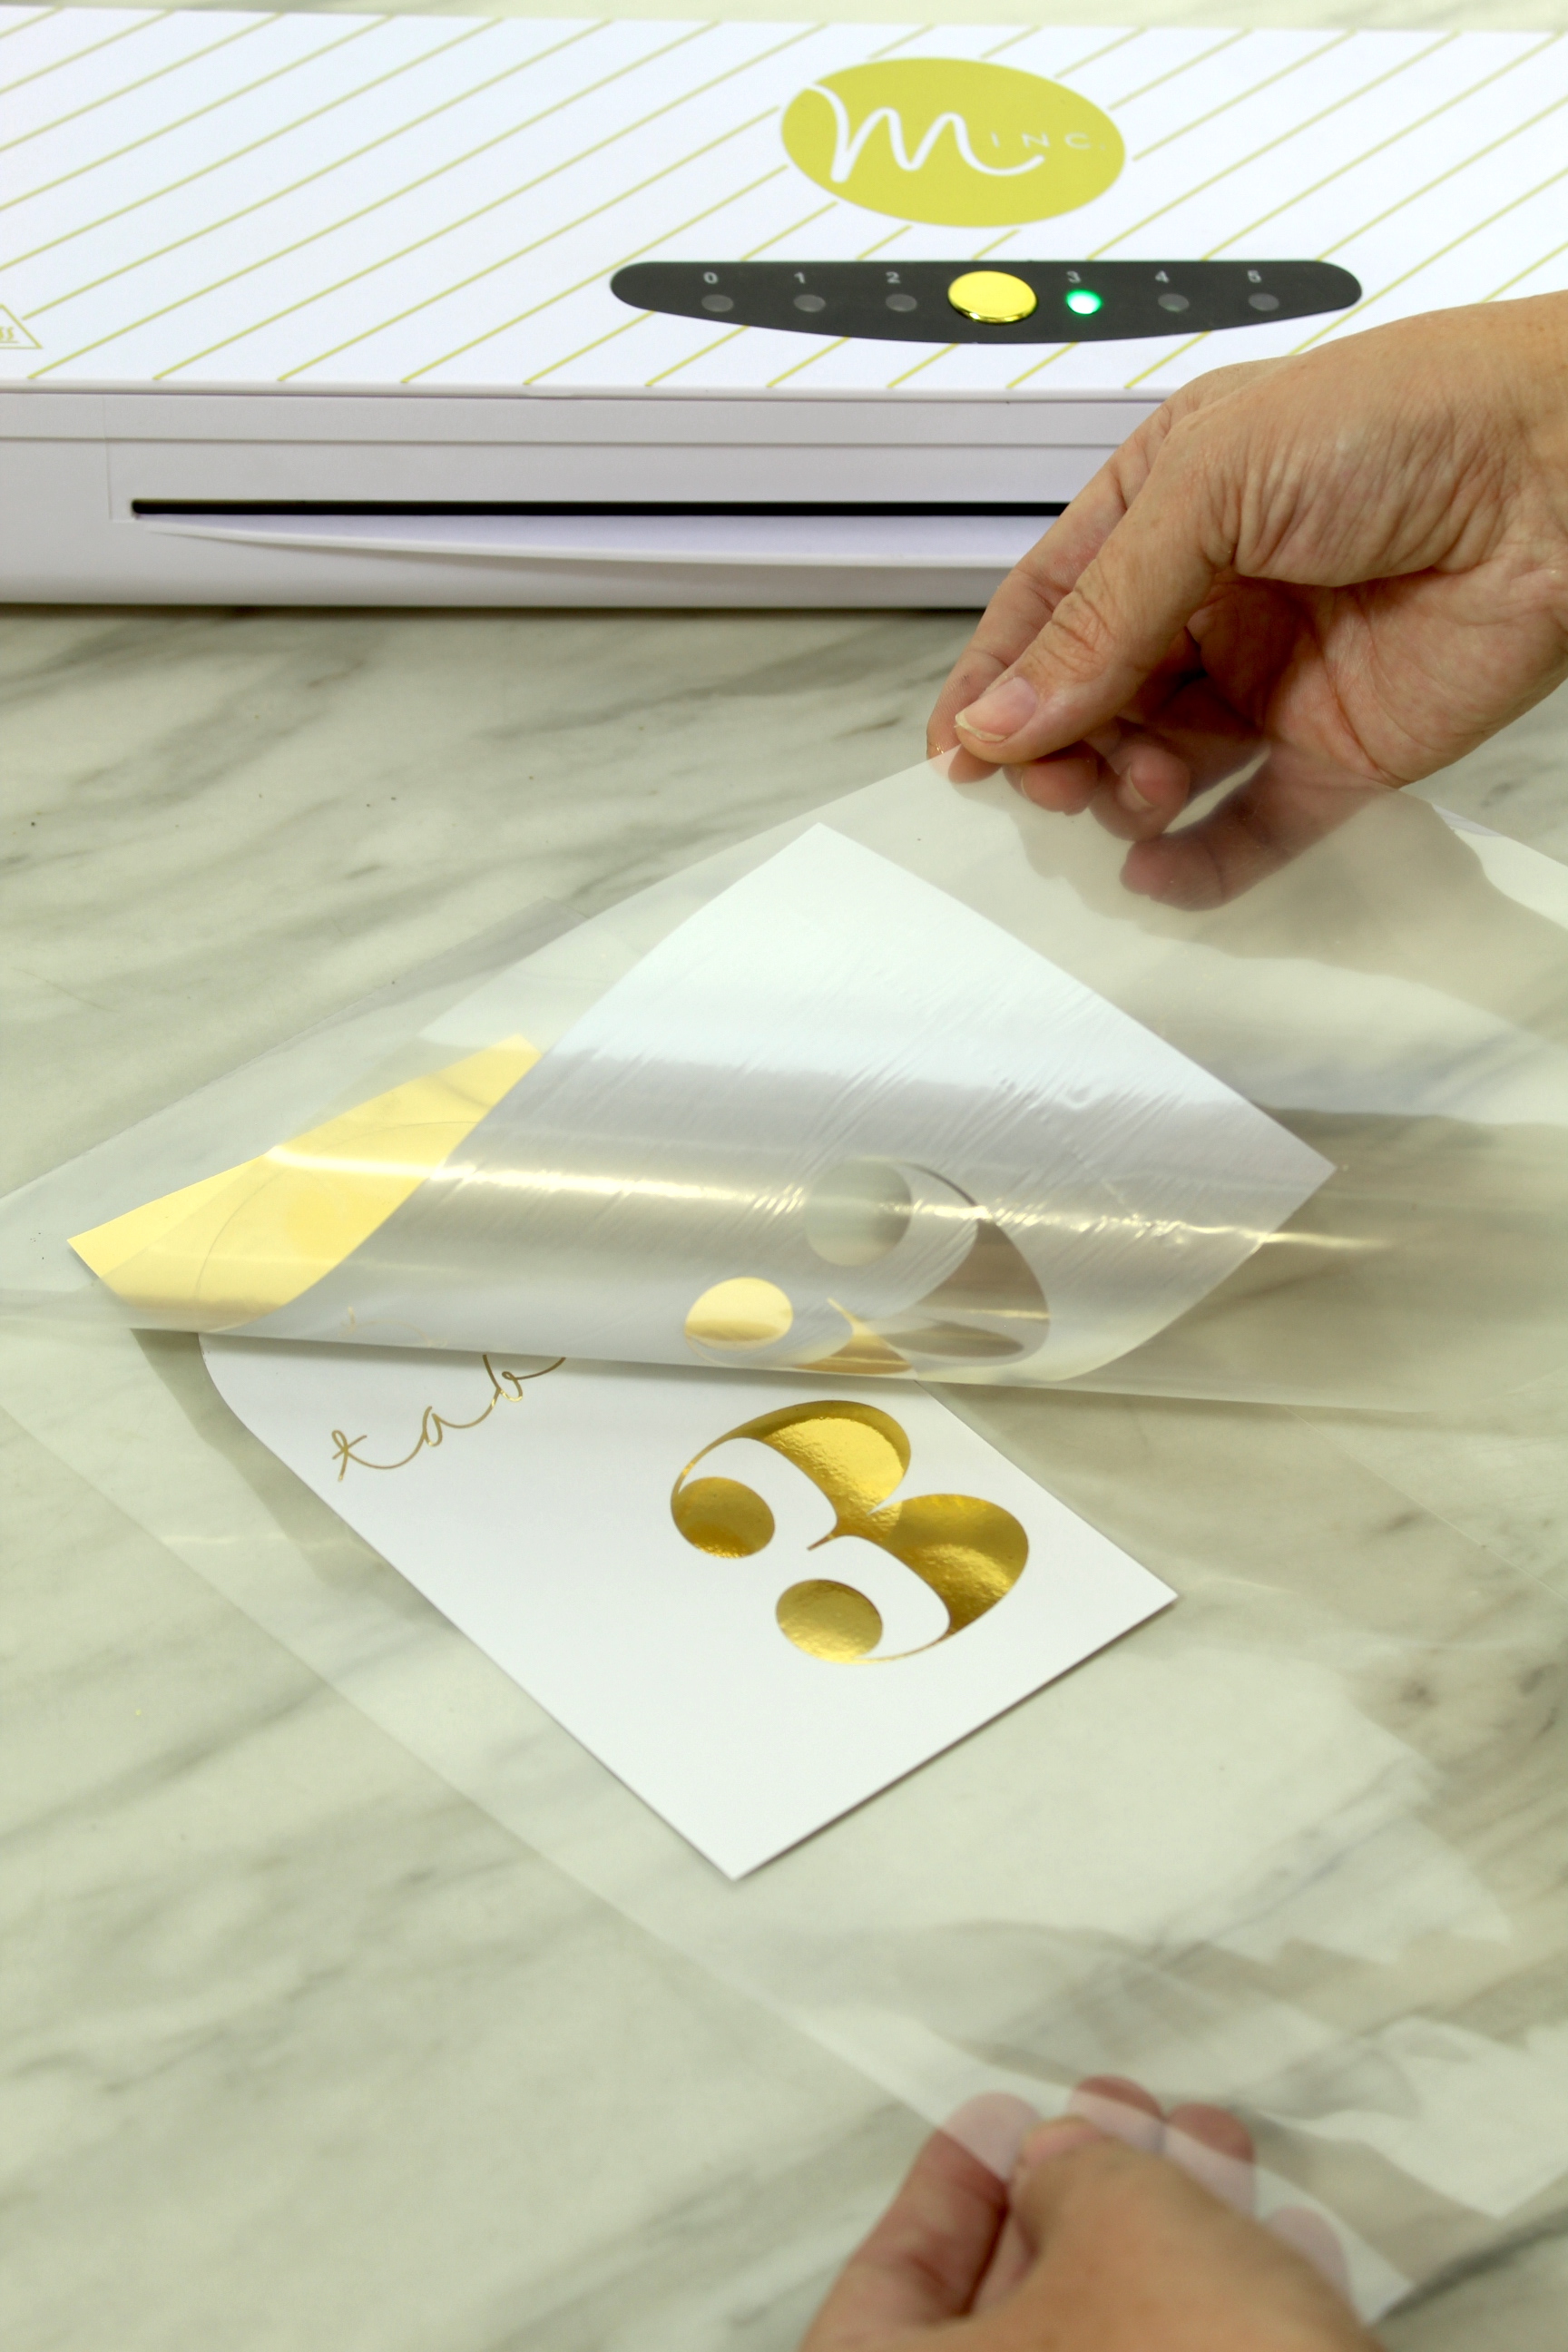
Time to Foil
It’s no secret that my Cricut machines are my favorite crafting tools but my Minc machine is a very close second. Being able to foil anything I want? Sign me up! So the way the Minc machine works is, you must print on a laserjet printer and then when you lay the foil over the top of it and send it through your Minc, the toner and heat reactive foil fuse together to create a gorgeous foiled effect. I love using my Minc for everything from greeting cards to gift tags and everything in between. It just gives your projects an elevated professional look. But enough of me gushing about my Minc machine… back to the project!
Cut your foil down to size to fit your printed project.
Lay your foil on top of all the areas that have the toner ink.
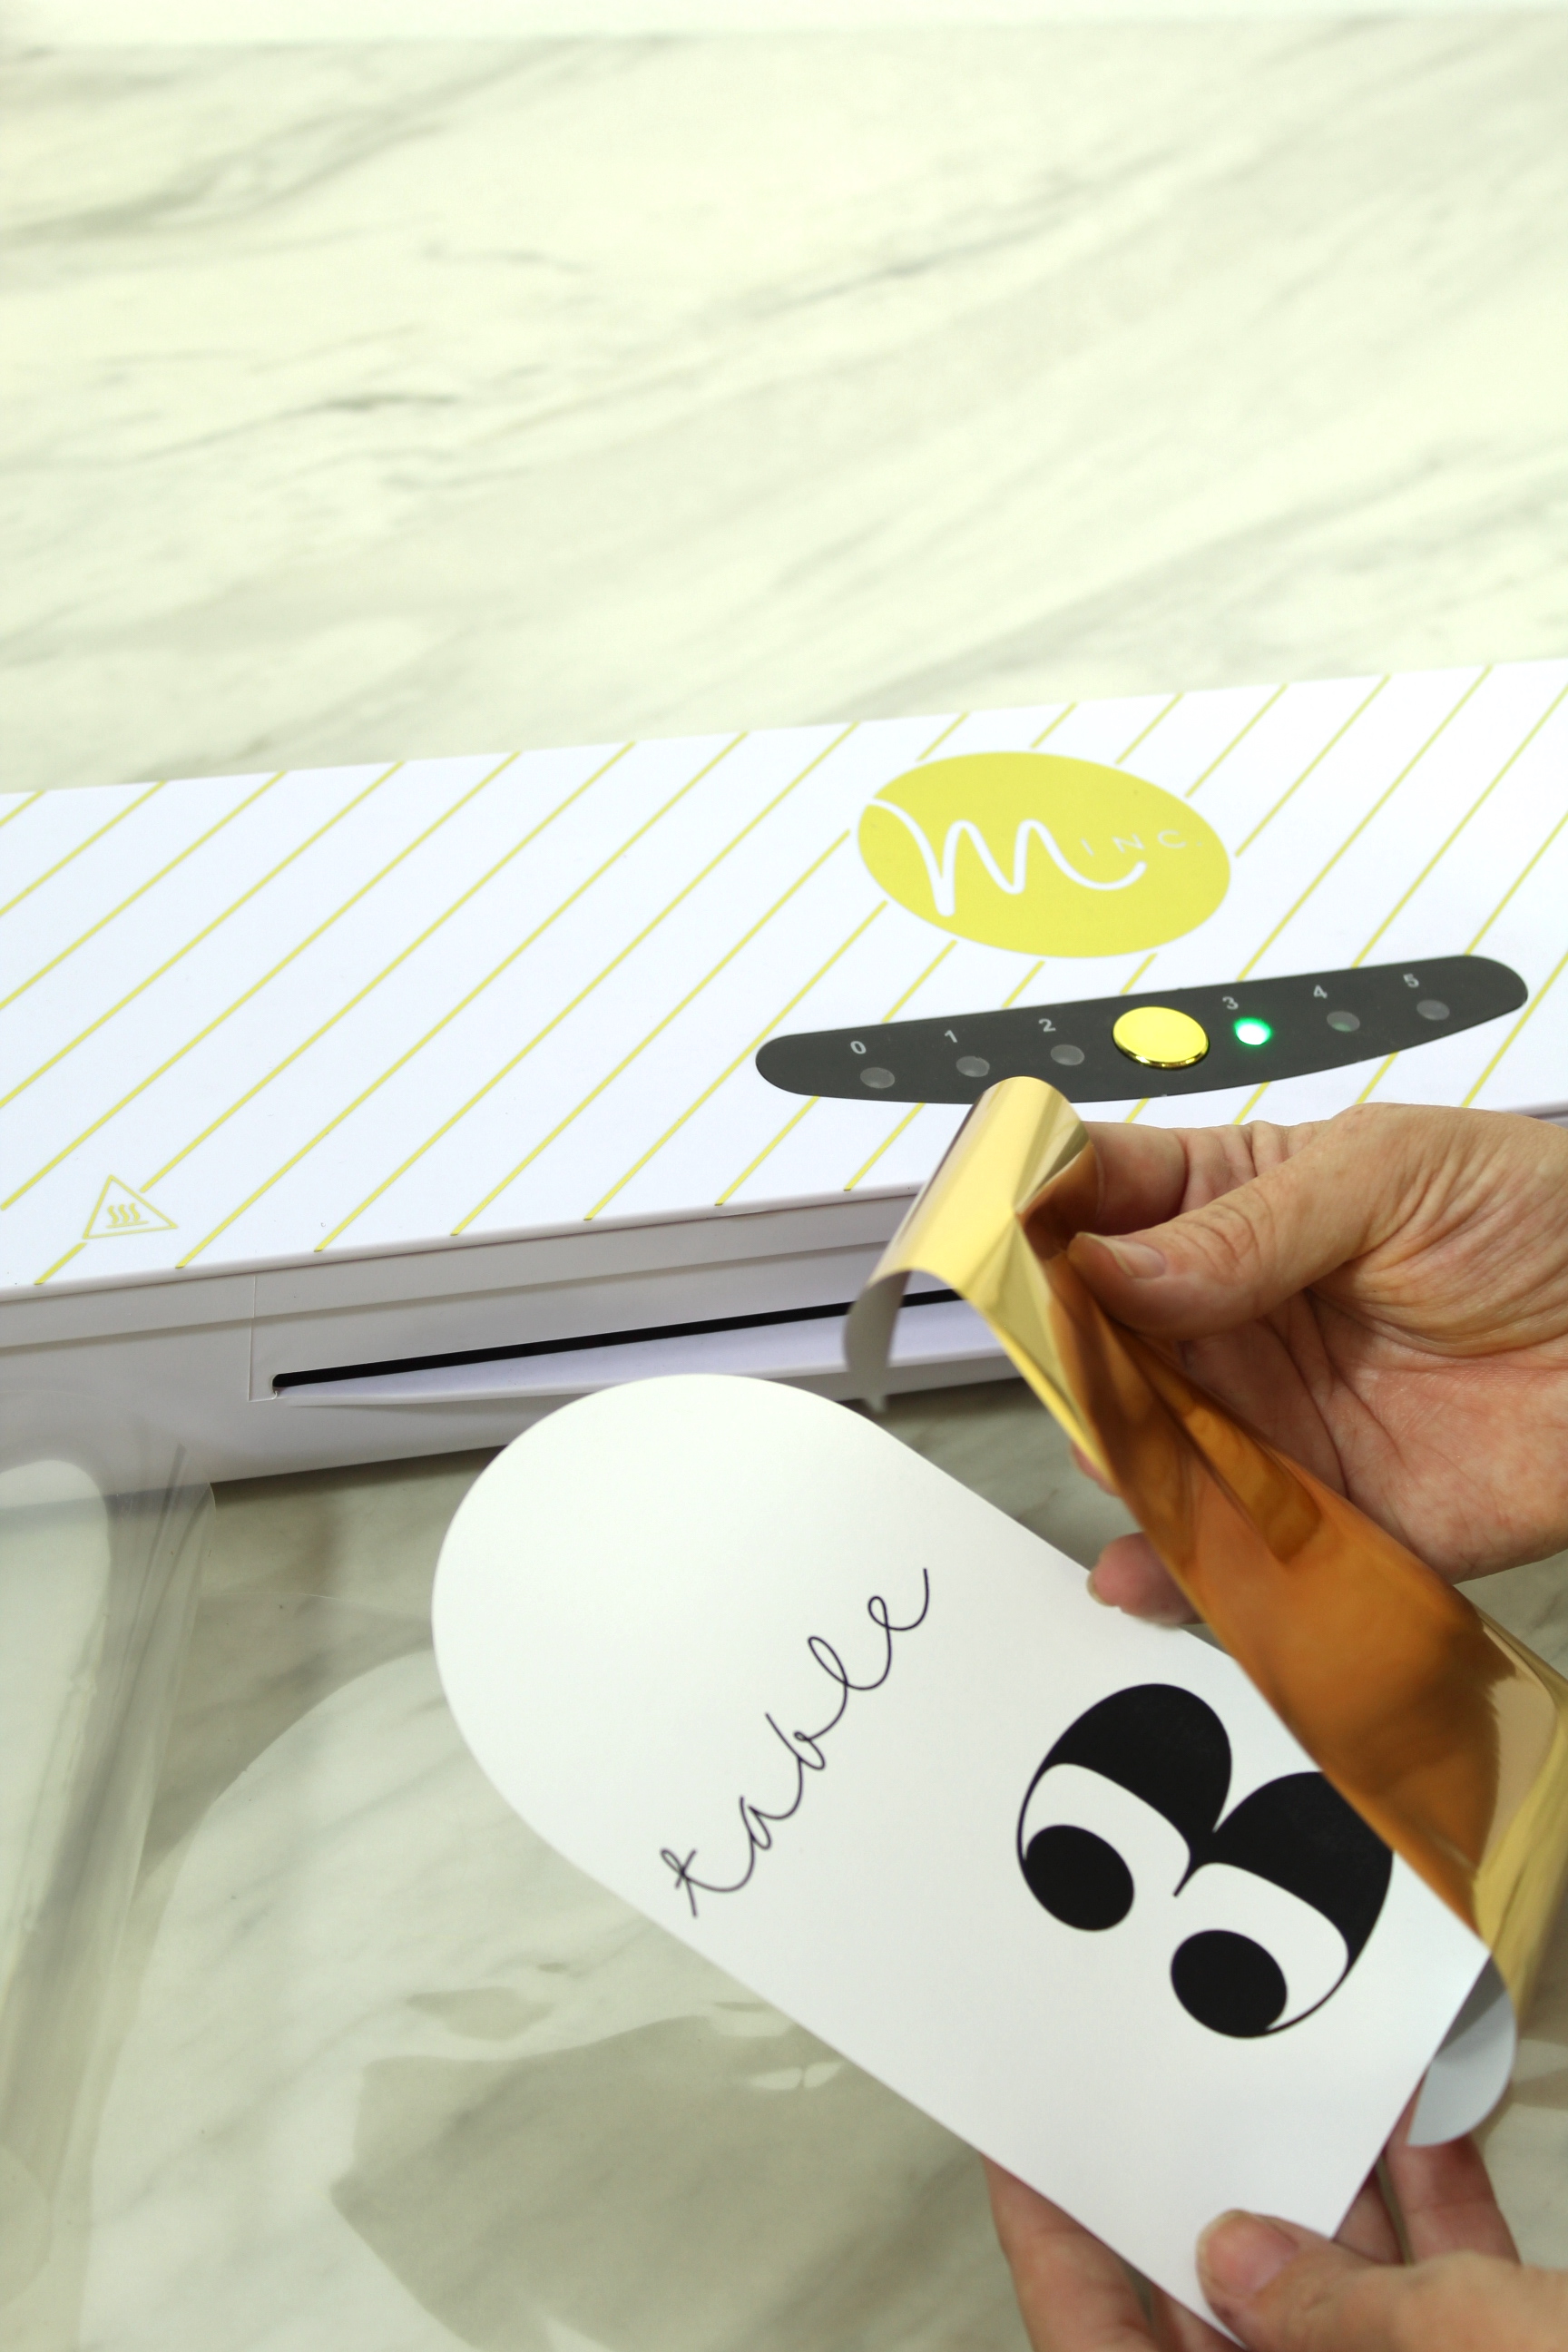
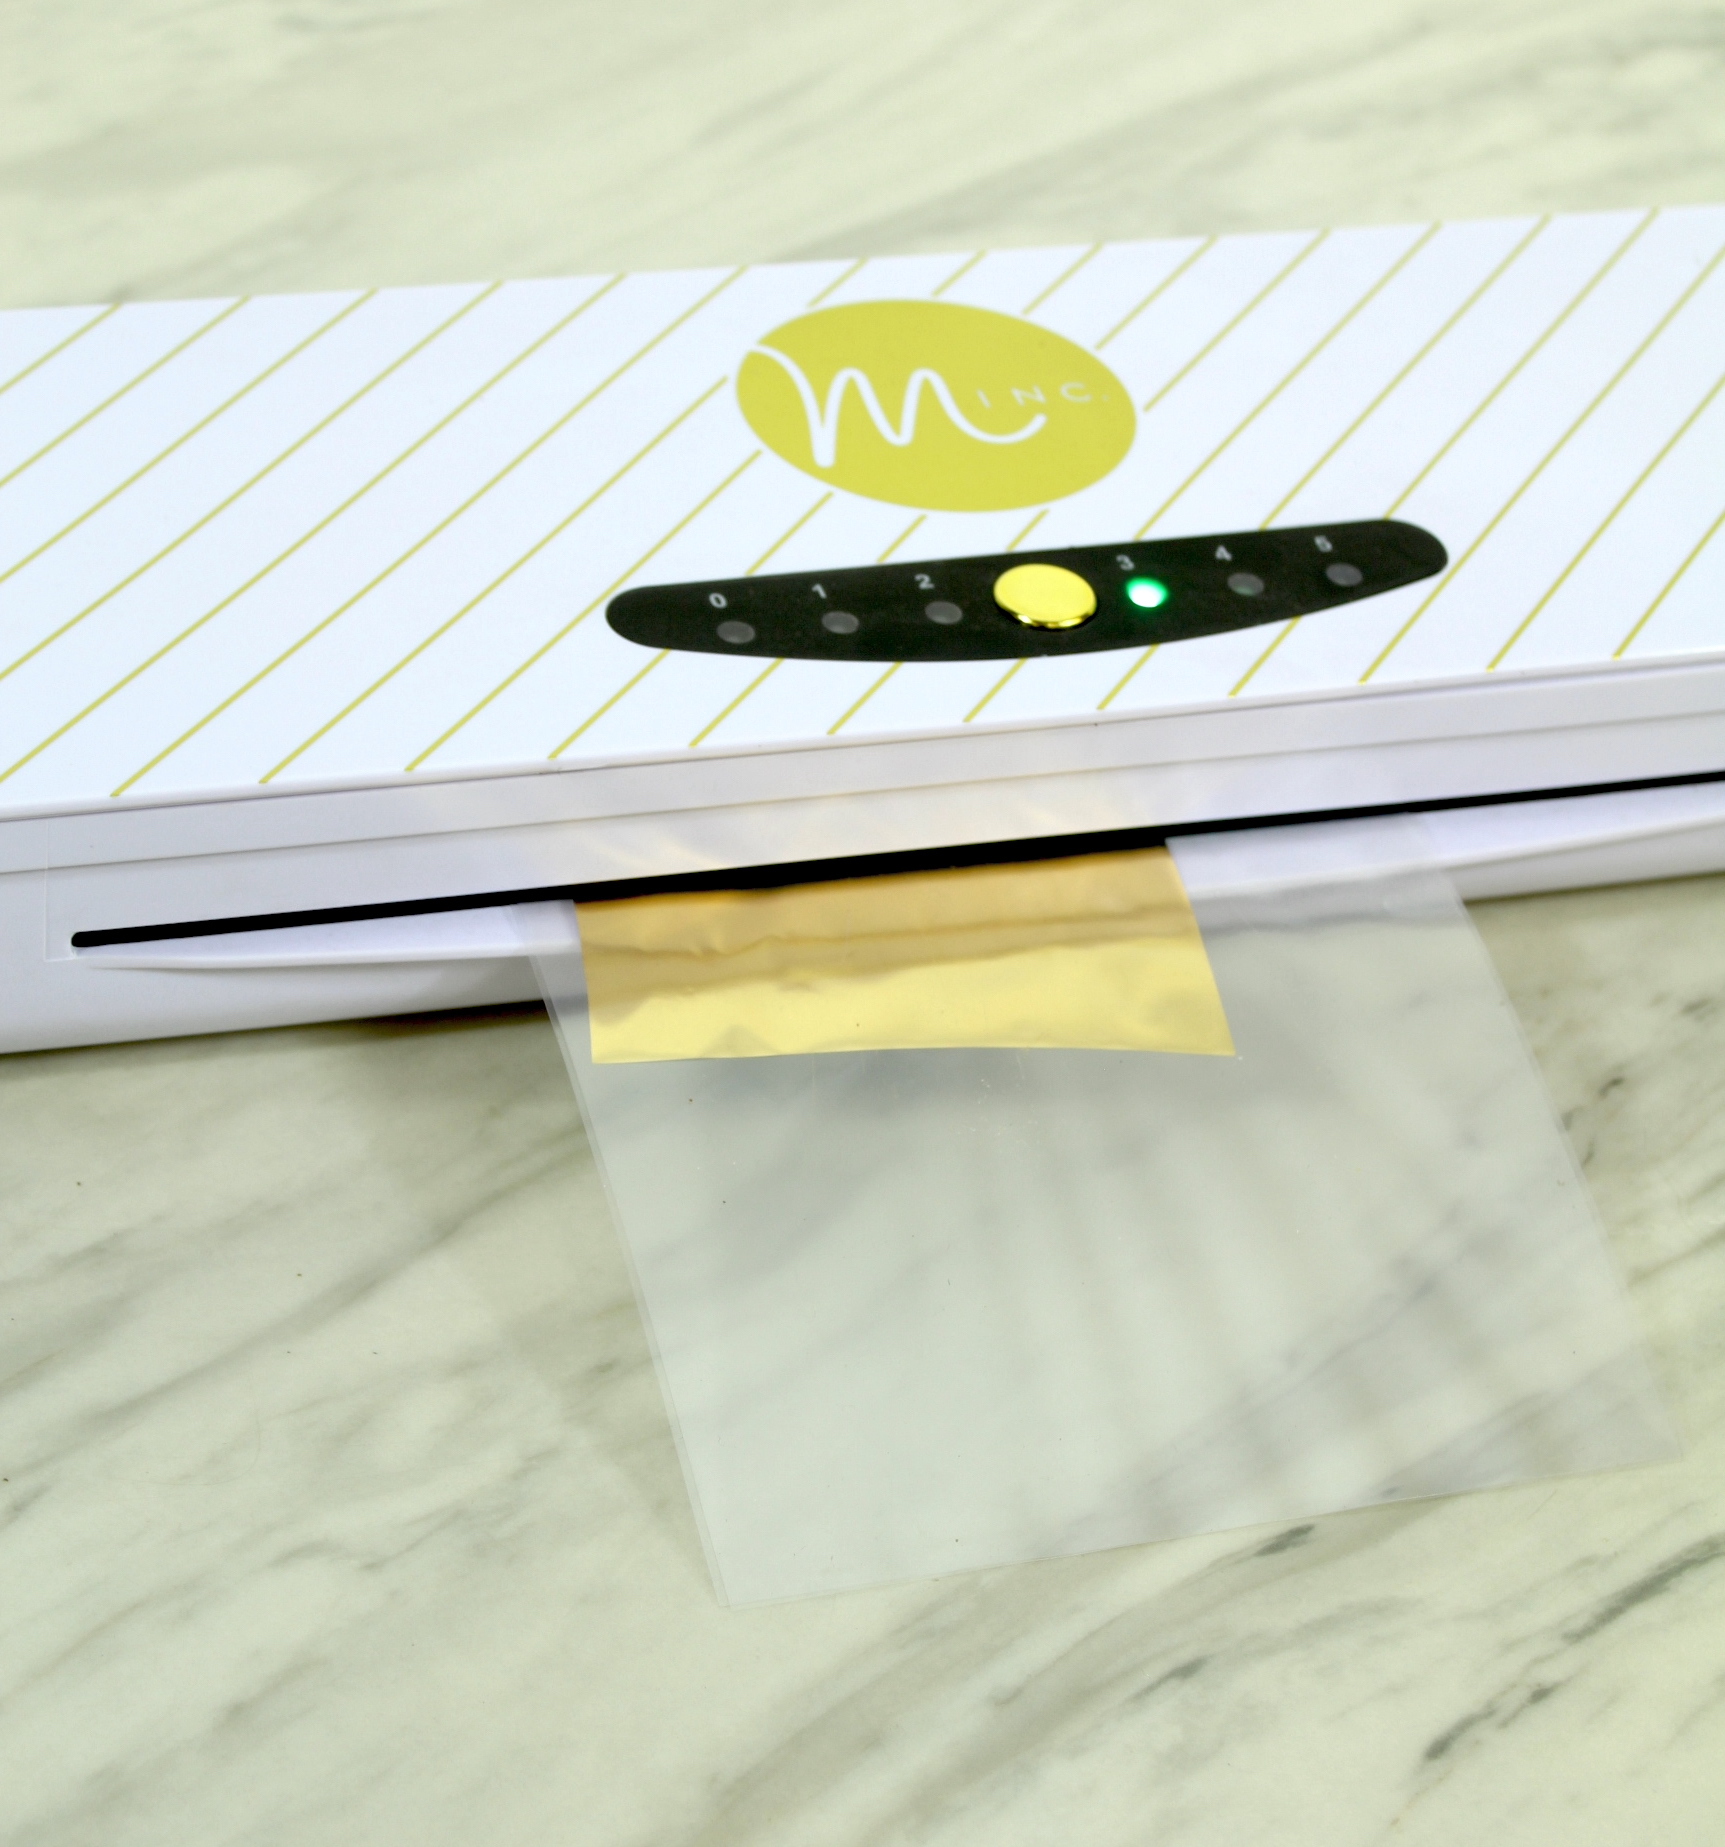
Set your machine to 3 and once it beeps and the indicator light is green, send it through.
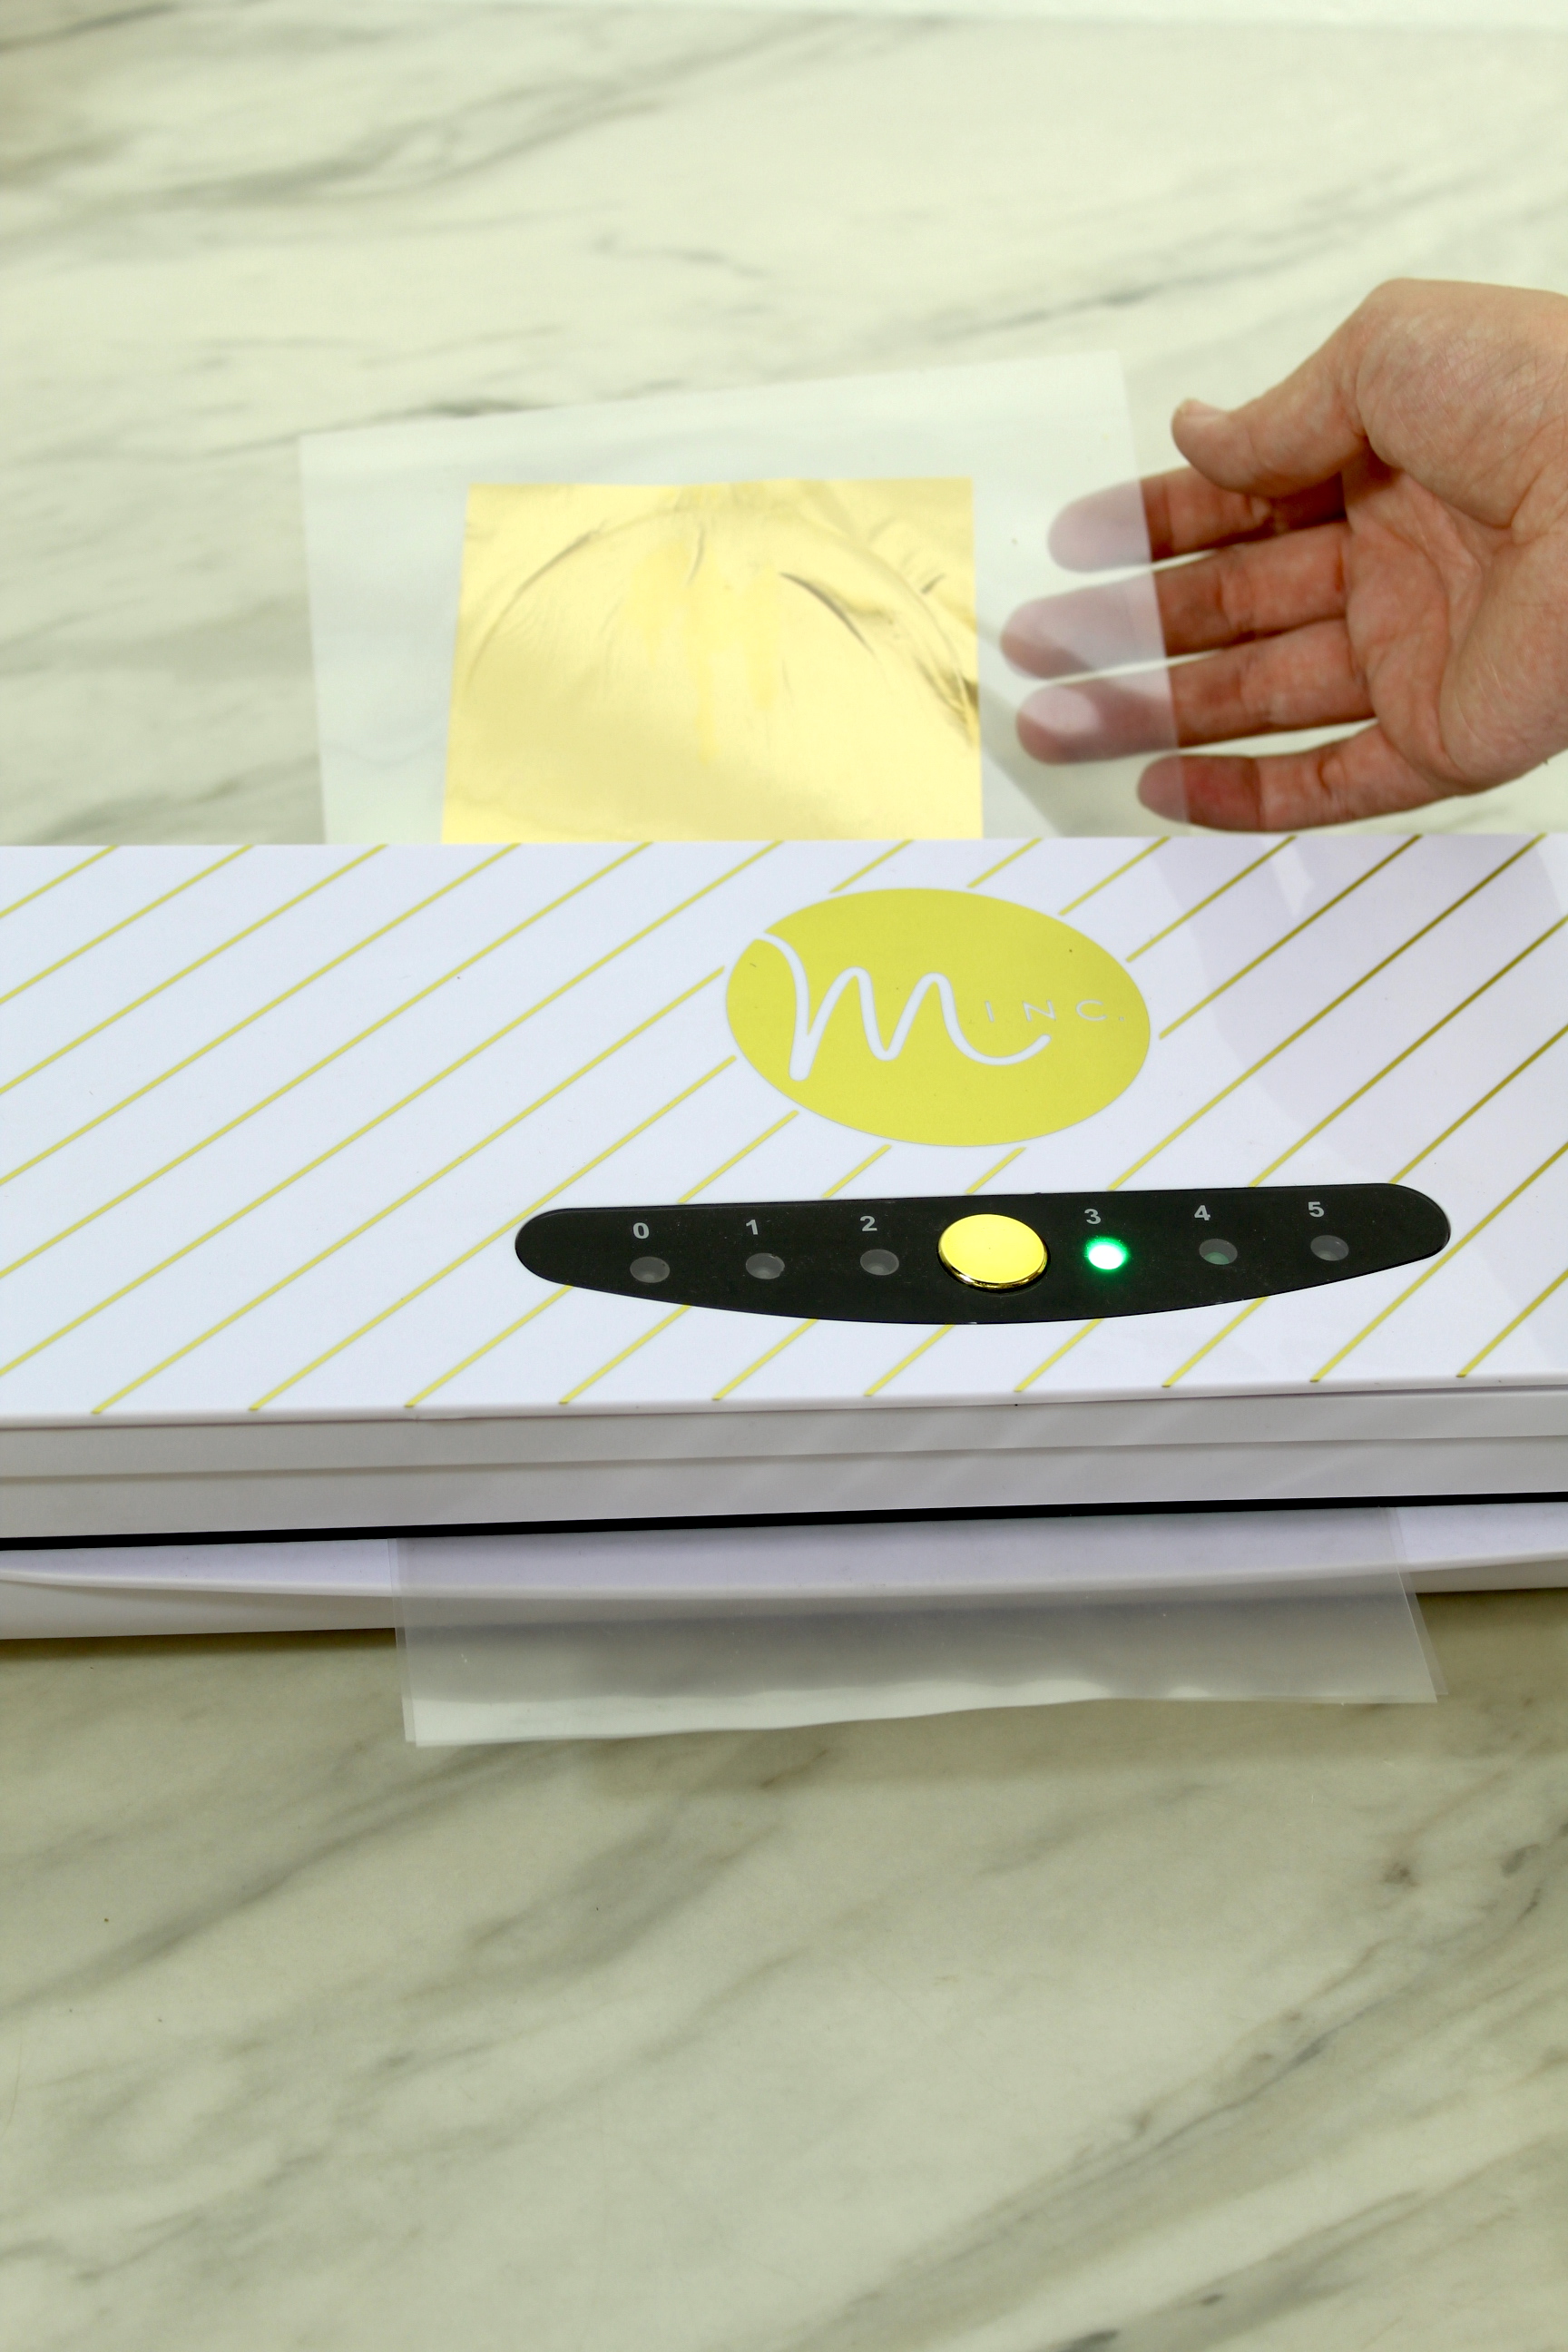
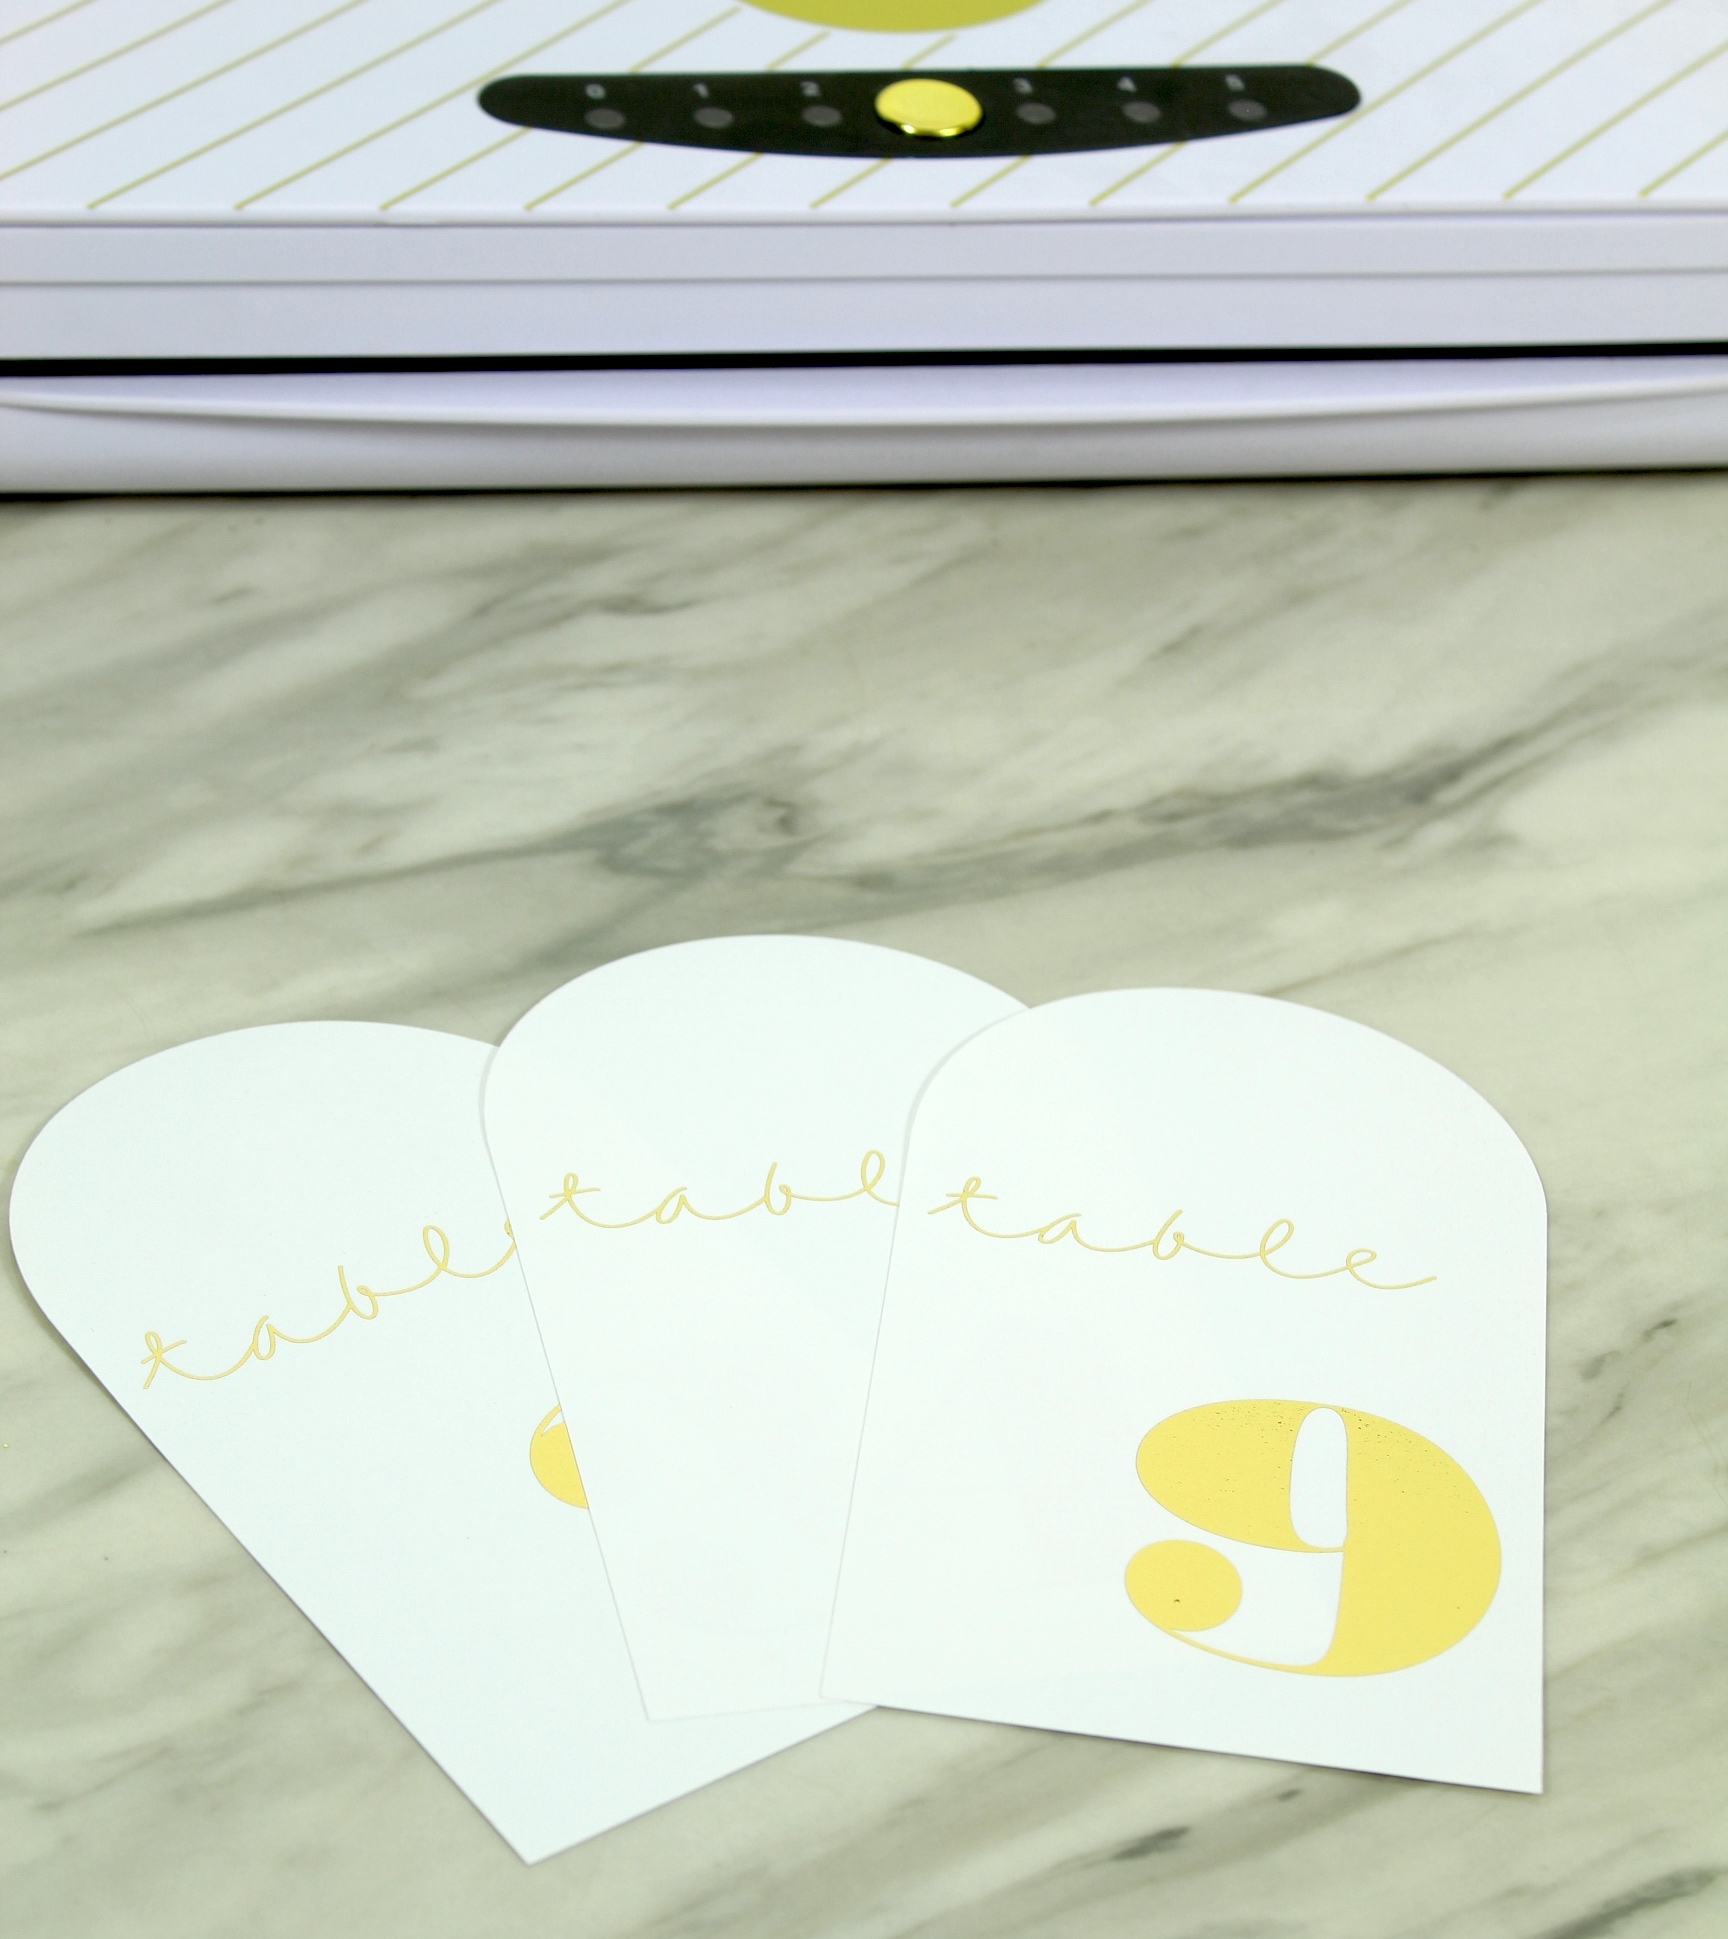
Time for the Reveal!
Maybe one of the most satisfying things ever is opening your Minc Carrier sheet to see your foiled project.
Isn’t that awesome!? The best part is that there are SO many different foil options so if gold isn’t your thing that’s totally ok! Go for silver… or red… or pink… or turquoise, there are SO many options.
If you create one of our projects, please share a picture with us on Instagram or Twitter using the hashtag #somethingturquoisediy, we regularly reshare our favorites! Your profile will need to be public for us to see it otherwise, you can always DM us!
DIY Tutorial Credits
Photography + DIY Tutorial: Shea O’Quinn of Not So Cli-Shea / Cricut Products: courtesy of Cricut / Laserjet Printer: Discontinued (similar) / White Cardstock / Heidi Swapp Minc Machine & Carrier Sheet / Gold Heat Reactive Foil / Acrylic Place Card Holders (There is a cute wood option too.)
Shop The Supplies:
Find the supplies you’ll need for this project from our affiliate links below:


Comments