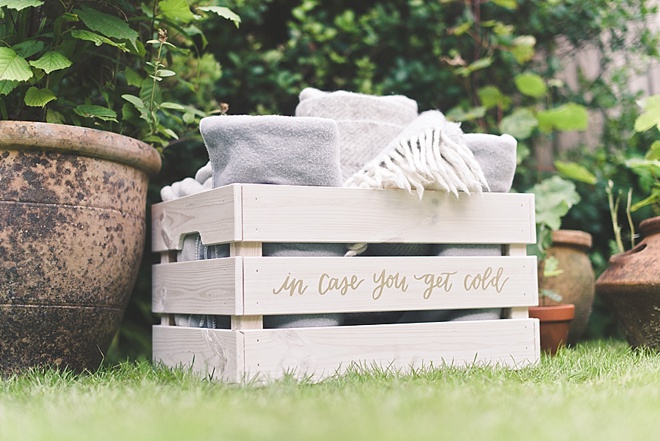

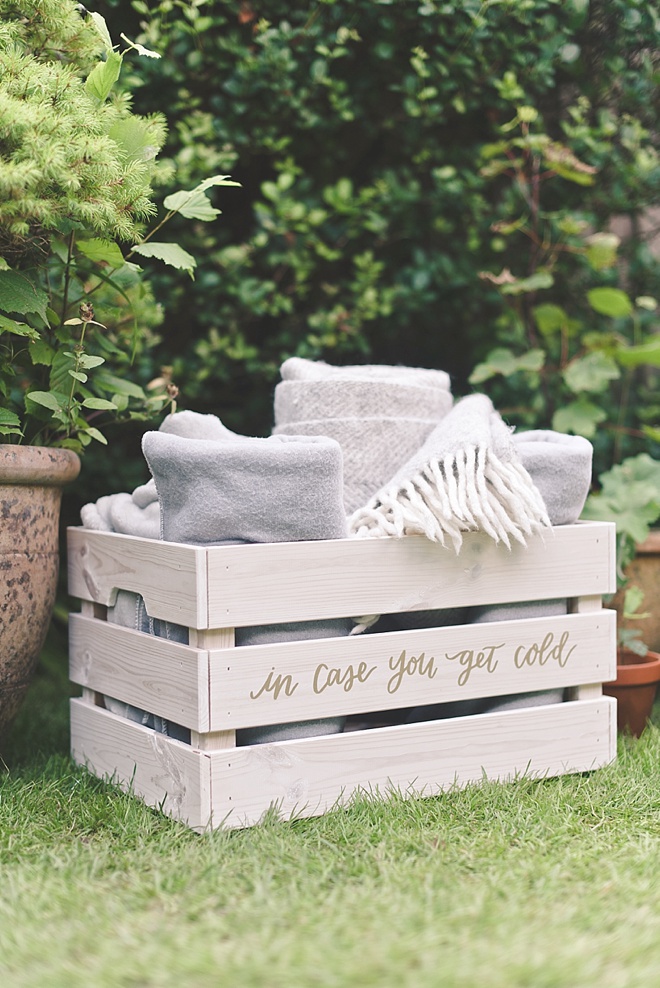
DIY Wedding Blanket Box
With fall weddings right around the corner, all of us autumnal souls are already getting excited! Time to get in the cozy mindset as you have plenty of time to gather small throw blankets and supplies to create this thoughtful project.
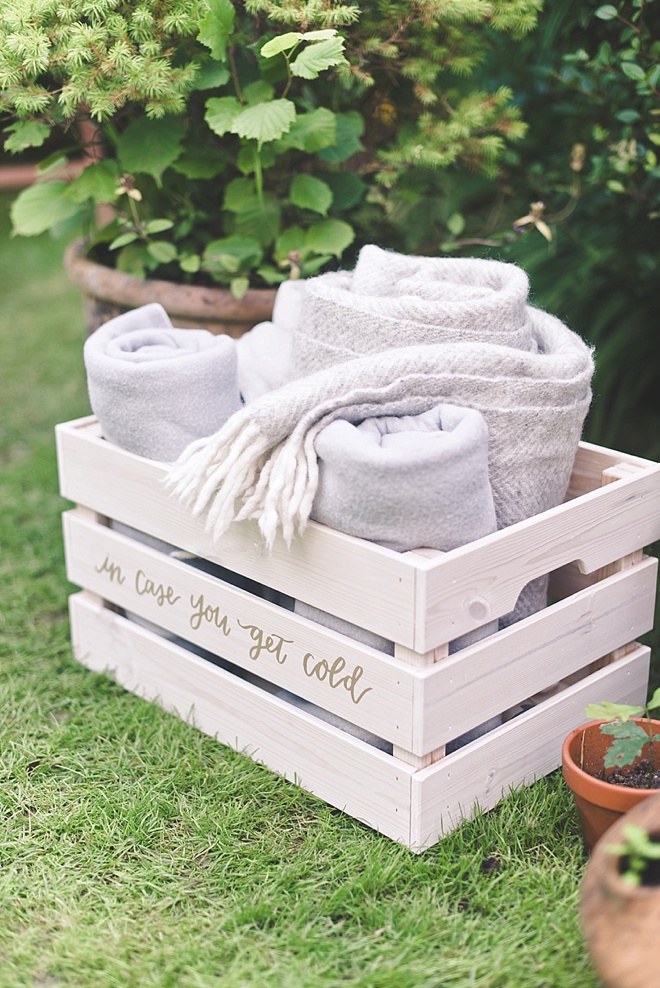
Wedding blanket boxes or crates are essential for any chilly weather outdoor celebration to help keep your guests warm, and you can make one (or many) easily with a bit of wood color stain, an electronic cutting machine, and crate of your choice! Best part is you can personalize this project through your preferred colors — in wood stain or vinyl — to match your wedding day’s theme. So whether you are going rustic glam, cottagecore, or shabby chic, transform any wooden box into Snuggle Central on your special day.
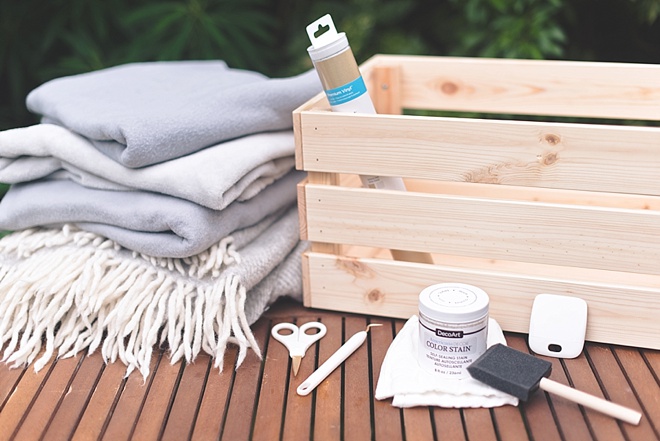
SUPPLIES:
- Wooden crate
- Measuring tape
- White-colored wood stain
- Sponge brush
- Old cotton rag
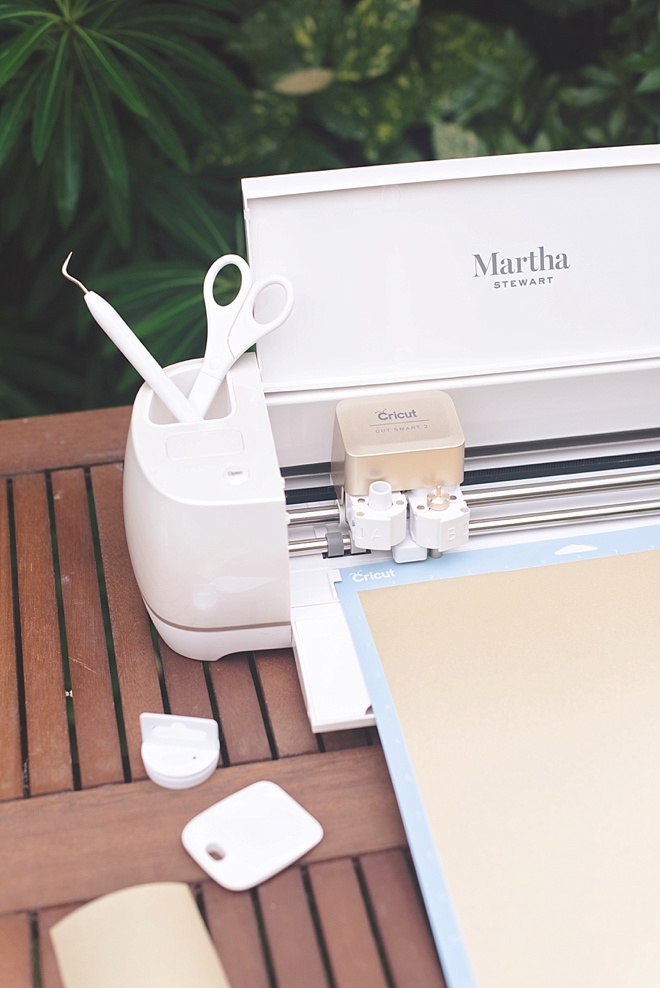
- Electronic cutting machine (e.g., Cricut)
- Exclusive hand-lettered “To Have and To Hold In Case You Get Cold” .SVG in our Craft File Shop
- Gold shimmer vinyl
- StrongGrip Transfer Tape (if using shimmer or glitter vinyl)
- 12×24 cutting mat
- Burnishing tool
- Weeding tool
Maker’s Note
Wood crates come in all shapes and sizes from all sorts of places. If you have purchased IKEA’s Knagglig crate that comes in a flat pack, then I would highly recommend staining your box pieces before assembling as it will give you a cleaner finish when applying your wood color stain. I used a large Knagglig for this blanket box, but for all intents and purposes, I start this project as if you’re using a pre-assembled wooden crate since that is generally the more common scenario.
MEASURE YOUR BOX
Measure your wooden crate and decide how long you want your vinyl words to be. To be centered on the middle panel of my crate, I made sure my phrase was 14″ long and no taller than 1.6″. Since my phrase is longer than 12″, I knew I would need to use a 12×24 cutting mat.
If your crate is made of repurposed wood, has been painted before, or has a rough texture, this is the time to lightly sand the wood for proper staining application.
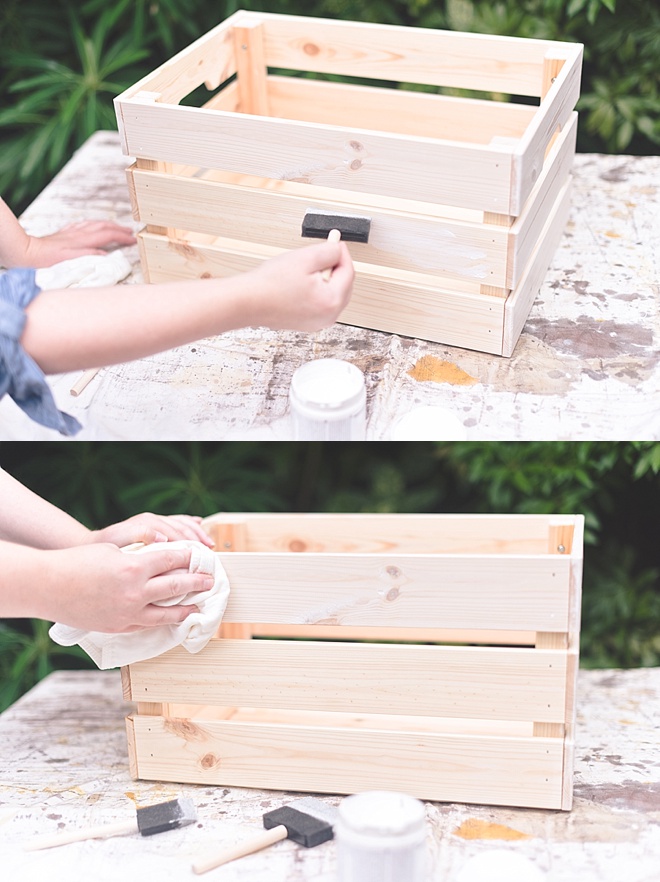
STAIN YOUR CRATE
Like painting, wood staining is easy peasy! Instead of a solid opaque color, you get the best of both worlds with a semi-translucent color that allows the natural wood grain to show through. Colored wood stain gives a soft elegant texture that is perfect for modern rustic weddings.
The basics of wood staining is stir well, sponge brush on, wipe off with an old clean cotton rag, allow to dry, and repeat. The more coats you put on, the more opaque your color. Since I wanted a stronger white hue for my crate, I gave my box about 5-6 coats. It’s essential you wipe off after applying each coat of stain to give a clean even surface.
(Fun Fact: This type of self-sealing color stain from DecoArt is water-resistant, so if you’re placing your wedding blanket box on the ground, then your box is protected if the grass has any dampness!)
PREP IN DESIGN SPACE
While your box is drying, open Cricut Design Space (or your digital cutting machine software) and start a New Project. Upload Something Turquoise’s “To Have and To Hold In Case You Get Cold” hand-lettered cut file and add to your canvas.
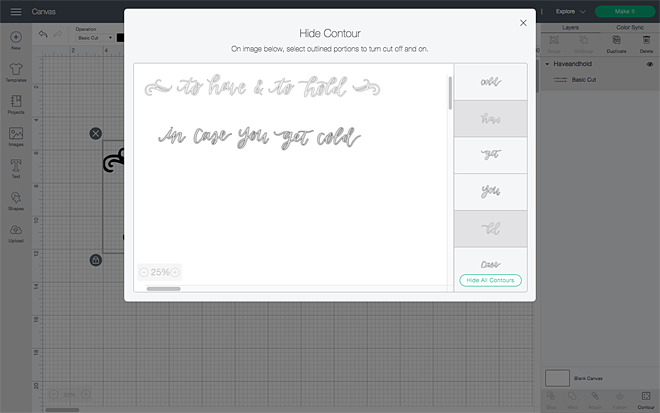
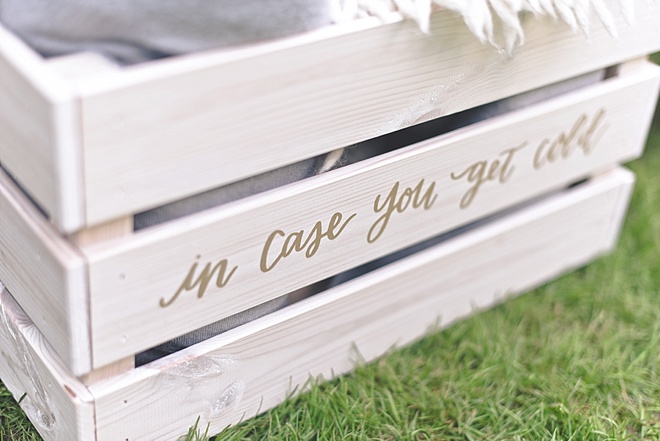
This is where we get a little more personalized. For my crate, I just wanted “in case you get cold” to keep everything balanced since I only have three wooden panels, but as you can see, you have options with the graphic, especially since wooden crates typically have 2, 3, or 4 panels. So how do you make it perfect for the crate you have?
How to Personalize Downloaded Cut Files
OPTION 1: Use the whole lovely graphic and cut as is! No changes needed except adjusting for the size of your crate. Just adhere your “To Have and To Hold” cut vinyl on the top crate panel and “In Case You Get Cold” on the second. This is especially perfect for a 2- or 4-paneled crate.
OPTION 2: Just use one or the other phrase by utilizing Design Space’s Contour feature. Hide what you don’t want your machine to cut. Maybe you want to keep things balanced like I did if you have a 3-paneled crate!
OPTION 3: Use the whole graphic AND add your wedding date or names in your preferred font to your Design Space canvas. Cut out all words and then stick your personalized date/names onto the bottom panel on your crate. This is another beautiful option for a 3-paneled crate.
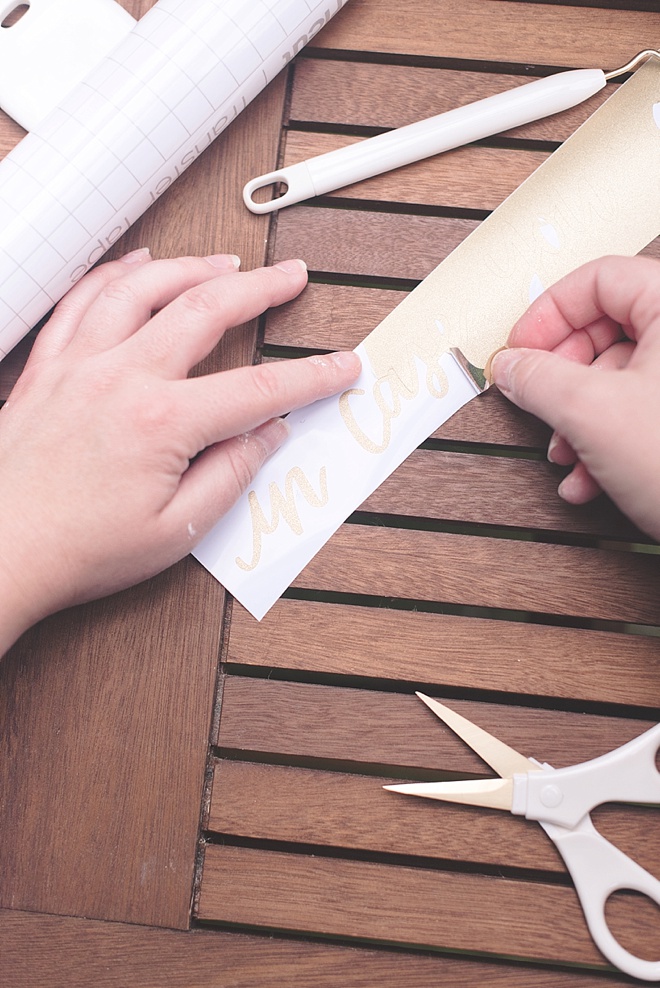
CUT & WEED OUT
Place the amount of vinyl you need on your long cutting mat and let your machine do the work! Once your words are cut, weed out (or remove) the excess vinyl.
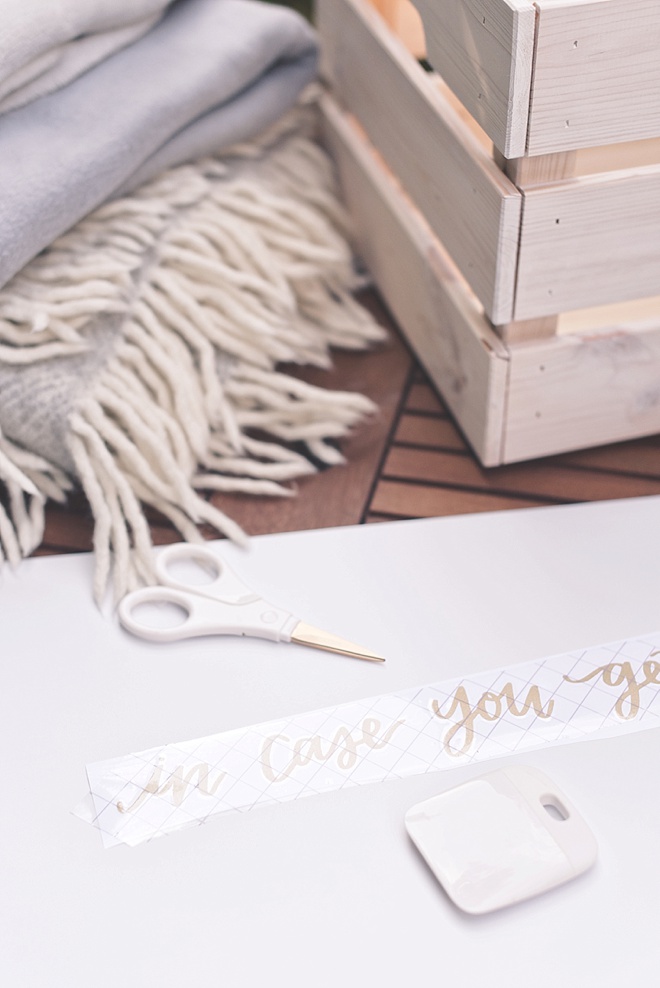
USE TRANSFER TAPE
To help you adhere your shimmer vinyl to your wooden crate, use clear StrongGrip transfer tape as no other transfer tape will pick the vinyl up otherwise. (If you’re not using a glitter or shimmer vinyl, standard transfer tape is what you will need.) Cut the amount you need and place on top of your vinyl words. Use your burnishing tool and “scrape” across the transfer tape to give a good connection to the vinyl underneath.
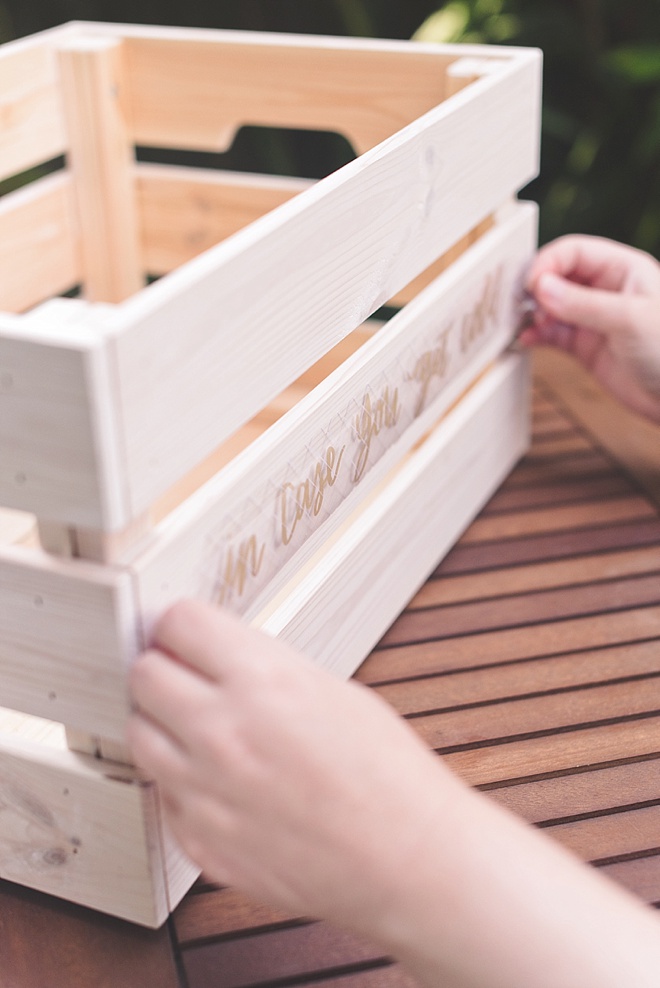
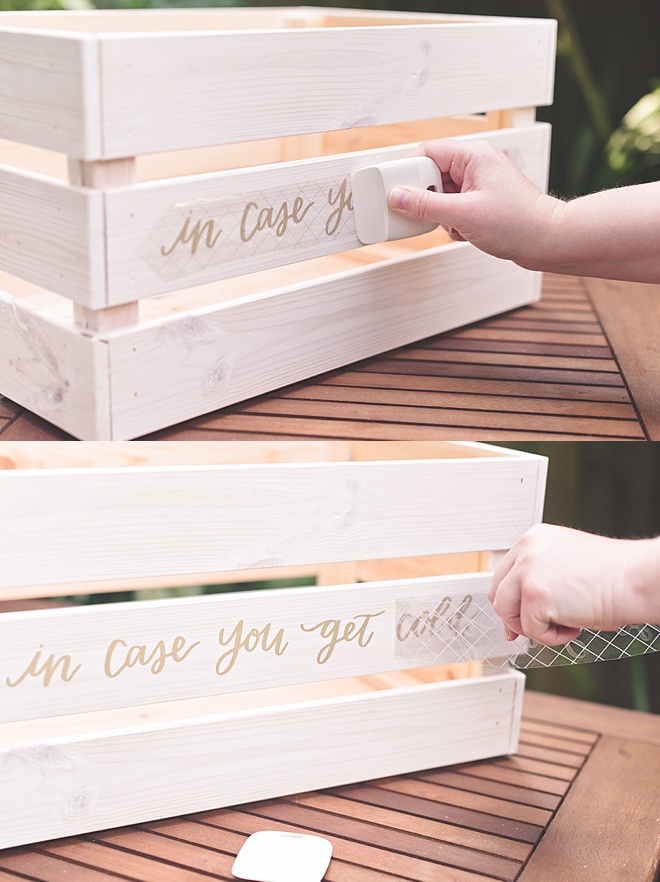
PEEL & STICK
Peel your transfer tape off of the vinyl. Your phrases should now be on the transfer tape and not the glossy paper. Position on your wooden crate. When you have it where you want it, use the burnishing tool again to “scrape” your words onto the box and peel off the transfer tape to see your new chic blanket box. Repeat for each of your phrases.
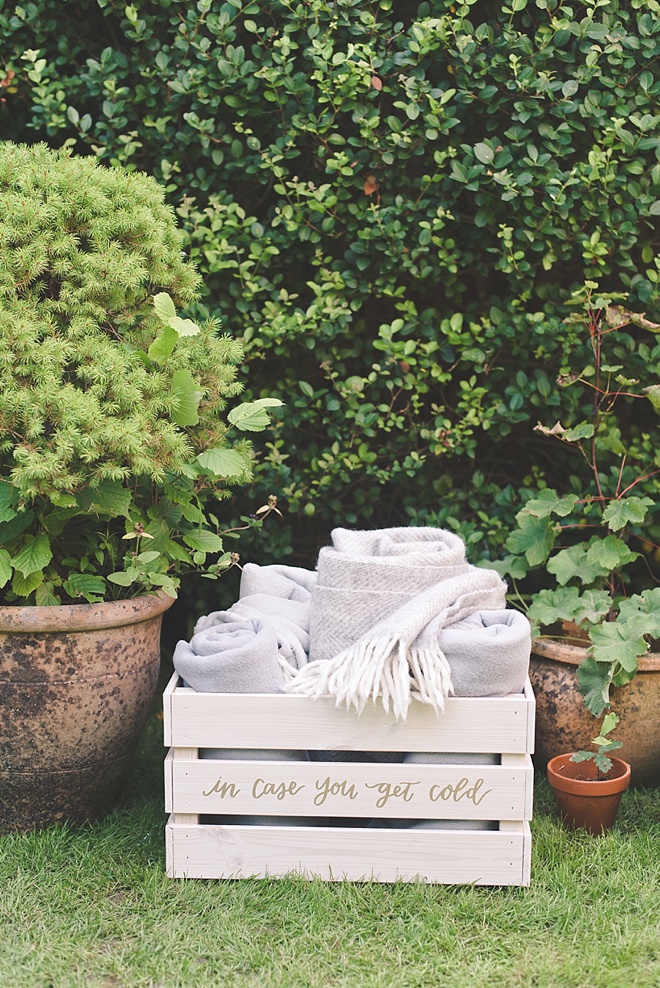
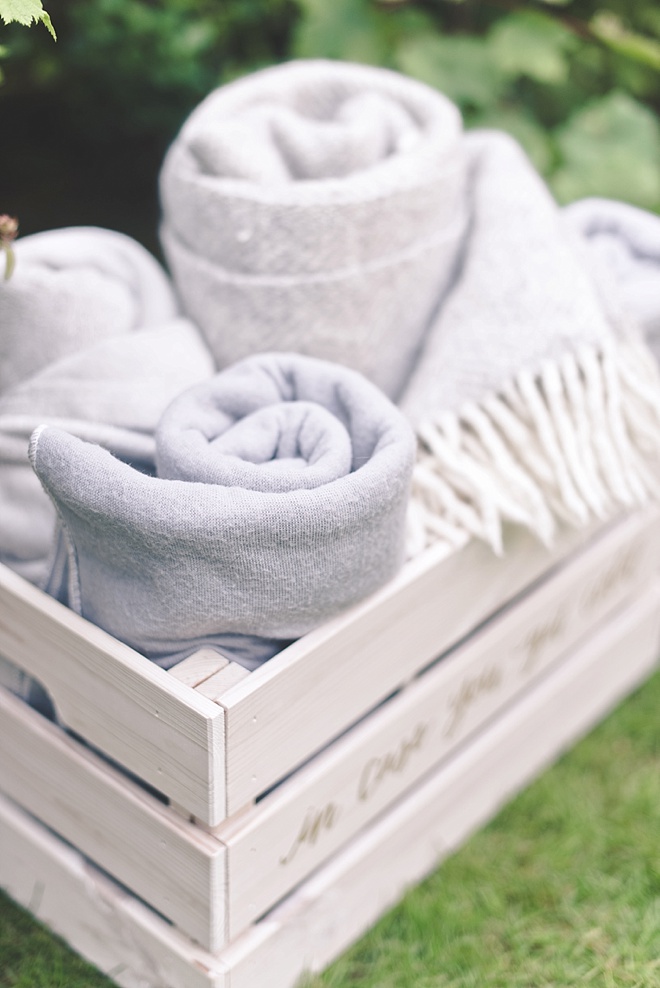
BRING ON THE BLANKIES
Source color-coordinated blankets to put inside of your wedding blanket box. Thrift stores/charity shops are especially great places to look for upcycled blankets at affordable prices! If you’re having a hard time finding small throw blankets, consider getting a ton of fleece fabric and asking a sewing friend to do a blanket stitch on the edges. Alternatively the easiest route is that you can find packs of wedding blankets ready to go on Etsy.
Depending on how many blankets you’d like to offer on the special day, you may need to make more than one blanket box, so give yourself plenty of time to do what you need to do.
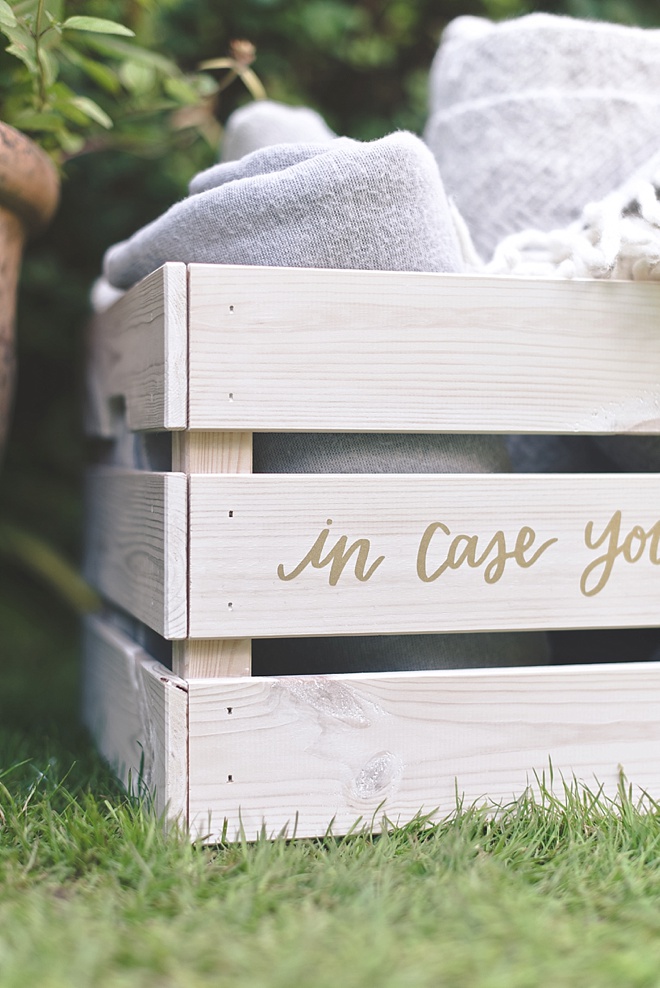
After the wedding, upcycle your crate into a chic blanket box for your living room!
If you create one of our projects, please share a picture with us on Instagram or Twitter using the hashtag #somethingturquoisediy, we regularly reshare our favorites! Your profile will need to be public for us to see it otherwise, you can always DM us!
ABOUT THE MAKER
Considered an enthusiastic creator in the wedding industry since 2009, Chelsea LaVere Barton is a retired wedding photographer, editor-in-chief of Coastal Virginia’s online wedding publication, Tidewater and Tulle, and co-owner of UK-based wedding signage shop, High Oak & Co. Before her photographer days, Chelsea was a classroom art teacher and adheres to the mantra of “making life more beautiful” in all she does. When she’s not DIYing, she loves to go on local British adventures with her husband, write about said UK adventures on It’s a Hard Biscuit Life, and quietly relax at home with their cat Pickles Barrington. You can find her scrapbook of life on Instagram.
DIY TUTORIAL CREDITS
Photography + DIY Tutorial: Chelsea LaVere Barton // Wooden Crate Box: IKEA or Amazon // “To Have and To Hold In Case You Get Cold” .SVG File: Something Turquoise Craft File Shop // Colored Wood Stain: DecoArt // Gold Shimmer Vinyl: Amazon // Cricut Explore Air 2 Machine: Amazon // StrongGrip Transfer Tape: Amazon // Burnish & Weeding Tools: Amazon
SHOP THE SUPPLIES
Find the supplies you’ll need for this project from our affiliate links below.


Comments