

DIY Mini Serving Board Wedding Table Numbers
When Jen reached out to ask me to be part of her Something Turquoise editorial team, I was honored and grateful on so many levels. I’ve been doing wedding DIY tutorials for years over on my Coastal Virginia wedding website, Tidewater and Tulle, and it’s an important love (and creative outlet) of mine. I have just moved to the United Kingdom to marry and live with my wonderful Englishman of a husband, so crafting looks a little different these days (especially as I continue to ship over my old craft room across the pond).
So, hi, readers! Just like the projects I create for Tidewater and Tulle, my DIYs on Something Turquoise will always be easy-to-make with easy-to-source materials. My mantra has always been that beautiful elevated wedding designs can also be approachable, affordable, and practical. All it takes is a bit of creativity to inspire you!
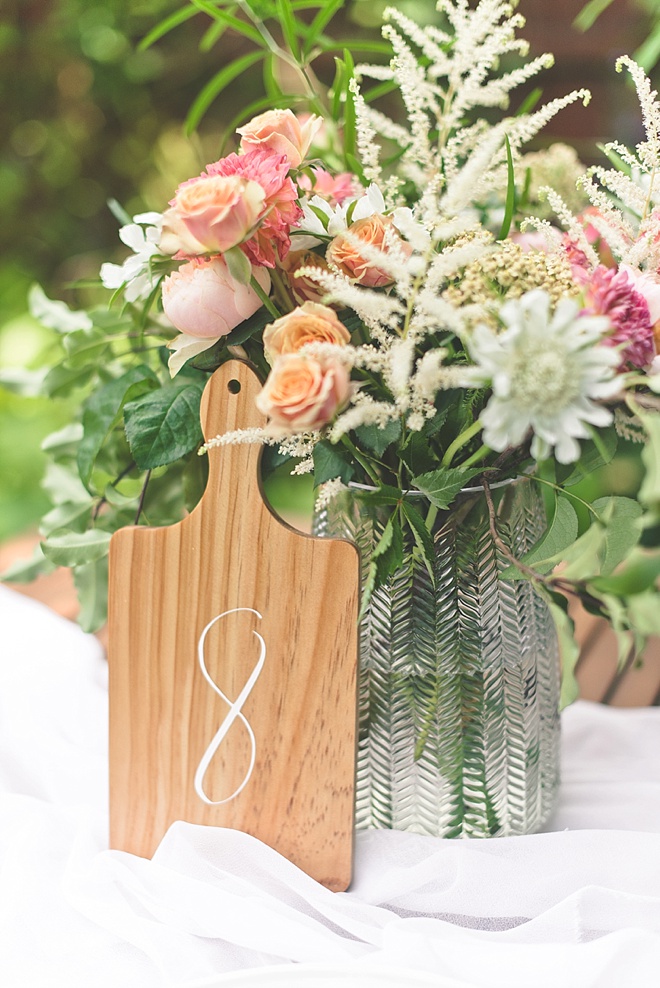
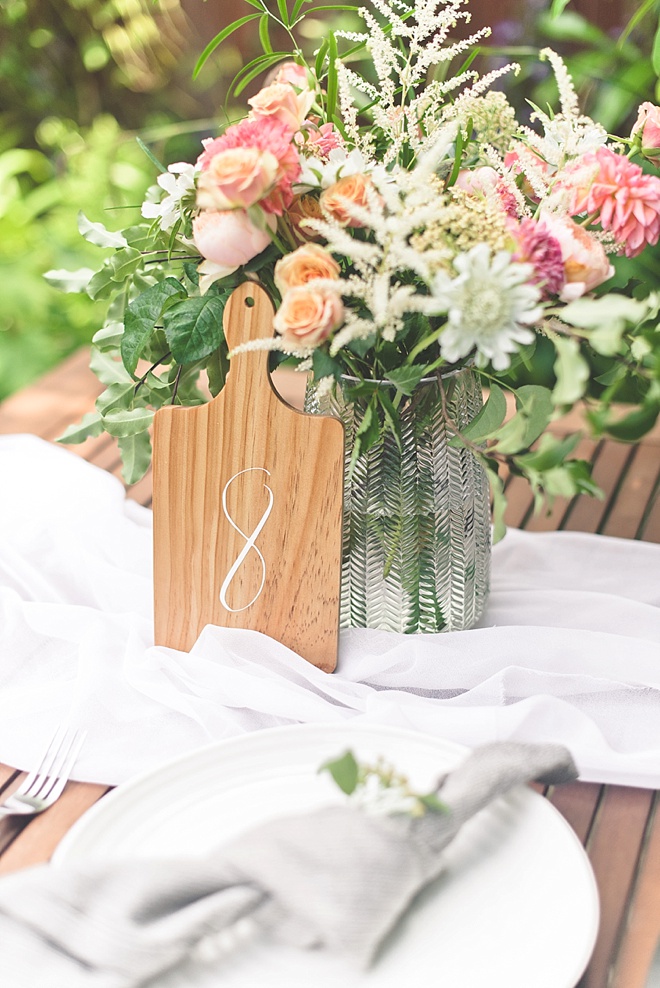
For my first tutorial, I have been inspired by mini wooden serving boards meant for cheese and charcuterie favorites and thought they would be perfect for a foodie’s wedding table numbers (which can be easily upcycled after the wedding day by peeling off the numbers for your at-home parties!). For a chic rustic look, decorate your reception tables with florals, soft table runners, and a touch of earthy wood tones… but before that can happen, grab your digital cutting machines and let’s make some numbers!
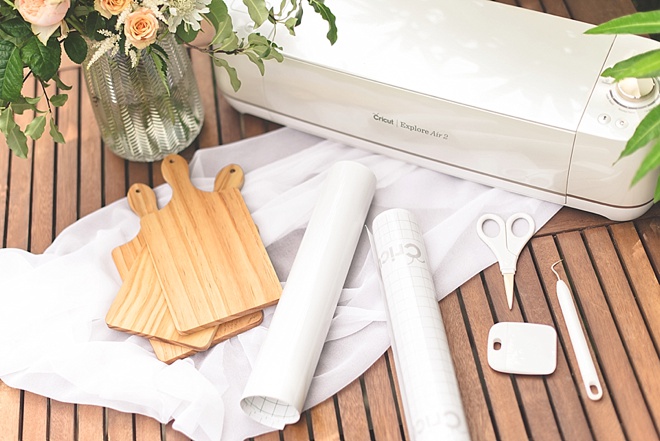
SUPPLIES:
- Mini wood serving boards
- White permanent vinyl
- Electronic cutting machine (e.g., Cricut)
- Transfer tape
- Burnishing tool
- Weeding hook tool
Maker’s Note
Depending on where you purchase your small wood boards, they may or may not be finished with a wood color stain. If they don’t have the color you like, grab some wood stain or acrylic paint to easily make them the color you want for your wedding decor. If you’ve never stained wood before, head over to Tidewater and Tulle to learn the basics of wood staining. Of course, this should be done before you start this project, but since I liked the soft neutral color of my pre-purchased boards, this step is omitted from the project!
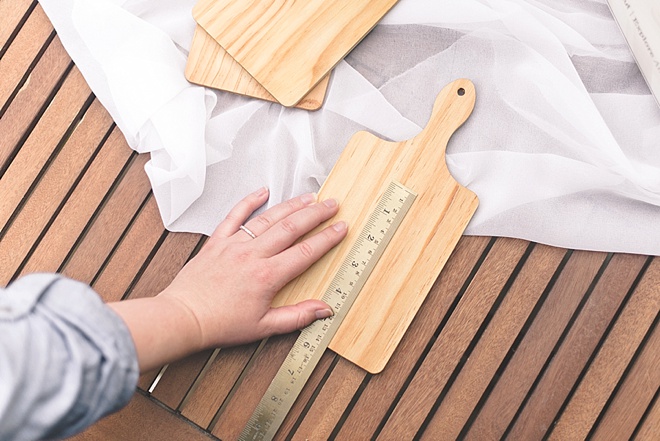
MEASURE YOUR BOARDS
Measure your mini serving boards and decide how big you want your numbers. Signage should be able to be seen from a bit of a distance, so avoid making them too small. To be perfectly proportionate for my table numbers, the paddle area of my boards is 6.5” tall, so my numbers are sized 3.5” tall.
CHOOSE A FONT
Open Cricut Design Space (or your digital cutting machine software) and start a New Project. (Don’t have a machine? You can do this project with some good ole fashioned white acrylic paint as well!) Choose a number font that you like and type out the numbers you’ll need for each of your wedding tables. I used a calligraphy font called Audrey and Reynold.
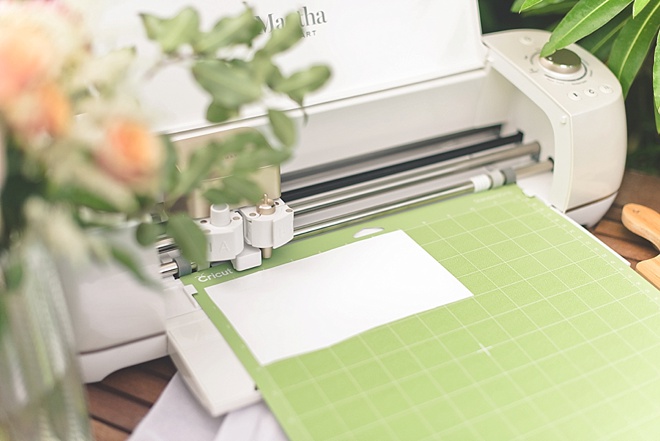
CUT & WEED OUT
Place the amount of vinyl you need on your cutting mat and let your machine do the work! Once your numbers are cut, weed out (or remove) the excess vinyl.

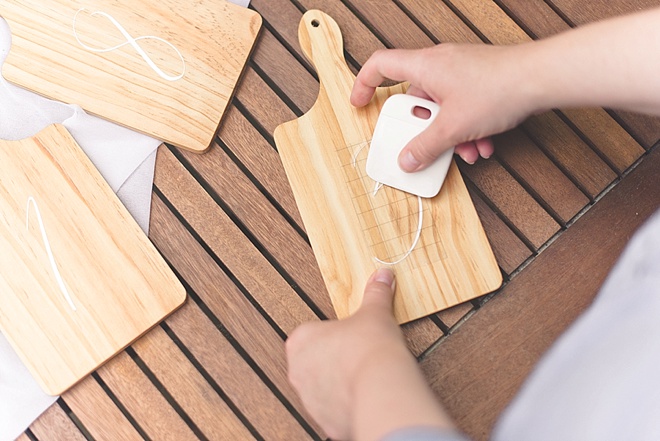
USE TRANSFER TAPE
To help you adhere your numbers to your wooden serving boards, use clear transfer tape. Cut the amount you need and place on top of your vinyl number cut-out. Use your burnishing tool and “scrape” across the transfer tape to give a good connection to the vinyl underneath.
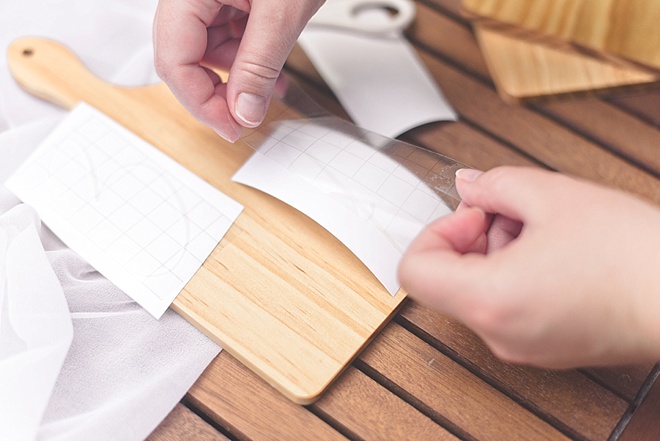
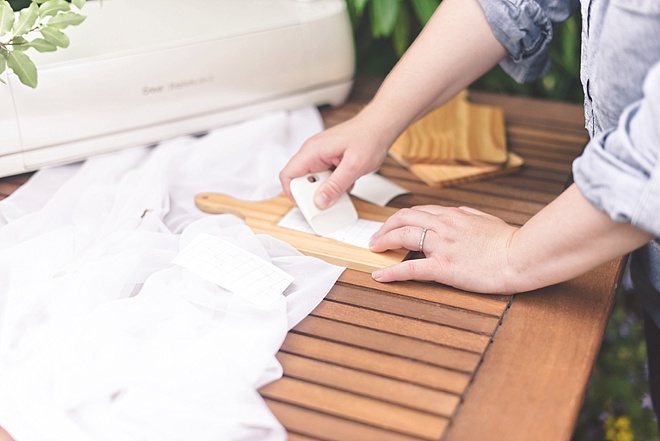
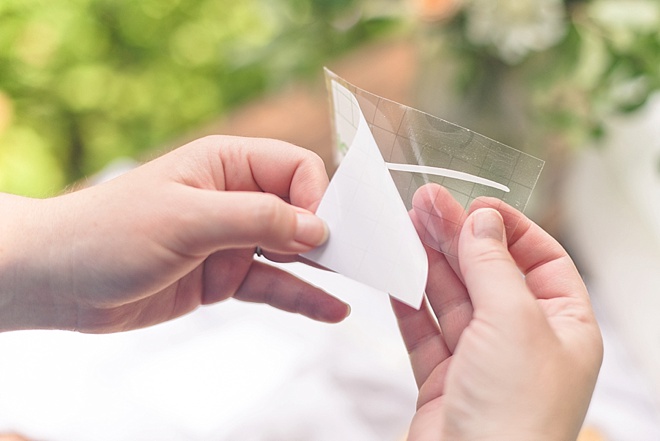
PEEL & STICK
Peel your transfer tape off of the vinyl. Your number should now be on the transfer tape and not the glossy paper. Position on your wooden board. When you have it where you want it, use the burnishing tool again to “scrape” your number onto the serving board.
(Note: We have sometimes found that Cricut brand transfer tape is almost too strong and won’t let vinyl stick to some wood surfaces even after a good burnishing. When this happens, use your hook tool to slowly wiggle-peel the vinyl away from the transfer tape. This might take a bit of patience!)
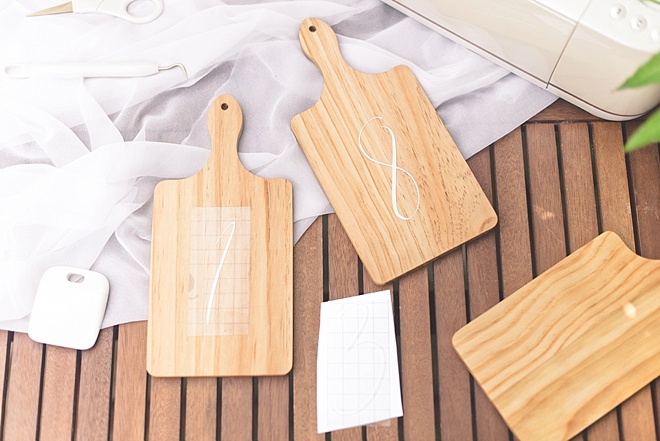
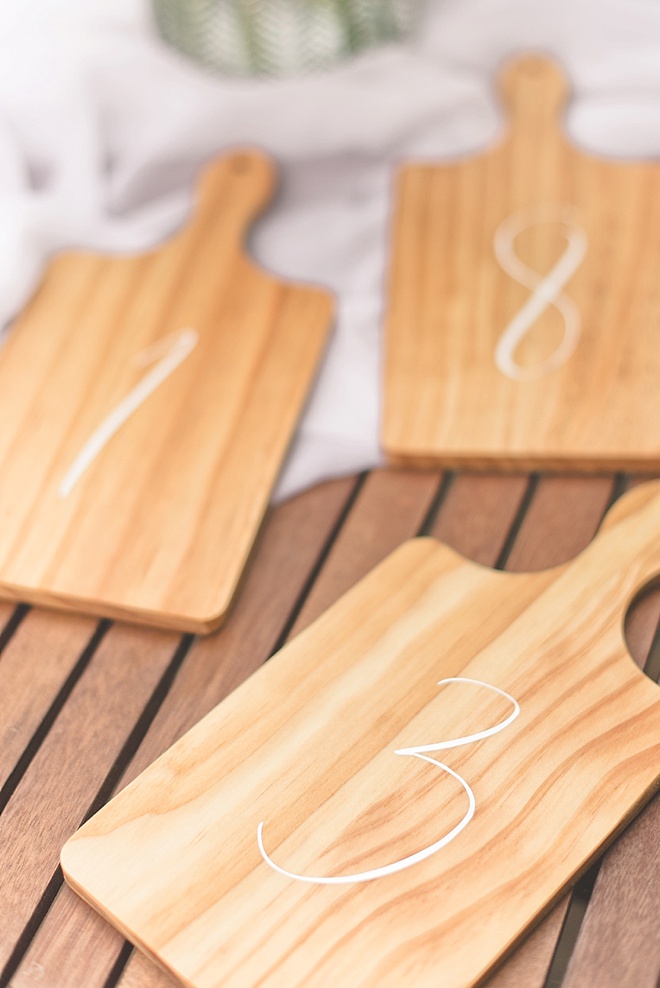
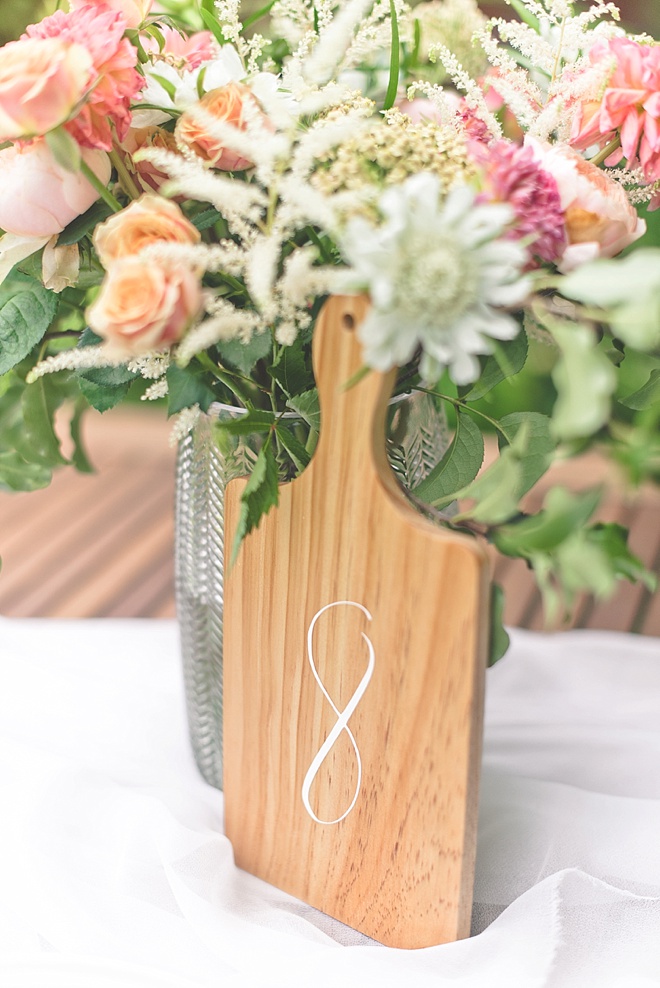
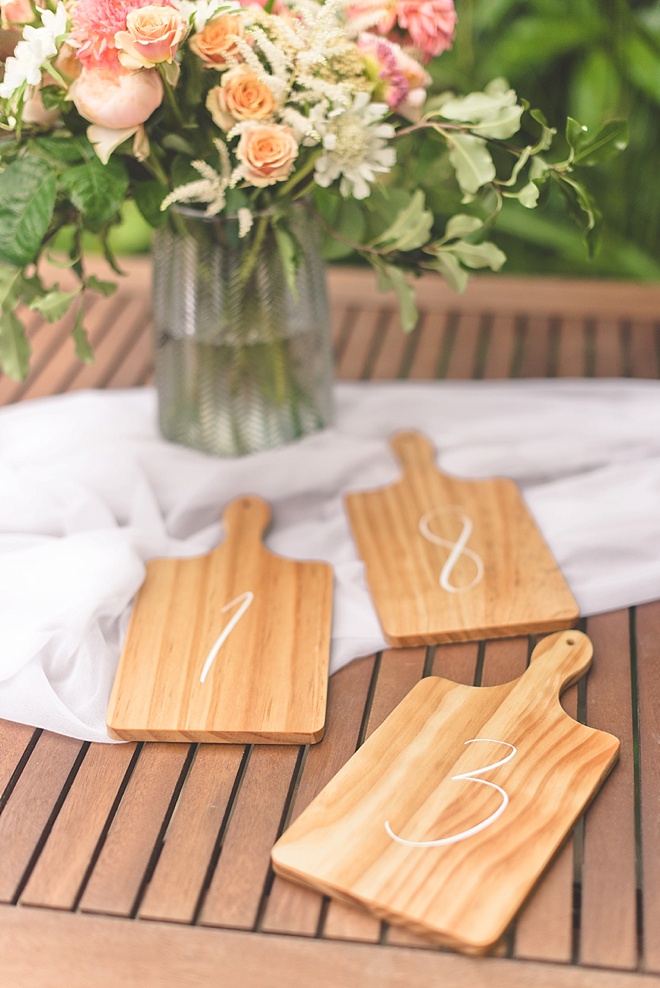
DISPLAY THOSE NUMBERS
Setup your table numbers alongside your floral centerpiece for the ultimate rustic elegance! These mini serving boards can also make a great menu sign or cocktail/bar sign. Possibilities are endless!
If you create one of our projects, please share a picture with us on Instagram or Twitter using the hashtag #somethingturquoisediy, we regularly reshare our favorites! Your profile will need to be public for us to see it otherwise, you can always DM us!
ABOUT THE MAKER
Considered an enthusiastic creator in the wedding industry since 2009, Chelsea LaVere Barton is a retired wedding photographer, editor-in-chief of Coastal Virginia’s online wedding publication, Tidewater and Tulle, and co-owner of UK-based wedding signage shop, High Oak & Co. Before her photographer days, Chelsea was a classroom art teacher and adheres to the mantra of “making life more beautiful” in all she does. When she’s not DIYing, she loves to go on local British adventures with her husband, write about said UK adventures on It’s a Hard Biscuit Life, and quietly relax at home with their cat Pickles Barrington. You can find her scrapbook of life on Instagram.
DIY TUTORIAL CREDITS
Photography + DIY Tutorial: Chelsea LaVere Barton // Florals: Apple Mint Florist // Mini Wood Serving Boards: Etsy or IKEA // Premium Permanent White Vinyl: Amazon // Cricut Explore Air 2 Machine: Amazon // Transfer Tape: Amazon // Burnish & Weeding Tools: Amazon
SHOP THE SUPPLIES
Find the supplies you’ll need for this project from our affiliate links below.


Comments