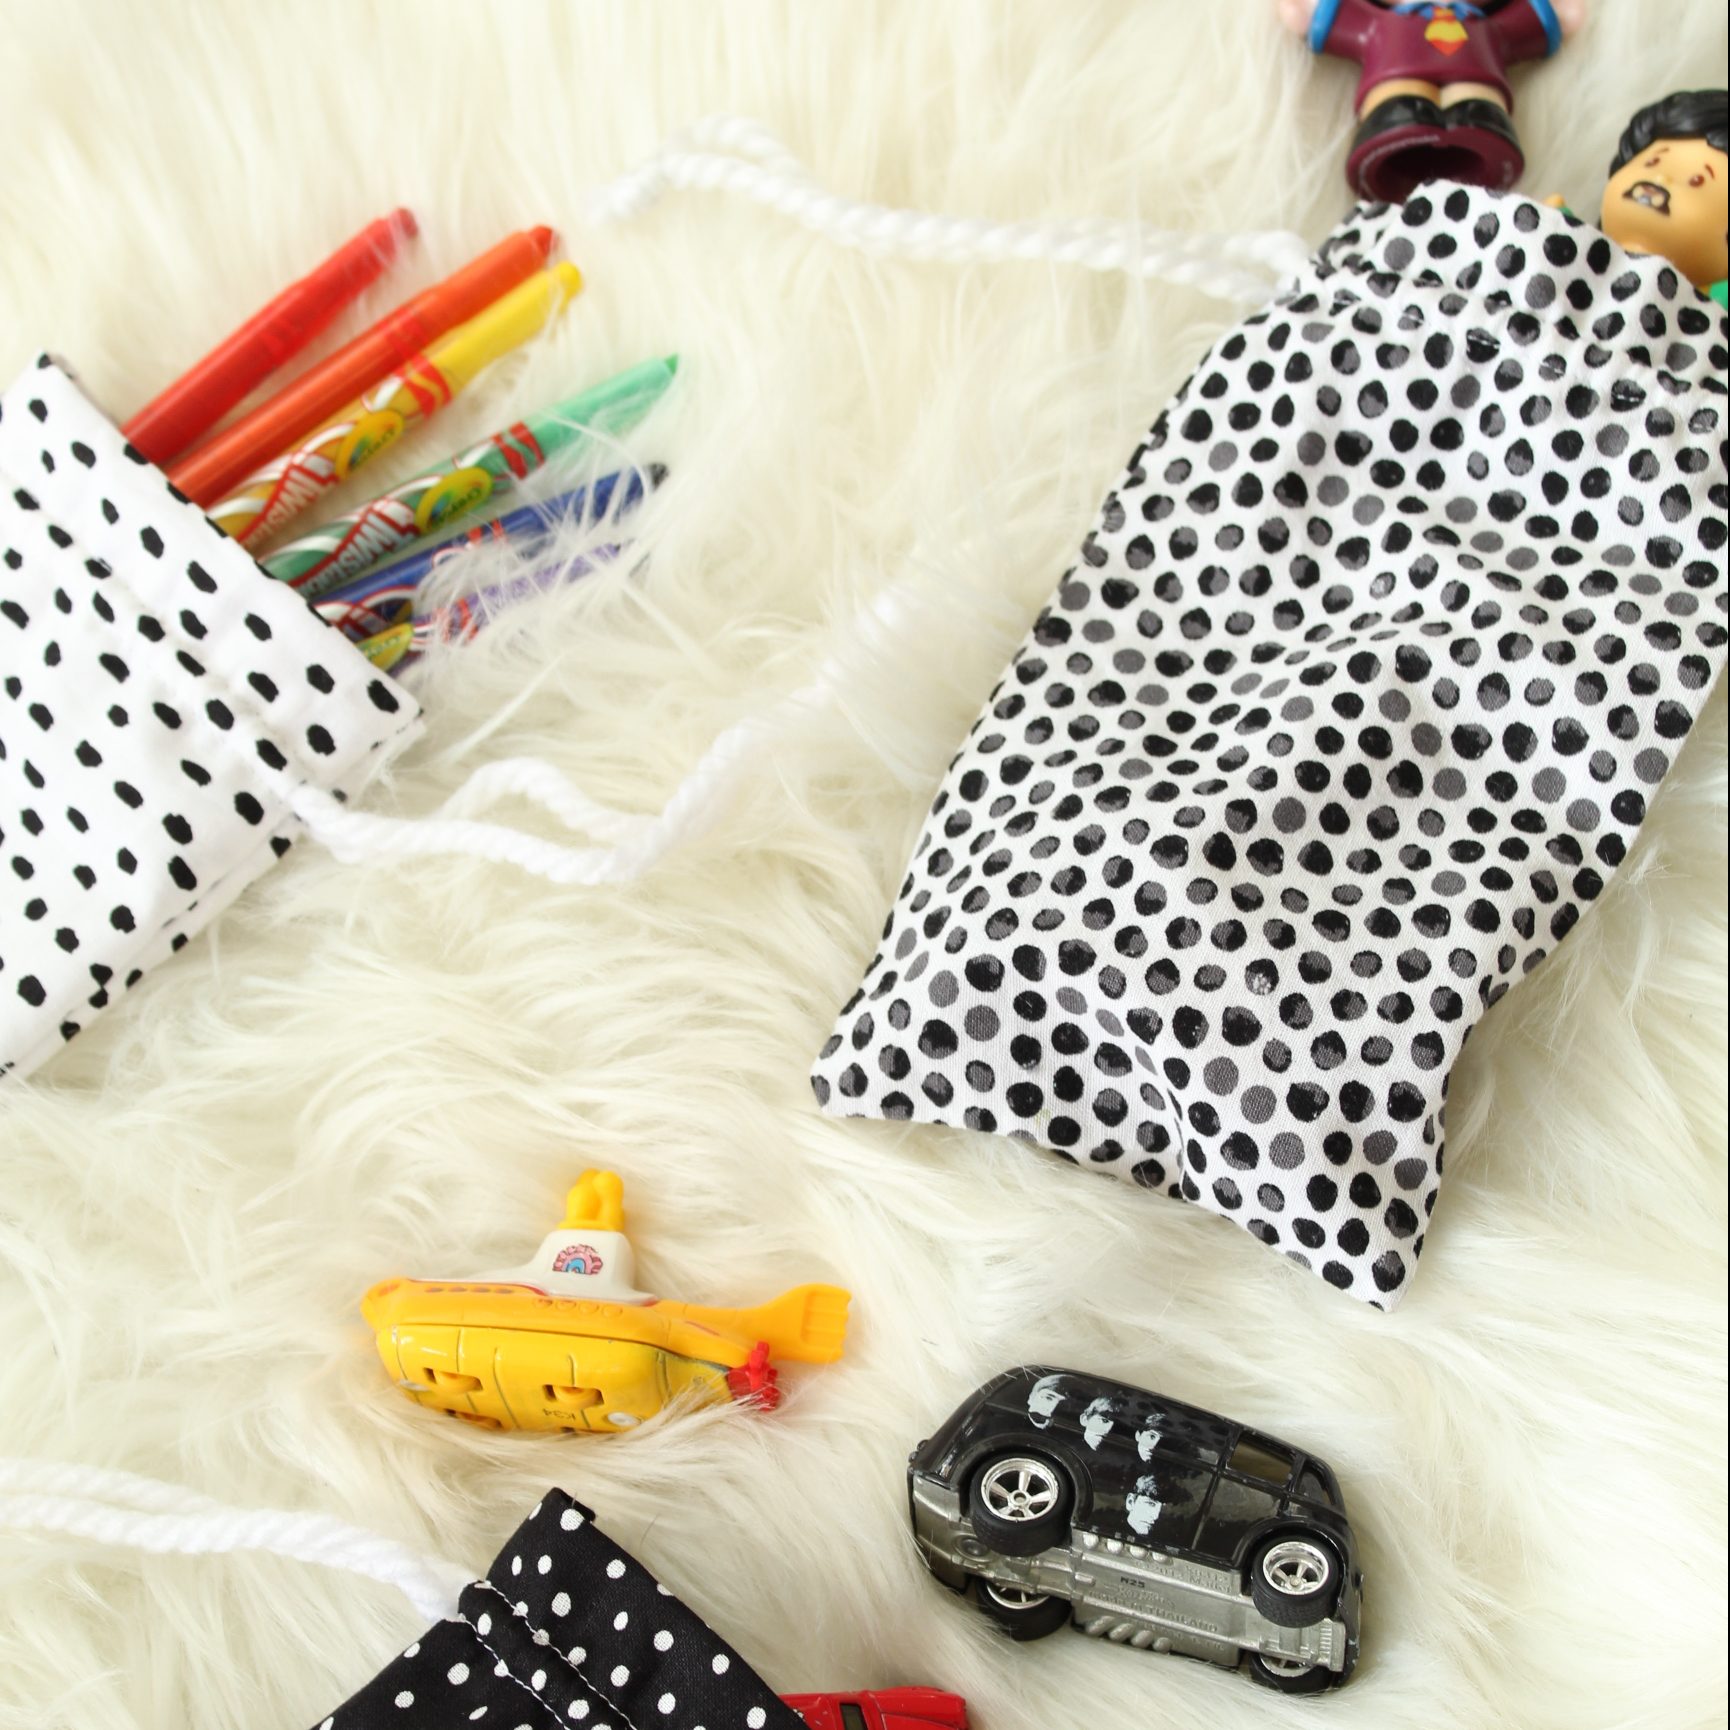

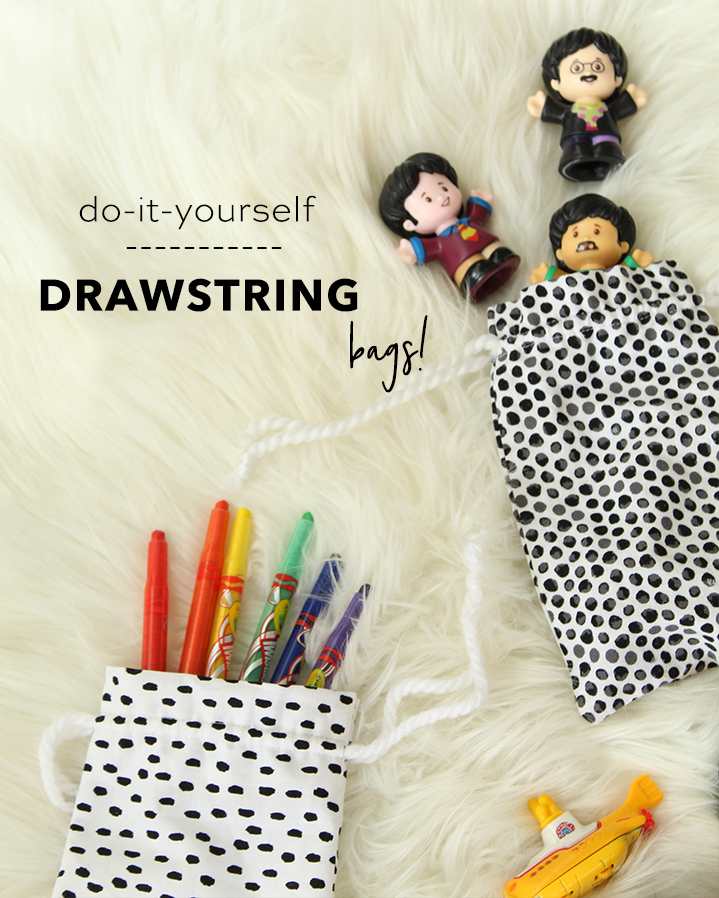
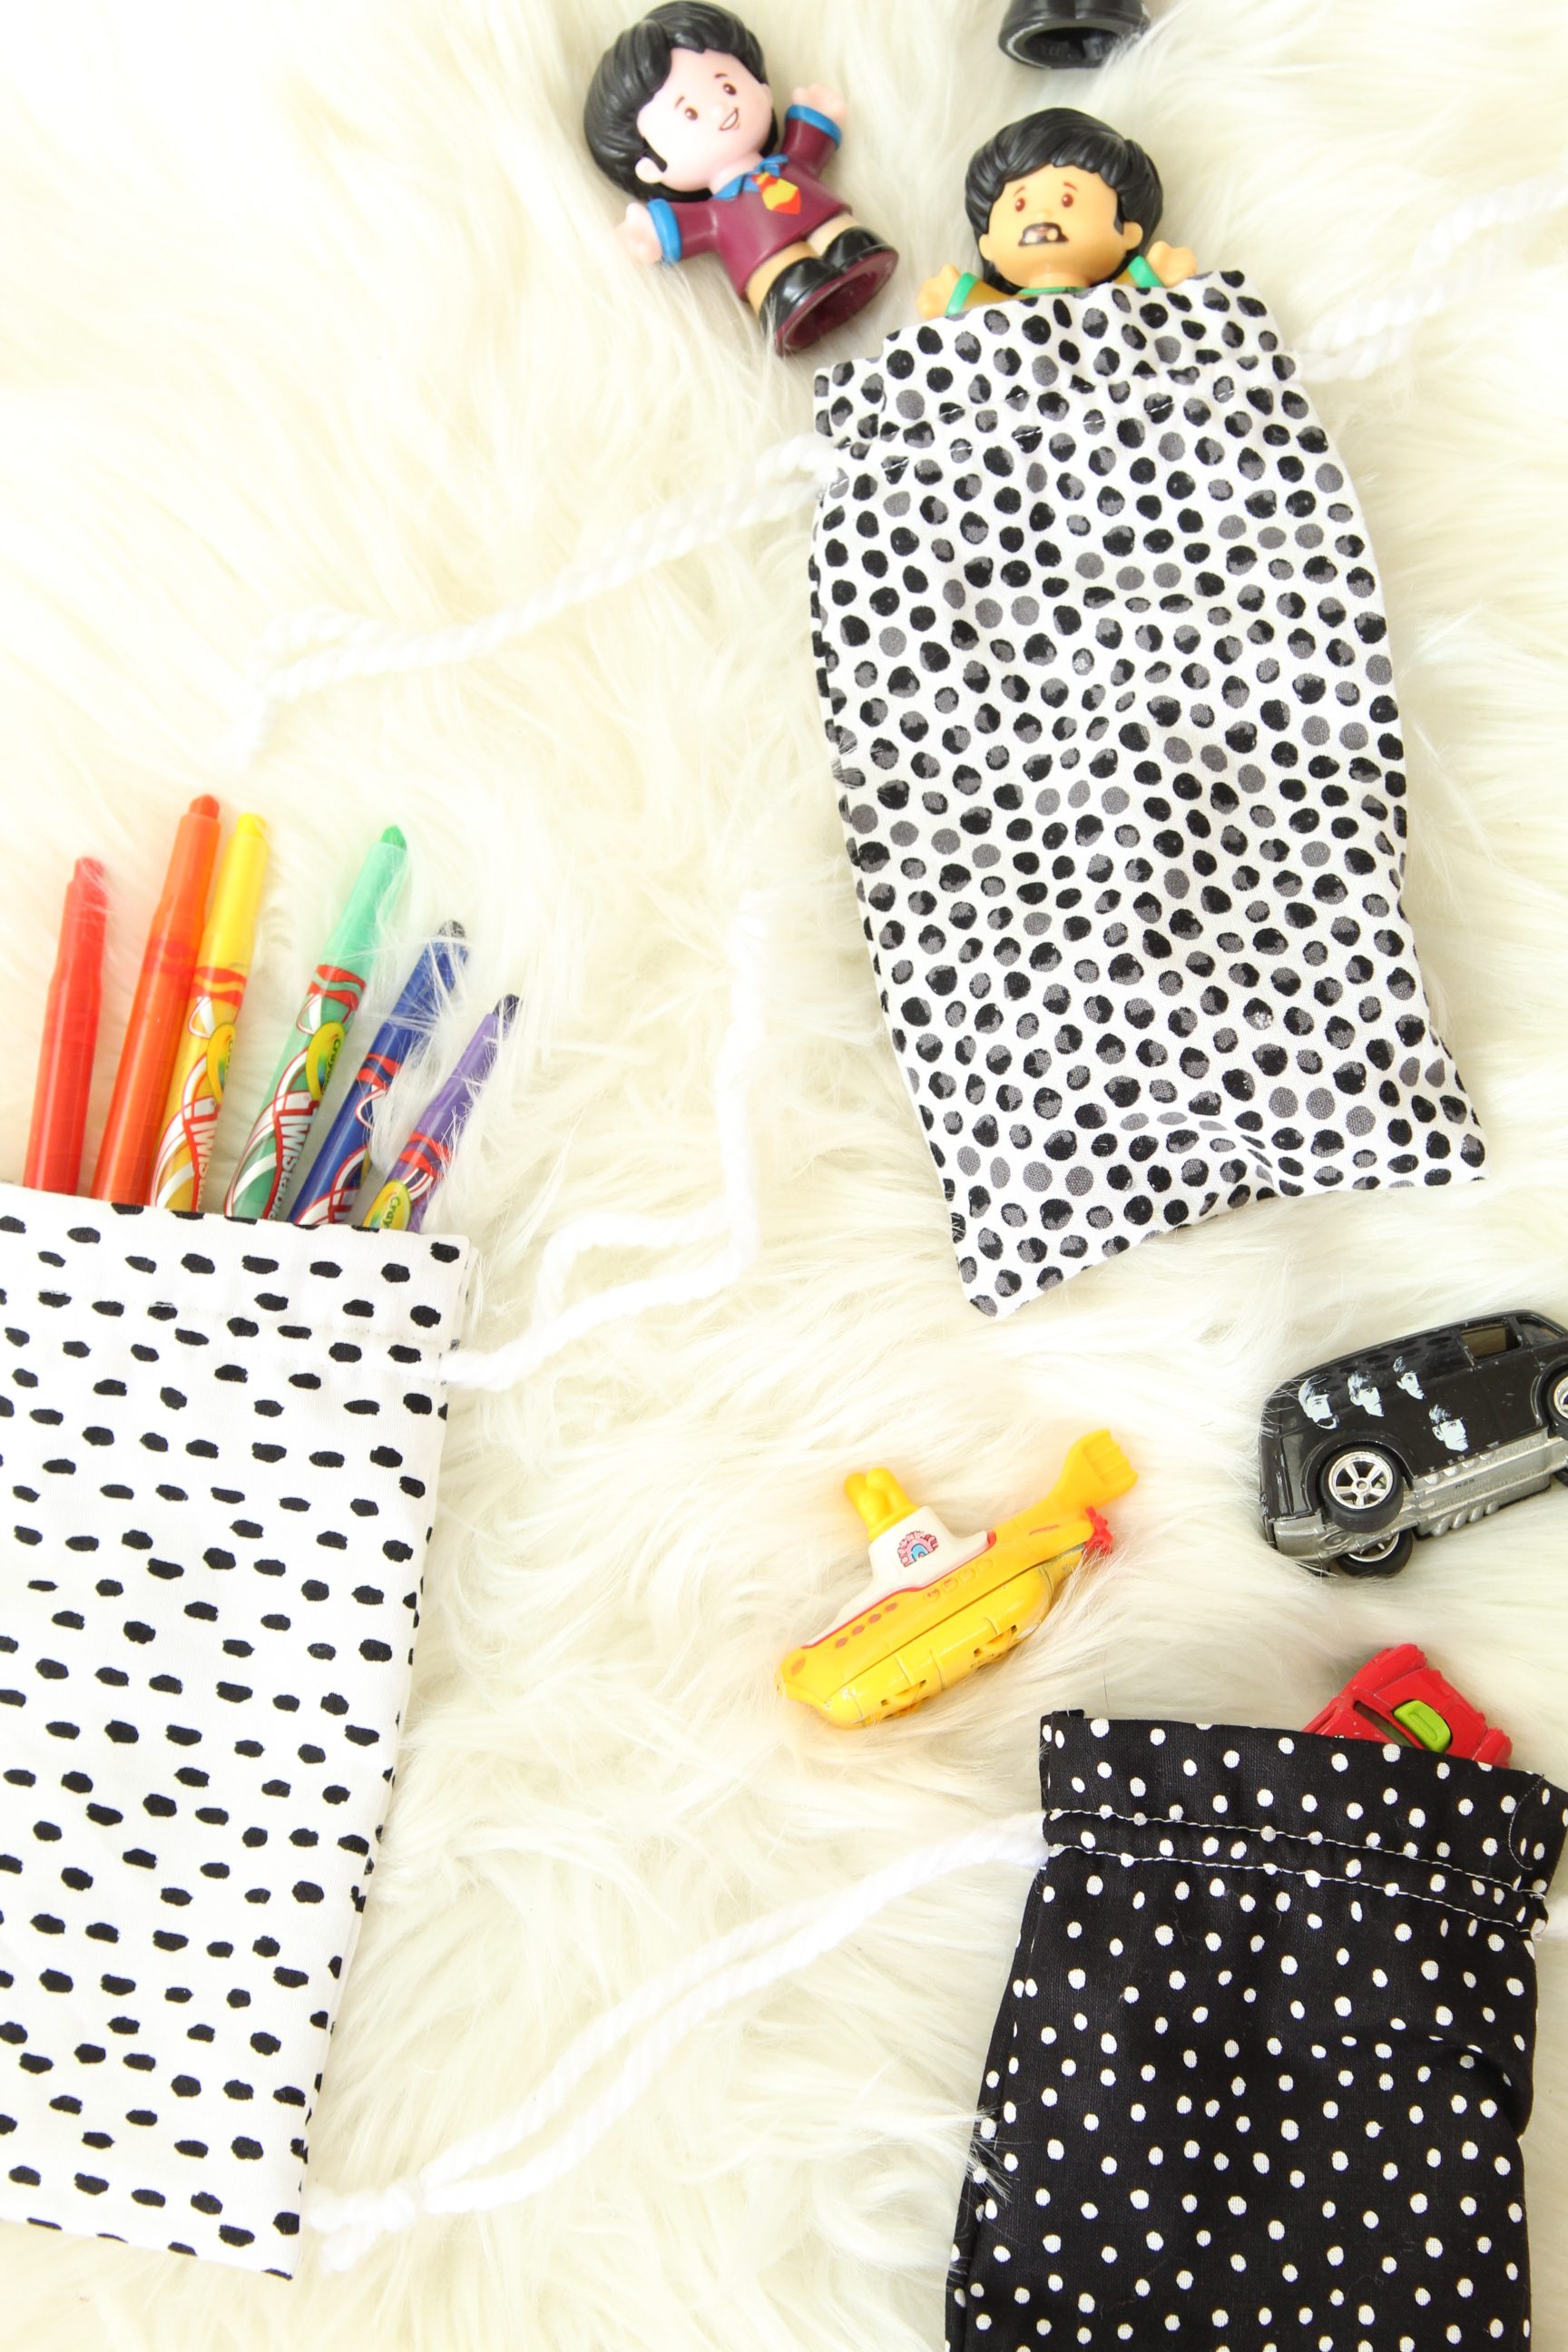
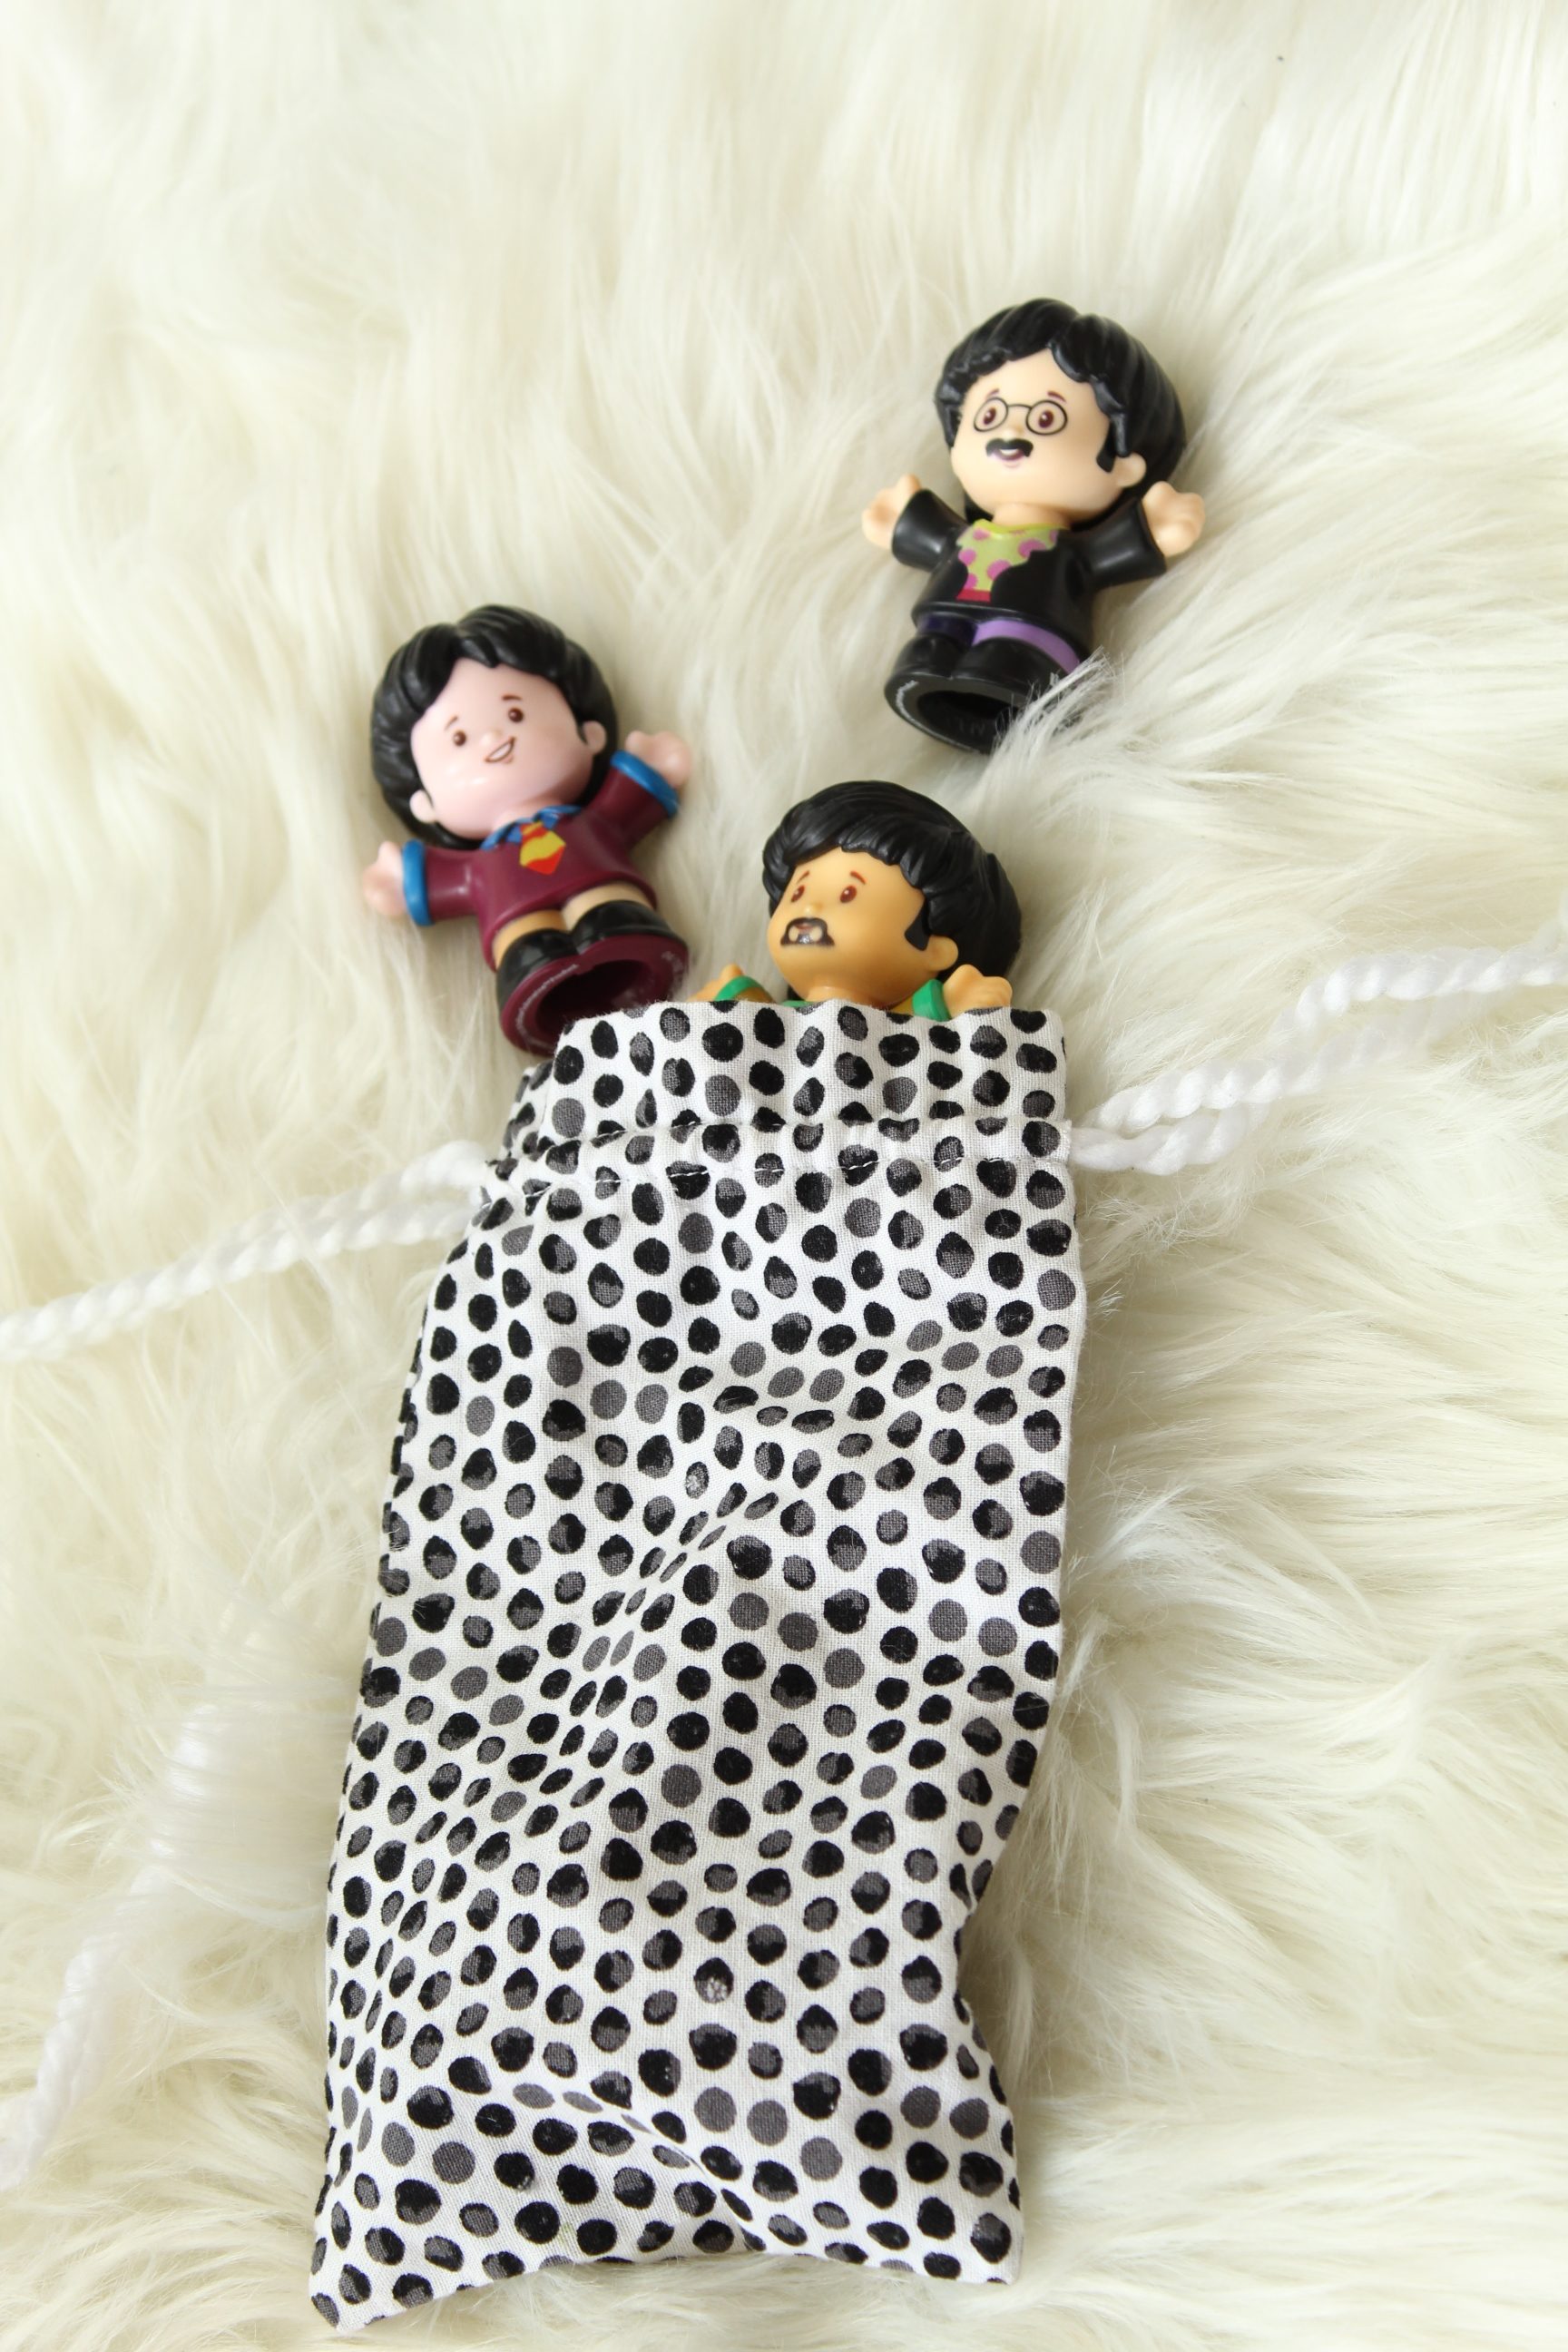
DIY Drawstring Bag
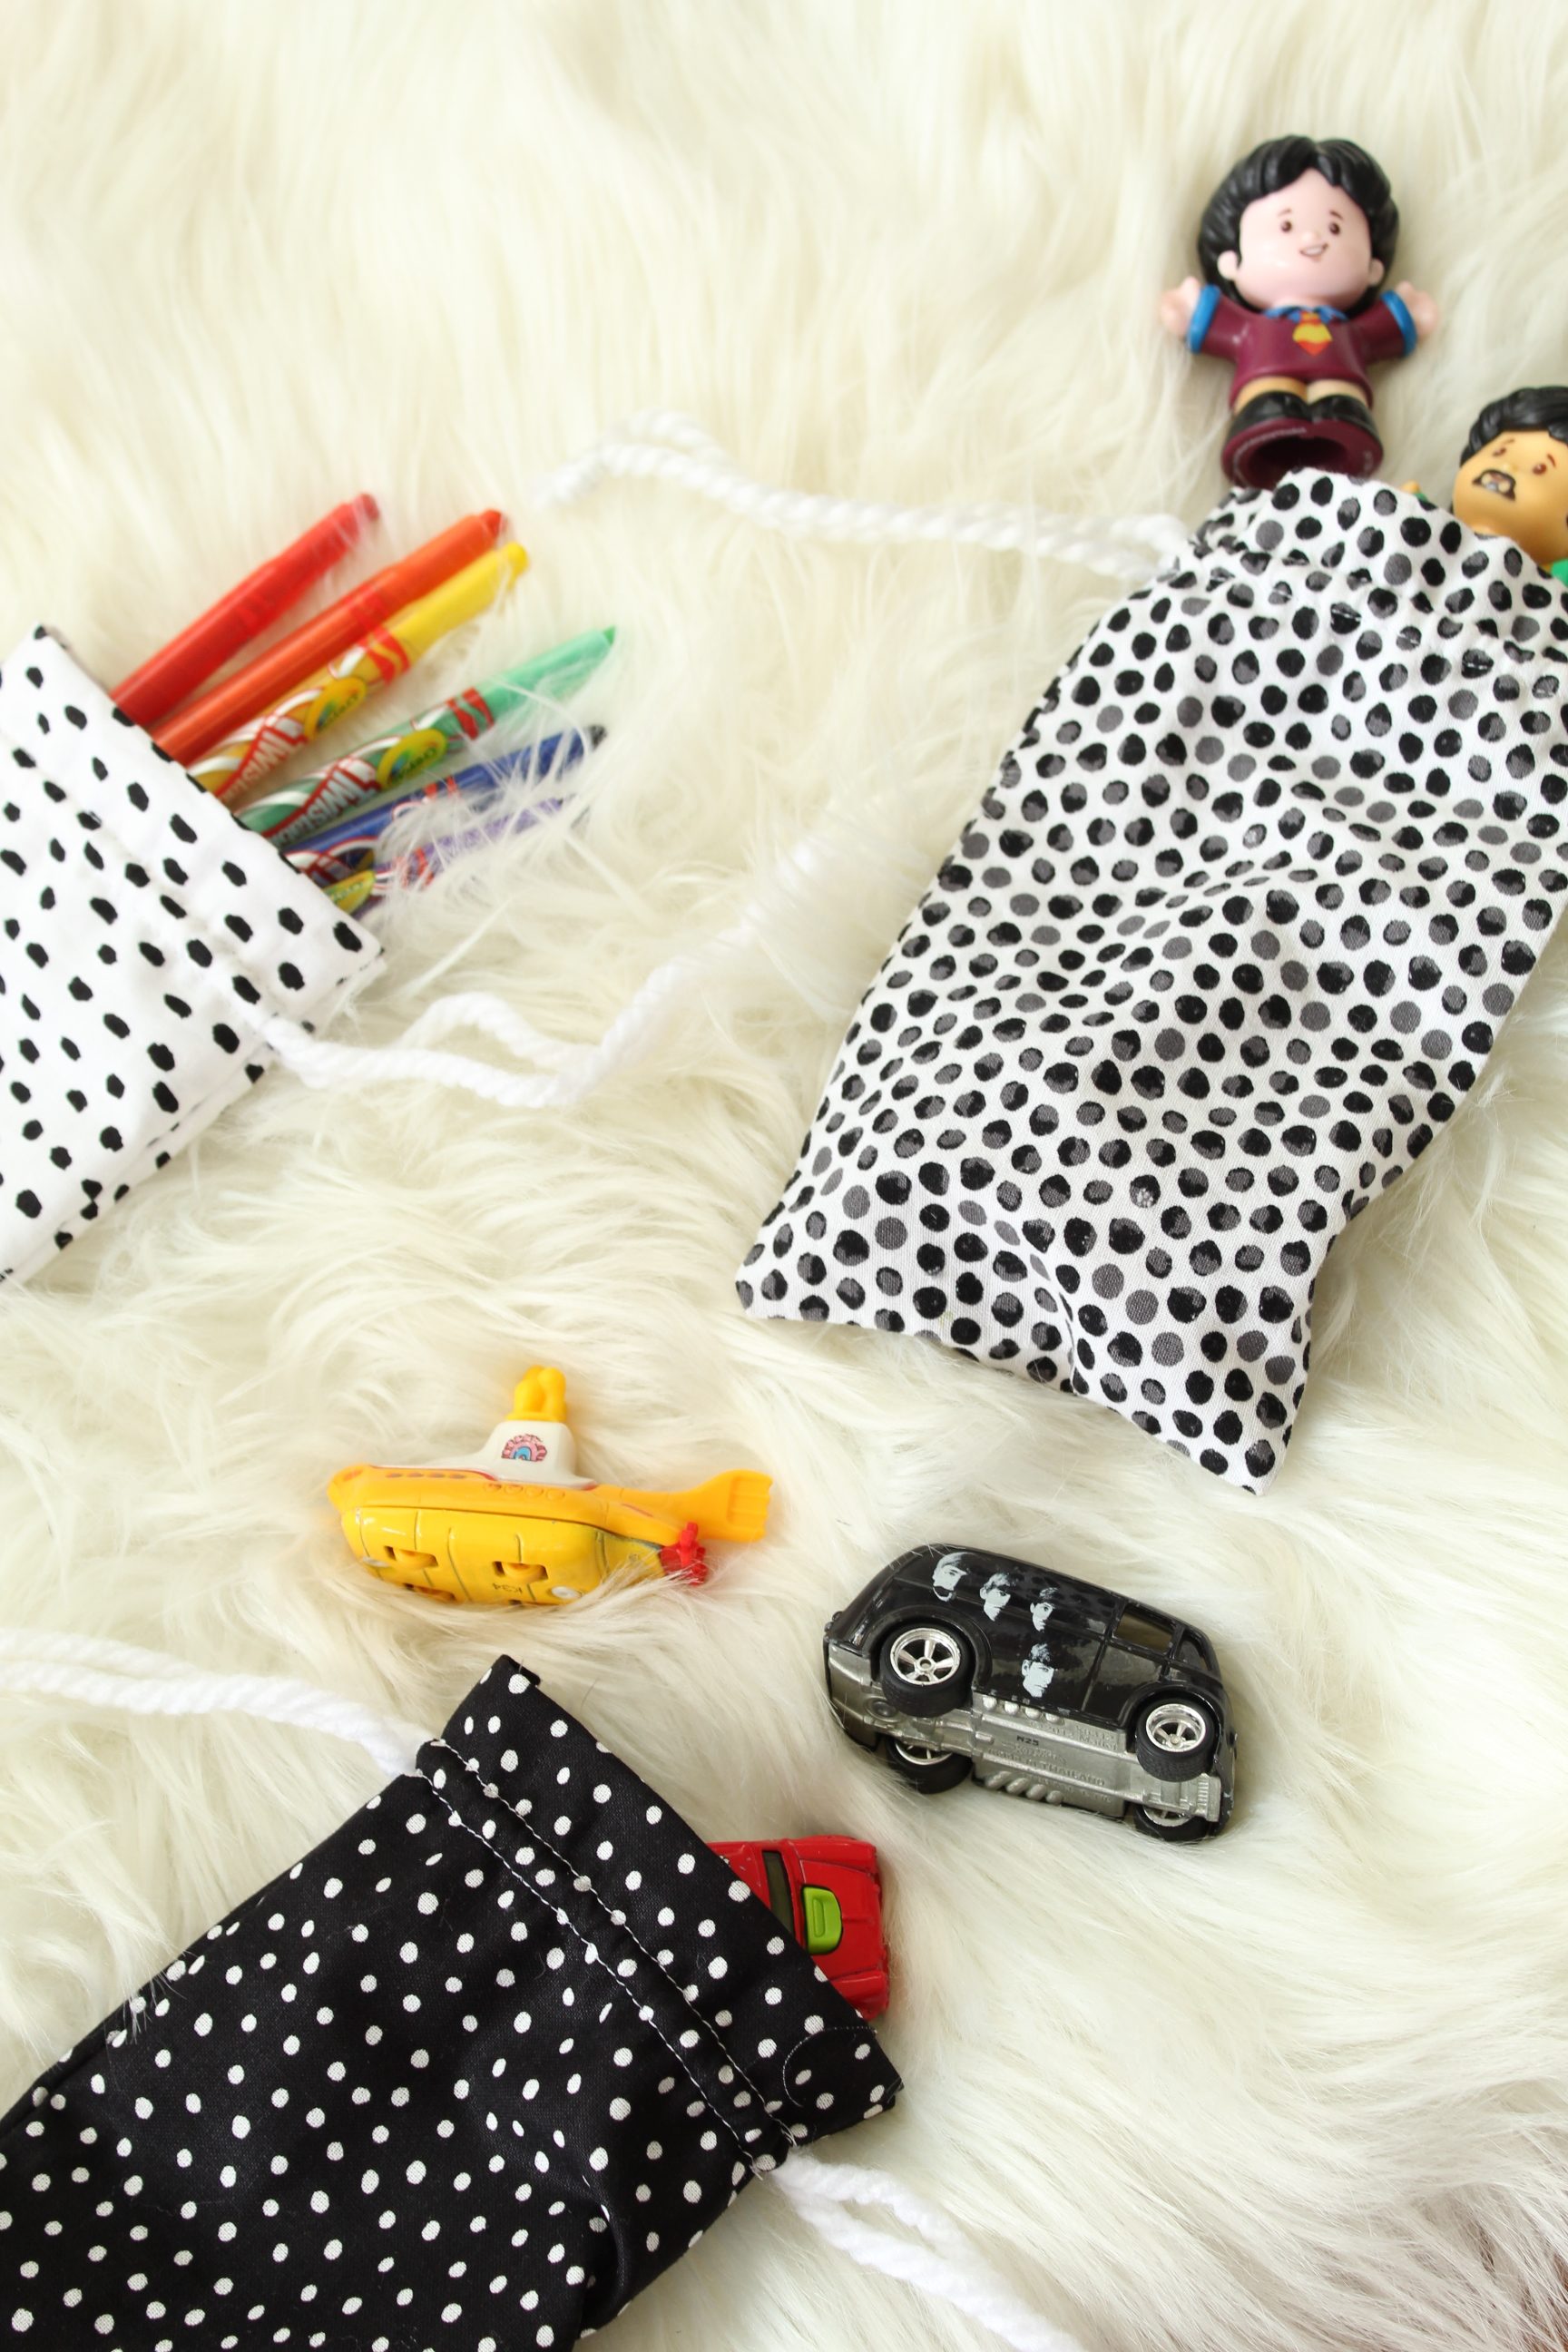
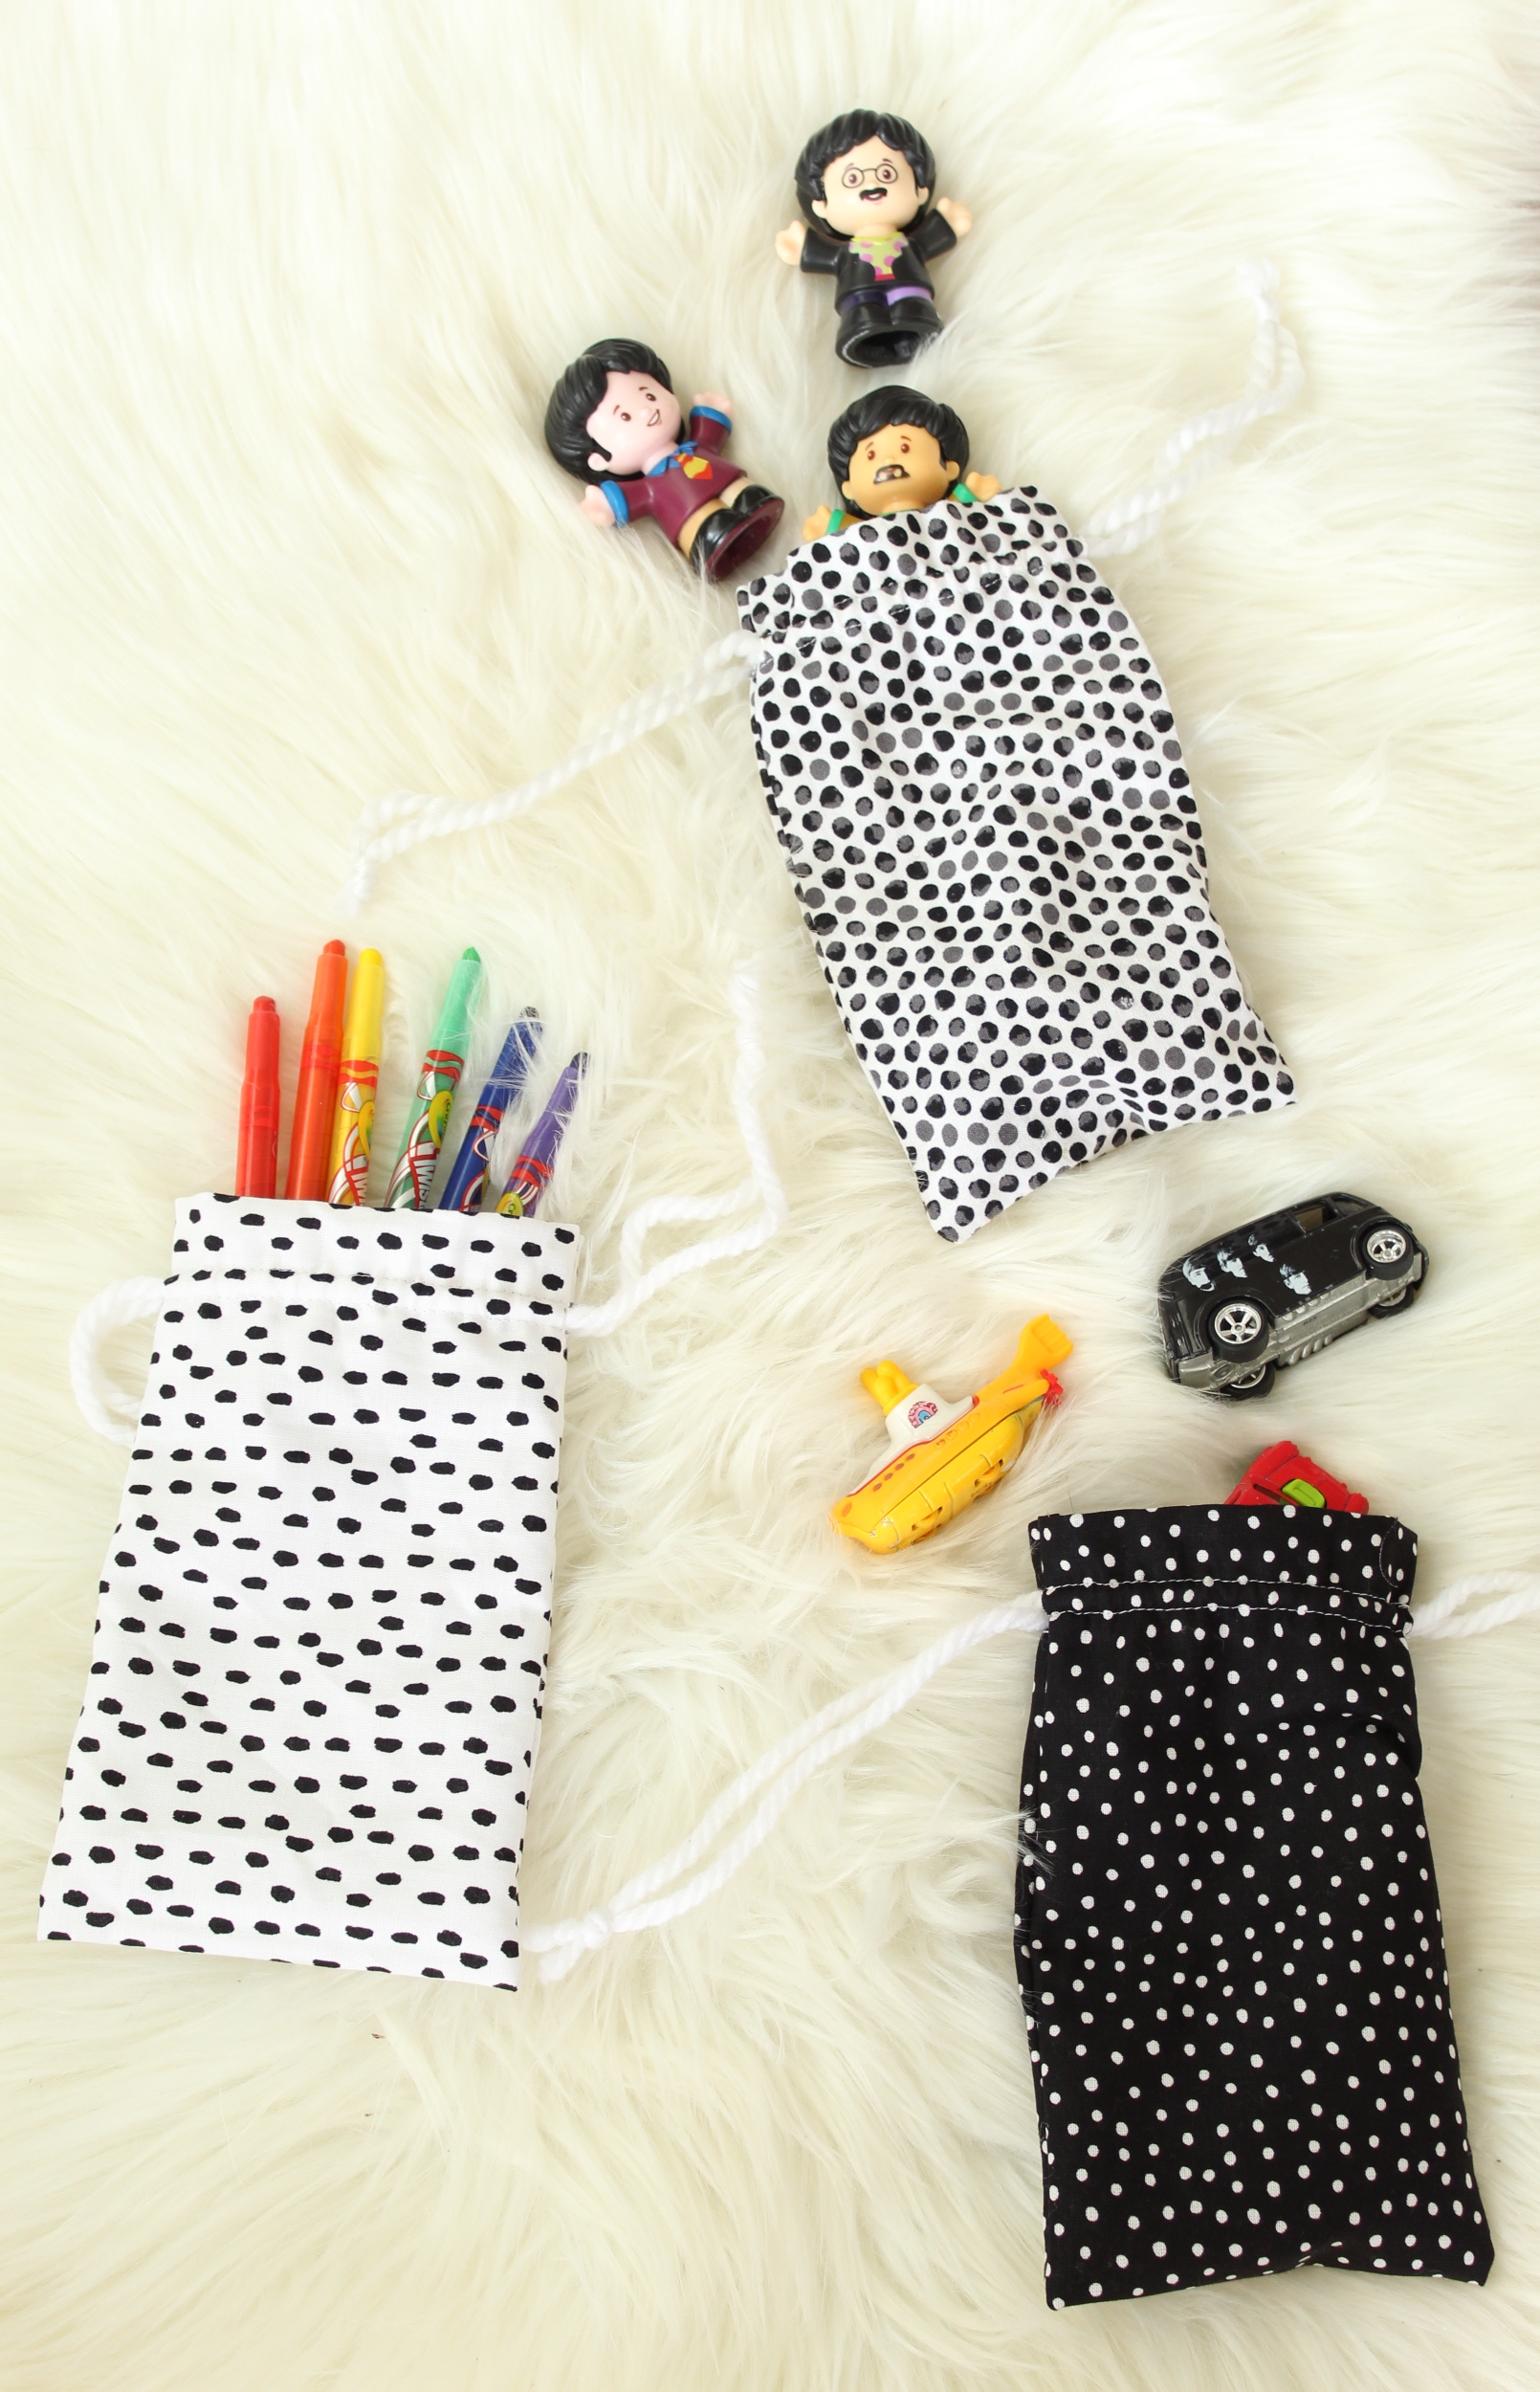
Hi friends! Shea back with another simple DIY for all you mama’s who are tired of finding hot wheels and crayons at the bottom of your purse (where my fellow boy moms at). I was looking for a way to wrangle all the little odds and ends of motherhood and I ended up creating these little bags and now they are my go-to for just about everything.
I remember when Jen (our fearless leader) told the ST team that we were going to start covering more than just weddings and that we’d be incorporating life and kids, she encouraged us to share projects we were ACTUALLY making for our homes and our families. This is definitely one of those projects. I literally made several before thinking “you know what, I should do a tutorial for these!” The best part of them is that they are actually a super simple project, a great beginner sewing project even. I hope you enjoy it!
Supplies:
- Fabric (Fat Quarter is more than enough)
- Coordinating thread (not pictured)
- Rotary Cutter
- Ruler
- Yarn (2 pieces, 18 inches long)
- Small Safety Pin
- Overcasting Foot (optional)
- Small (and sharp) scissors (Like embroidery scissors)
- Sewing Machine

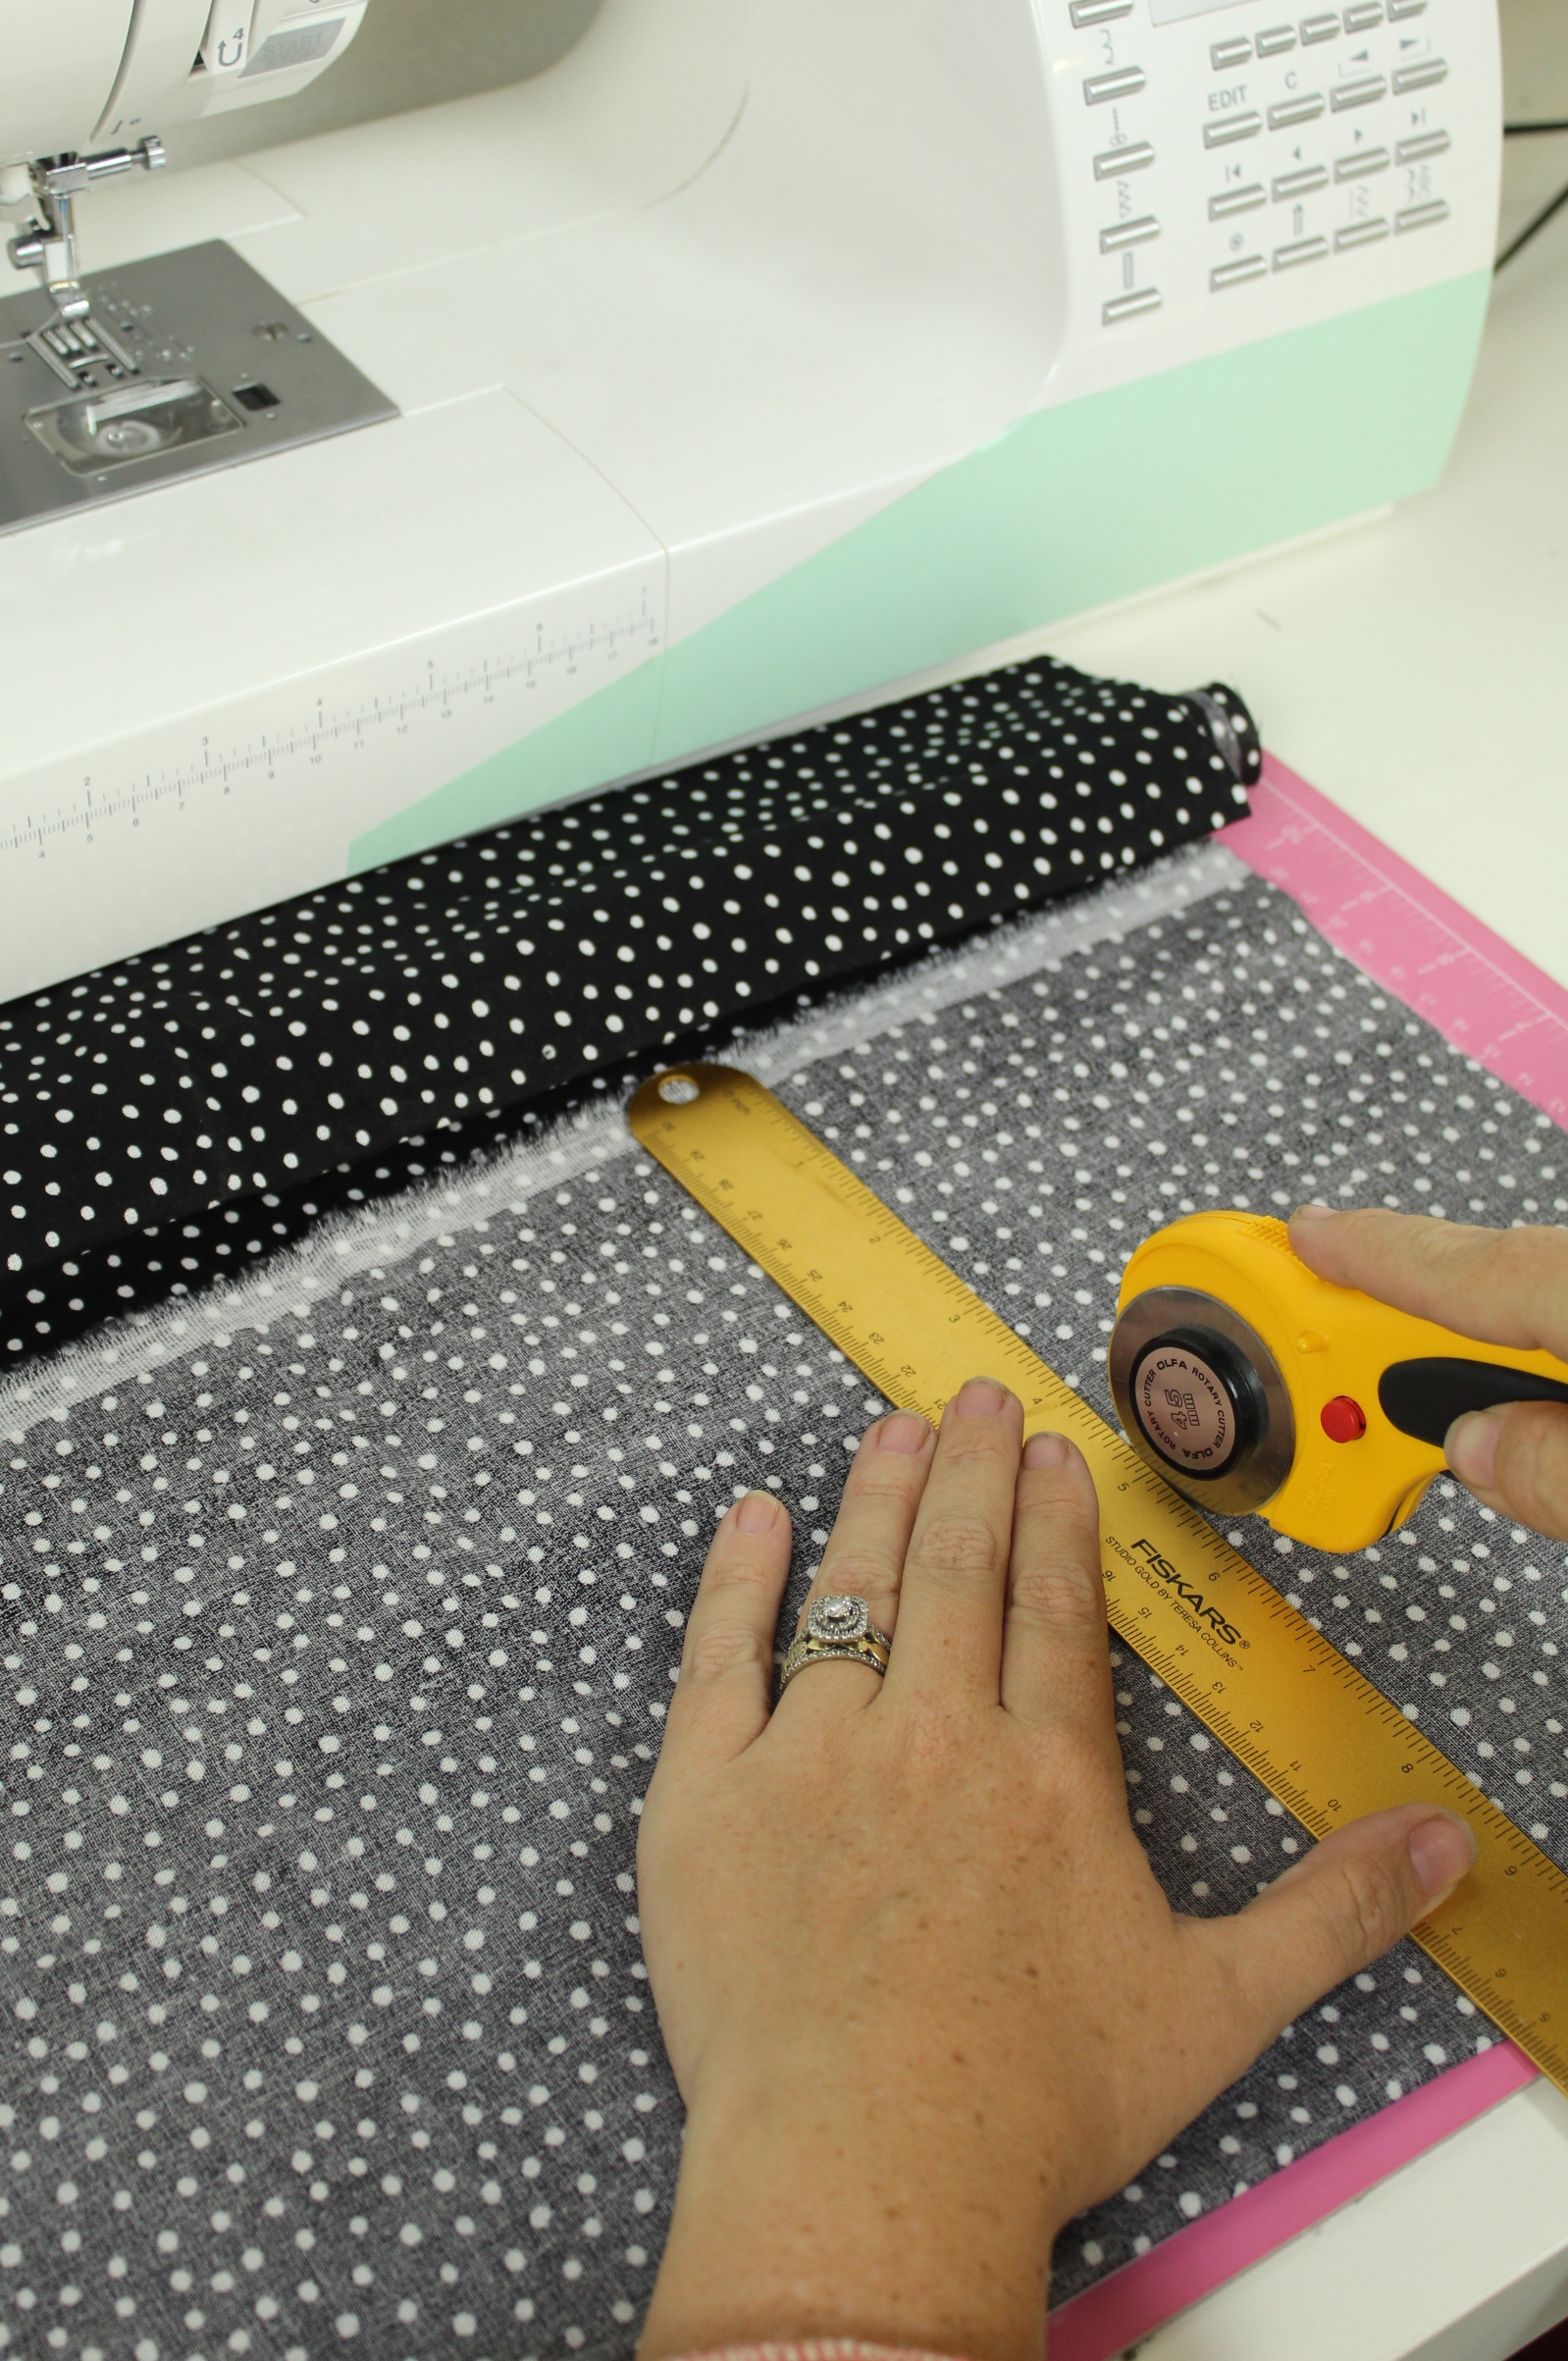
Cut Fabric
Fold your piece of fabric in half and measure 5 inches on the folded side and 9 and a half inches tall and cut your fabric. (I suppose you could also cut a pieces that is 19 inches tall by 5 wide, this way is just a little more manageable, especially on a small work space.)

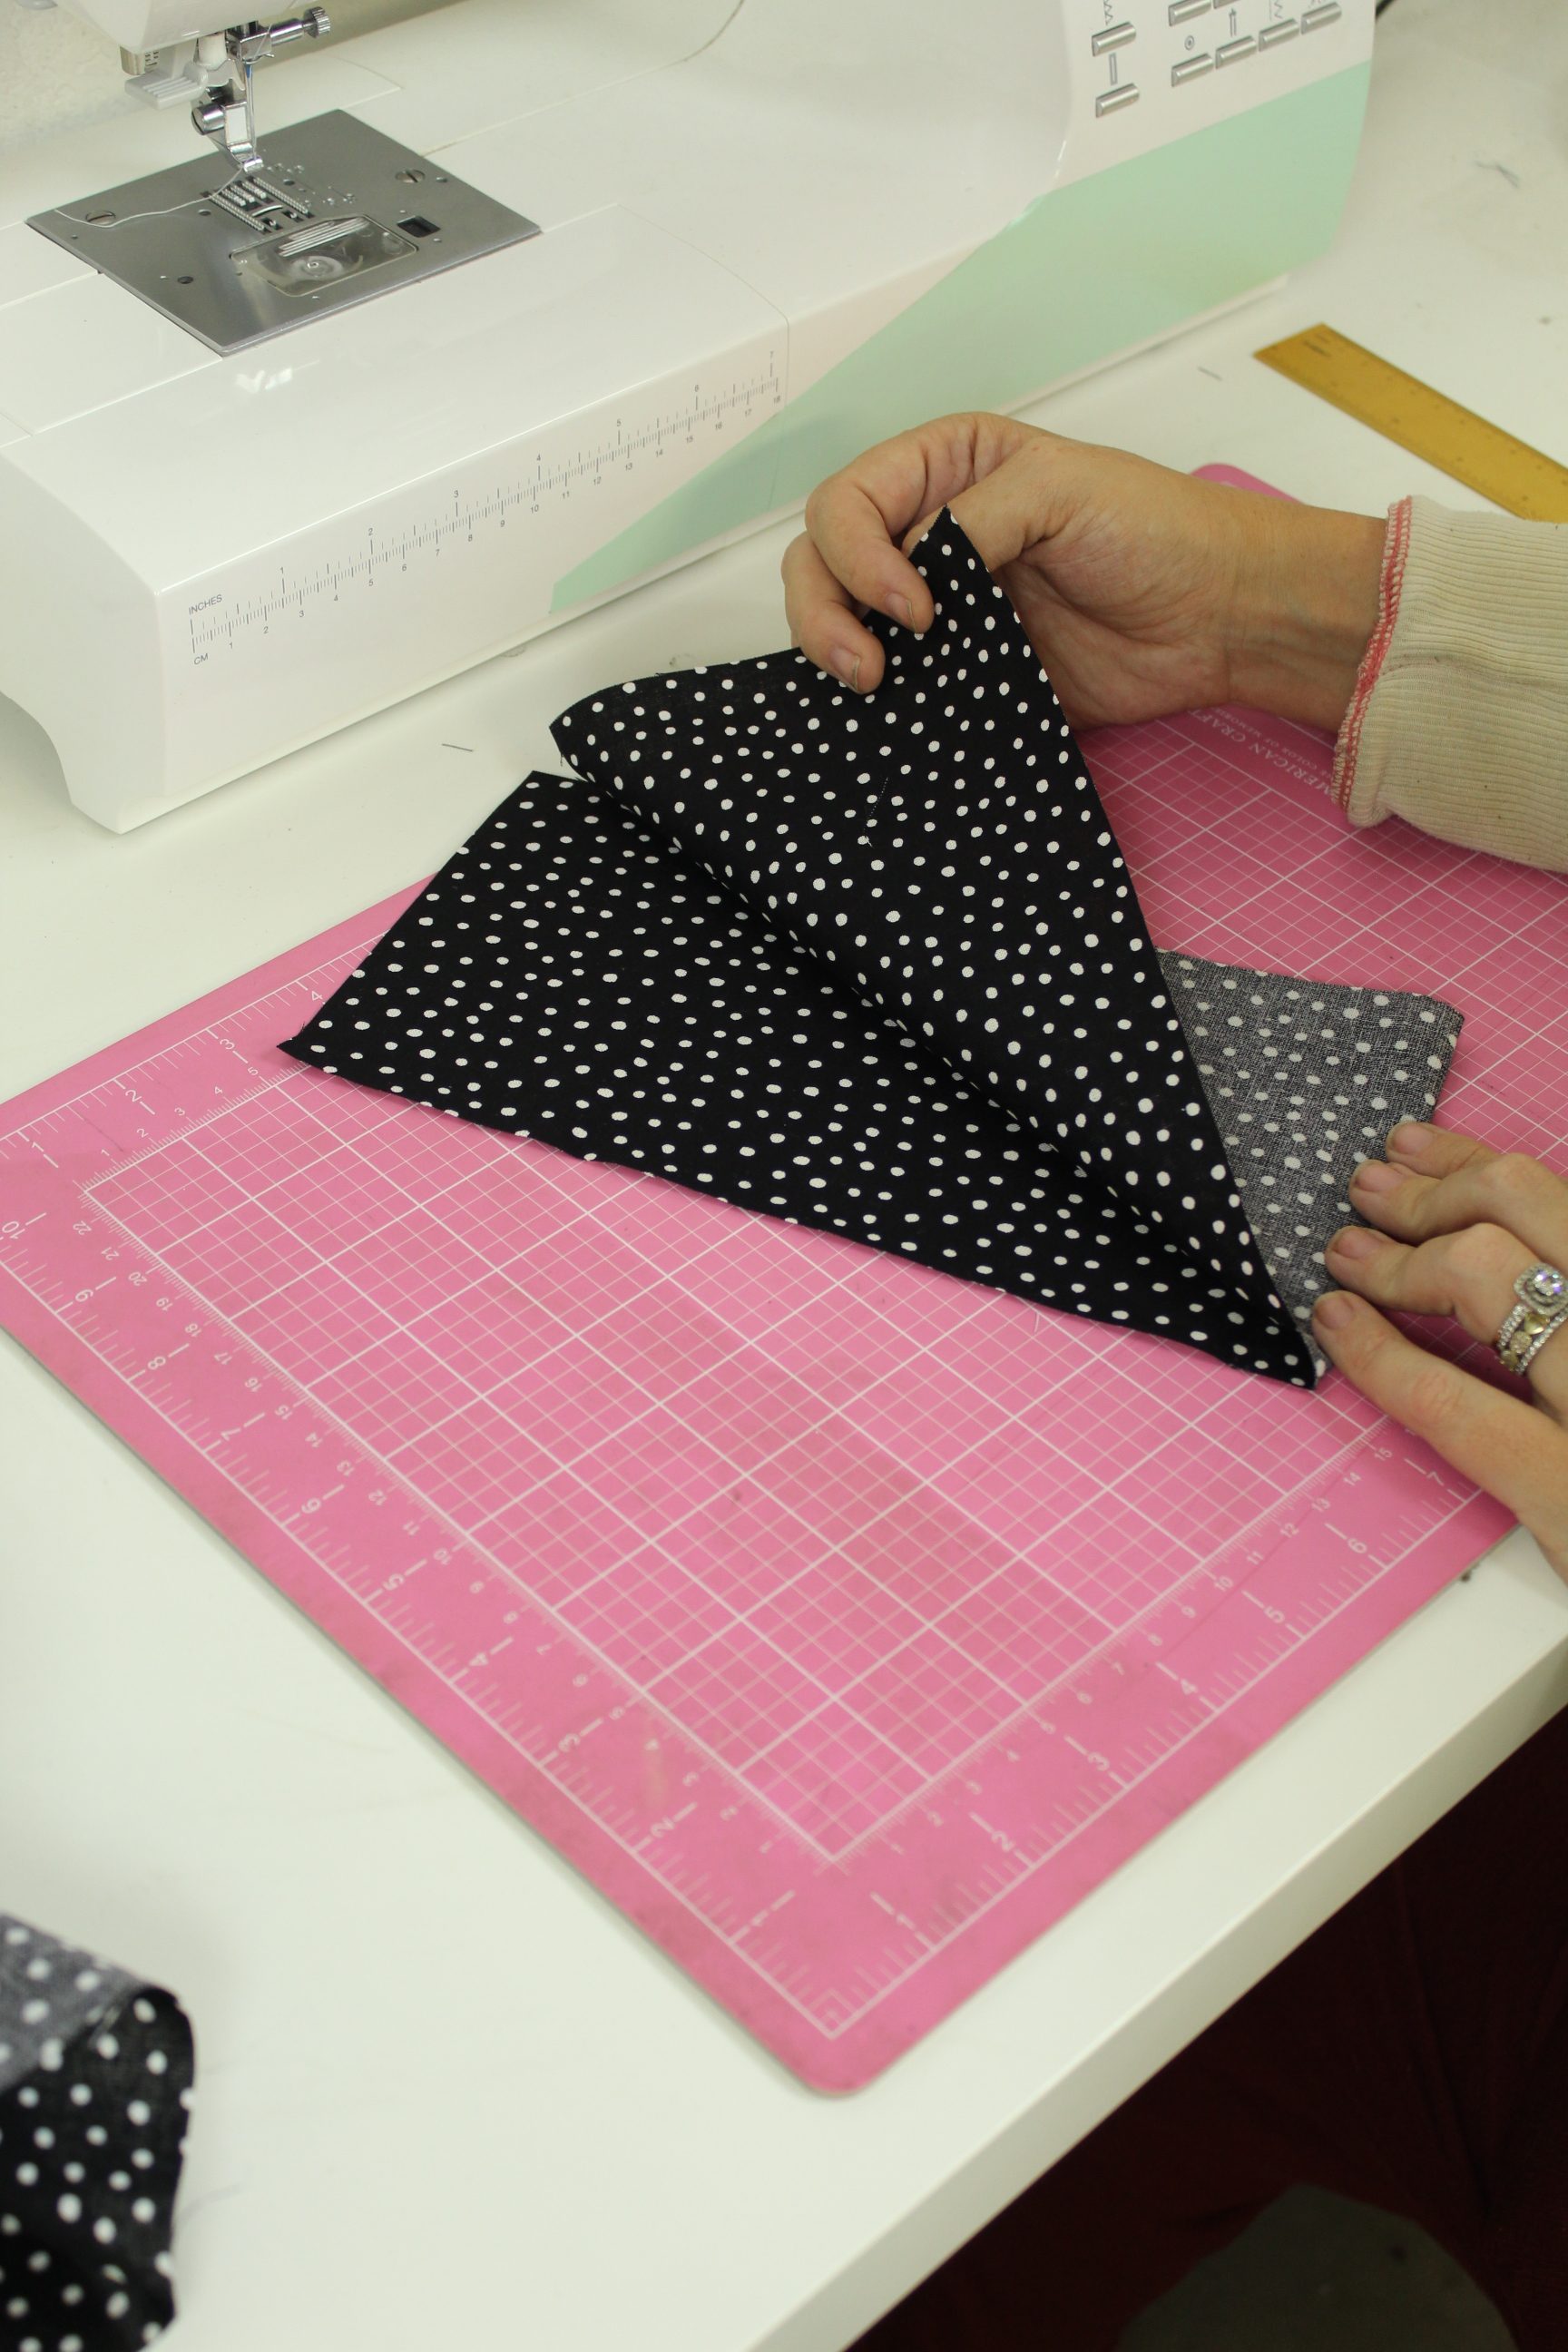
Begin to Sew
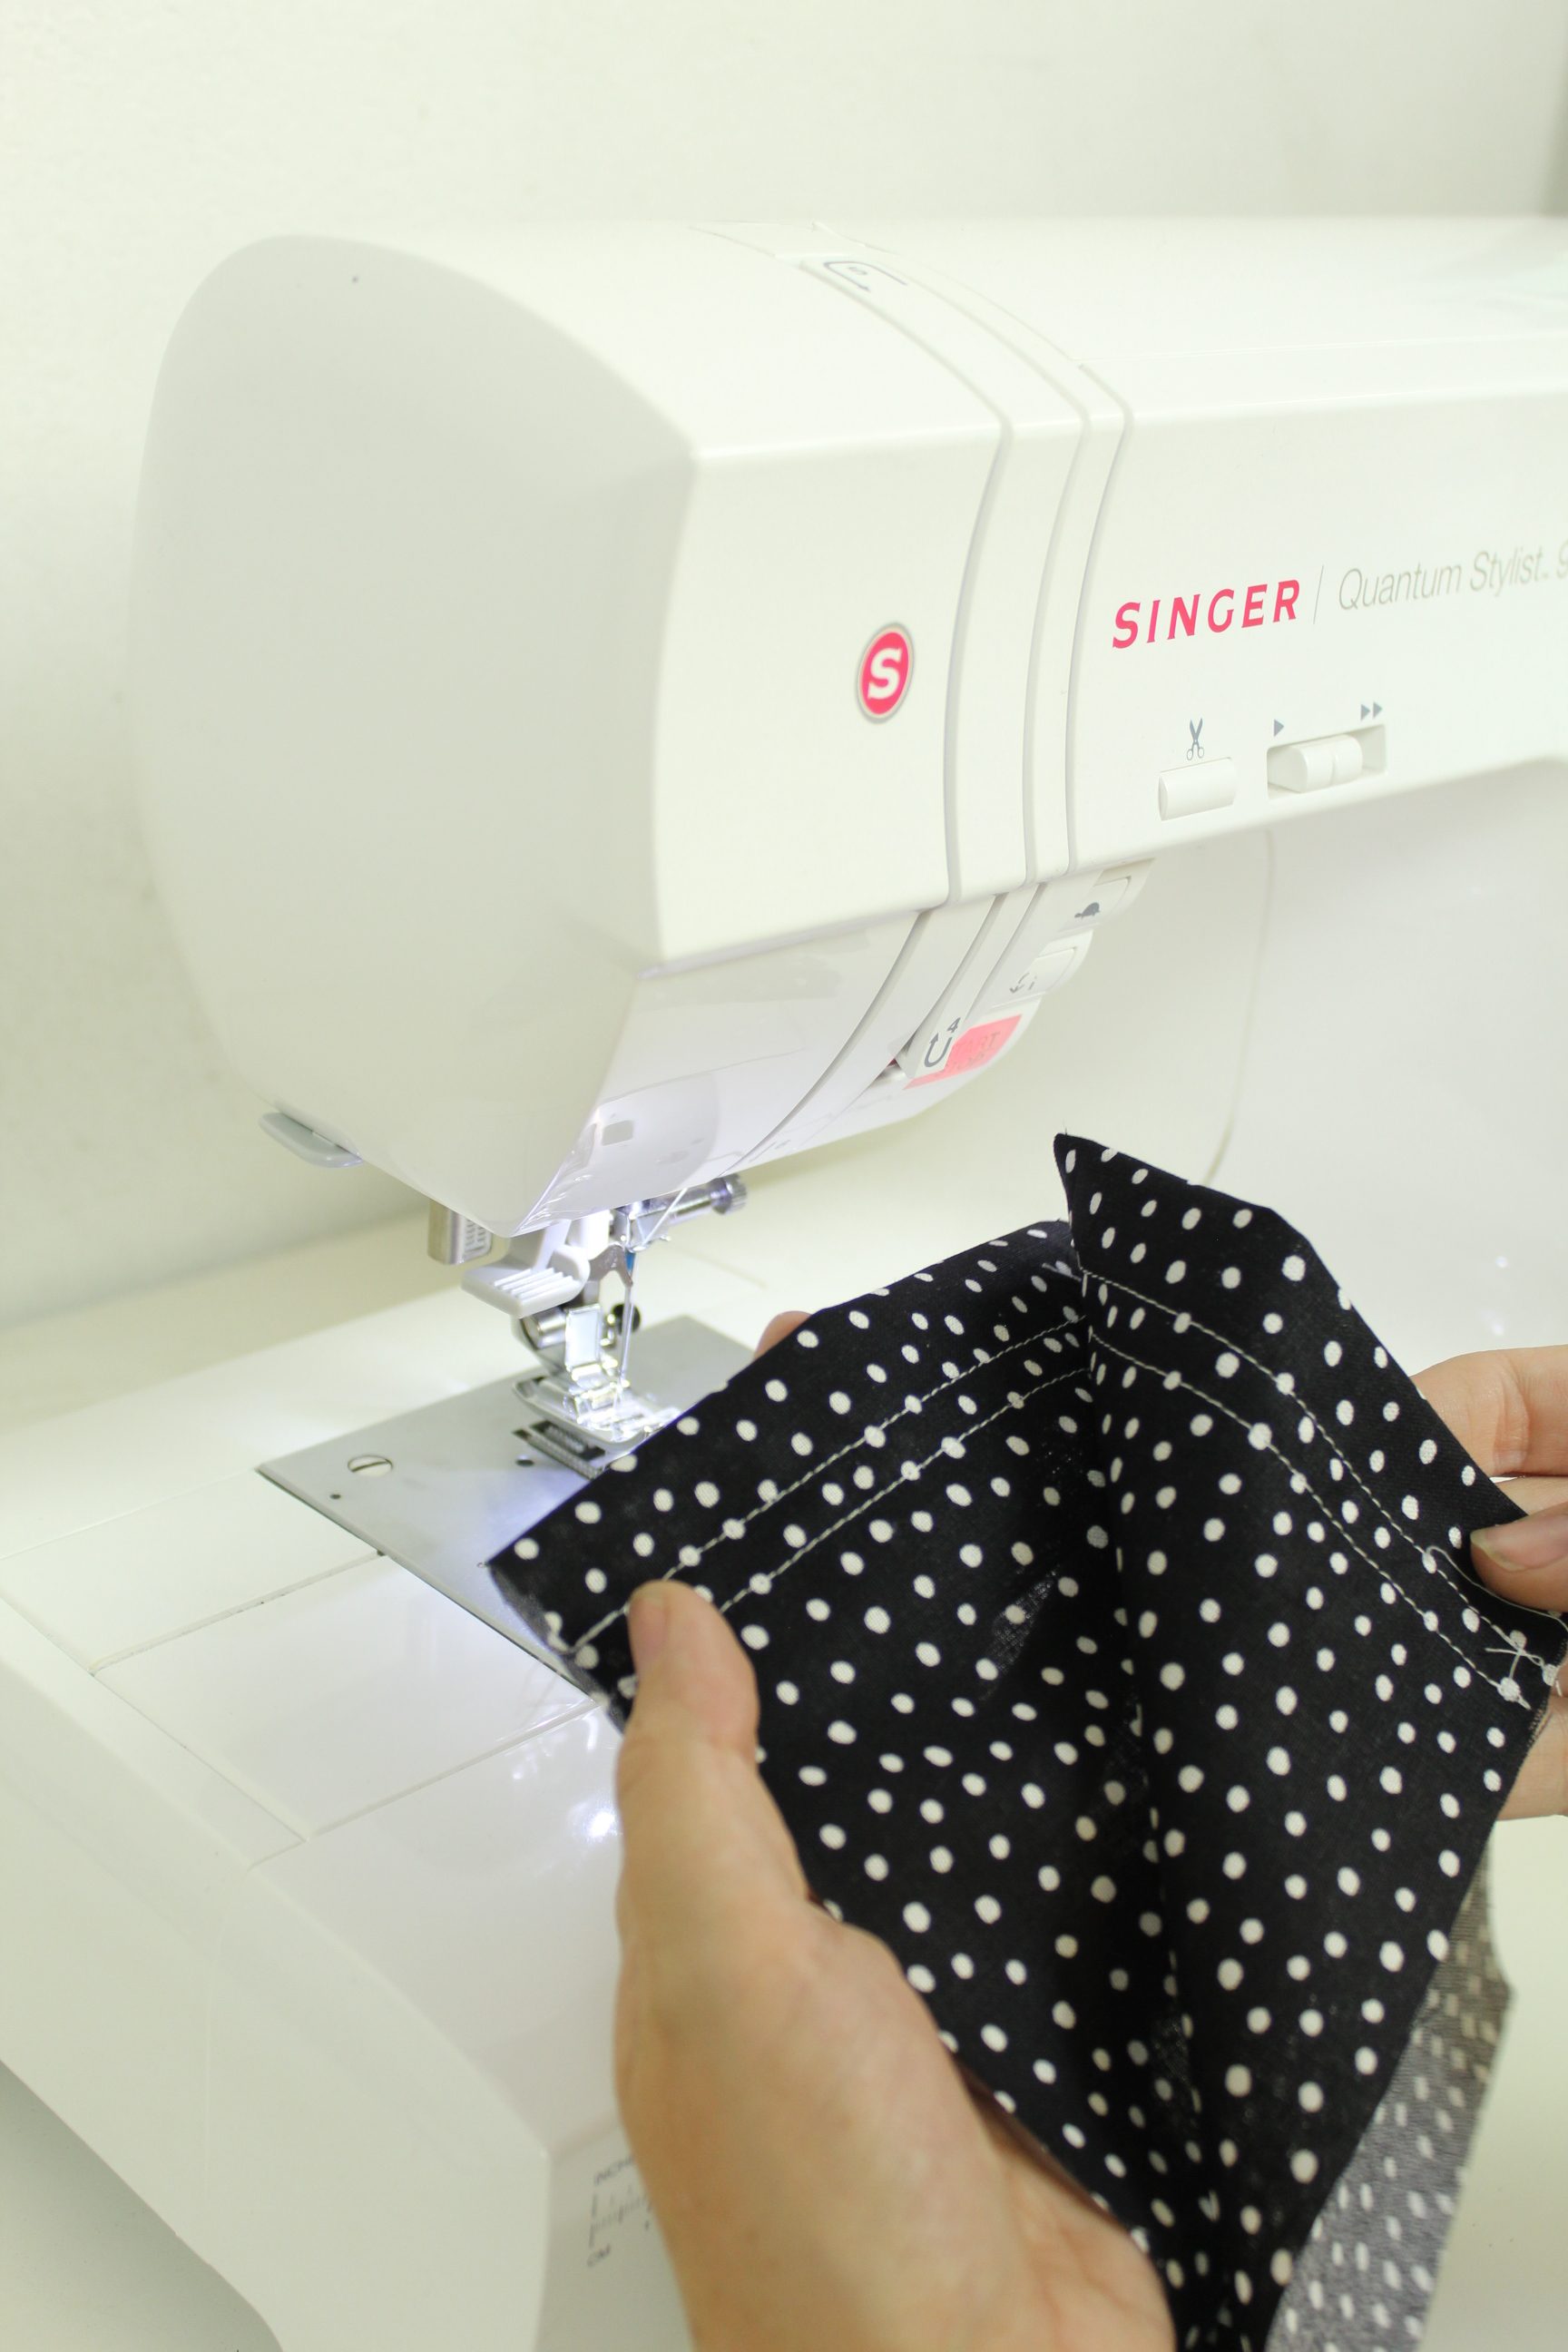
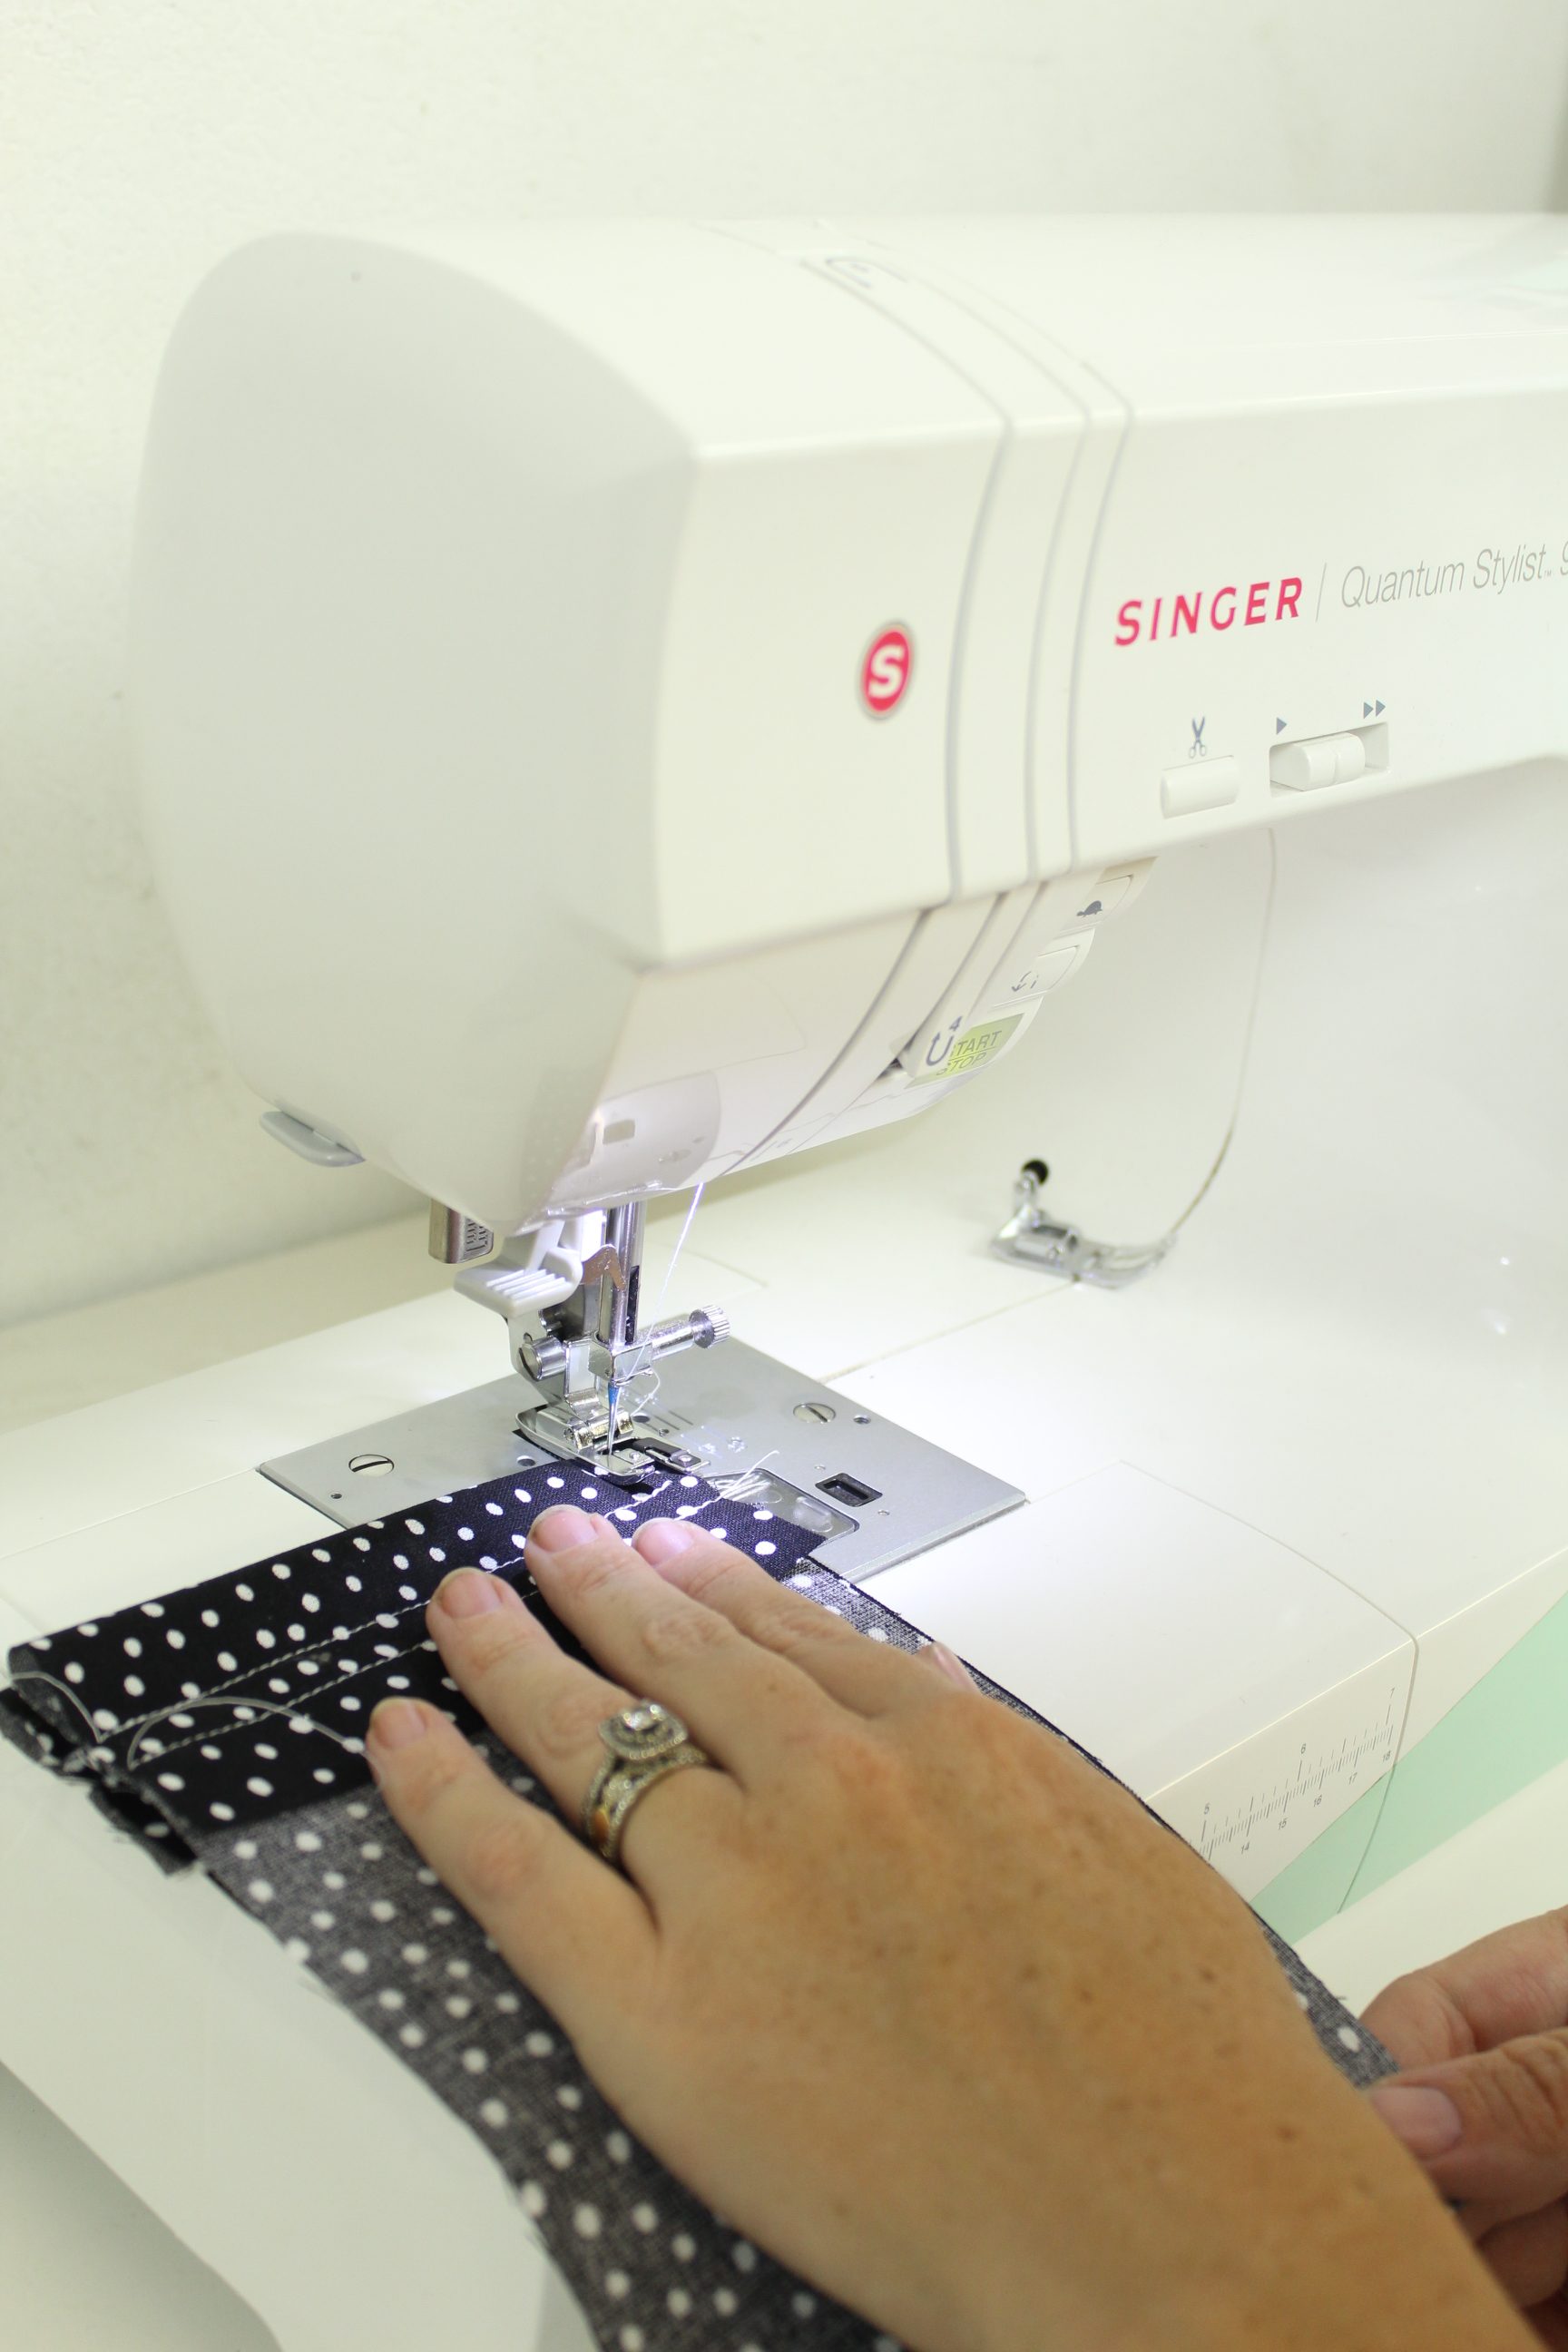
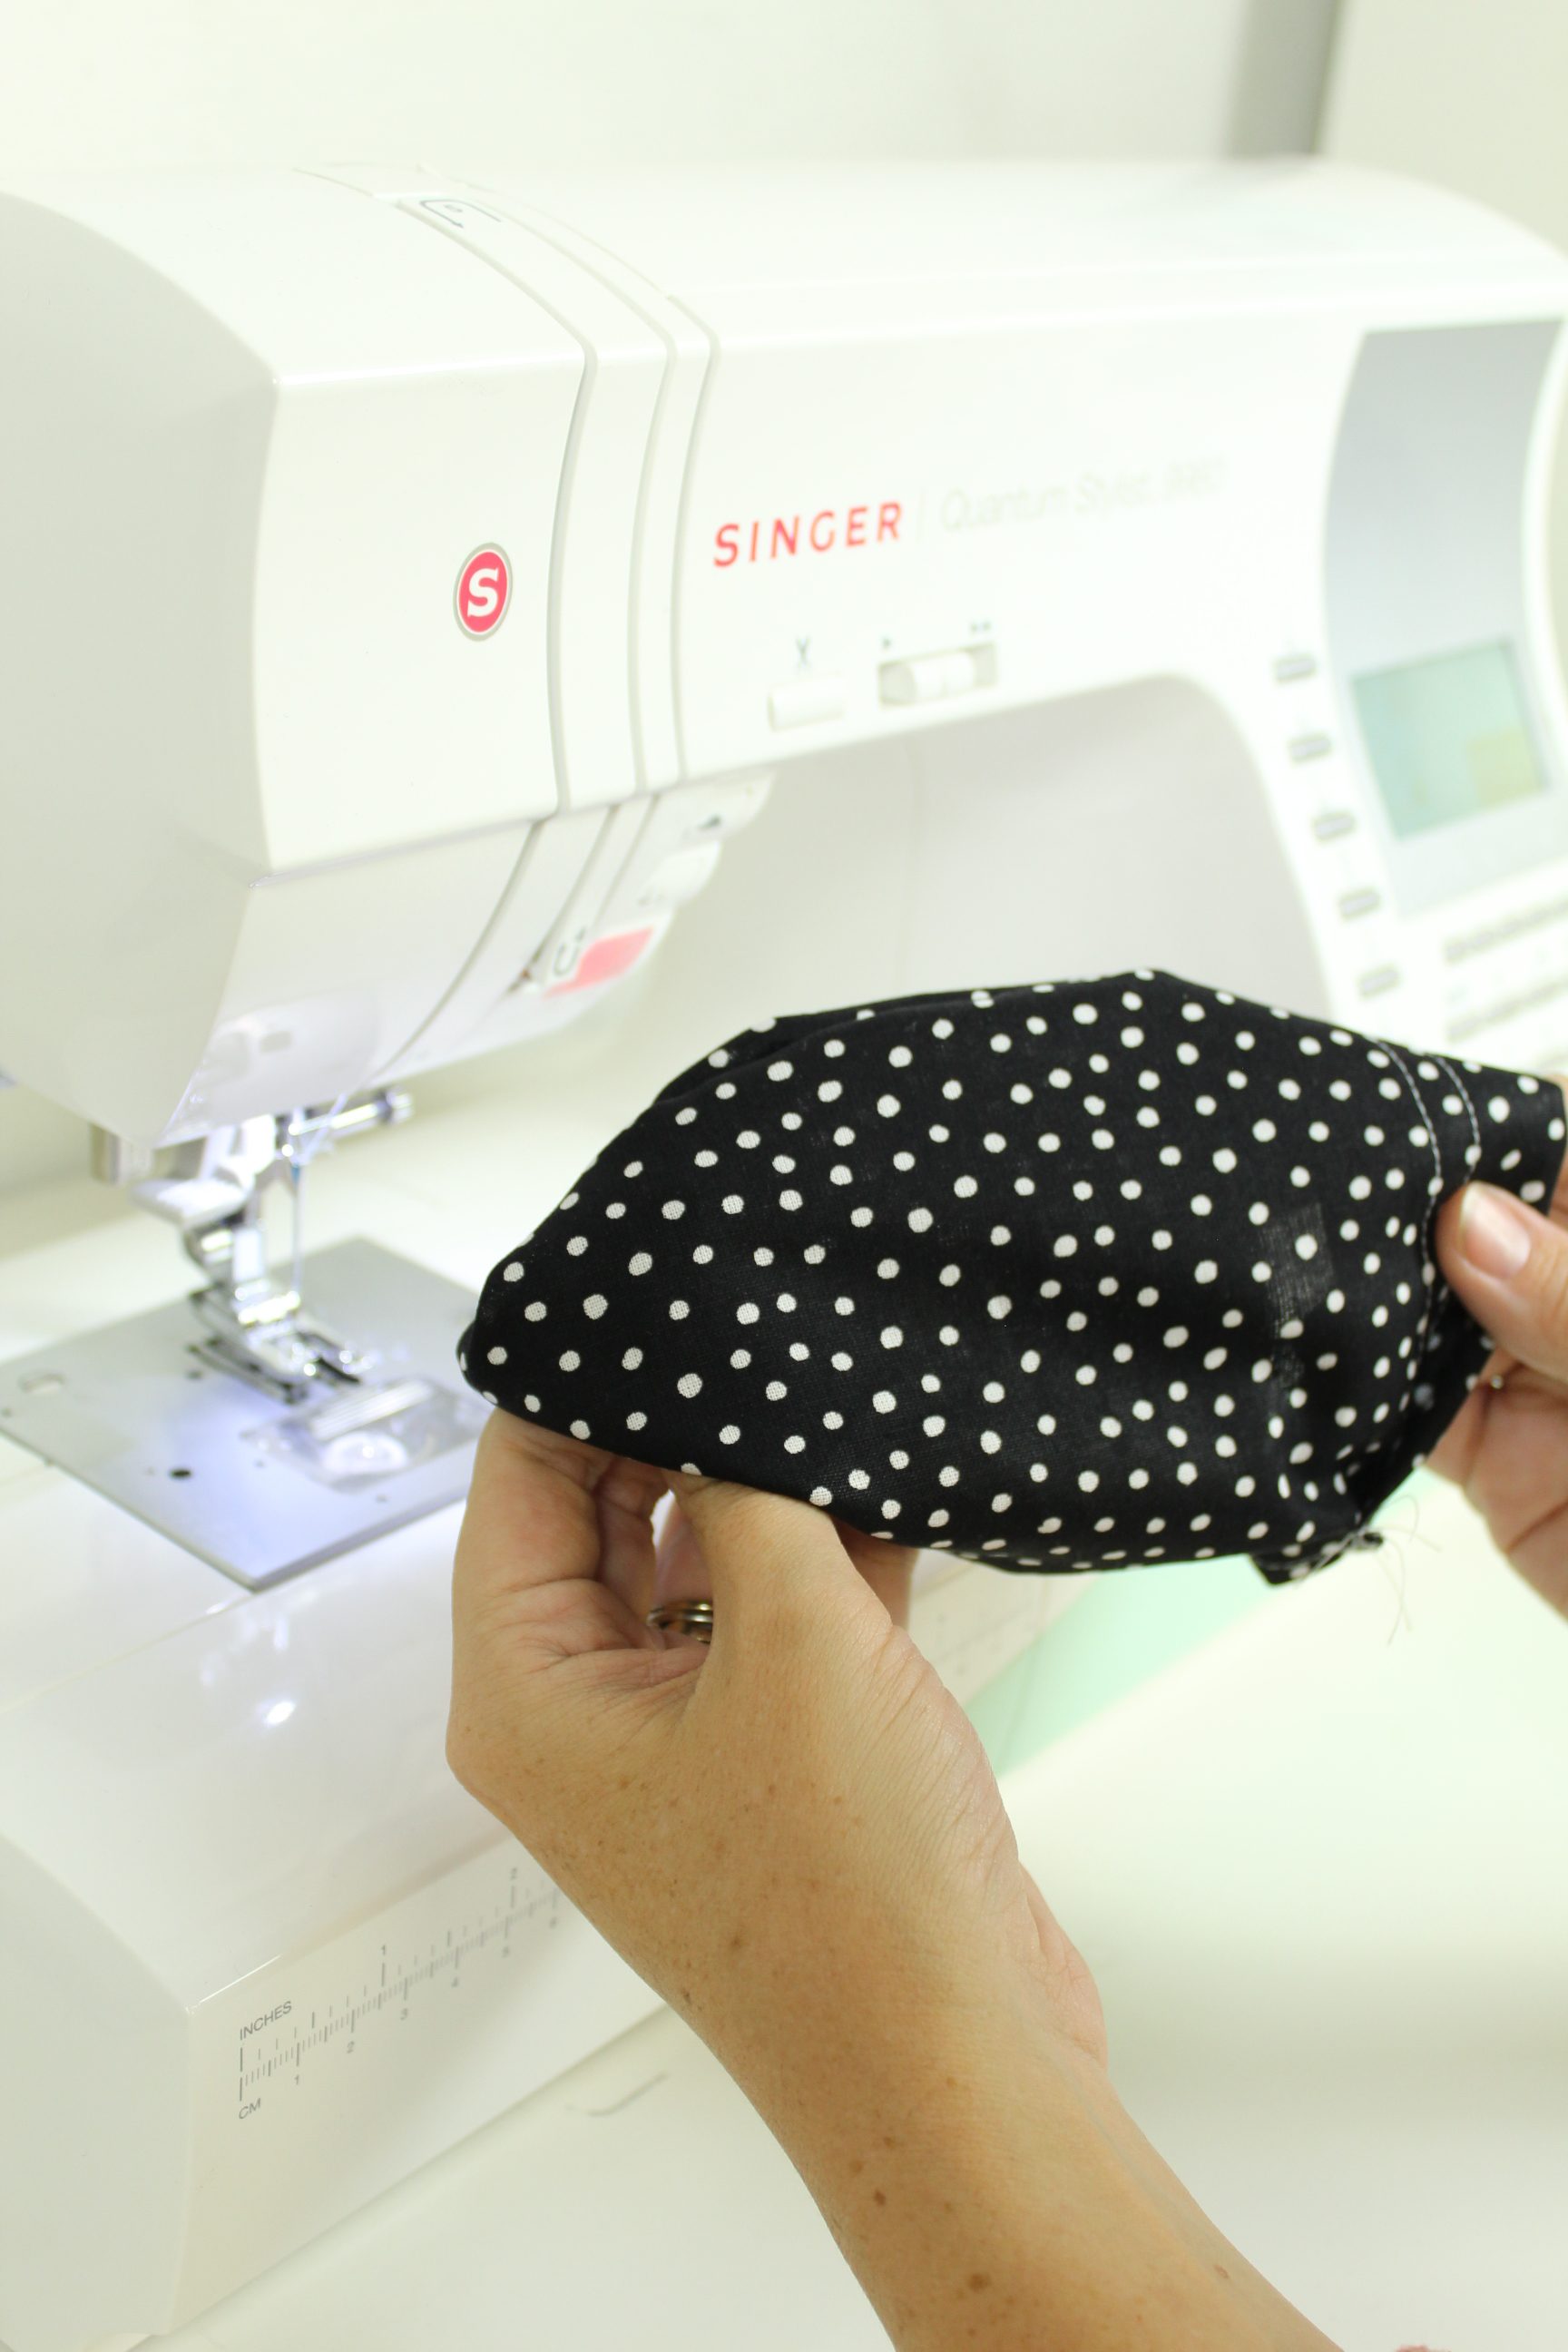
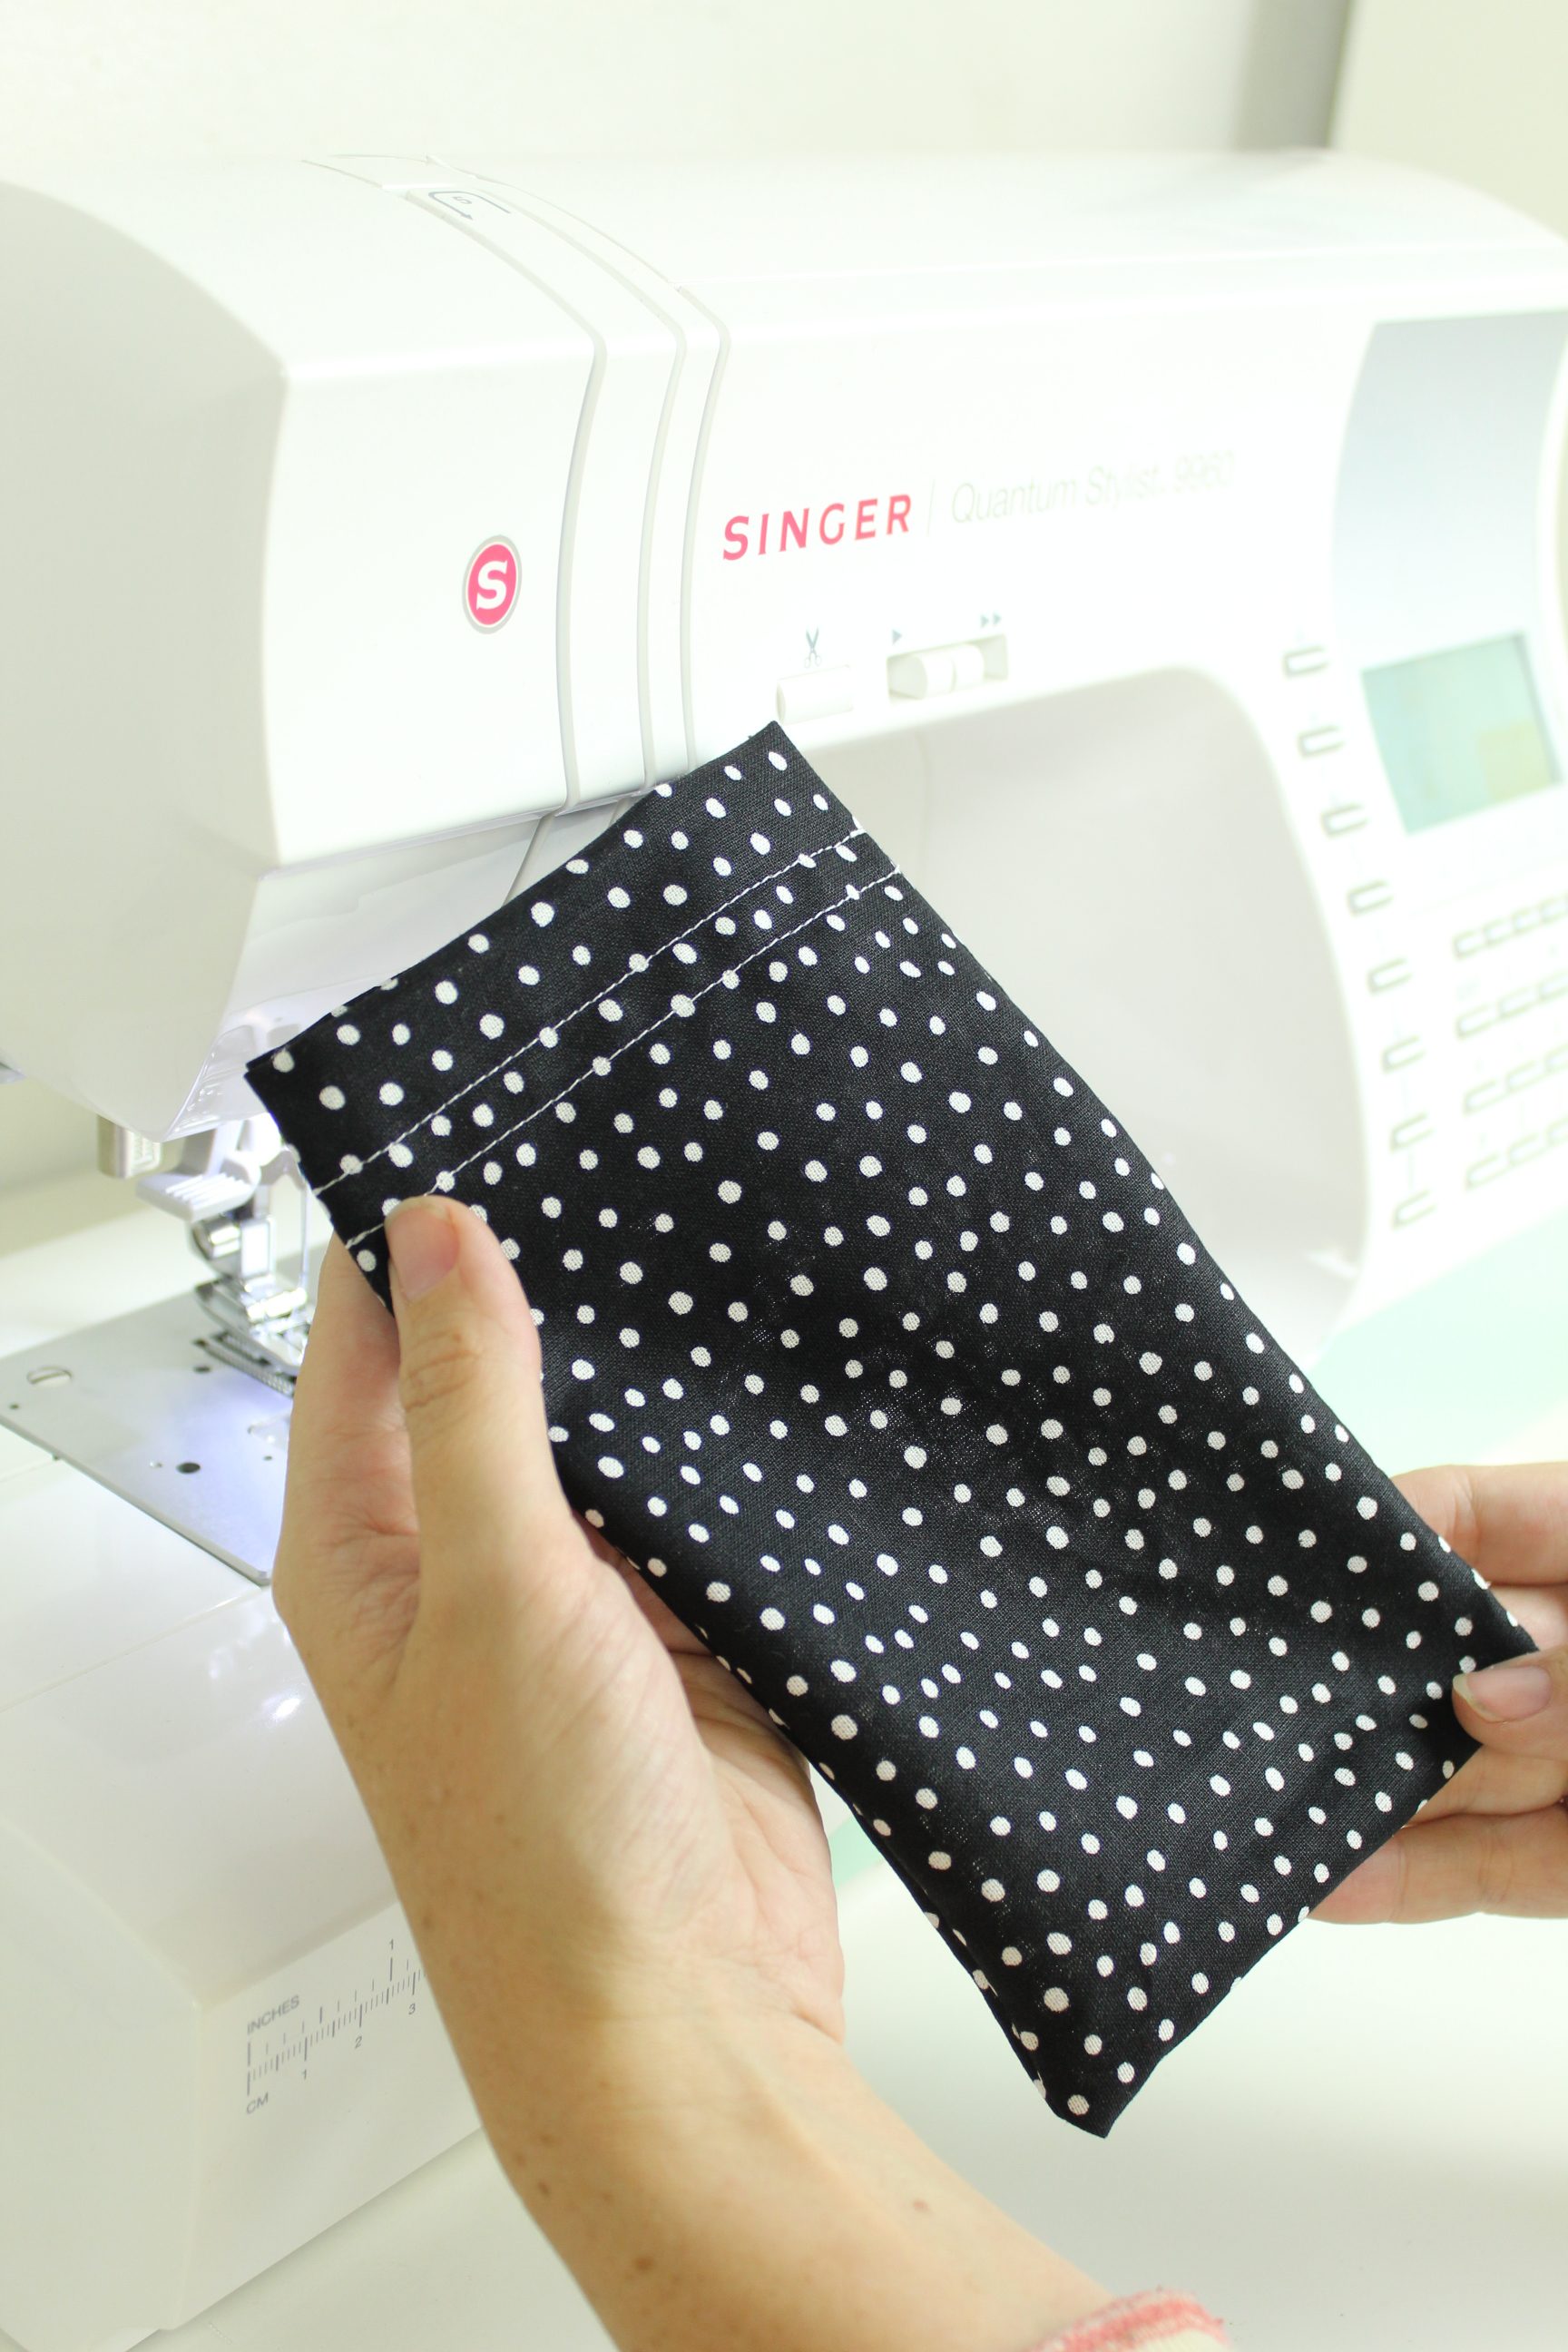
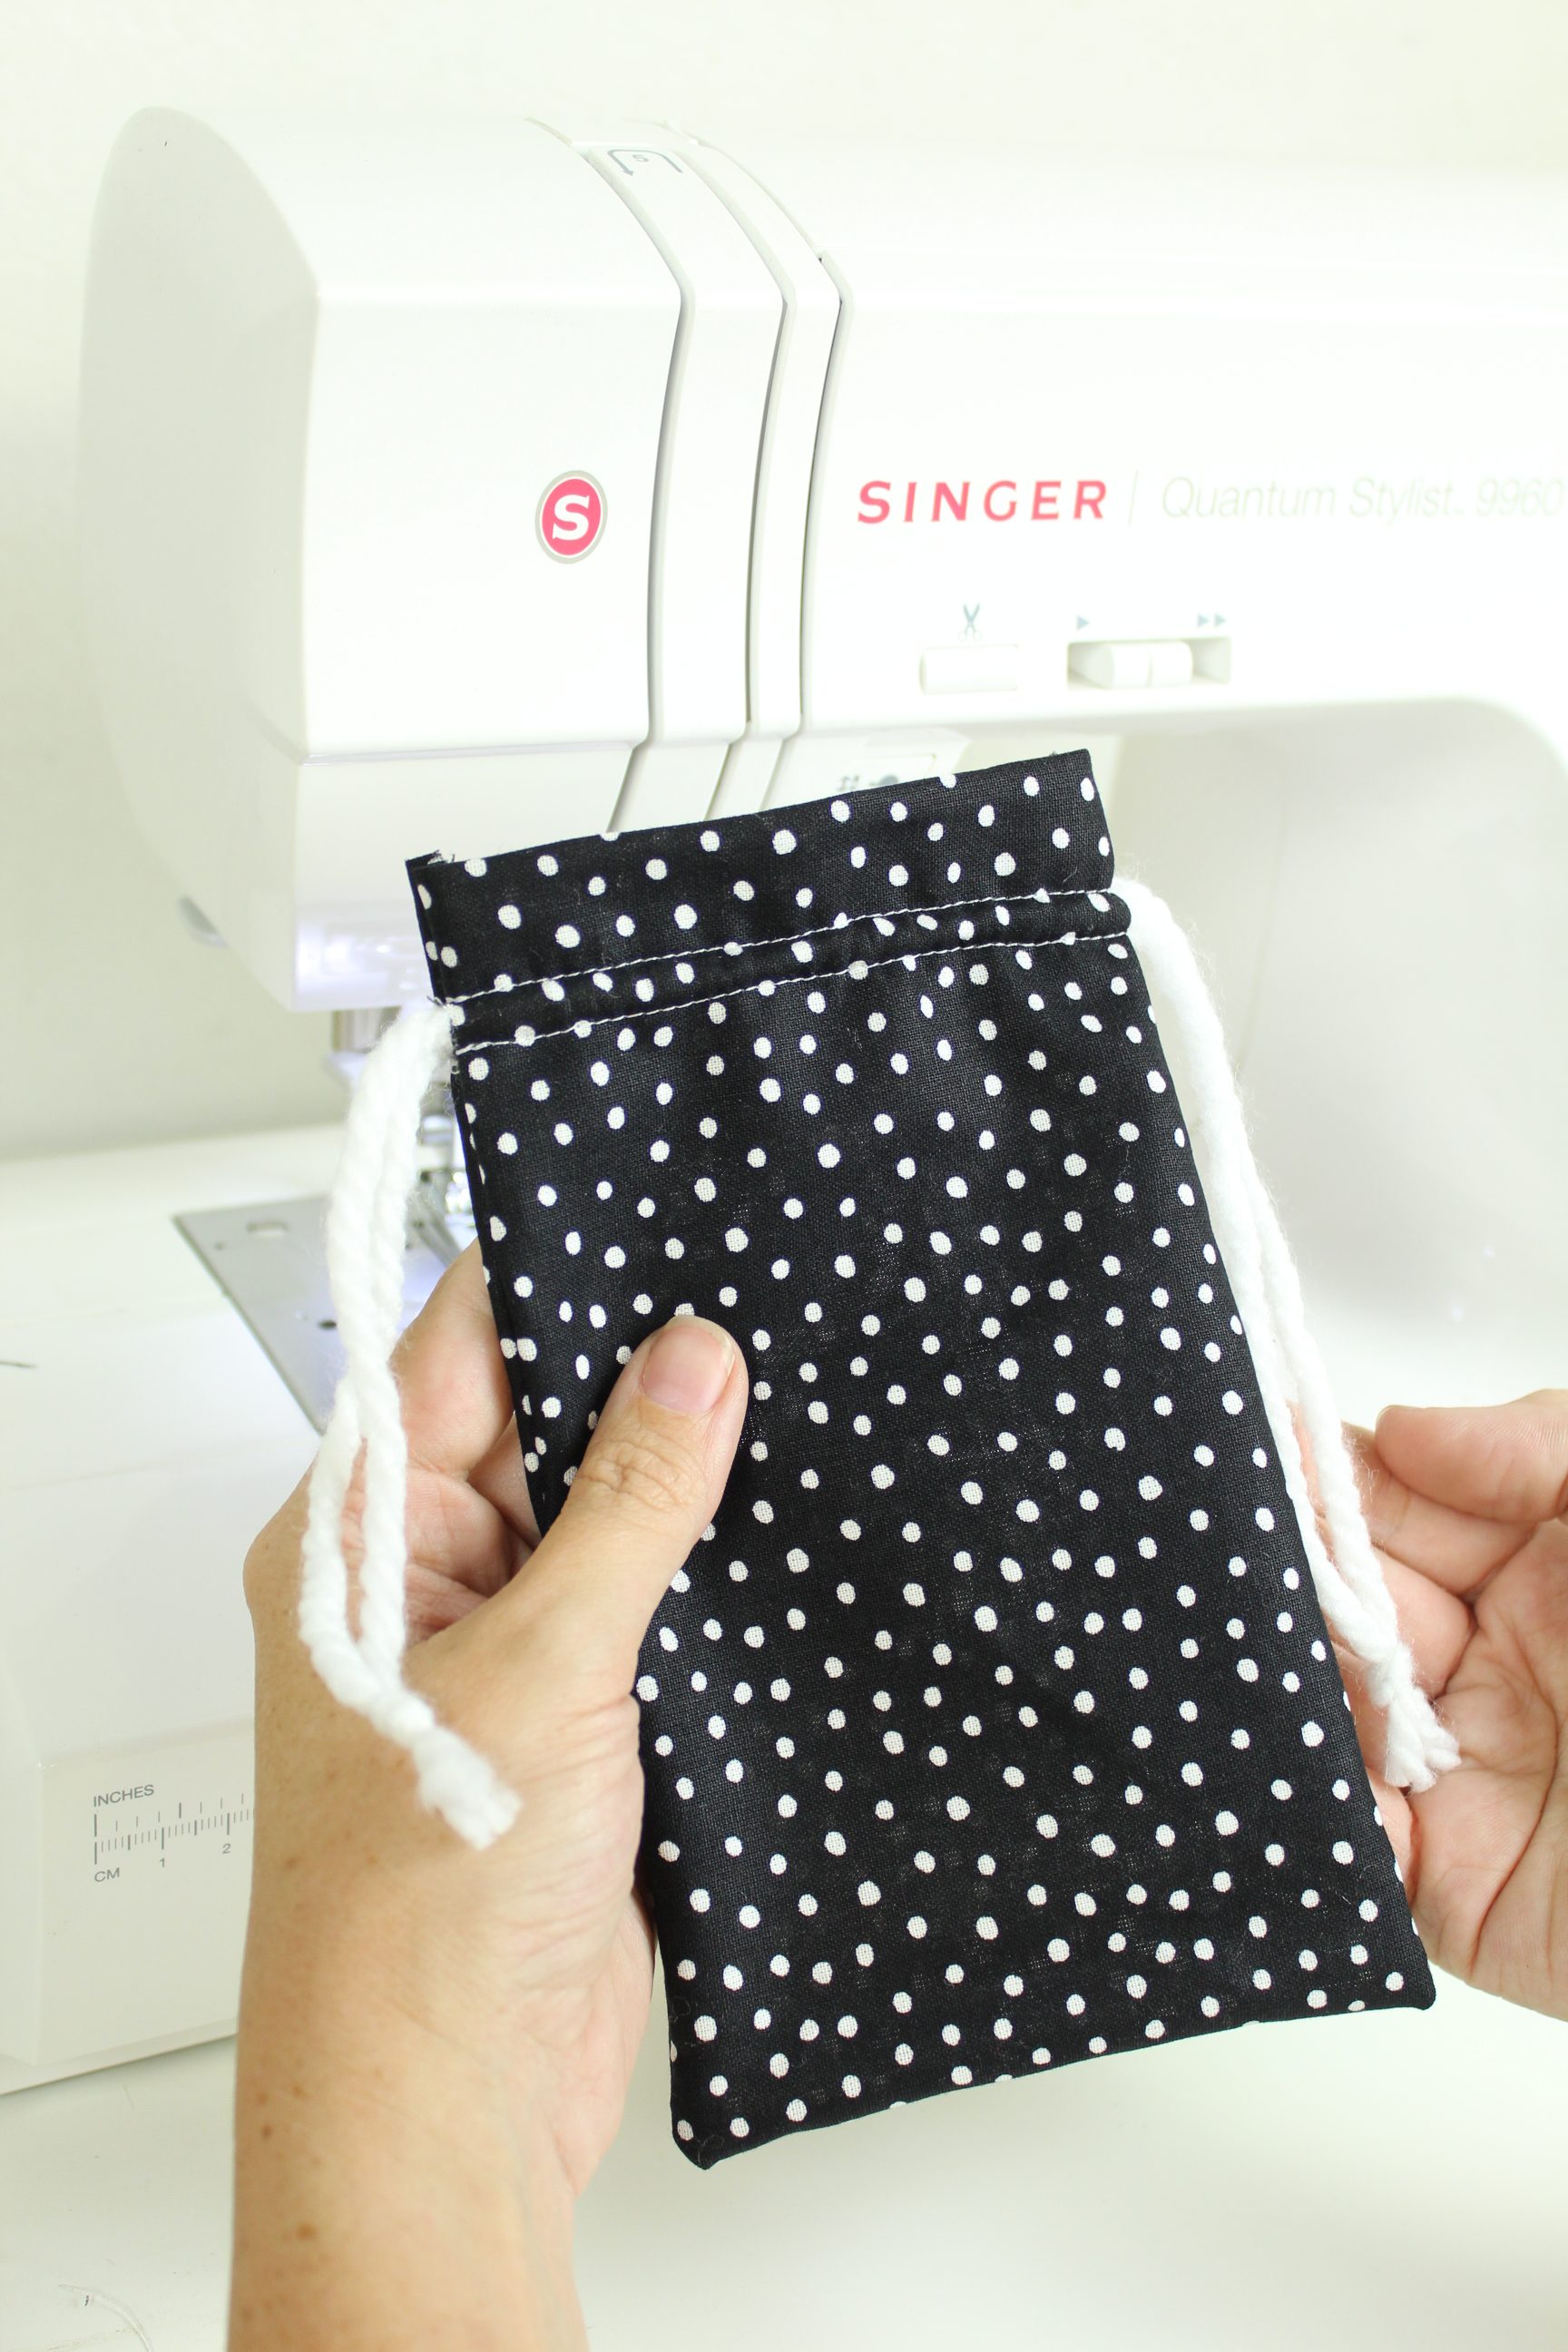
On one of your shorter ends, fold about 2 inches over onto the wrong side of the fabric (see the photo if that doesn’t make sense). Using about 3/4 inch seam allowance, sew a straight stitch along the side. Once you’re done, repeat sewing another line about 1/4 of an inch down from the first so that there are two sewn lines next to each other (this will be the channel for your drawstring). Repeat on the other side.
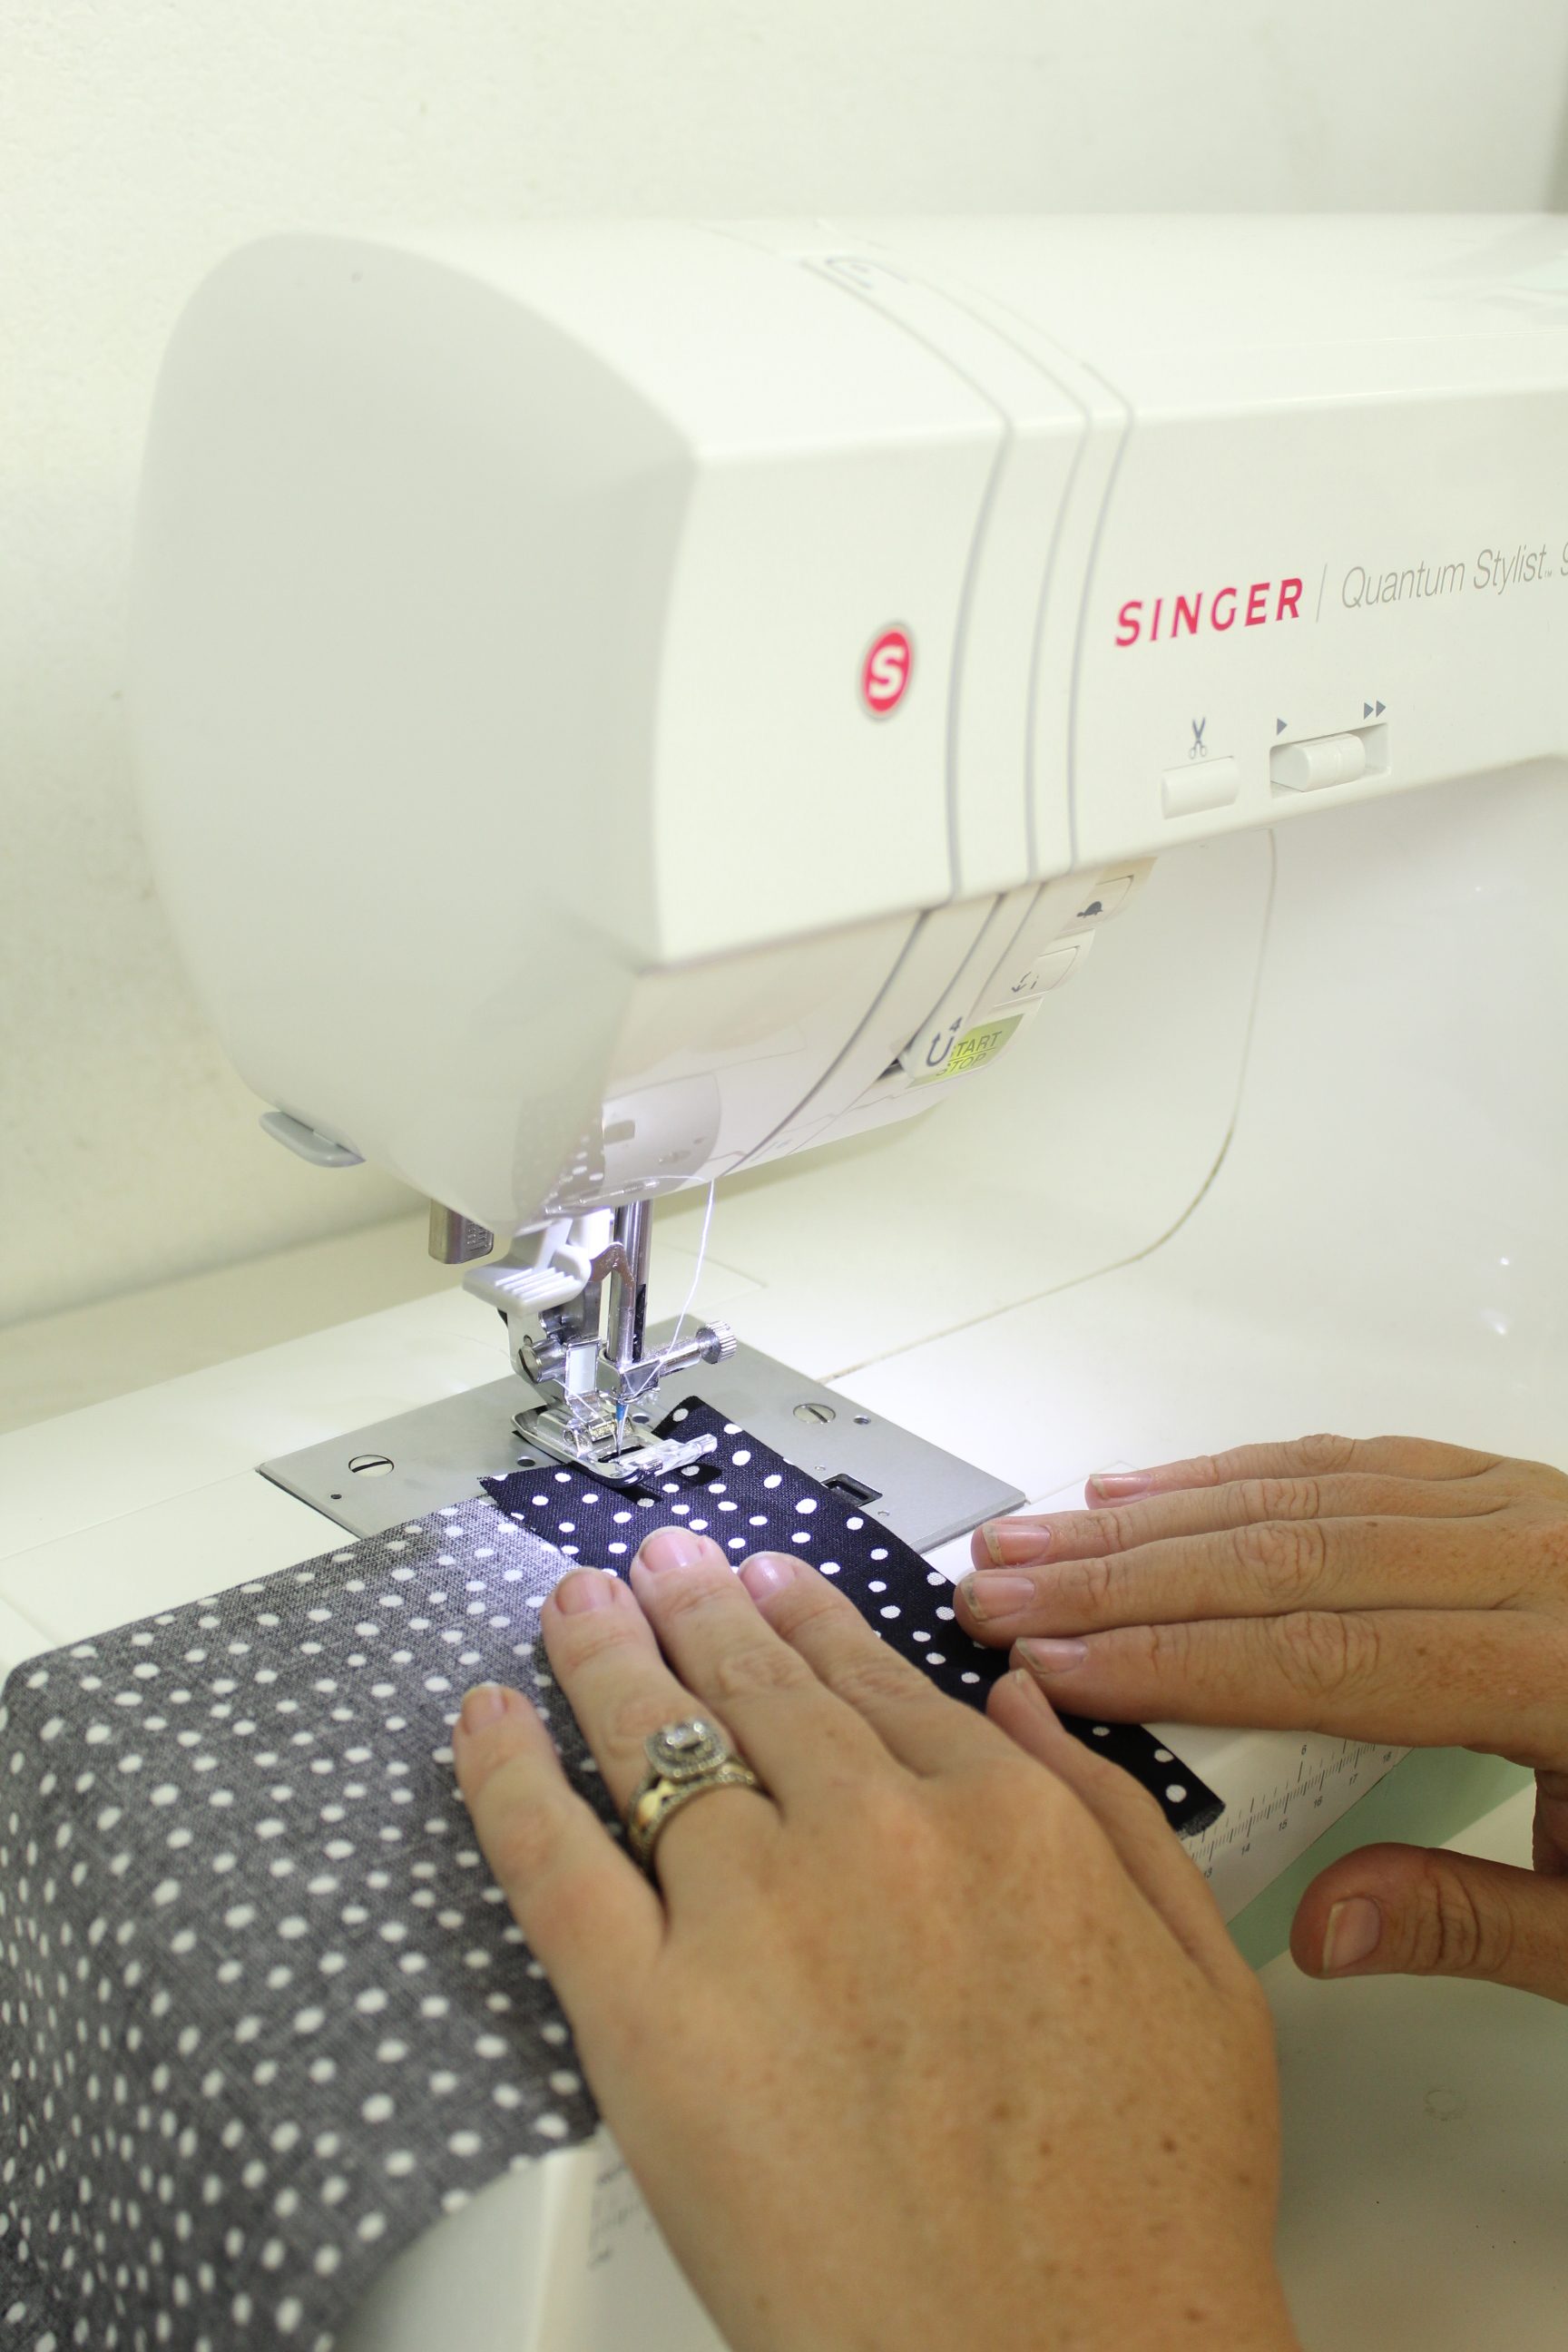
Sew Sides
We’re so close to having the bag portion complete! Place your bag with the pretty sides together and using your overcasting foot and the overcast stitch on your machine, sew along one of the long sides. Repeat on other side. Now, if you don’t have an overcasting foot or stitch on your machine you can totally use a basic straight stitch and your normal sewing foot, you just may have a little fraying on the inside the of the bag but that’s totally fine, since it will likely not be seen by anyone but your little one anyways.
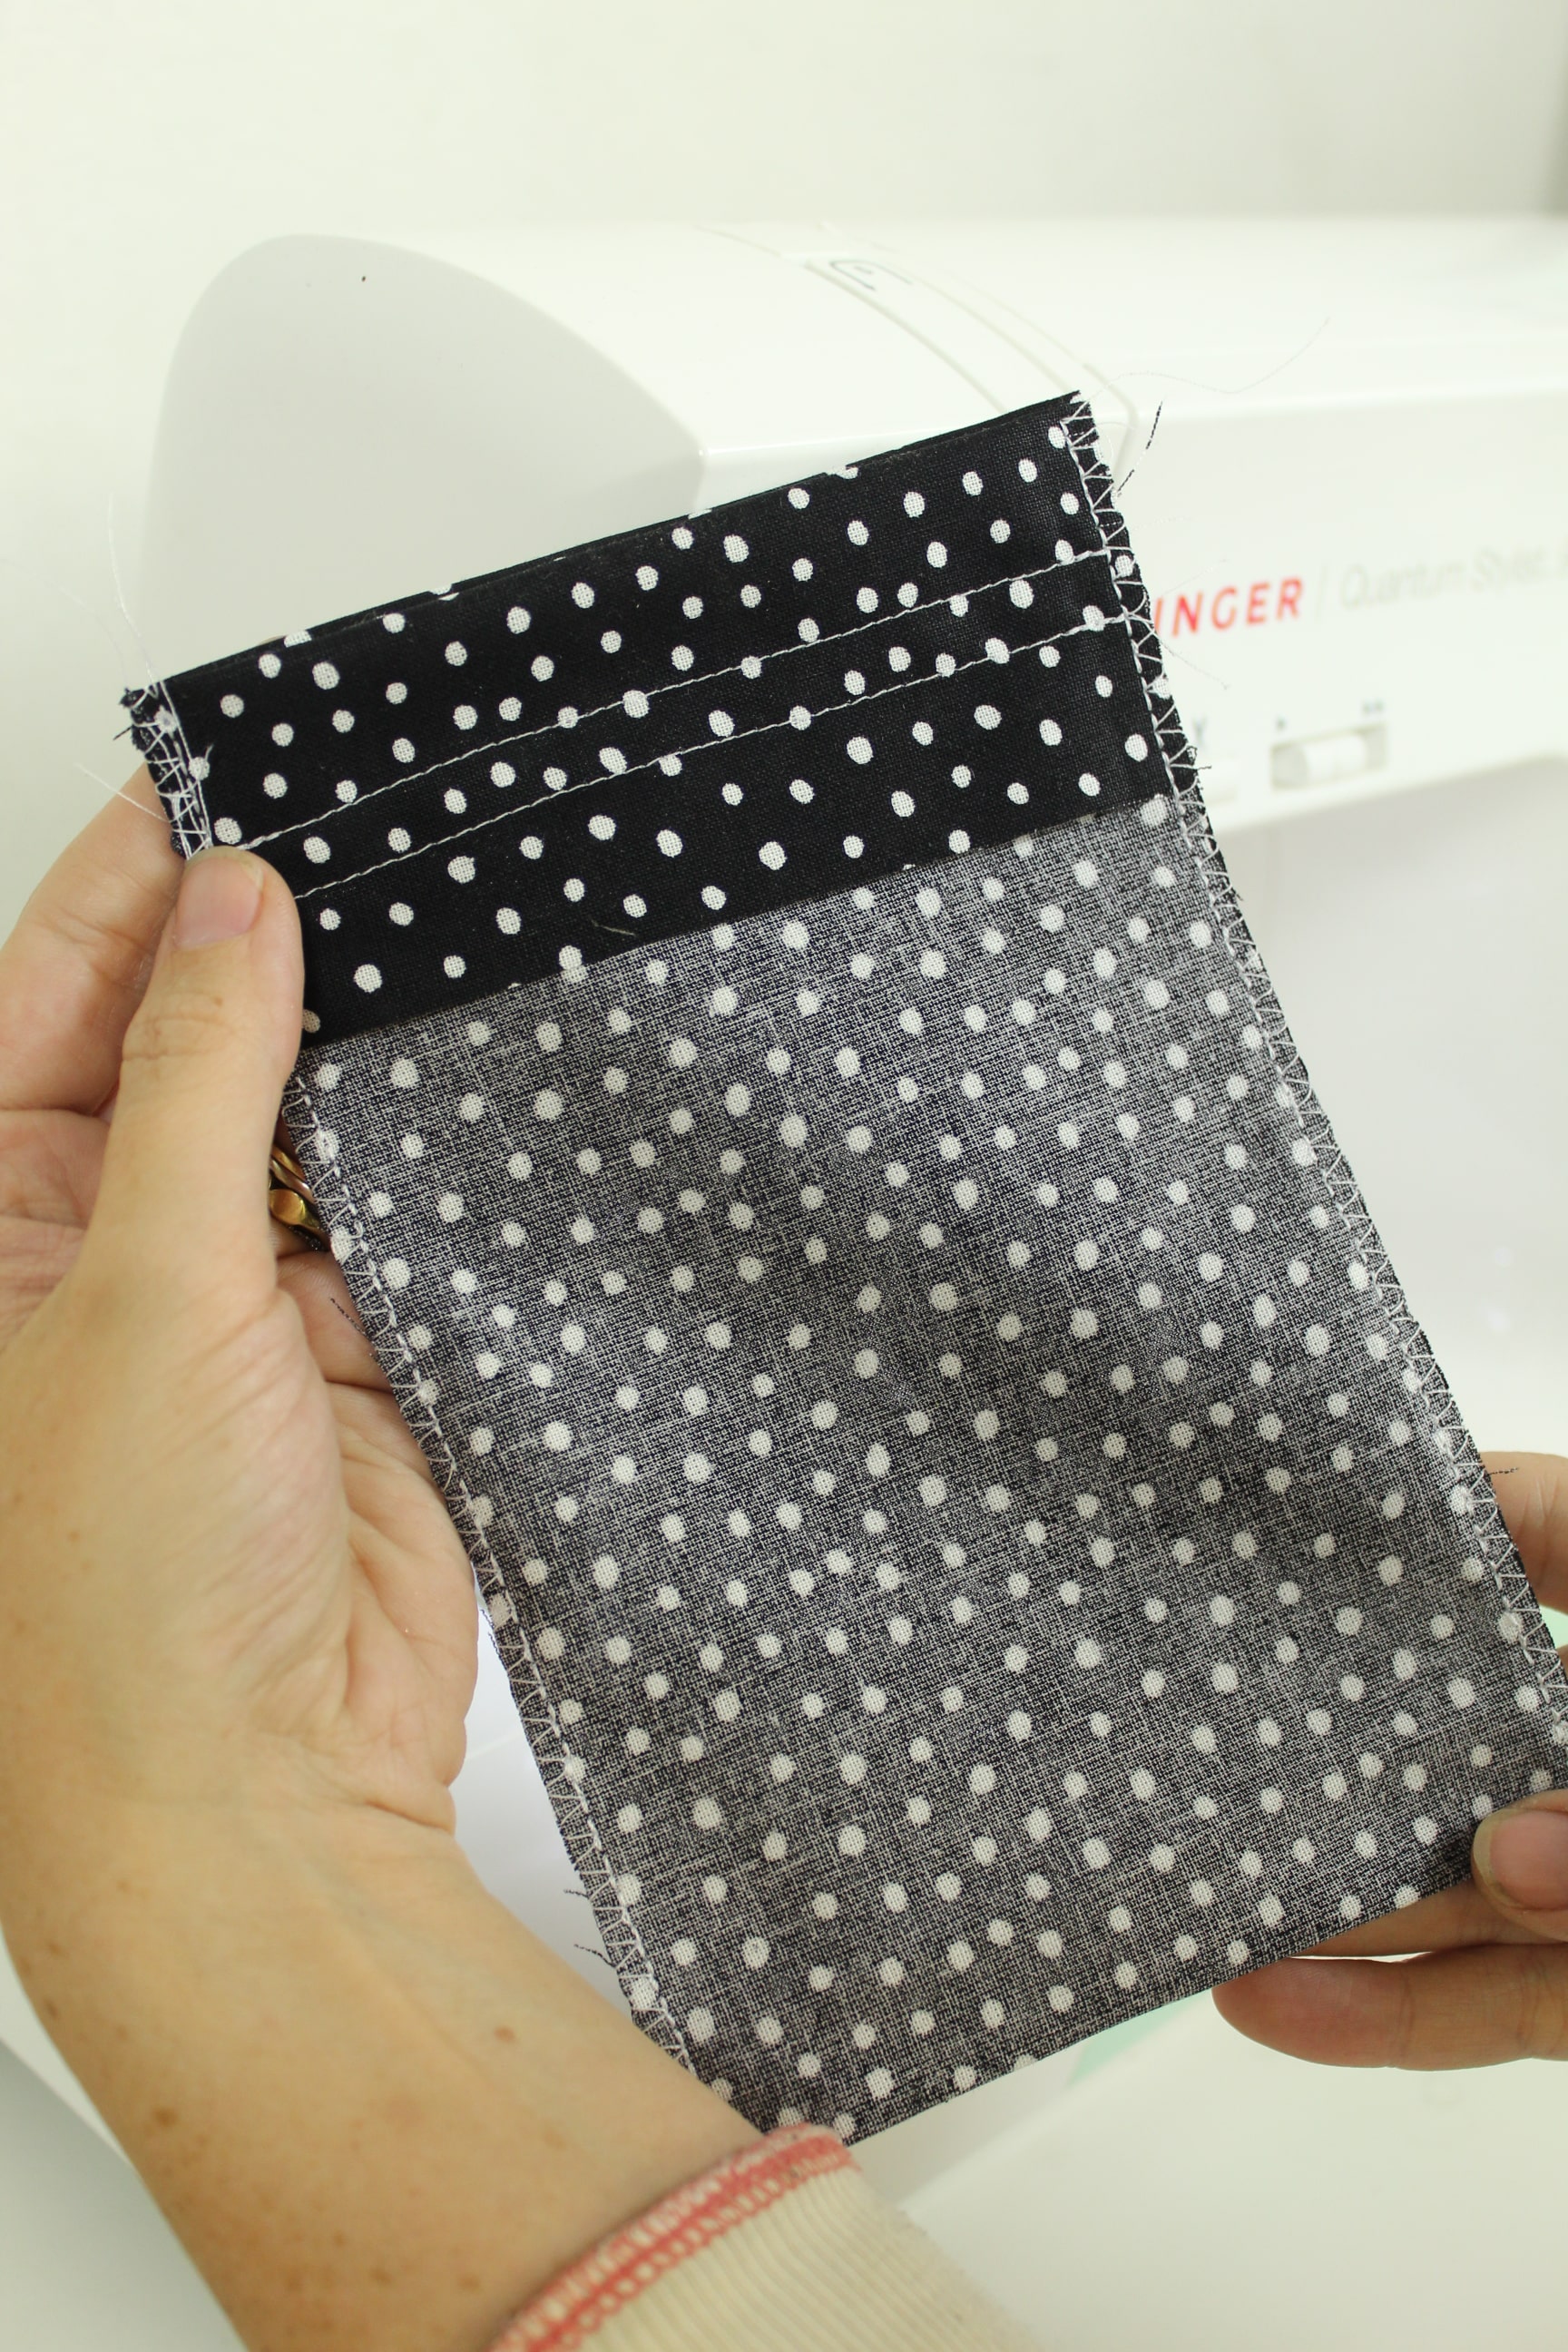
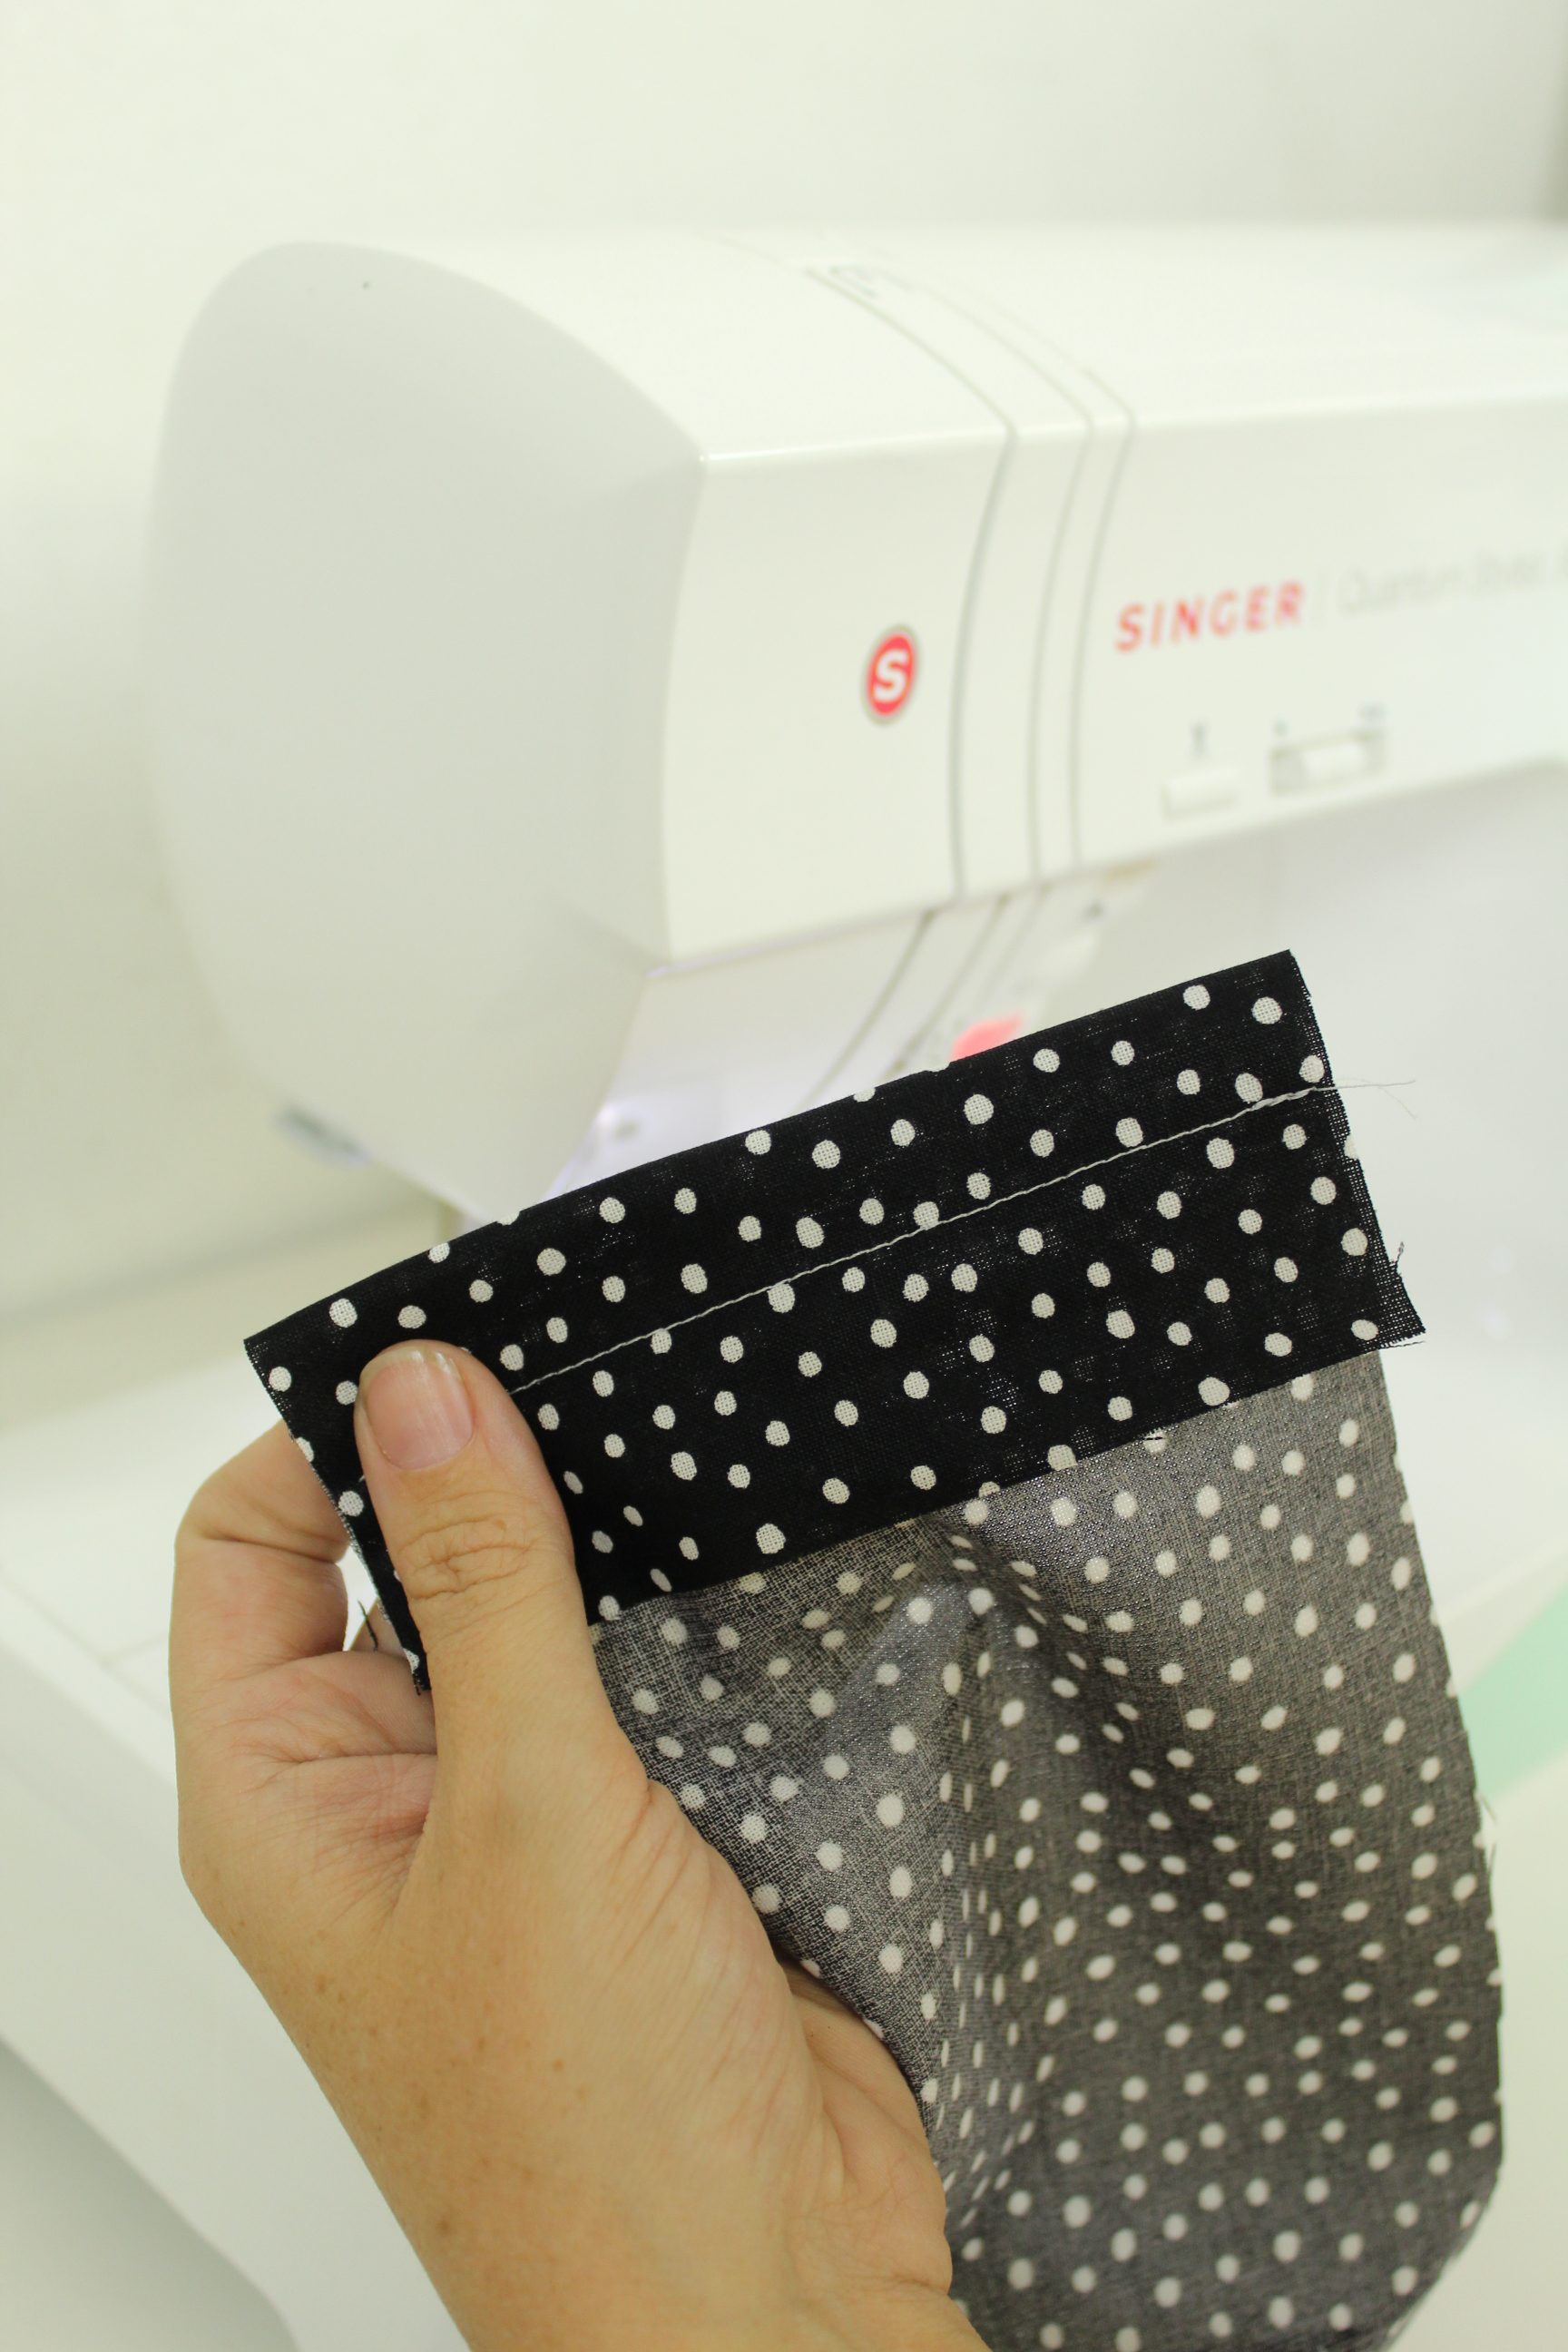
Just look at those seams! I’ll be honest, this was my first time experimenting with the overcast stitch and foot and I LOVE the result! Such a more professional look! I’m pretty much a self taught sewist so finding this little trick has me so excited for future projects!
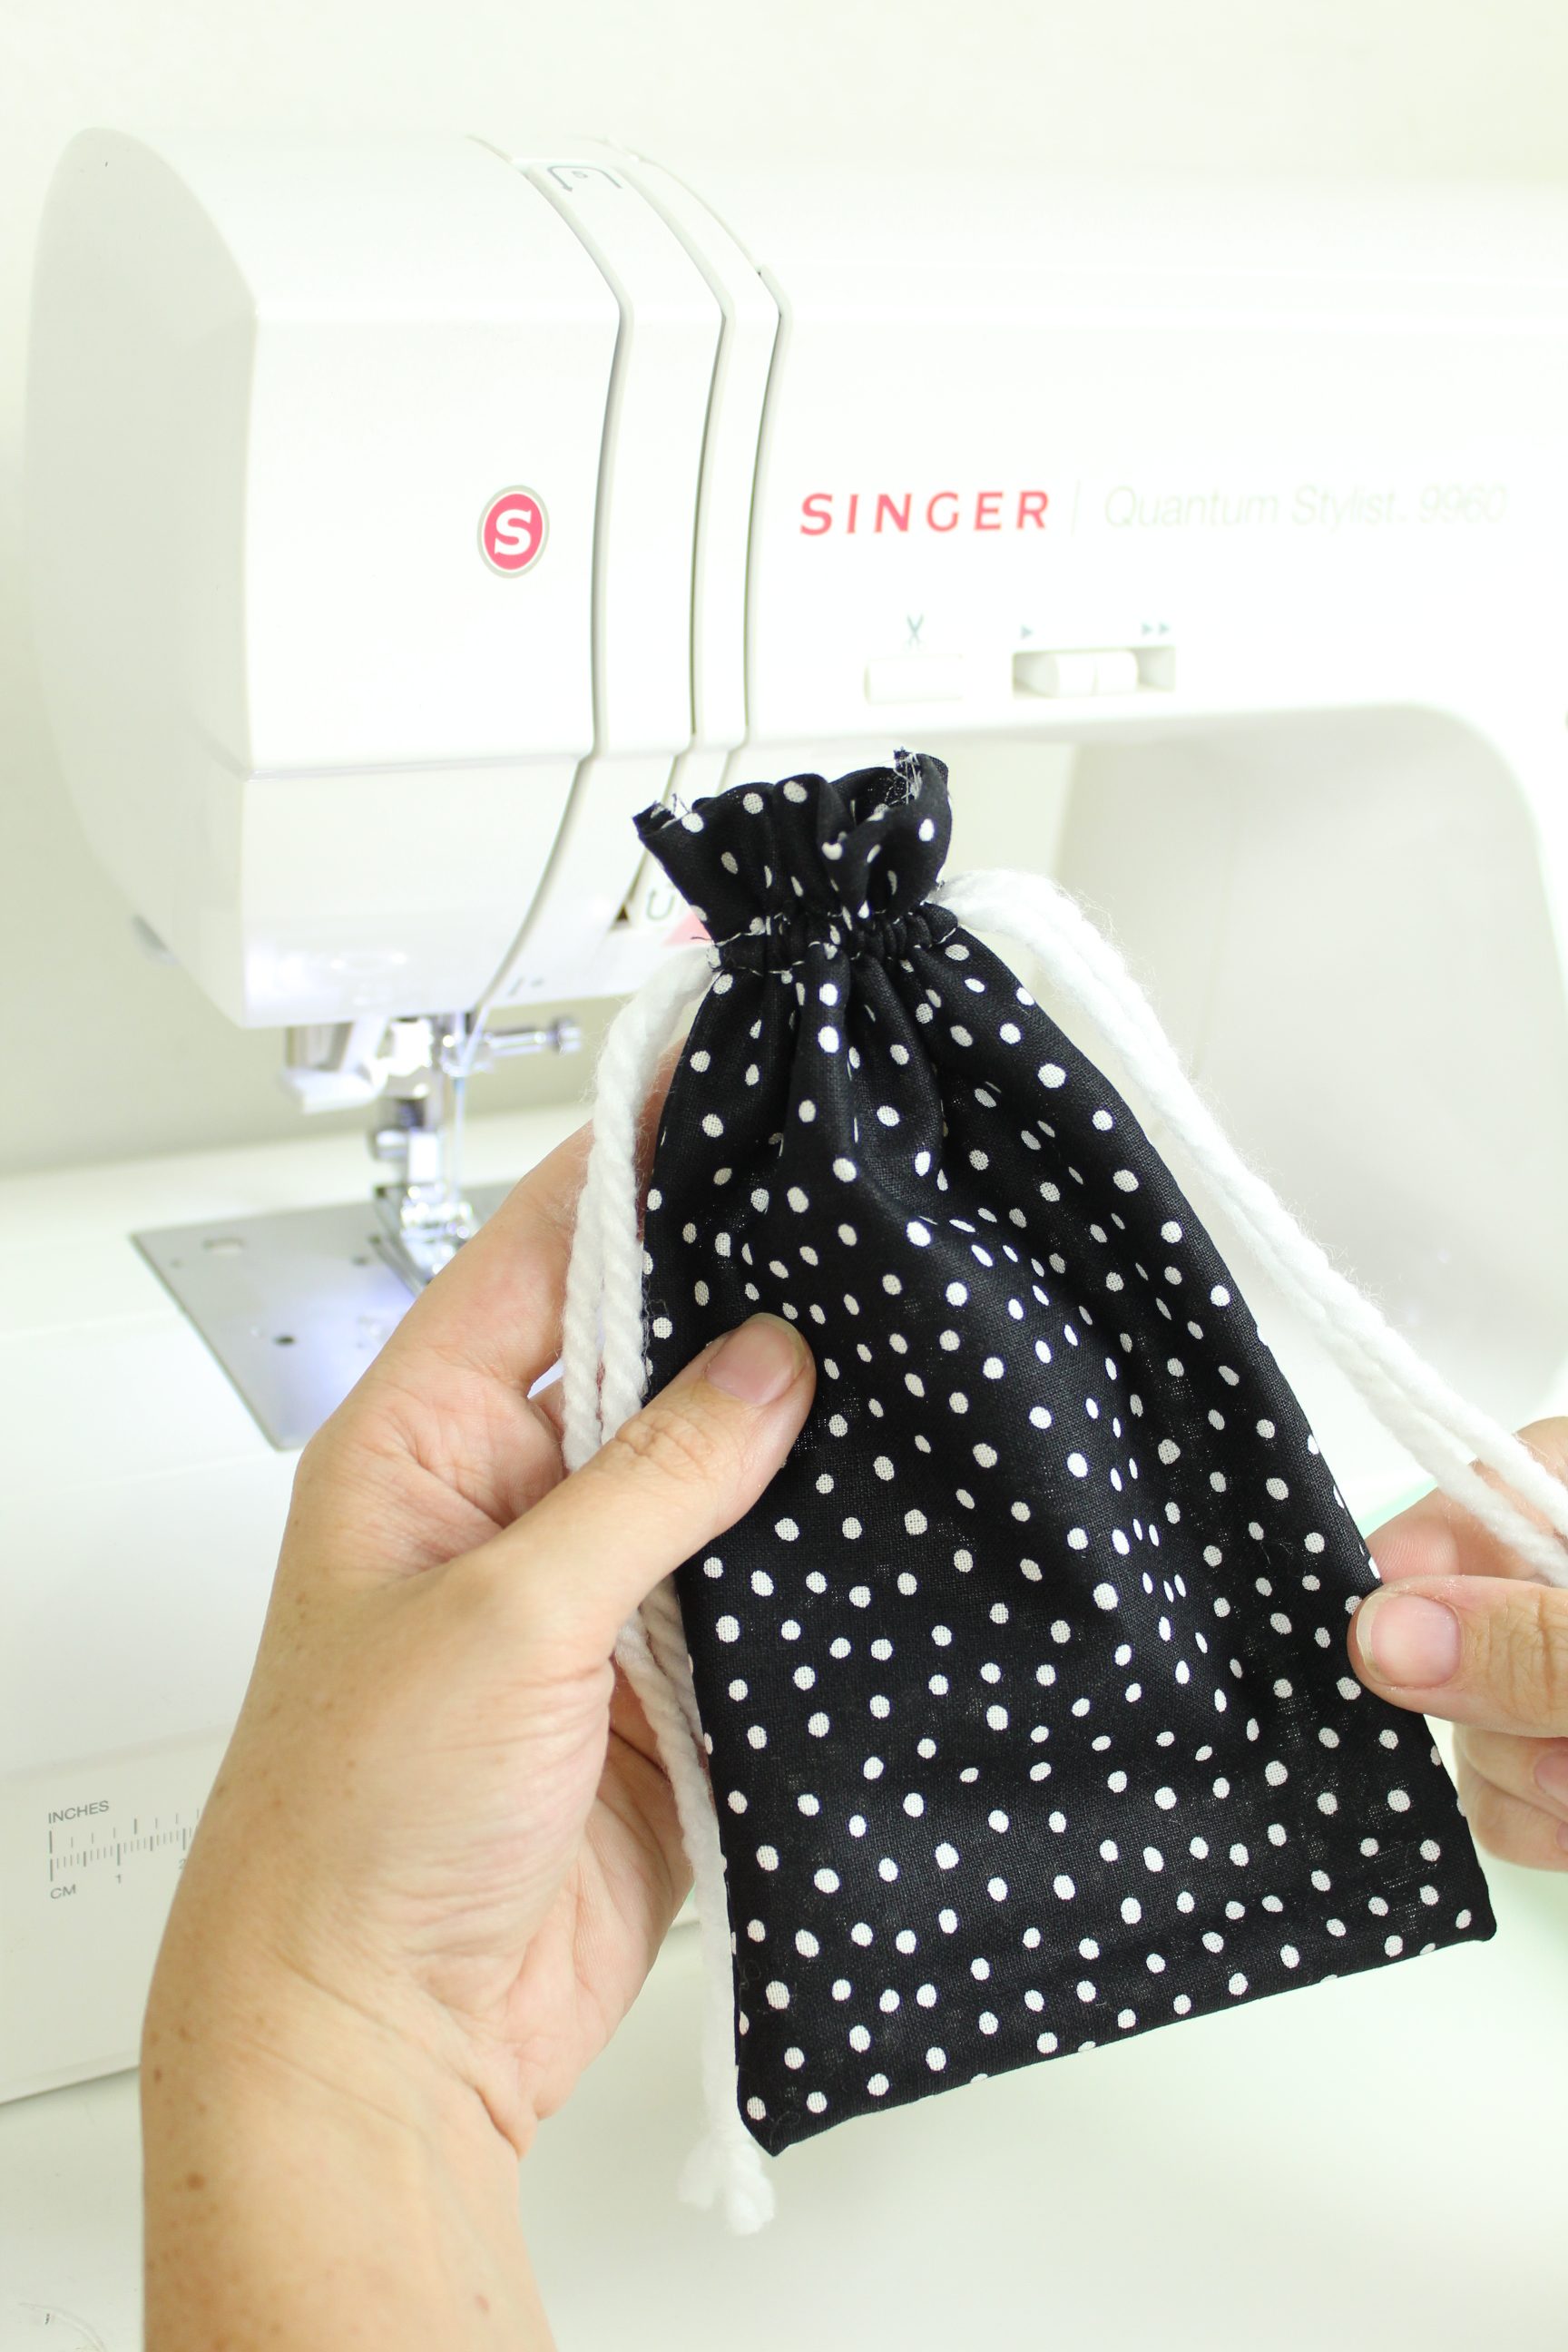
Turn Bag Right Side Out
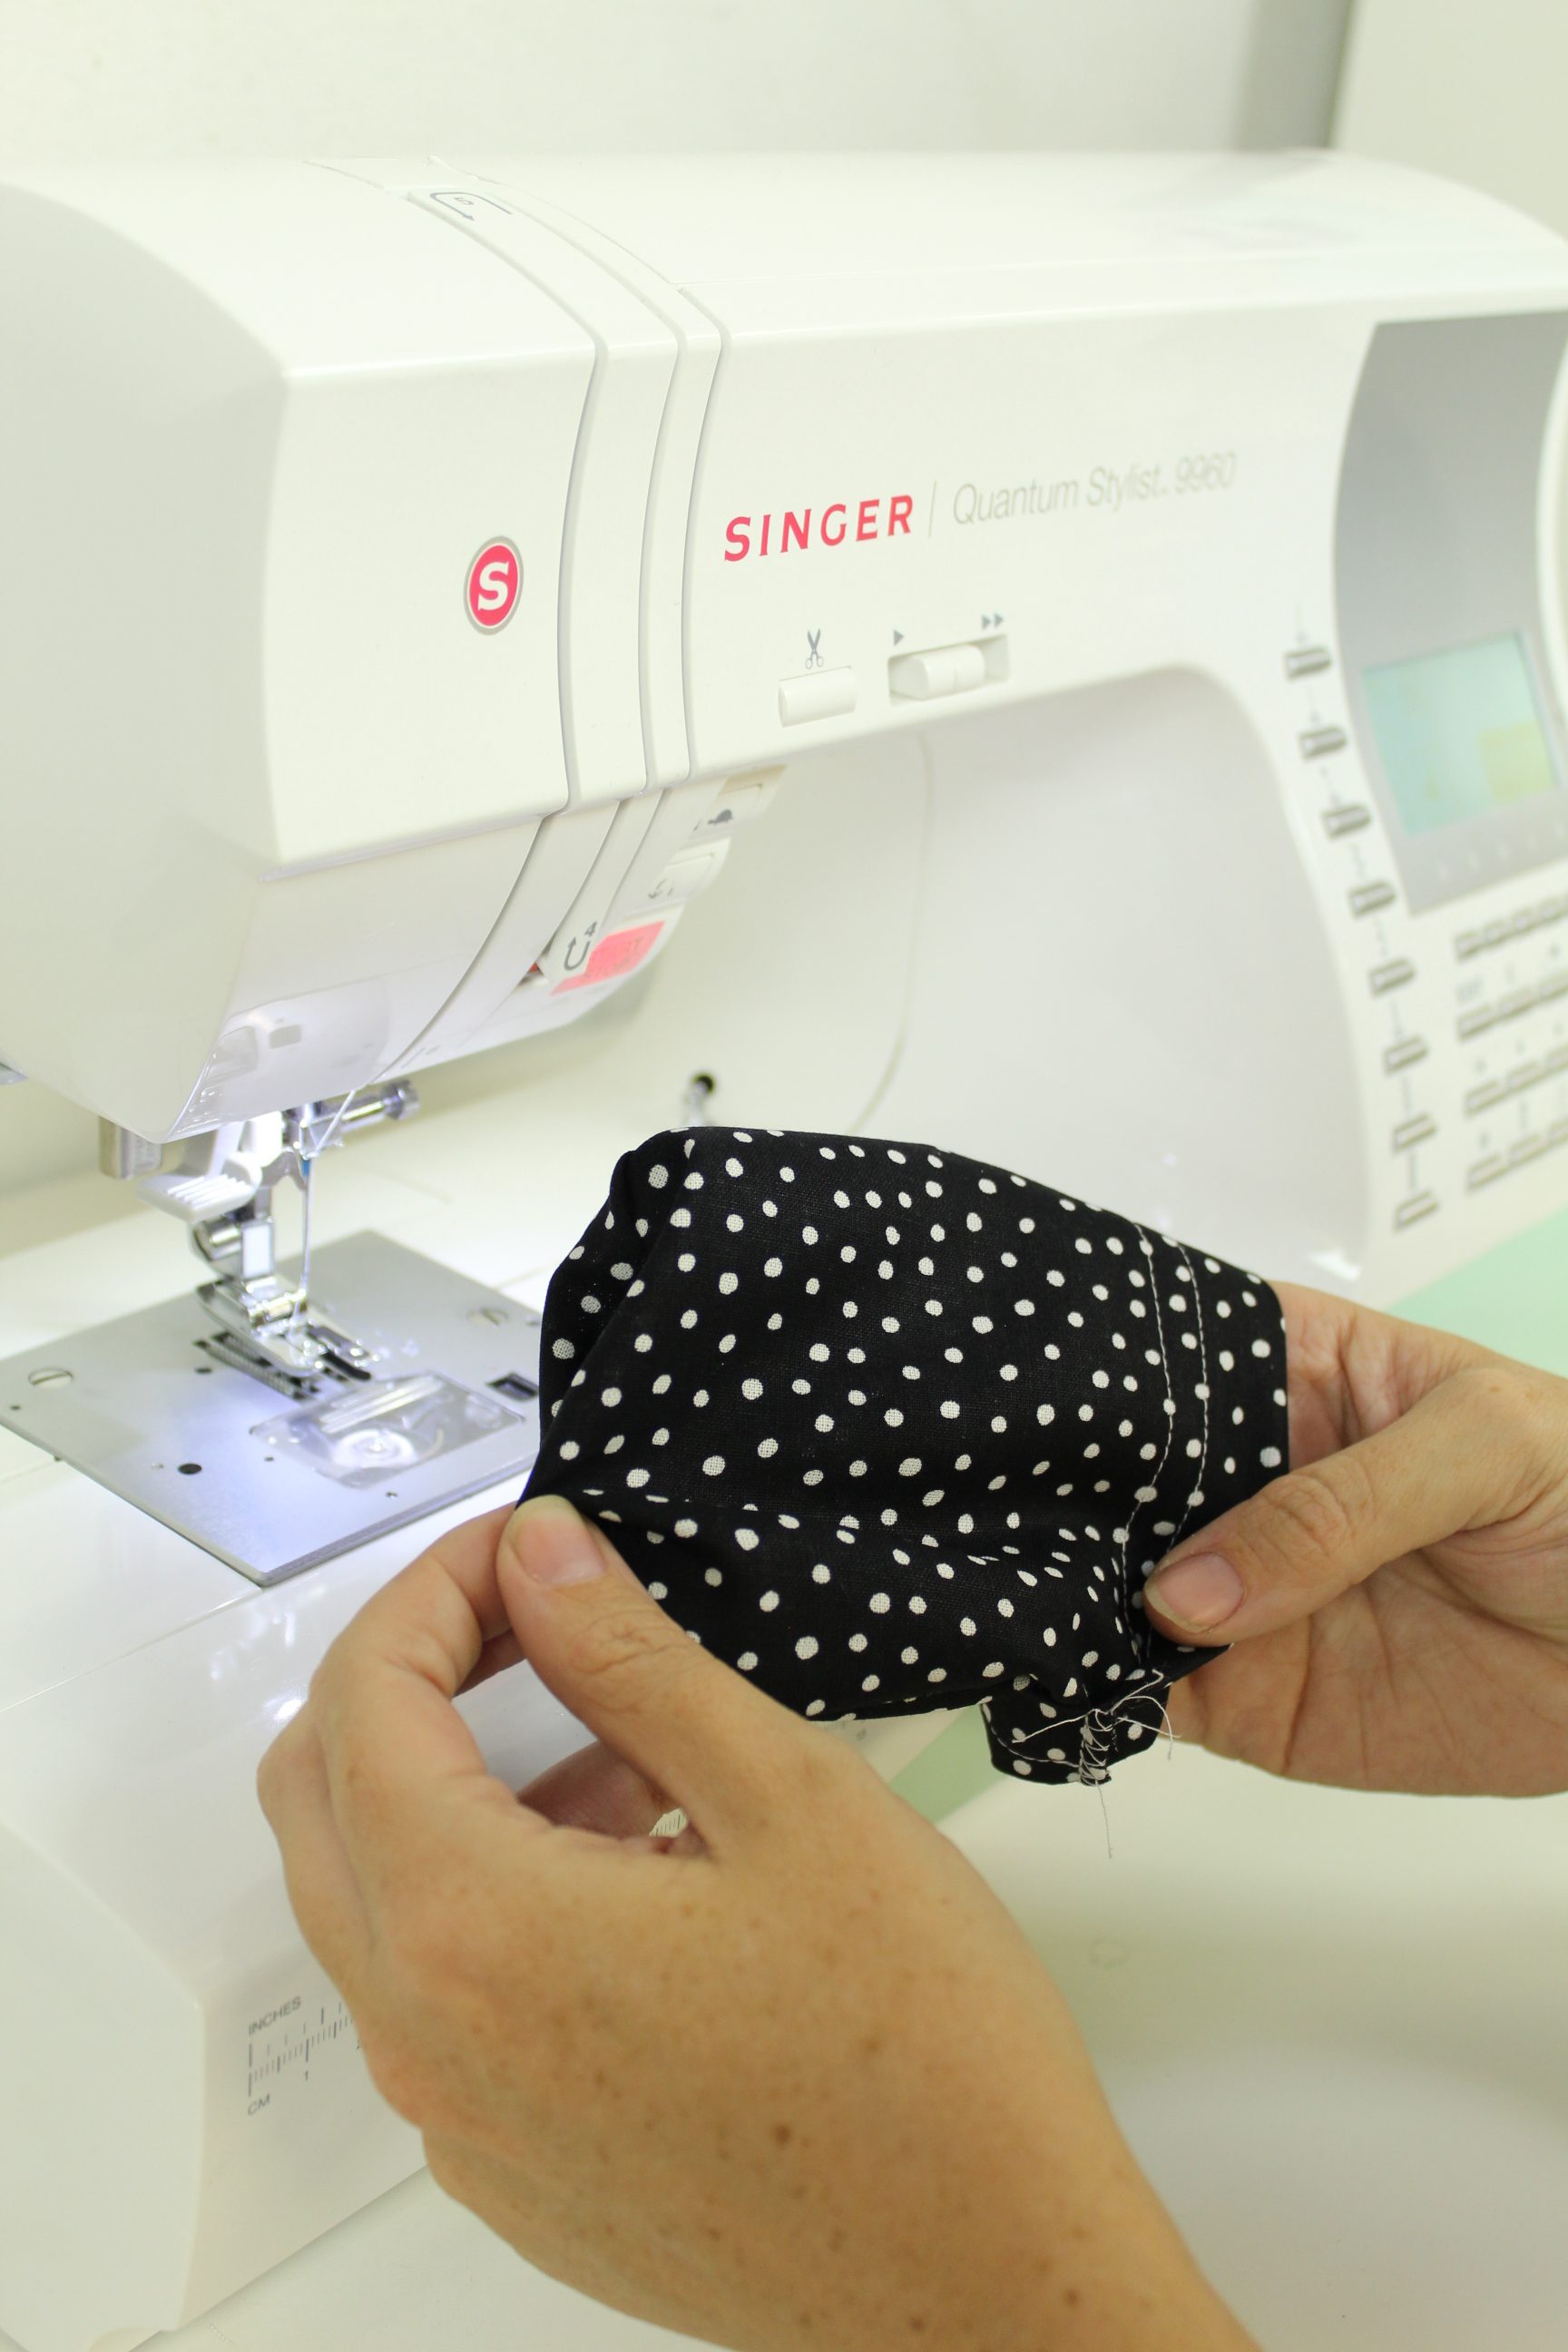
Now time for the fun part, turn your bag right side out… it’s starting to look like a bag, right?!
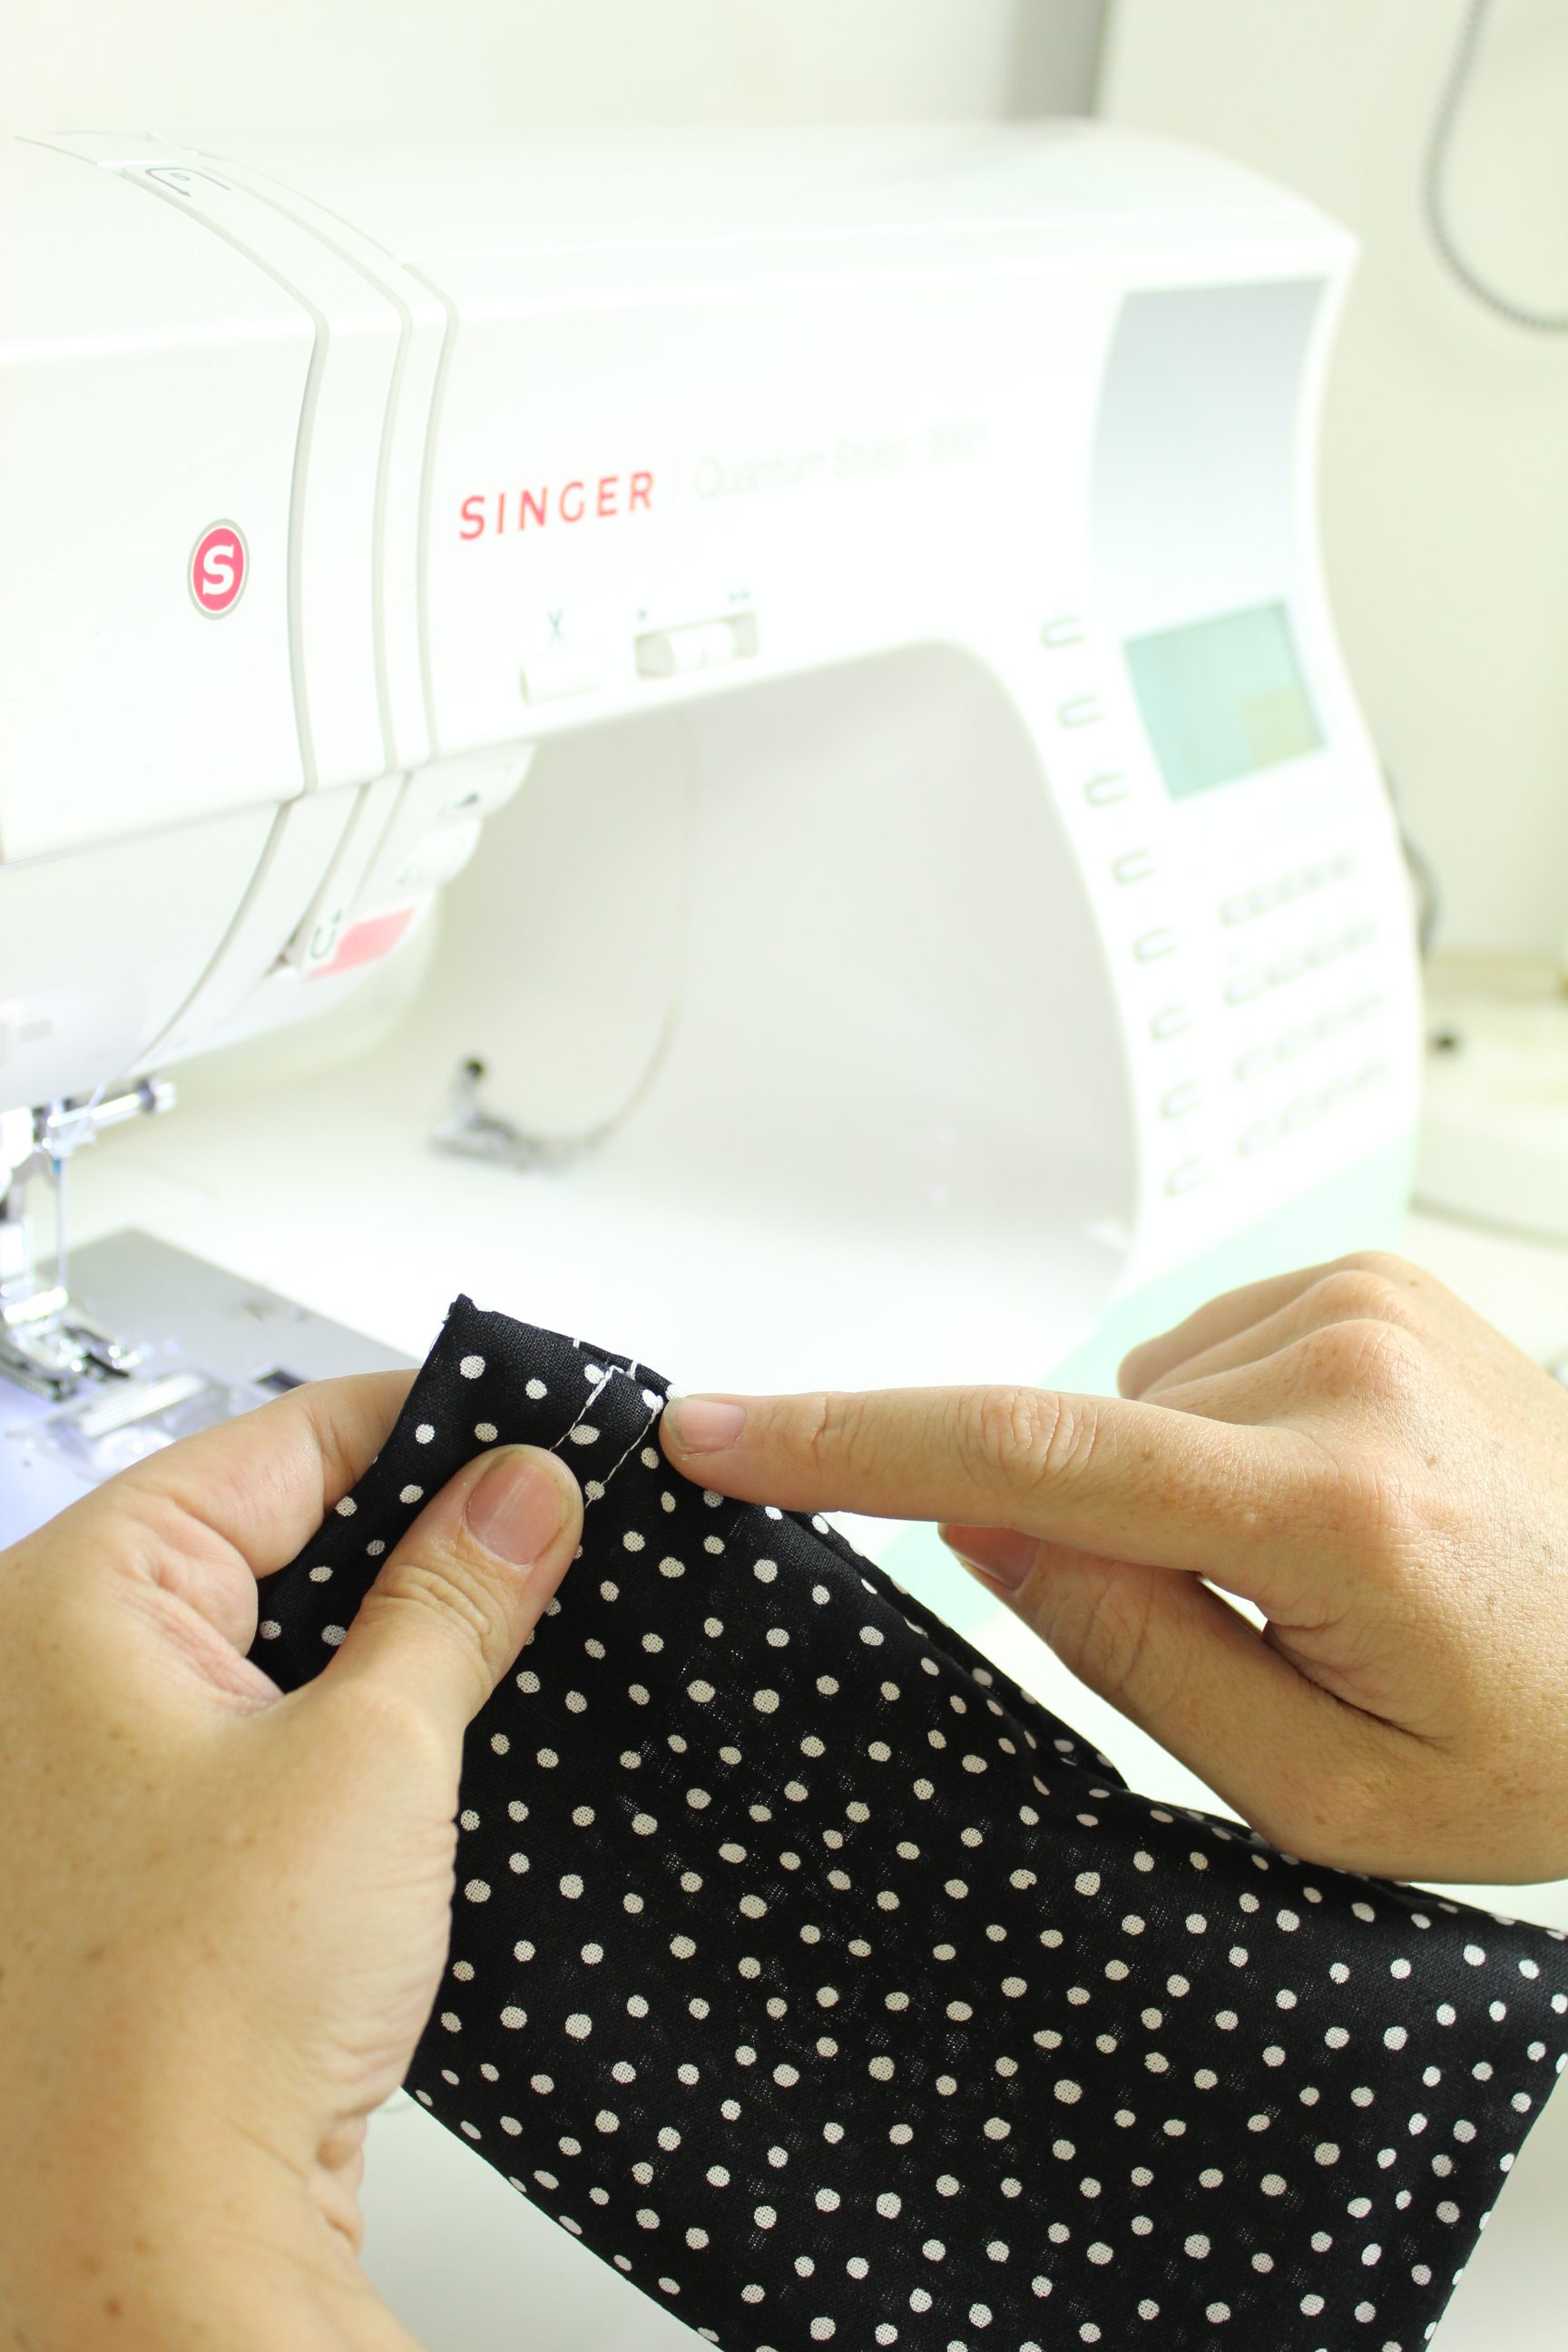
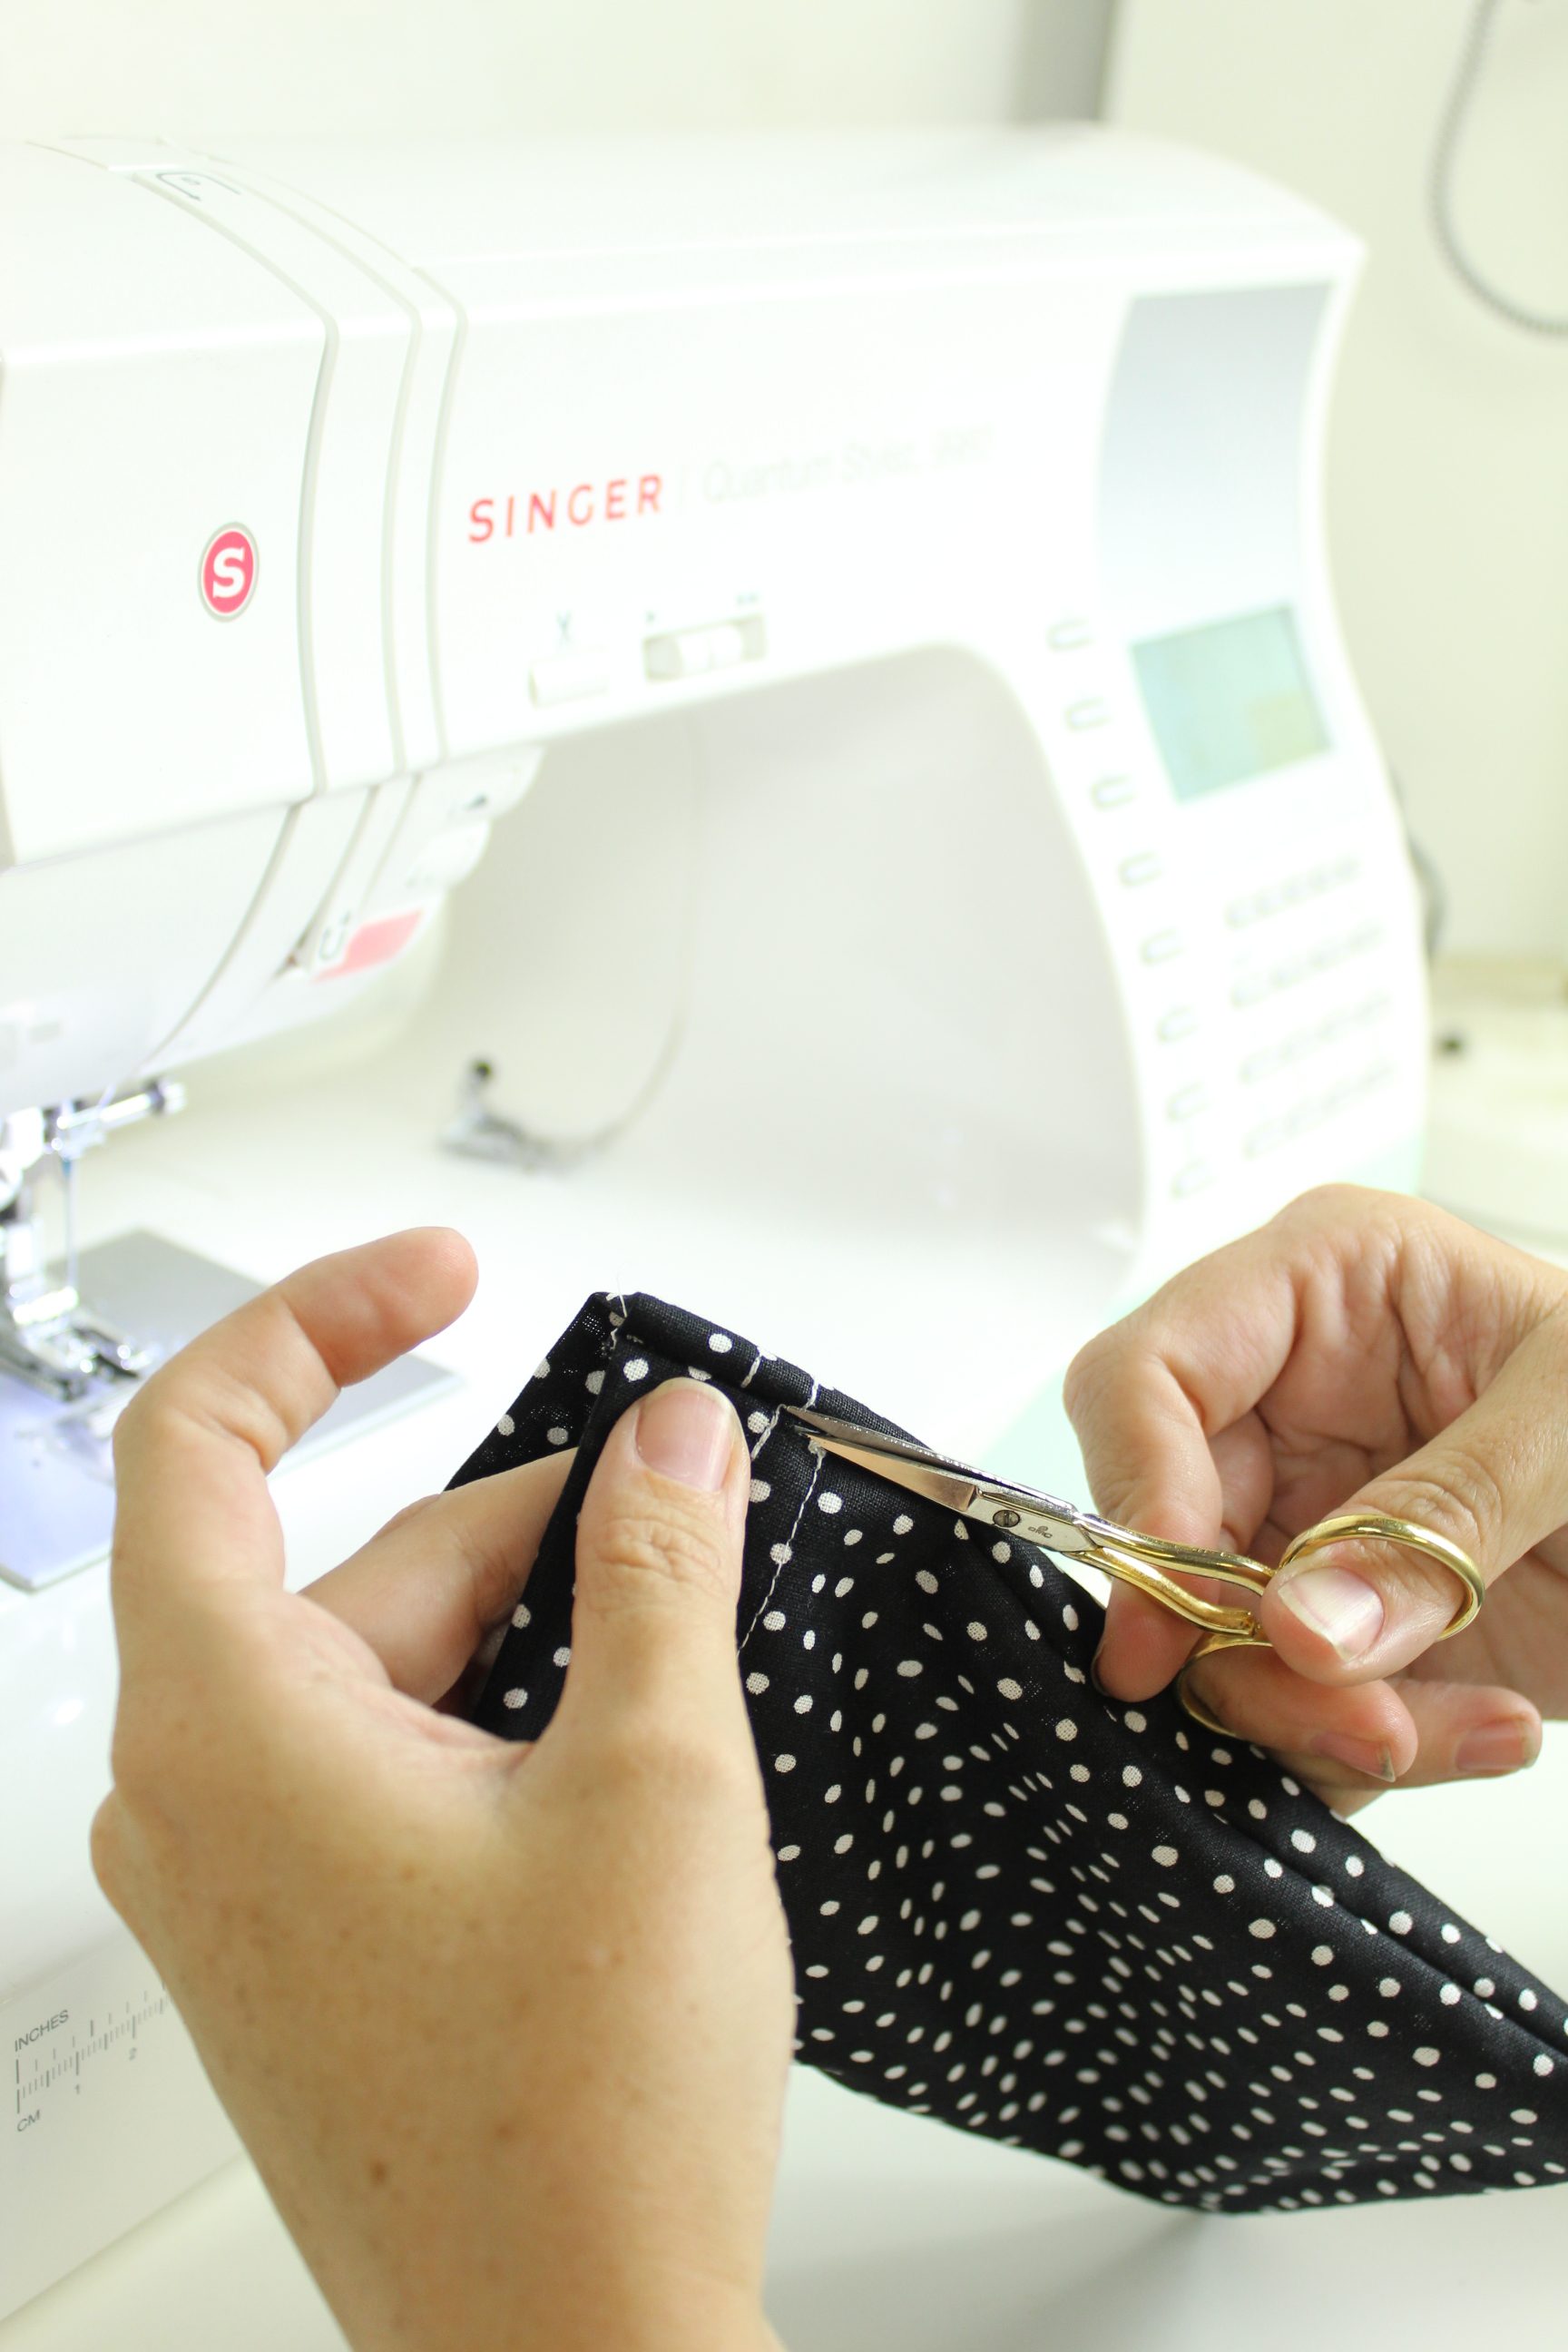
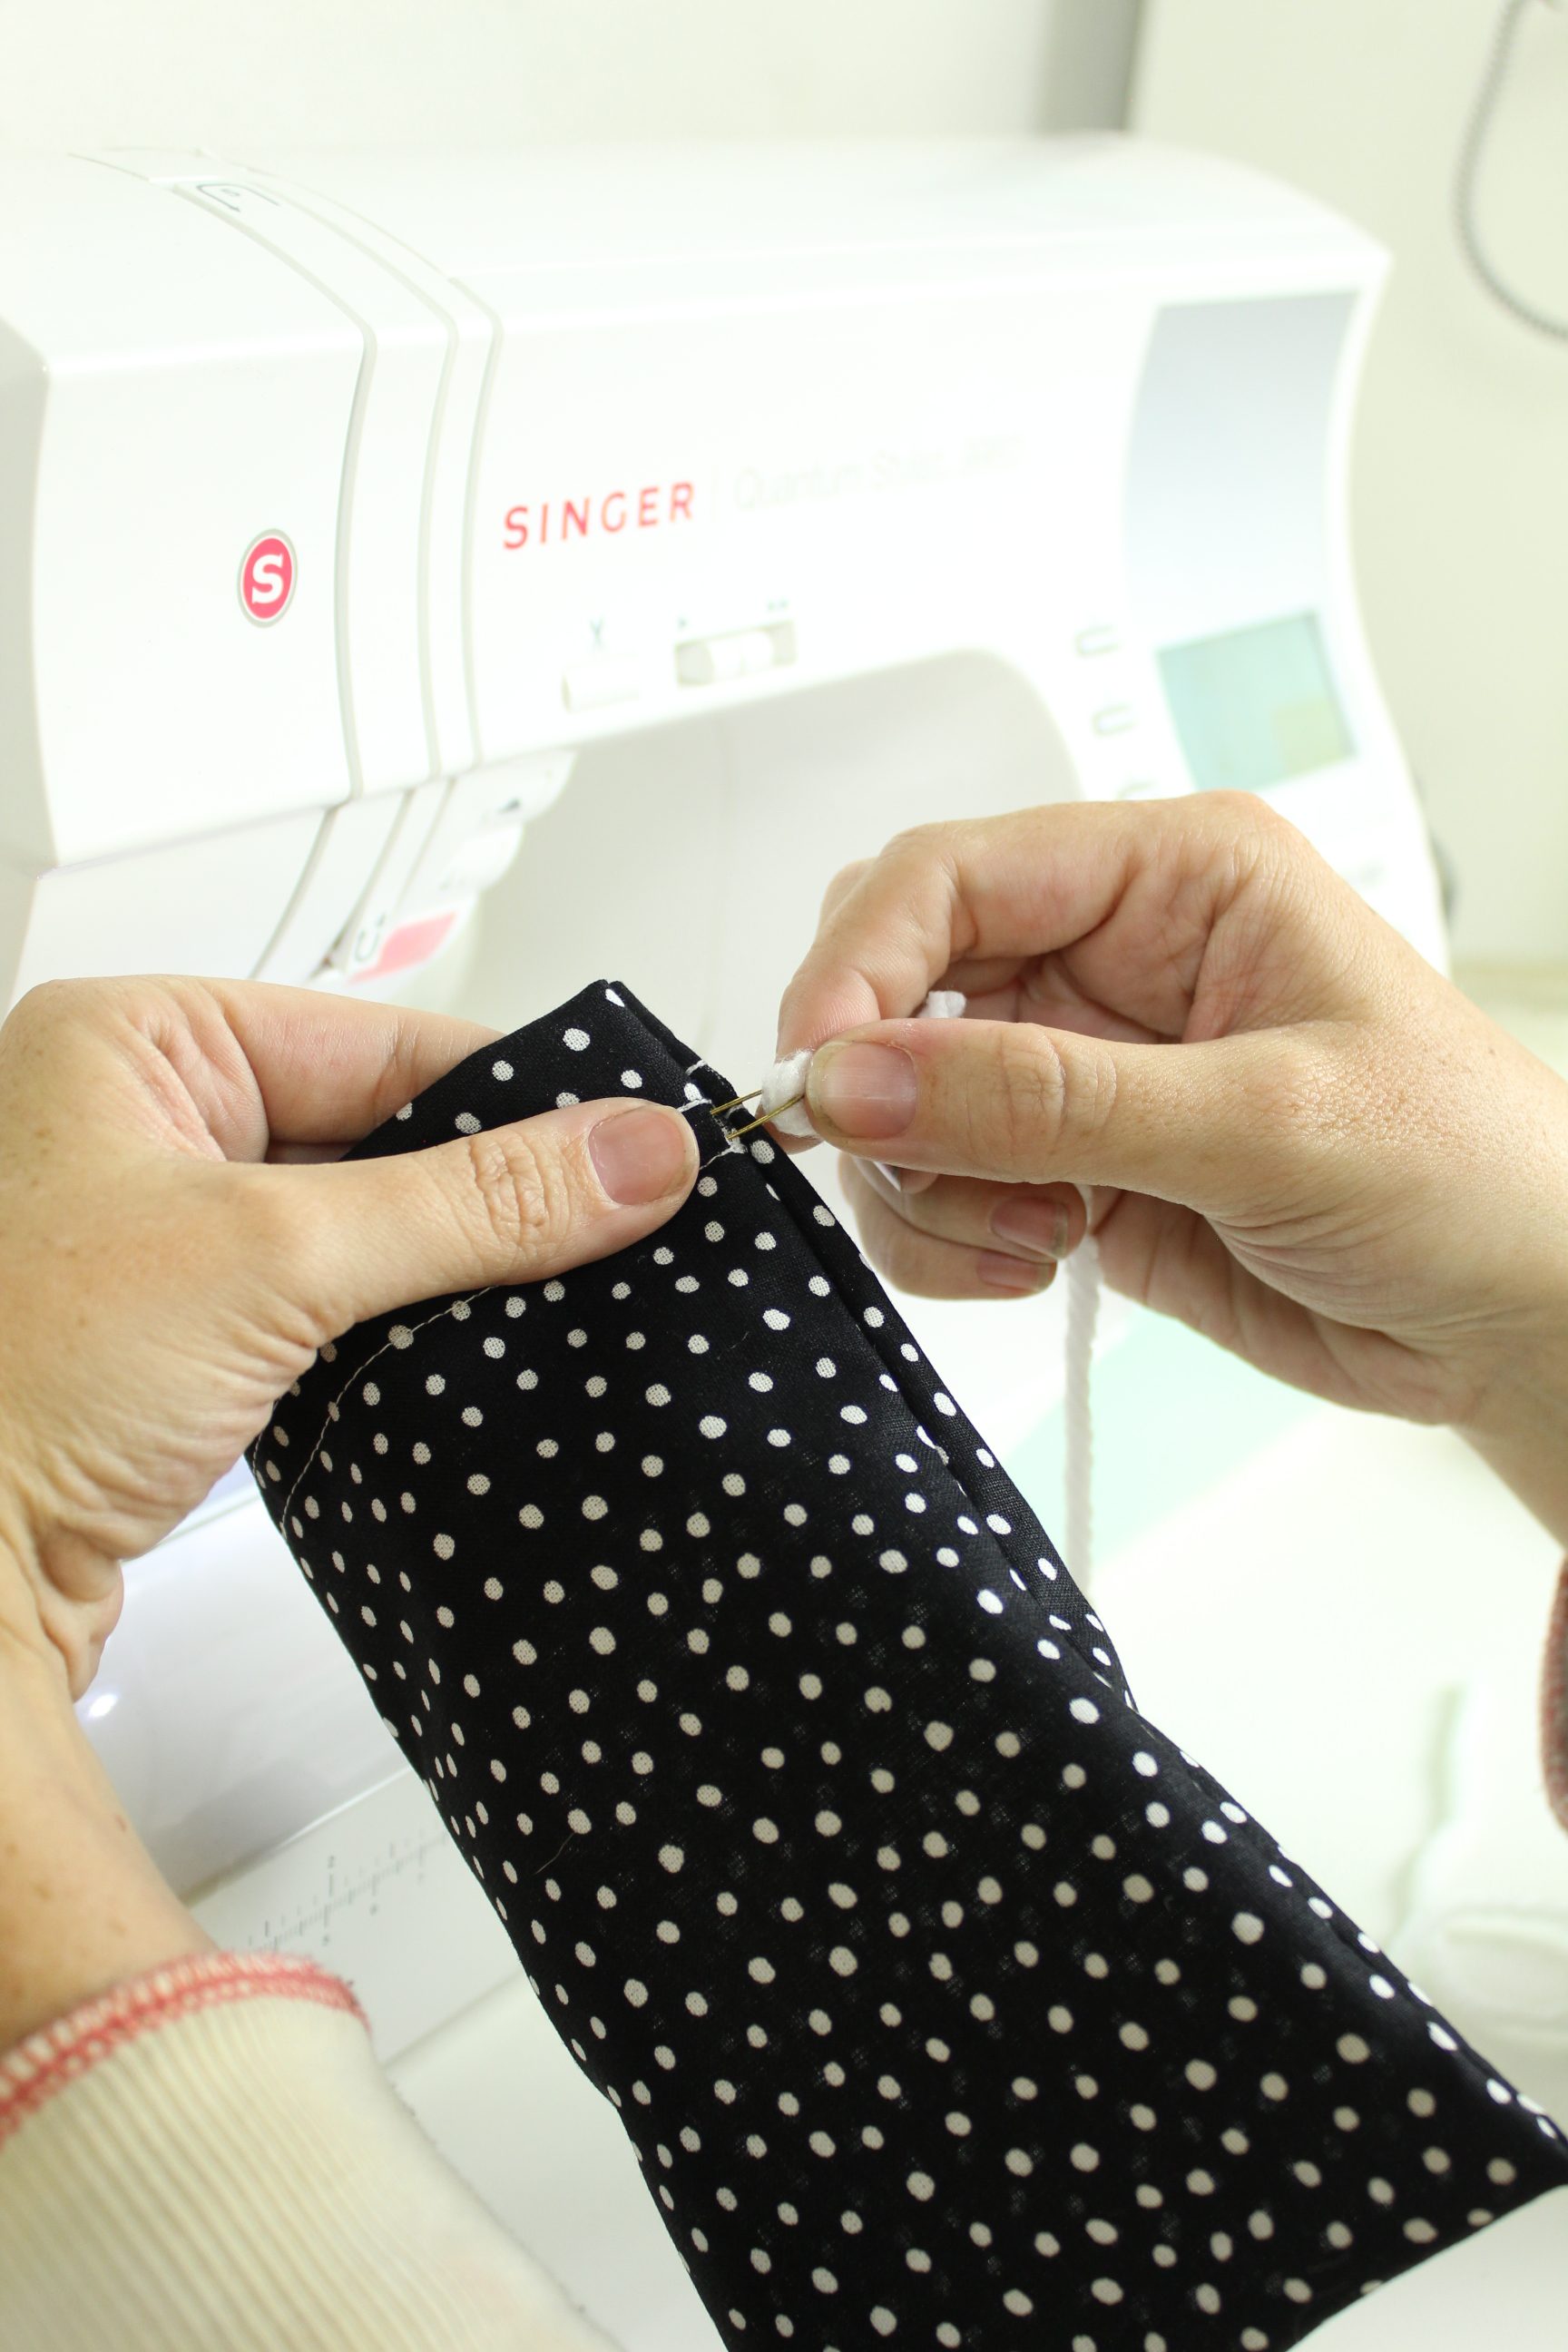
Cut Open Drawstring Channel
Now this is a little hard to photograph, but along the side seam, just in between your two horizontal stitches you’re going to want to cut a little hole, big enough for your drawstring to go through while also being careful not to cut all the way through both layers of material. You will do this four times. Twice on either side of each side seam.
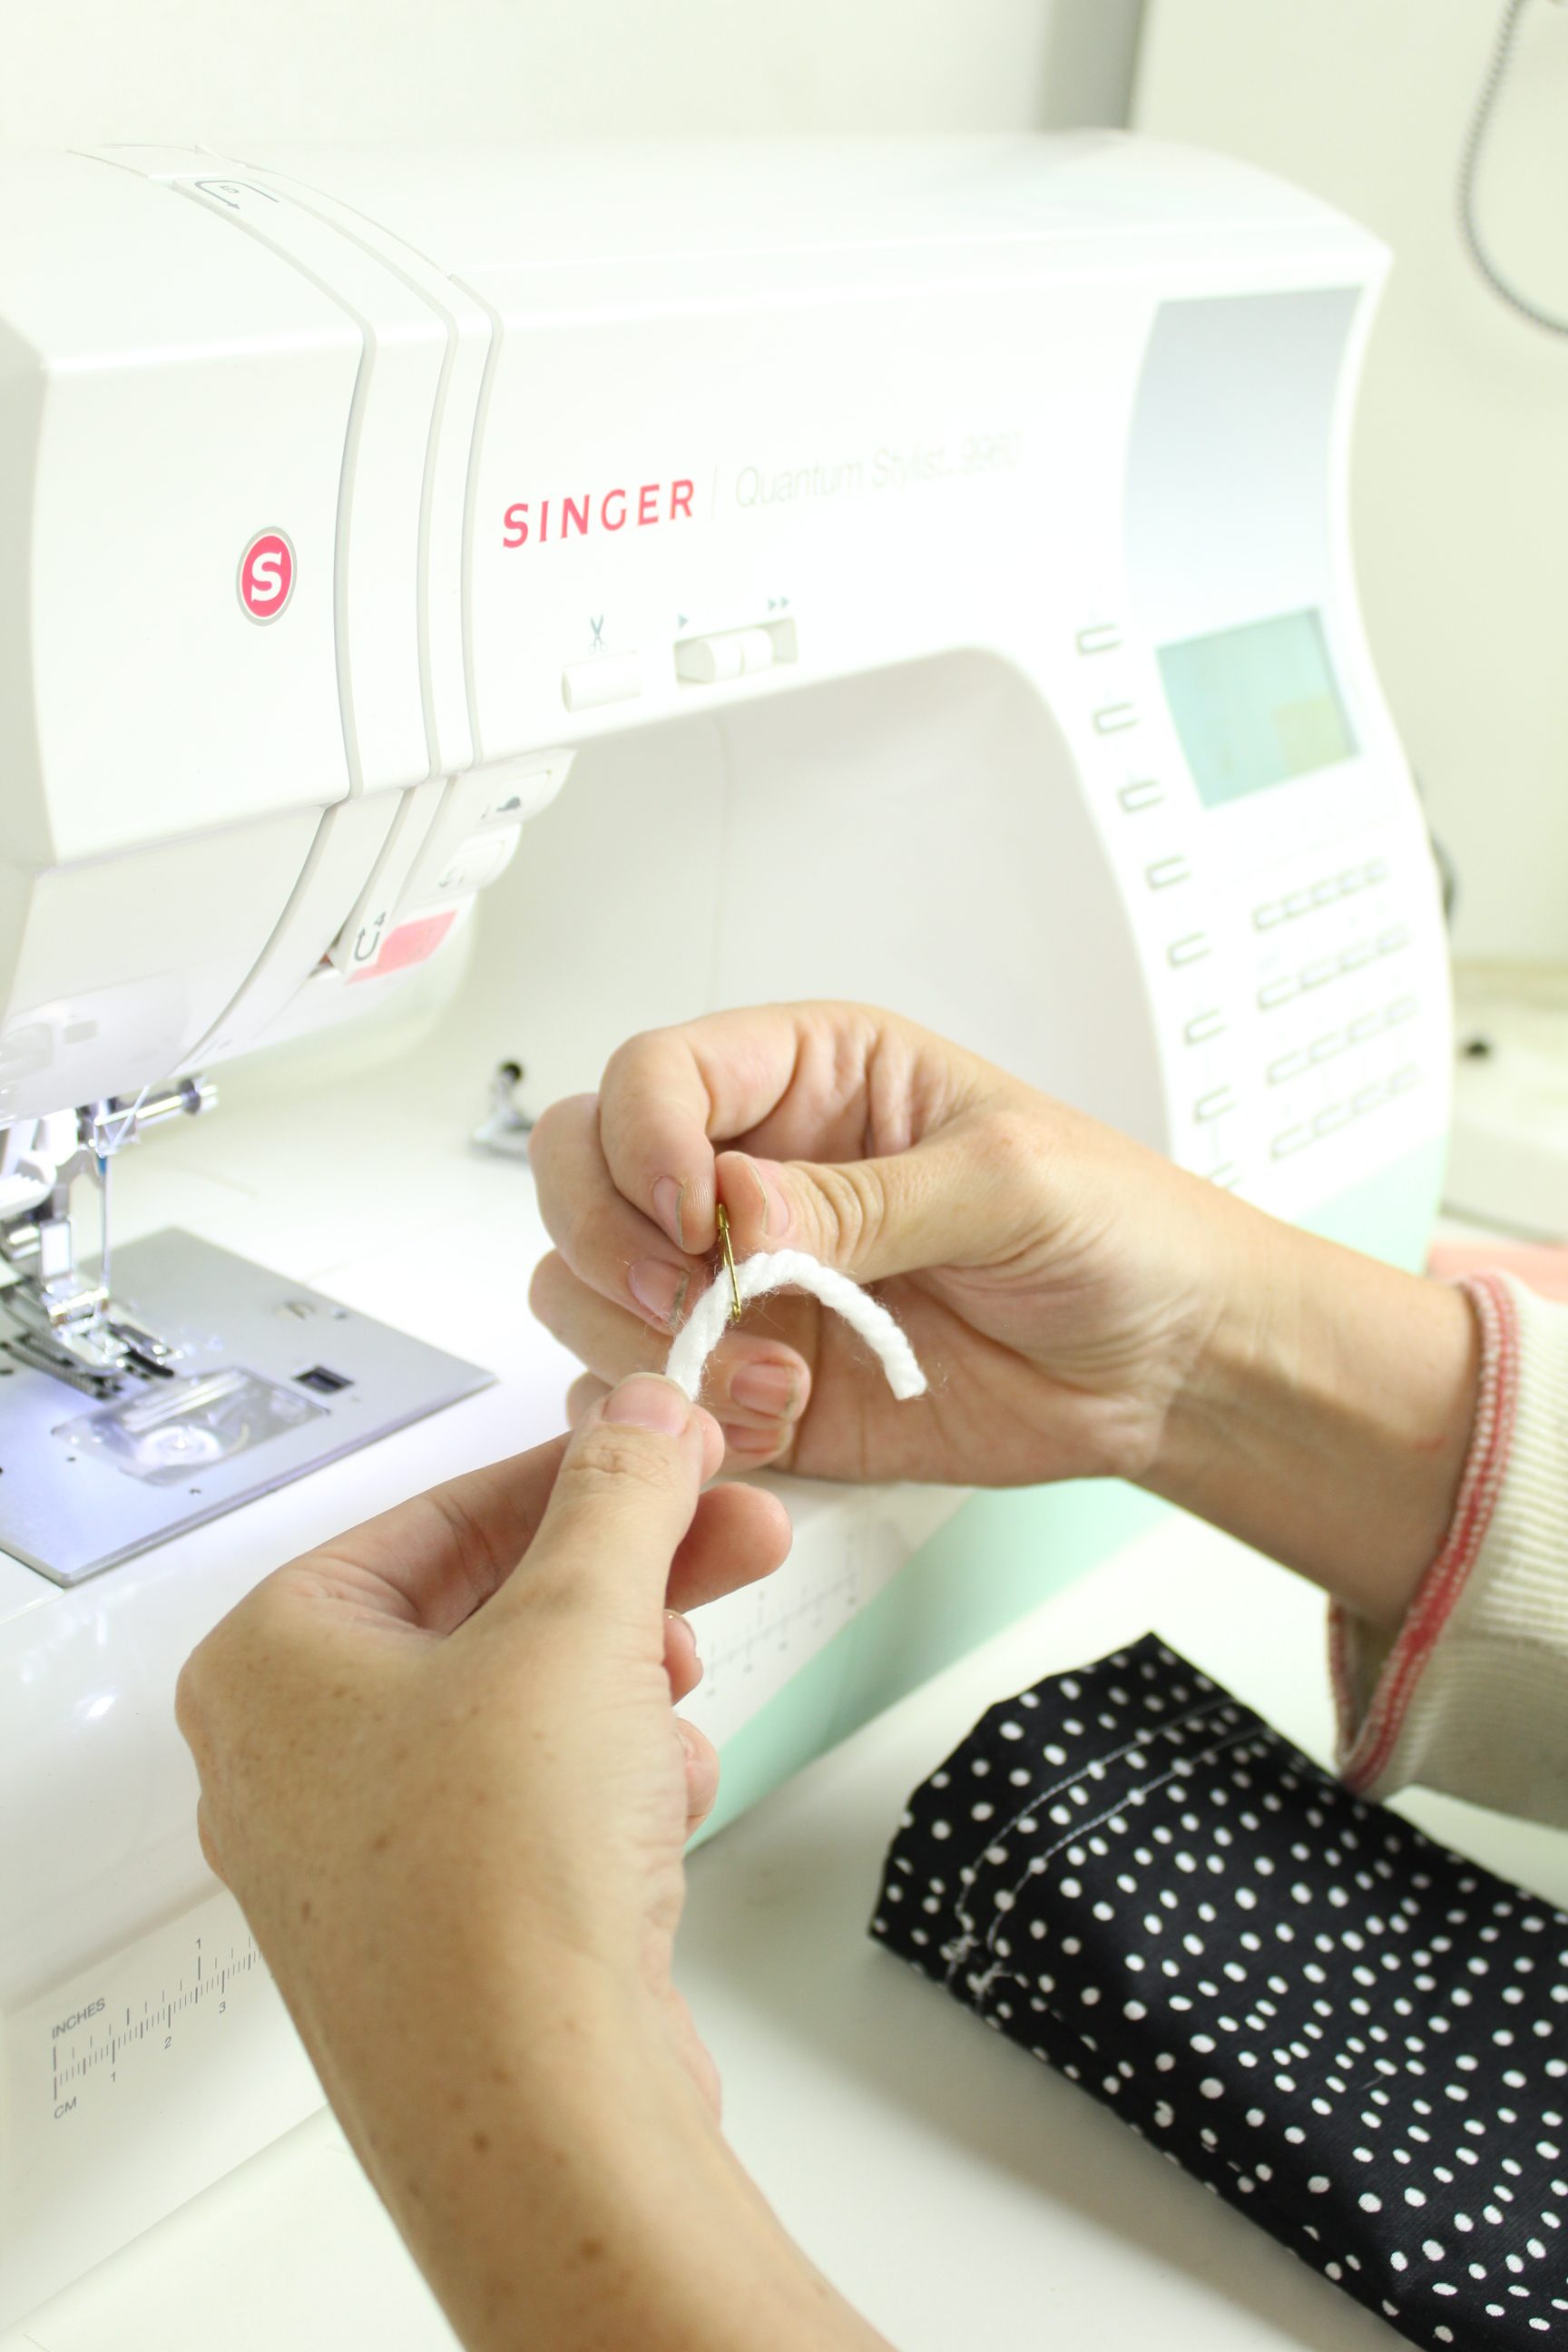
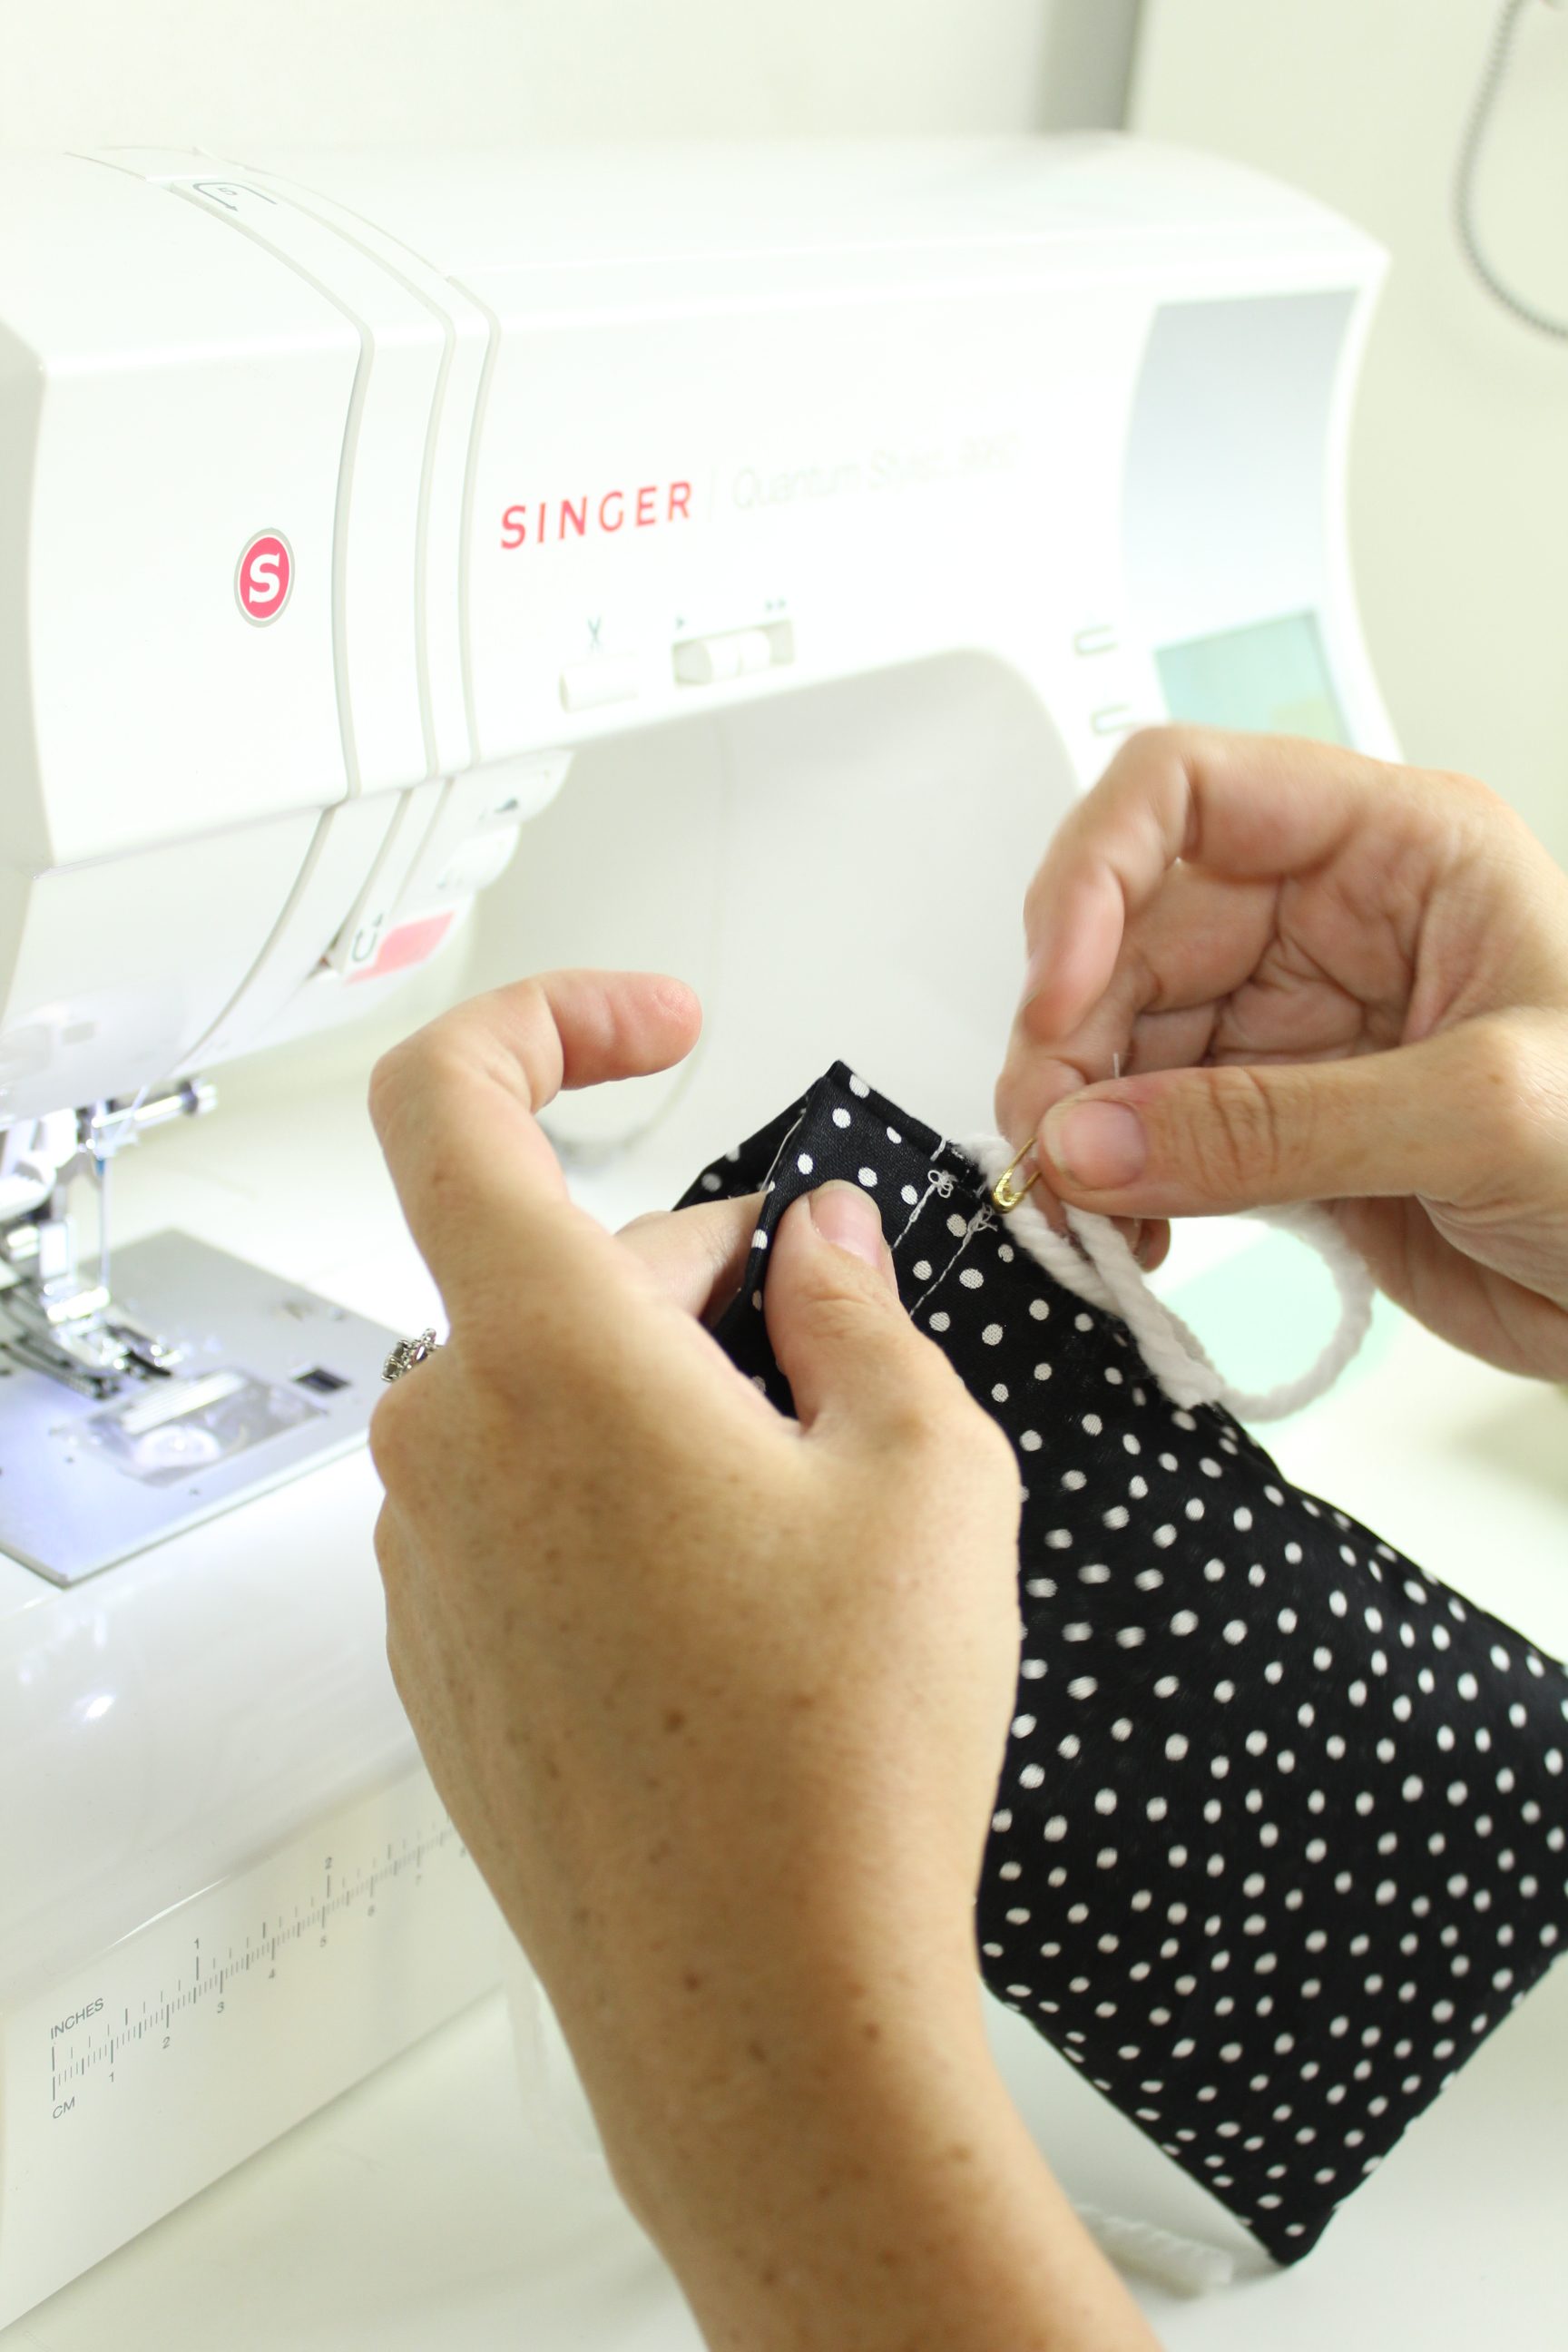
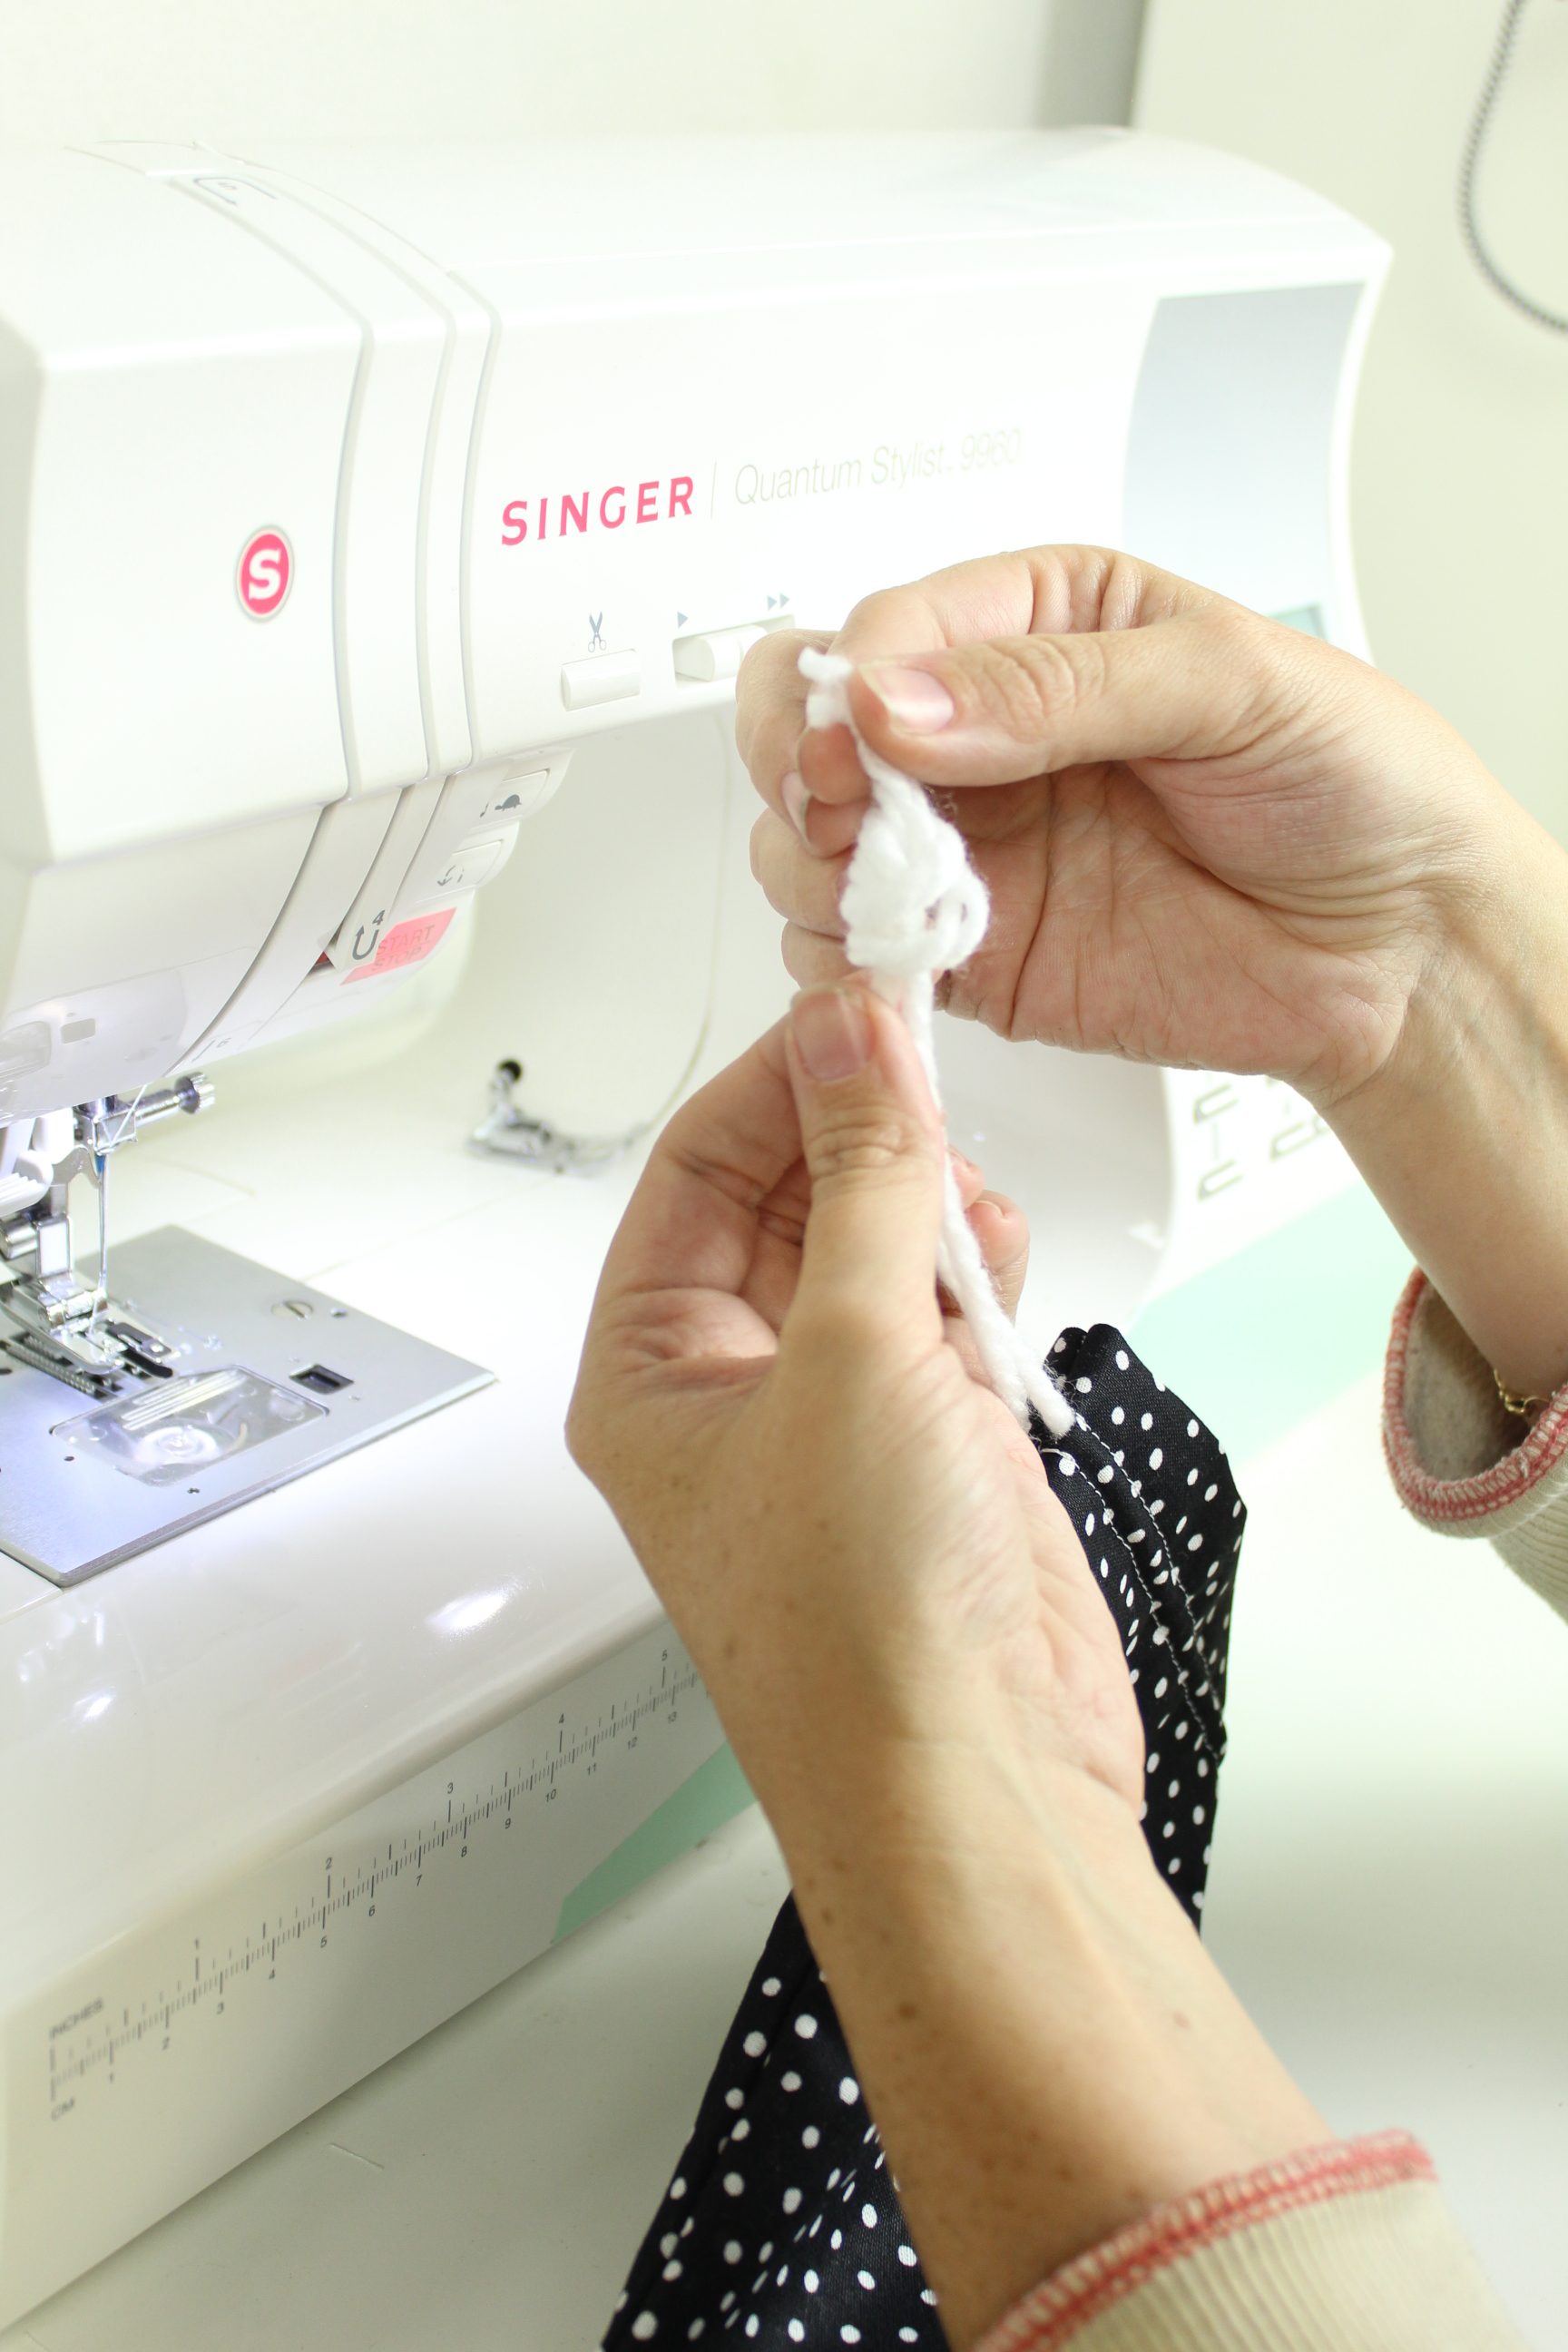
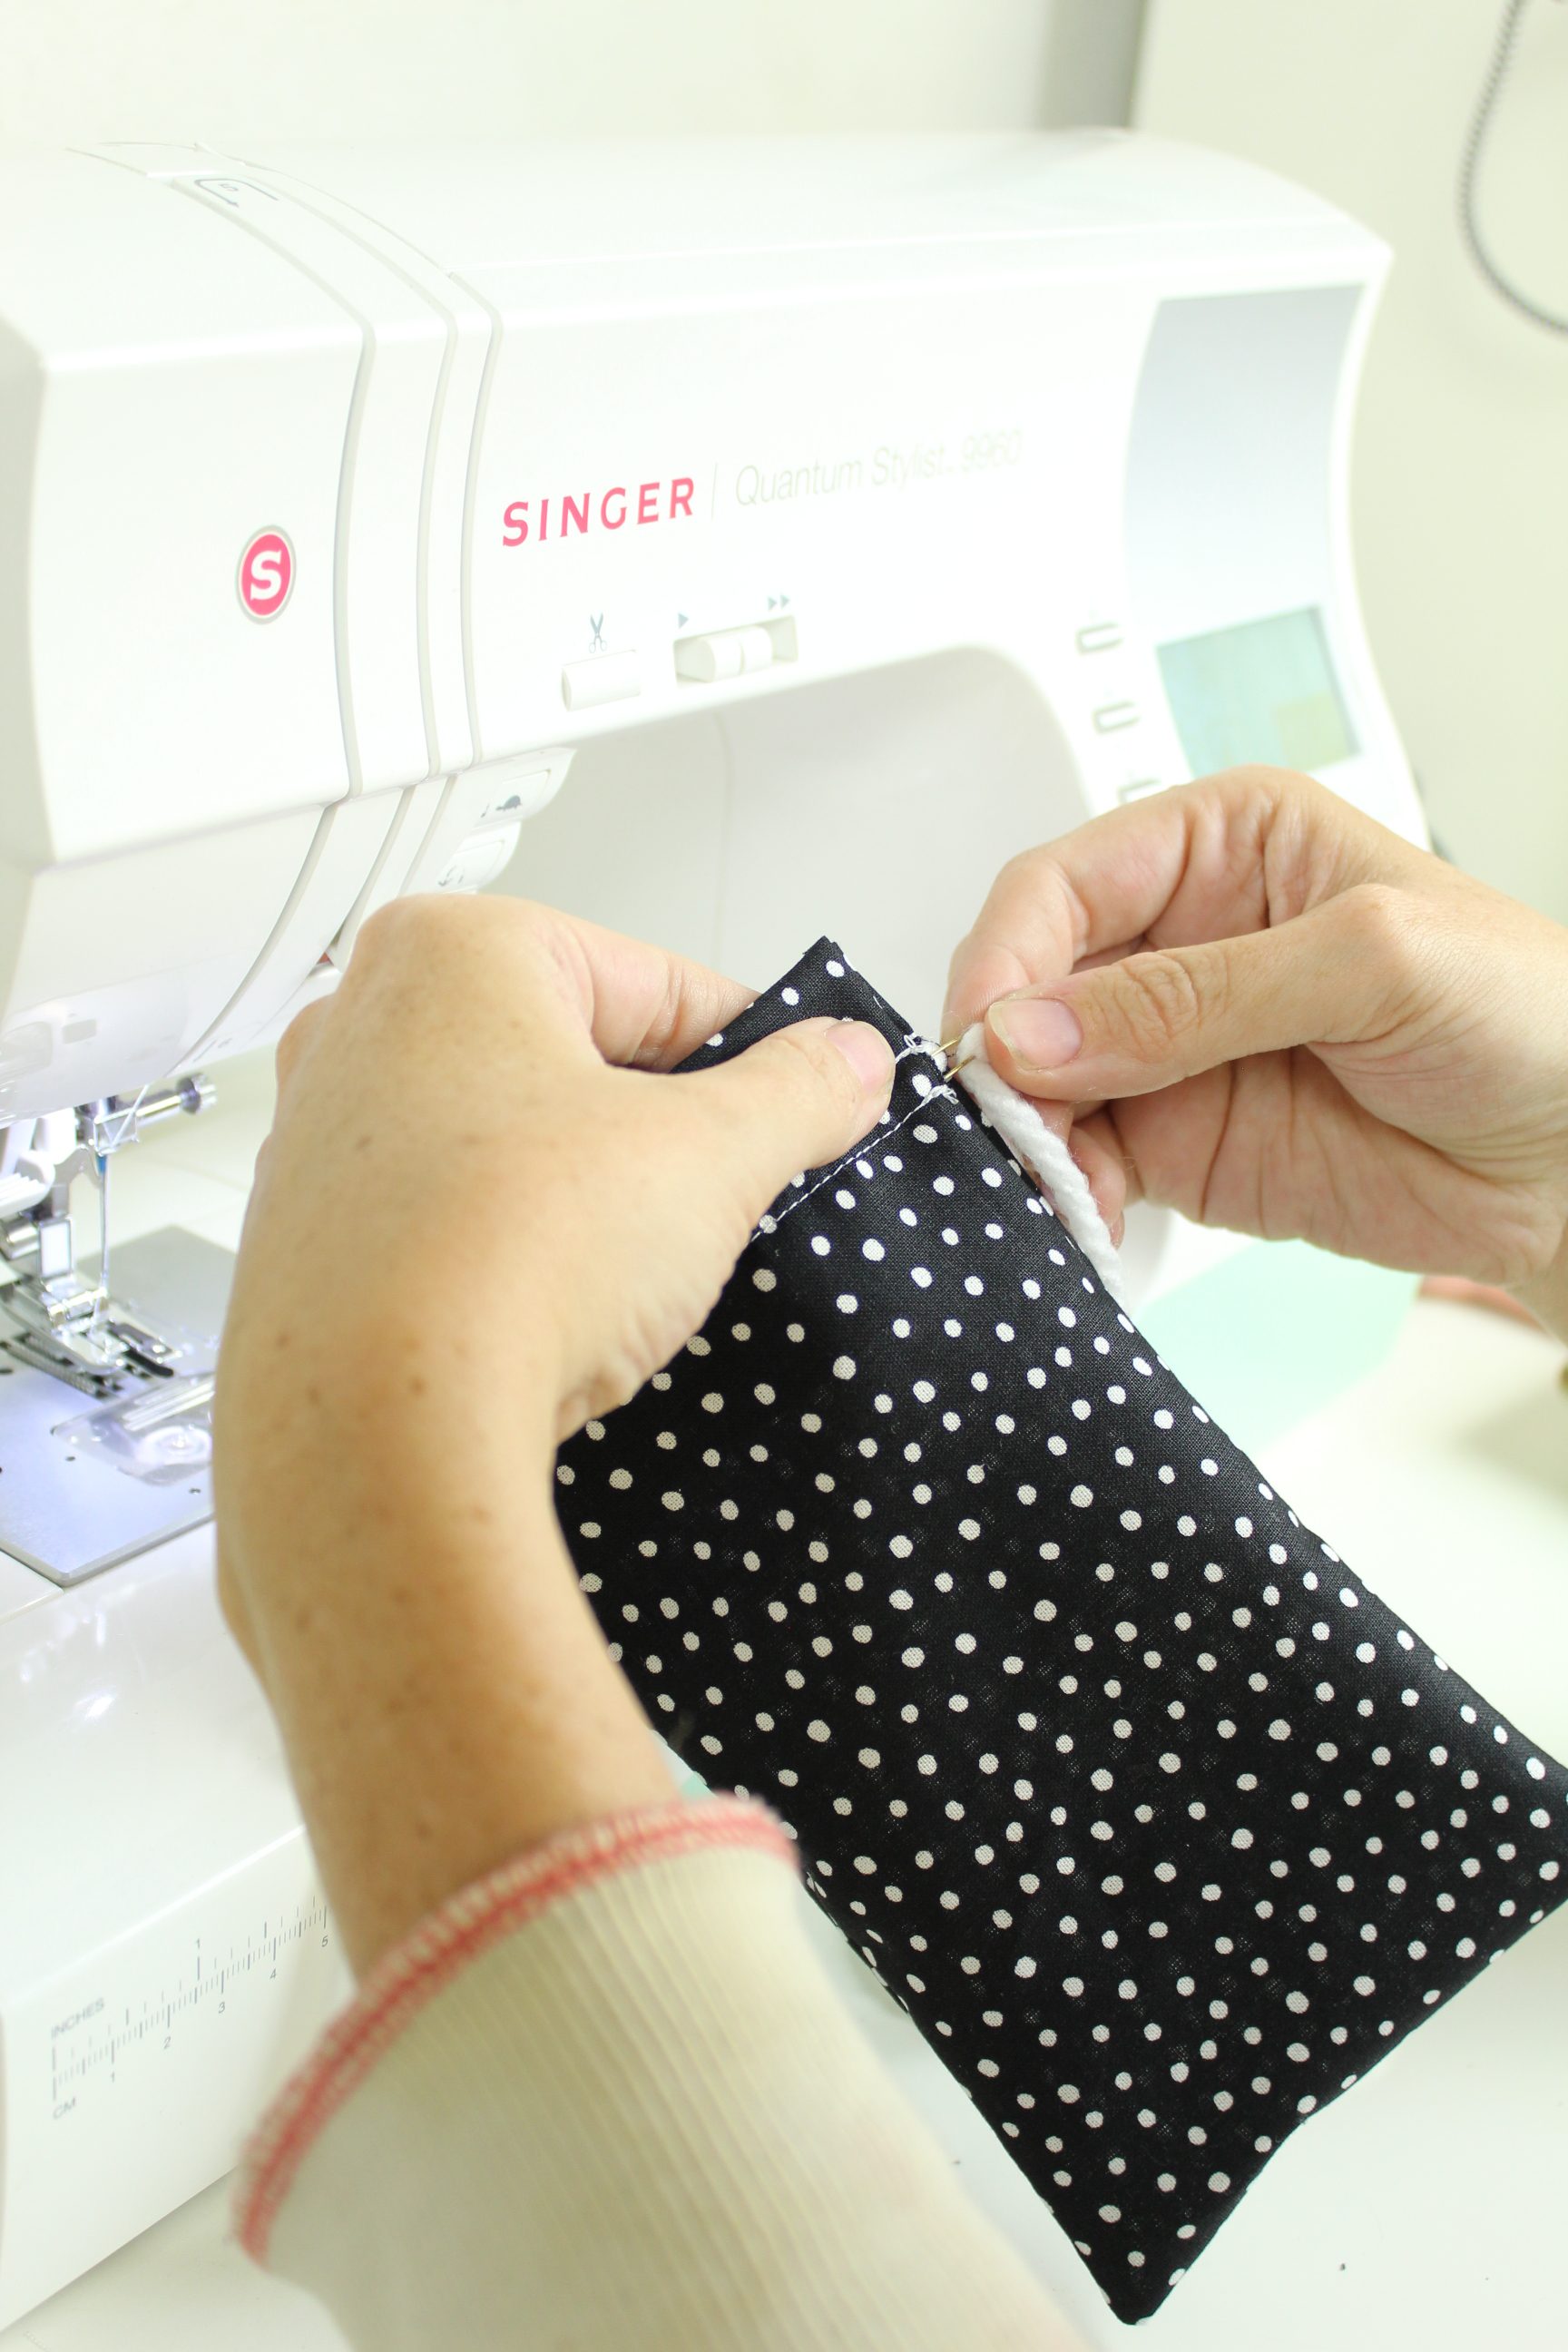
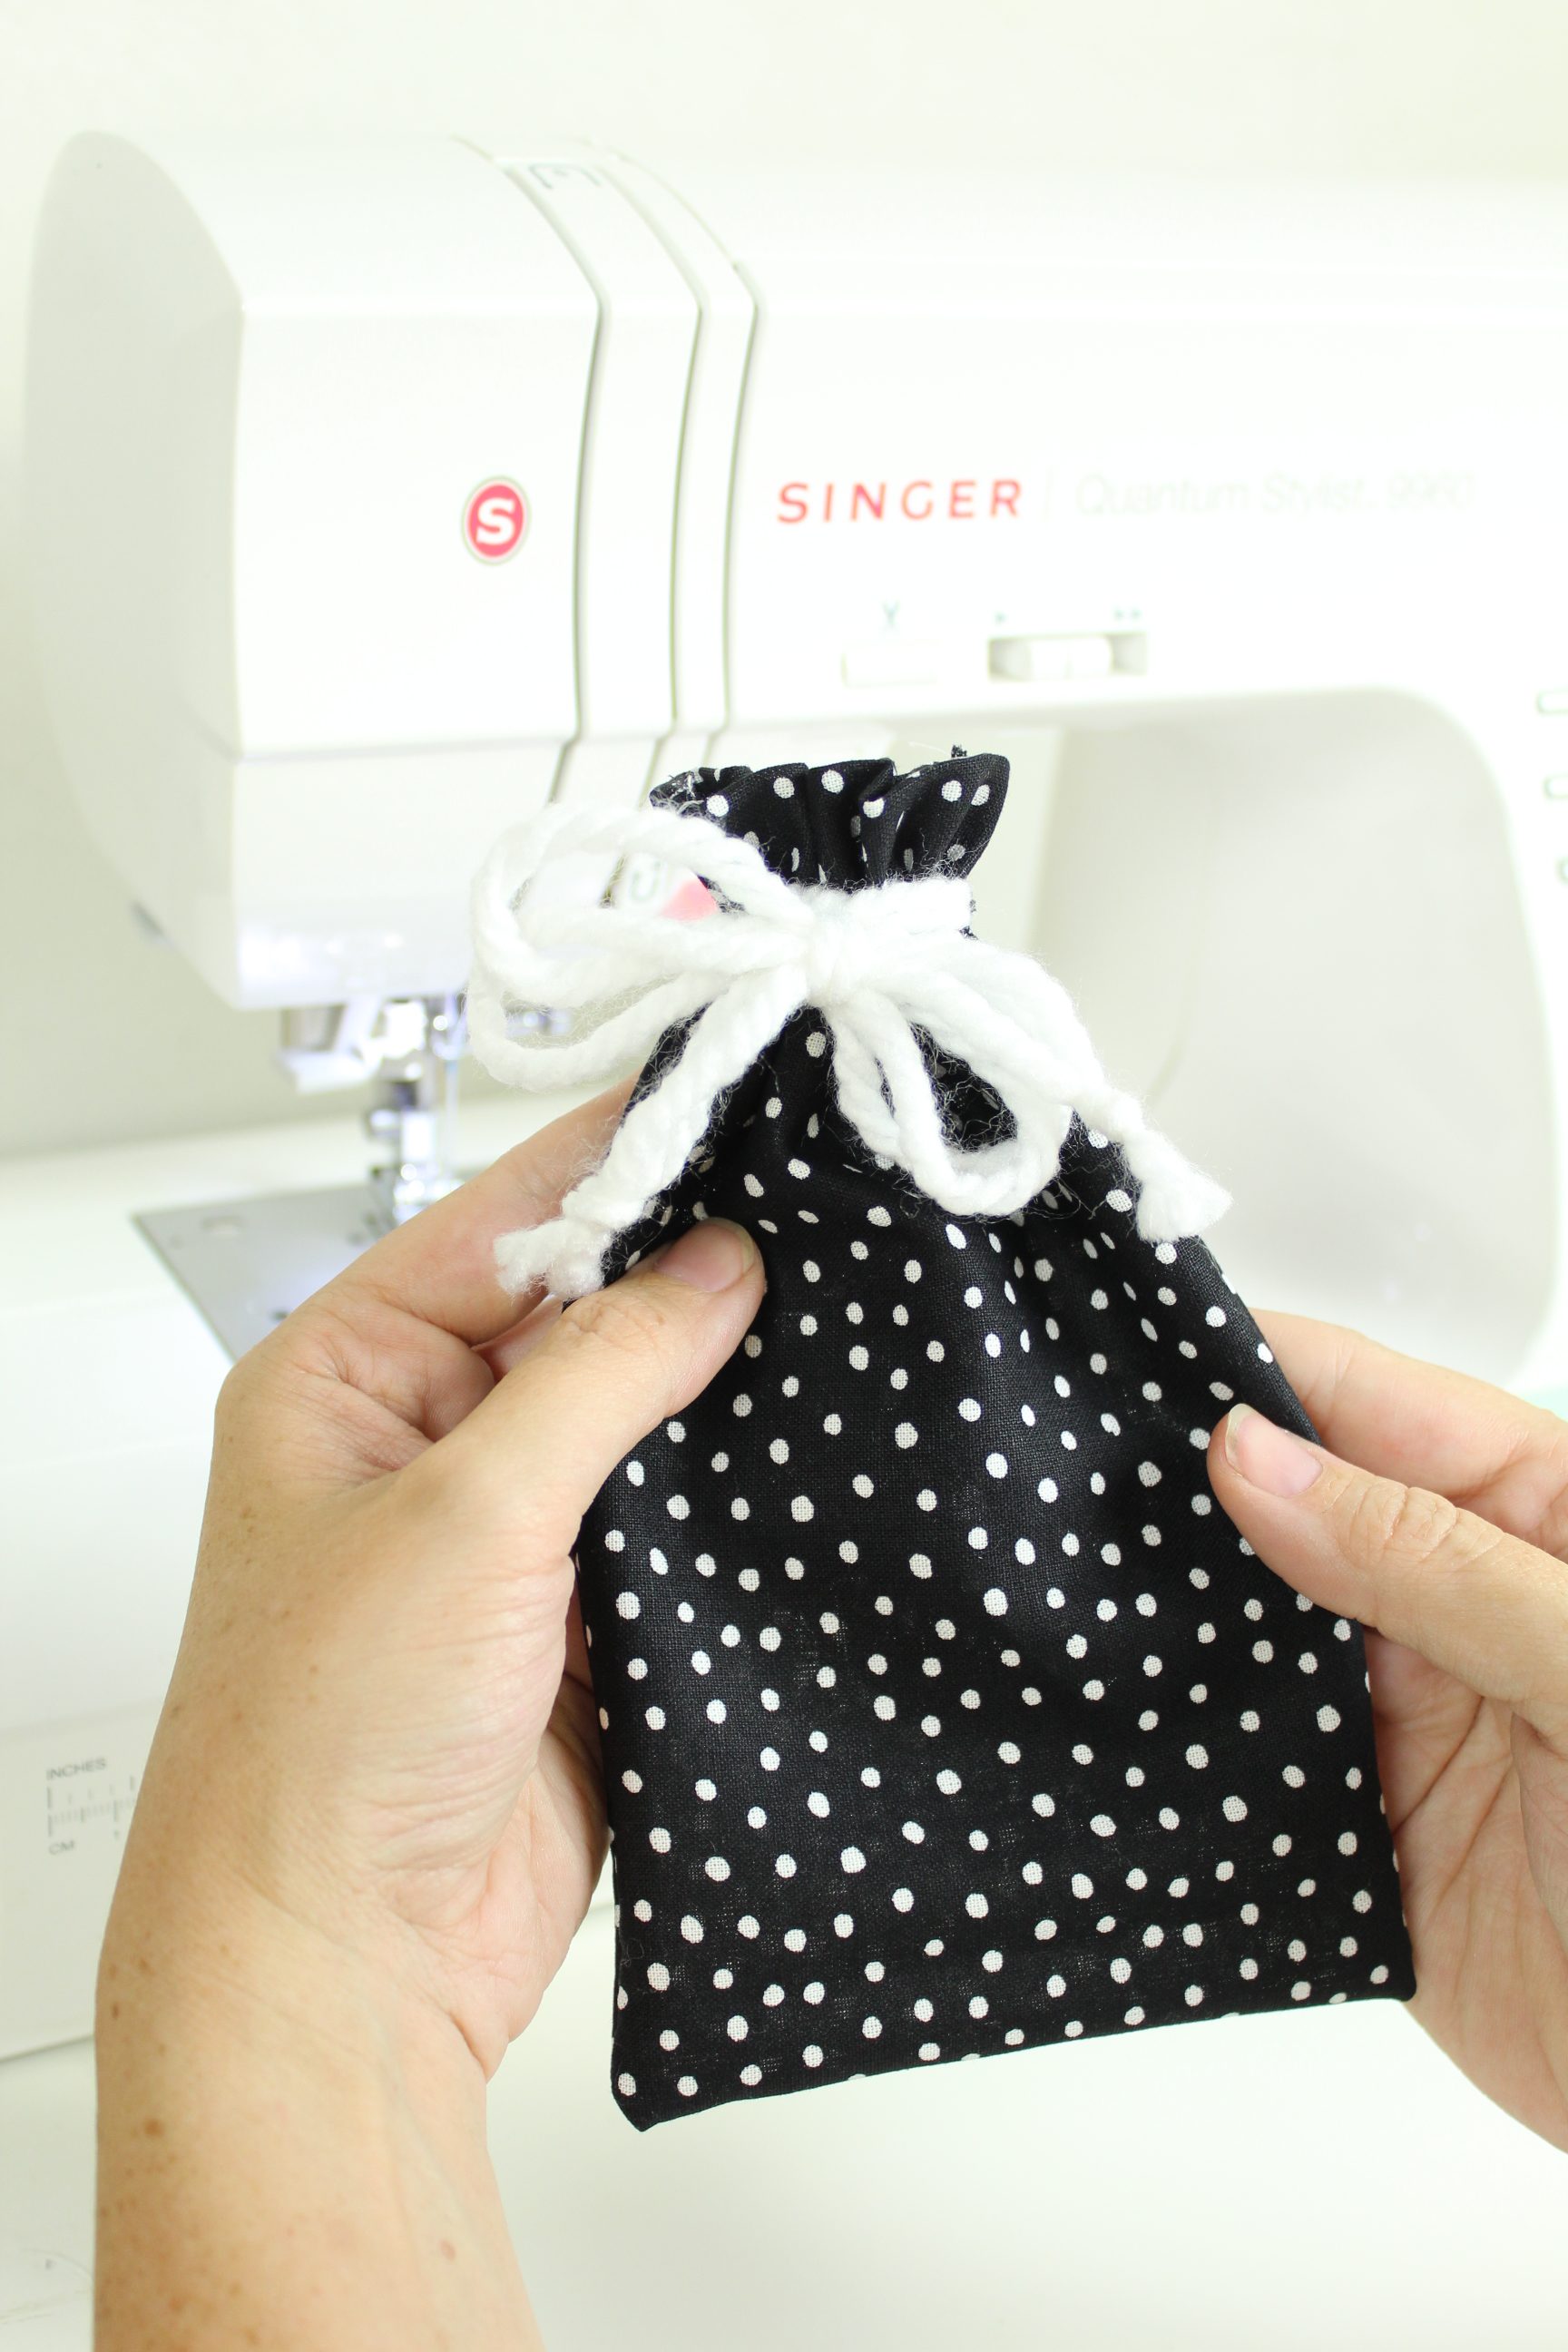
Thread Your Drawstring
Using a small safety pin, loop your thread through so that you can use the safety pin to guide your yarn through the channel. Go all the way across one side and once you come out the other end, thread it through the other side. Knot the ends when you’re done.
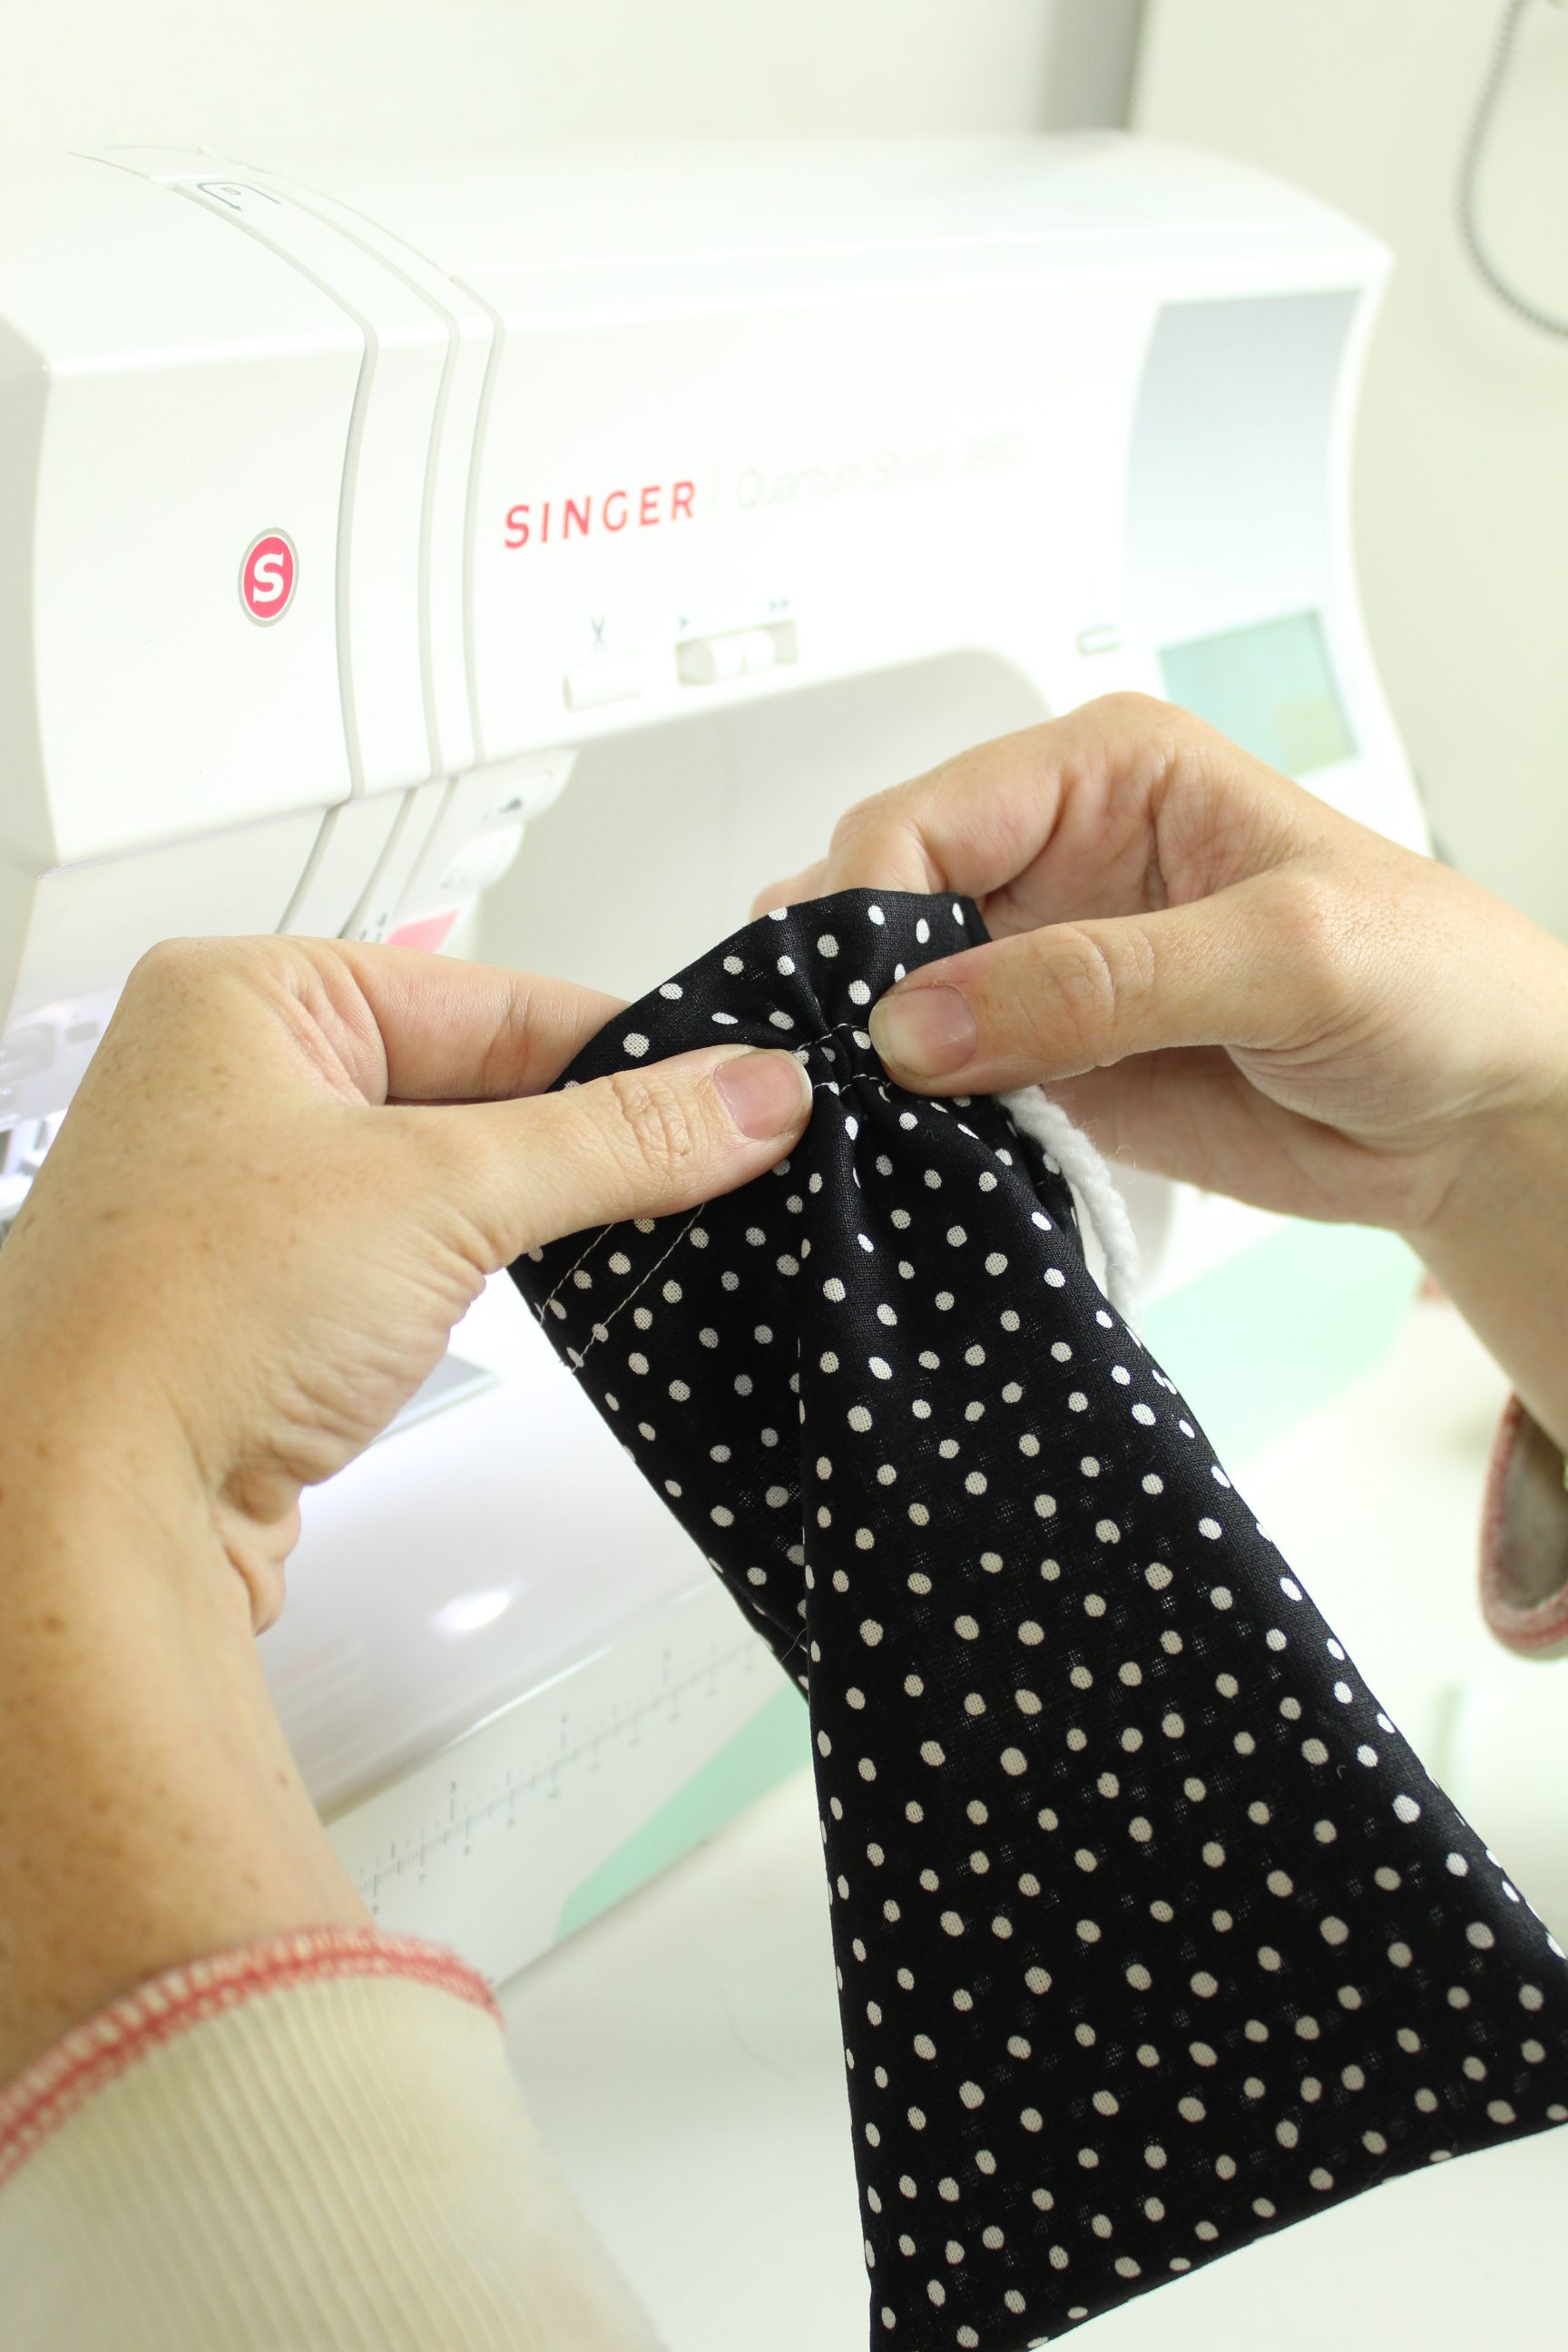
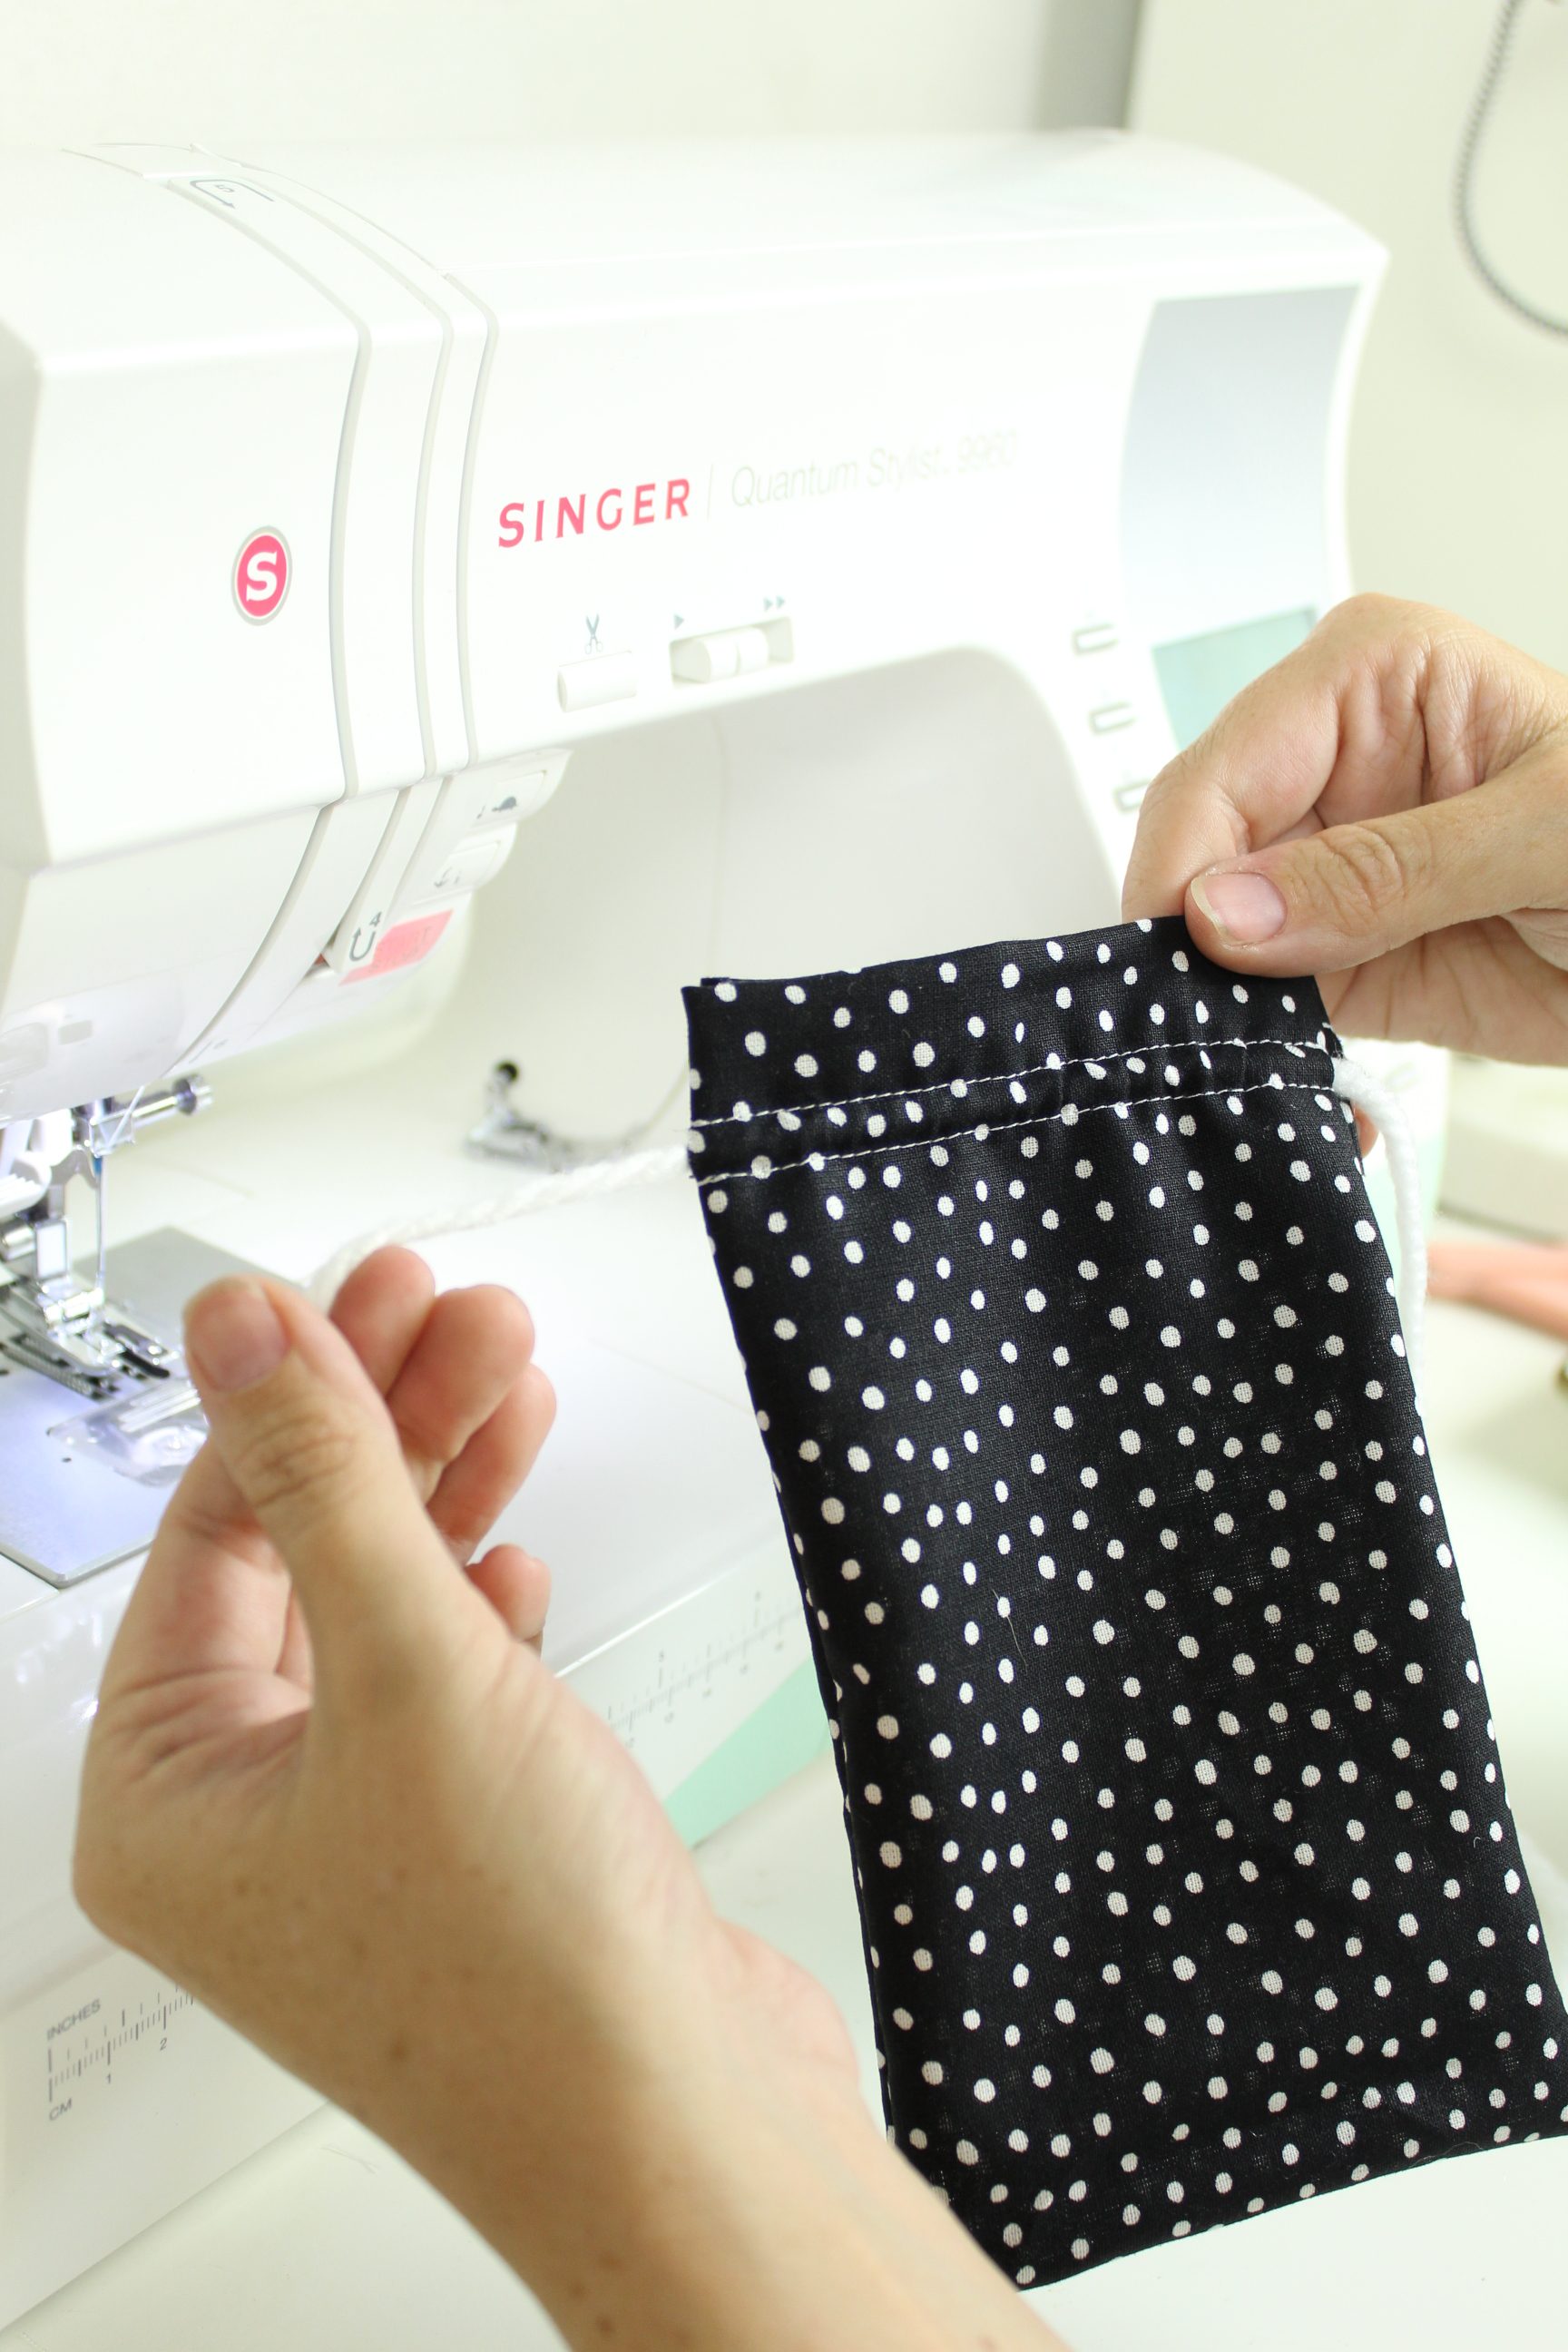
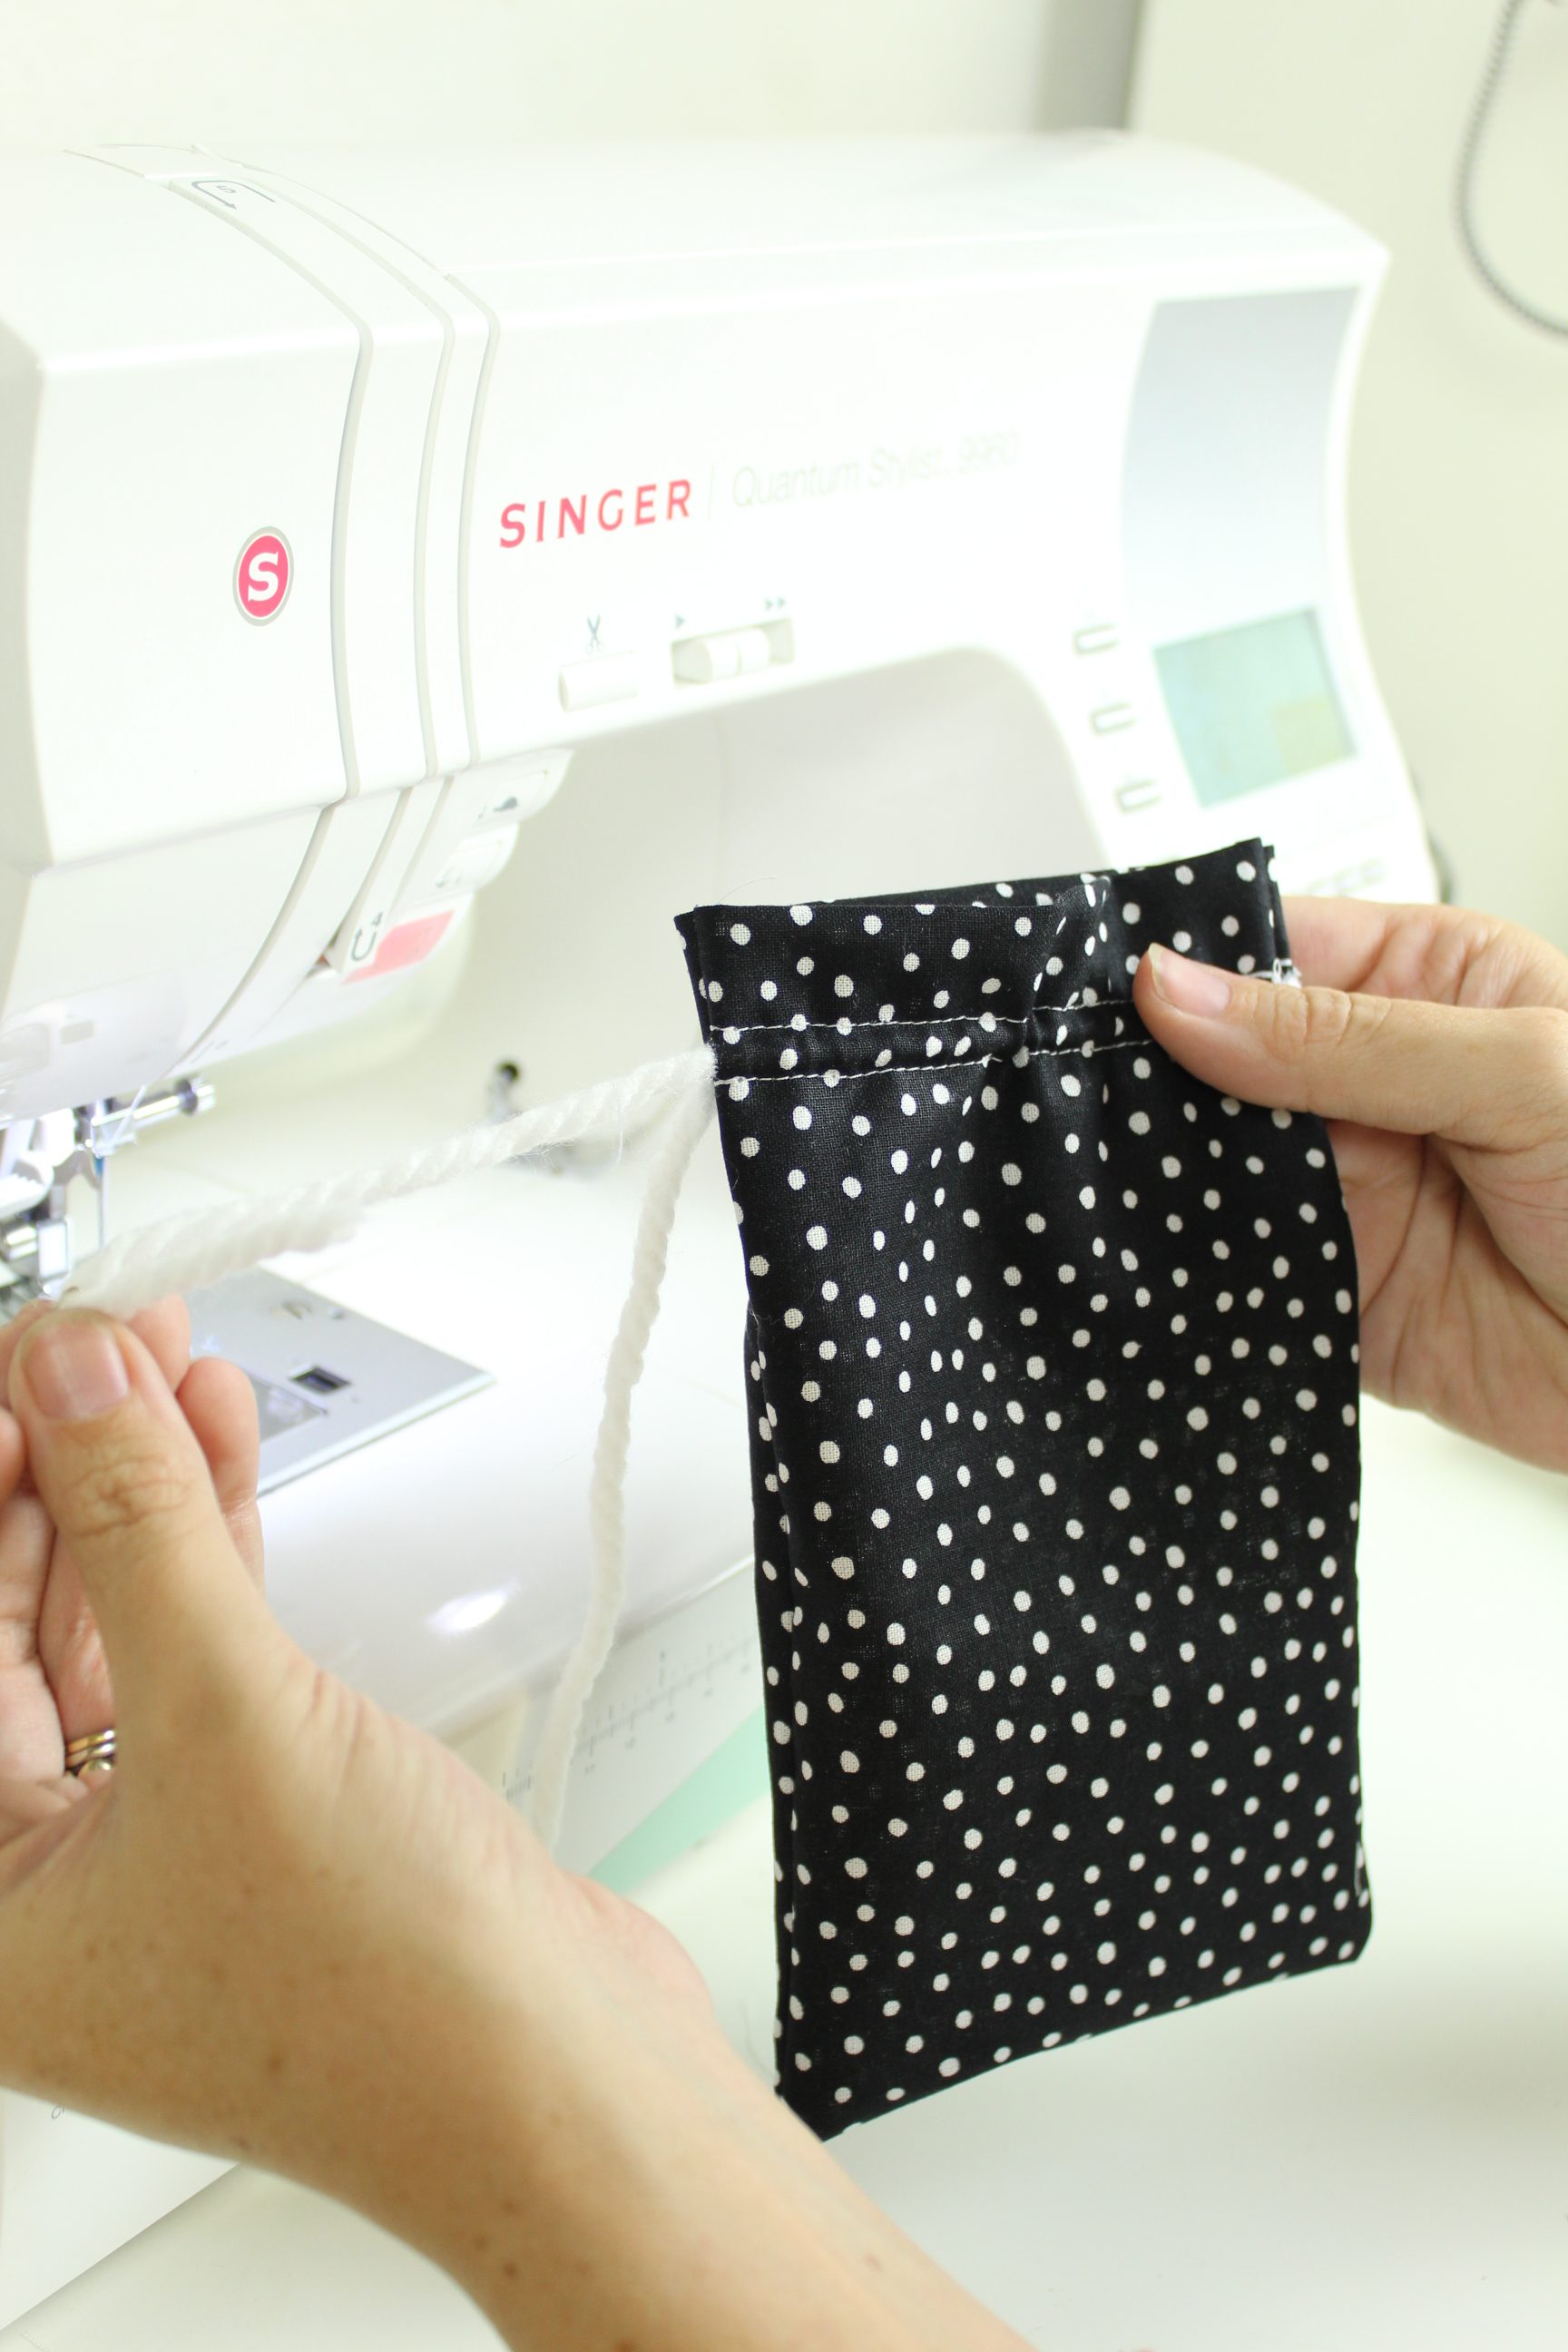
Now, repeat with your second piece of yarn, starting on the opposite side. Then knot it, and you’re done! You’ve made a drawstring bag!
Now that wasn’t so bad, right?
No Kids? No Problem!
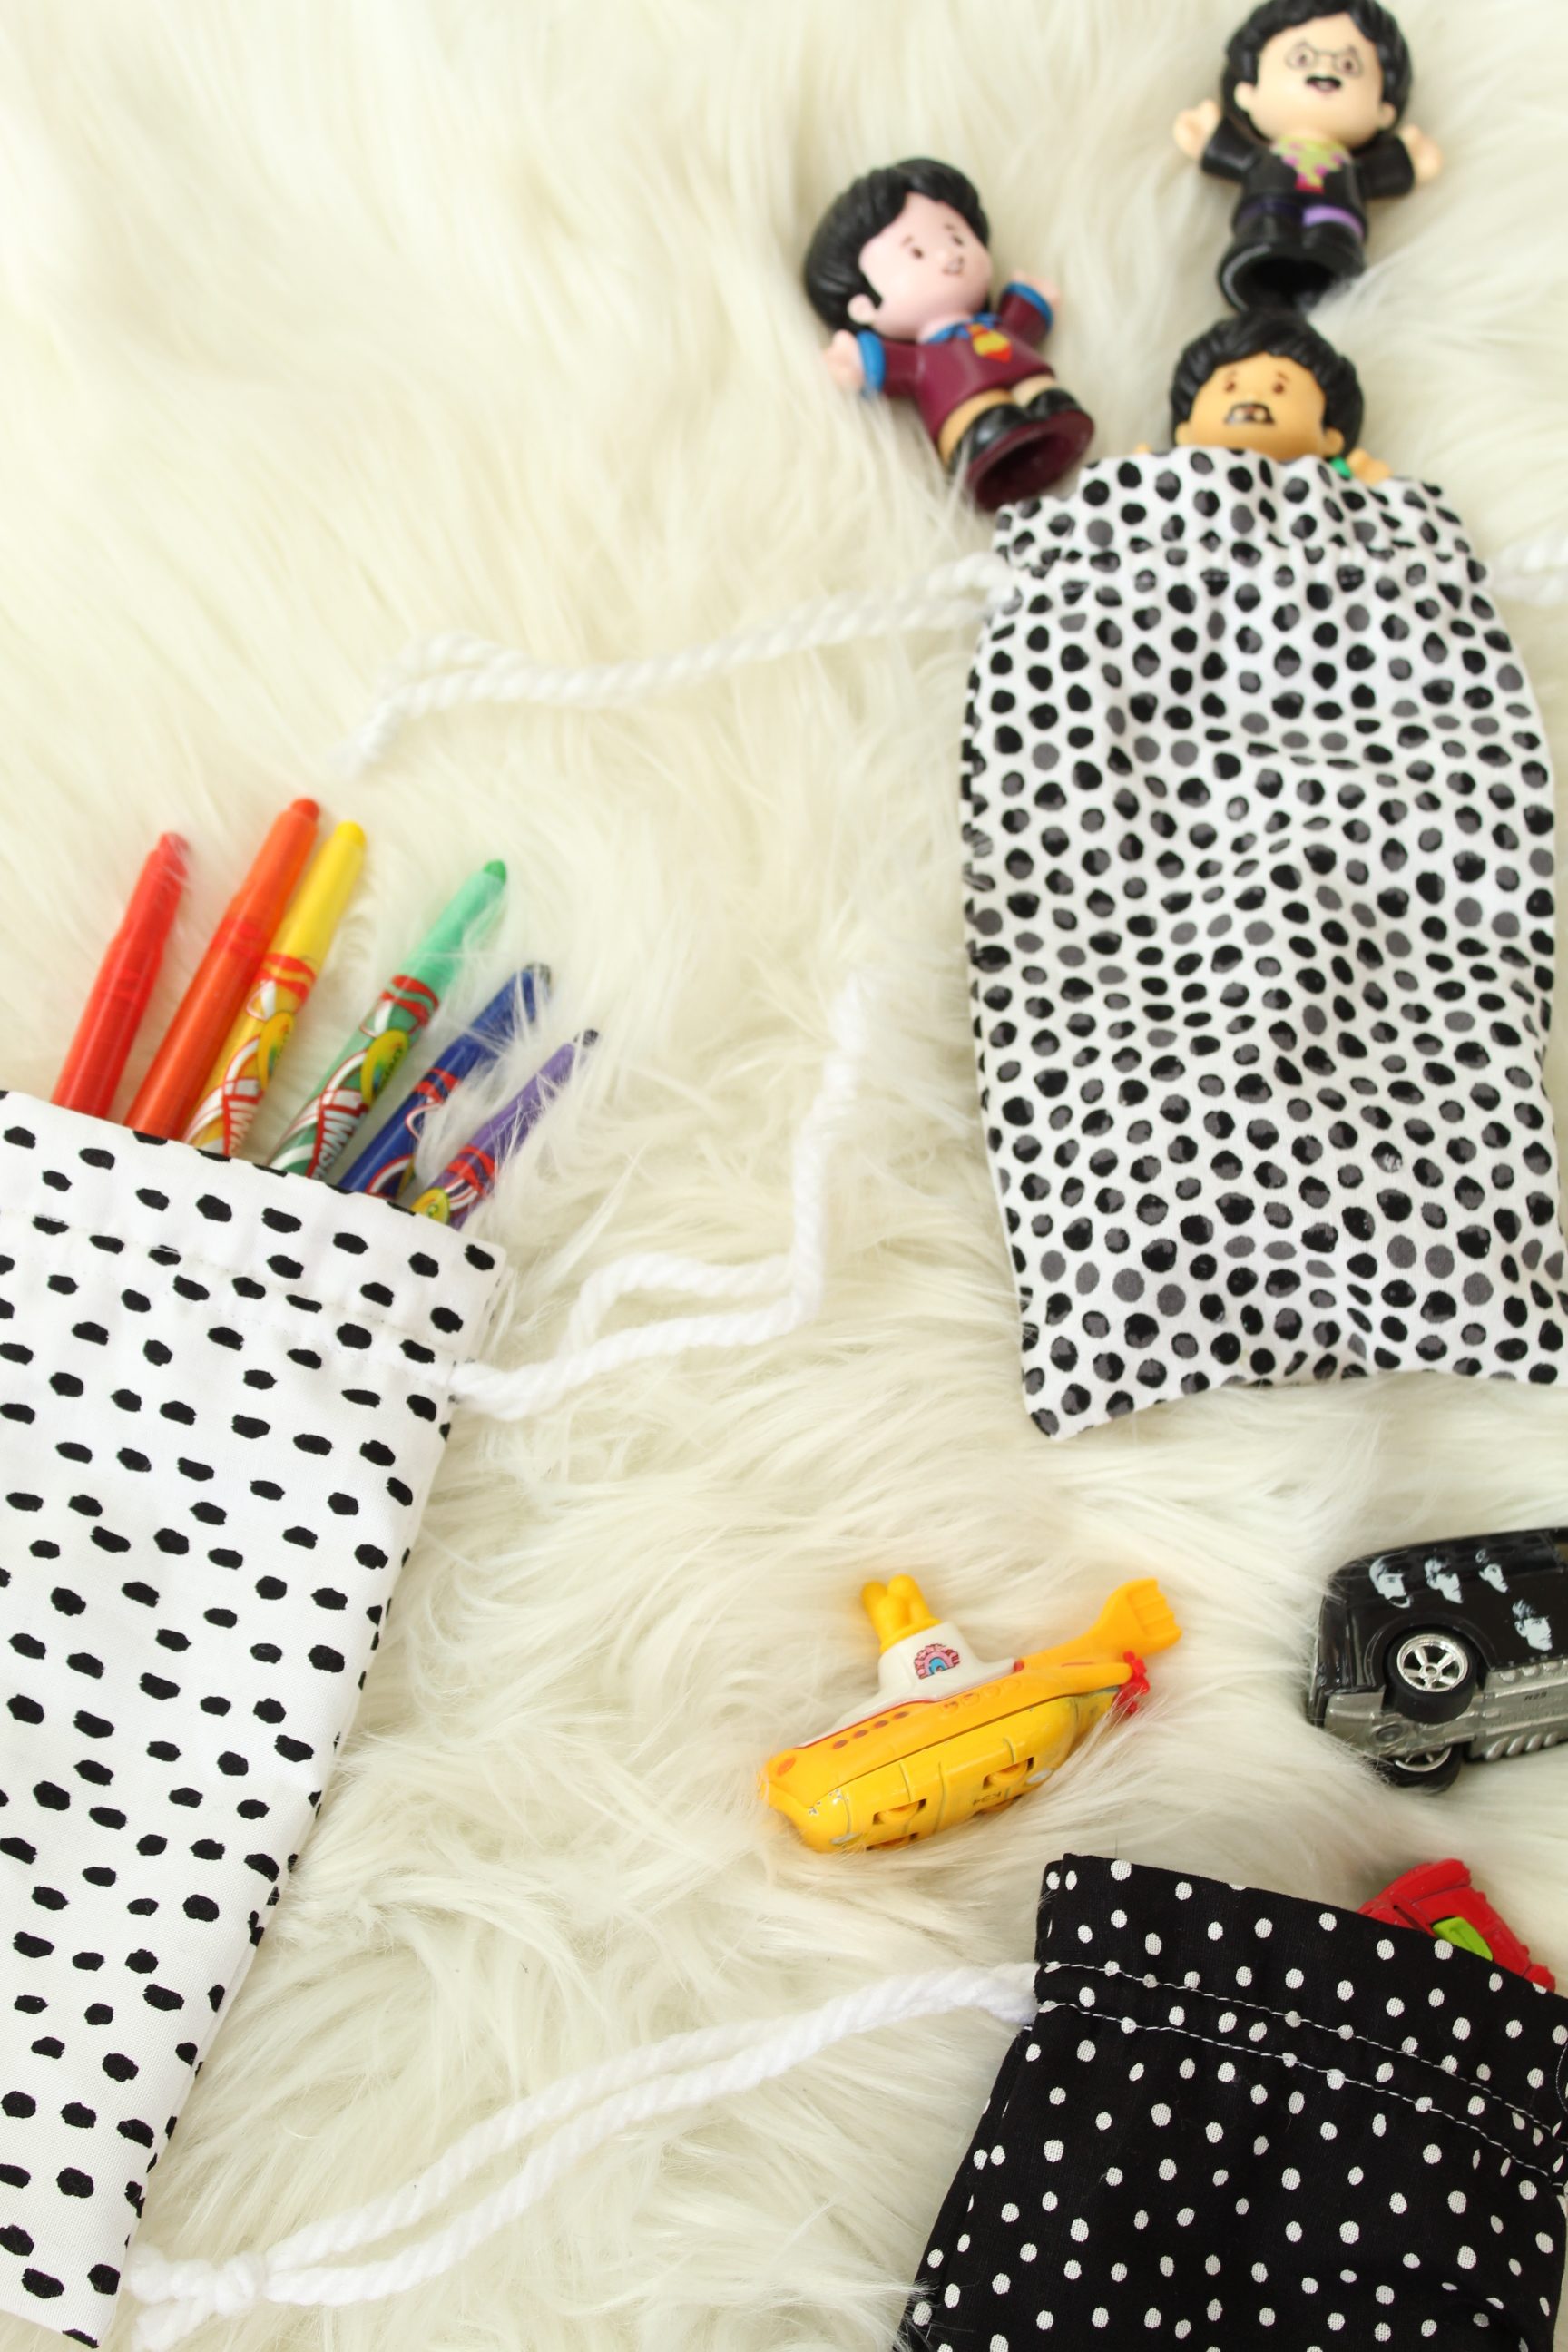
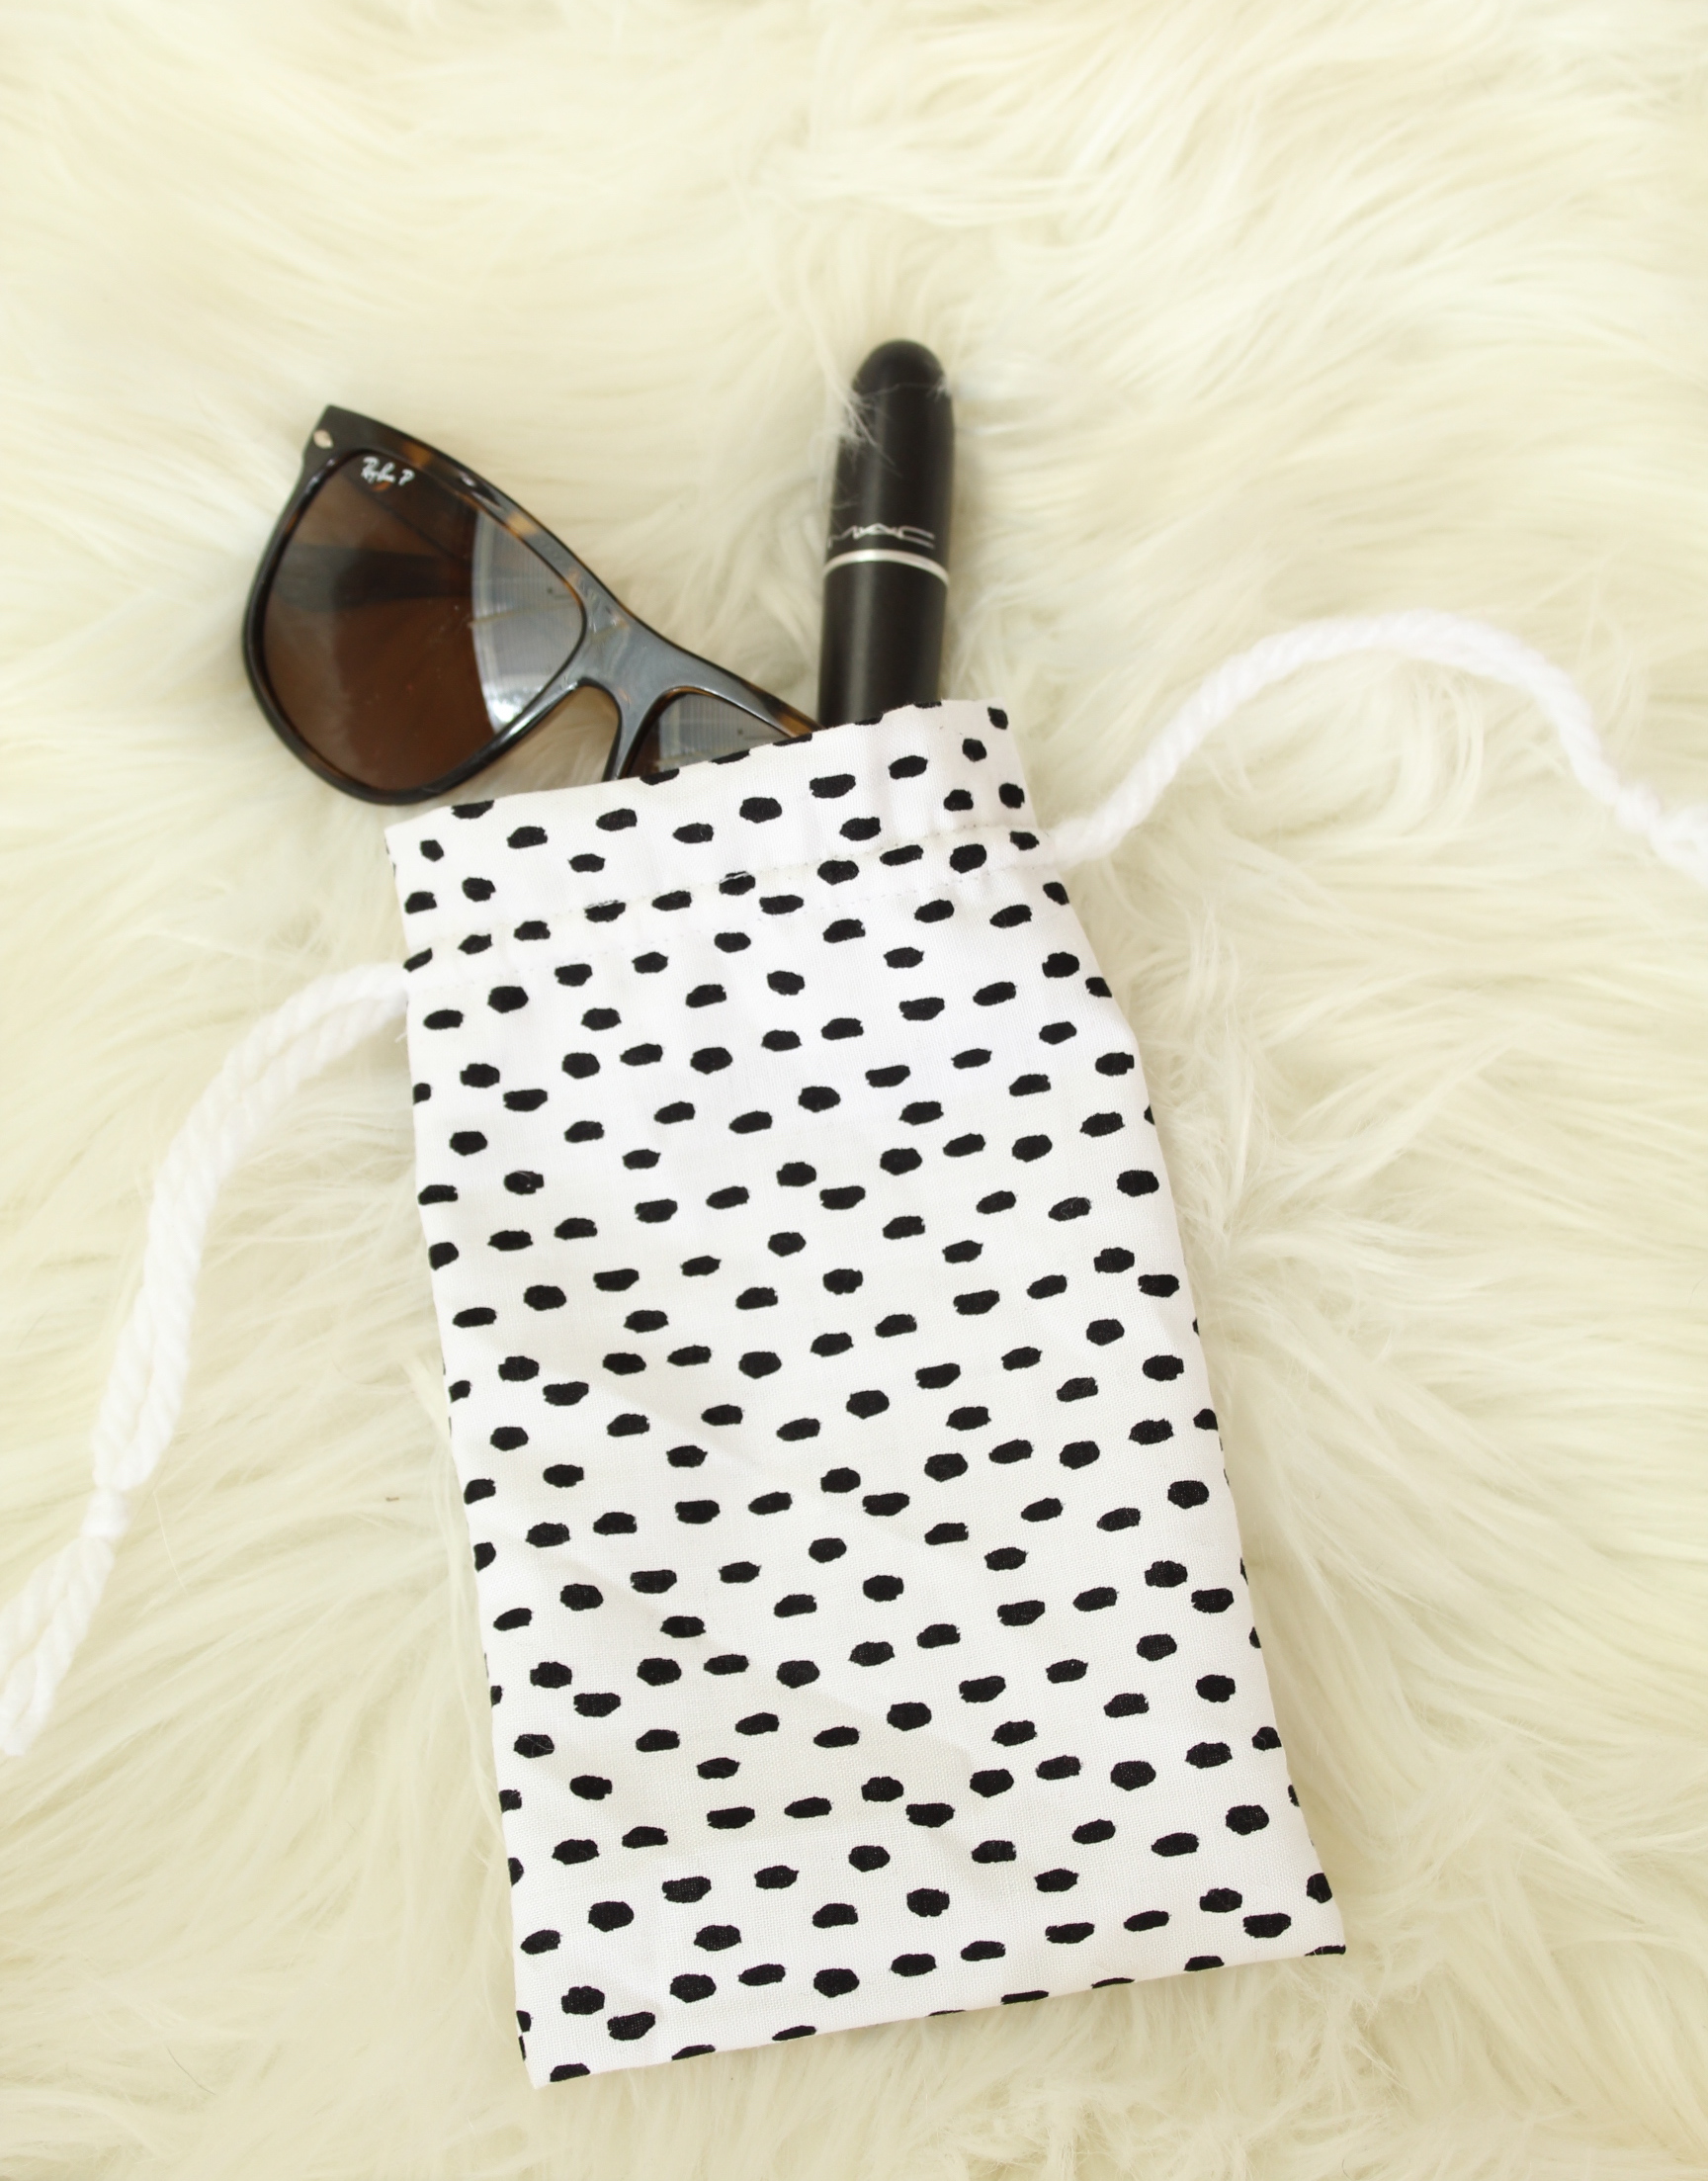
These bags are great for just about anything! I’ve used them to keep my sunglasses protected in my purse, I’ve used them as an eco friendly gift wrap option. The best part is, you could even modify the sizing to fit your needs if these bags are a little too small or a little too big for what you’d like to use them for. What you use them for for and what you put in them is totally up to you!
If you create one of our projects, please share a picture with us on Instagram or Twitter using the hashtag #somethingturquoisediy, we regularly reshare our favorites! Your profile will need to be public for us to see it otherwise, you can always DM us!
DIY Tutorial Credits
Photography + DIY Tutorial: Shea O’Quinn of Not So Cli-Shea // Fabric & Thread- JoAnn // Rotary Cutter // Ruler // Yarn // Small Safety Pin // Small Scissors // Sewing Machine // Beatles Little People Toys // Beatles Cars- Gifted similar options // Twist Crayons
Shop The Supplies:
Find the supplies you’ll need for this project from our affiliate links below:


Comments