
How To Make An Adorable Kids Keepsake Box
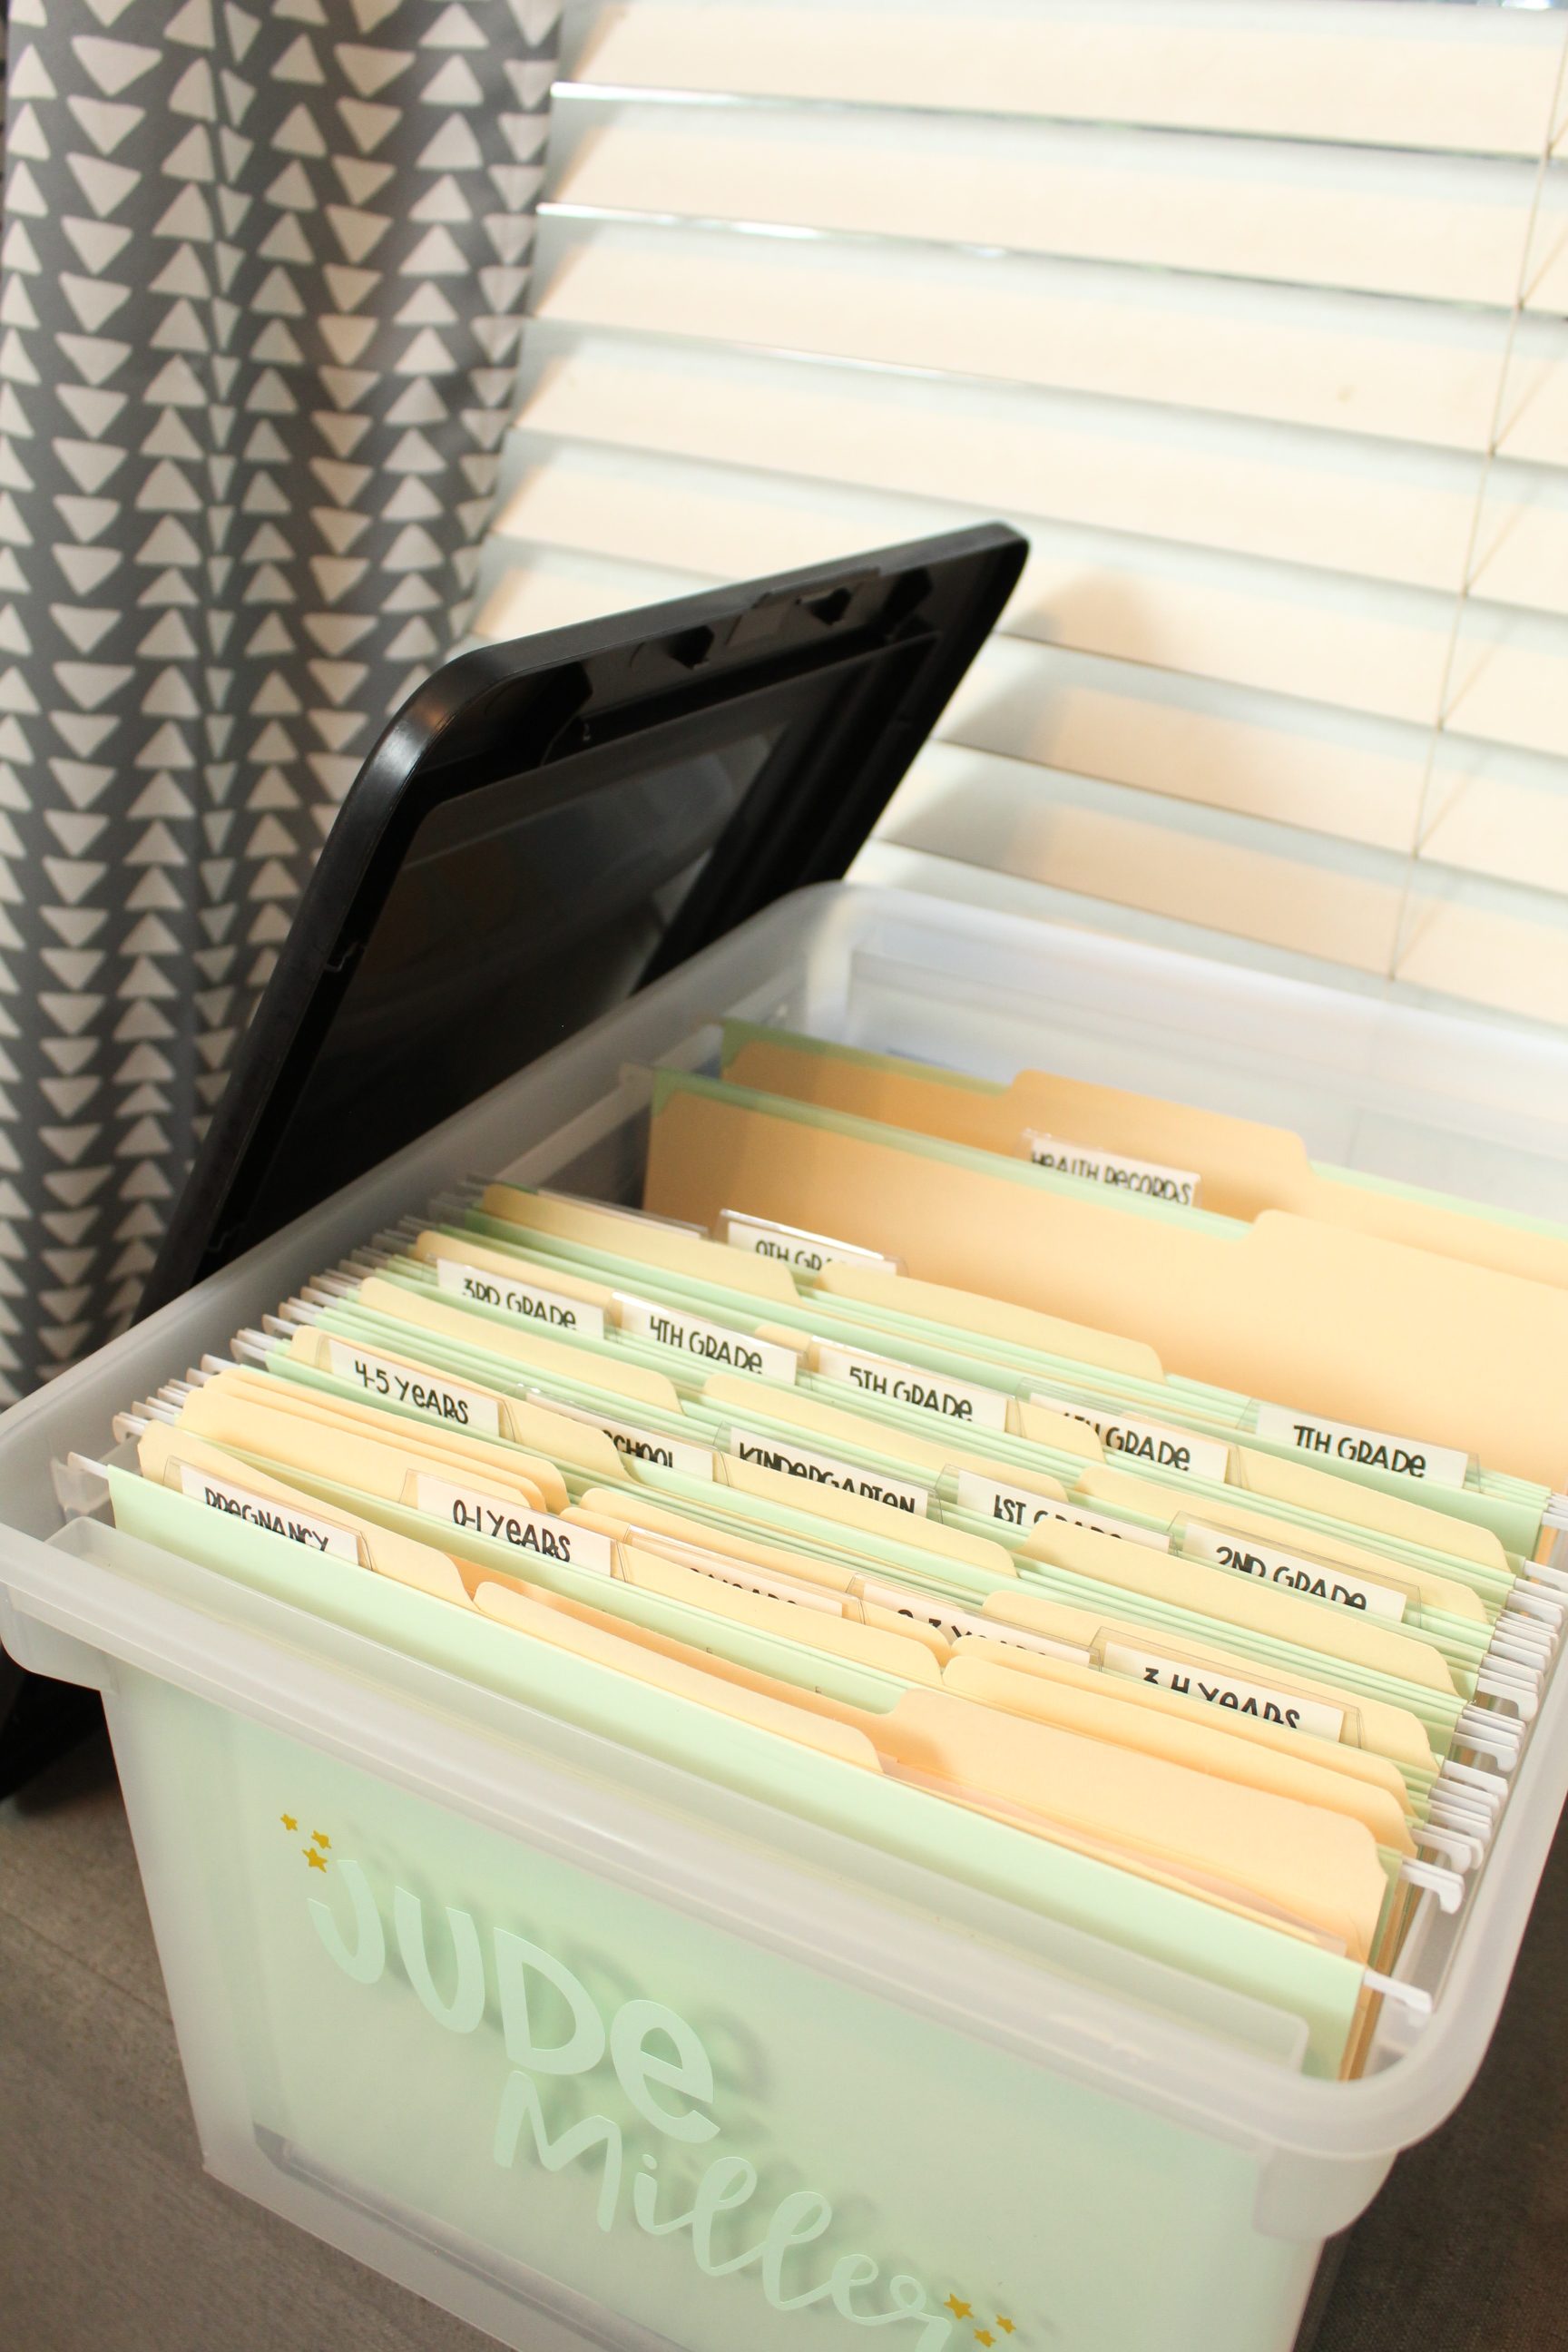
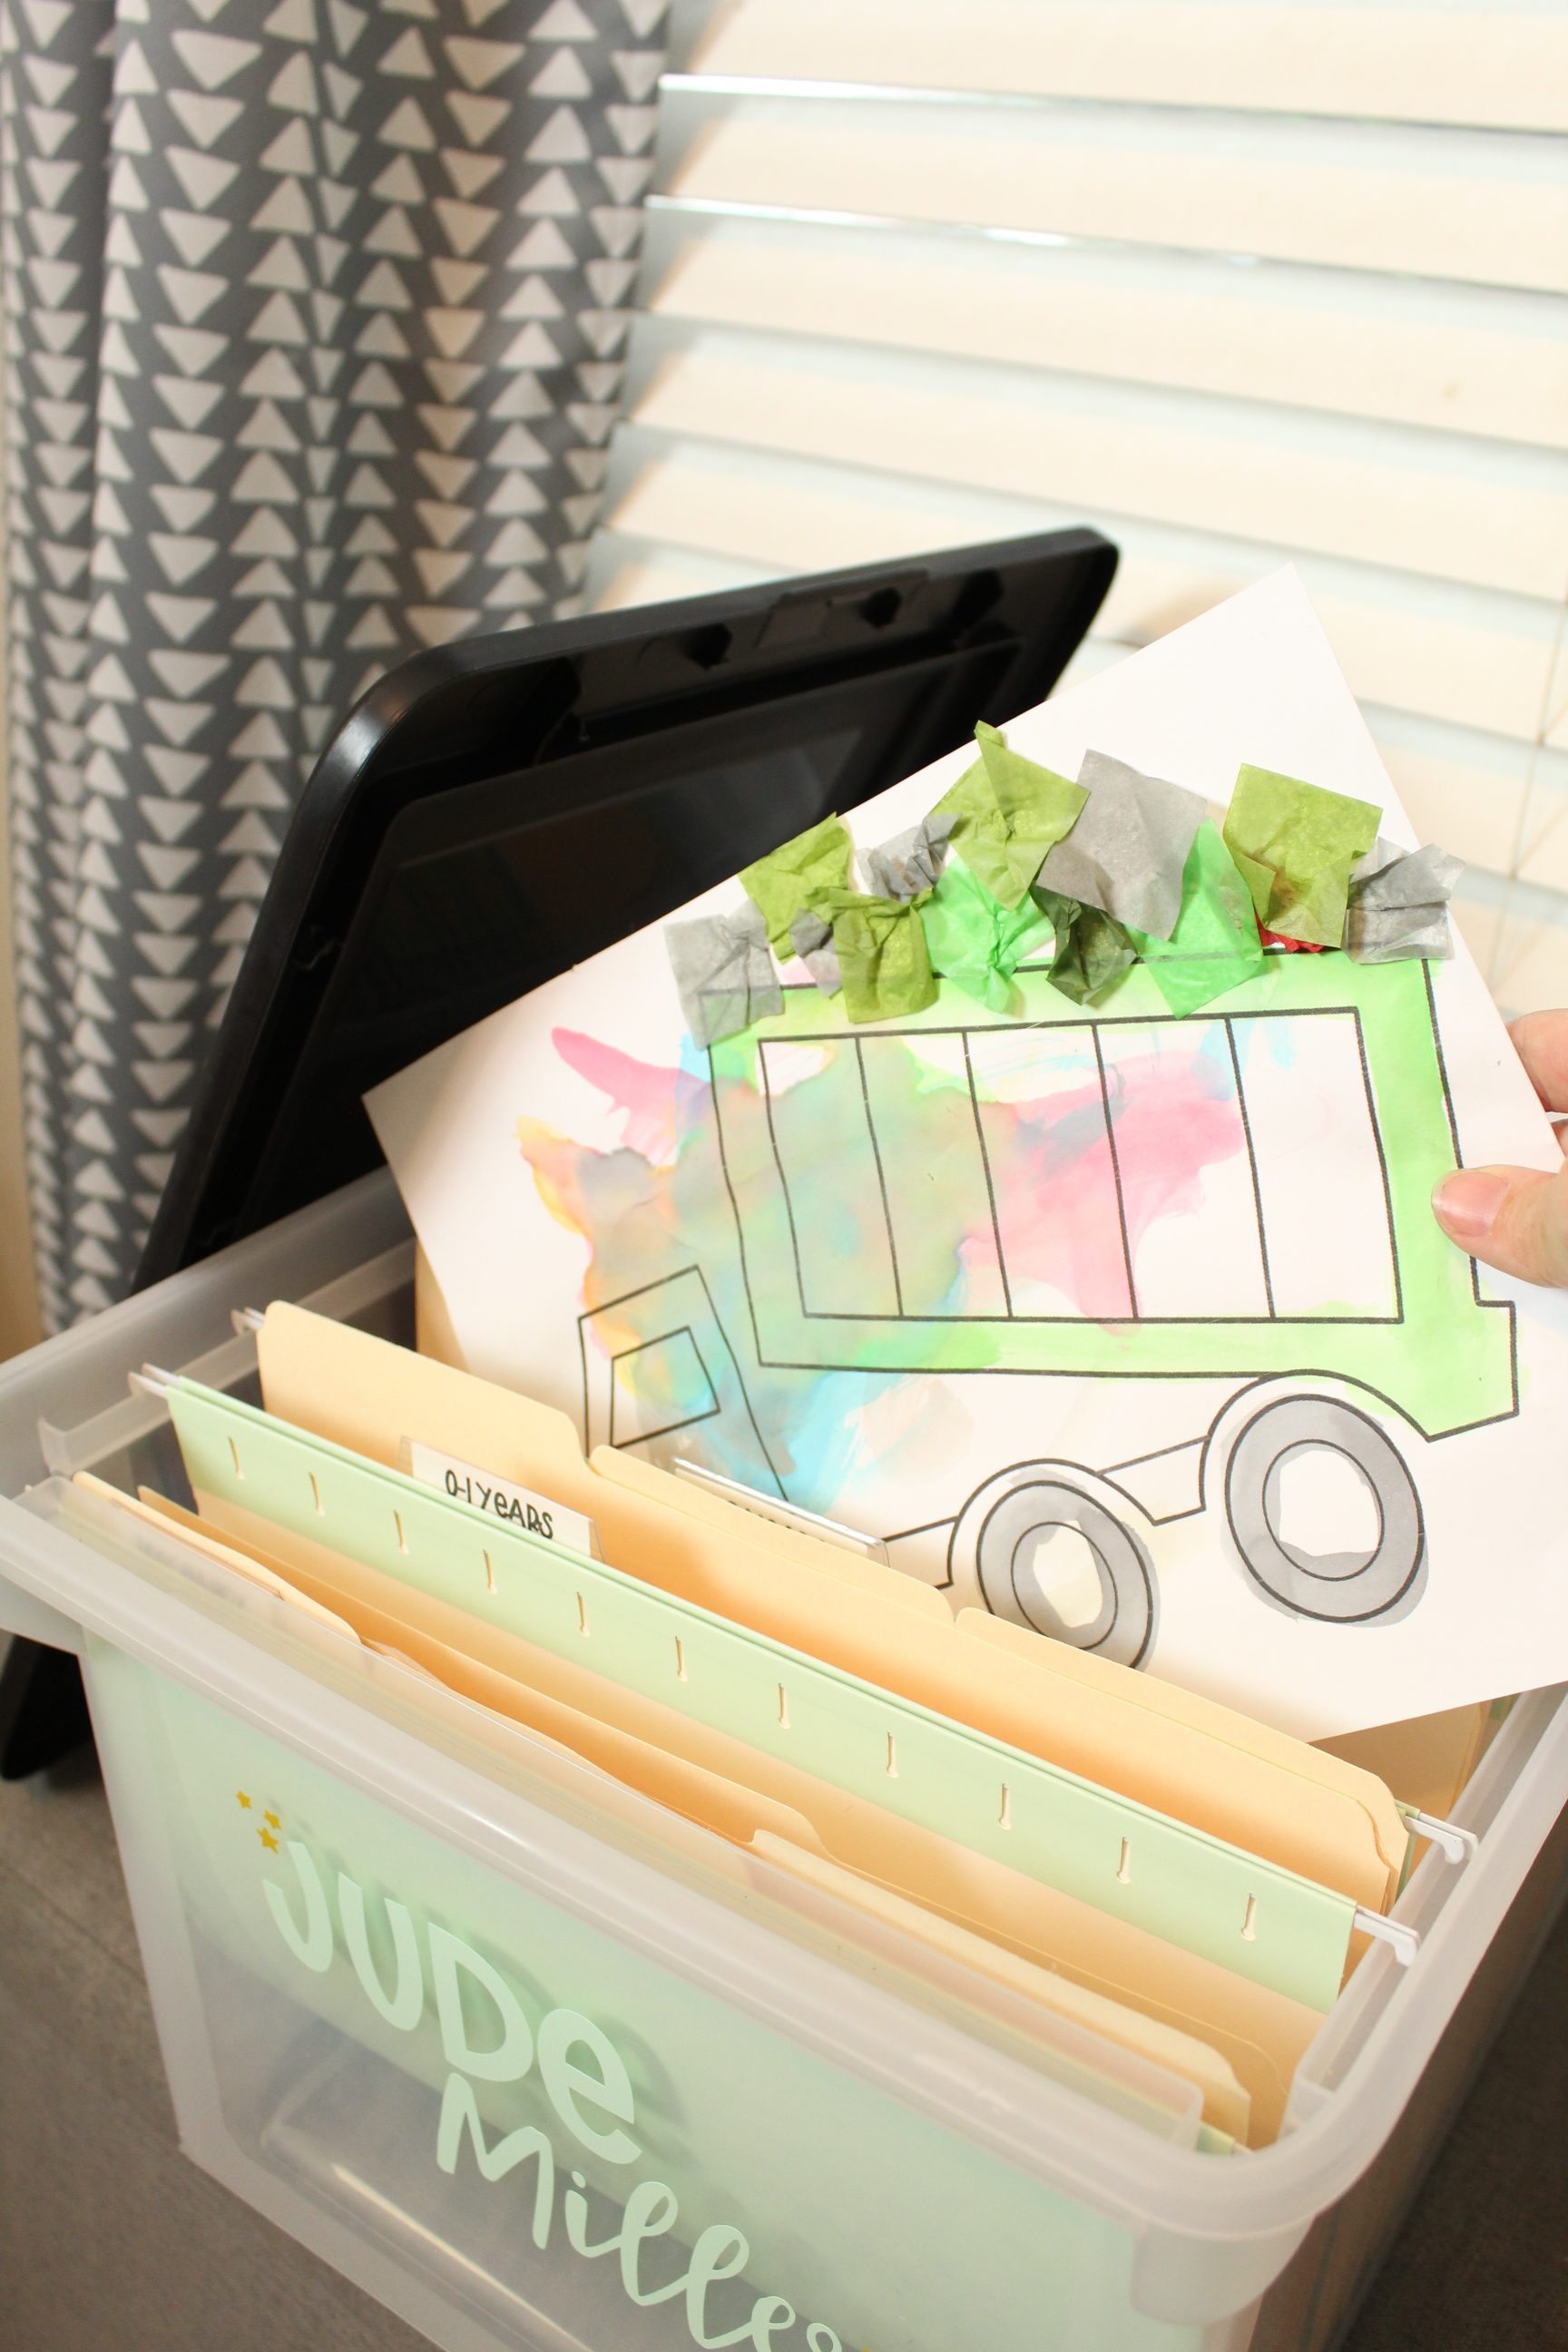
Hi friends! Shea here, back with a DIY that I’ve been wanting to do literally since my son was born (over two years ago!), and now that I’m finally doing it, I thought some of you crafty mama’s might want to do it as well. Having kids means having SO. MUCH. STUFF. The clothes, the toys, the snacks. Hopefully, you find a place for all of those things to live but what about all the paperwork? There is a drawer in my sons dresser where all of it has been accumulating, waiting for me to finally get around to this project. So now not only do I have everything organized neatly in one space, but I also have a cleared out drawer! A double win! So let’s get into it, shall we?

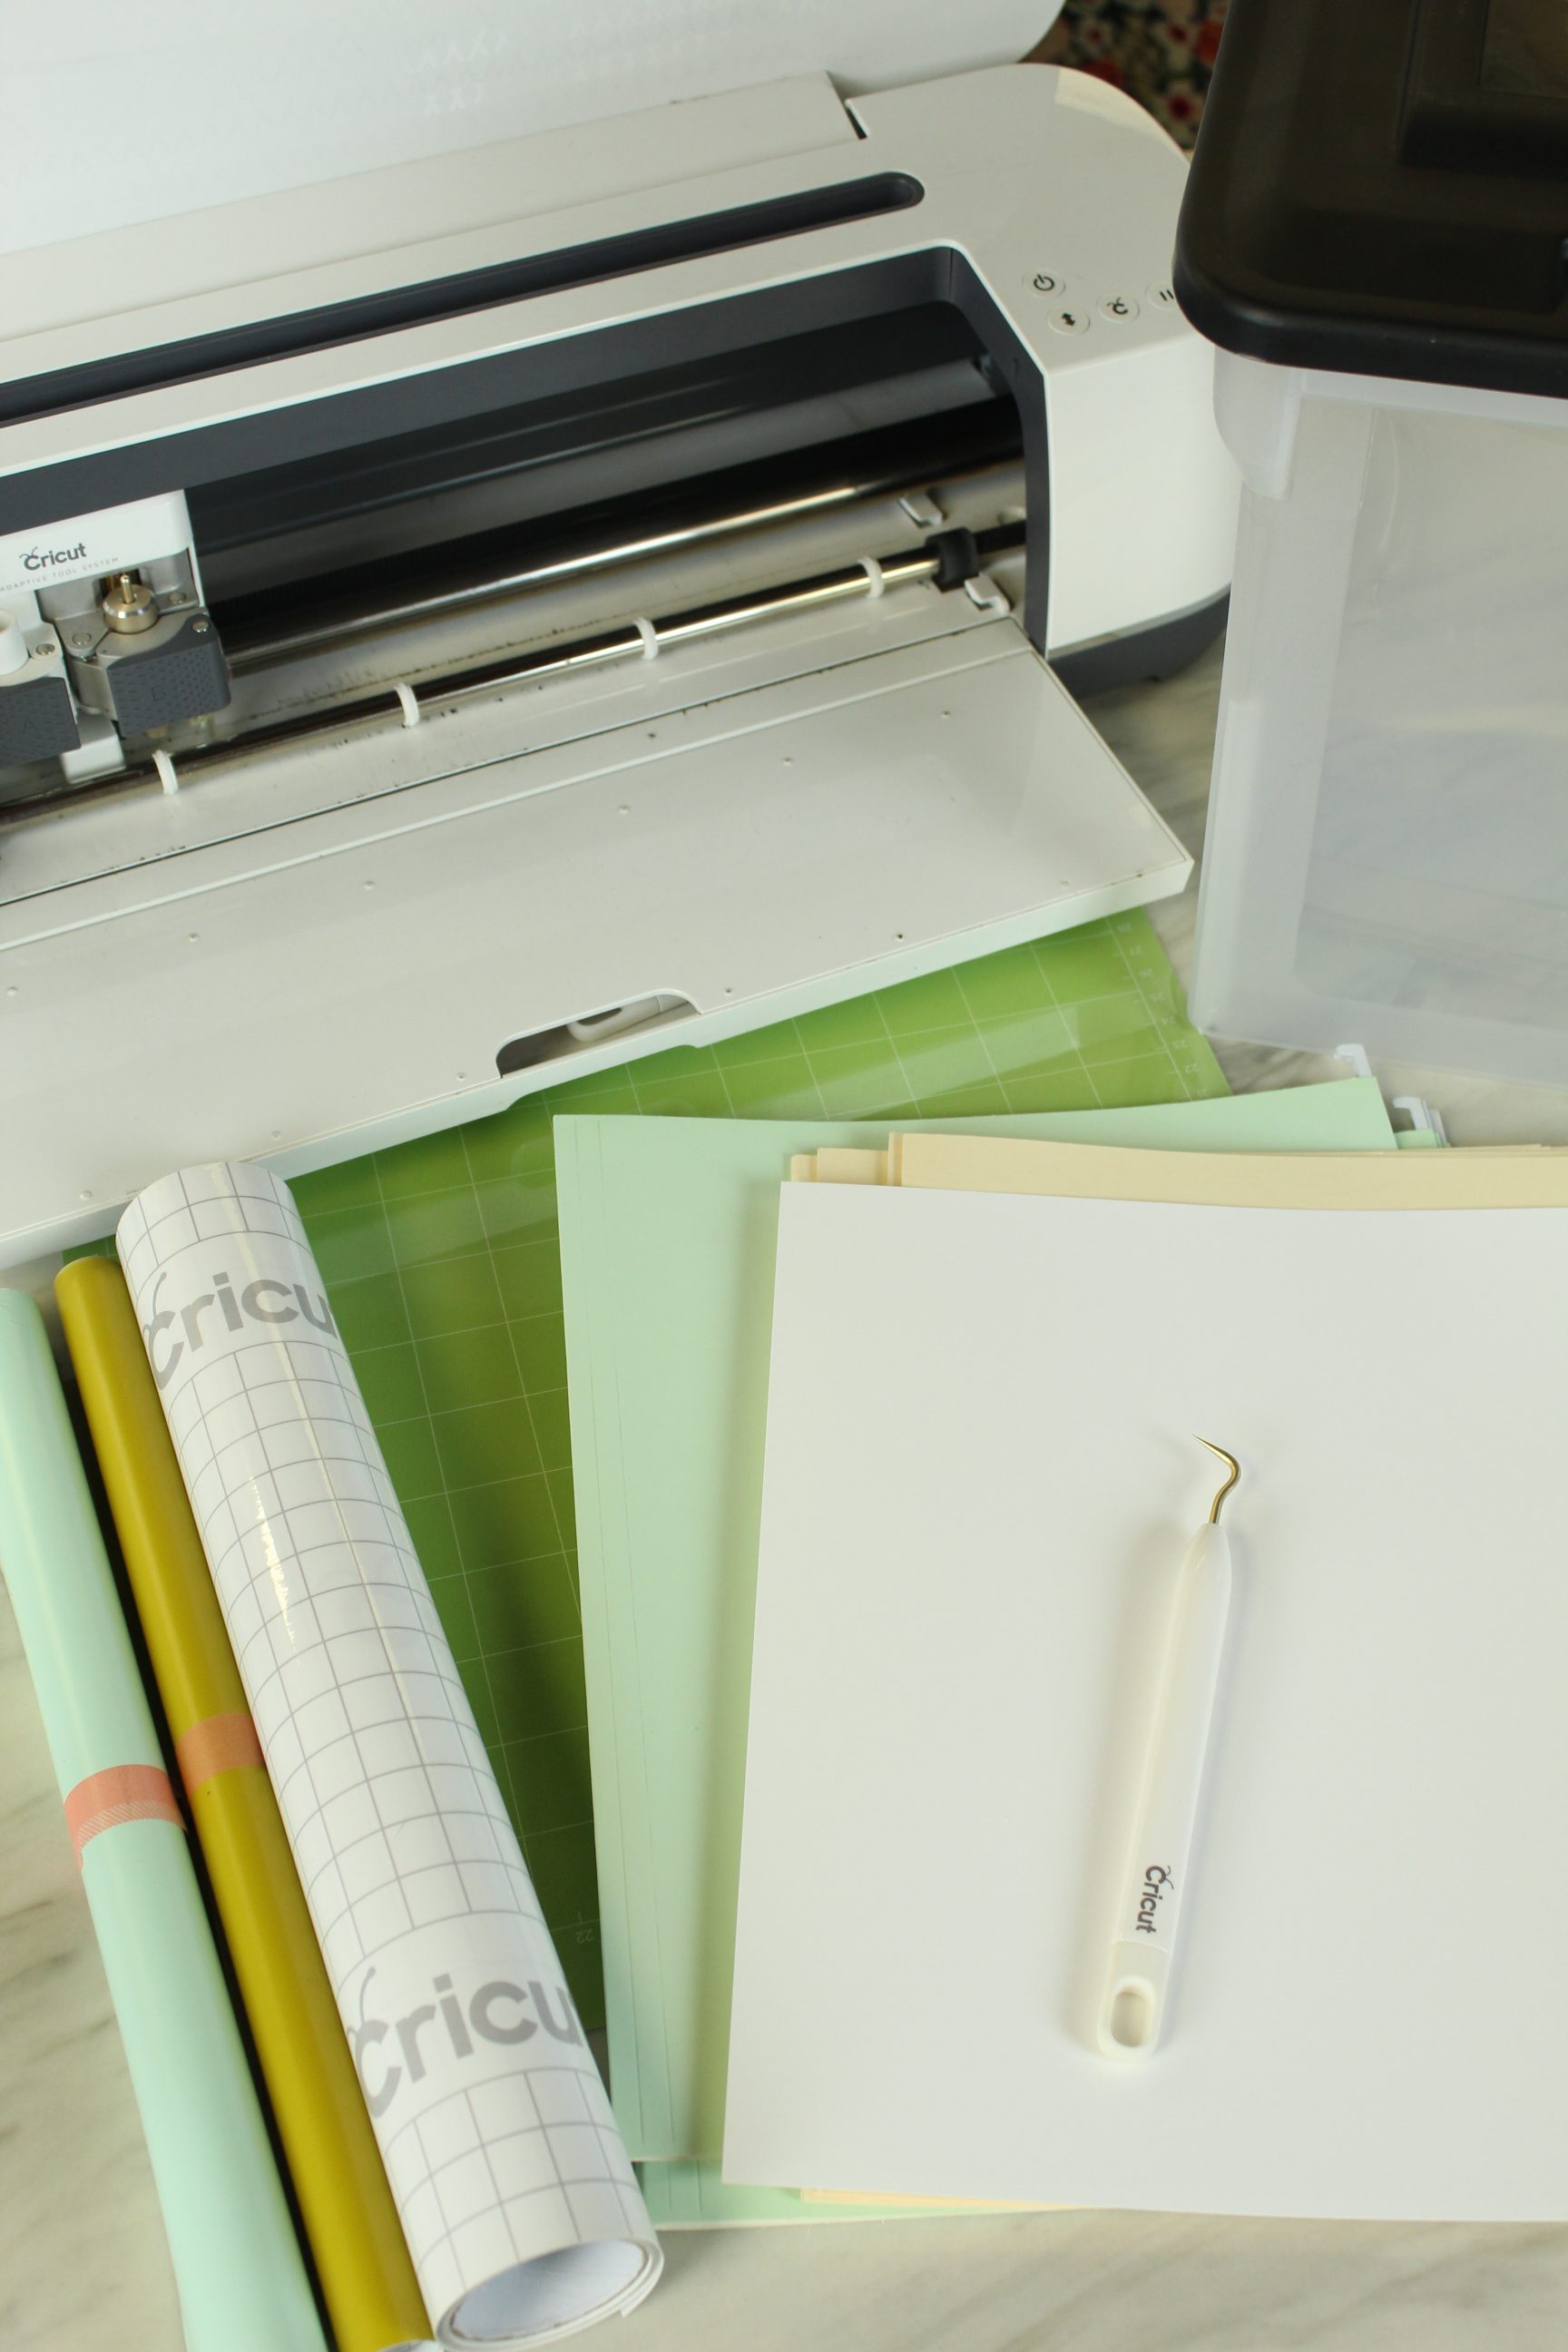
Supplies:
- Cricut Machine
- Cricut Mat
- Cricut Vinyl in your choice of colors
- Cricut Transfer Tape
- Cricut Weeding Tool
- Cricut Scraper Tool
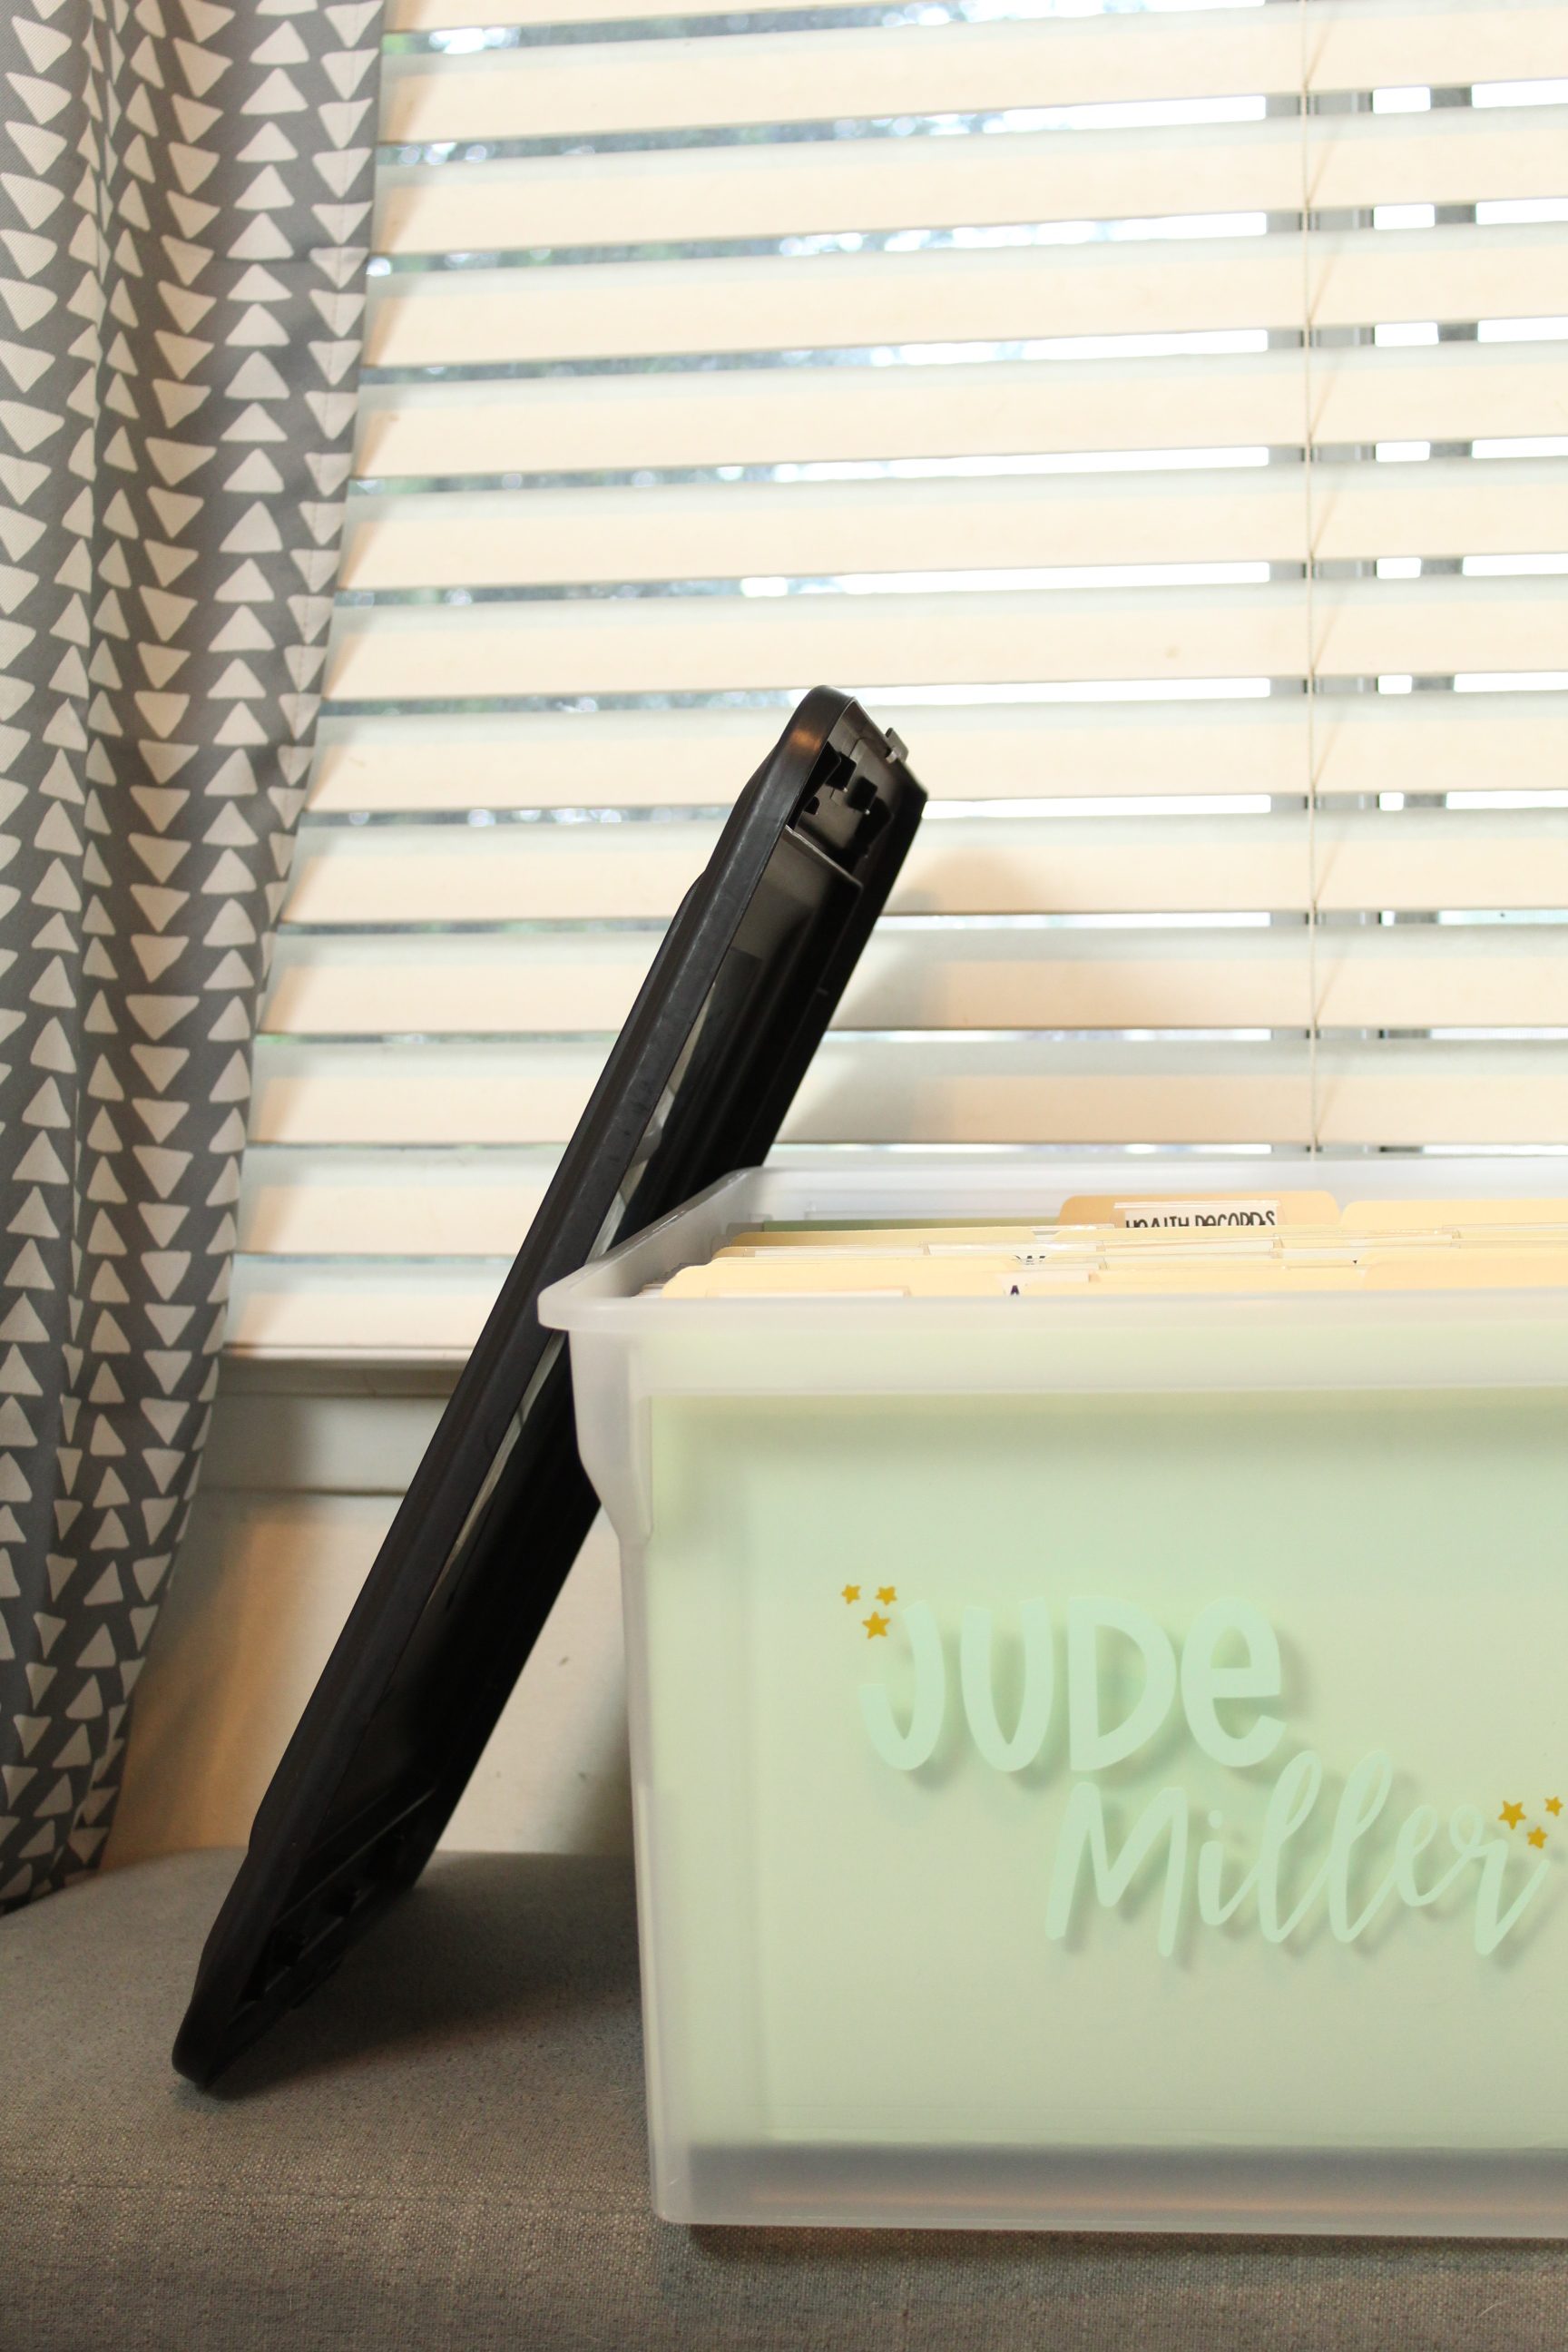
- Hanging File Folder Tote
- Hanging File Folders
- White Paper
- Printer (Not Pictured)
- Our Design Space File
Open Design Space
One of the best parts of this project is that most of the work has already been done for you! All you have to do is put your child’s name! I added some stars around my sons name but you can really do anything you’d like… a cute floral wreath, a mermaid, a baseball, whatever your kid may be into, or keep it simple with just their name, totally up to you! (Click HERE for the Design Space file.)
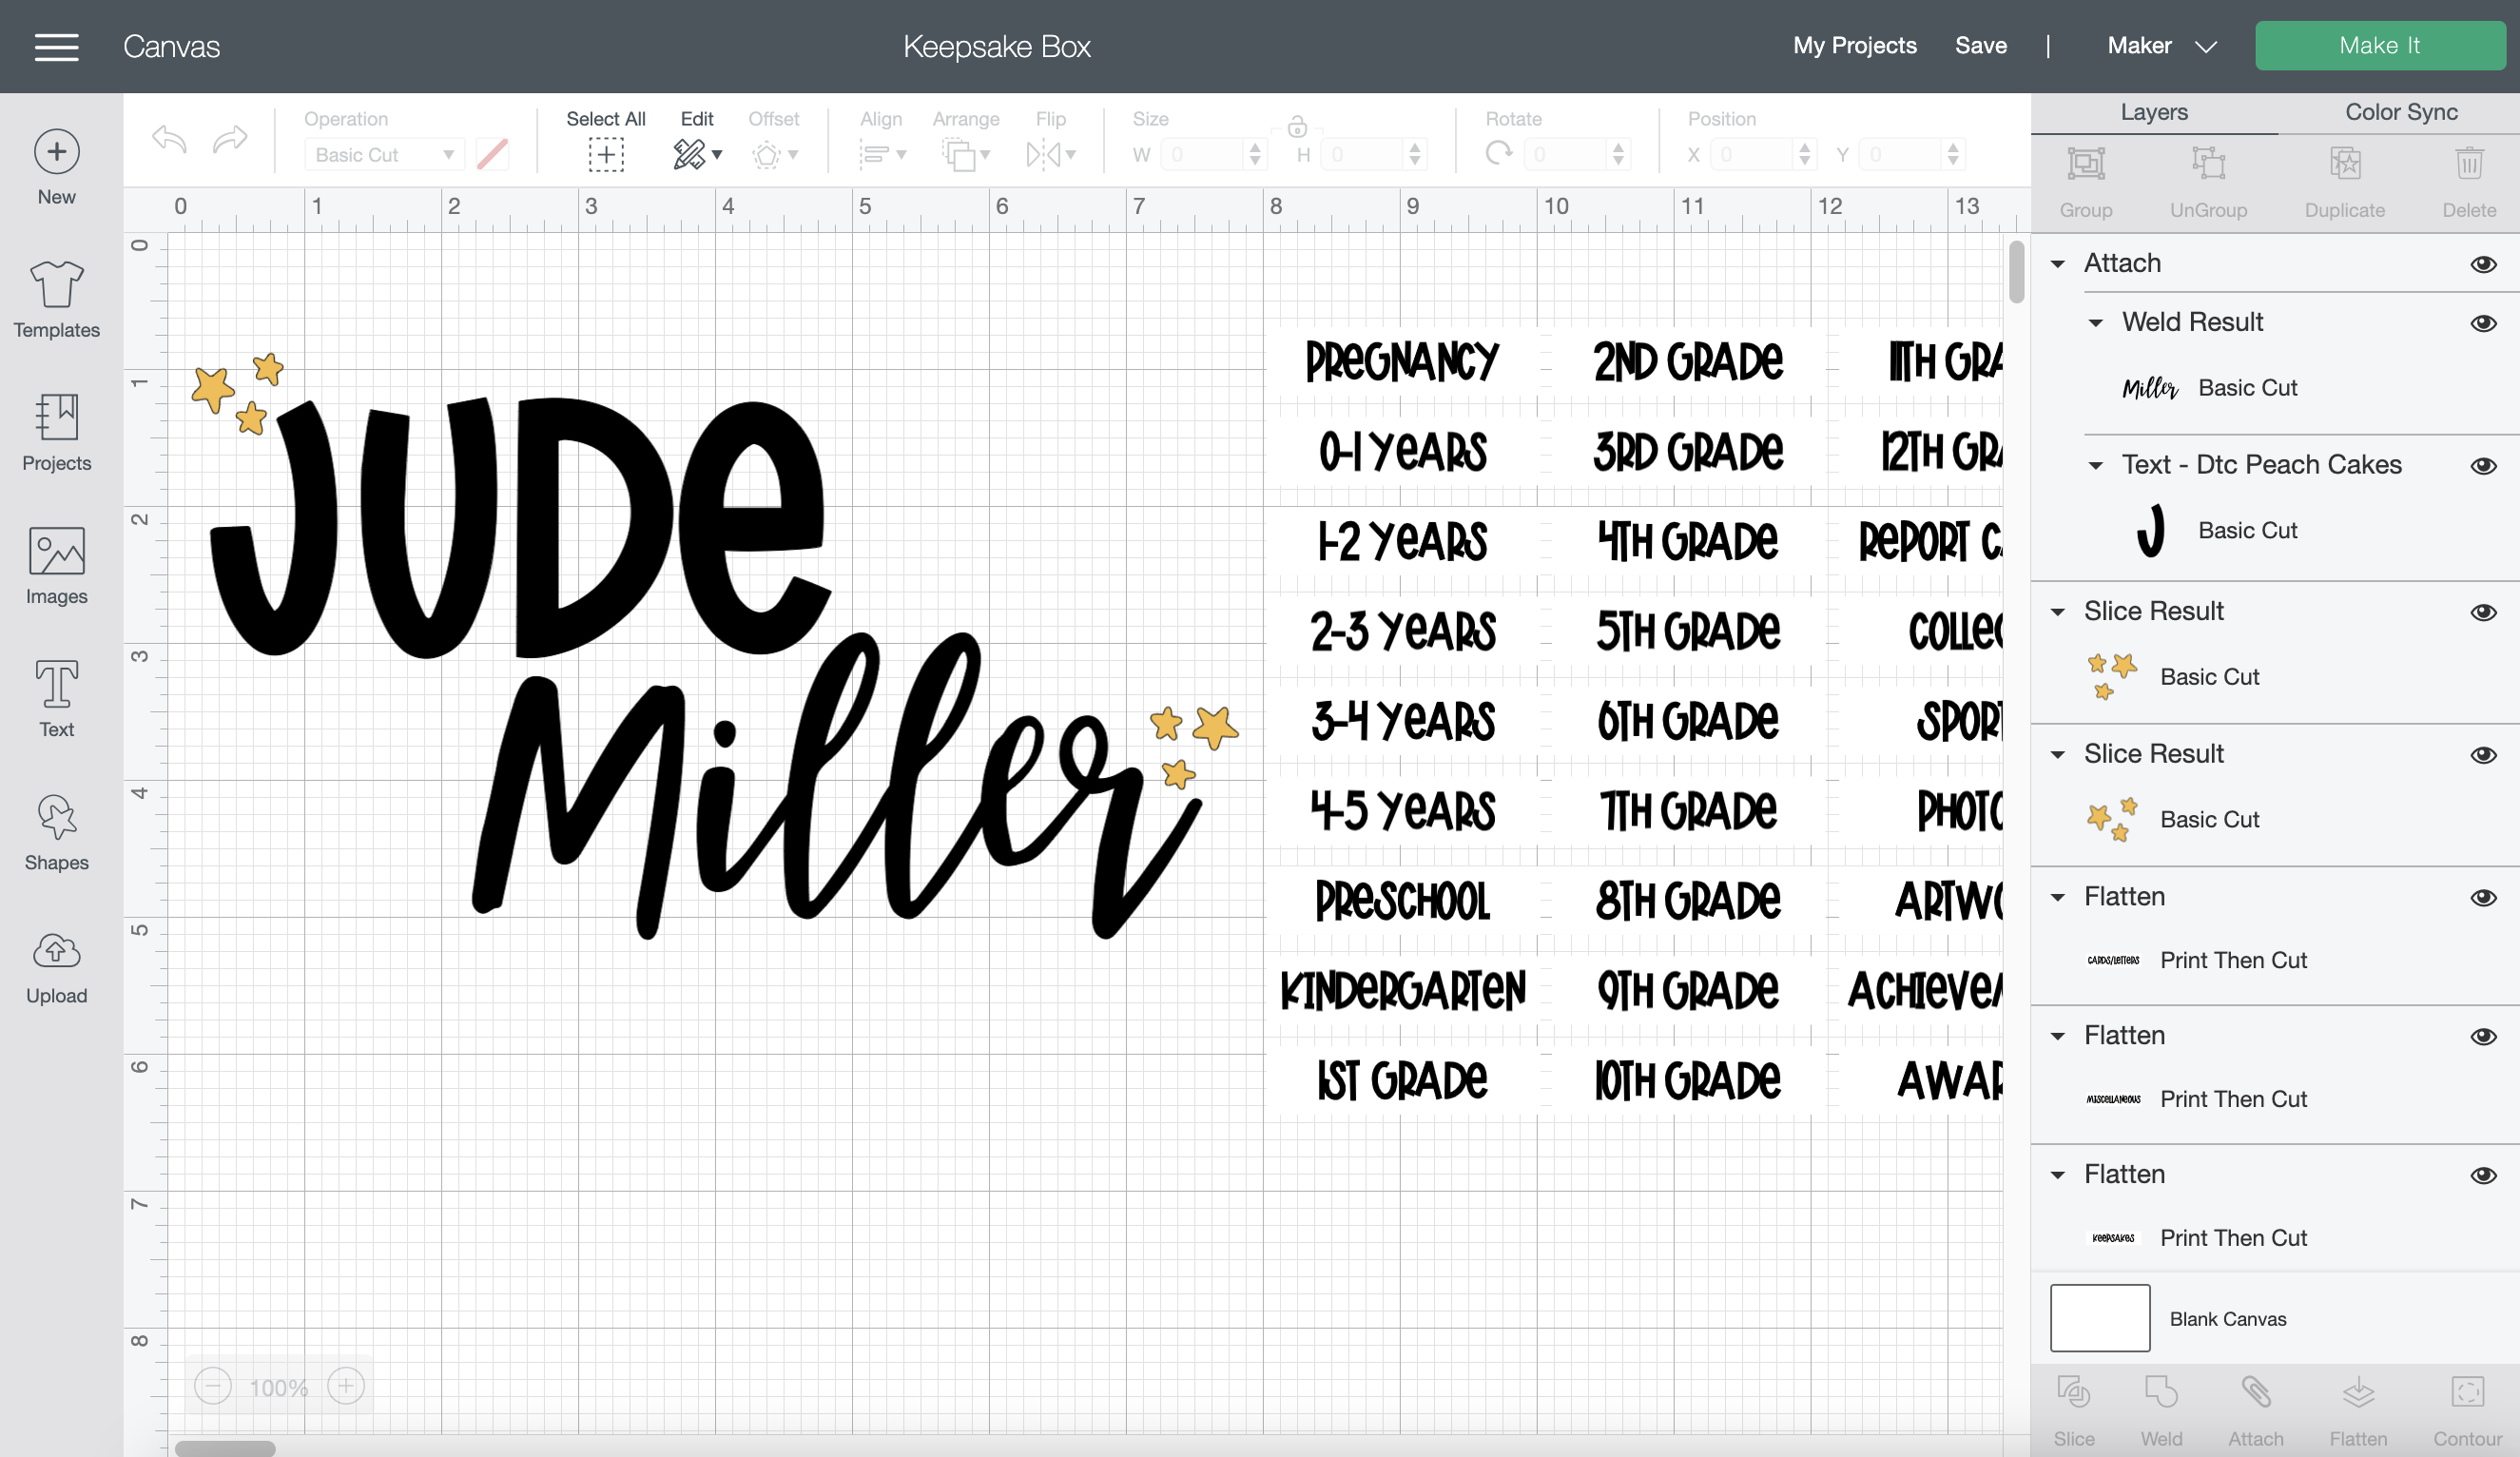
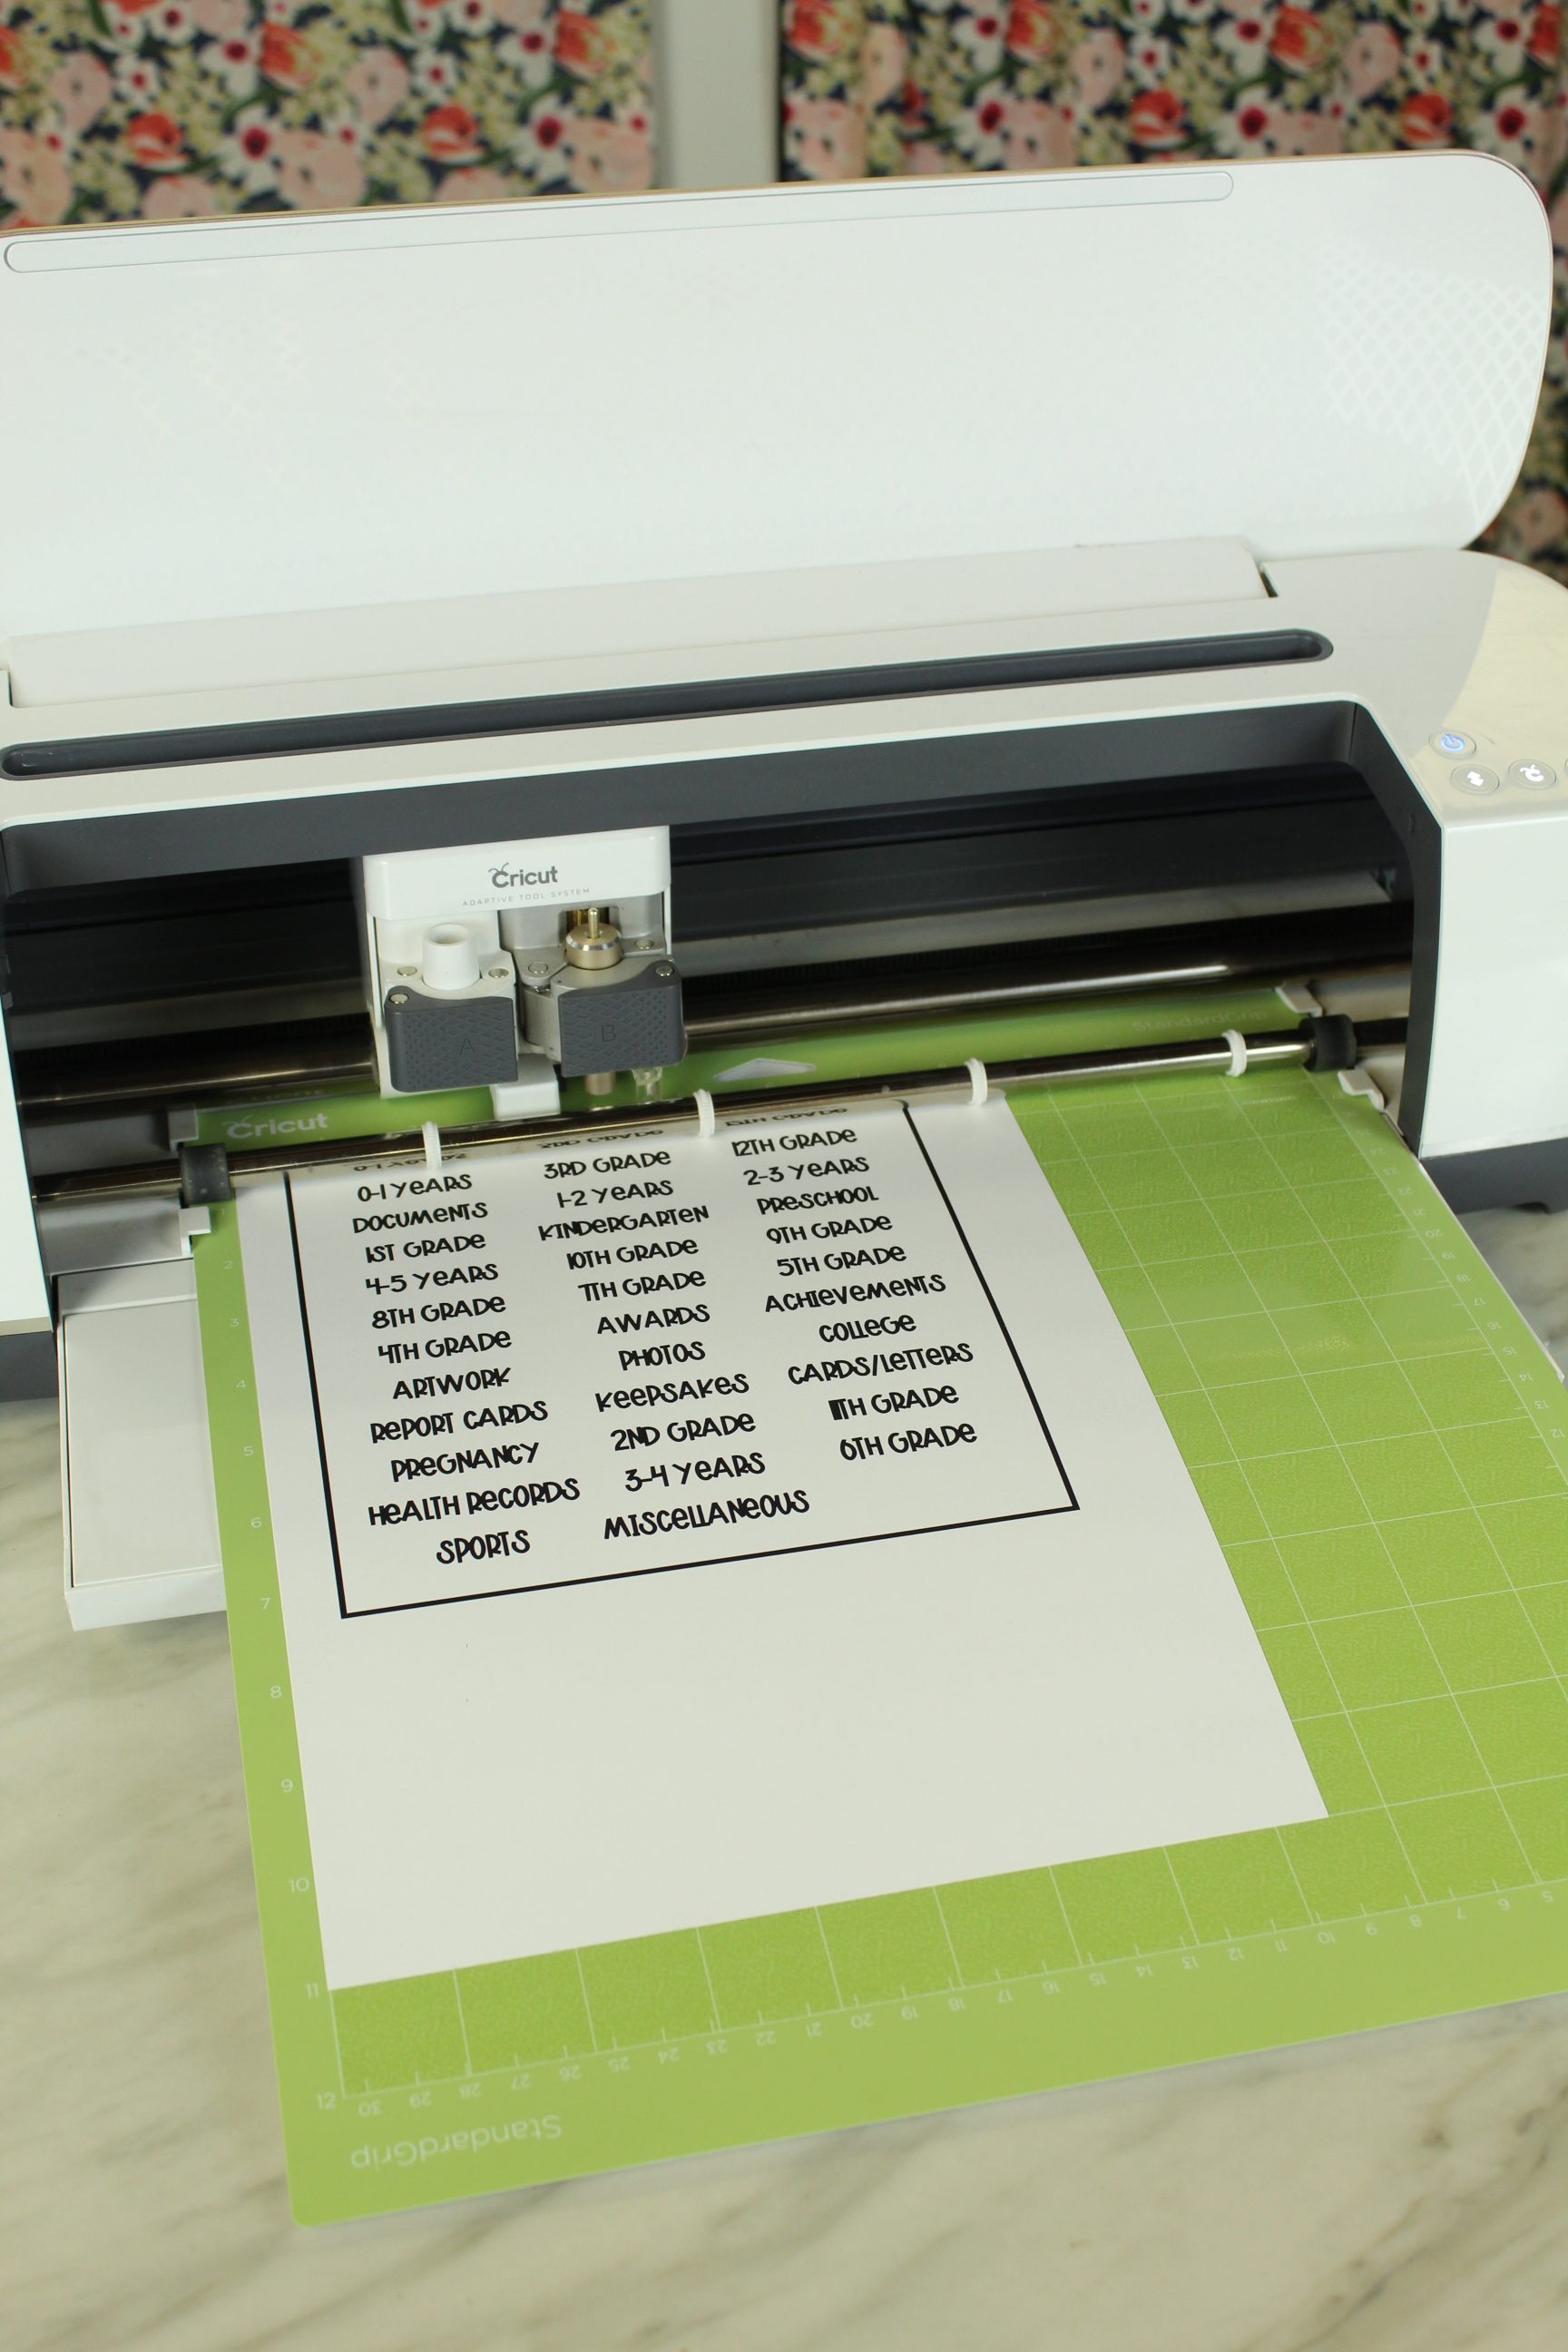
Print out the tabs when prompted in Design Space. Because they are simple black and white text using the default print settings should be just fine. You’ll want to use a cardstock for this for a more professional look but also so that your get the best cut you can from your Cricut. Cutting a standard copy paper wouldn’t give you the greatest end result.
Cut Your Design
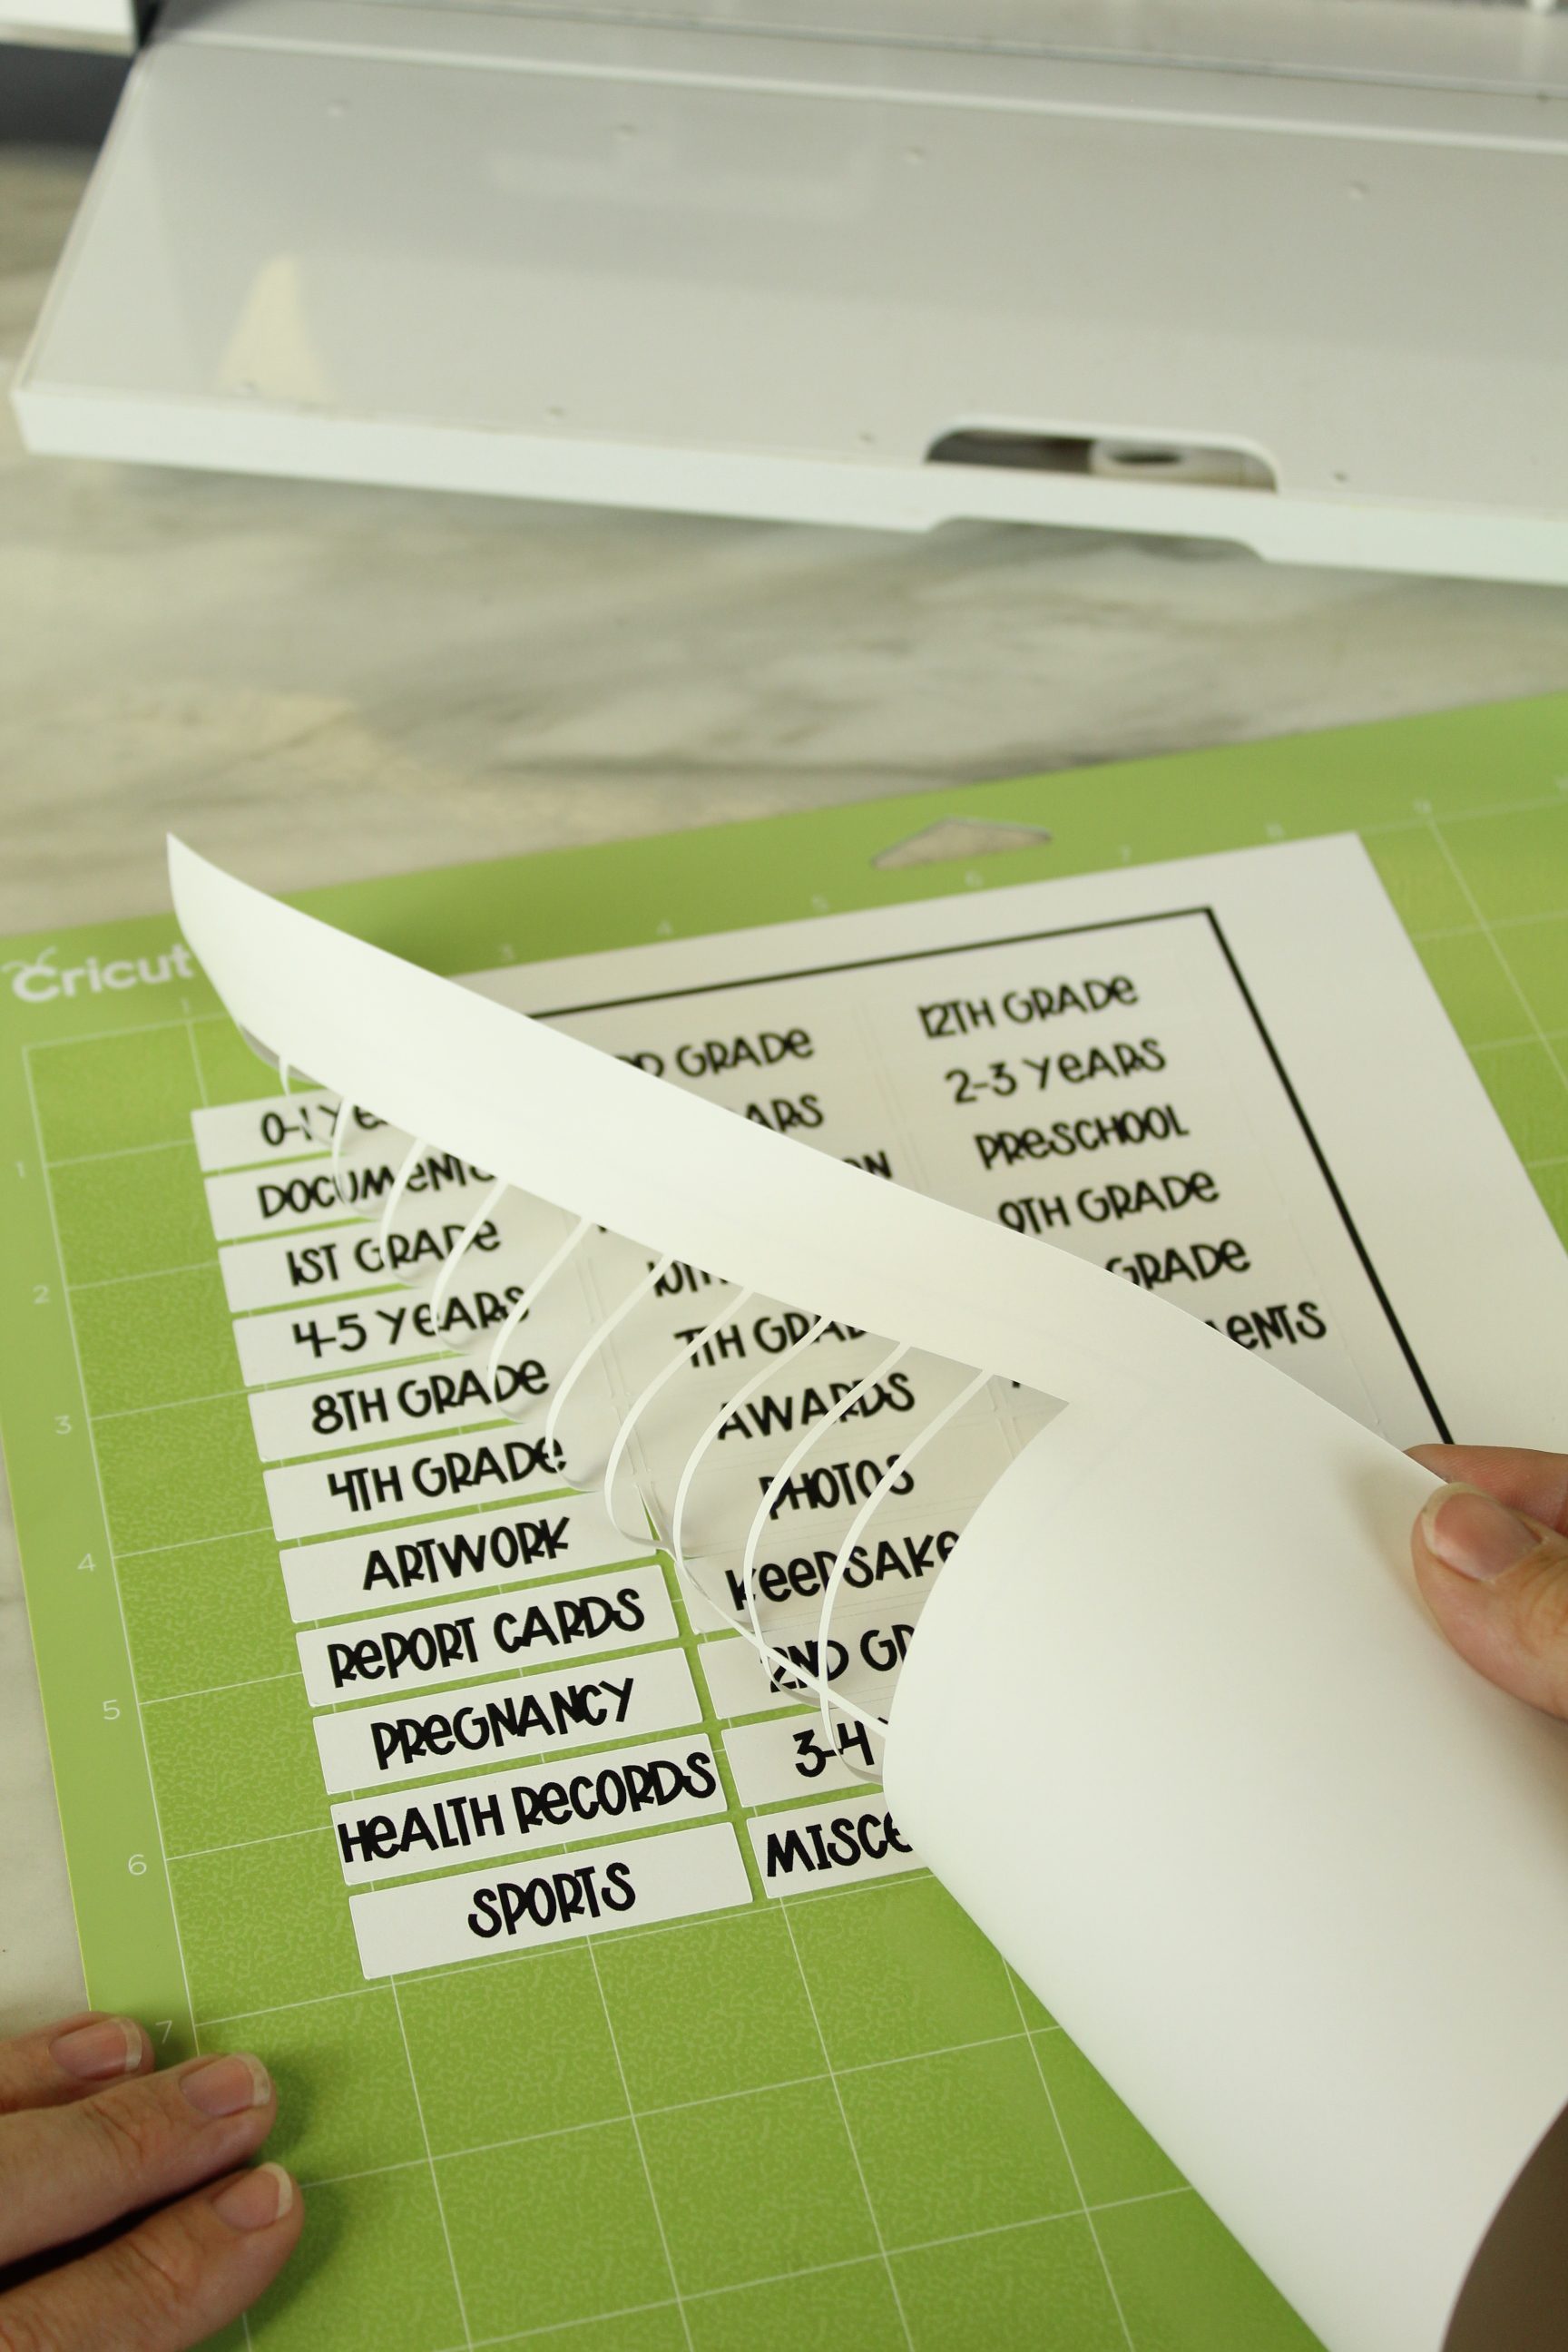
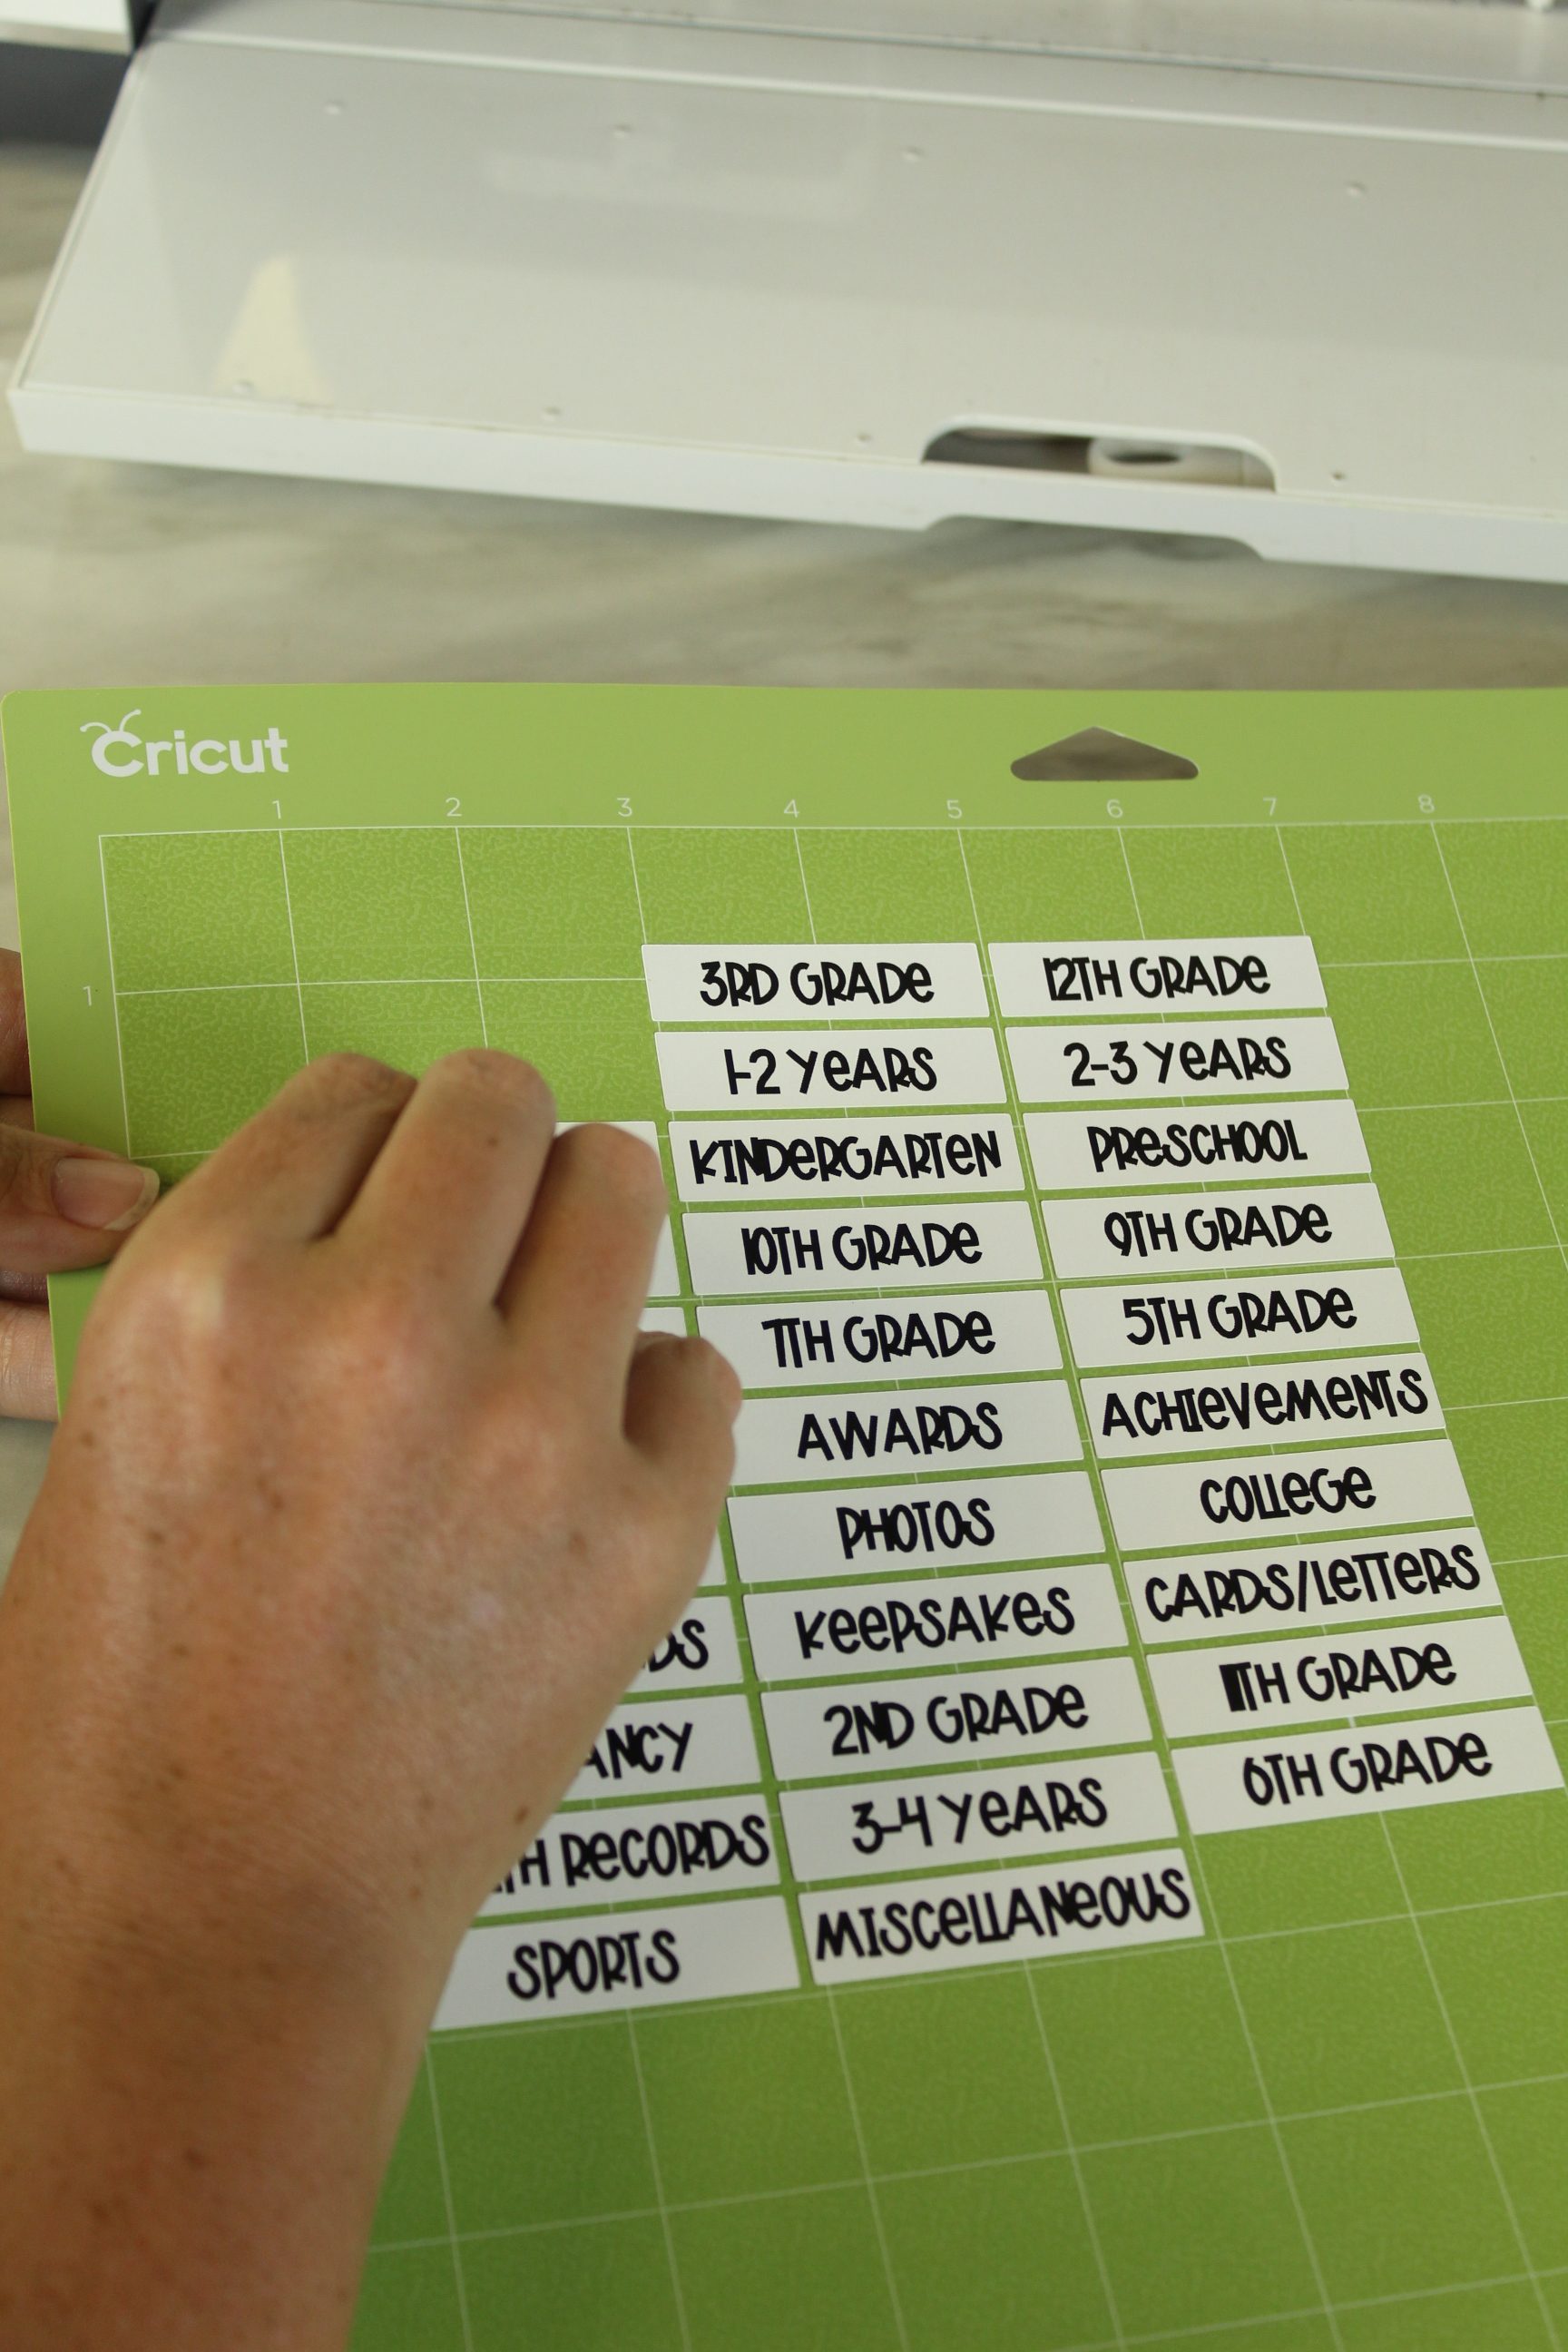
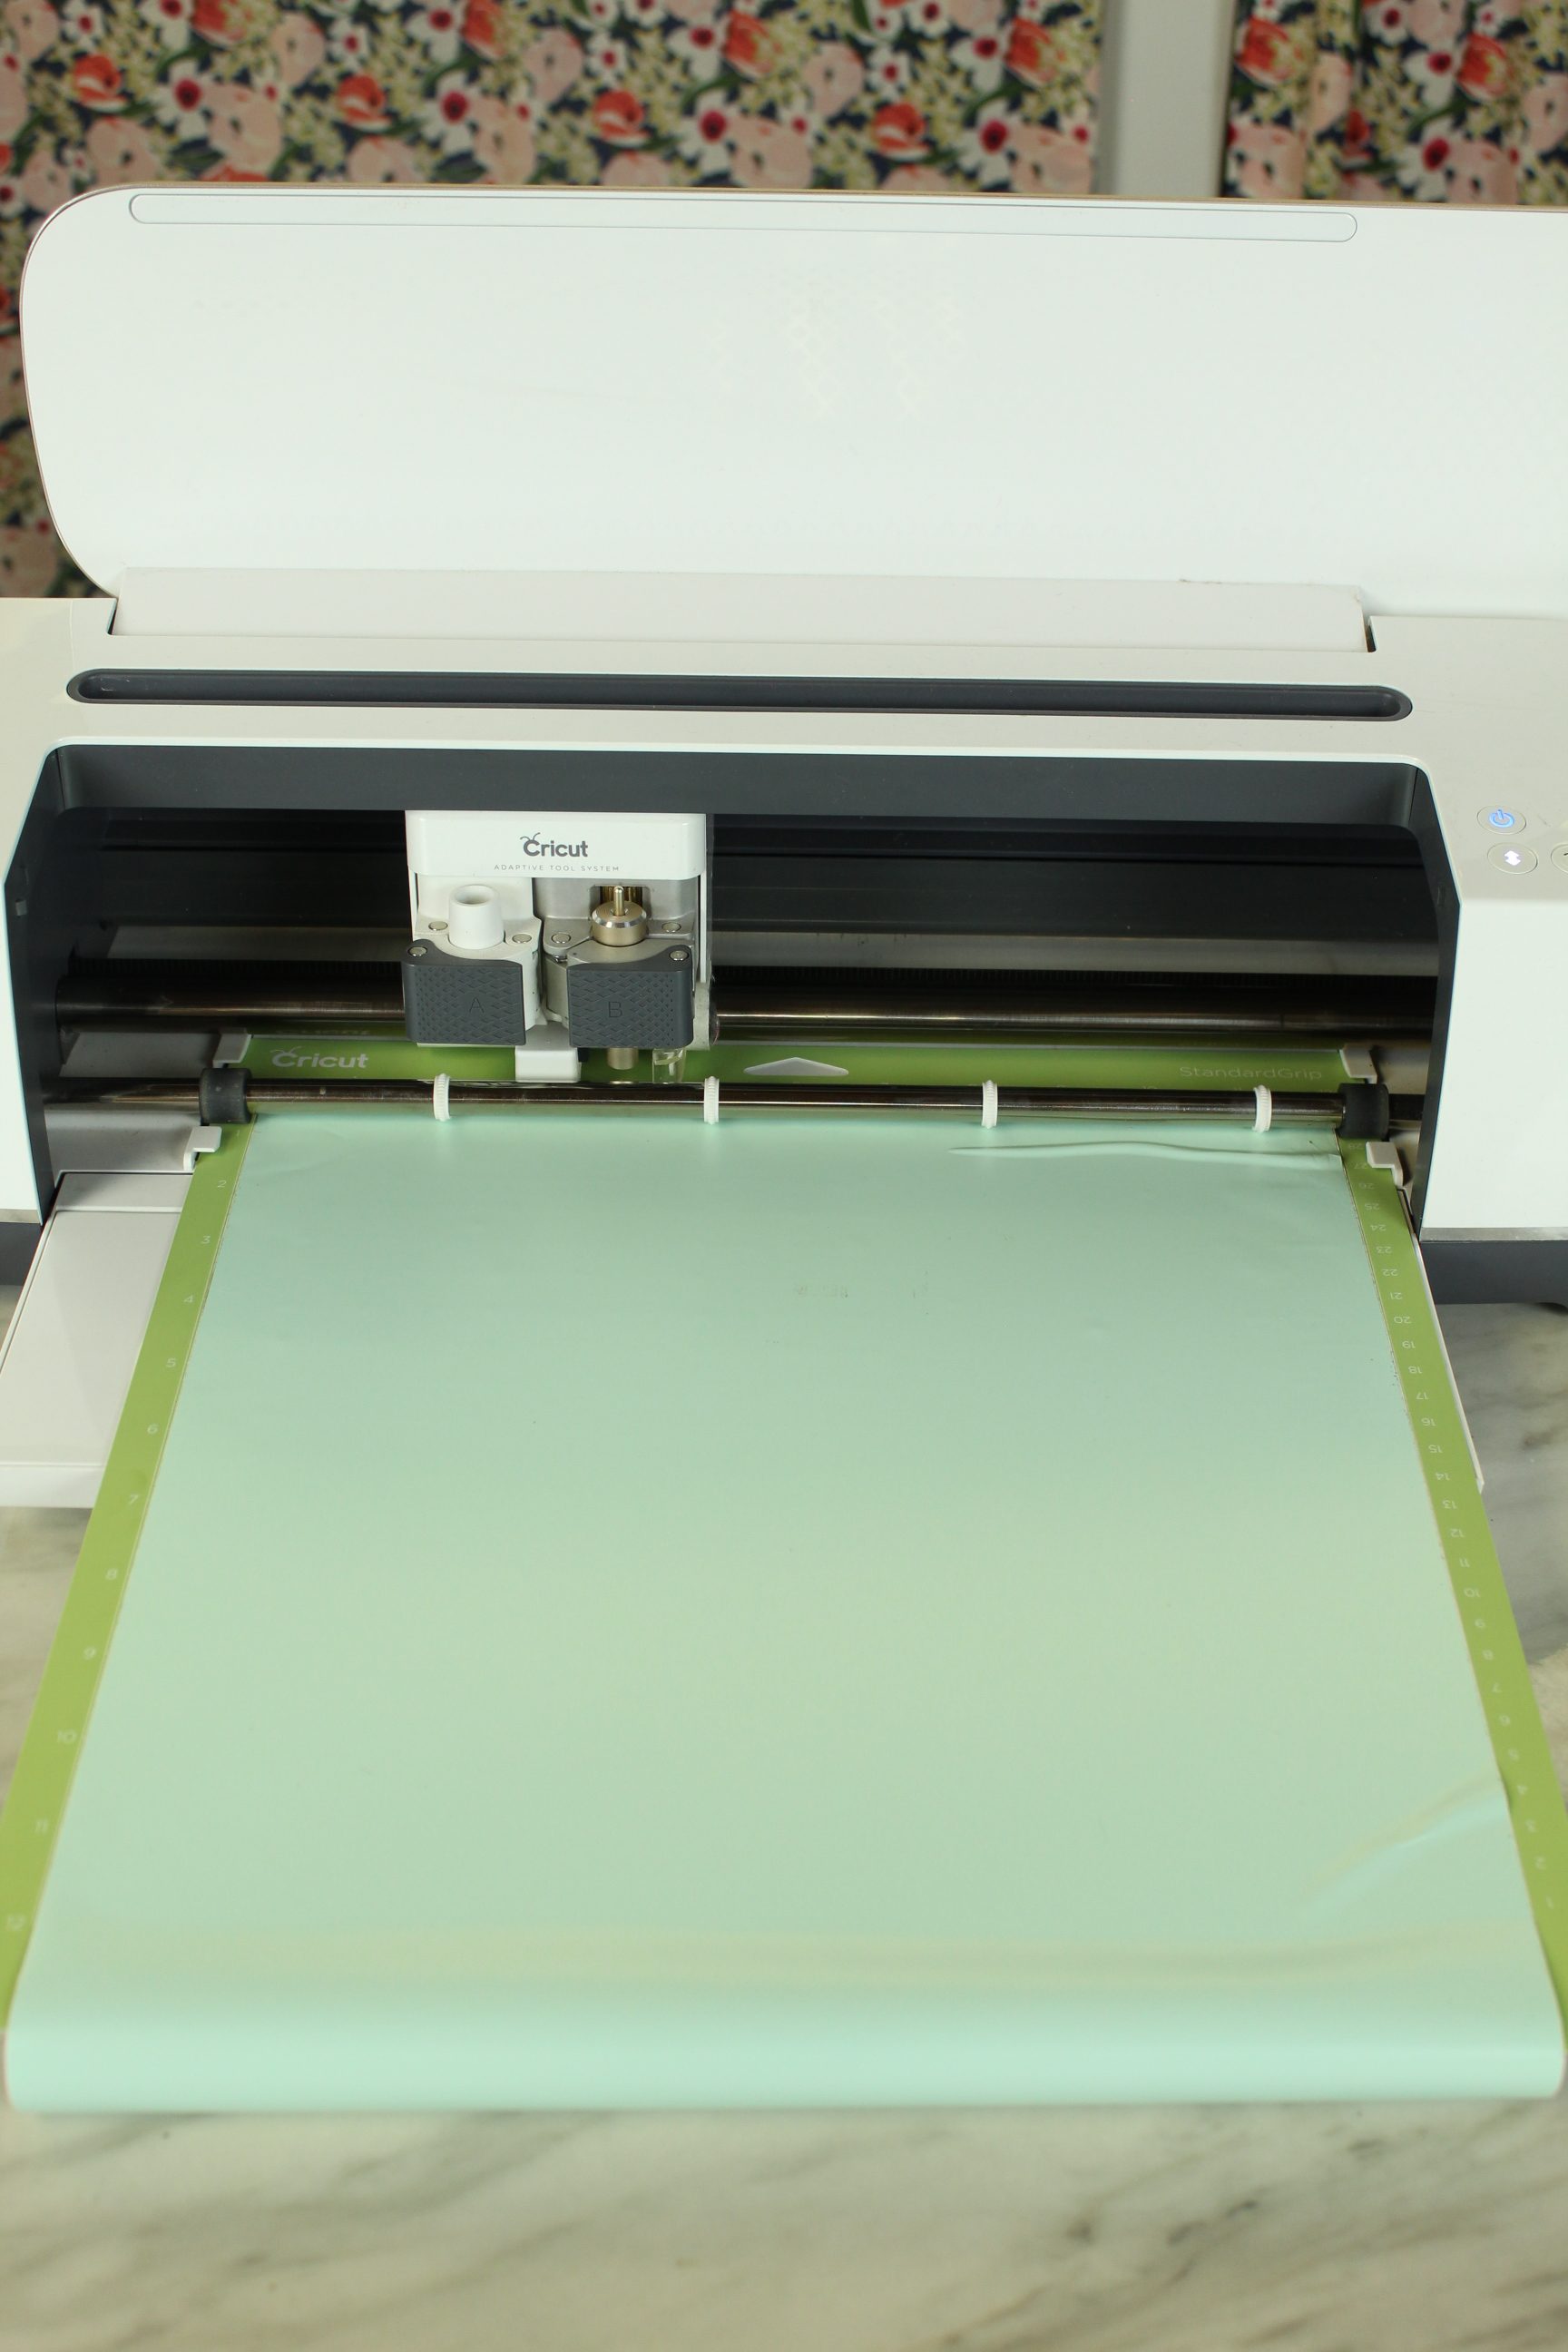
Load your printed paper into your Cricut machine, select the correct material (medium cardstock for me) and watch it perfectly cut each label out for you like magic! I’ve had a Cricut machine for 7 years now and I seriously never get tired of watching it do it’s thing.

Once it’s done cutting your paper, load your vinyl to be cut.
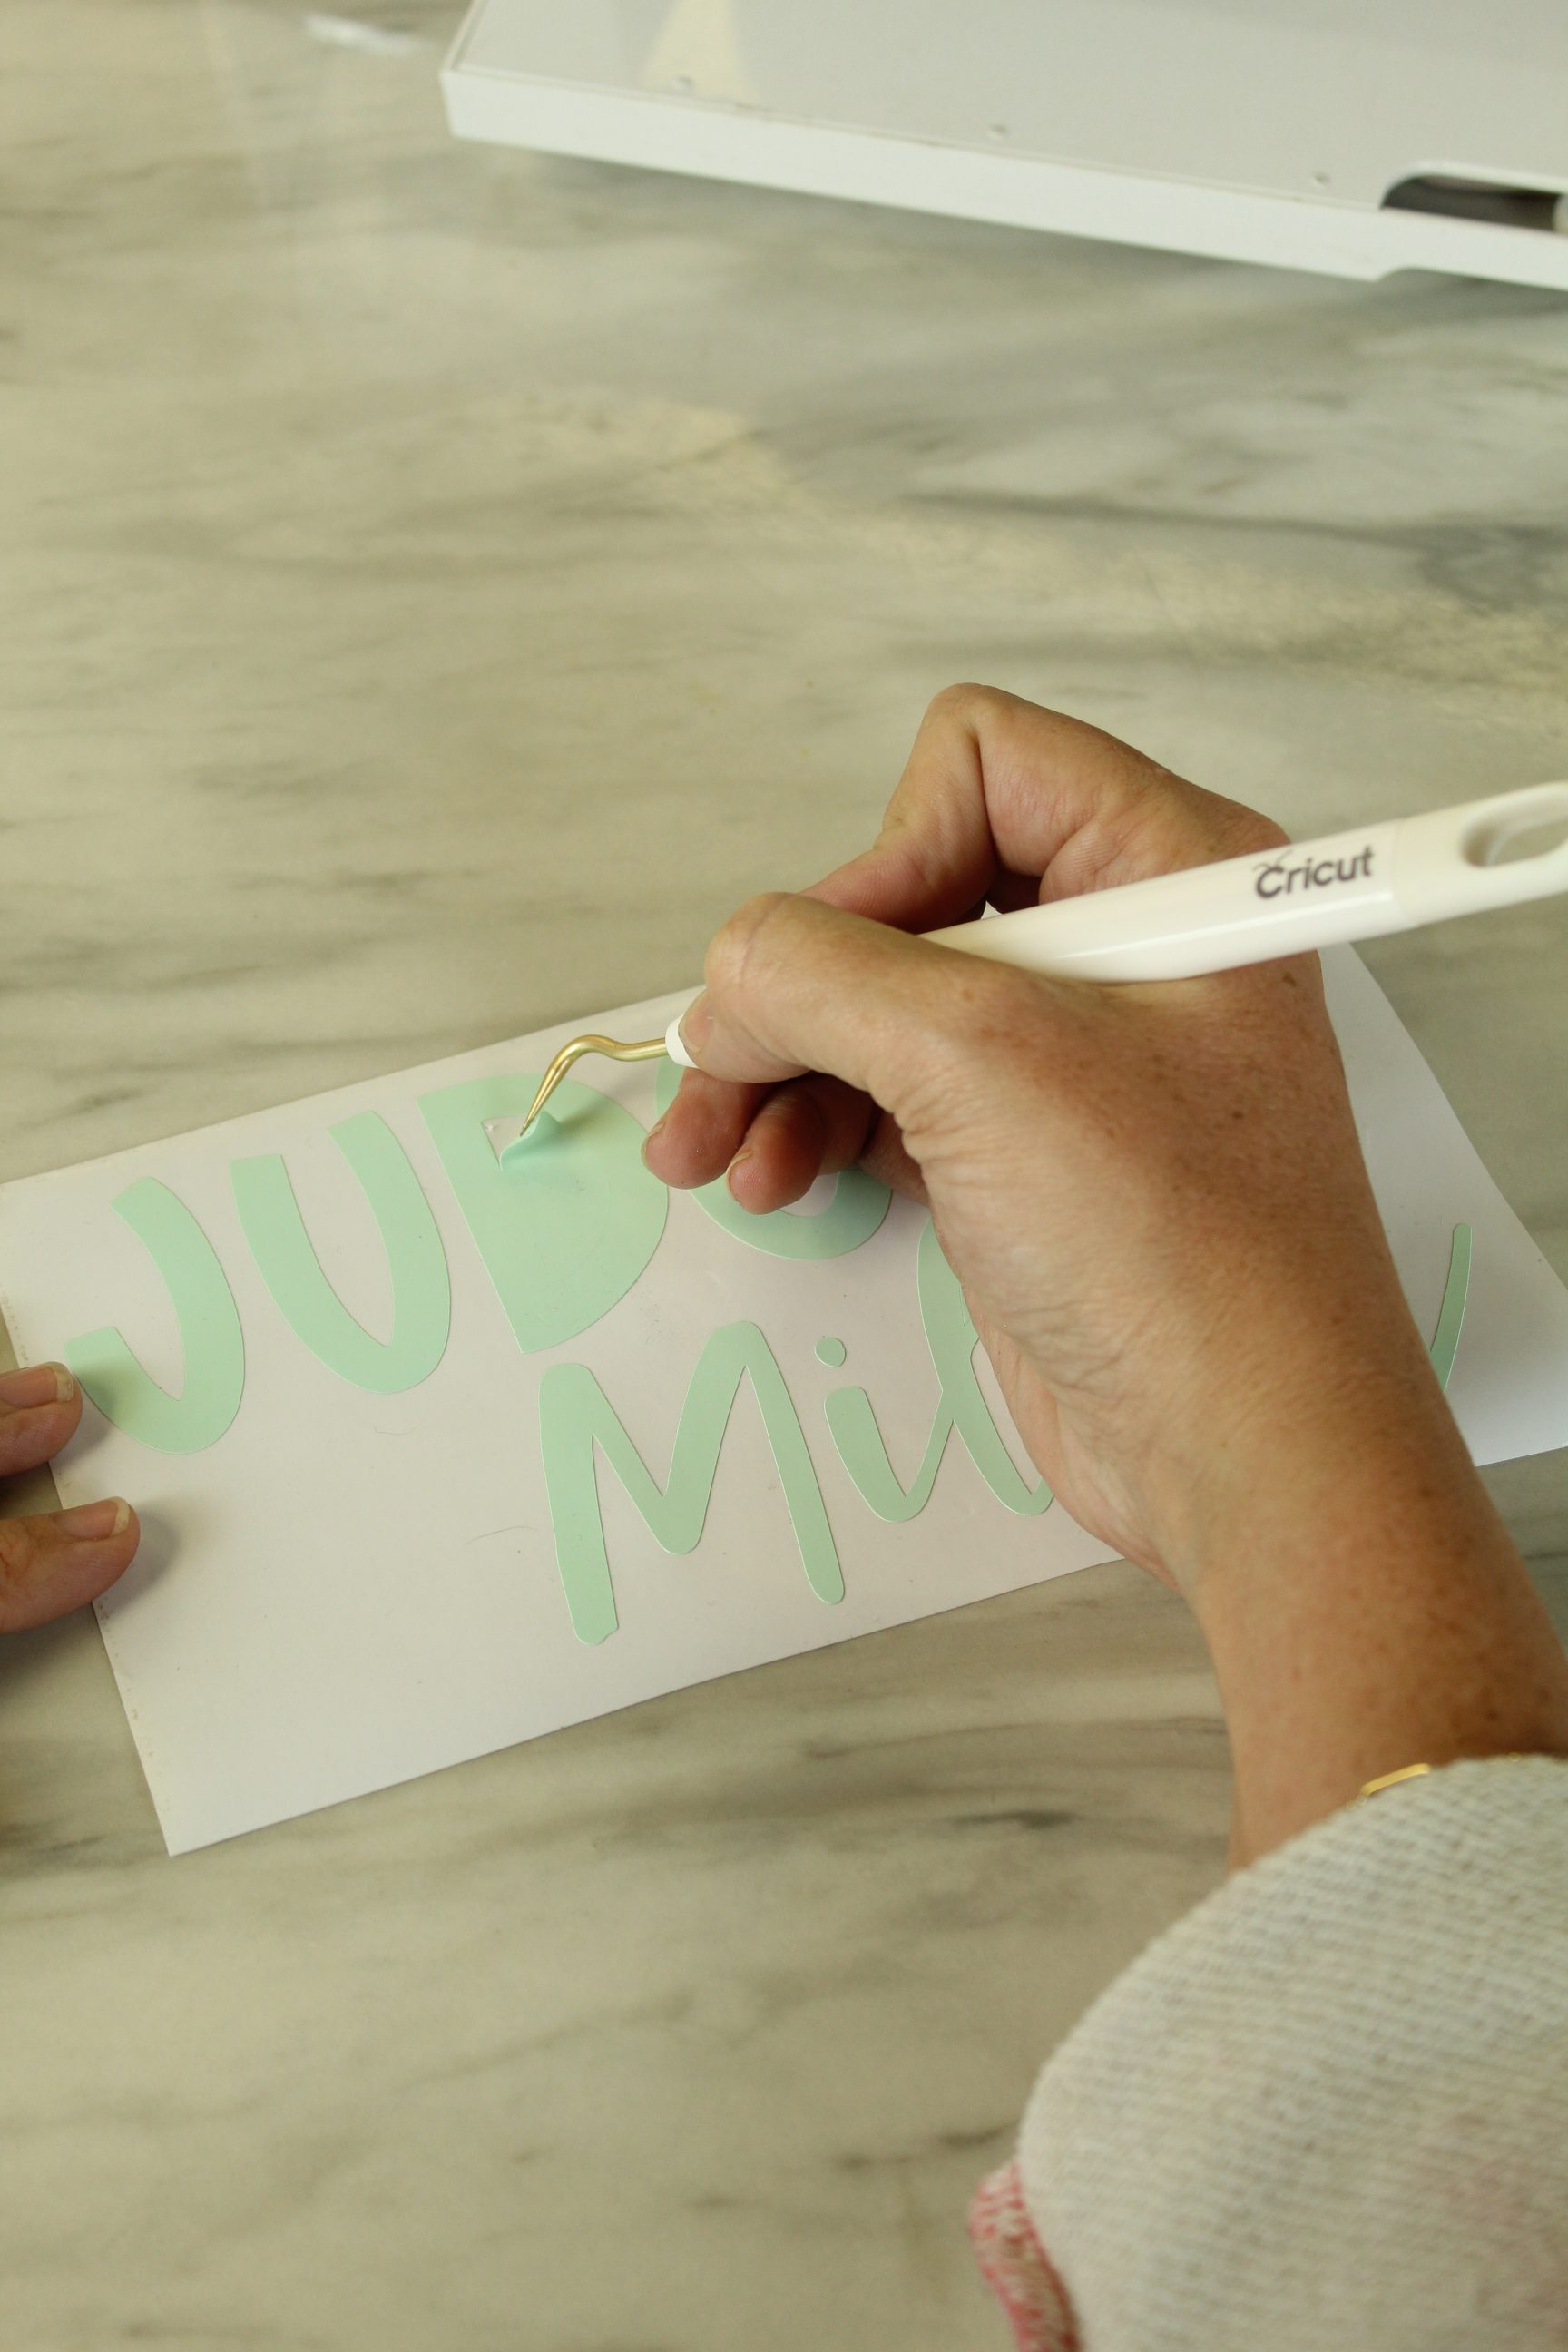
Weed Your Design
Once your vinyl is finished cutting, you’ll want to weed it or remove all of the unwanted vinyl from around the text and places like inside the a’s e’s and o’s. Some people find this tedious, but I actually enjoy it.
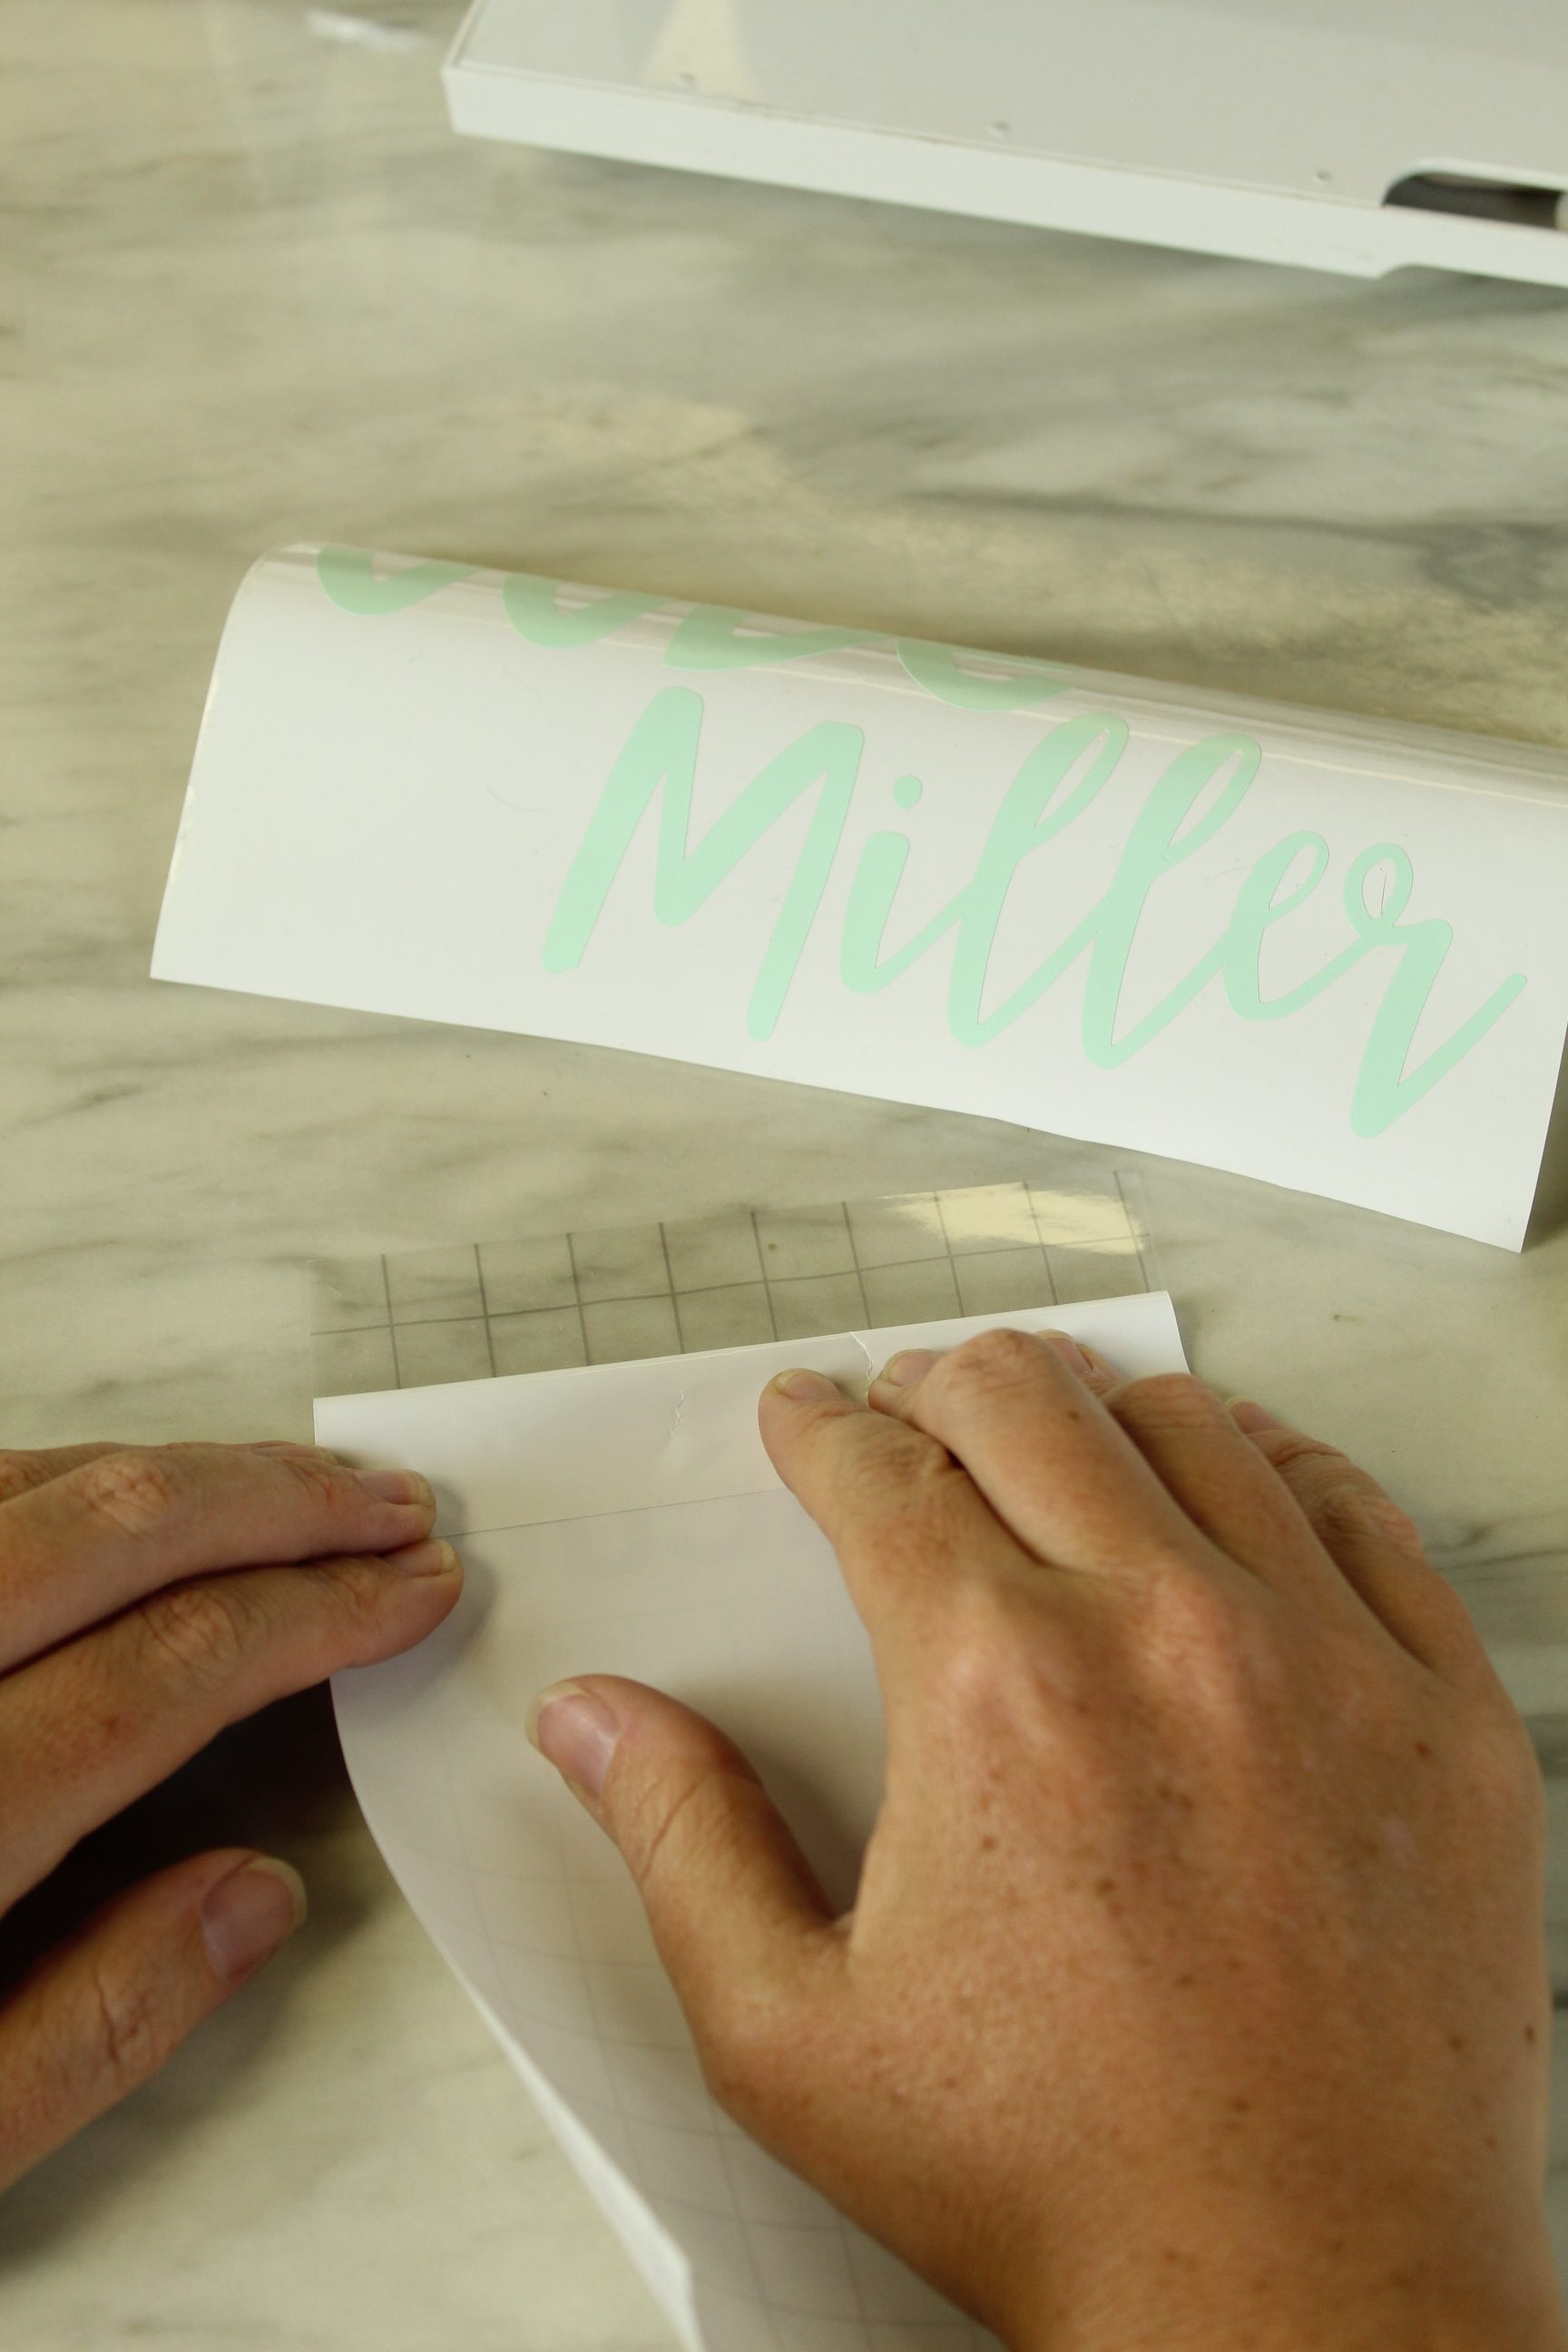
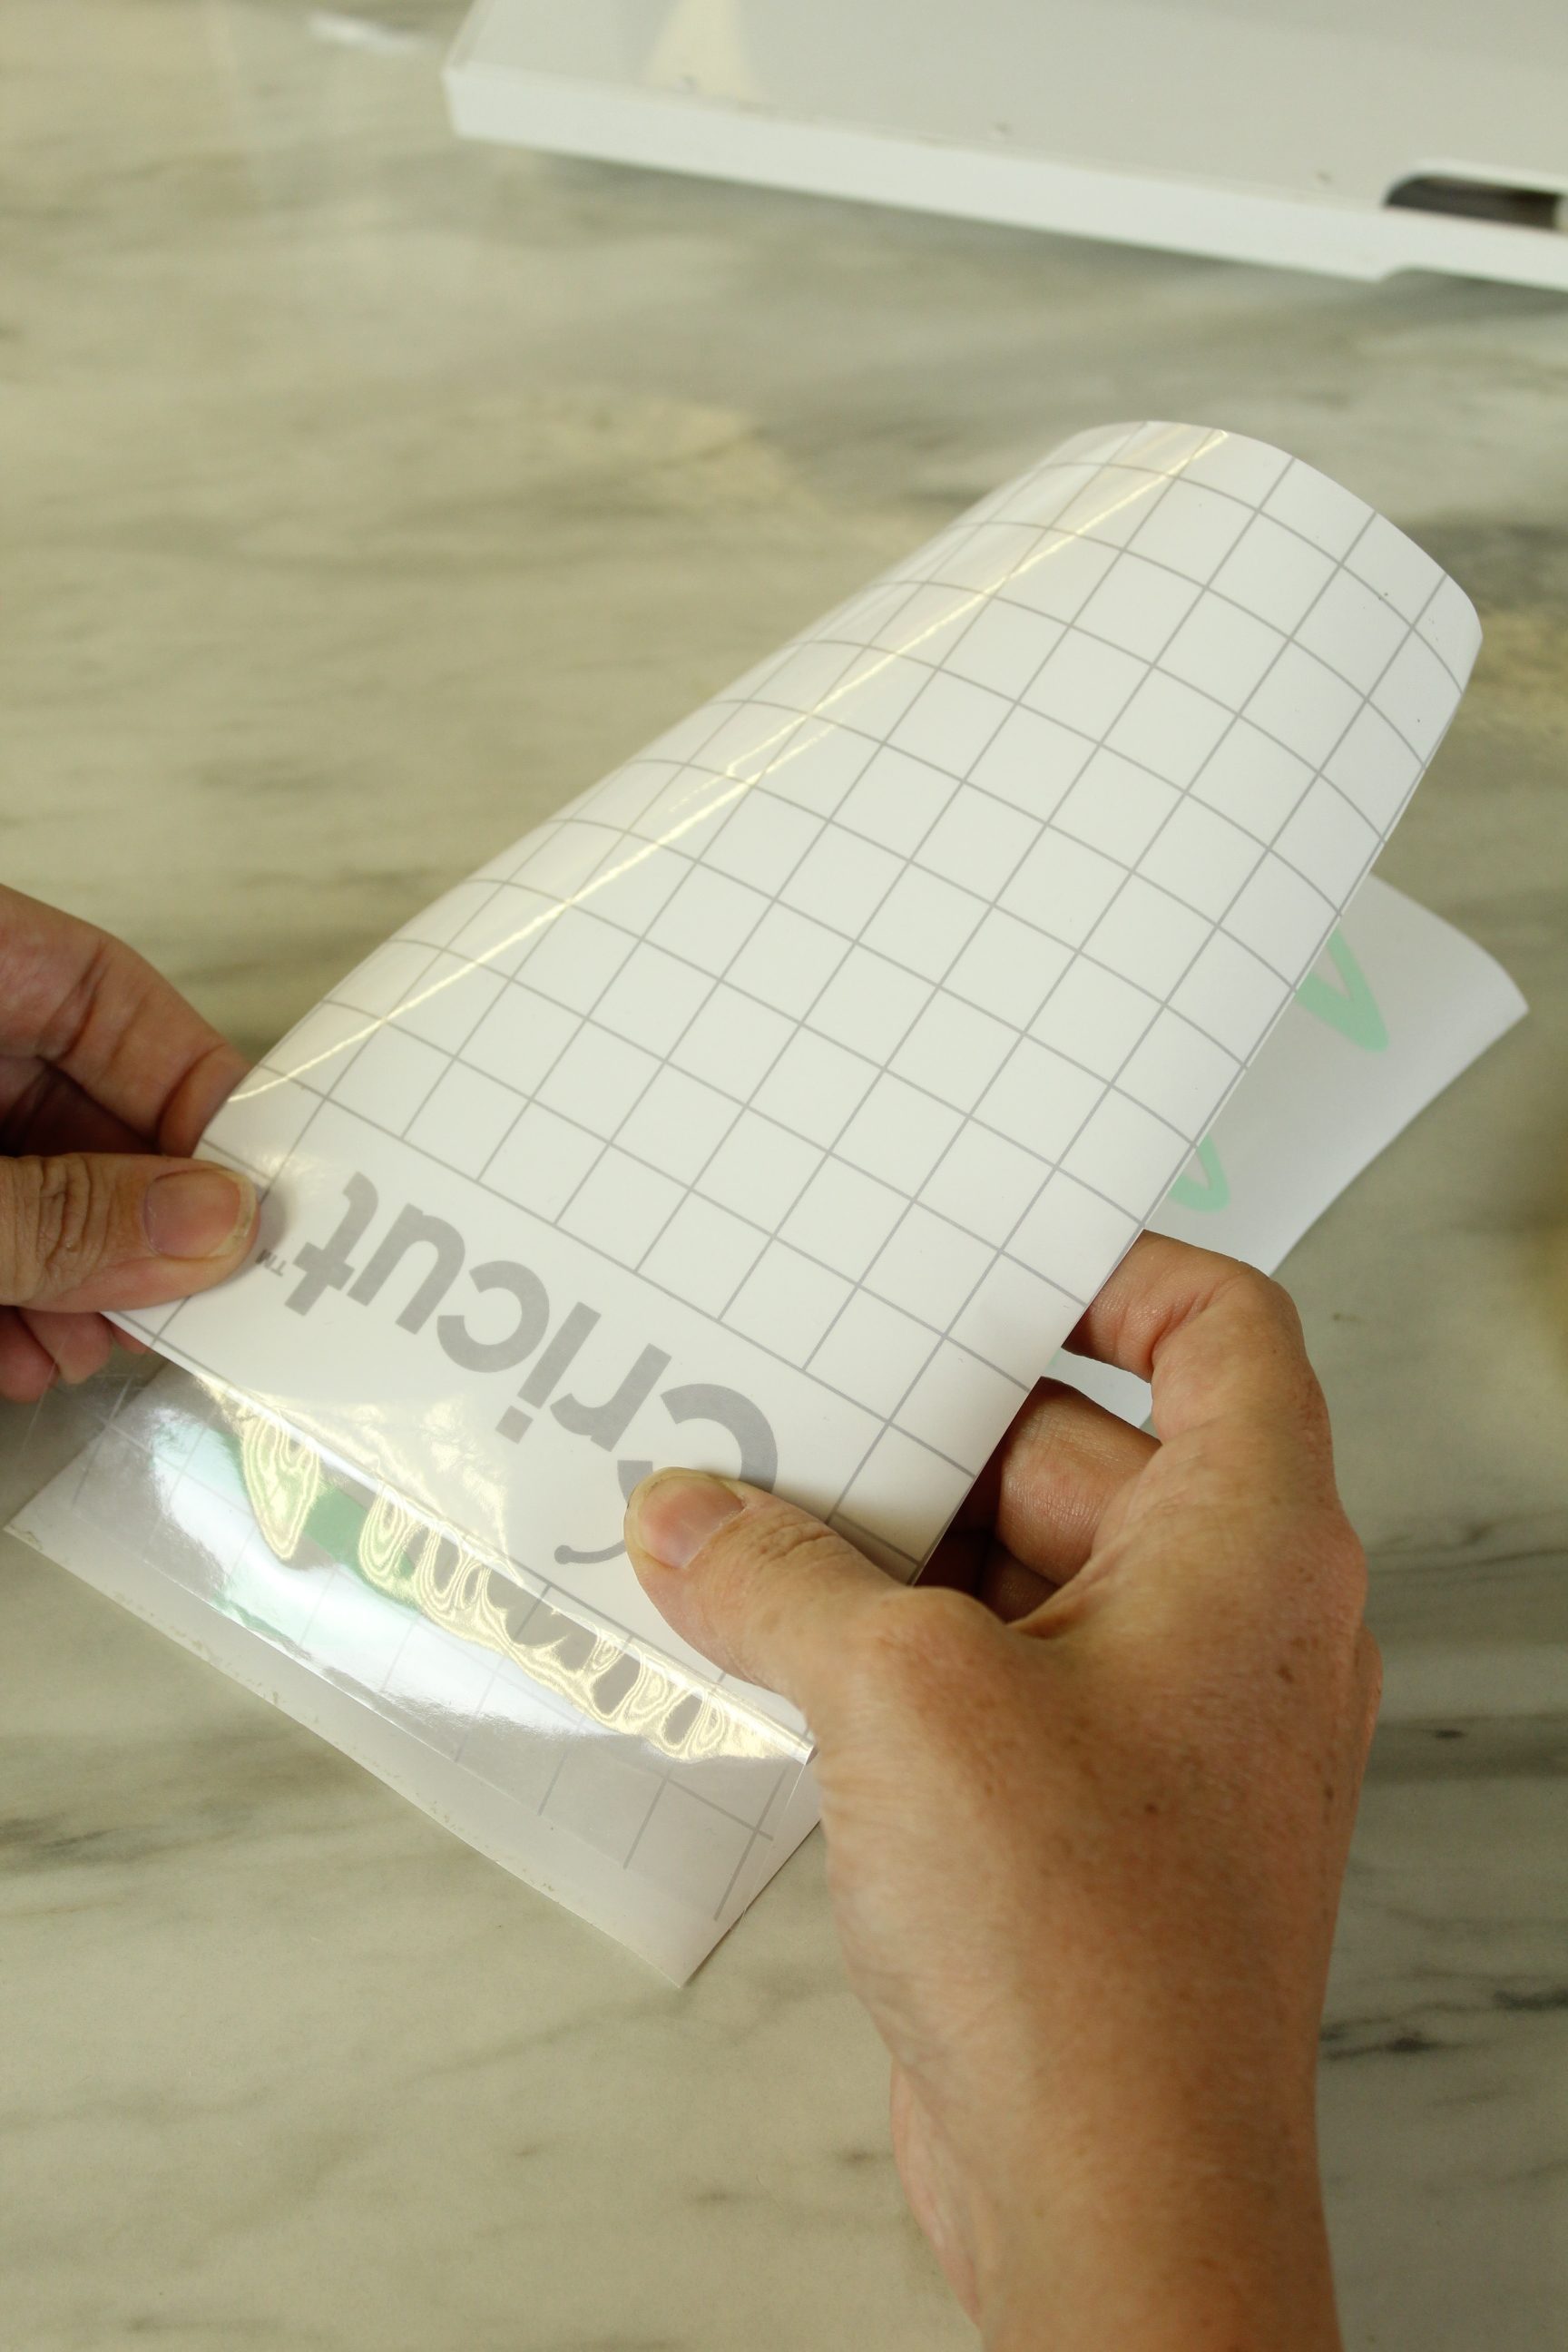
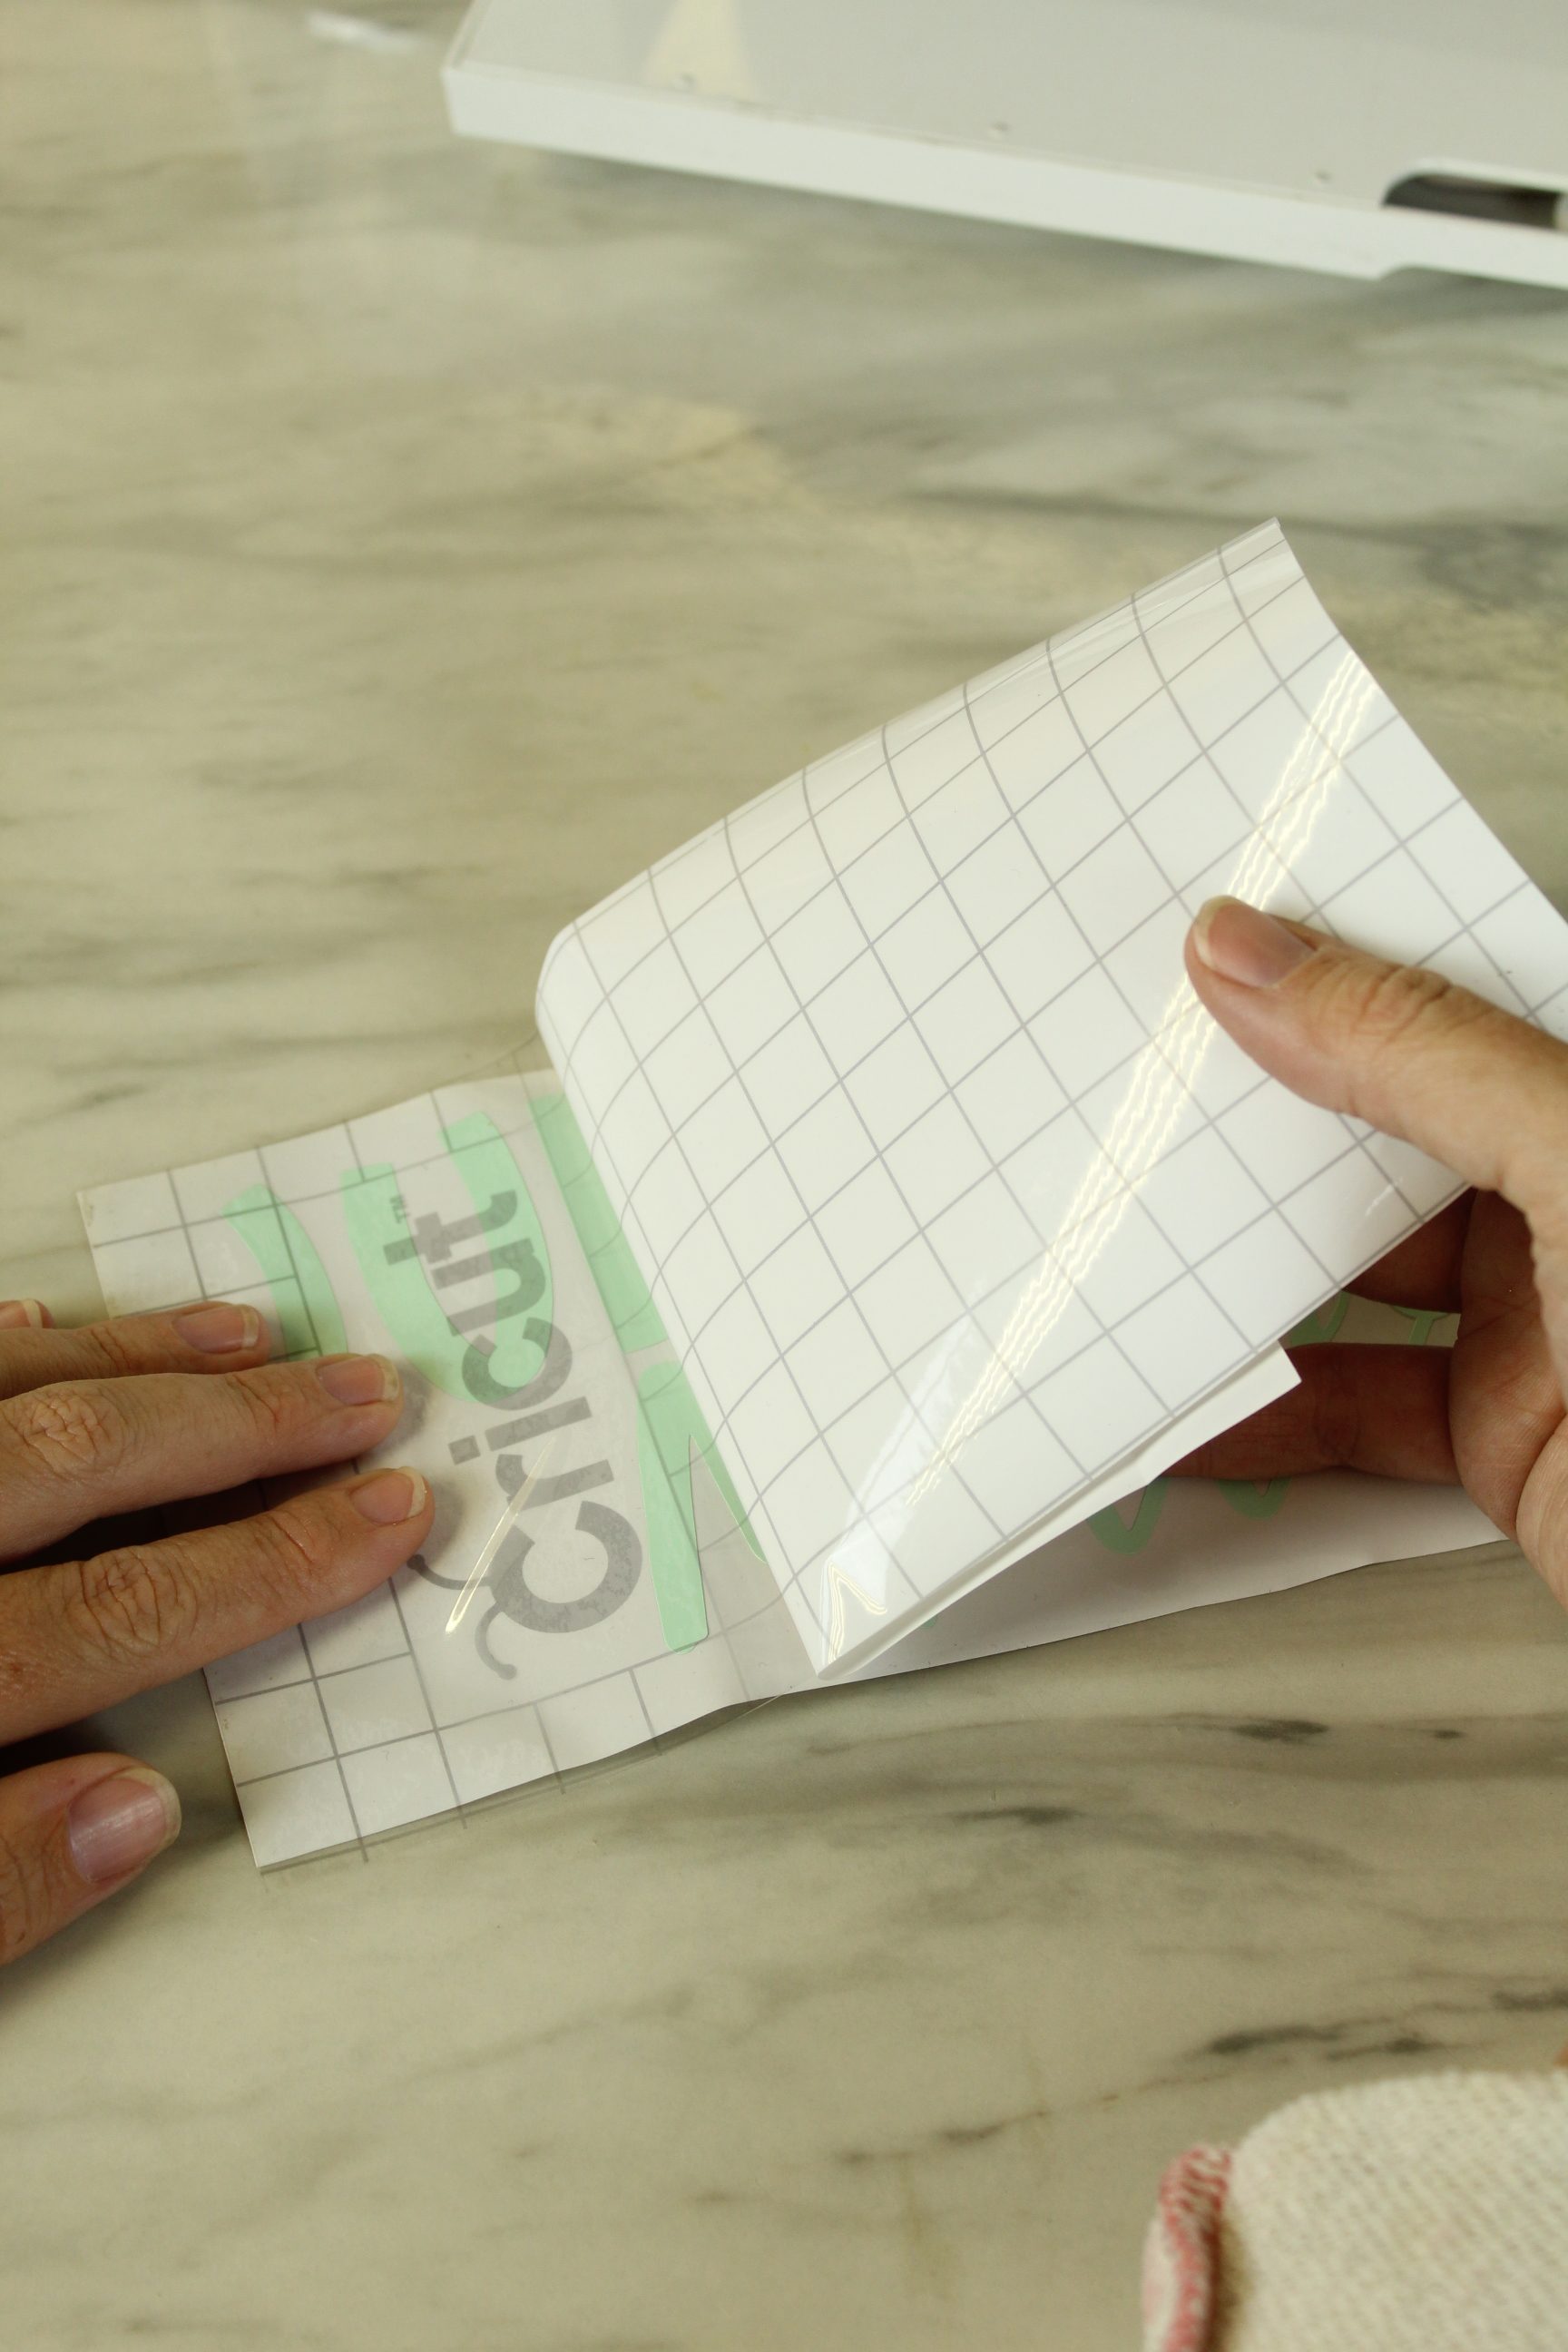
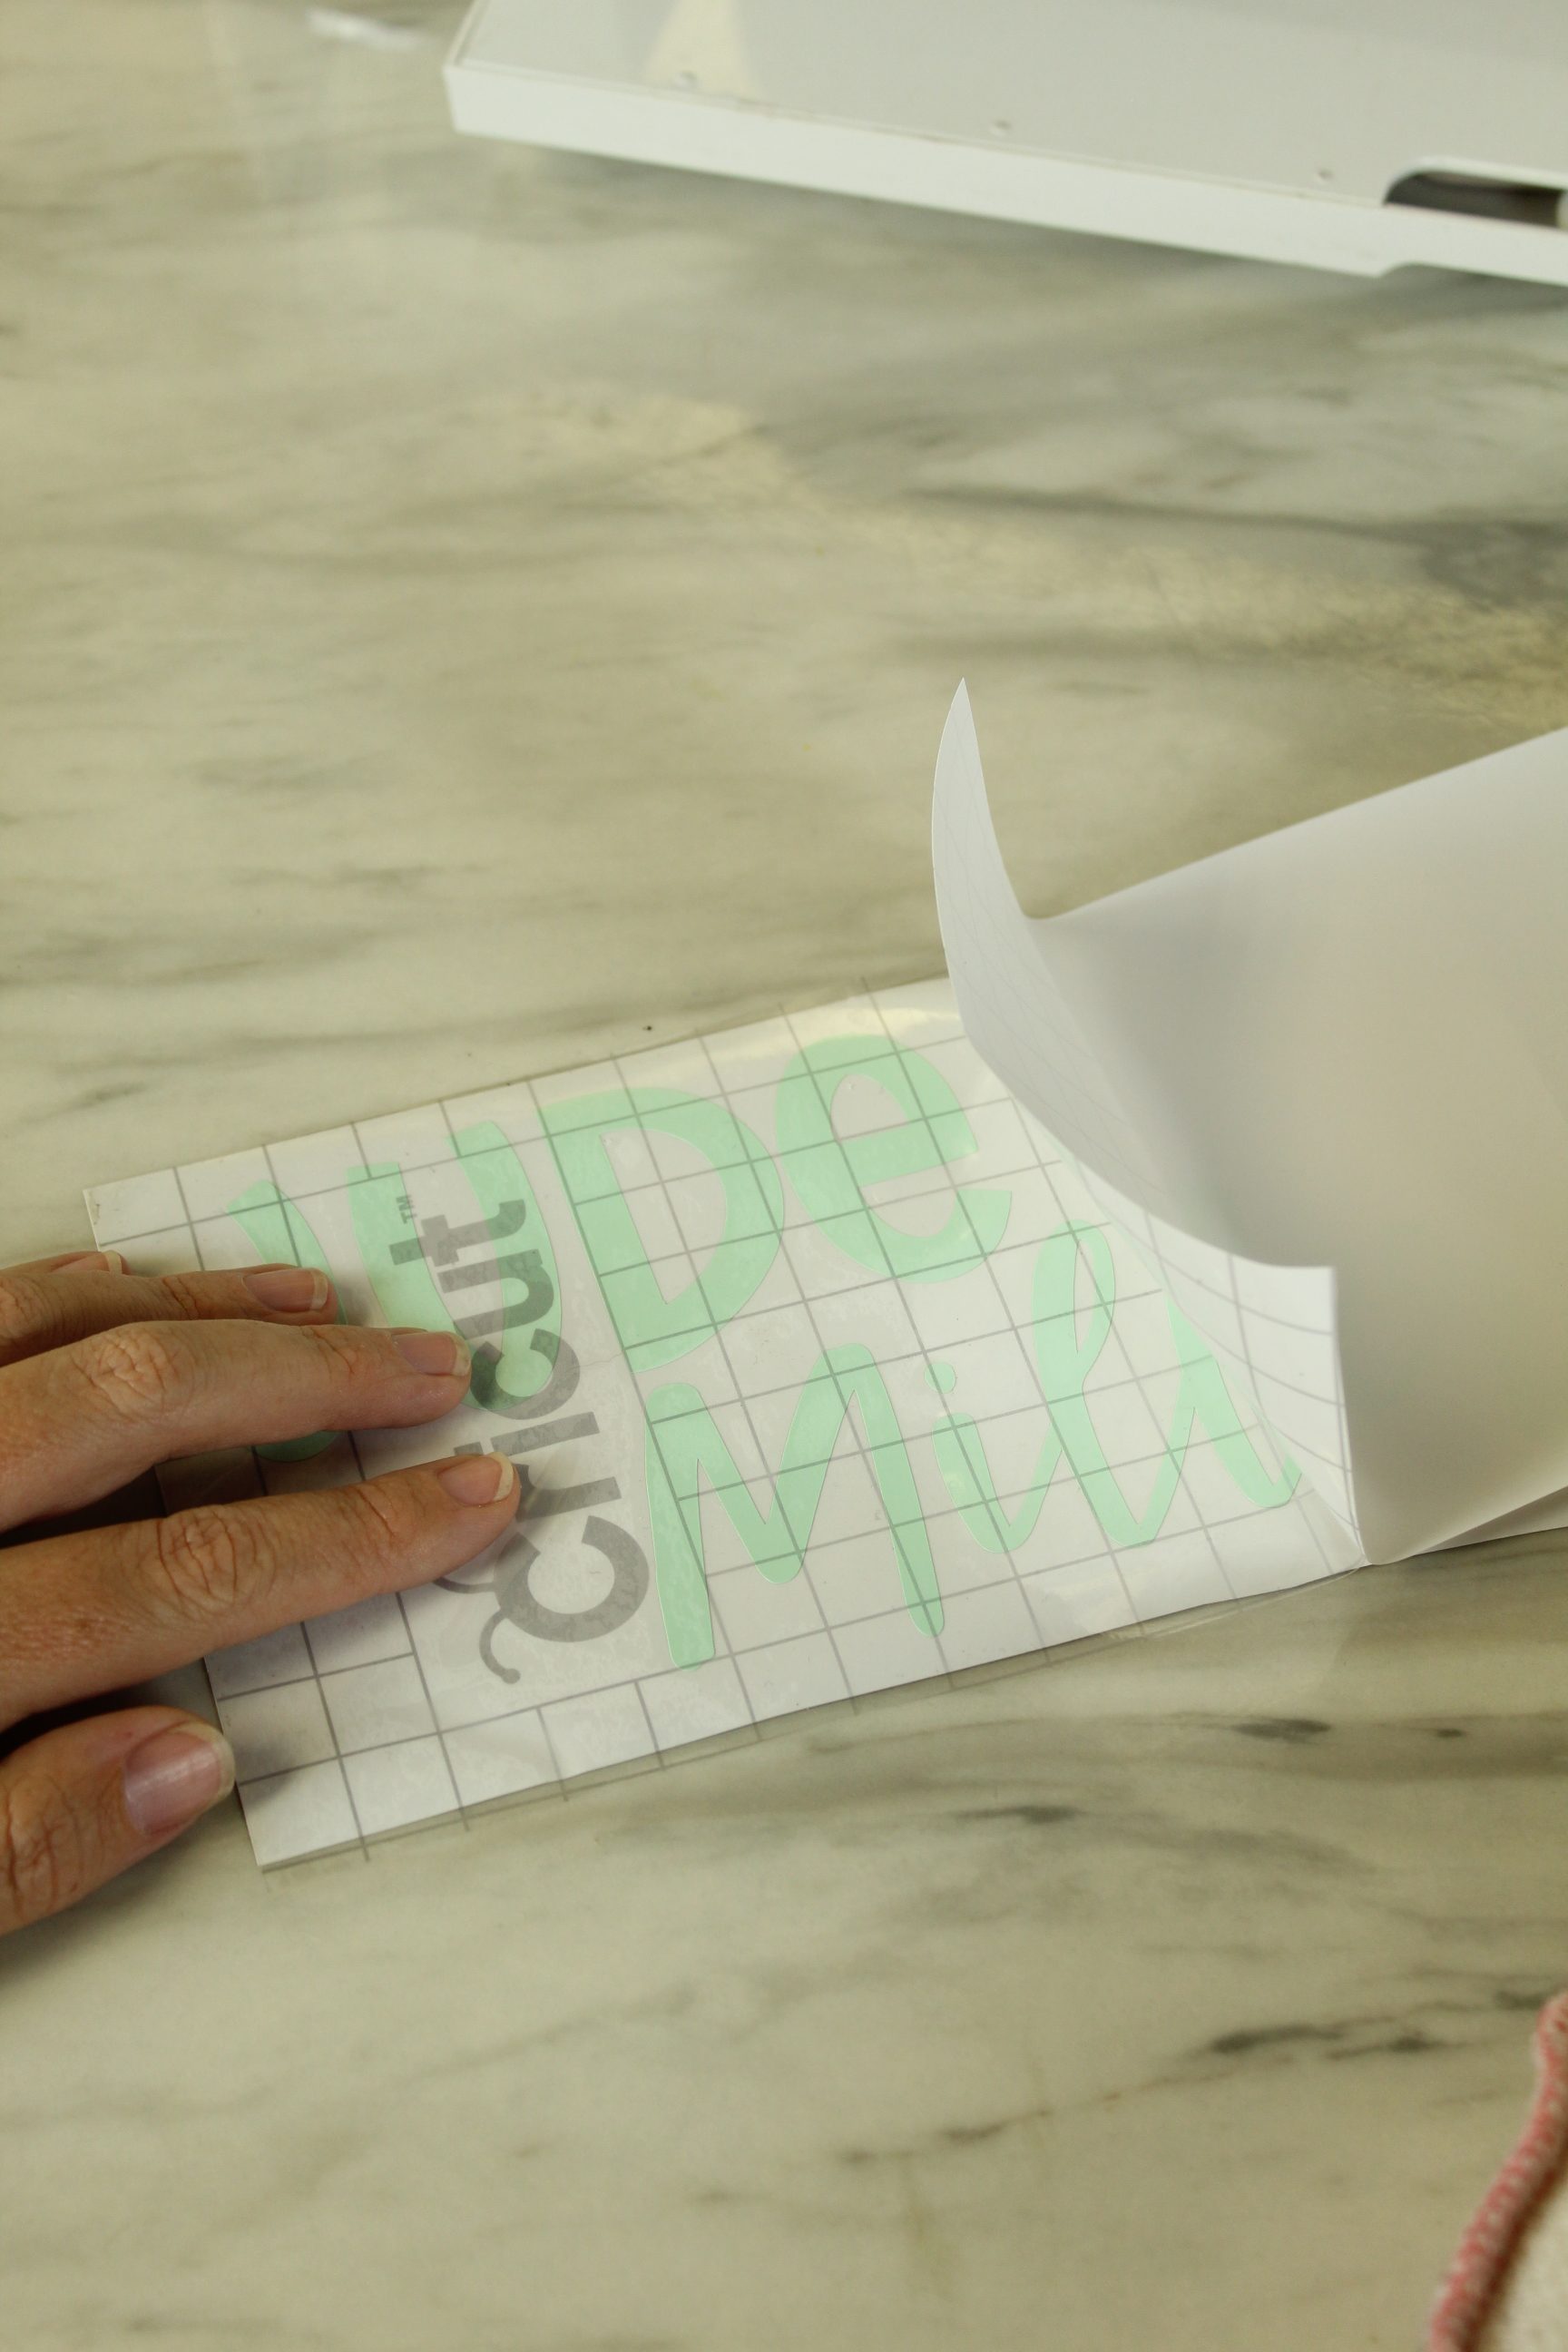
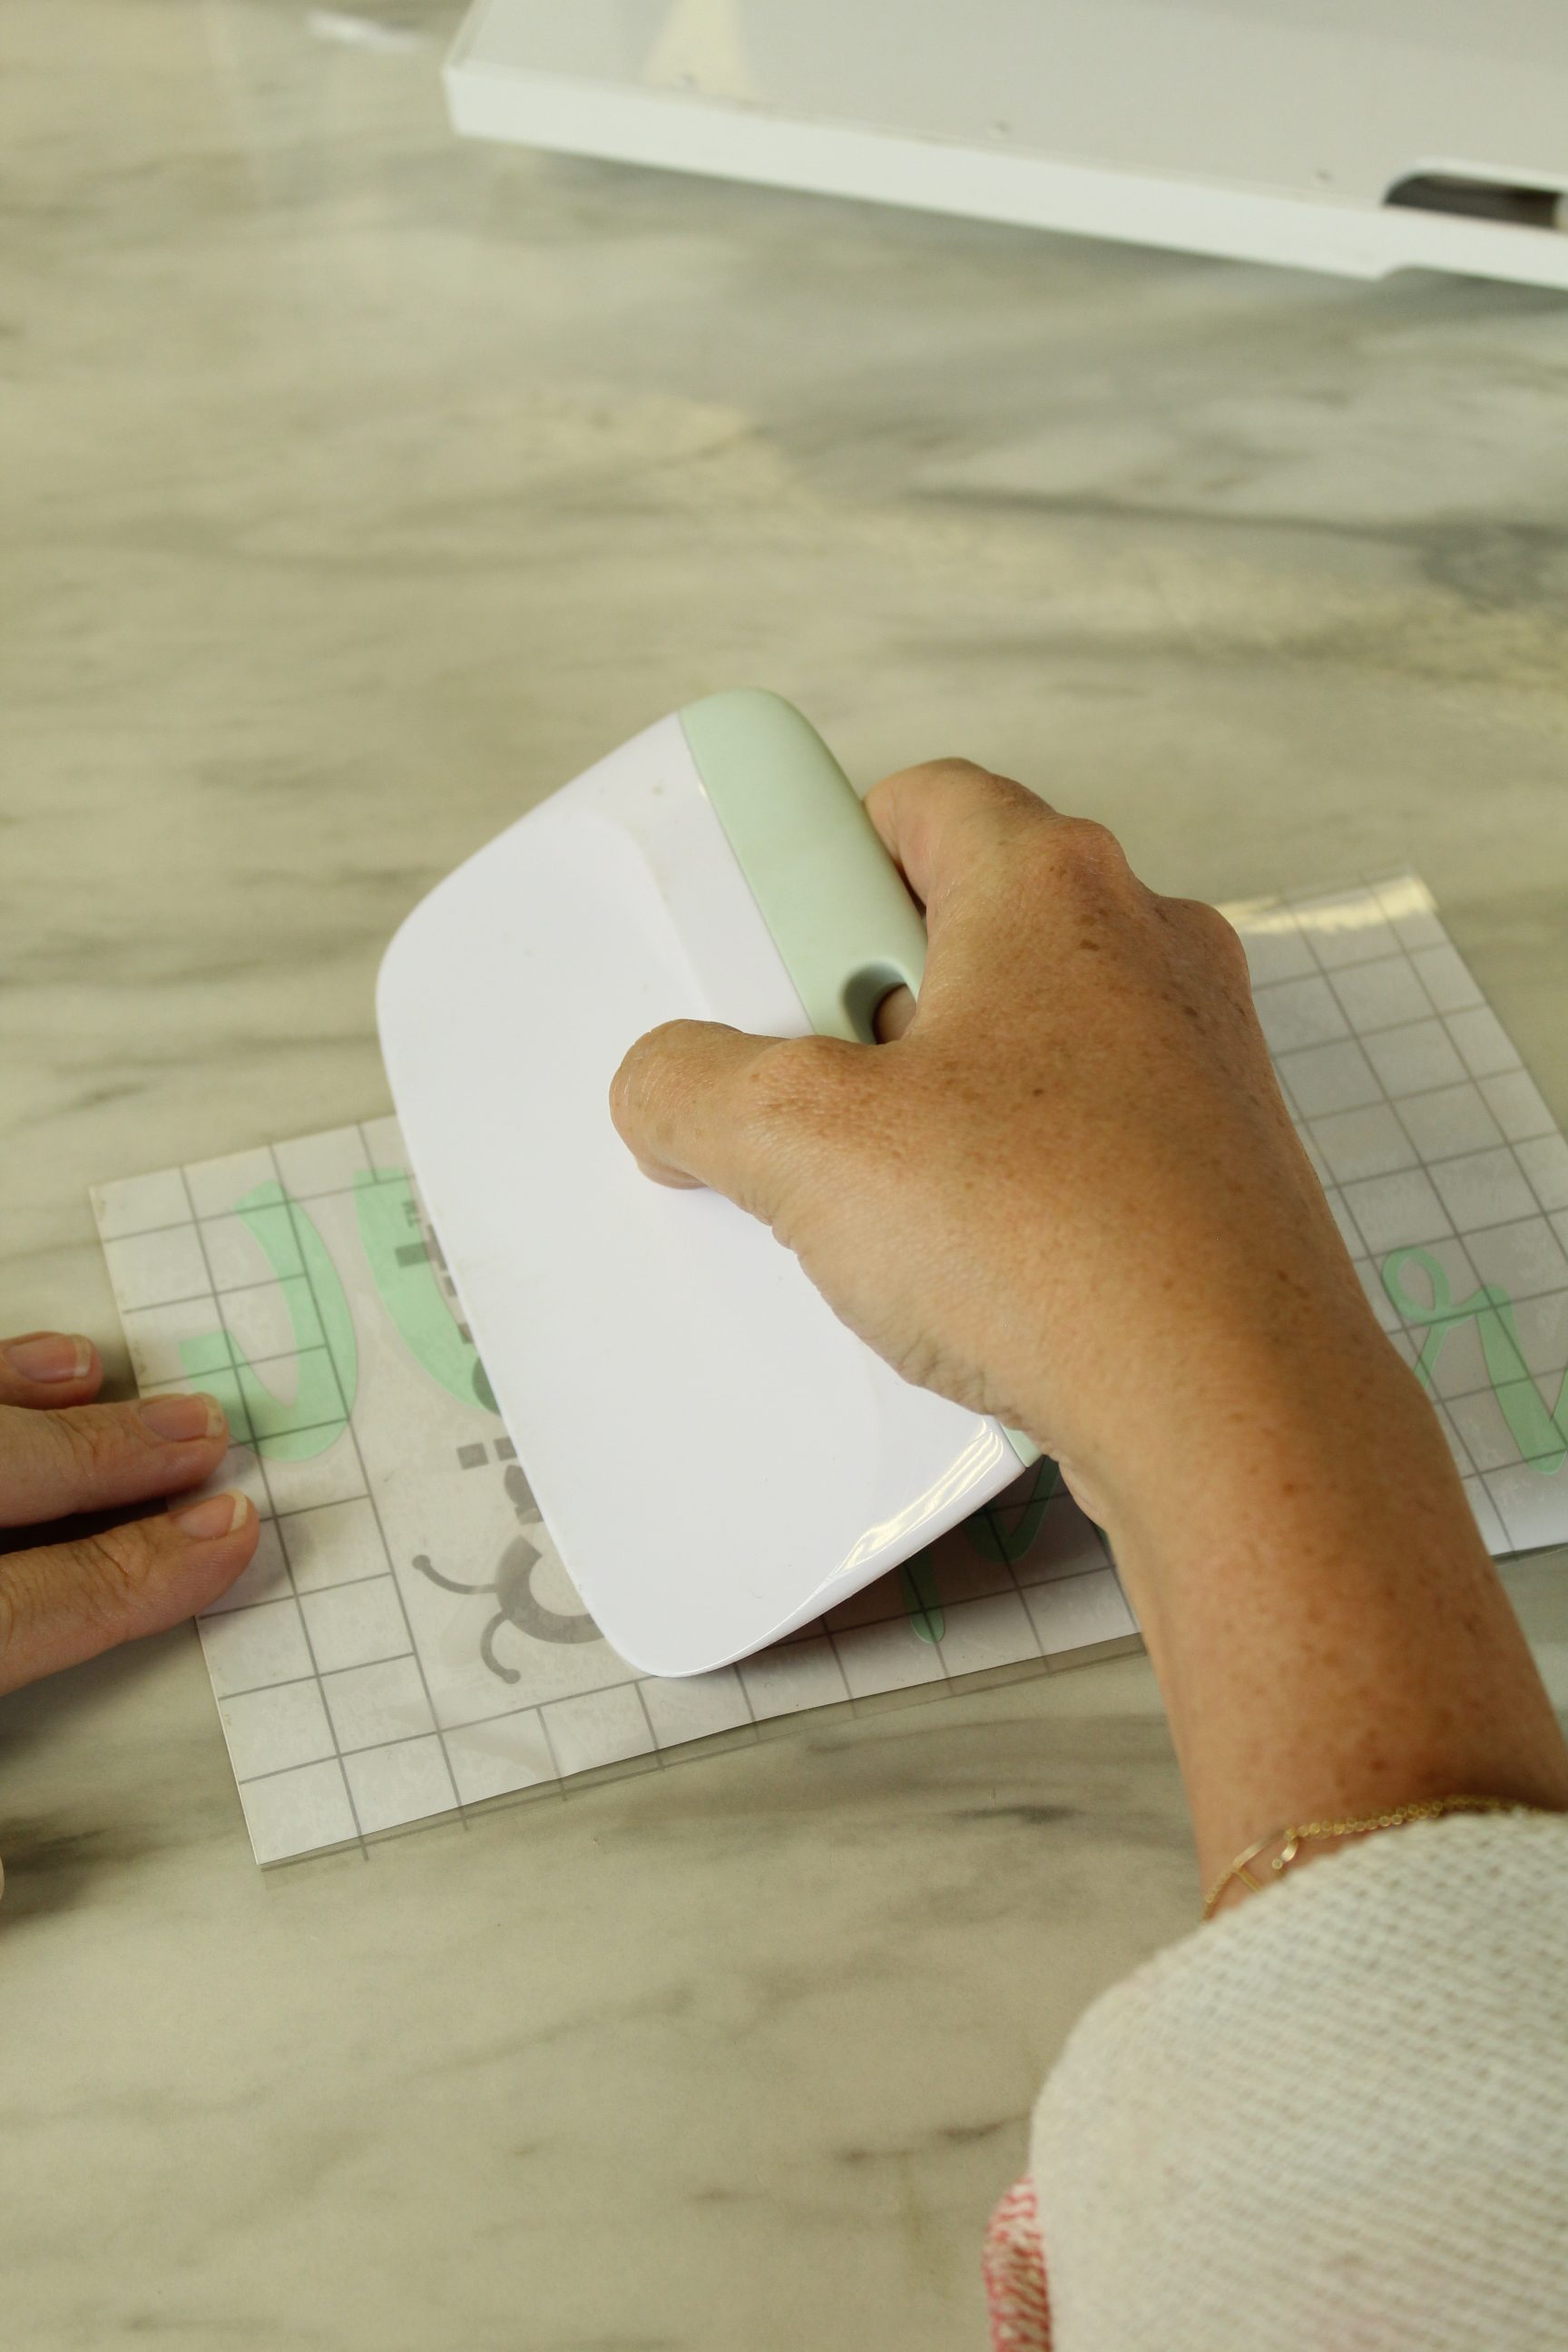
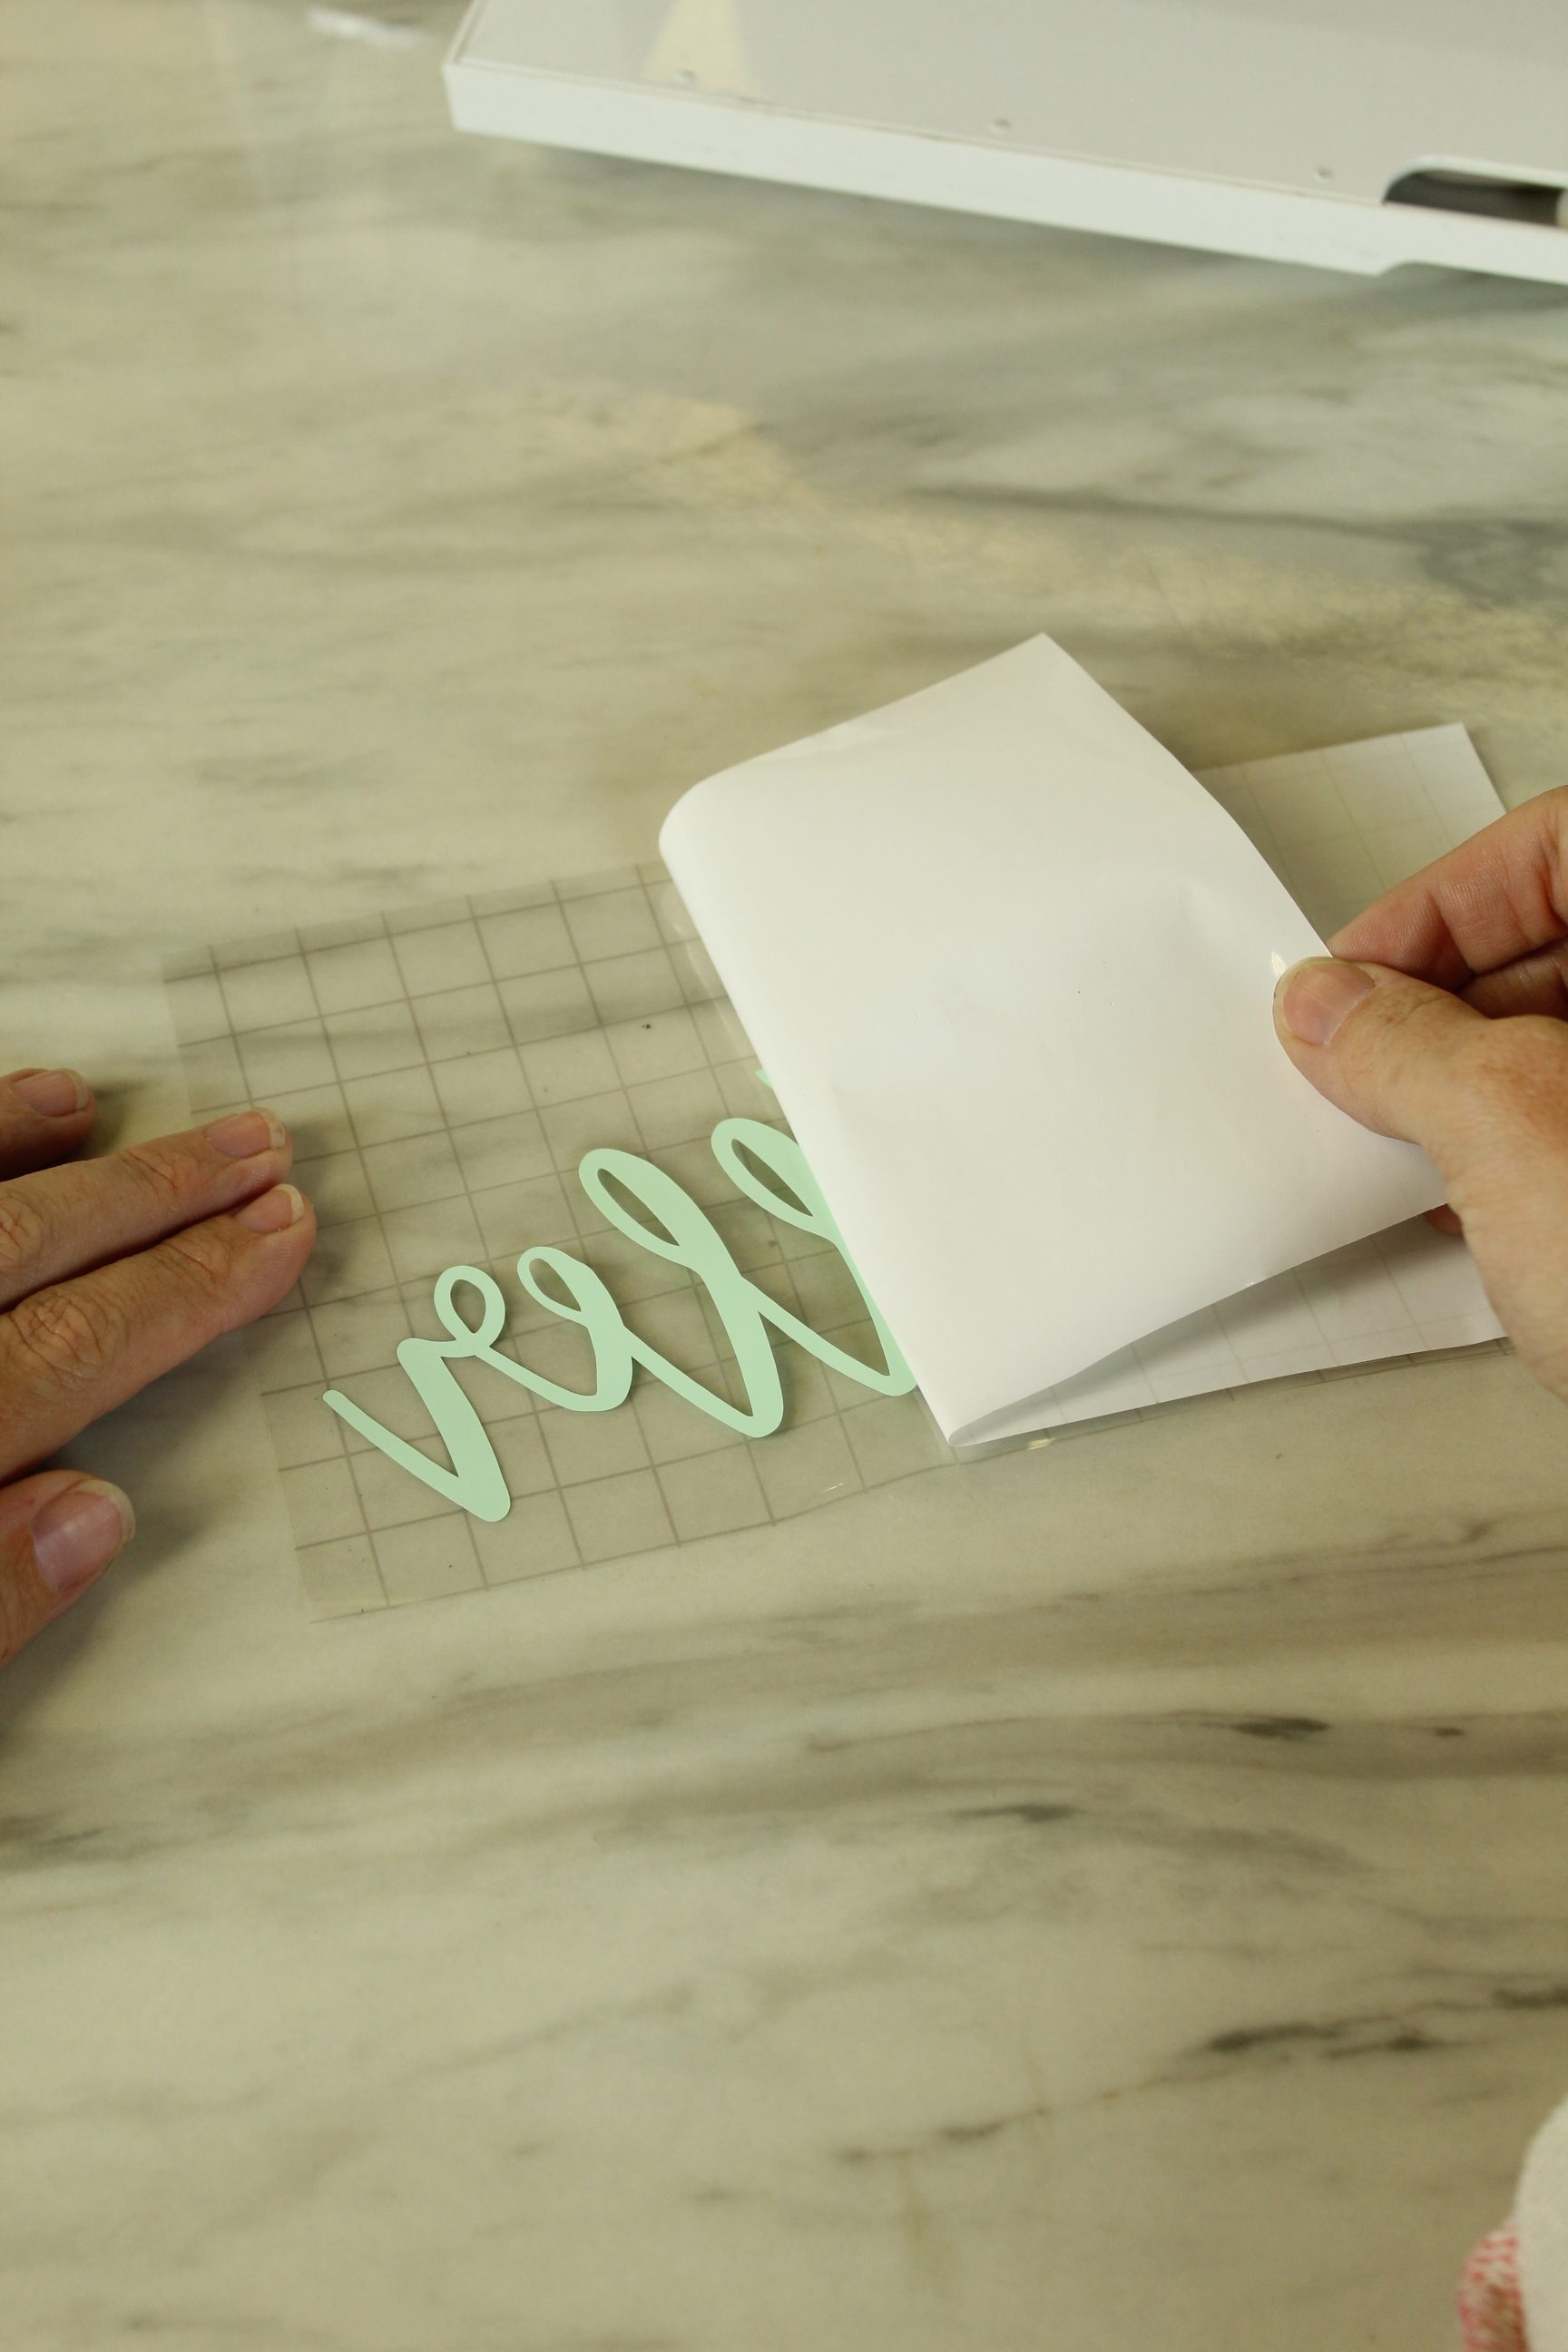
Add Transfer Tape
Once your vinyl is weeded you’ll want to add transfer tape to it to properly place it on your box. Lay it as flat and bubble free as you can and burnish with your scraper tool. Then remove the white backing making sure that your design stays on the transfer tape. If it doesn’t, burnish some more until it does. I find that laying the design face down on my work surface and using a rolling motion with the backing works the best.
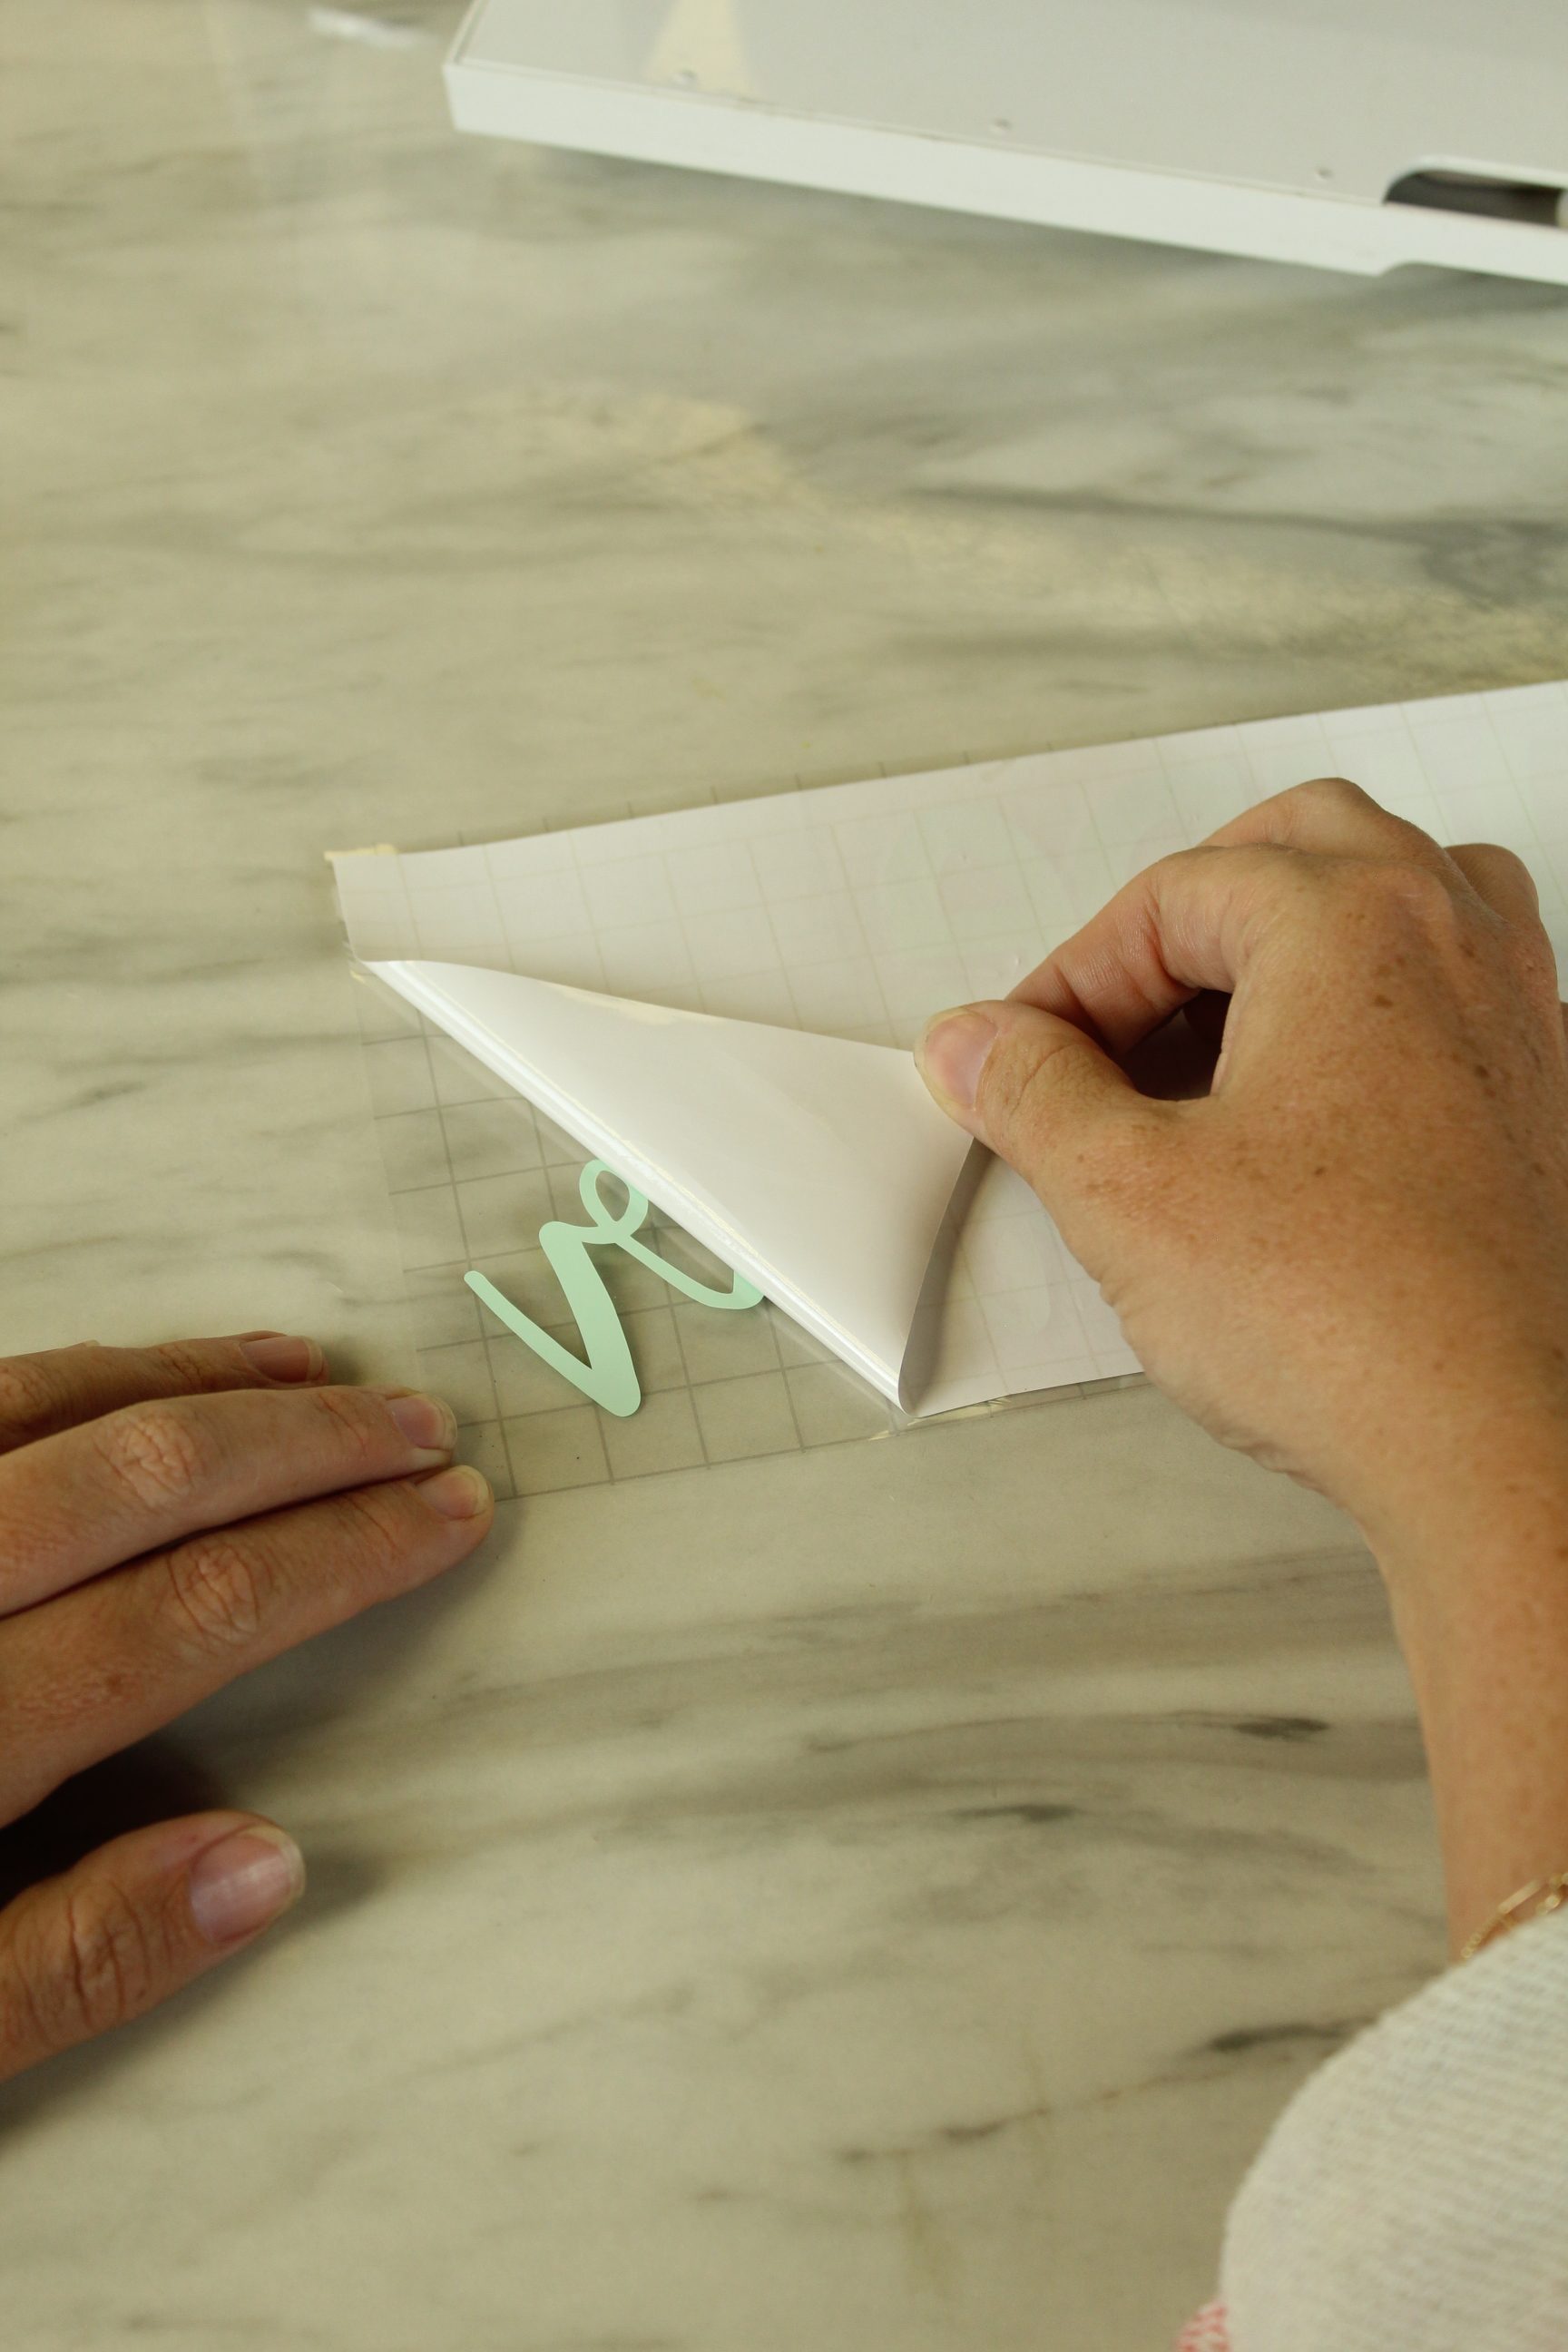
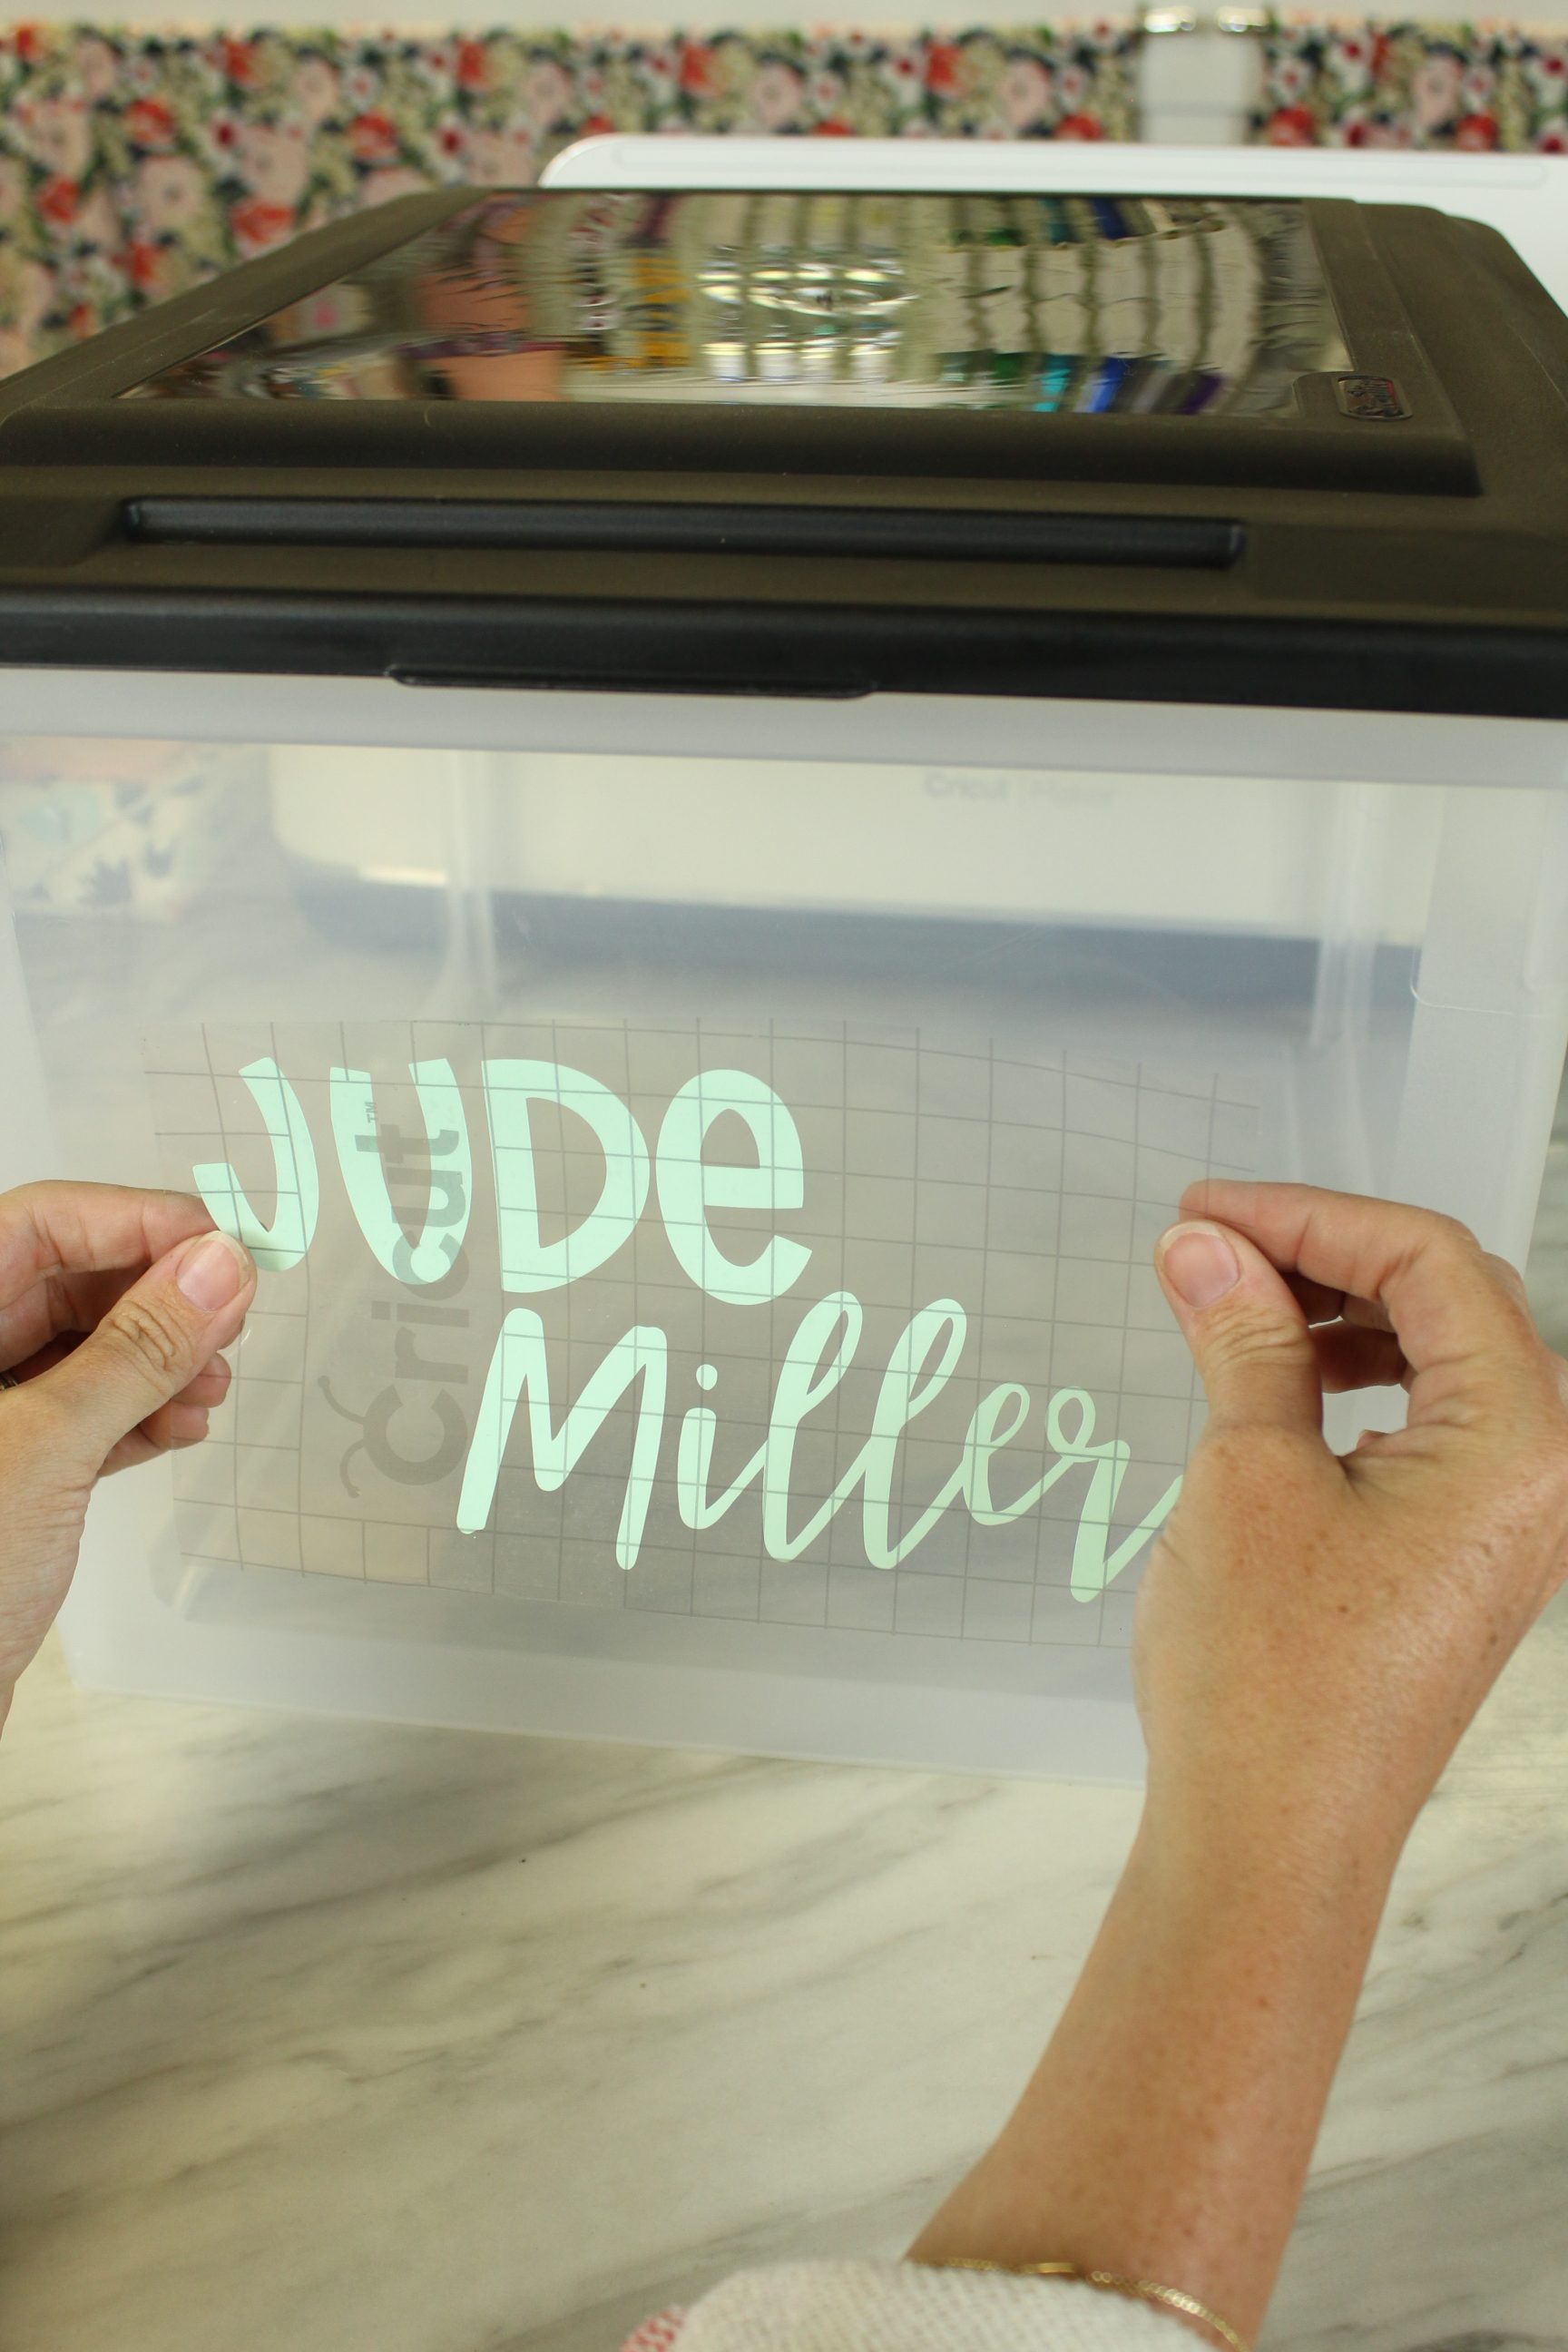
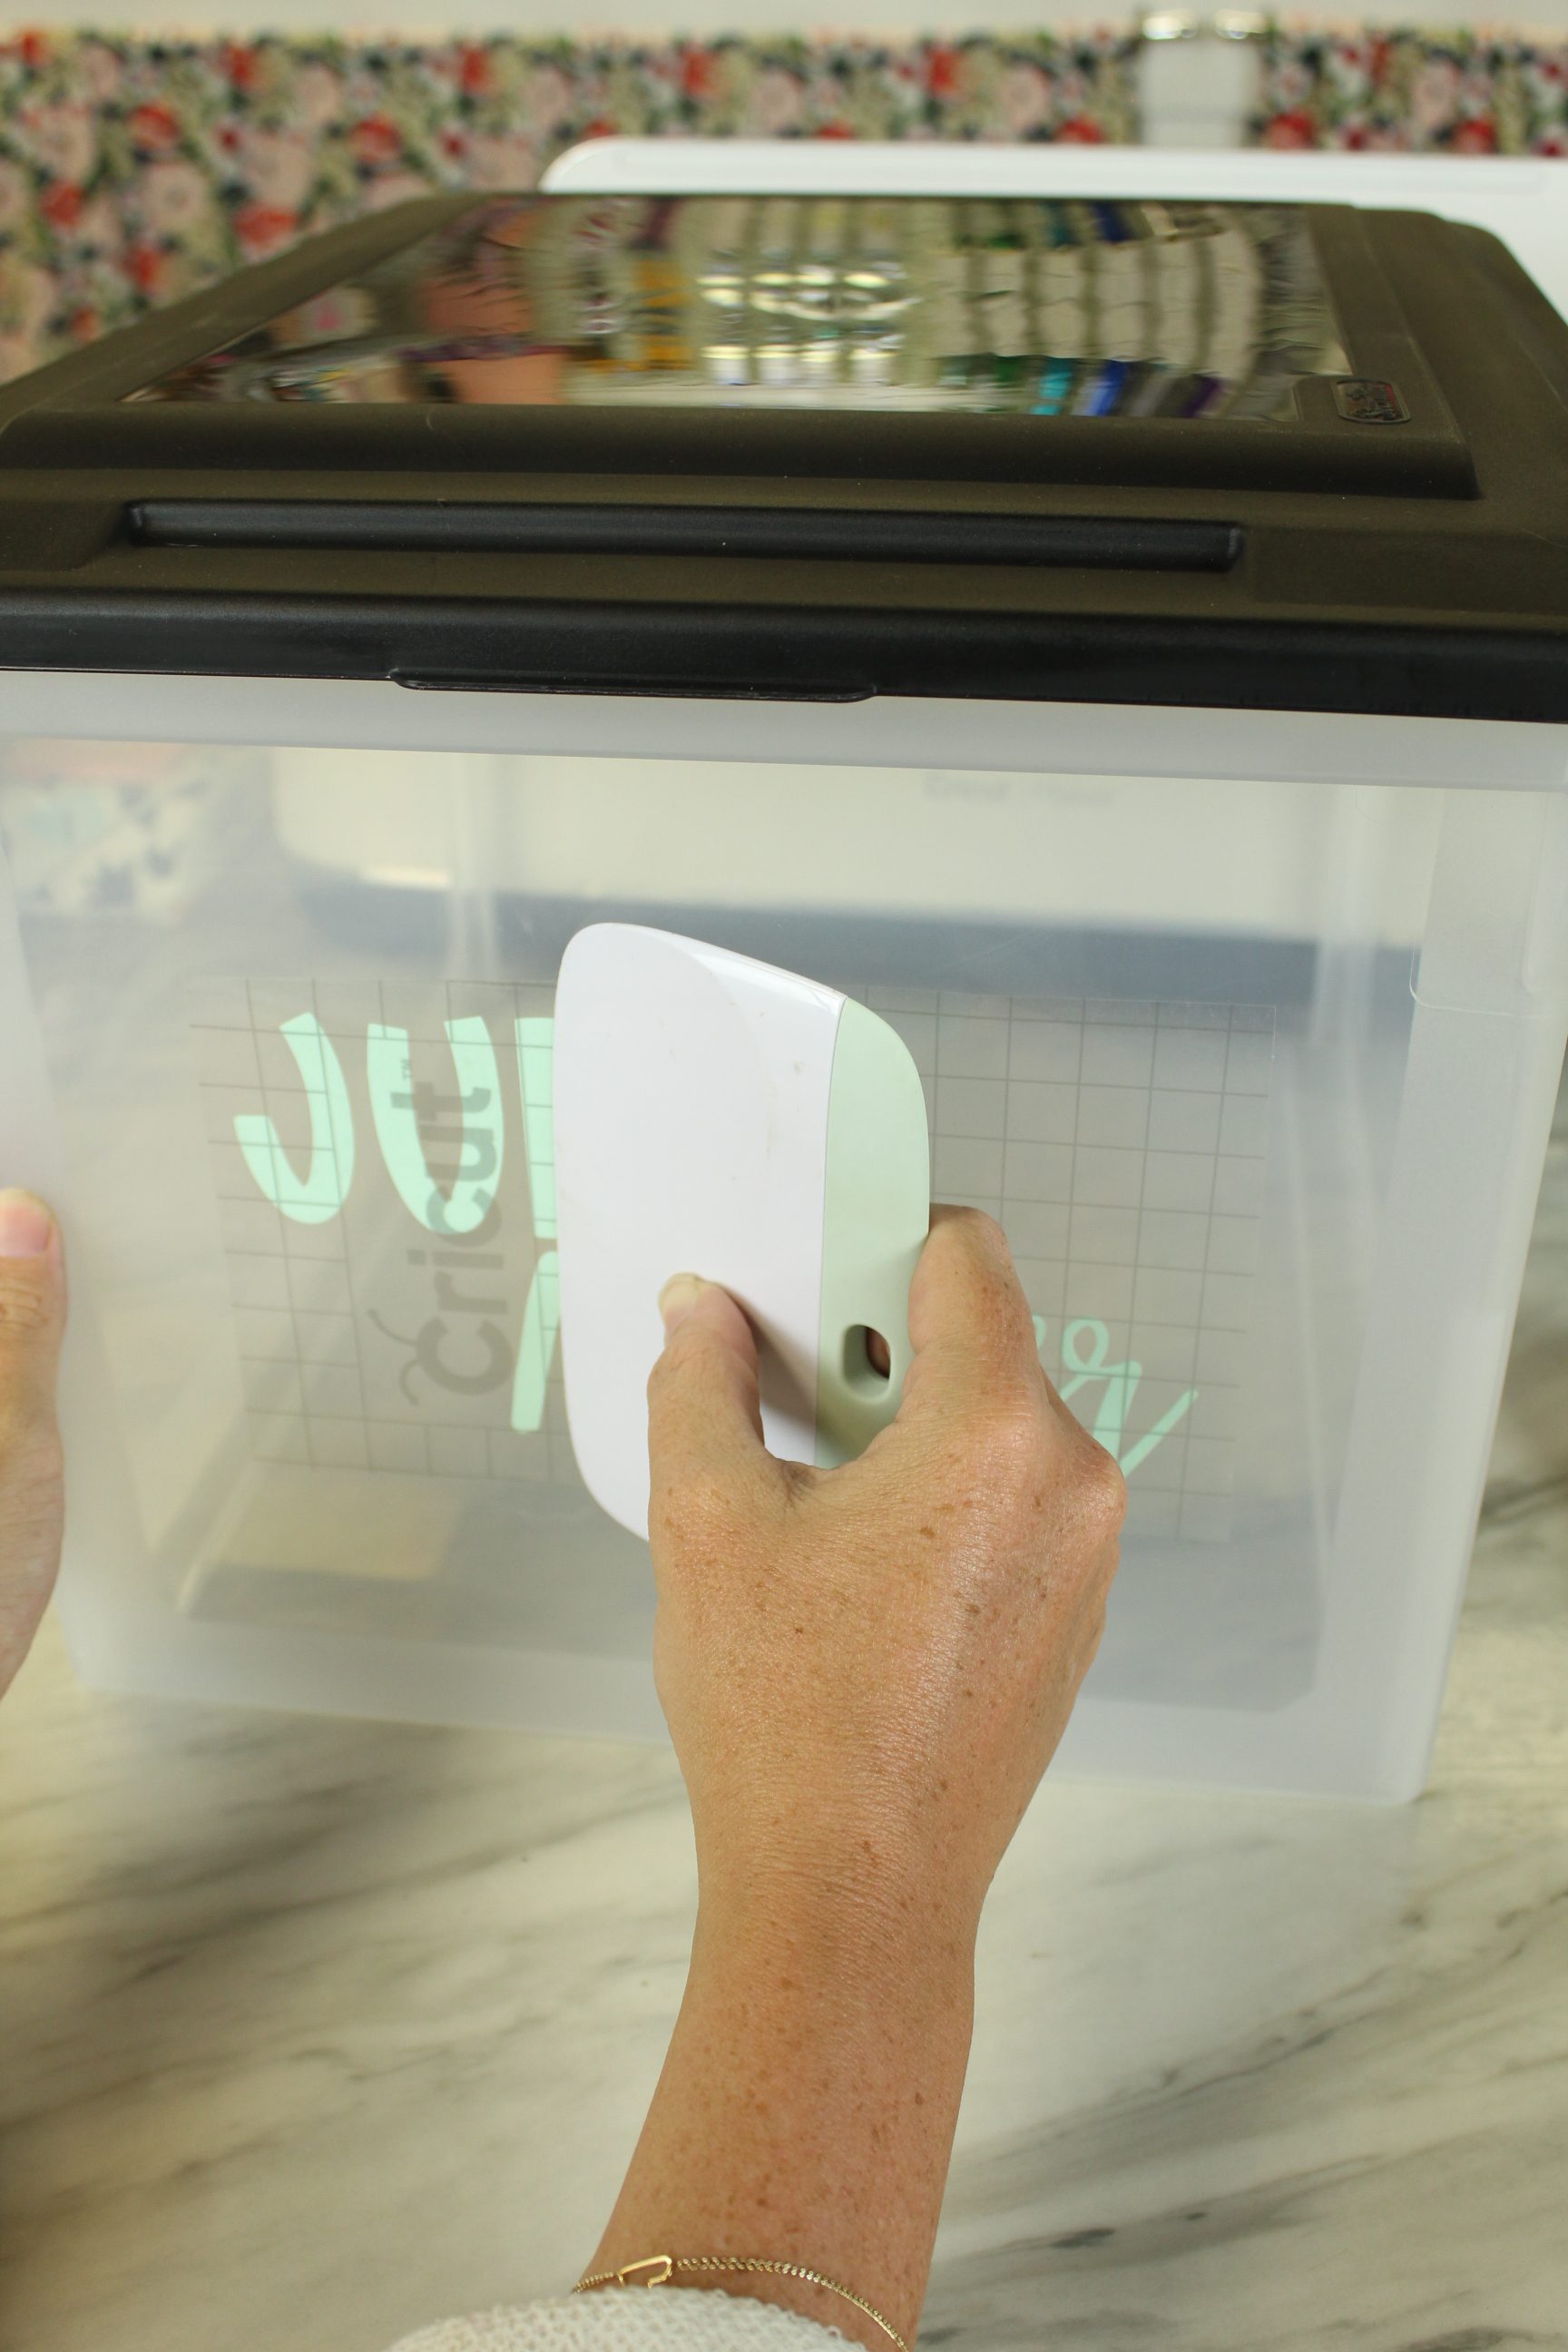
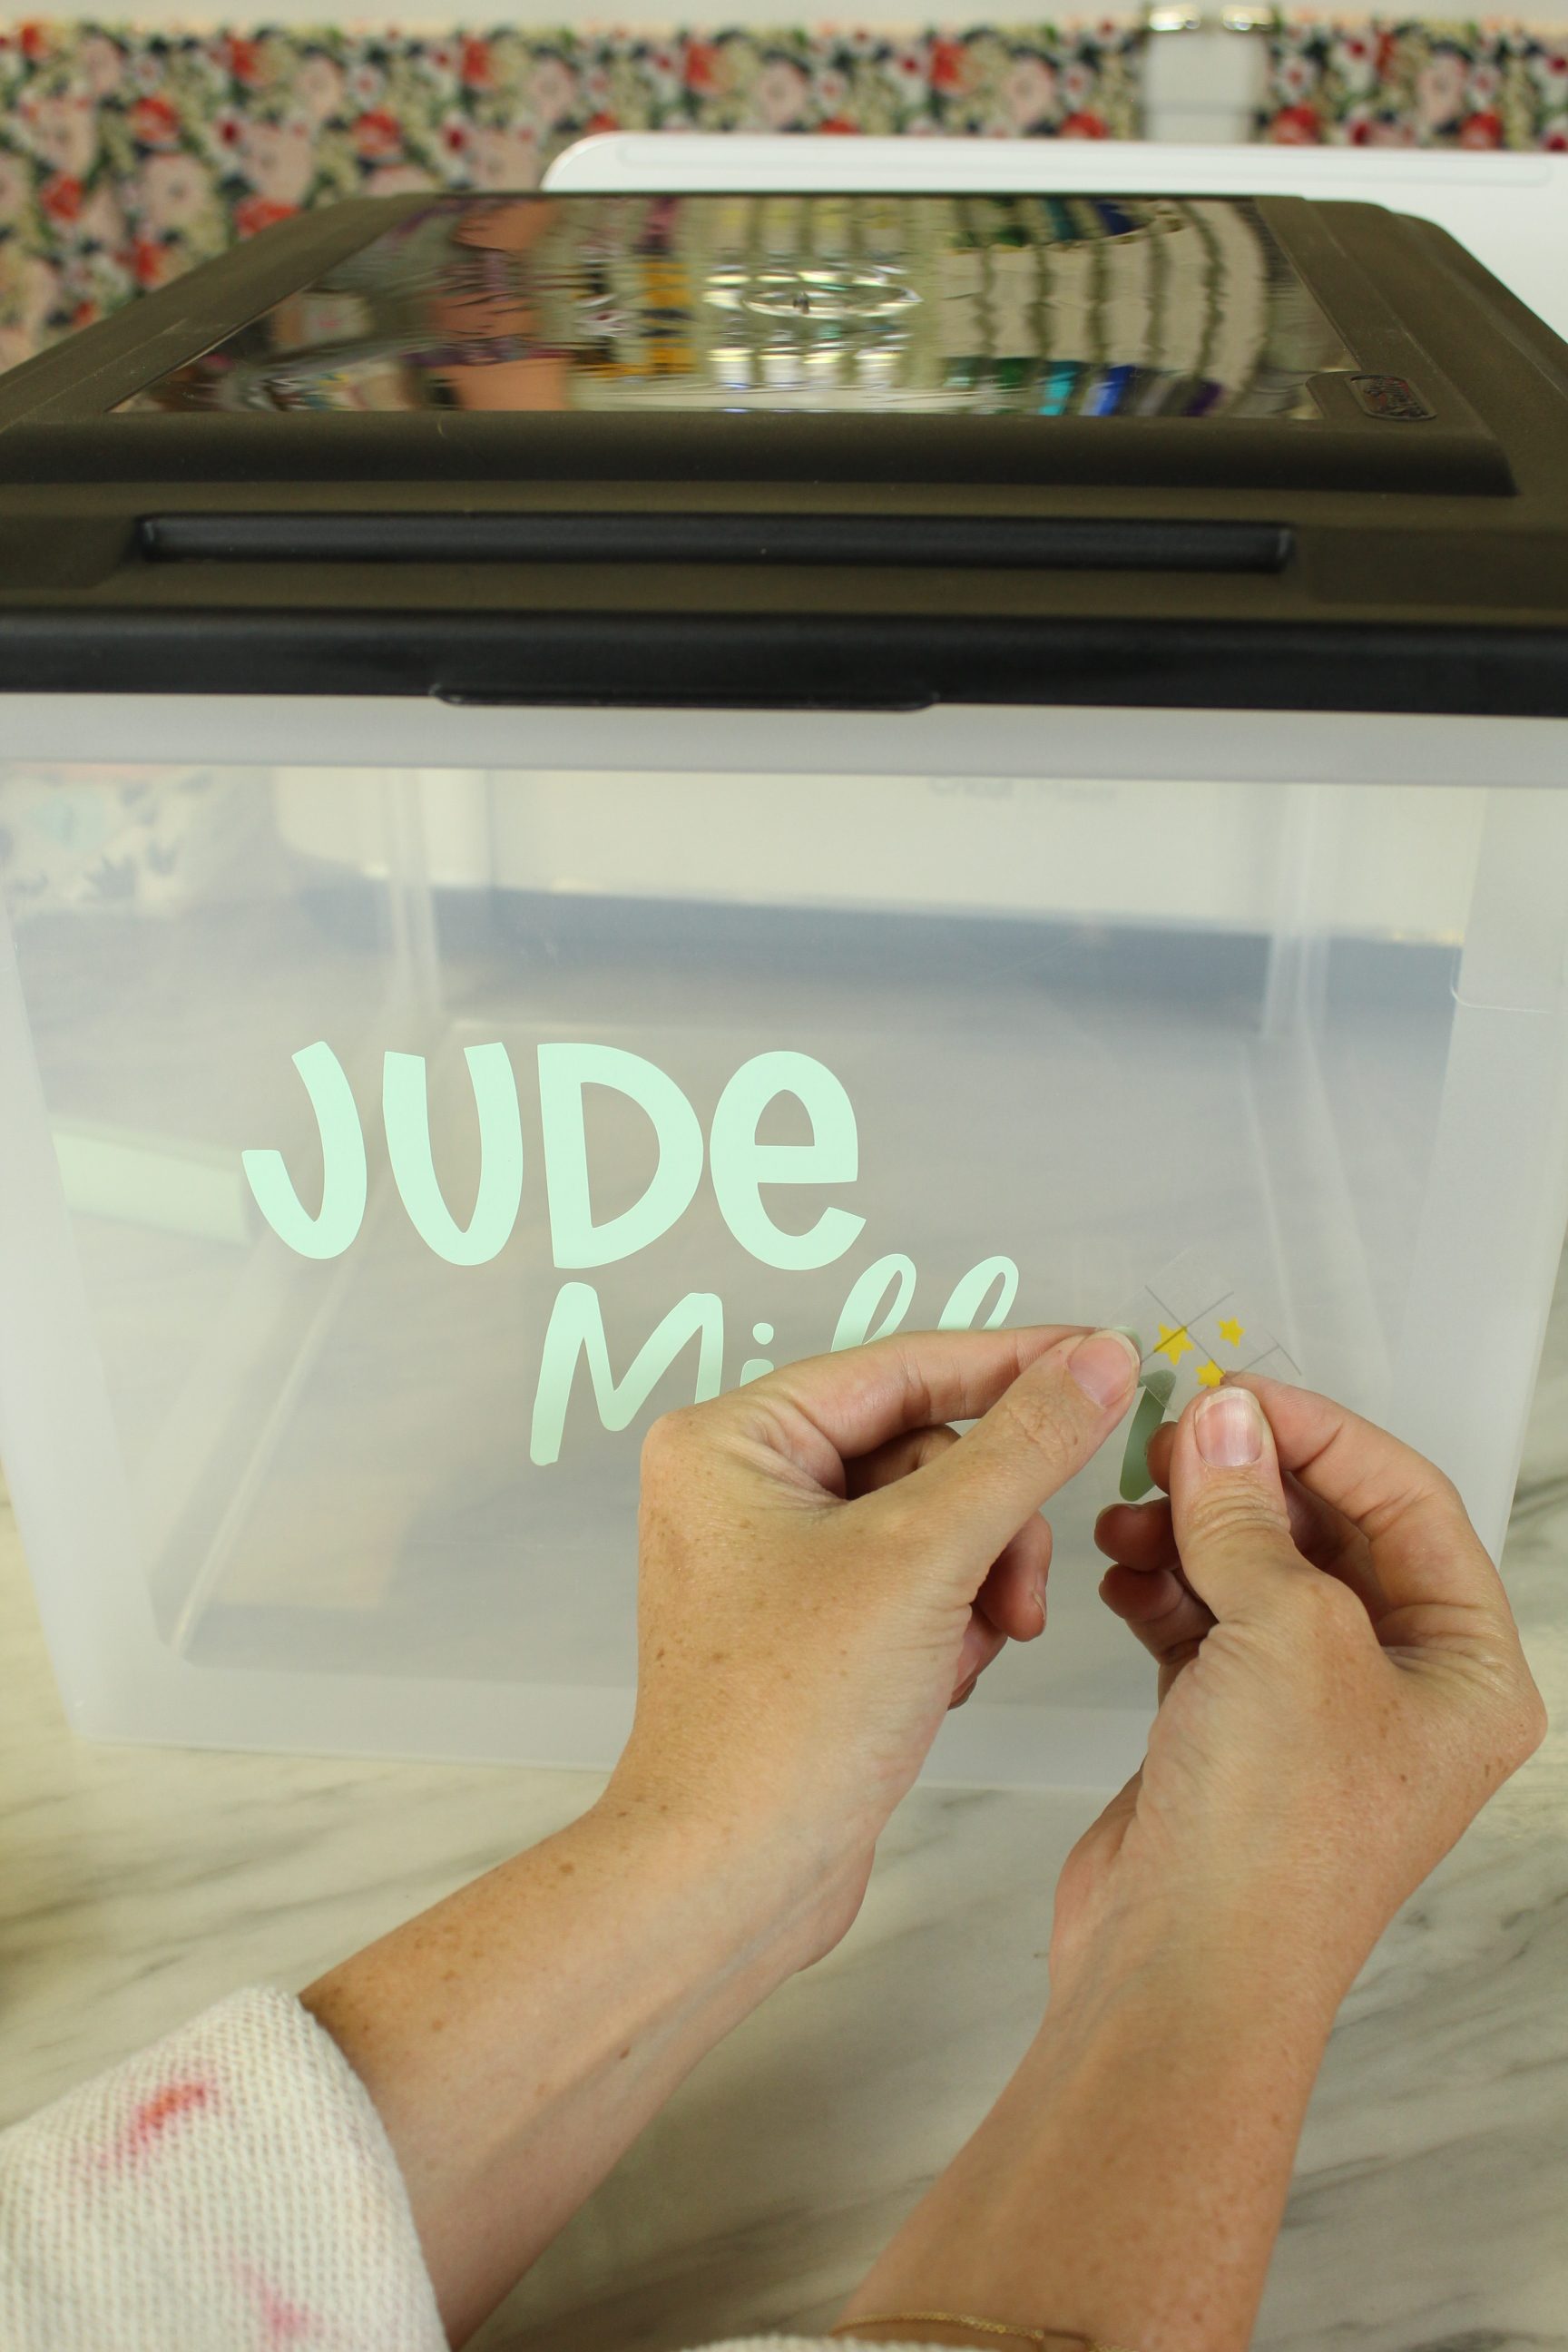
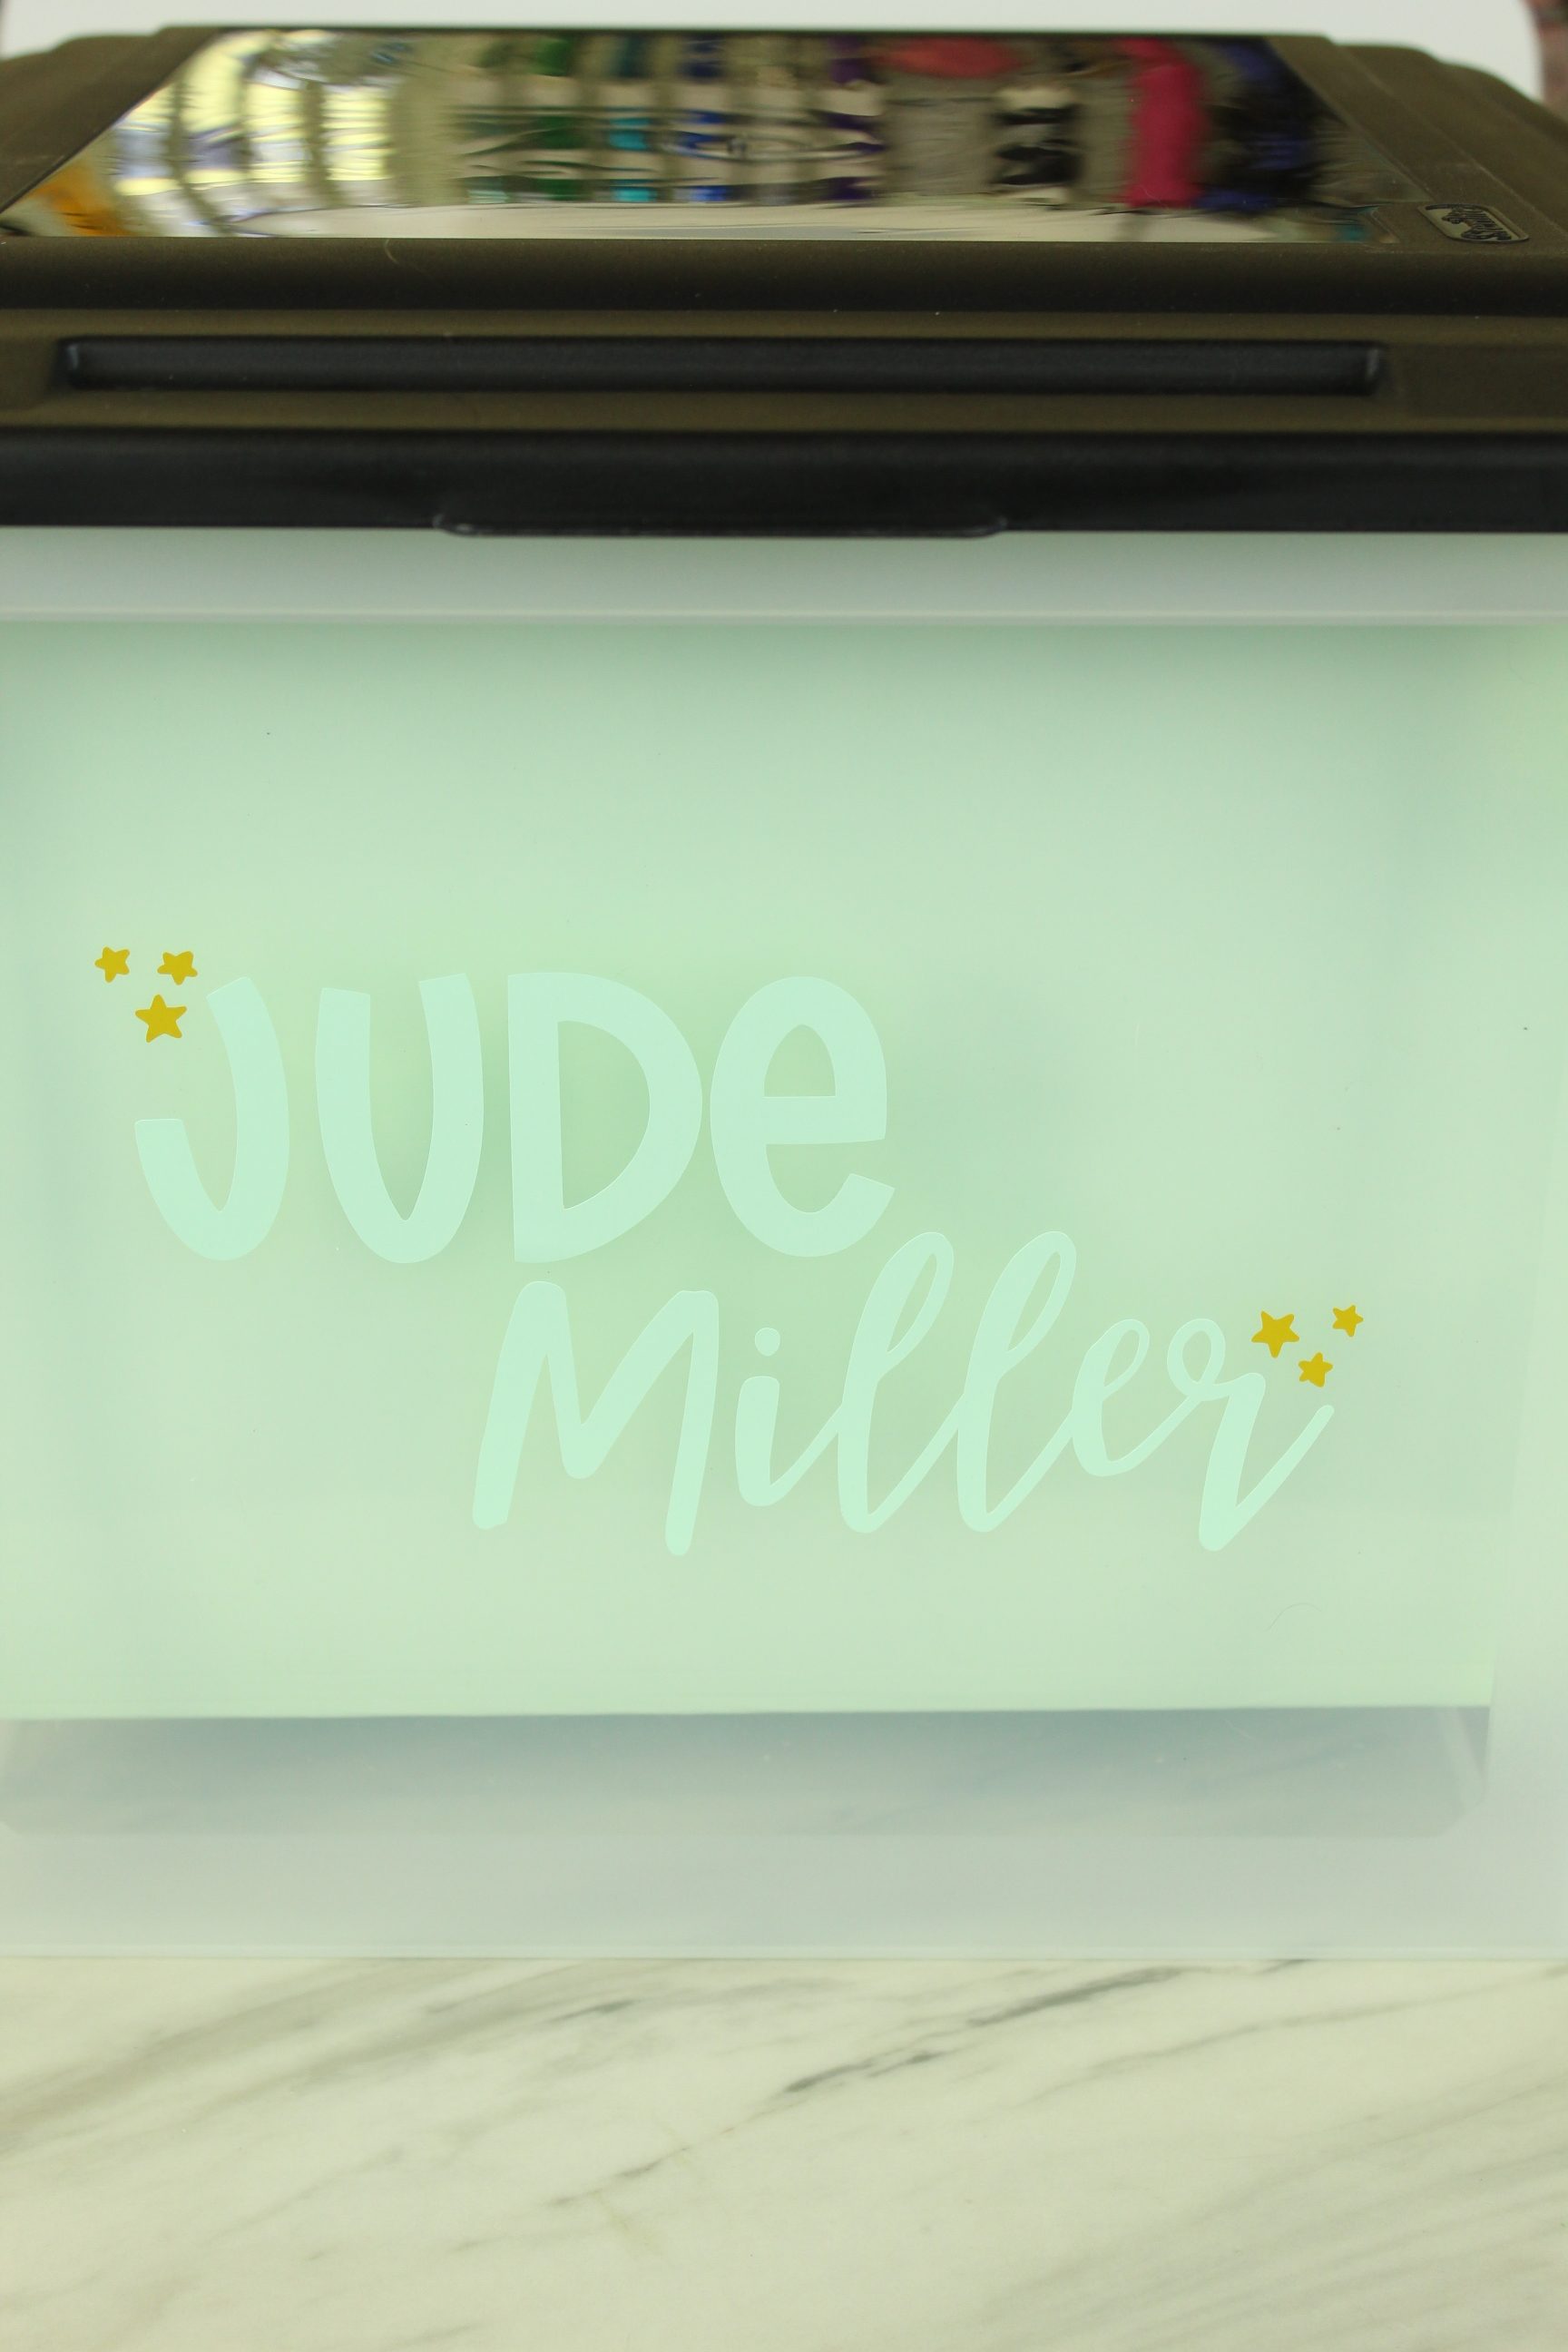
Apply Design
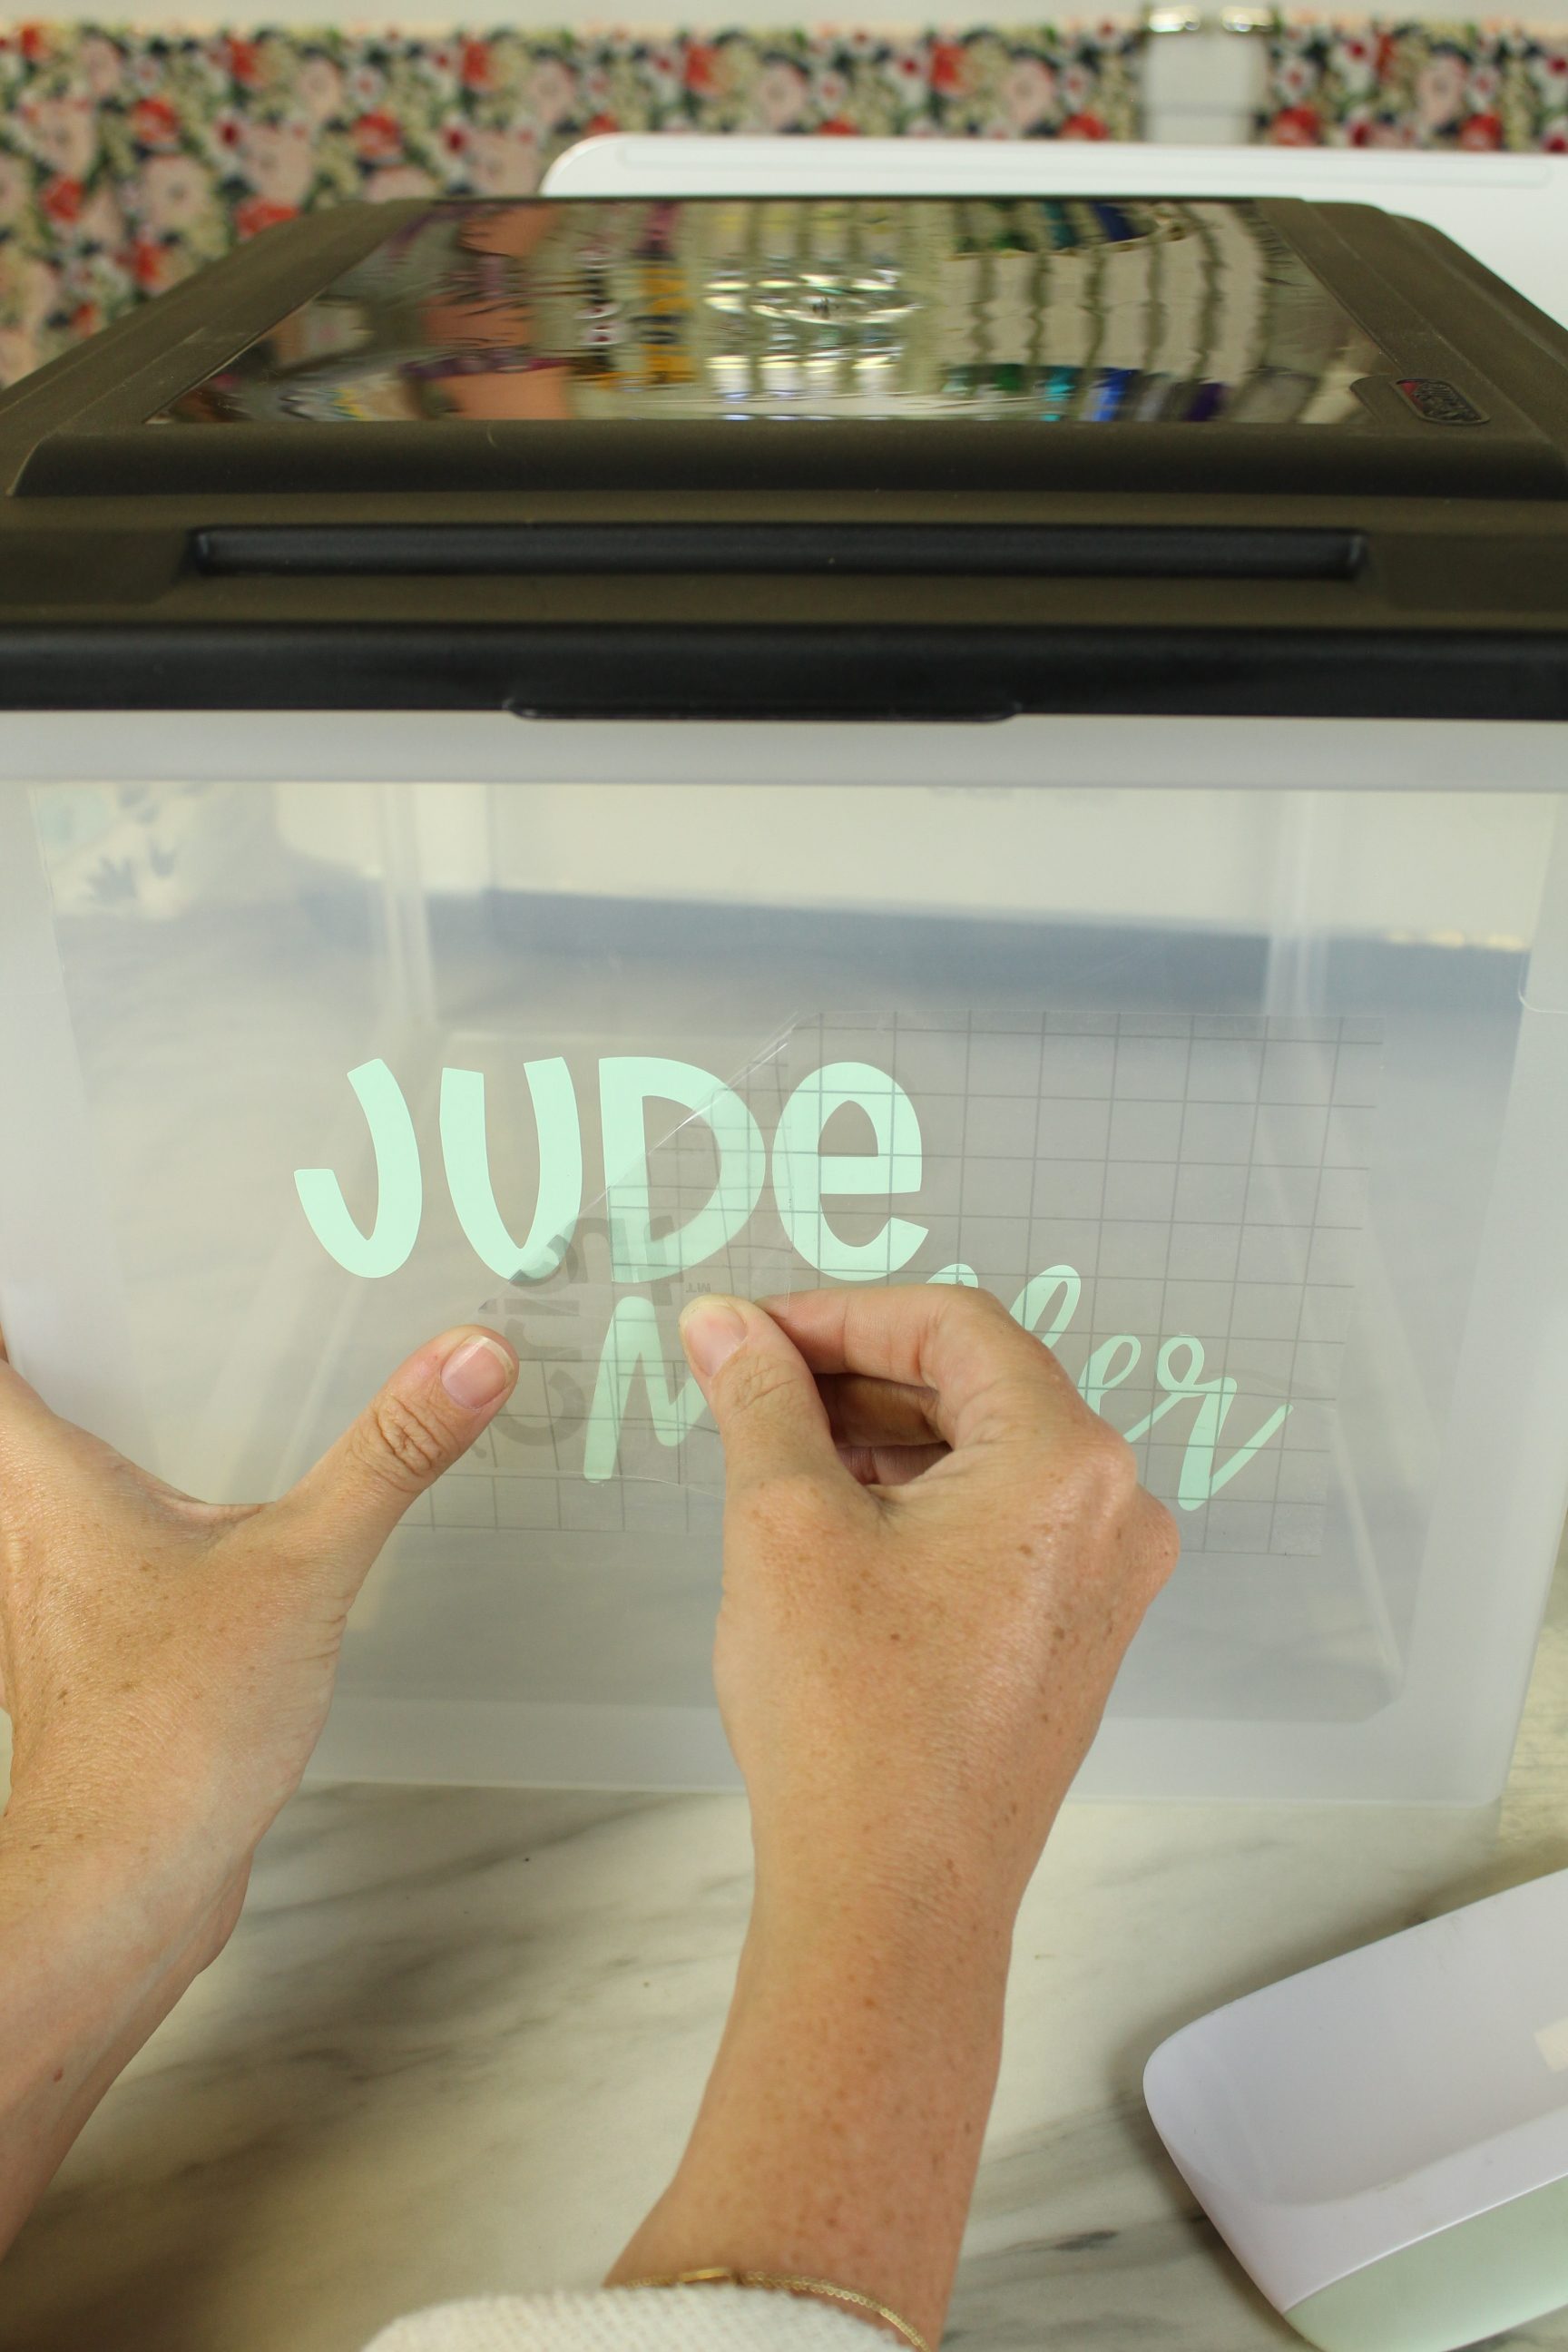
Find where you want your design and place it onto the box. Burnish it into place to get it to stay. I sometimes like to use my finger as well to be sure it’s really on there. Remove the transfer tape again using a rolling motion off of your design. Go slowly, being sure your design stays on your box.
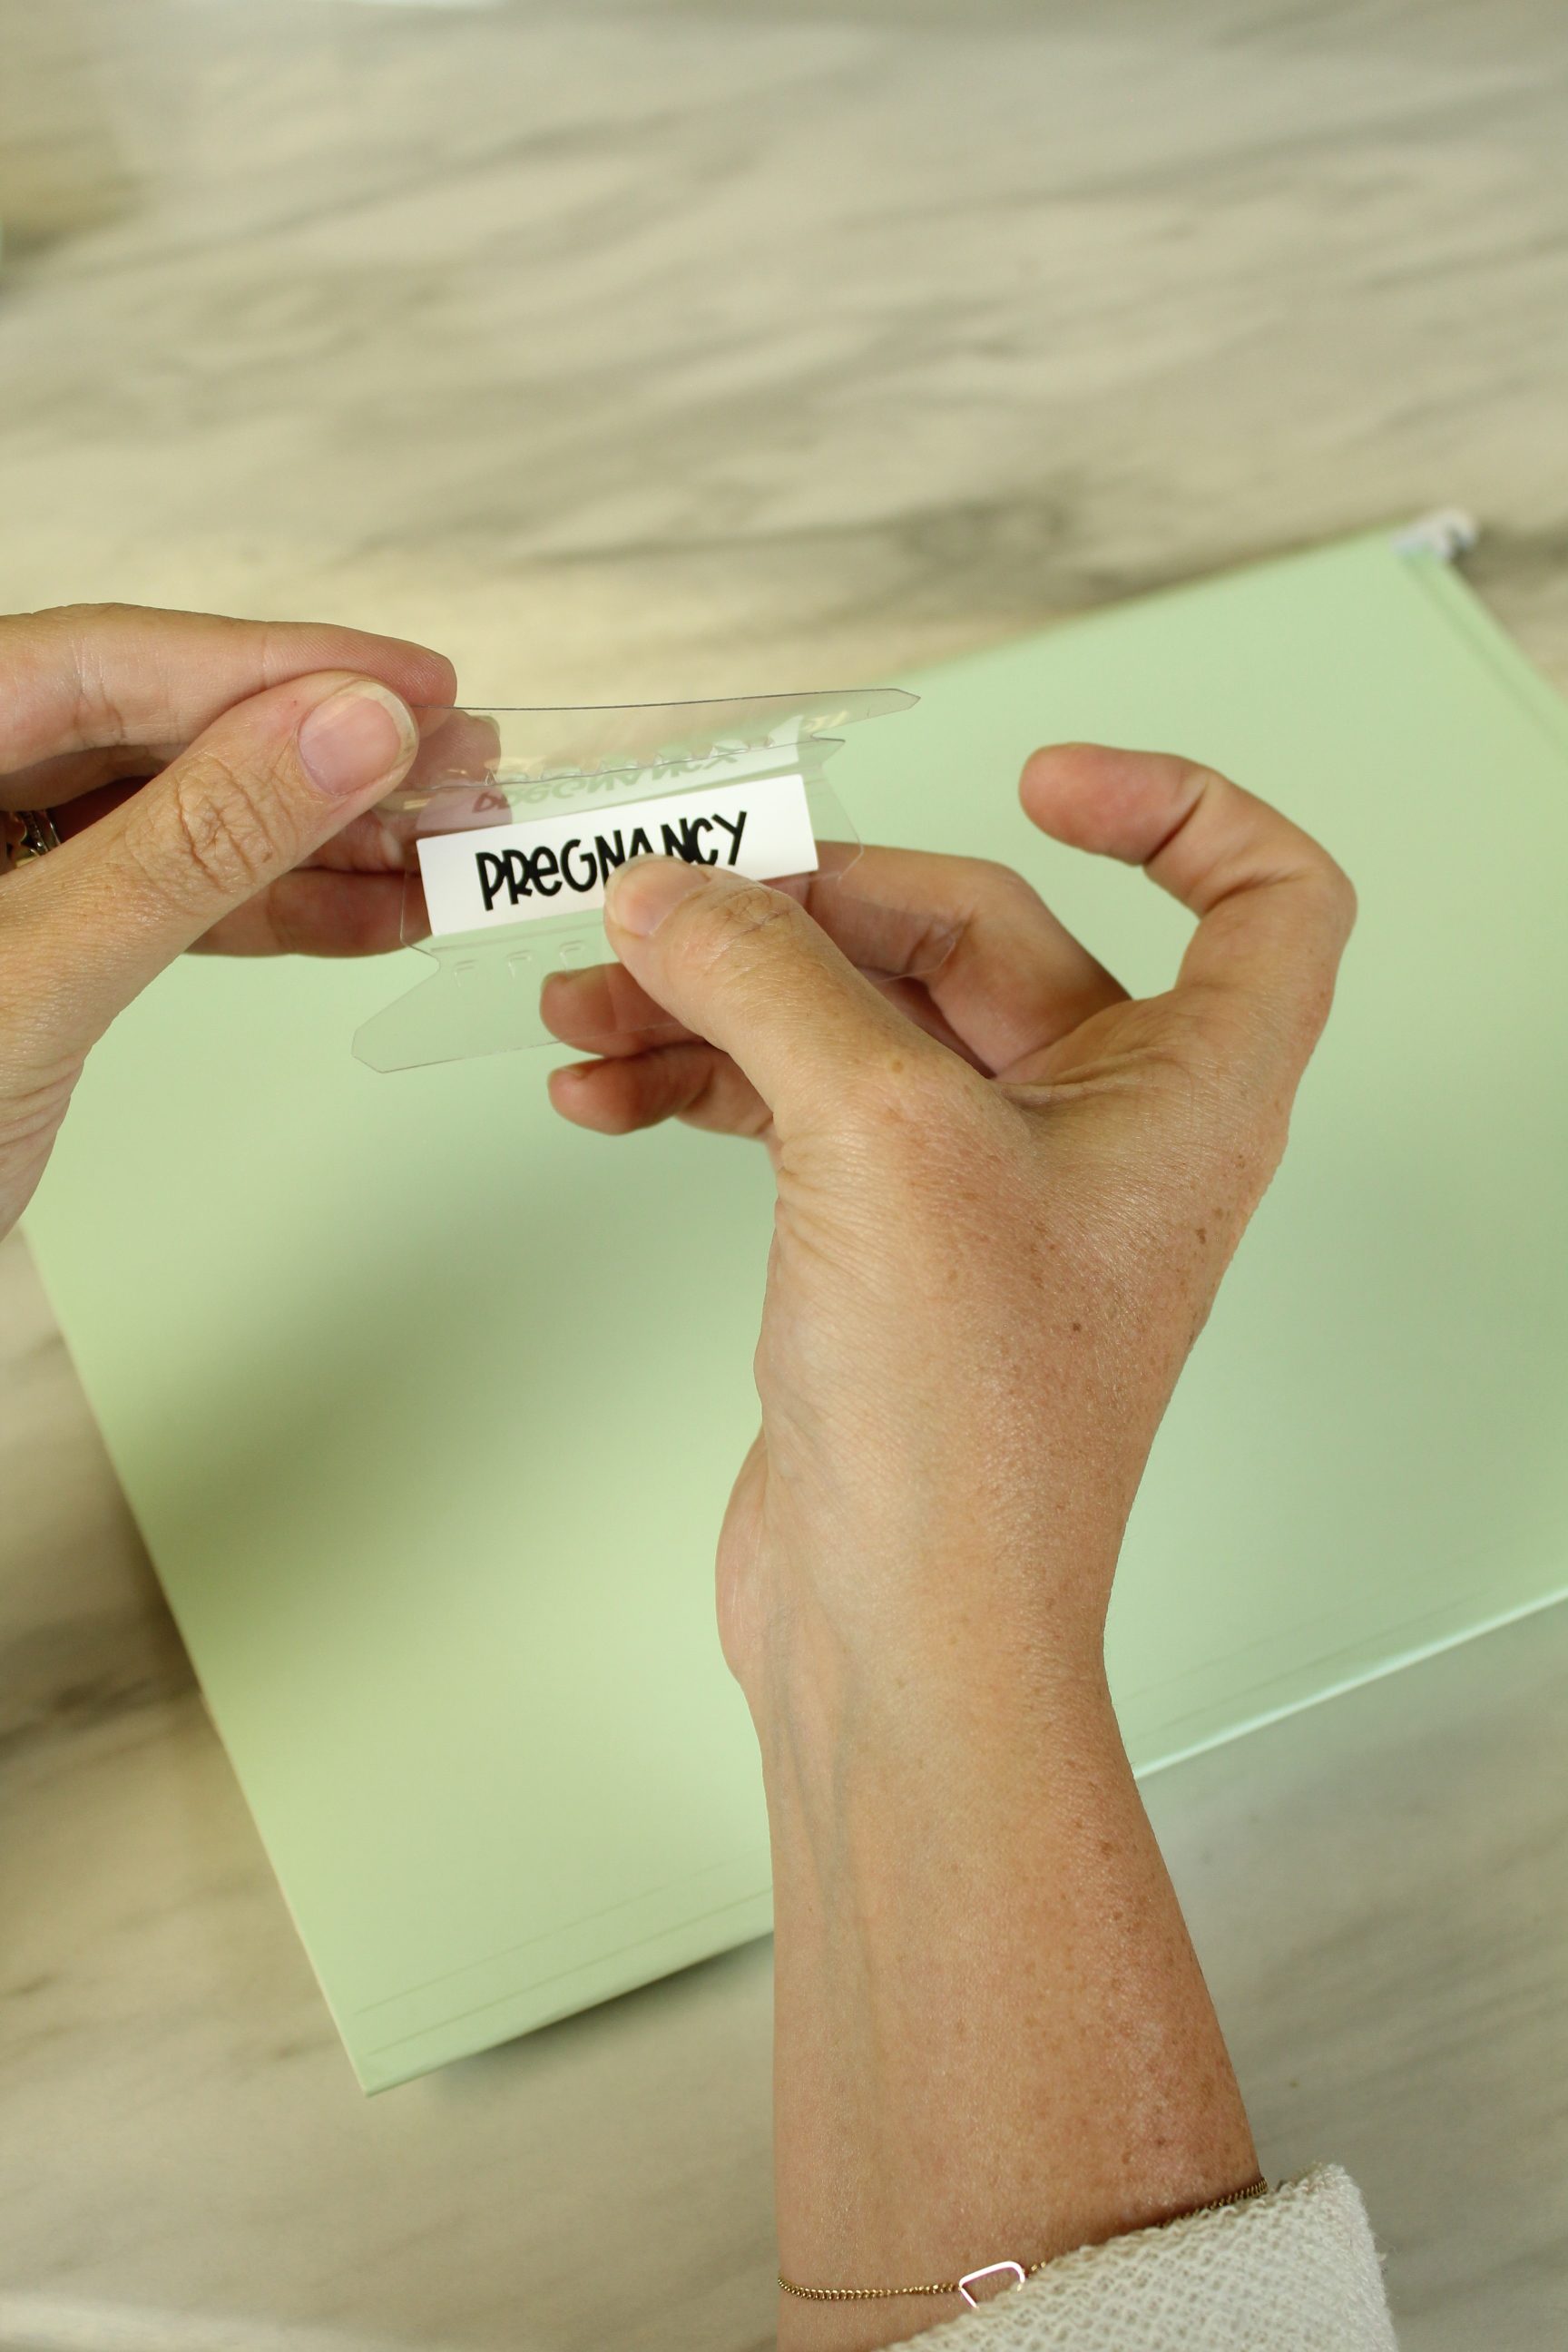
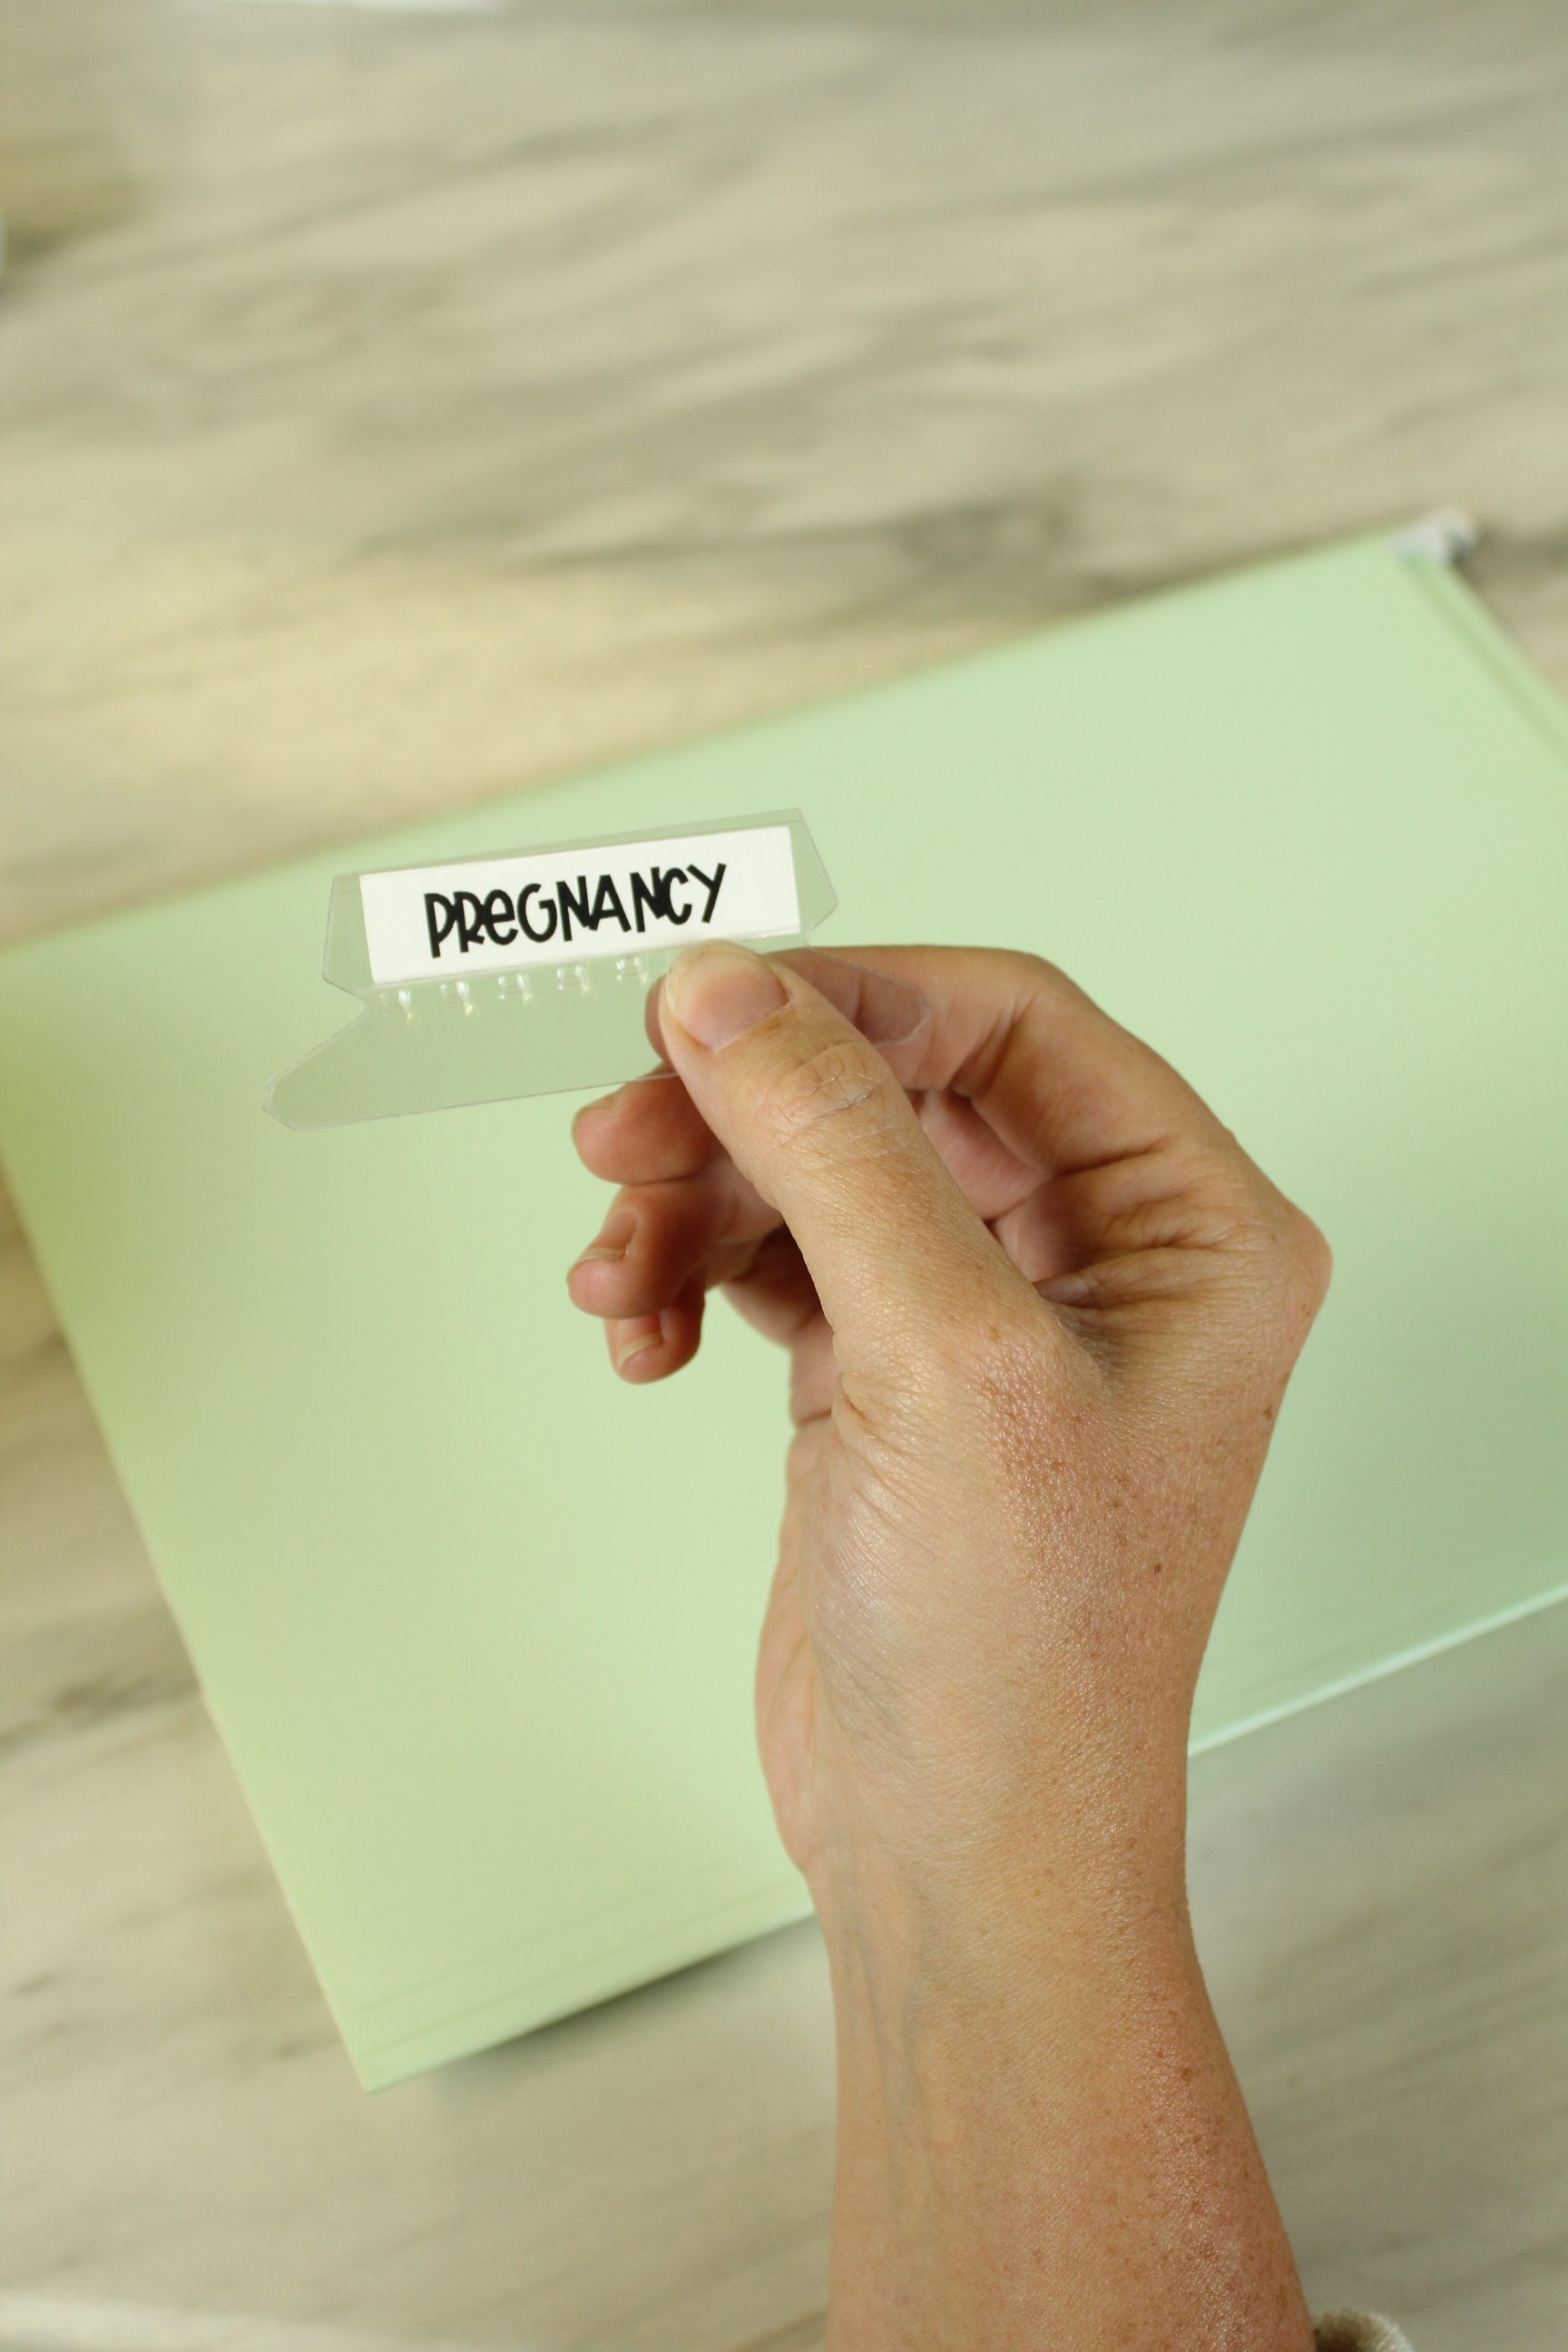
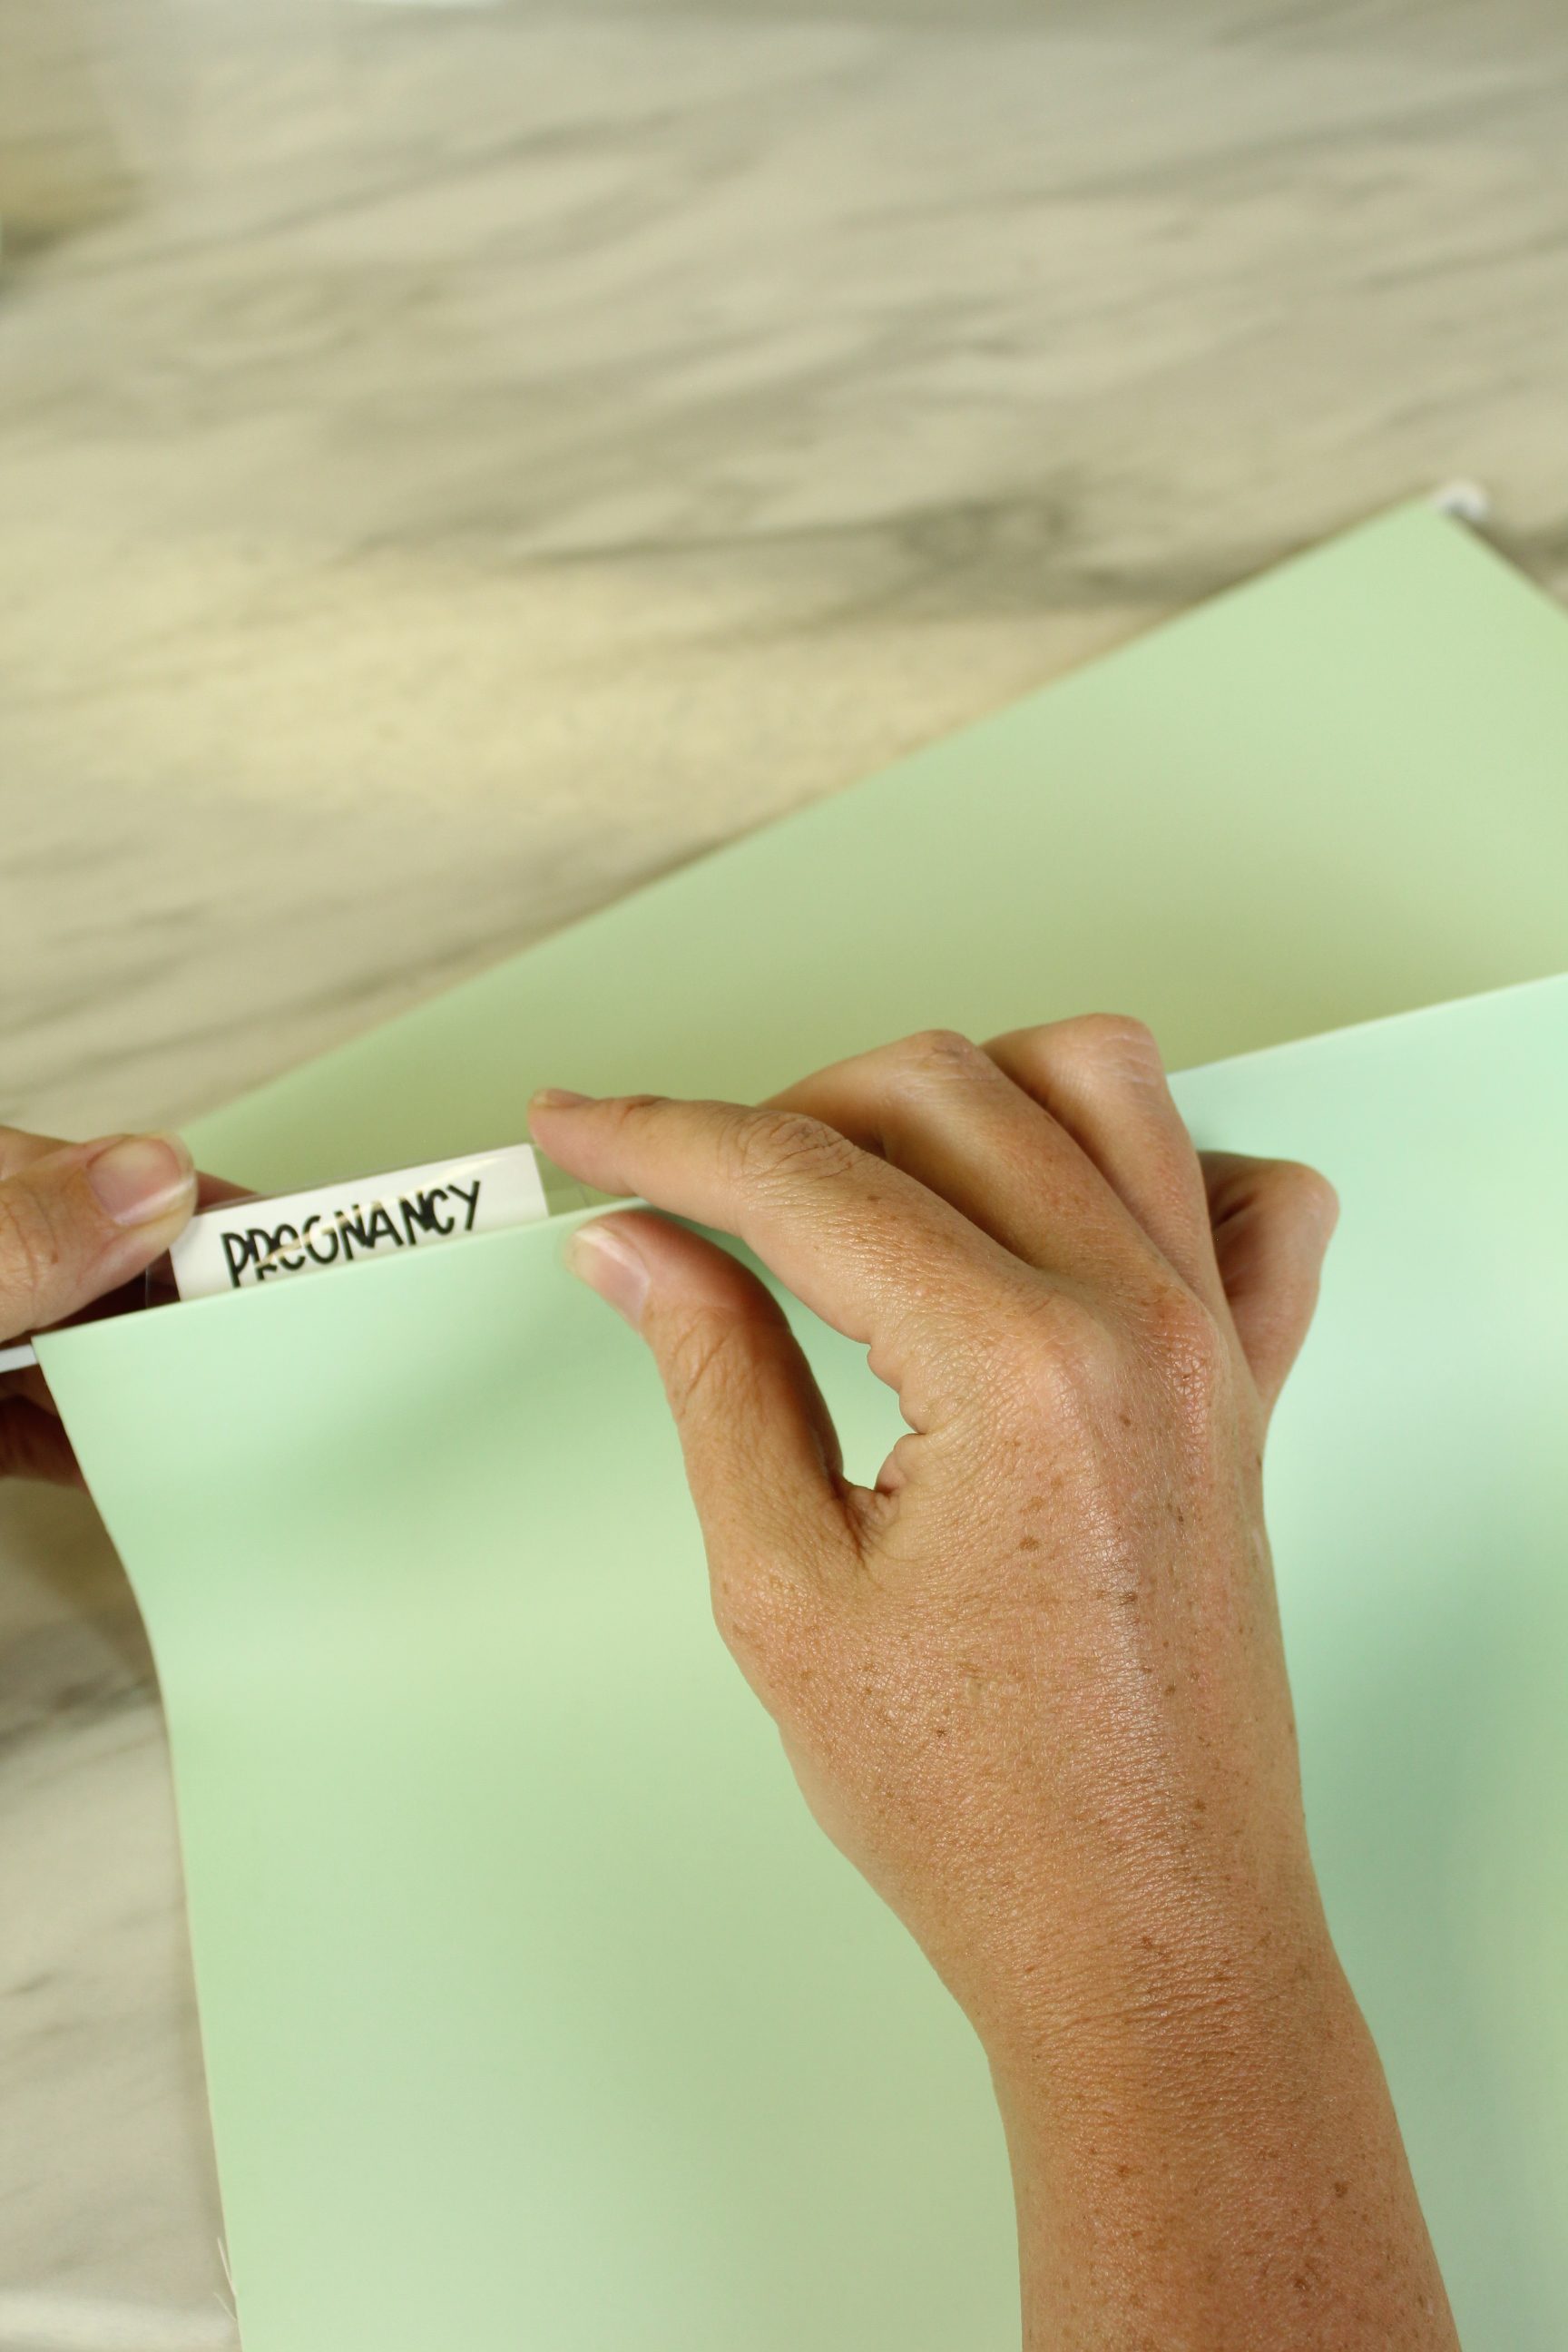
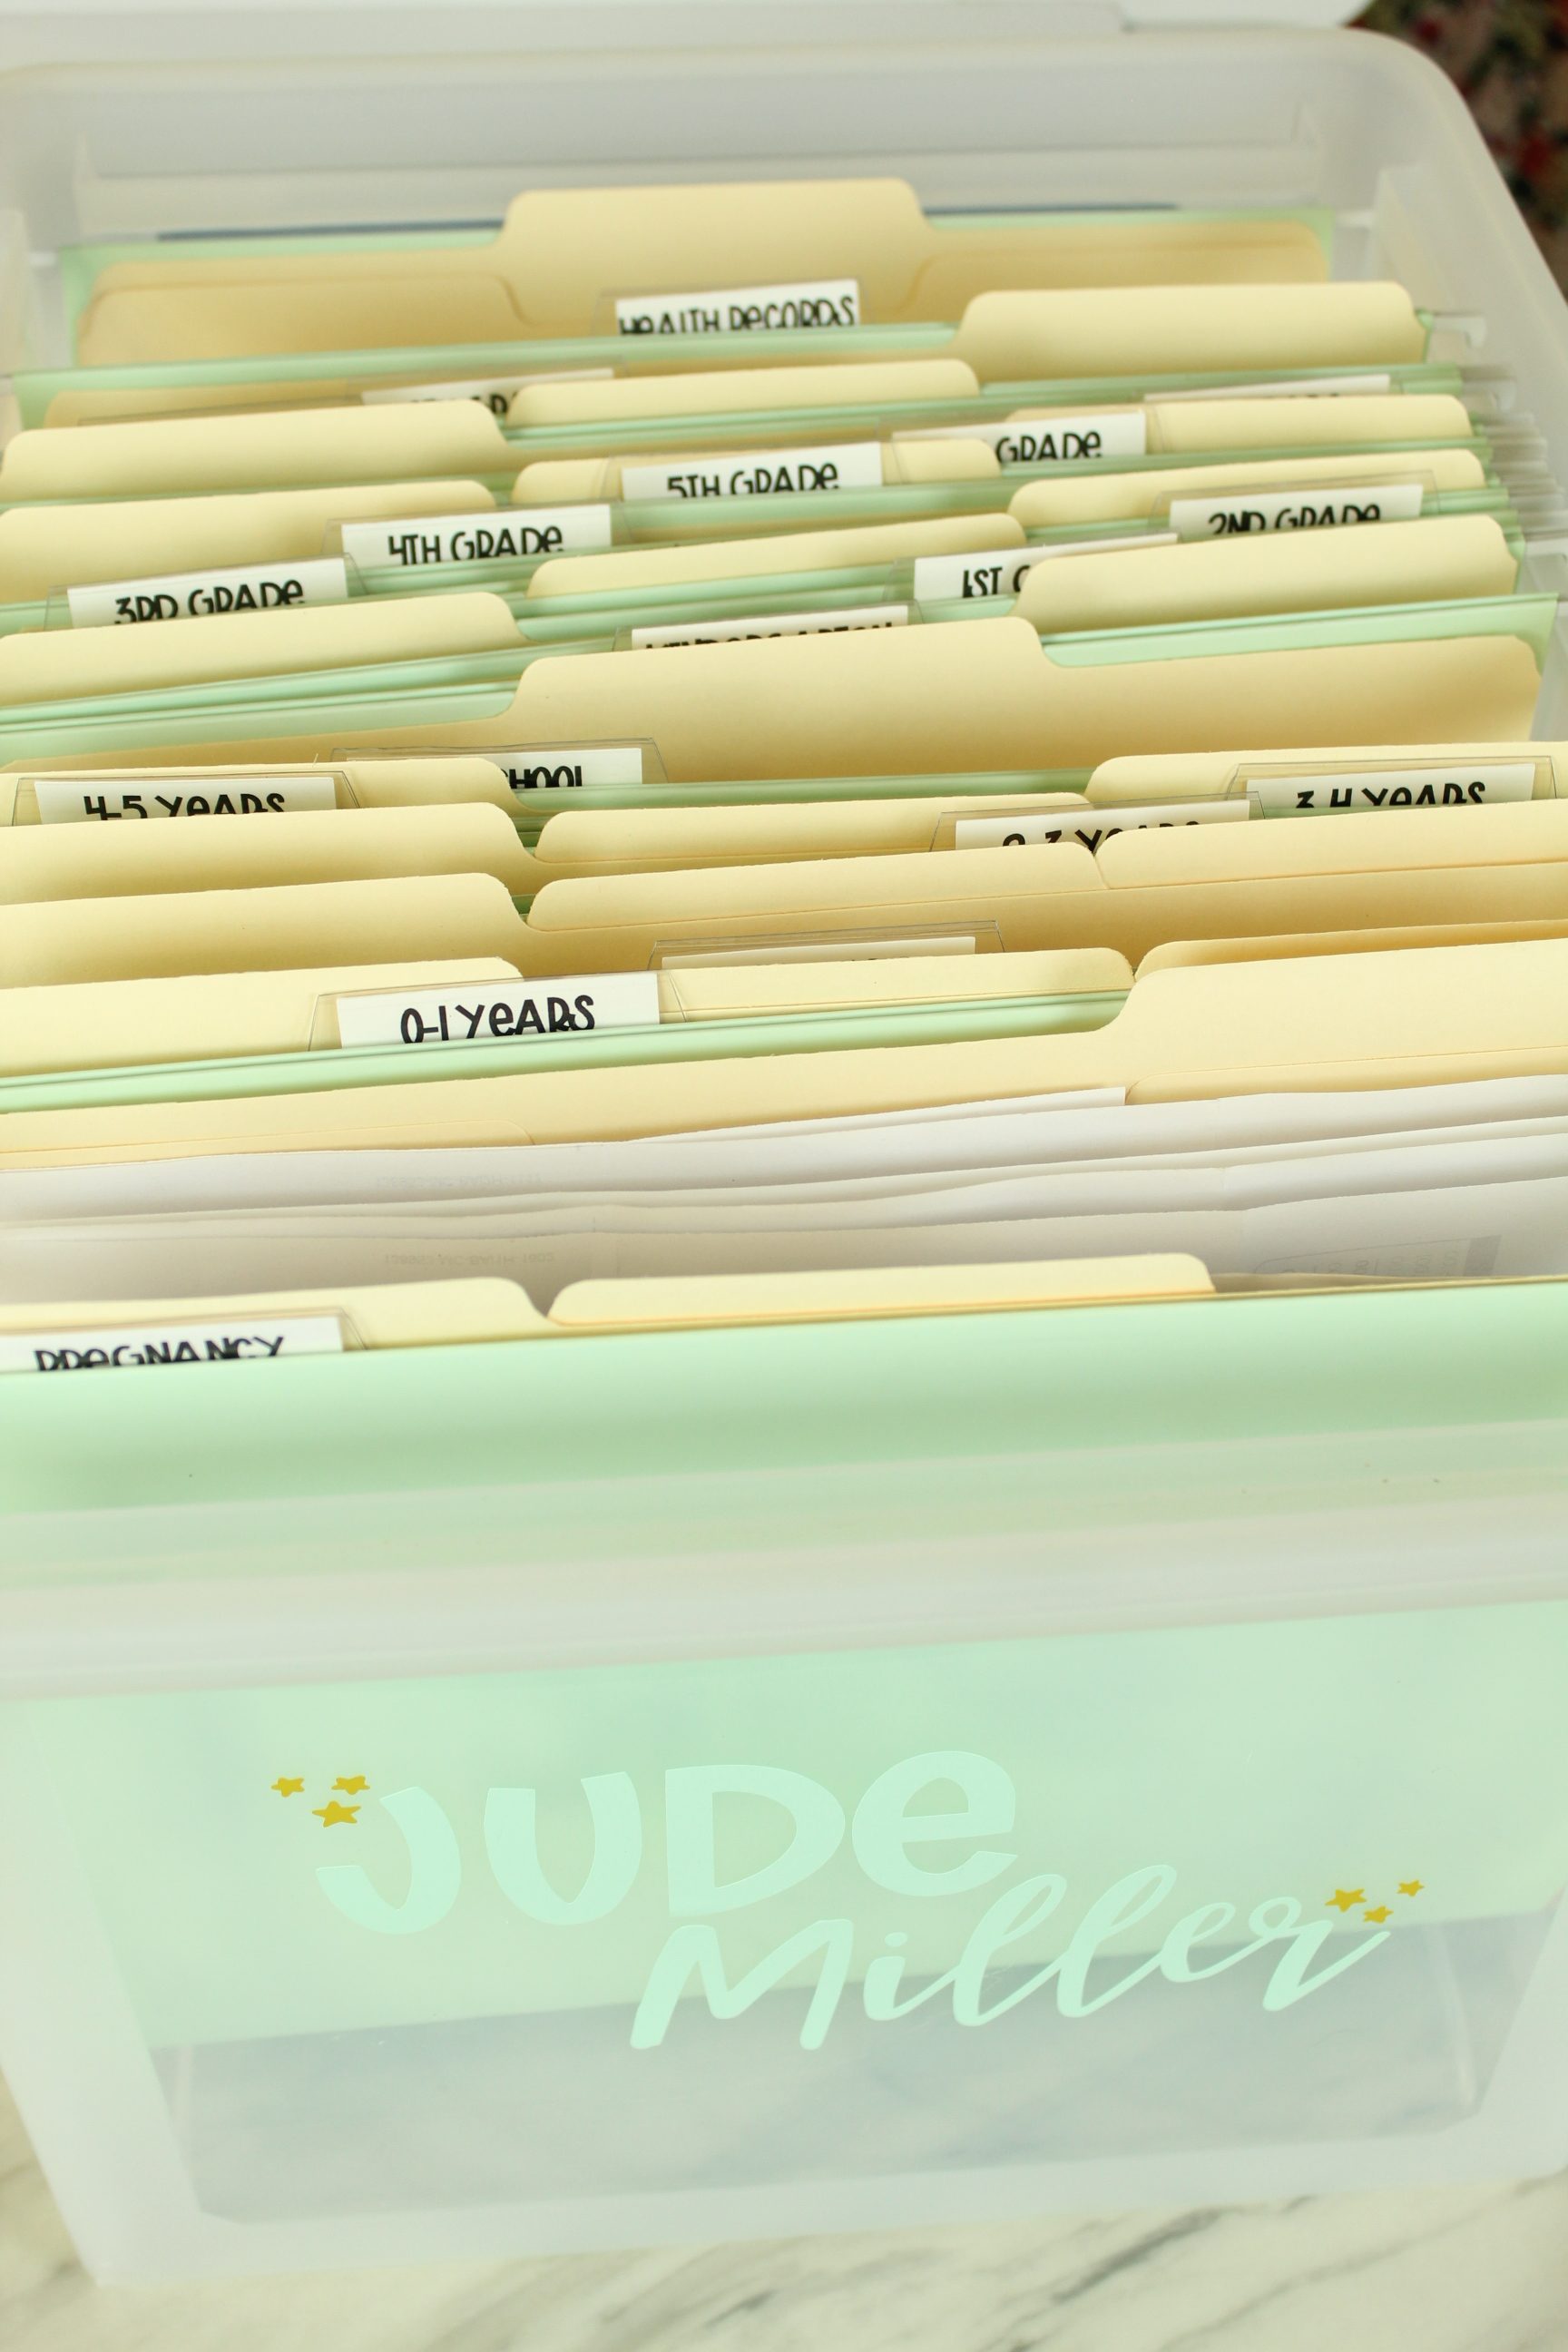
Add Labels
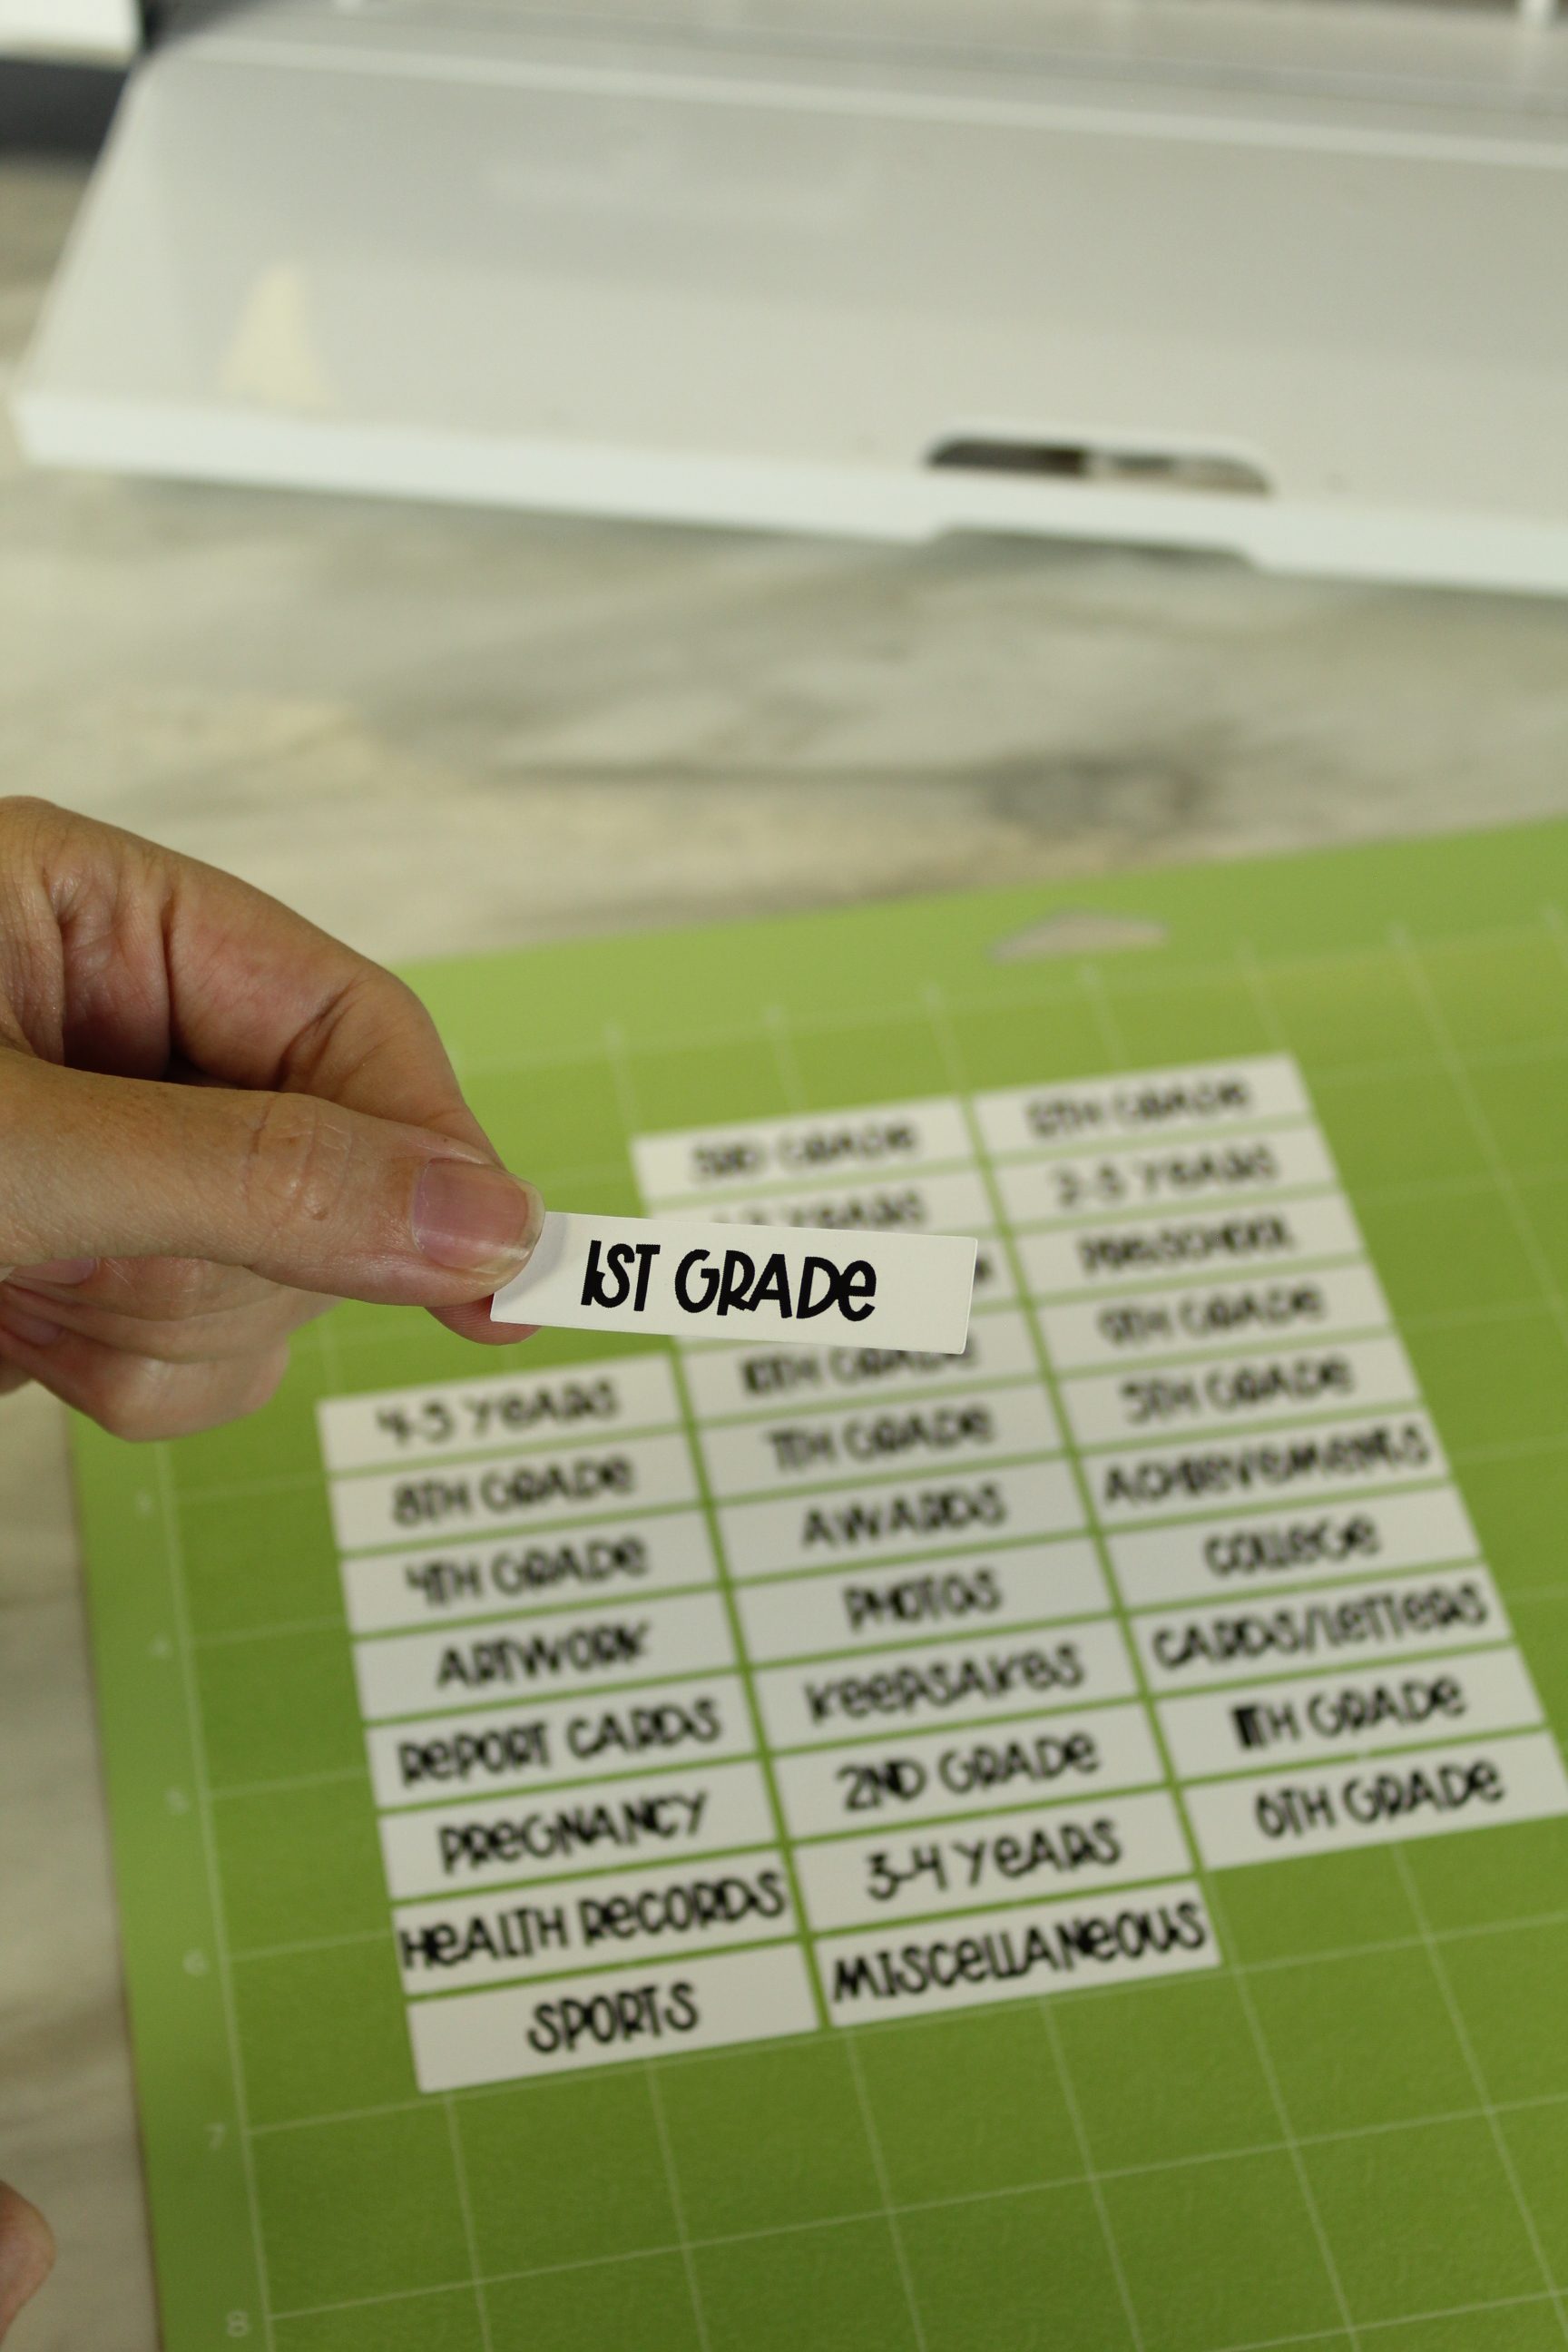
Then lastly, add all your labels into their little plastic sleeves and attach them into the hanging folders and you’re done!
I’m so happy to have this project FINALLY done and to finally have a place for all that paperwork! I’m so happy with how it turned out. I hope you enjoy making it as well. Are there any labels I may have forgotten? Let me know! I’d love to add them!

Jen’s Update 8/1/22:
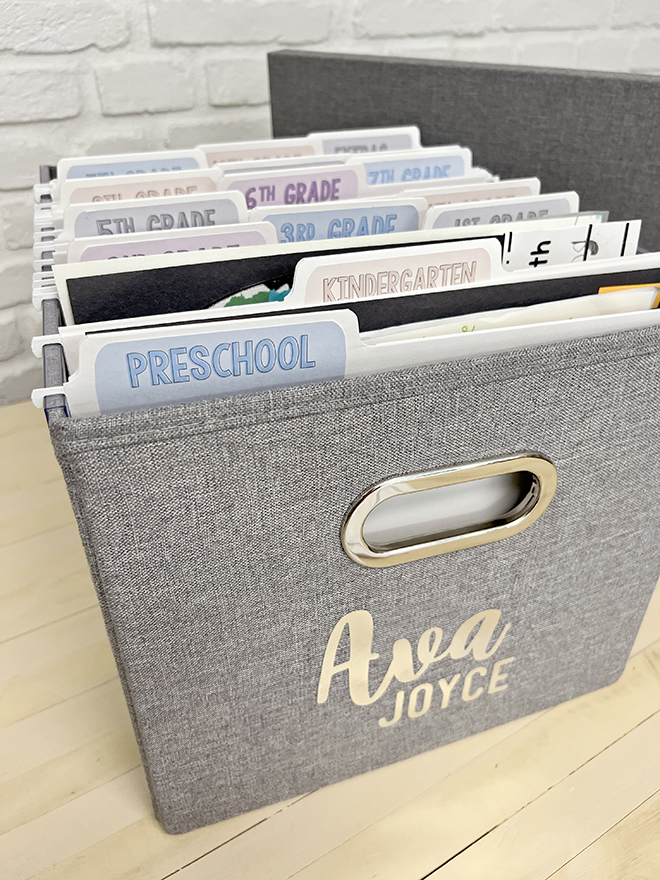
I loved this project so much that I made one too (or I should actually say I made 4)! You can see me make it in real time on our Instagram REELS or on our Pinterest “created” board.
- I used these fabric file storage boxes from Amazon, they have 8 colors!
- These hanging file folders have the tab included!
- I used the font KG Let Her Go
- Did print-then-cut using my Canon PIXMA TS9521c Crafting Printer and my Cricut Maker using this sticker paper from Amazon
- Here is the link to my Cricut project so you can use my file folder tab designs too!
If you create one of our projects, please share a picture with us on Instagram or Twitter using the hashtag #somethingturquoisediy, we regularly reshare our favorites! Your profile will need to be public for us to see it otherwise, you can always DM us!
DIY Tutorial Credits
Photography + DIY Tutorial: Shea O’Quinn of Not So Cli-Shea // Cricut Maker and accessories courtesy of Cricut // Hanging File Folder Tote: Target // Hanging File Folders : Target (discontinued, similar) // Cardstock: Michaels // Printer courtesy of Canon
Shop The Supplies:
Find the supplies you’ll need for this project from our affiliate links below:


Comments