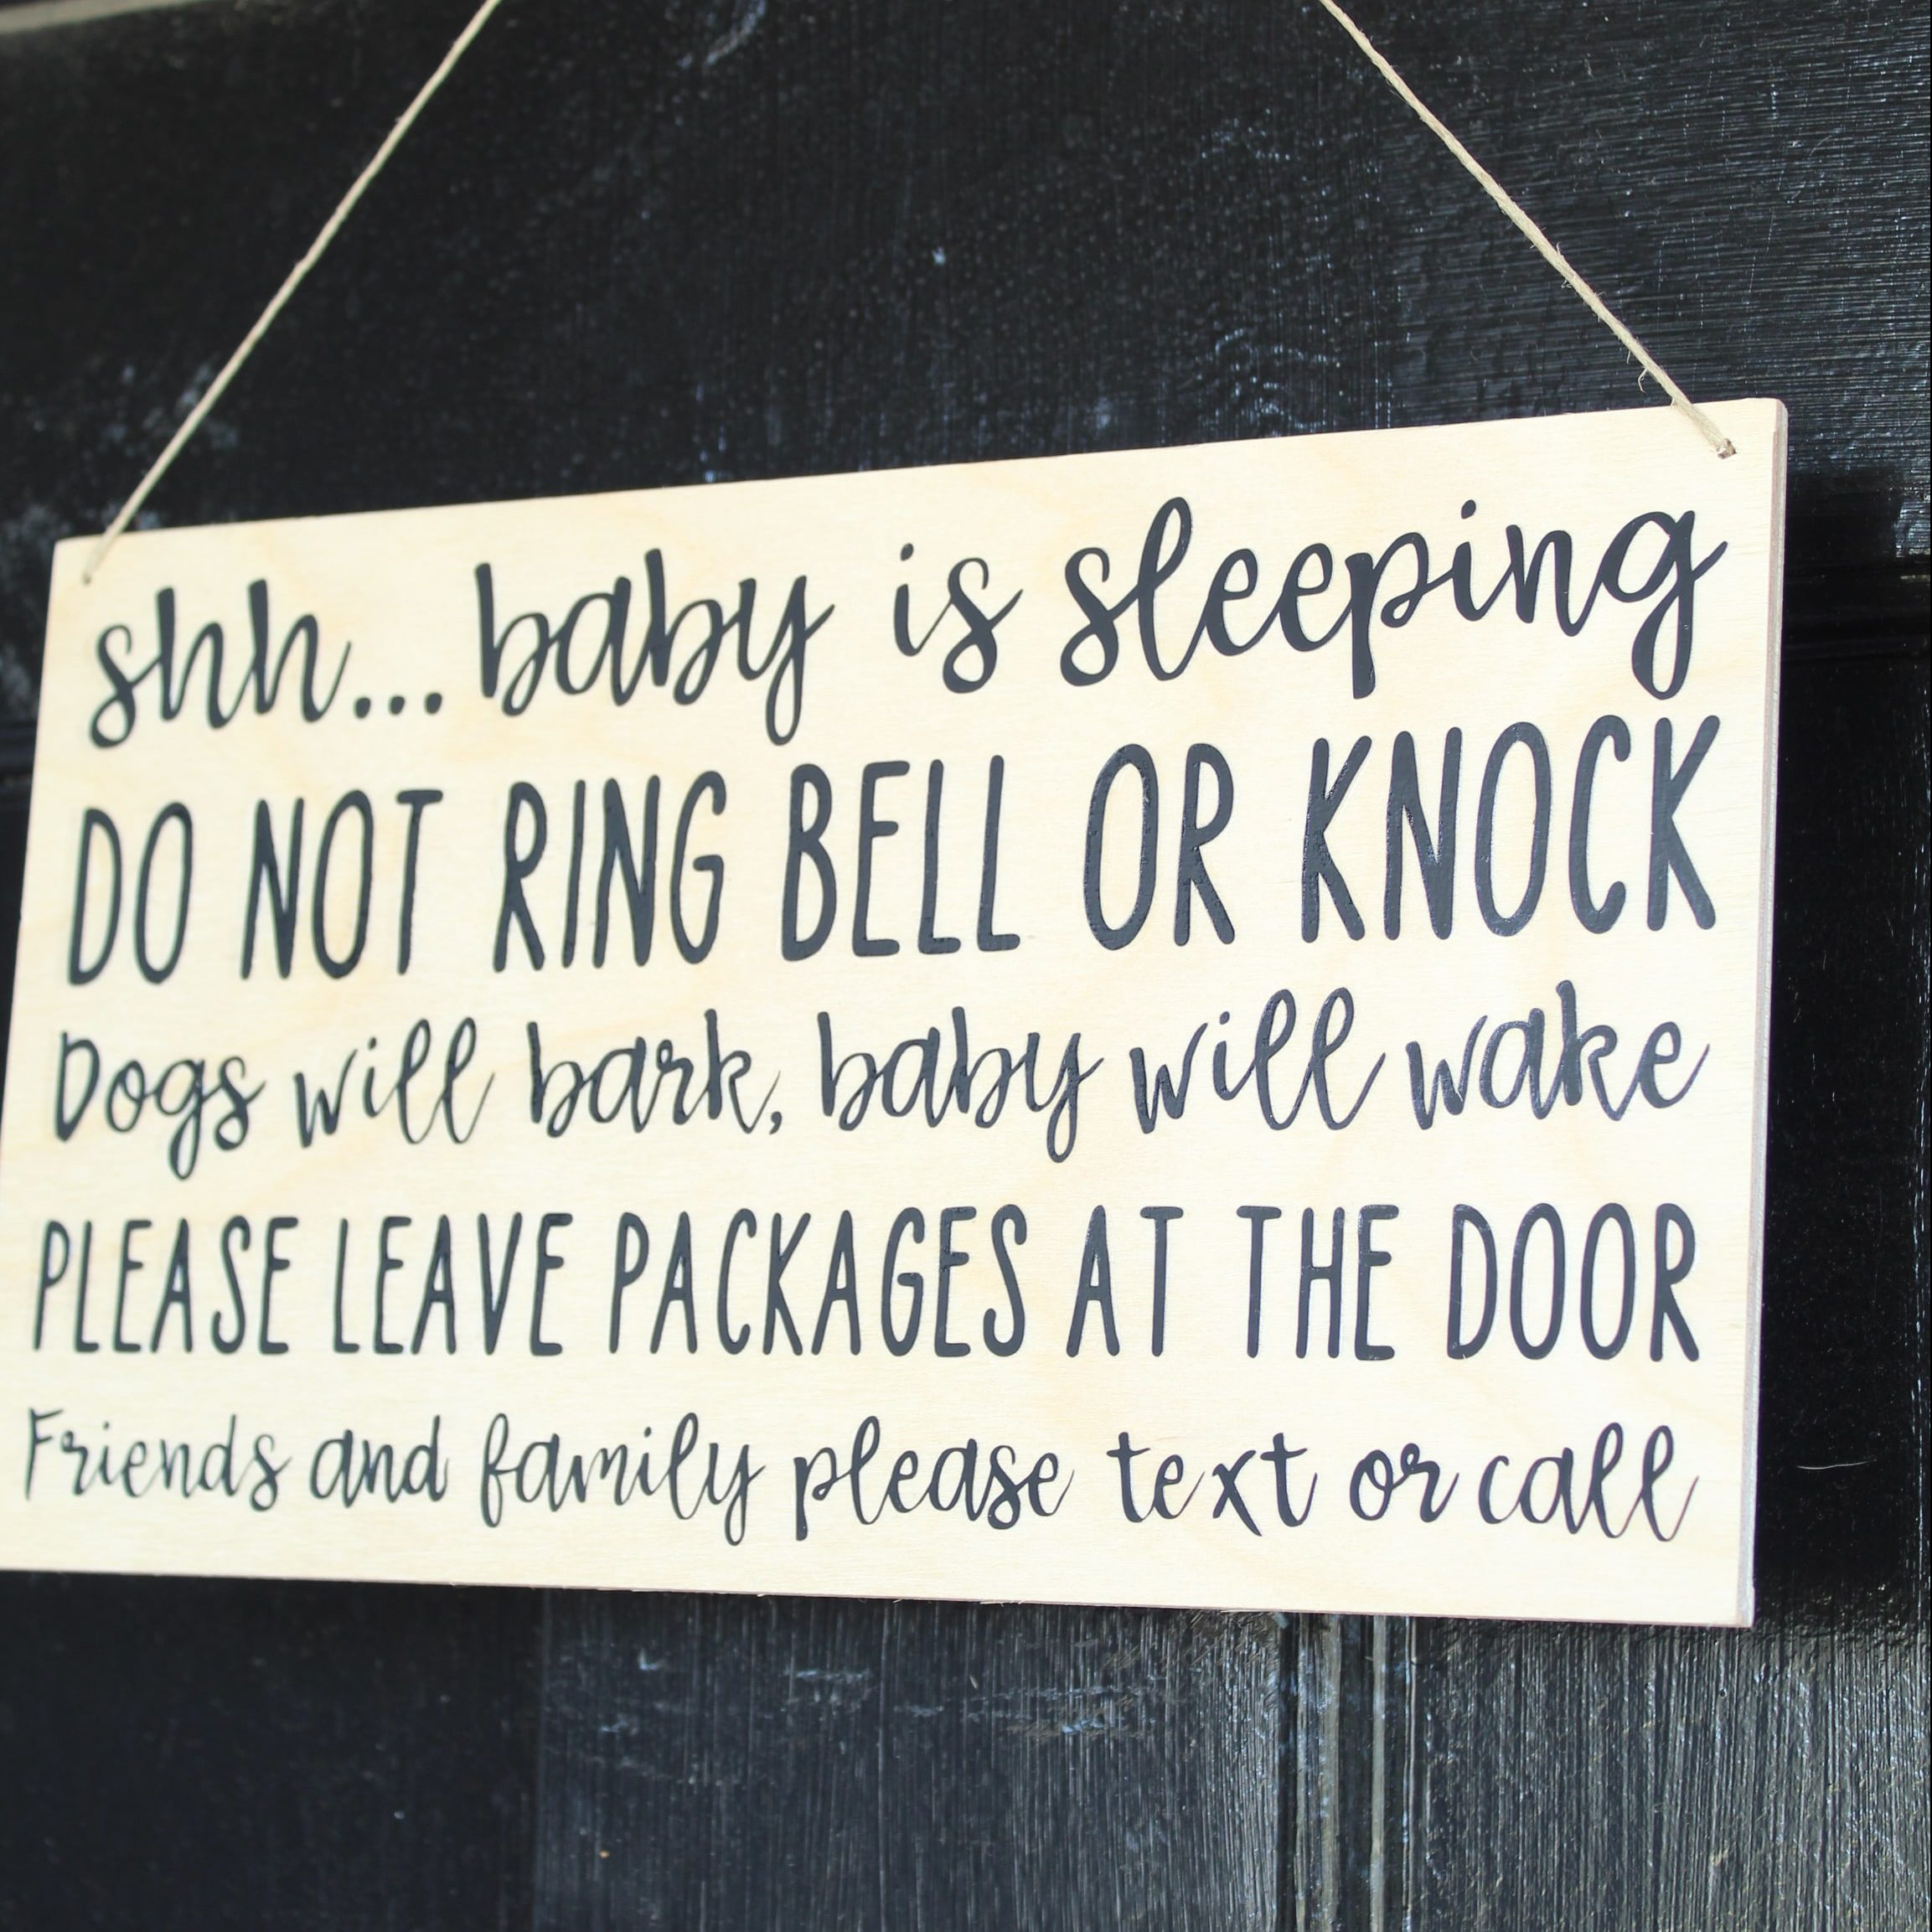

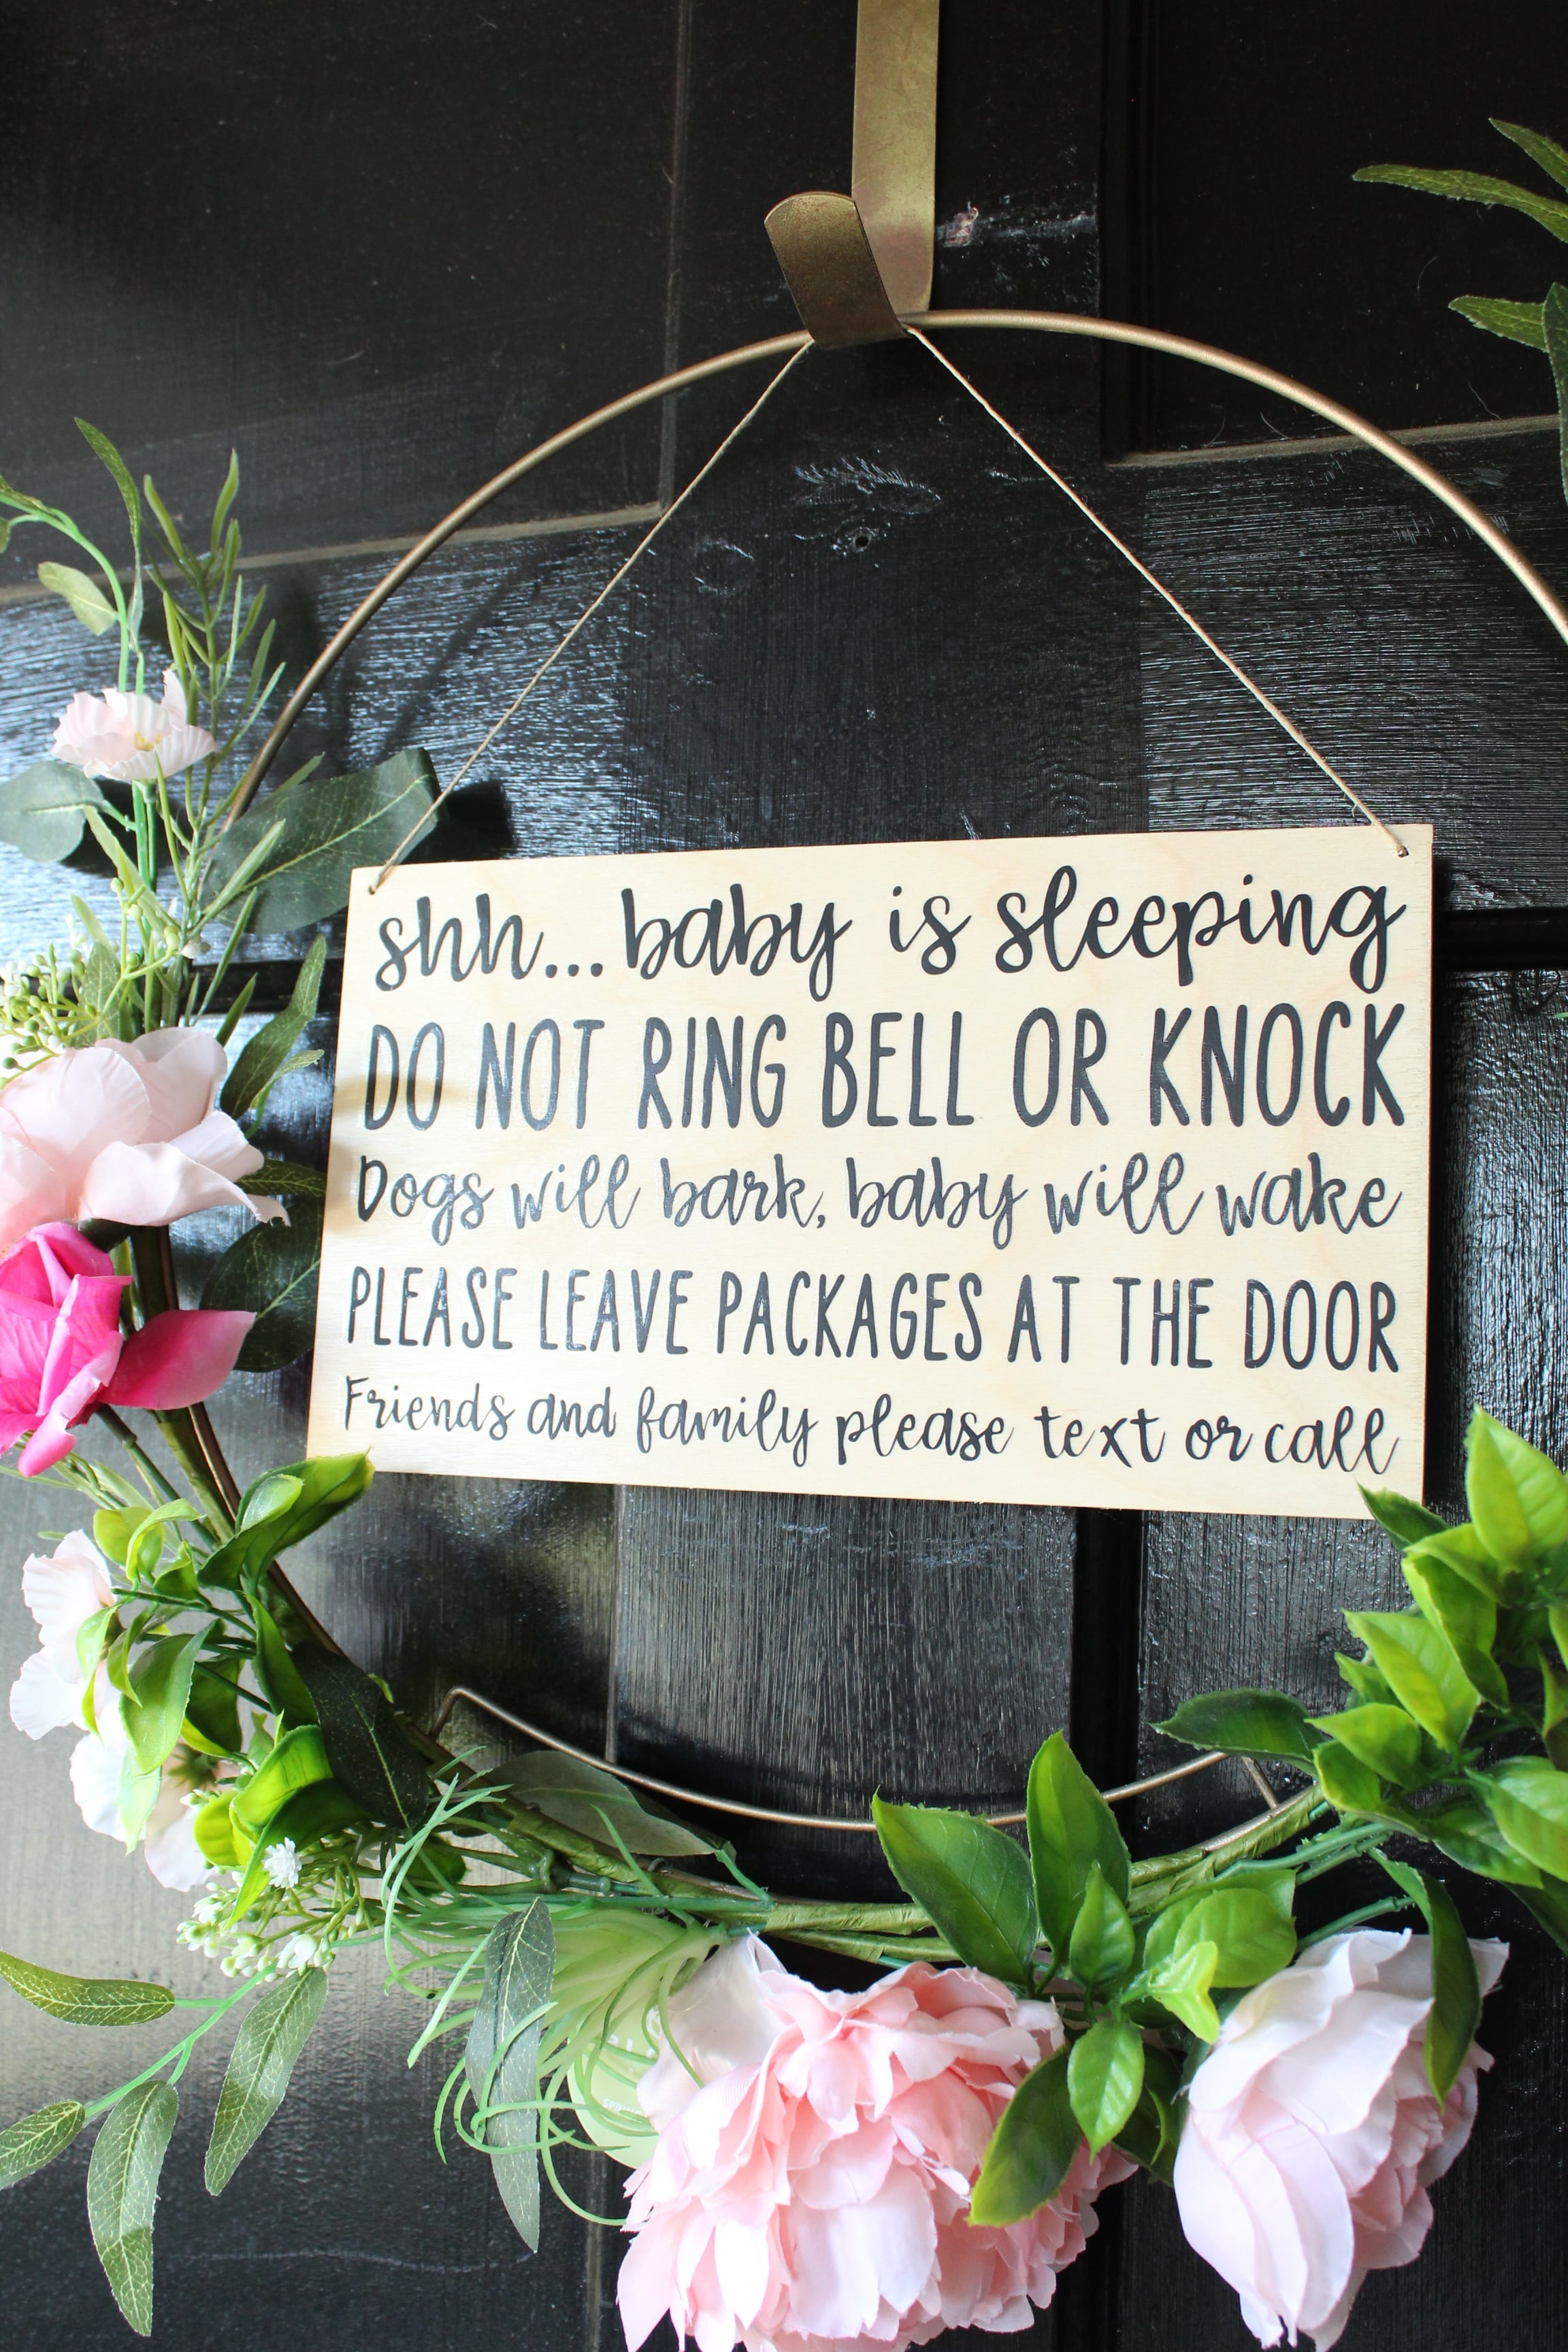
DIY Sleeping Baby Sign
Hi friends! Shea back with another simple DIY for all you new and expecting mamas (or friends of new and expecting mamas). While visitors and packages are nice to get when you have a new little bundle, sometimes their arrival can throw everything out of wack (especially if you have dogs). This sign is a simple way to let everyone know that baby is sleeping!

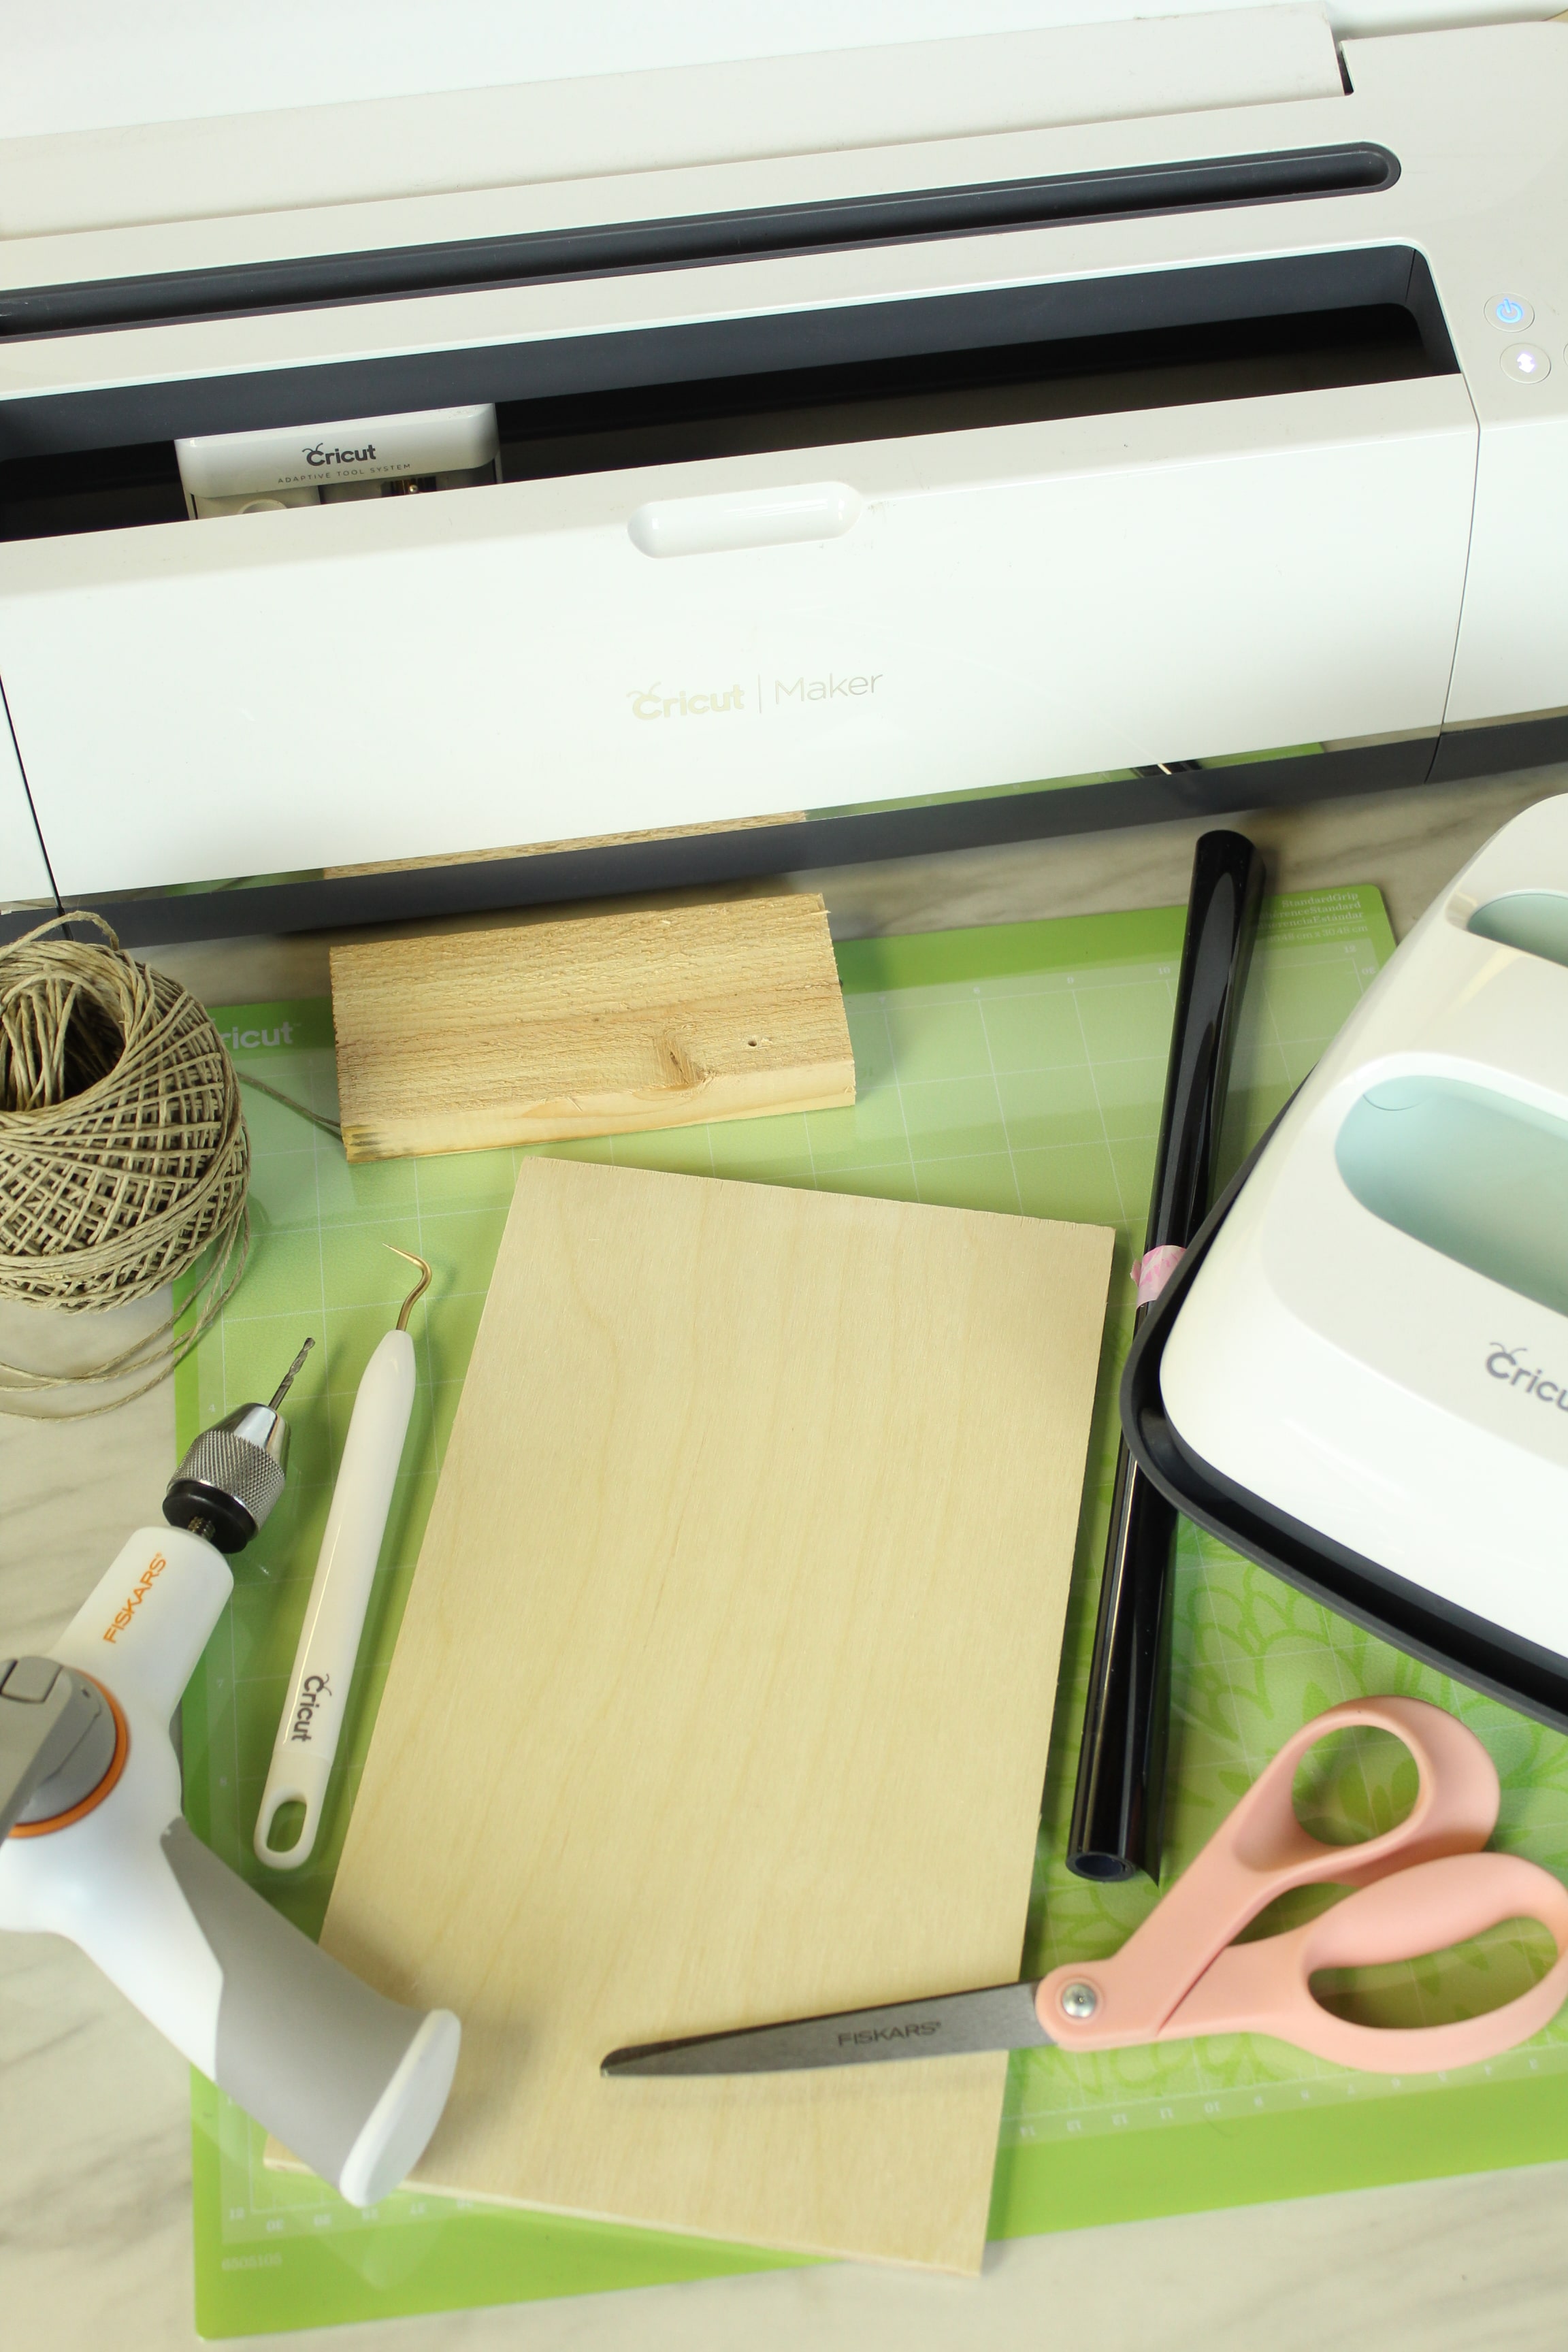
Supplies:
- Cricut Maker (Explore will work too!)
- Cricut Standard Grip Mat
- Cricut EasyPress
- Cricut Iron On Vinyl
- Cricut Weeding Tool
- Wood for Sign
- Scissors
- Twine
- Drill
- Scrap piece of wood for drilling holes
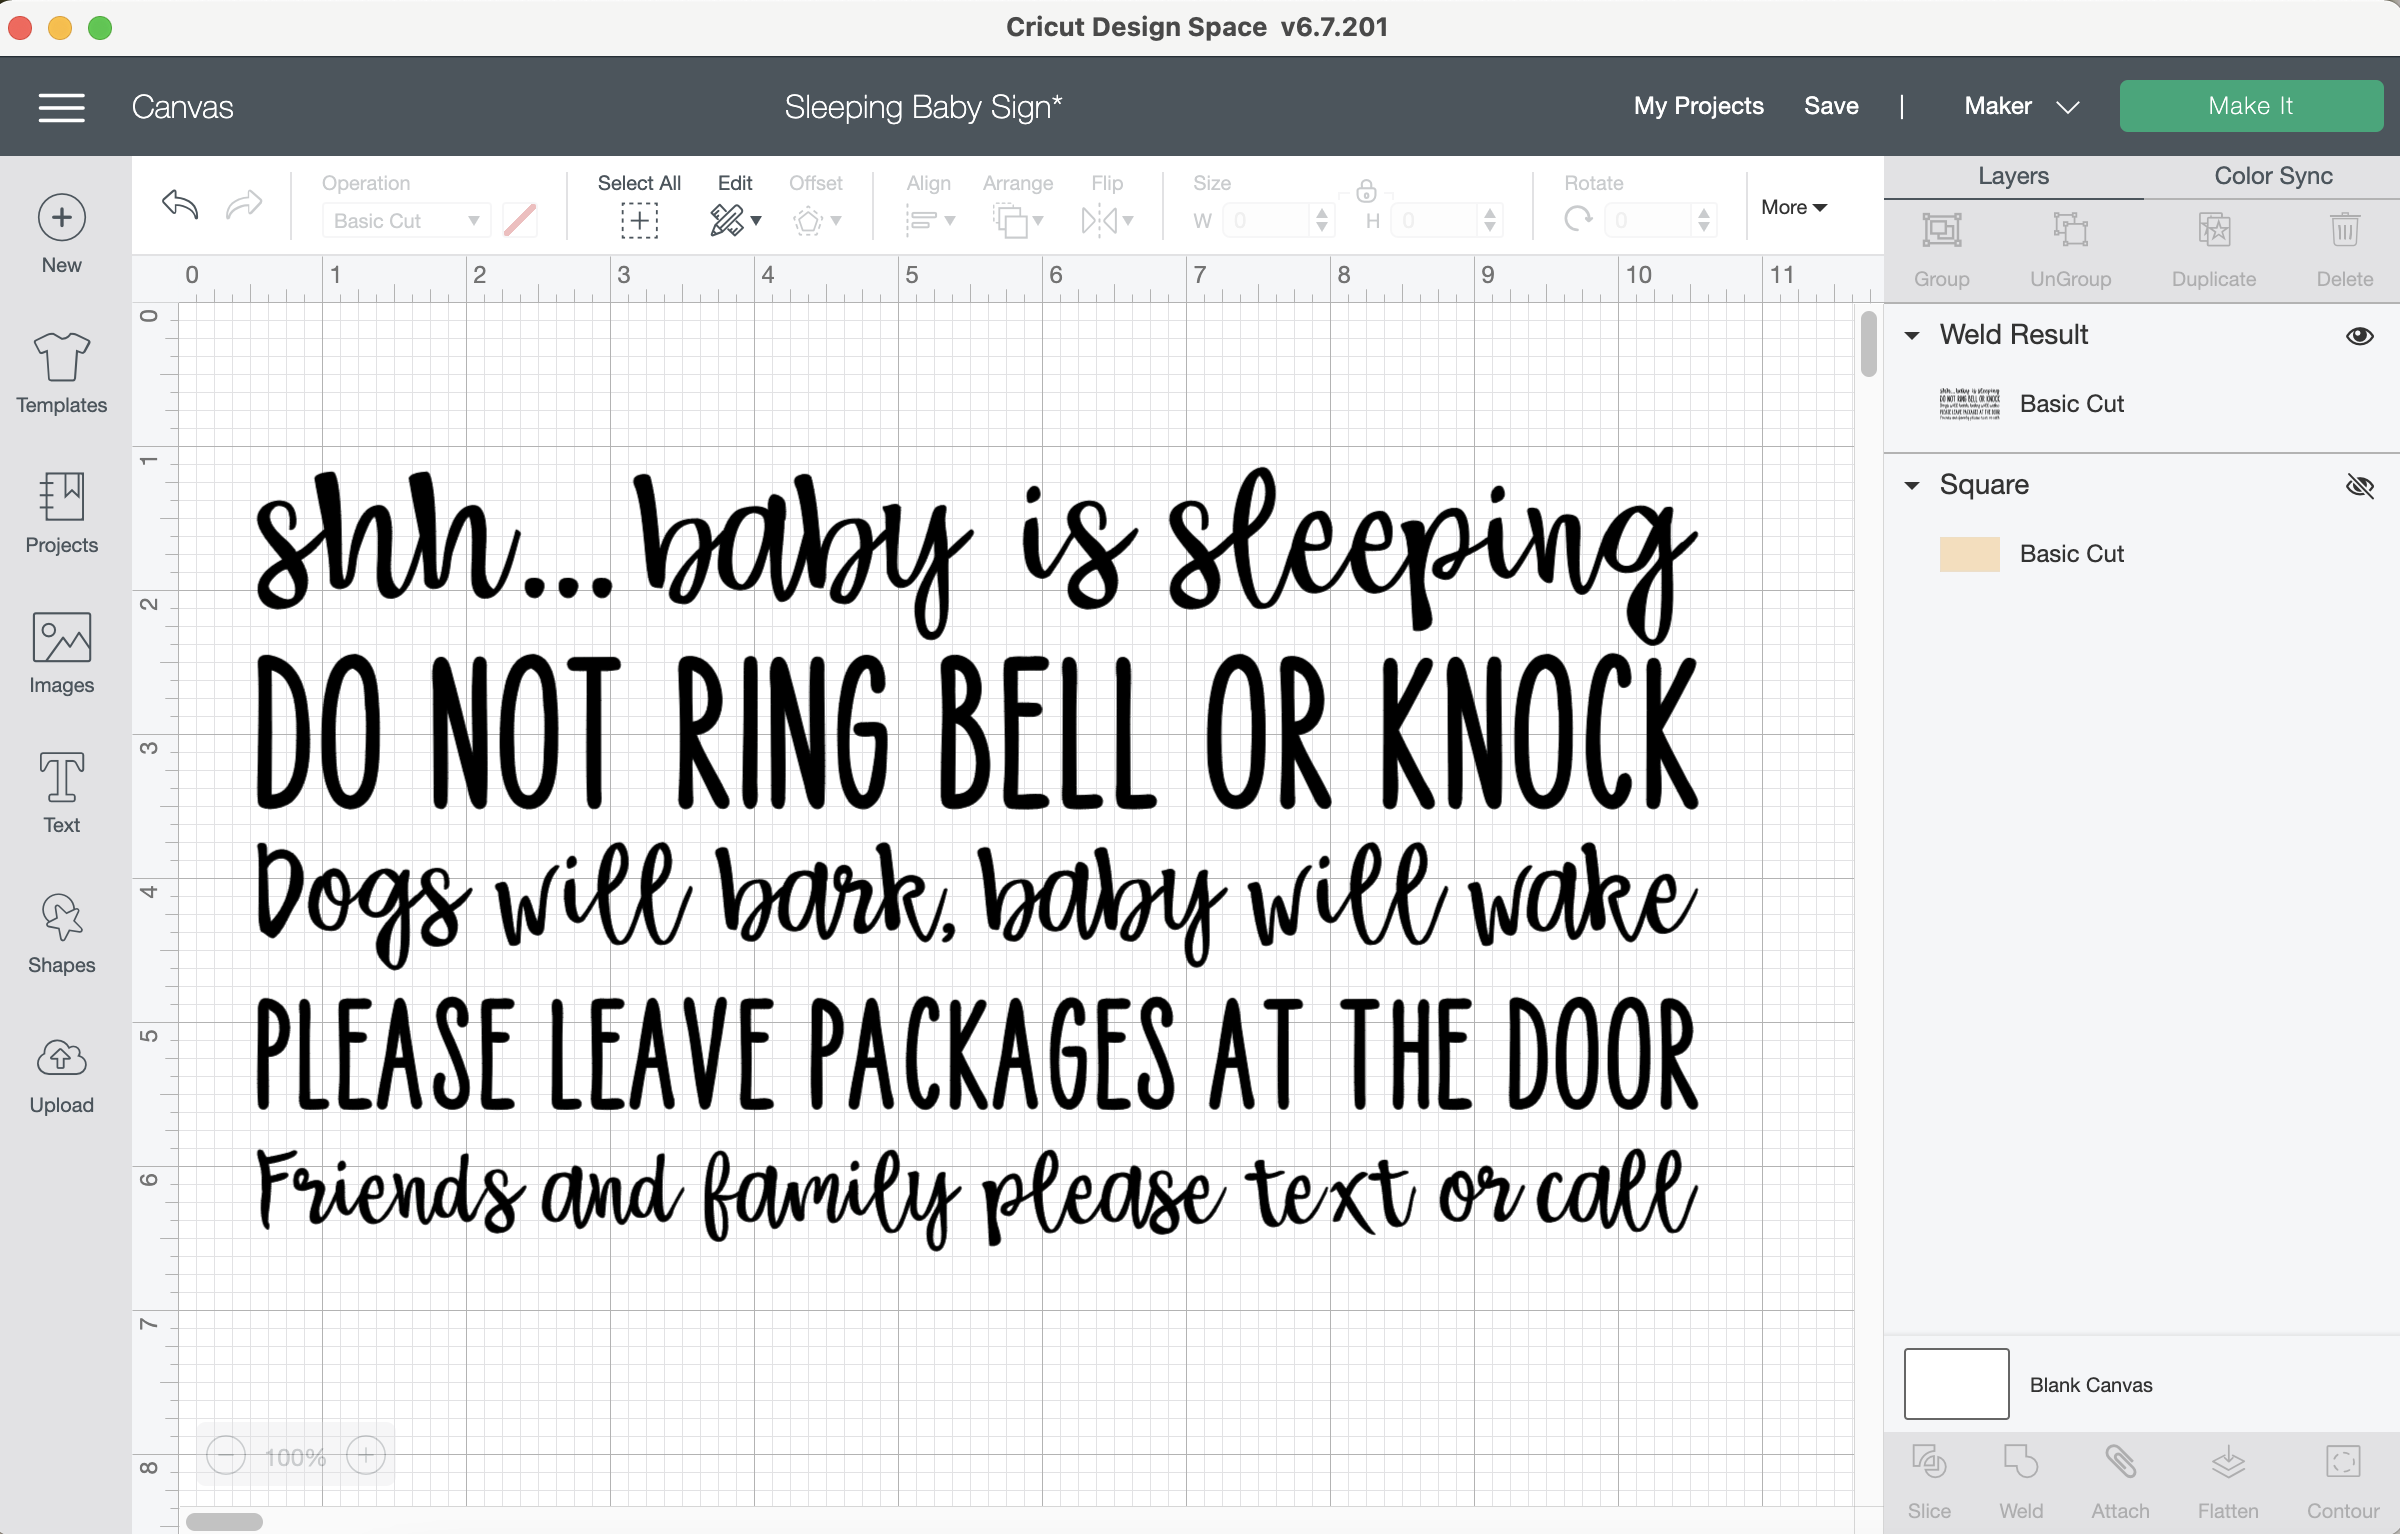
- Our Design Space file HERE
This is honestly one of those projects that I saw when I was pregnant (almost three years ago now) and I though “oh that’s a cute idea, I should make one” and I never did. Well, I’m using the baby shower of one of my best friends as my excuse to finally make one (plus she has a couple dogs that bark like crazy so it’s extra fitting haha).
Open Design Space
The best part of this project is that literally all the designing has been done for you! The only thing you may want to tweak is the size of your text depending on the size wood you have and what size sign you want to make. My piece of wood was about 10.5″ by 6″ so I created a rectangle on my canvas to represent that and make sure I liked the placement of my text.
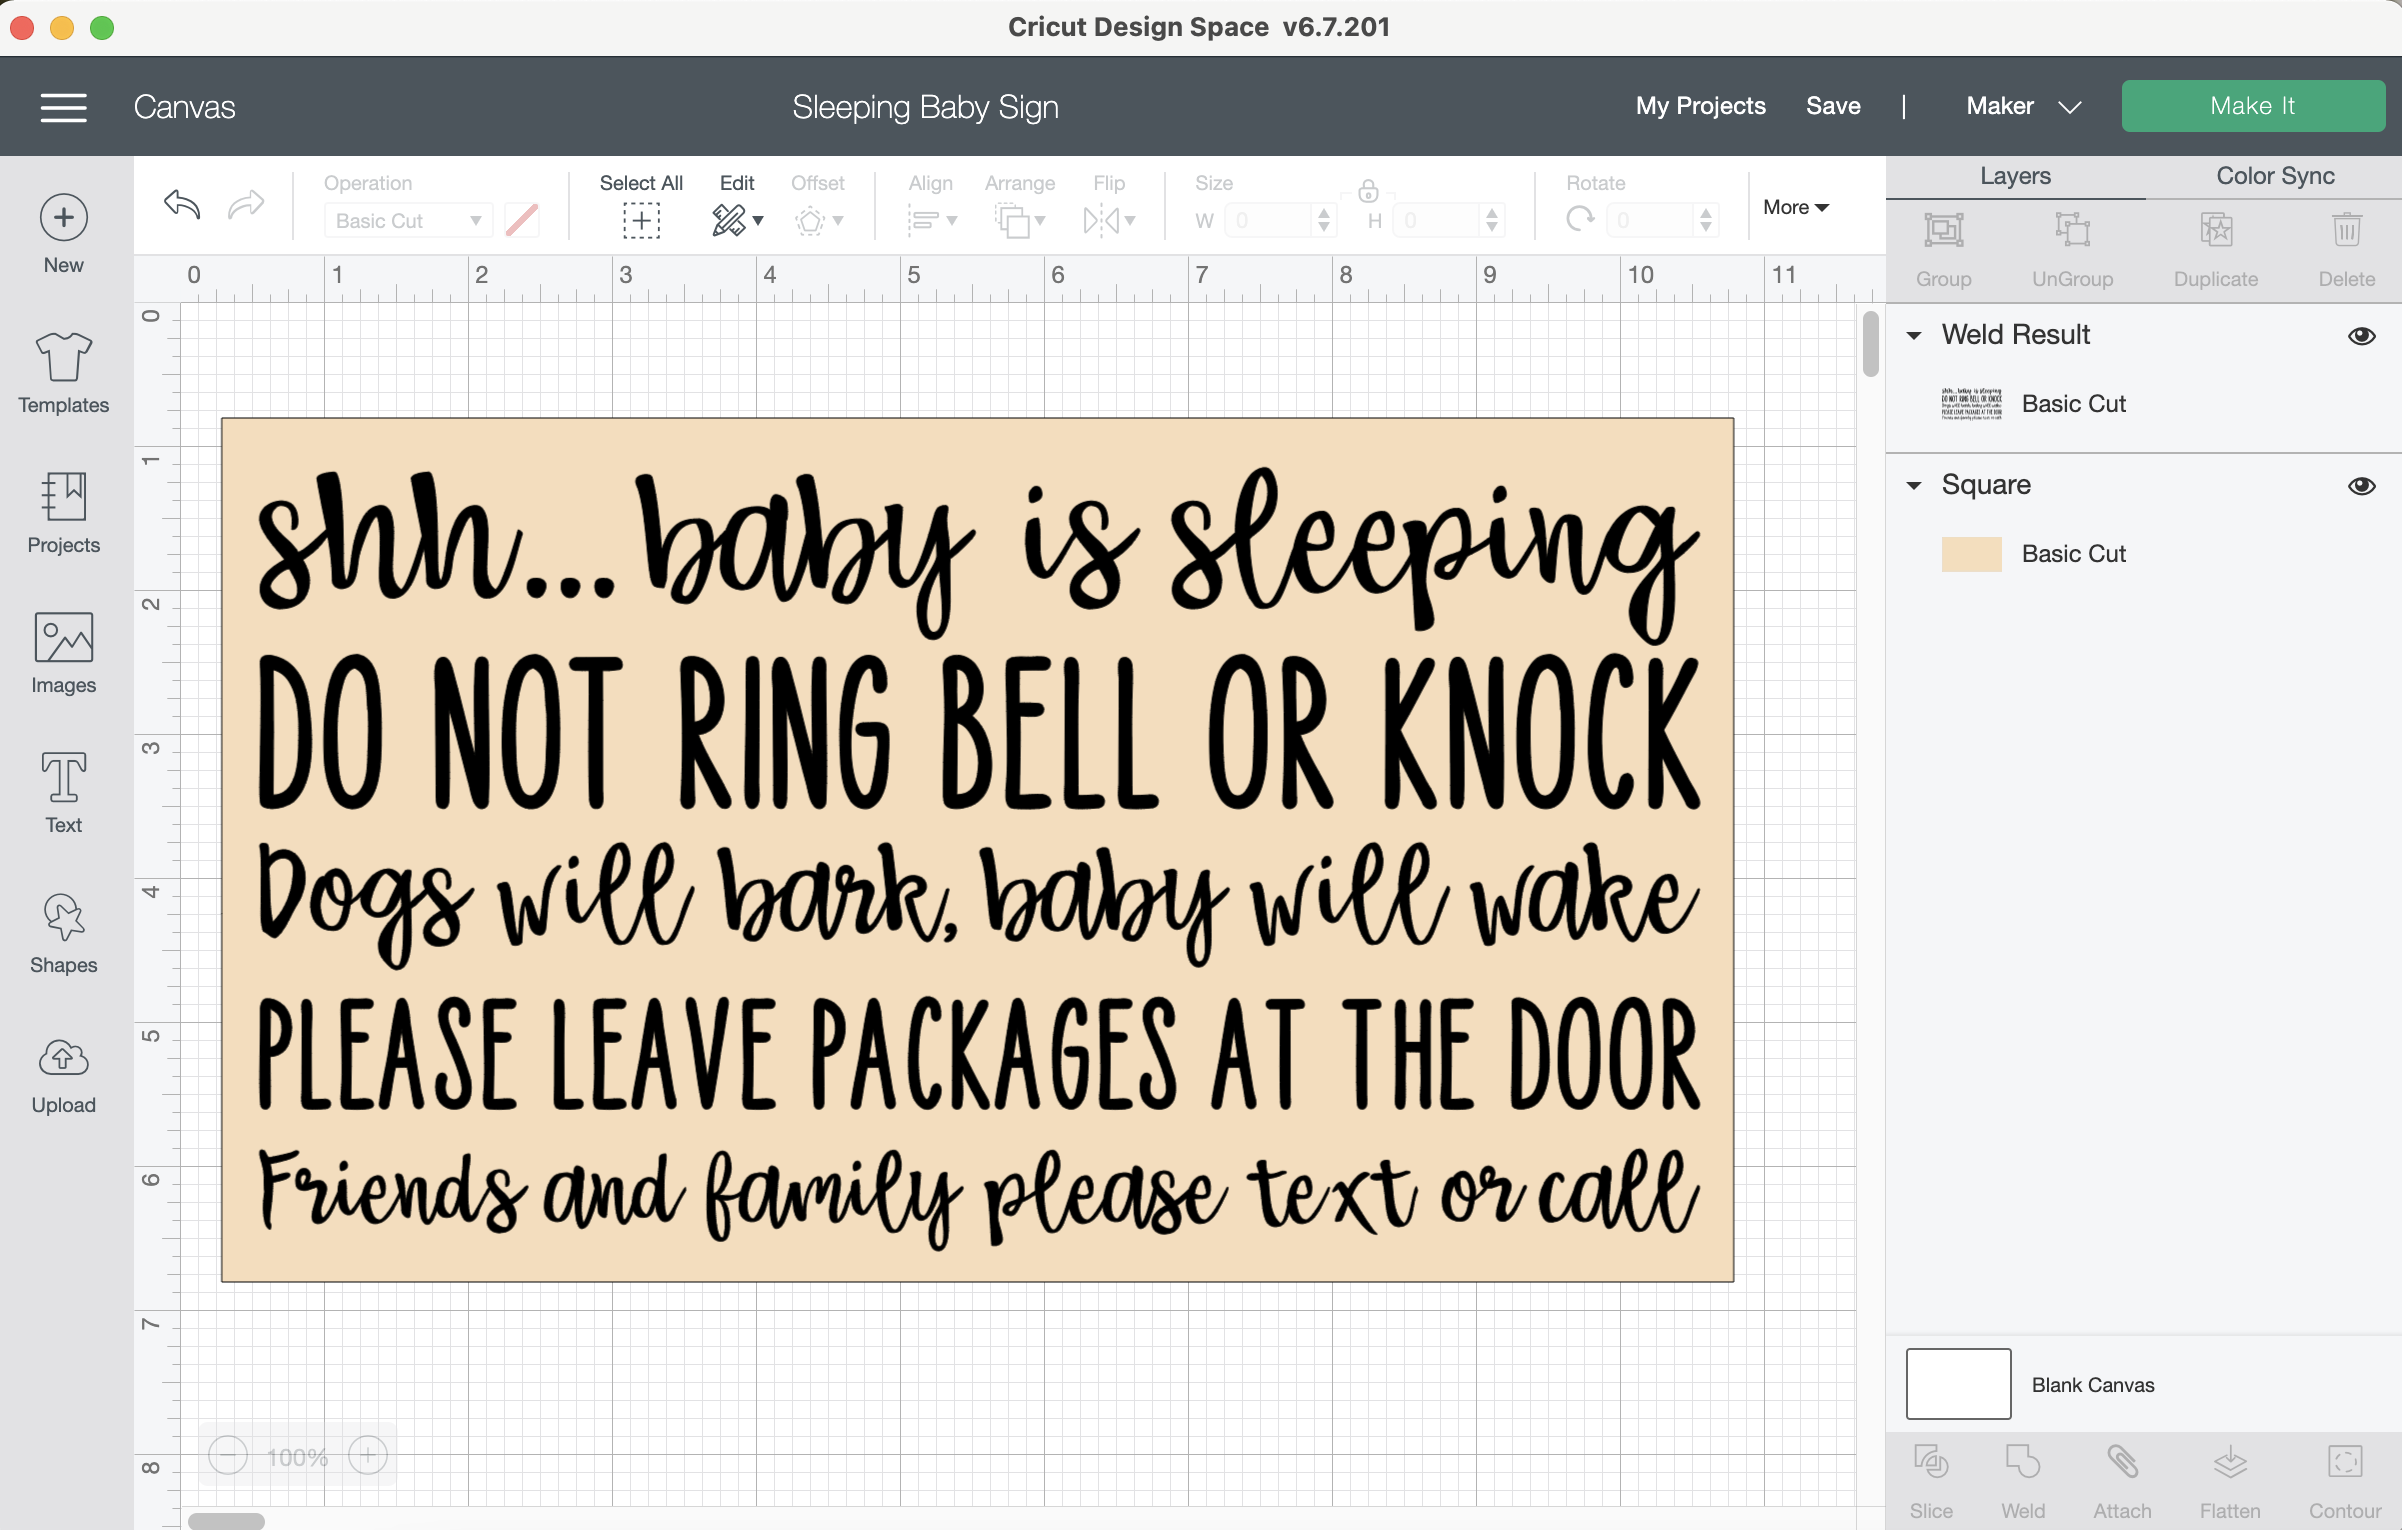
Then remove or hide that rectangle since you won’t actually be cutting it.
Send to Cut
Once you’re happy with your sizing you can hit “Make It”. Be sure to mirror your project and choose the correct material.
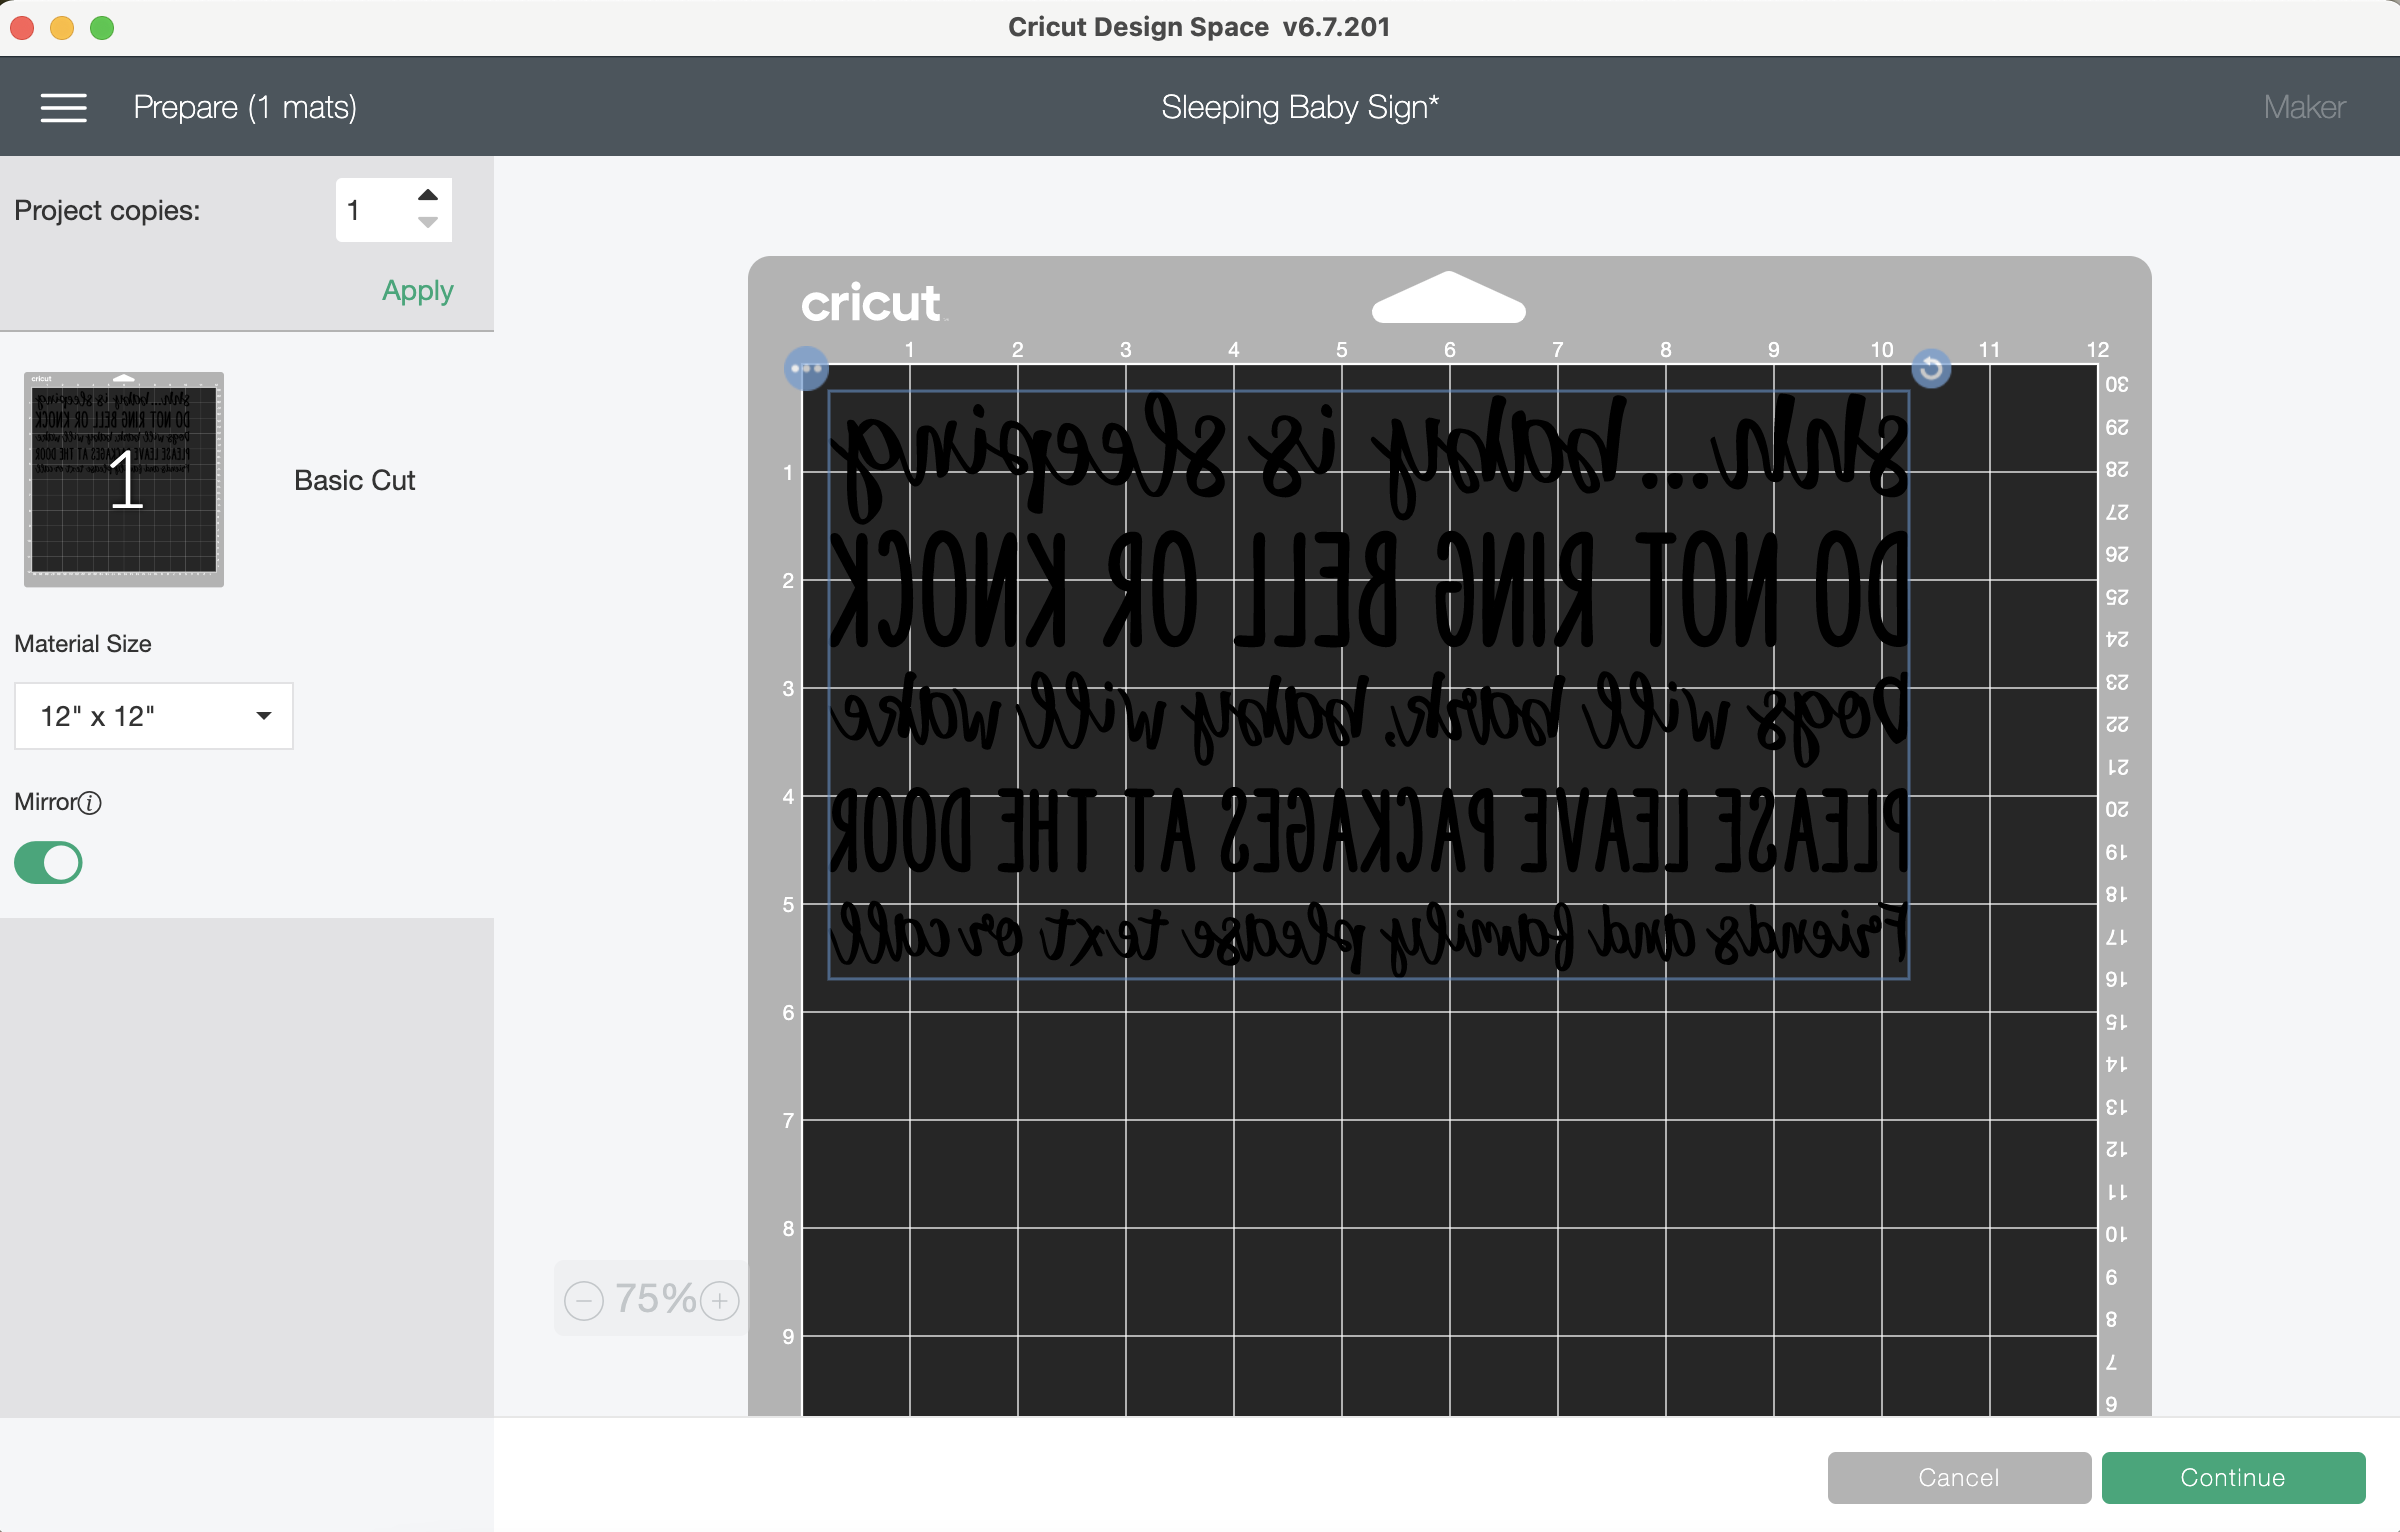
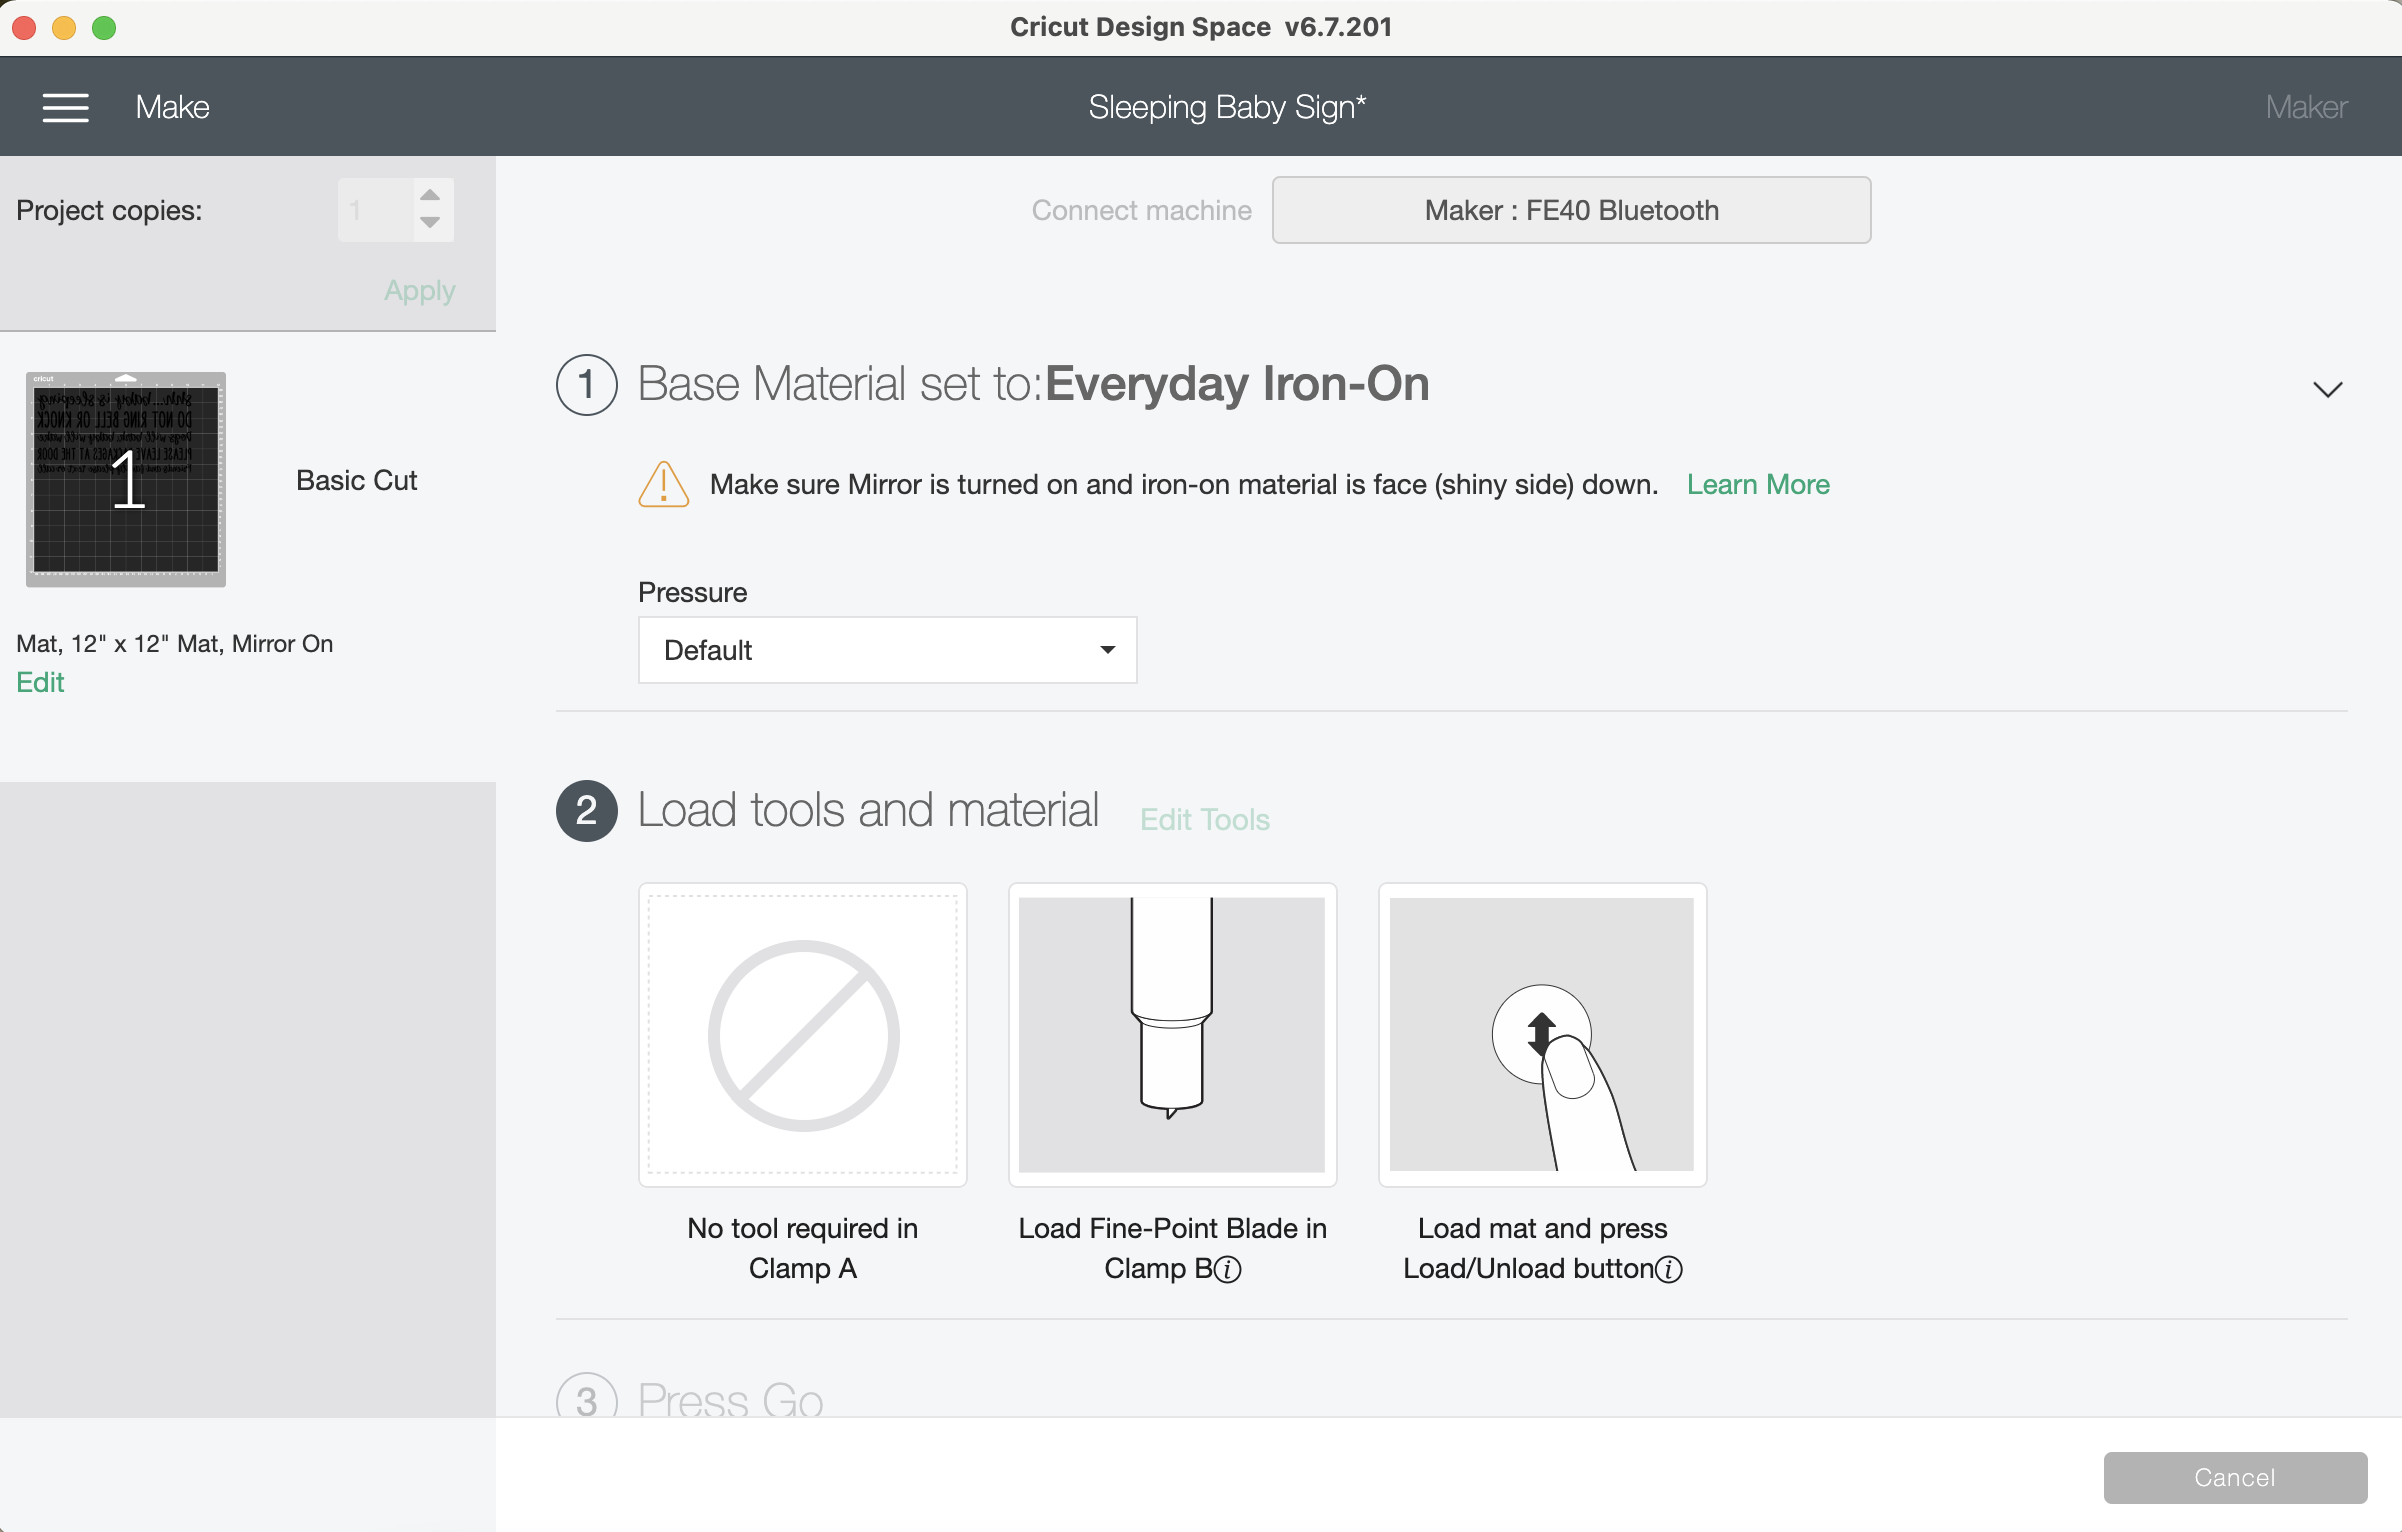
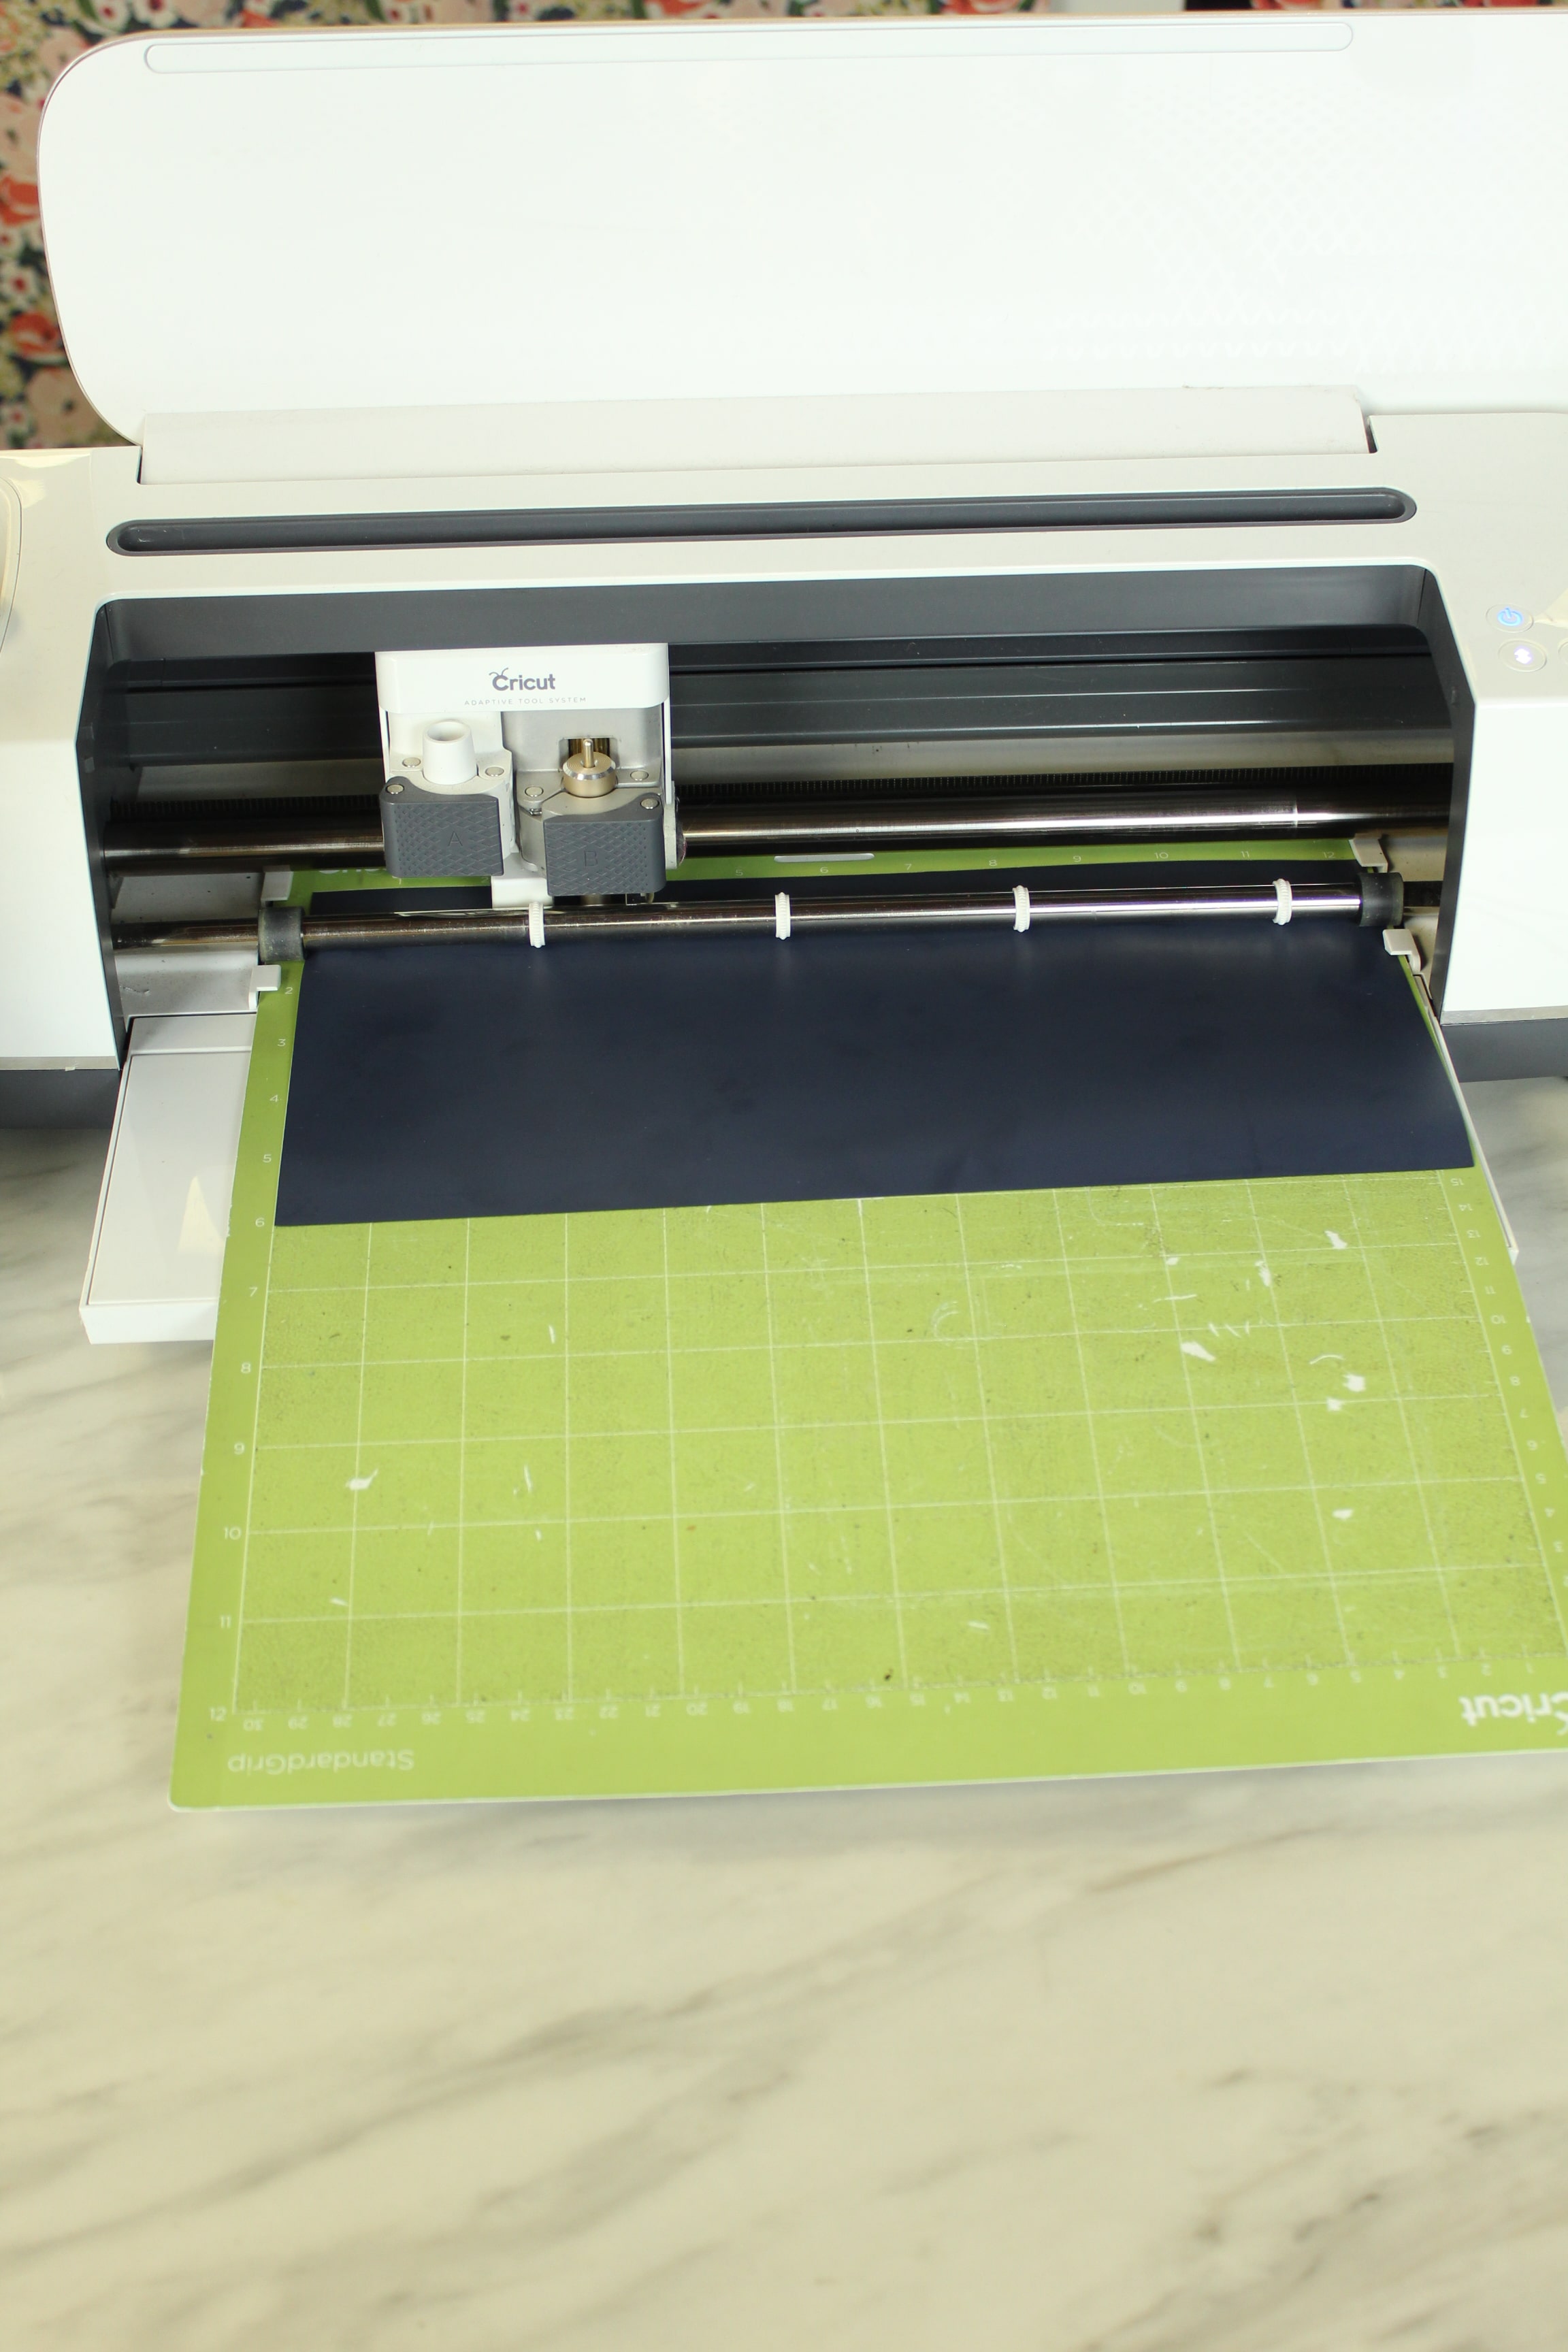
Place your Iron On Vinyl with the shiny side down on your mat and load into your machine.
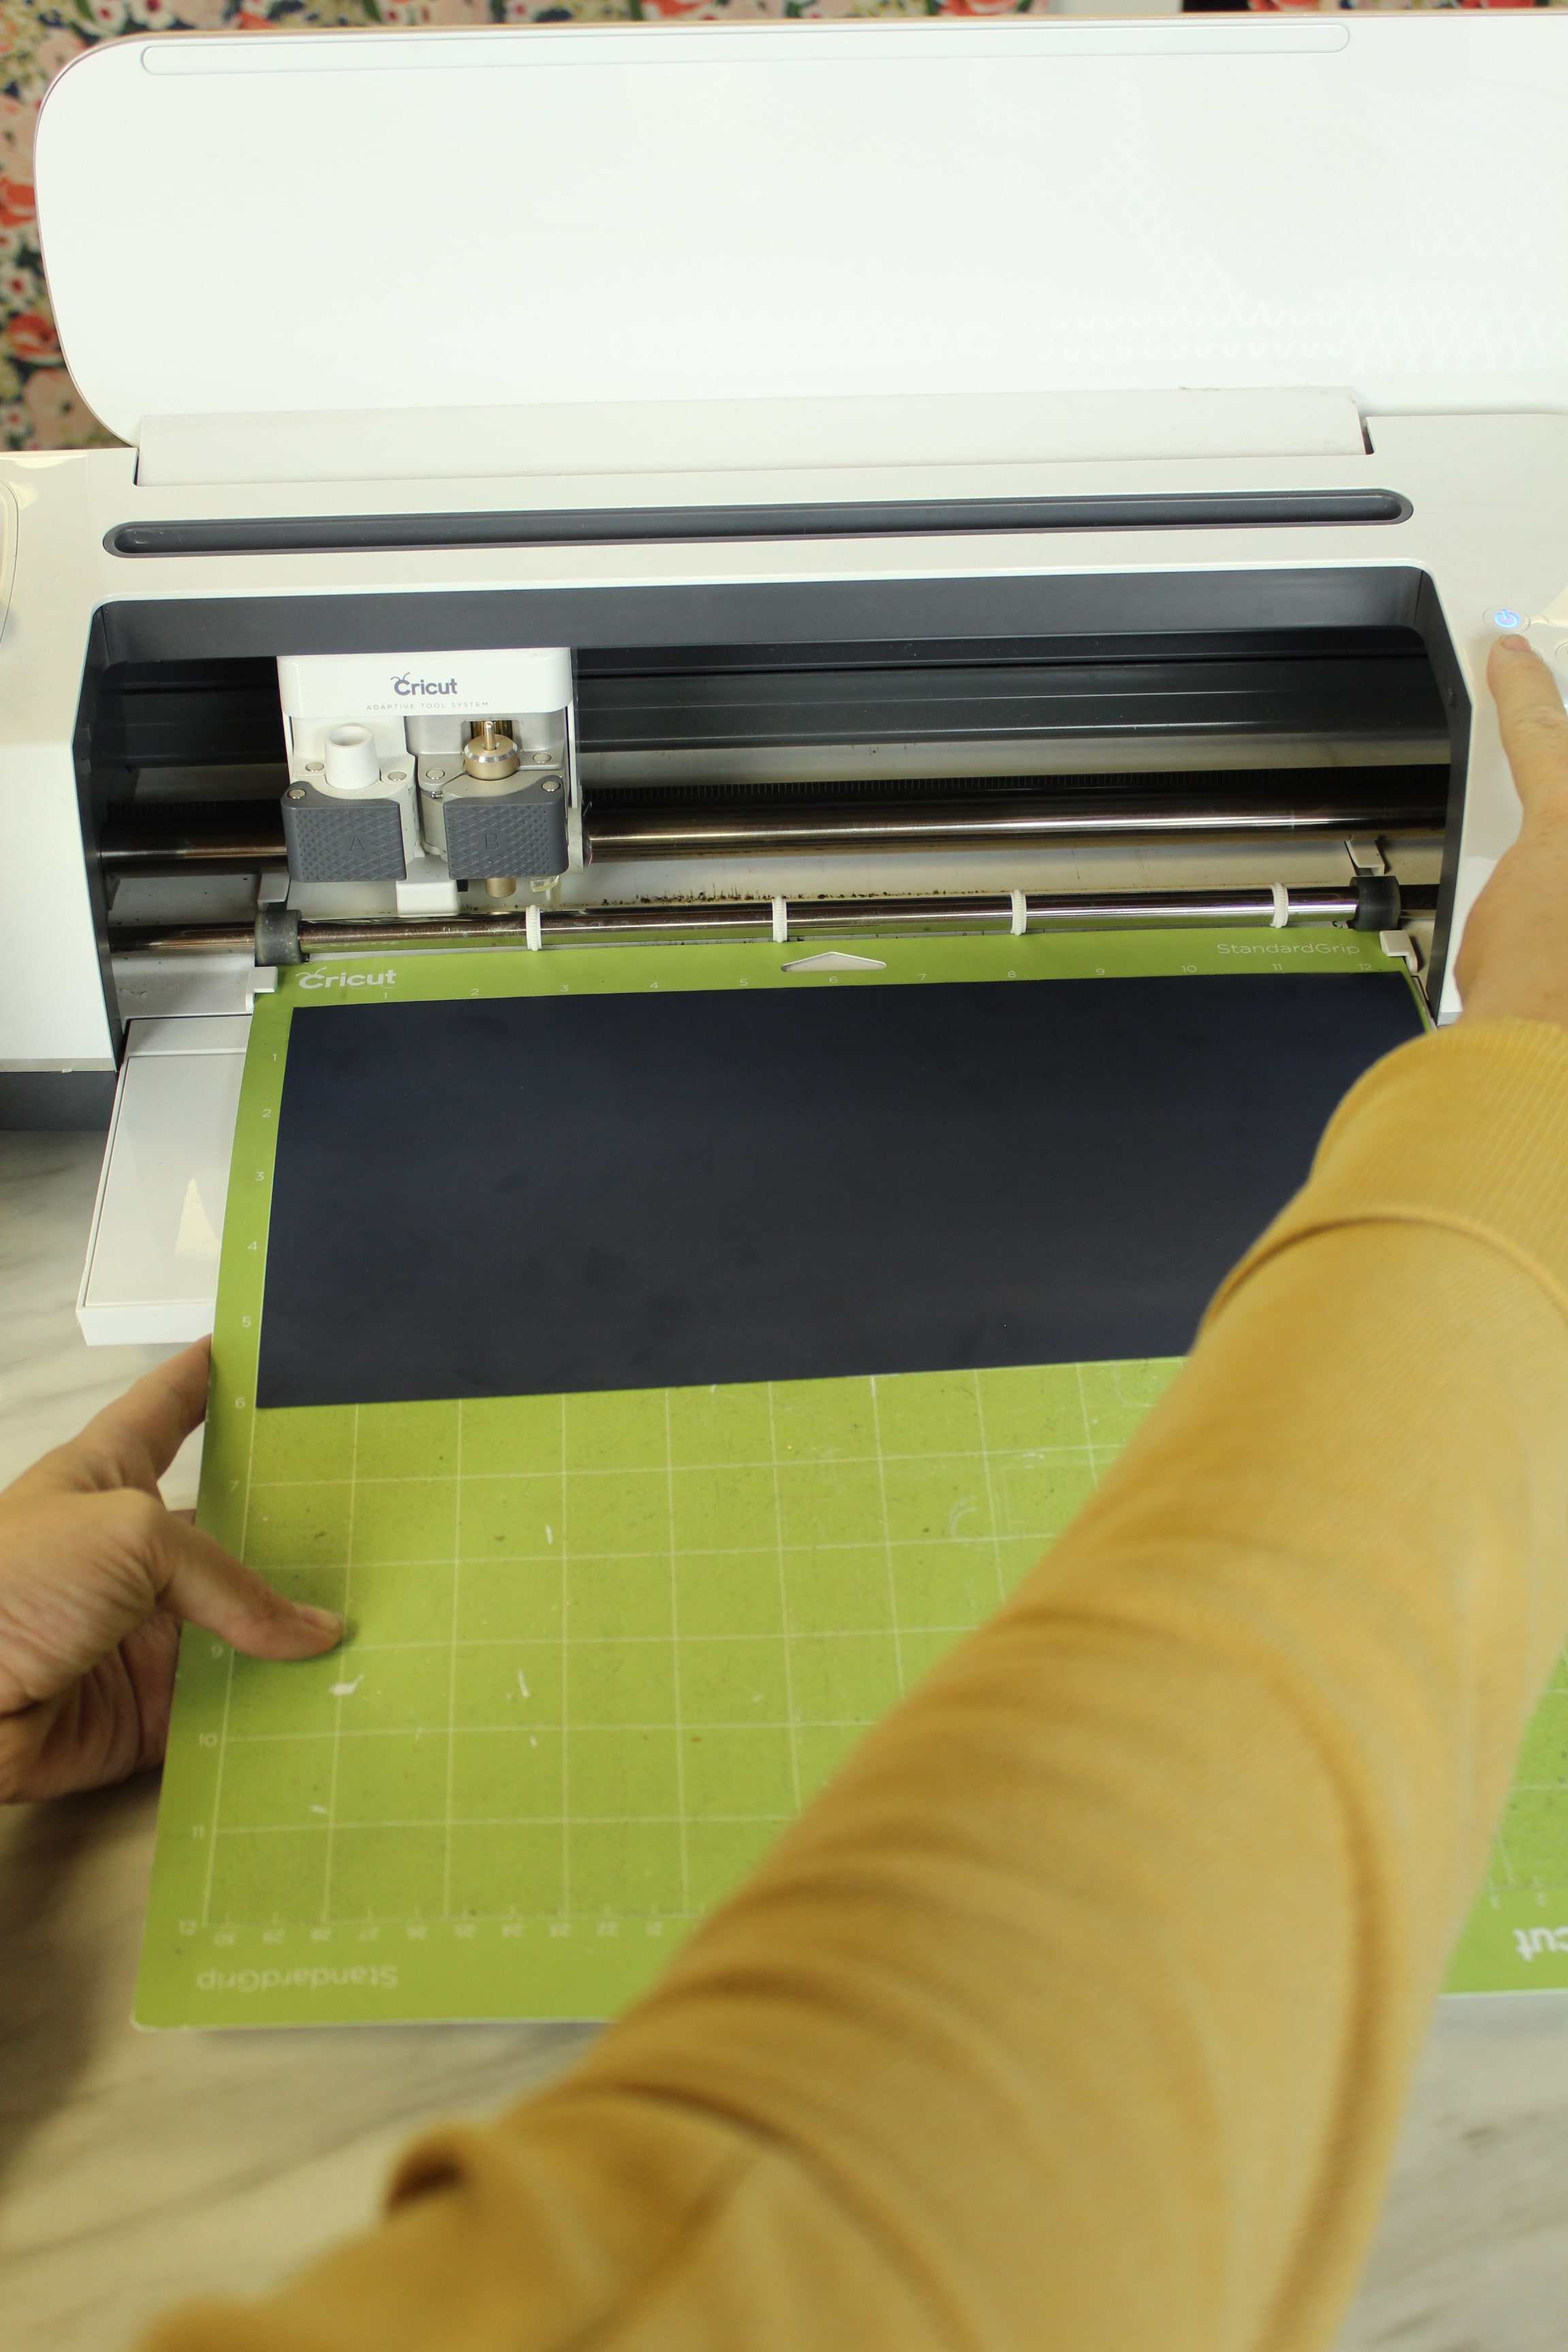
And watch it do it’s magic! I’ve had a Cricut for seven years now and it never gets old watching this thing work.
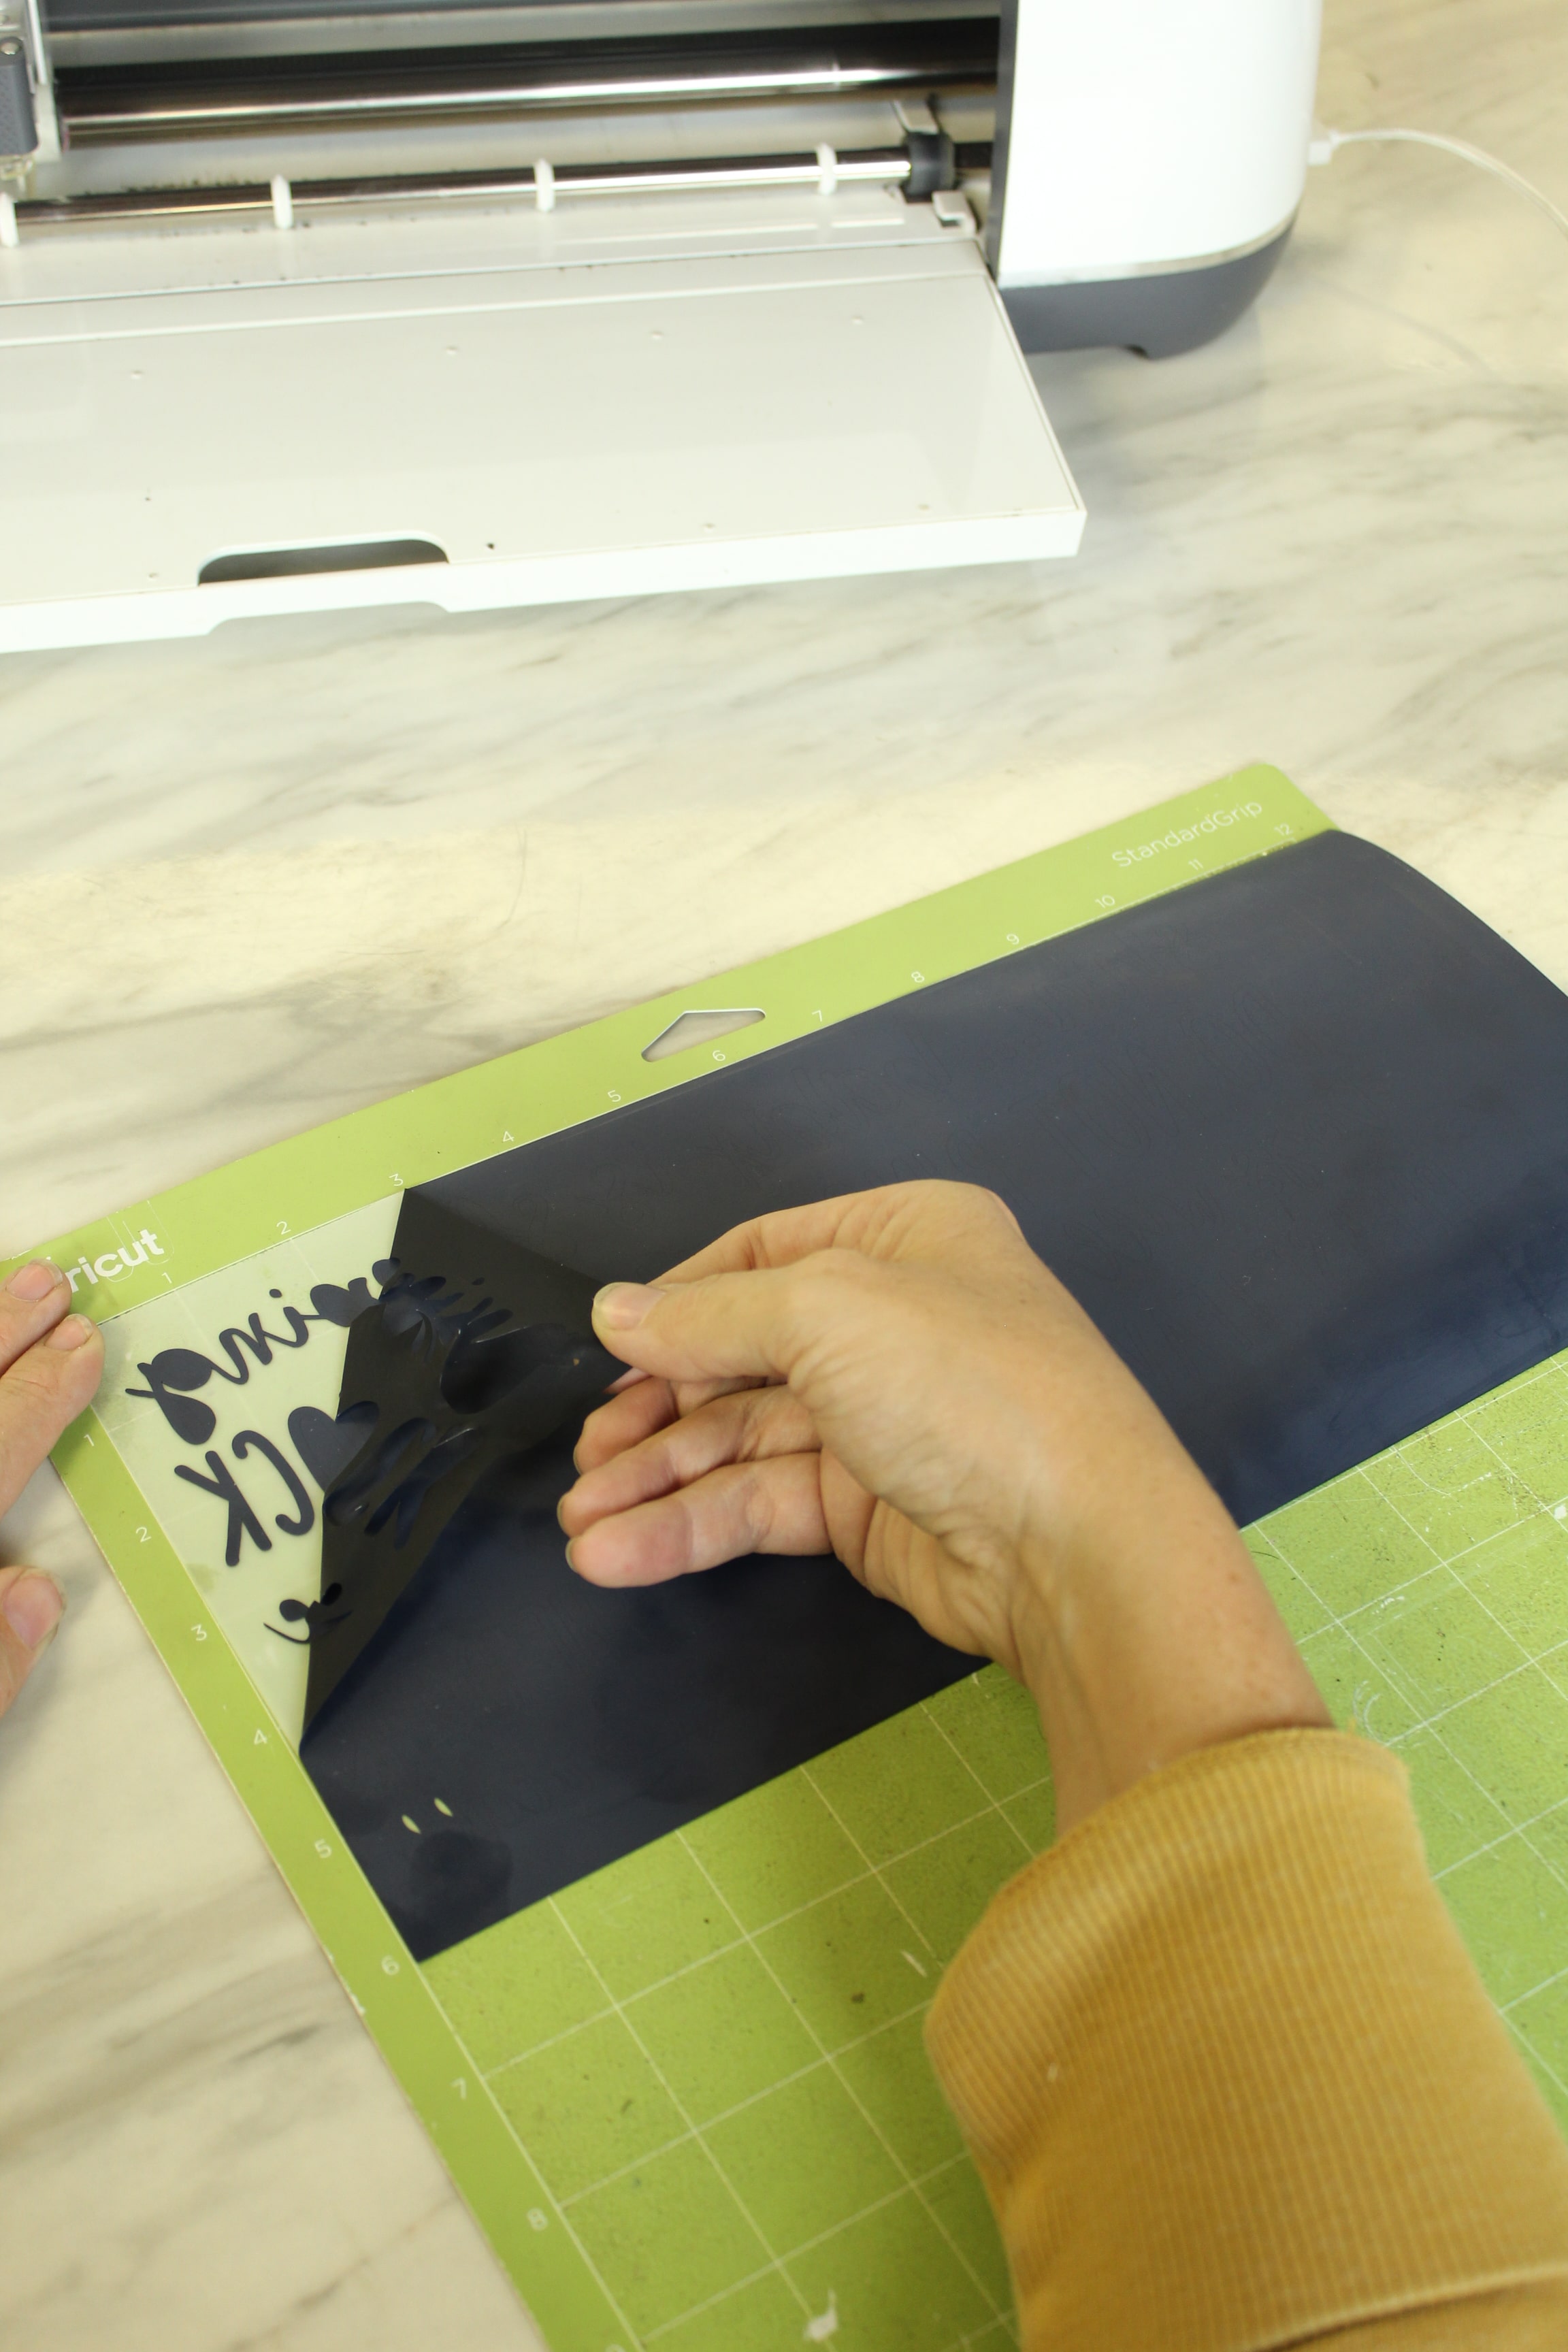
Weed Your Design
When your machine is done cutting, it is time to weed your design by removing all of the negative space and surrounding vinyl. Honestly this project is a quick and easy one but this will take you the longest. Some people love weeding and some hate it. Personally, I kind of like it.
Iron On Design
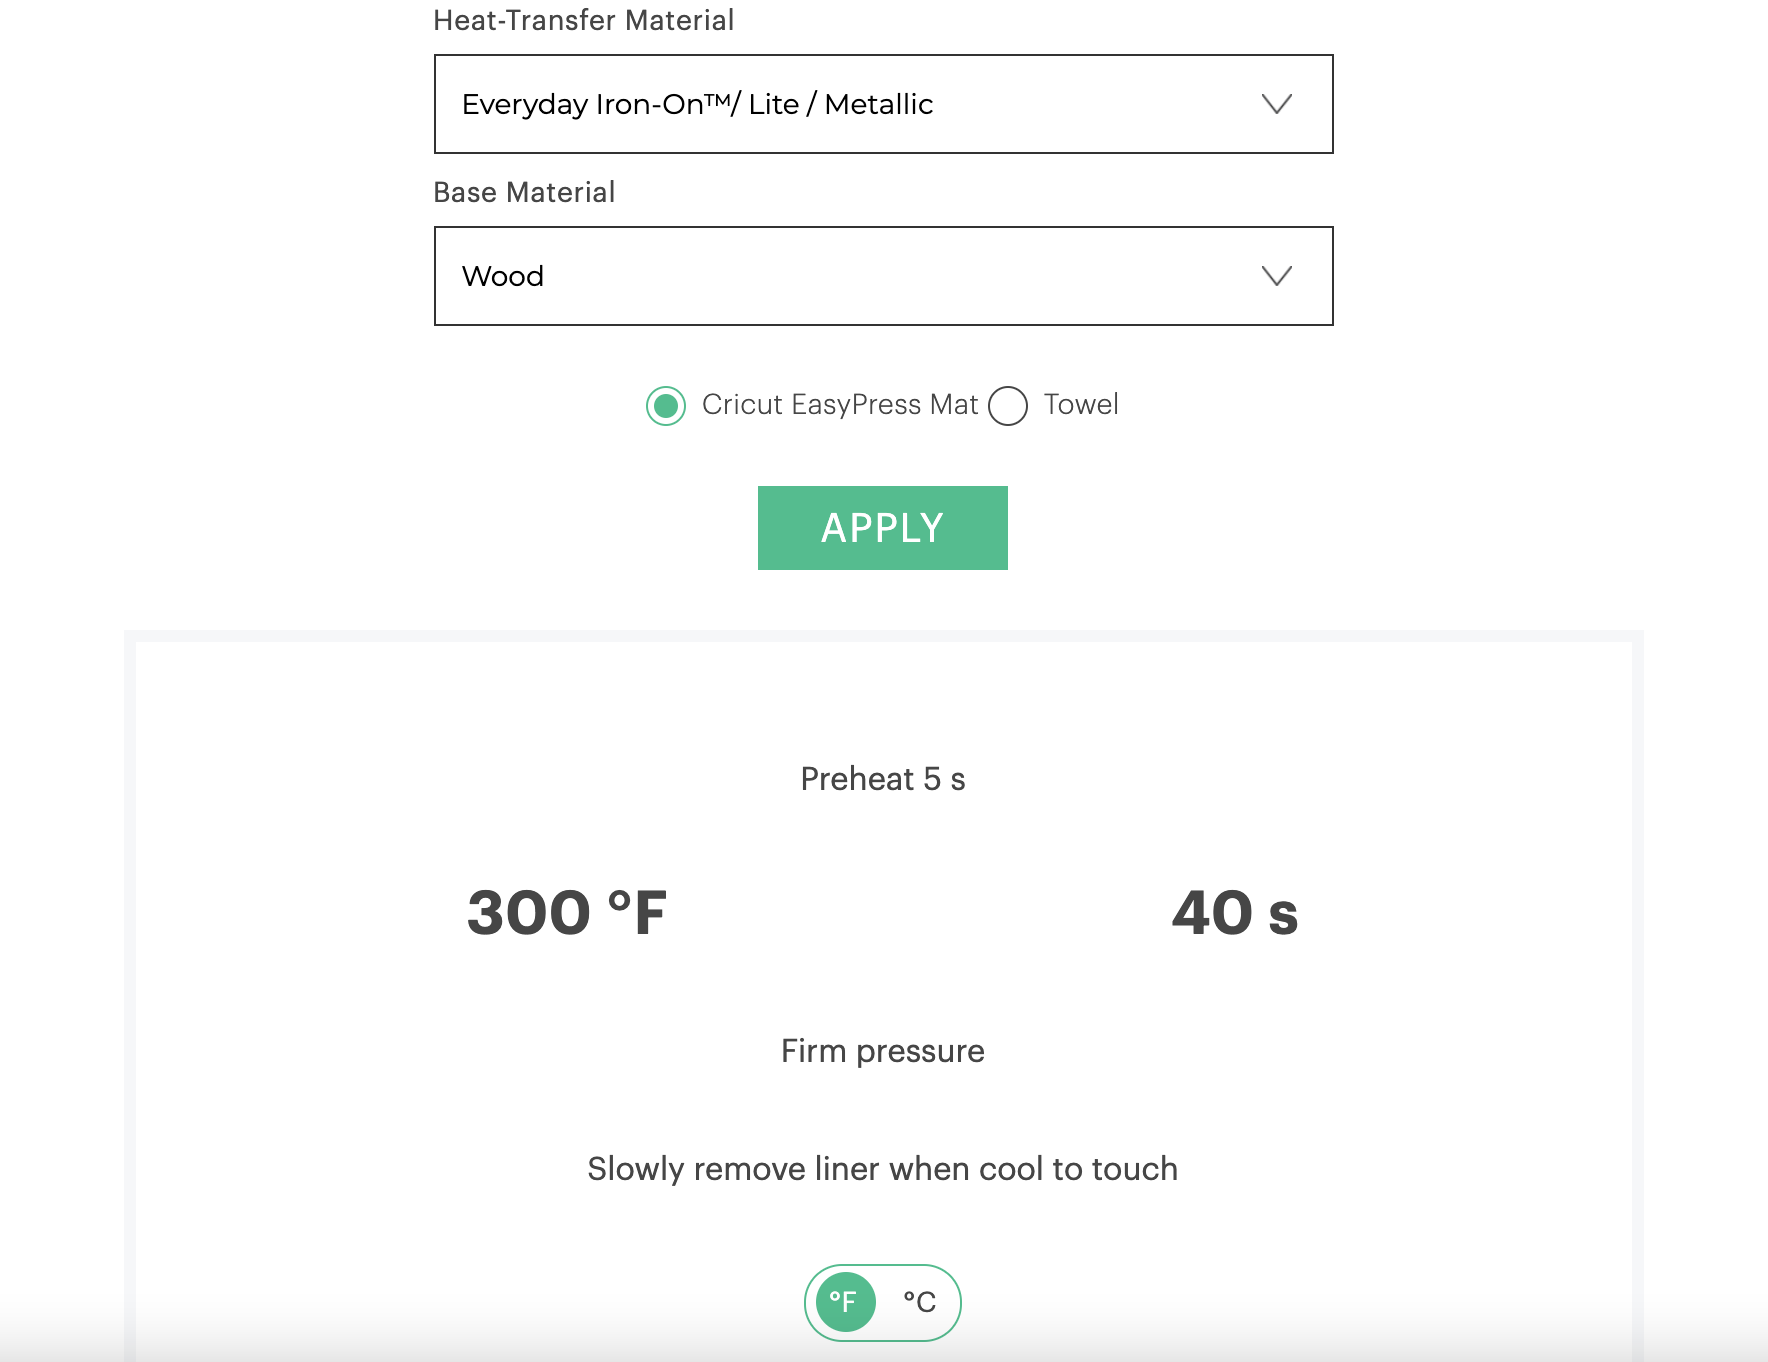
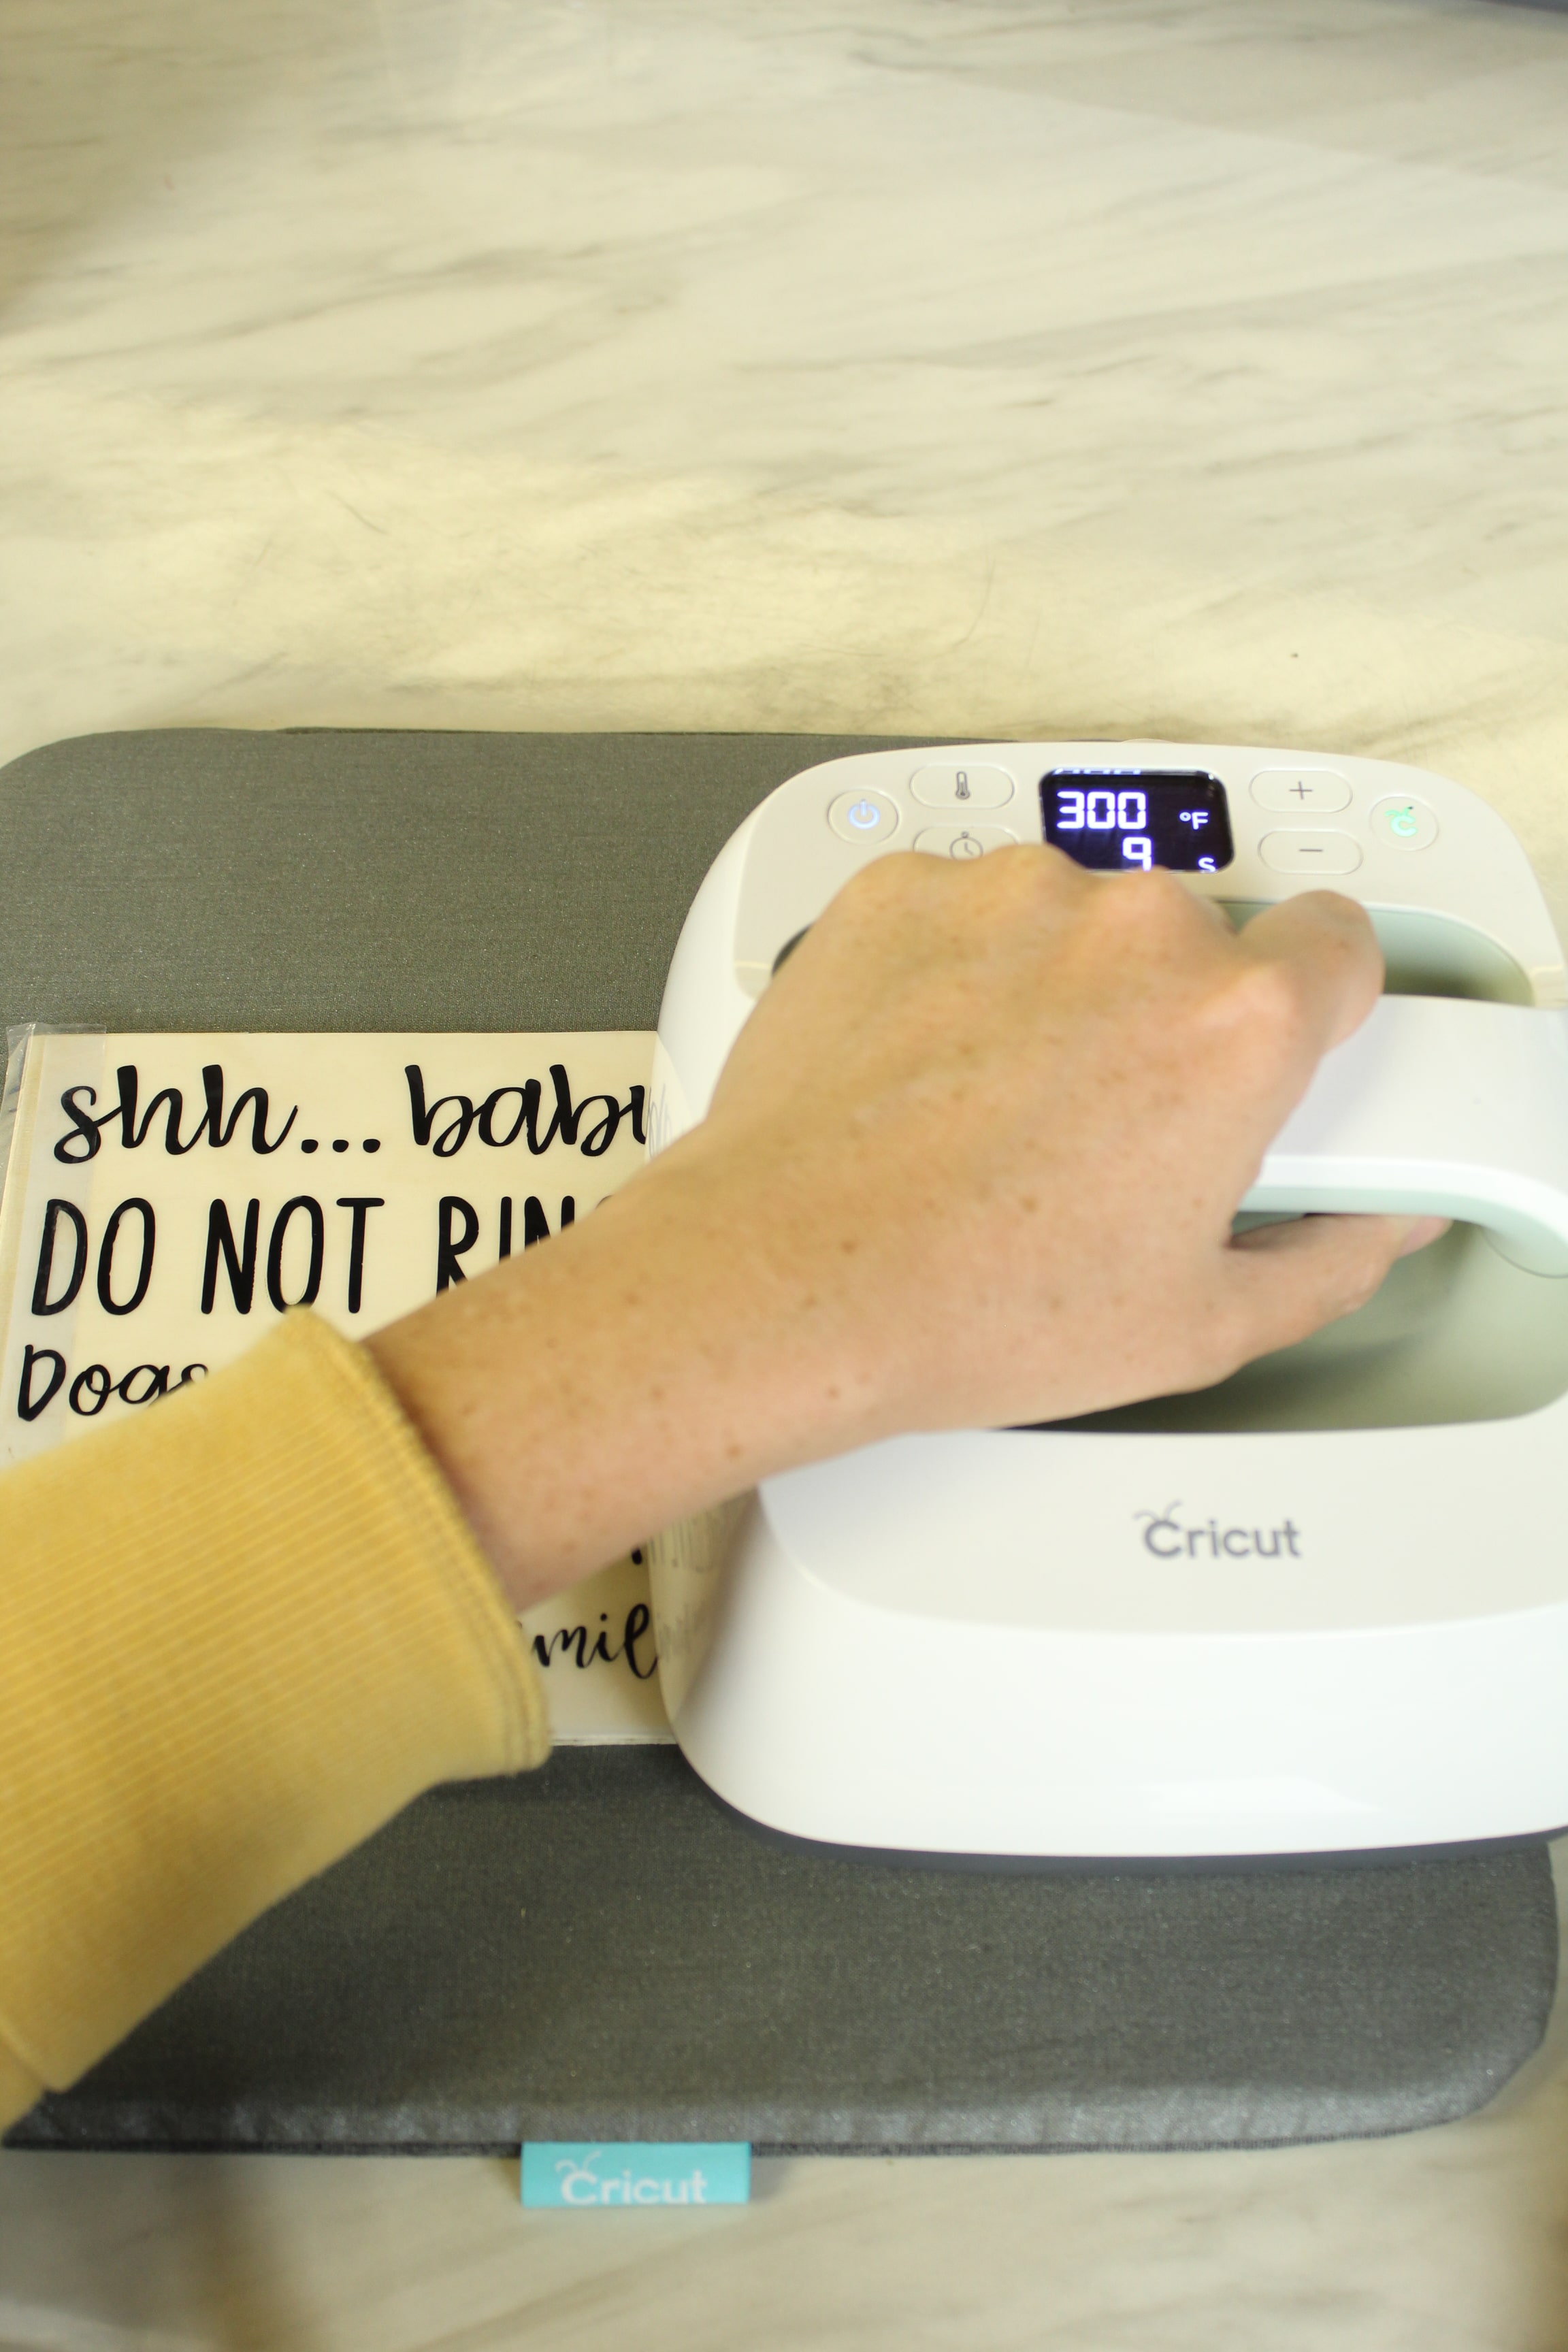
If you’ve never used Iron On Vinyl on wood WHAT ARE YOU DOING WITH YOUR LIFE?! Just kidding, but seriously, it’s amazing. SO much better than standard vinyl. Be sure to check the Cricut Heat Guide to make sure you’re using the correct temp and time for your project.
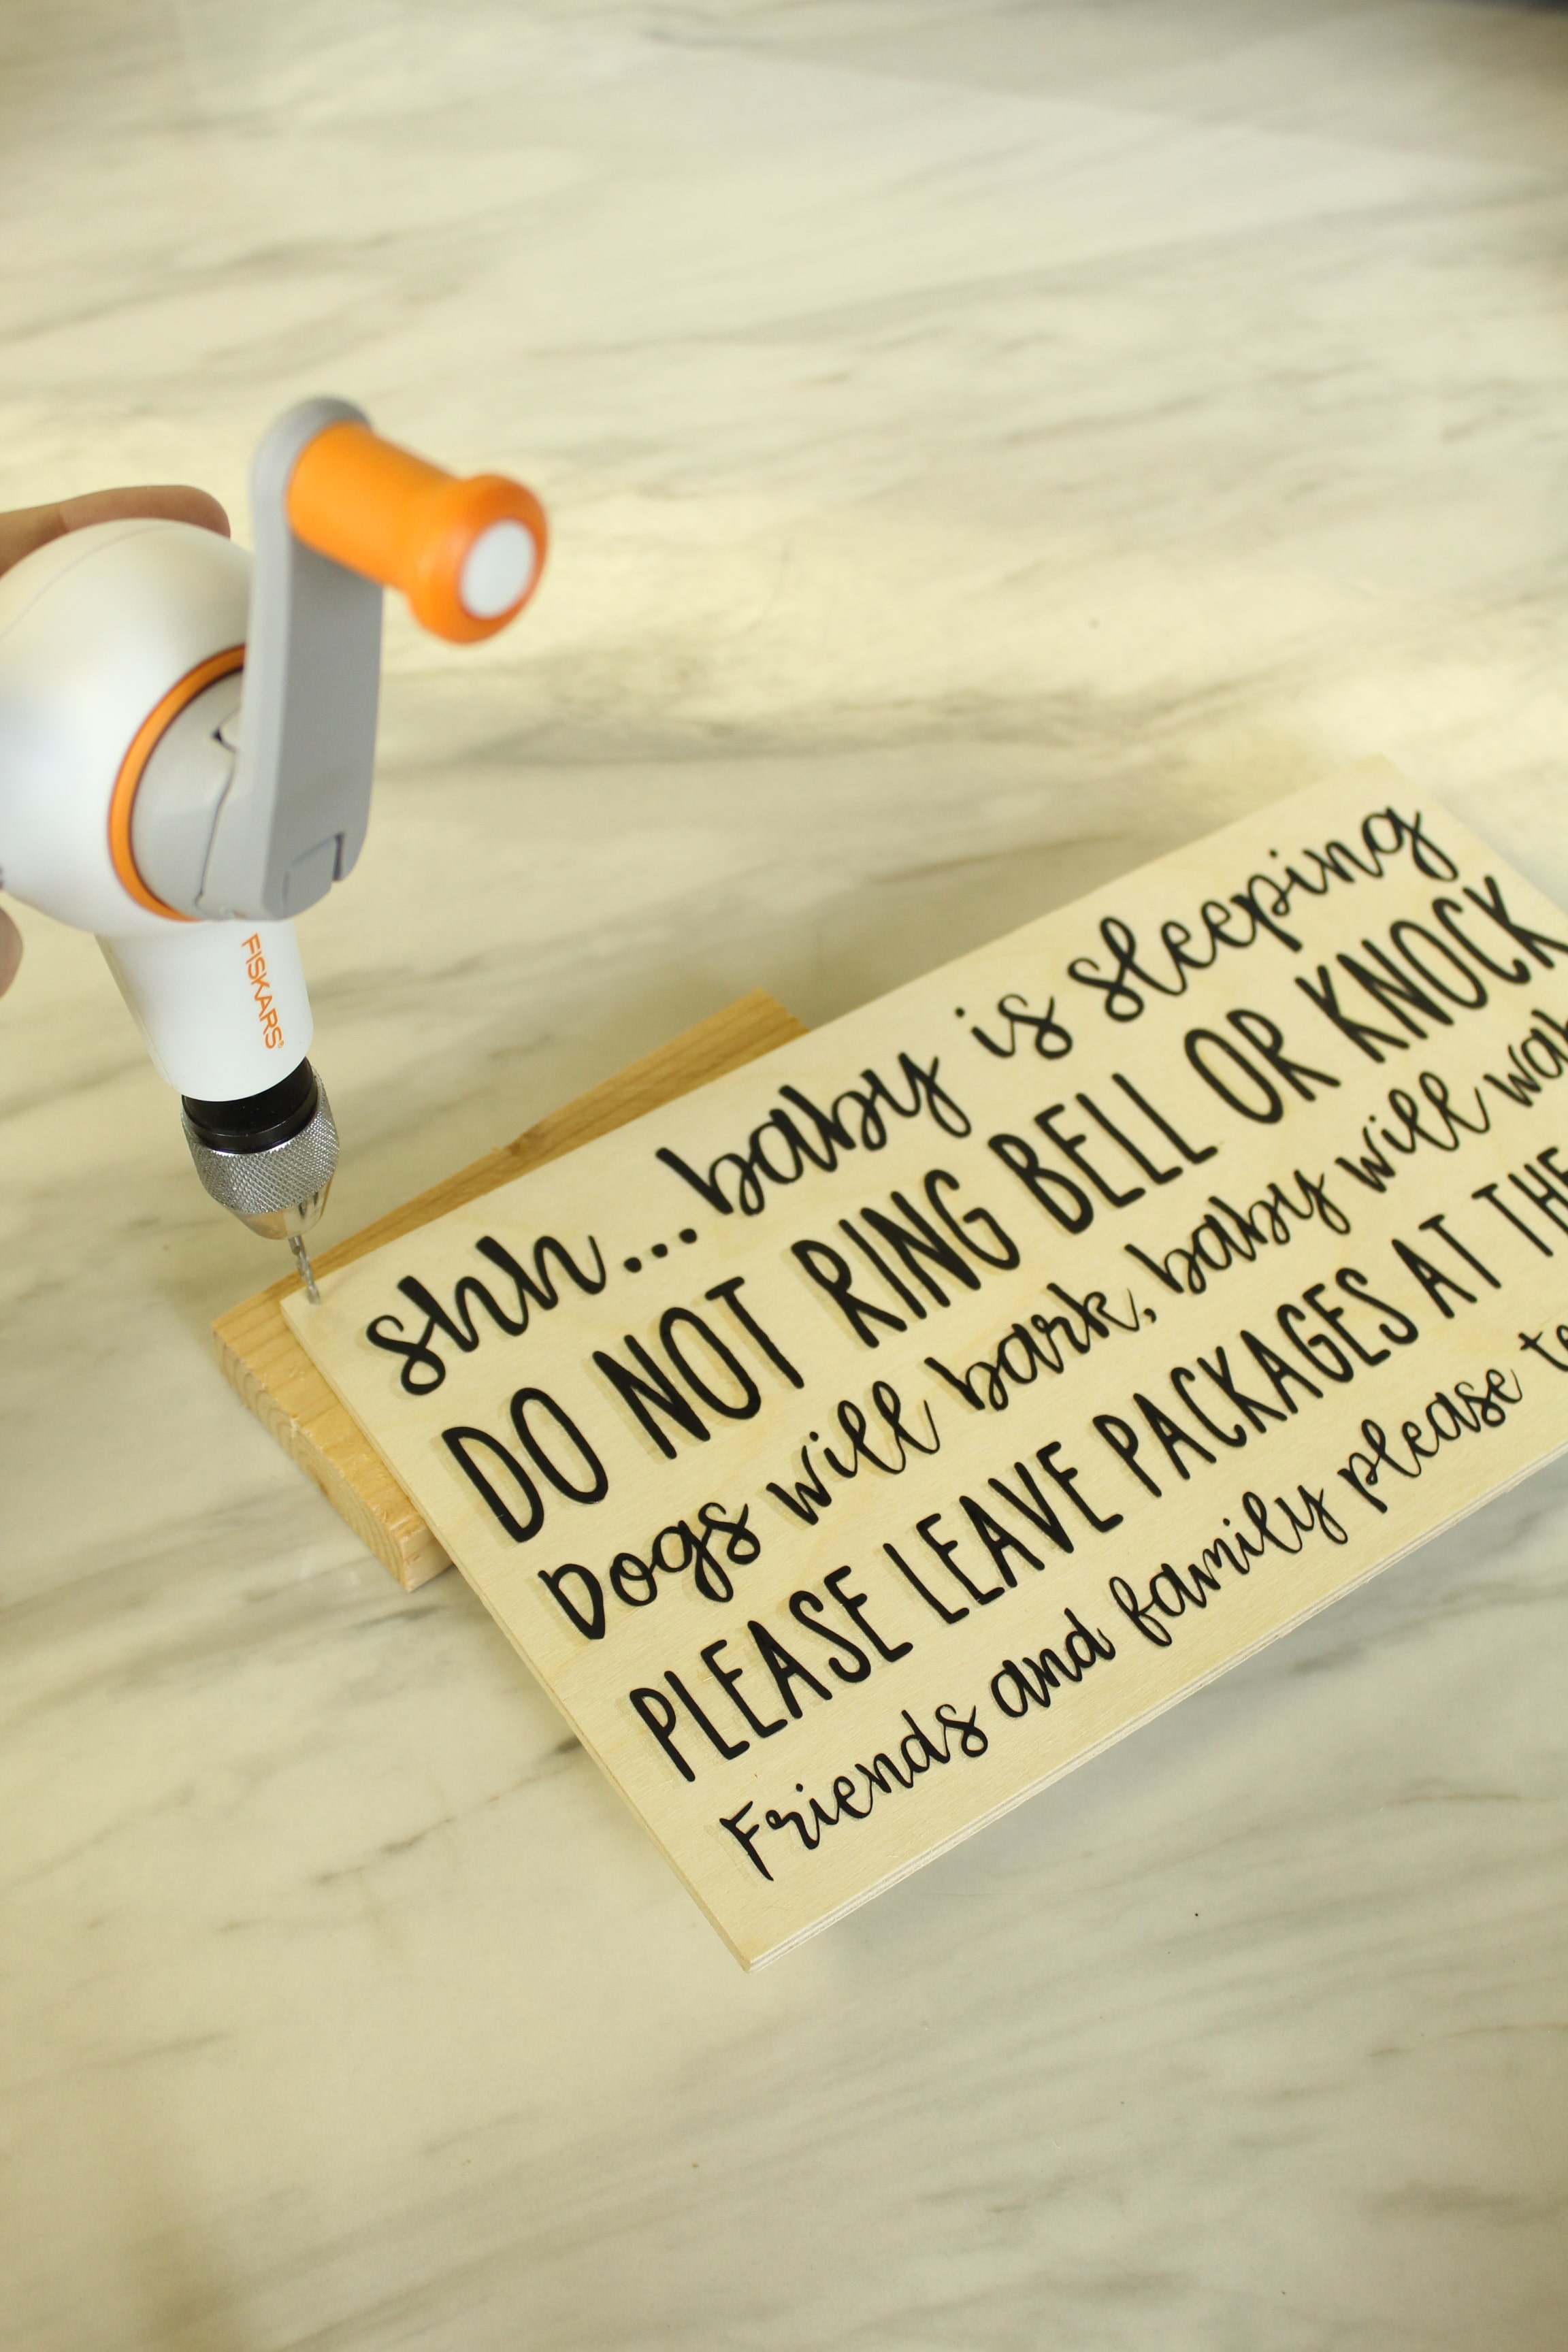
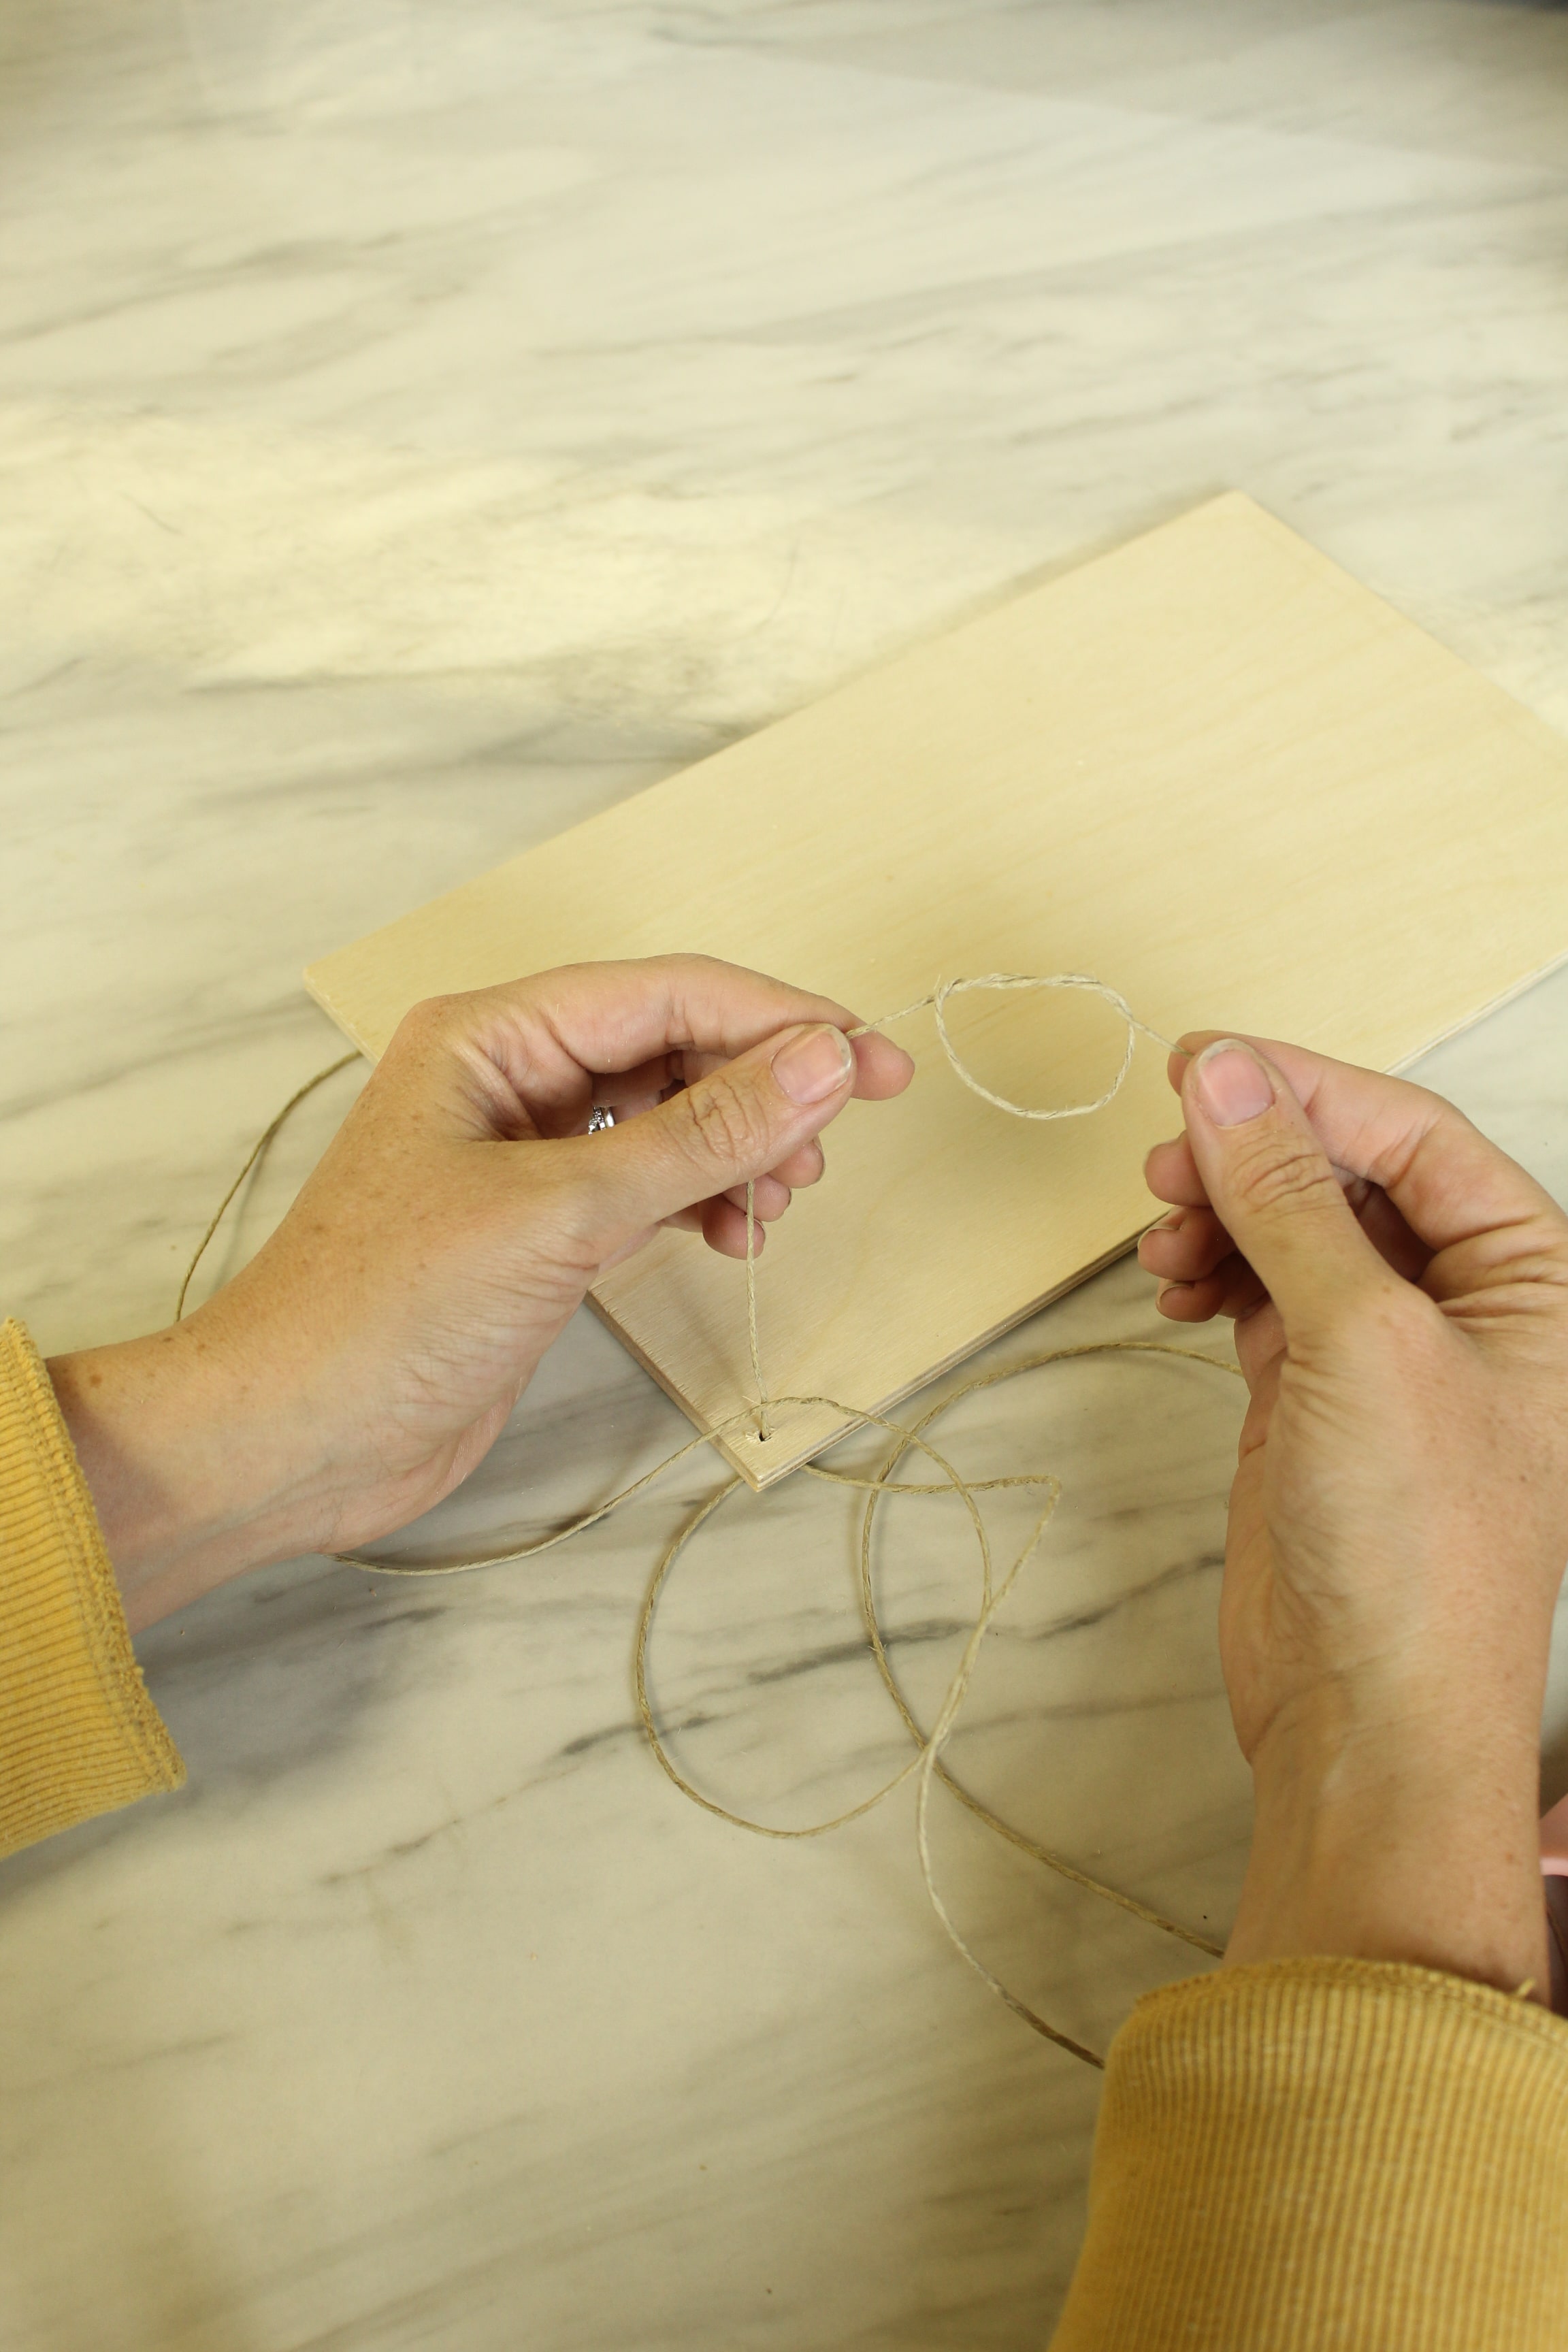
Drill Holes
Now it’s time to use one of my new favorite crafting tools! Funny enough, it’s not really even a crafting tool at all, it’s a REAL tool… the Fiskars Precision Hand Drill. (Did you know our very own Jen helped develop this line?? Cool, right?!)
So using the Fiskars Precision Hand Drill along with its smallest bit, I was able to easily add the perfect sized holes to my wood without using any power tools! (This is also where I used that scrap piece of wood behind my project so that I didn’t drill into my table.
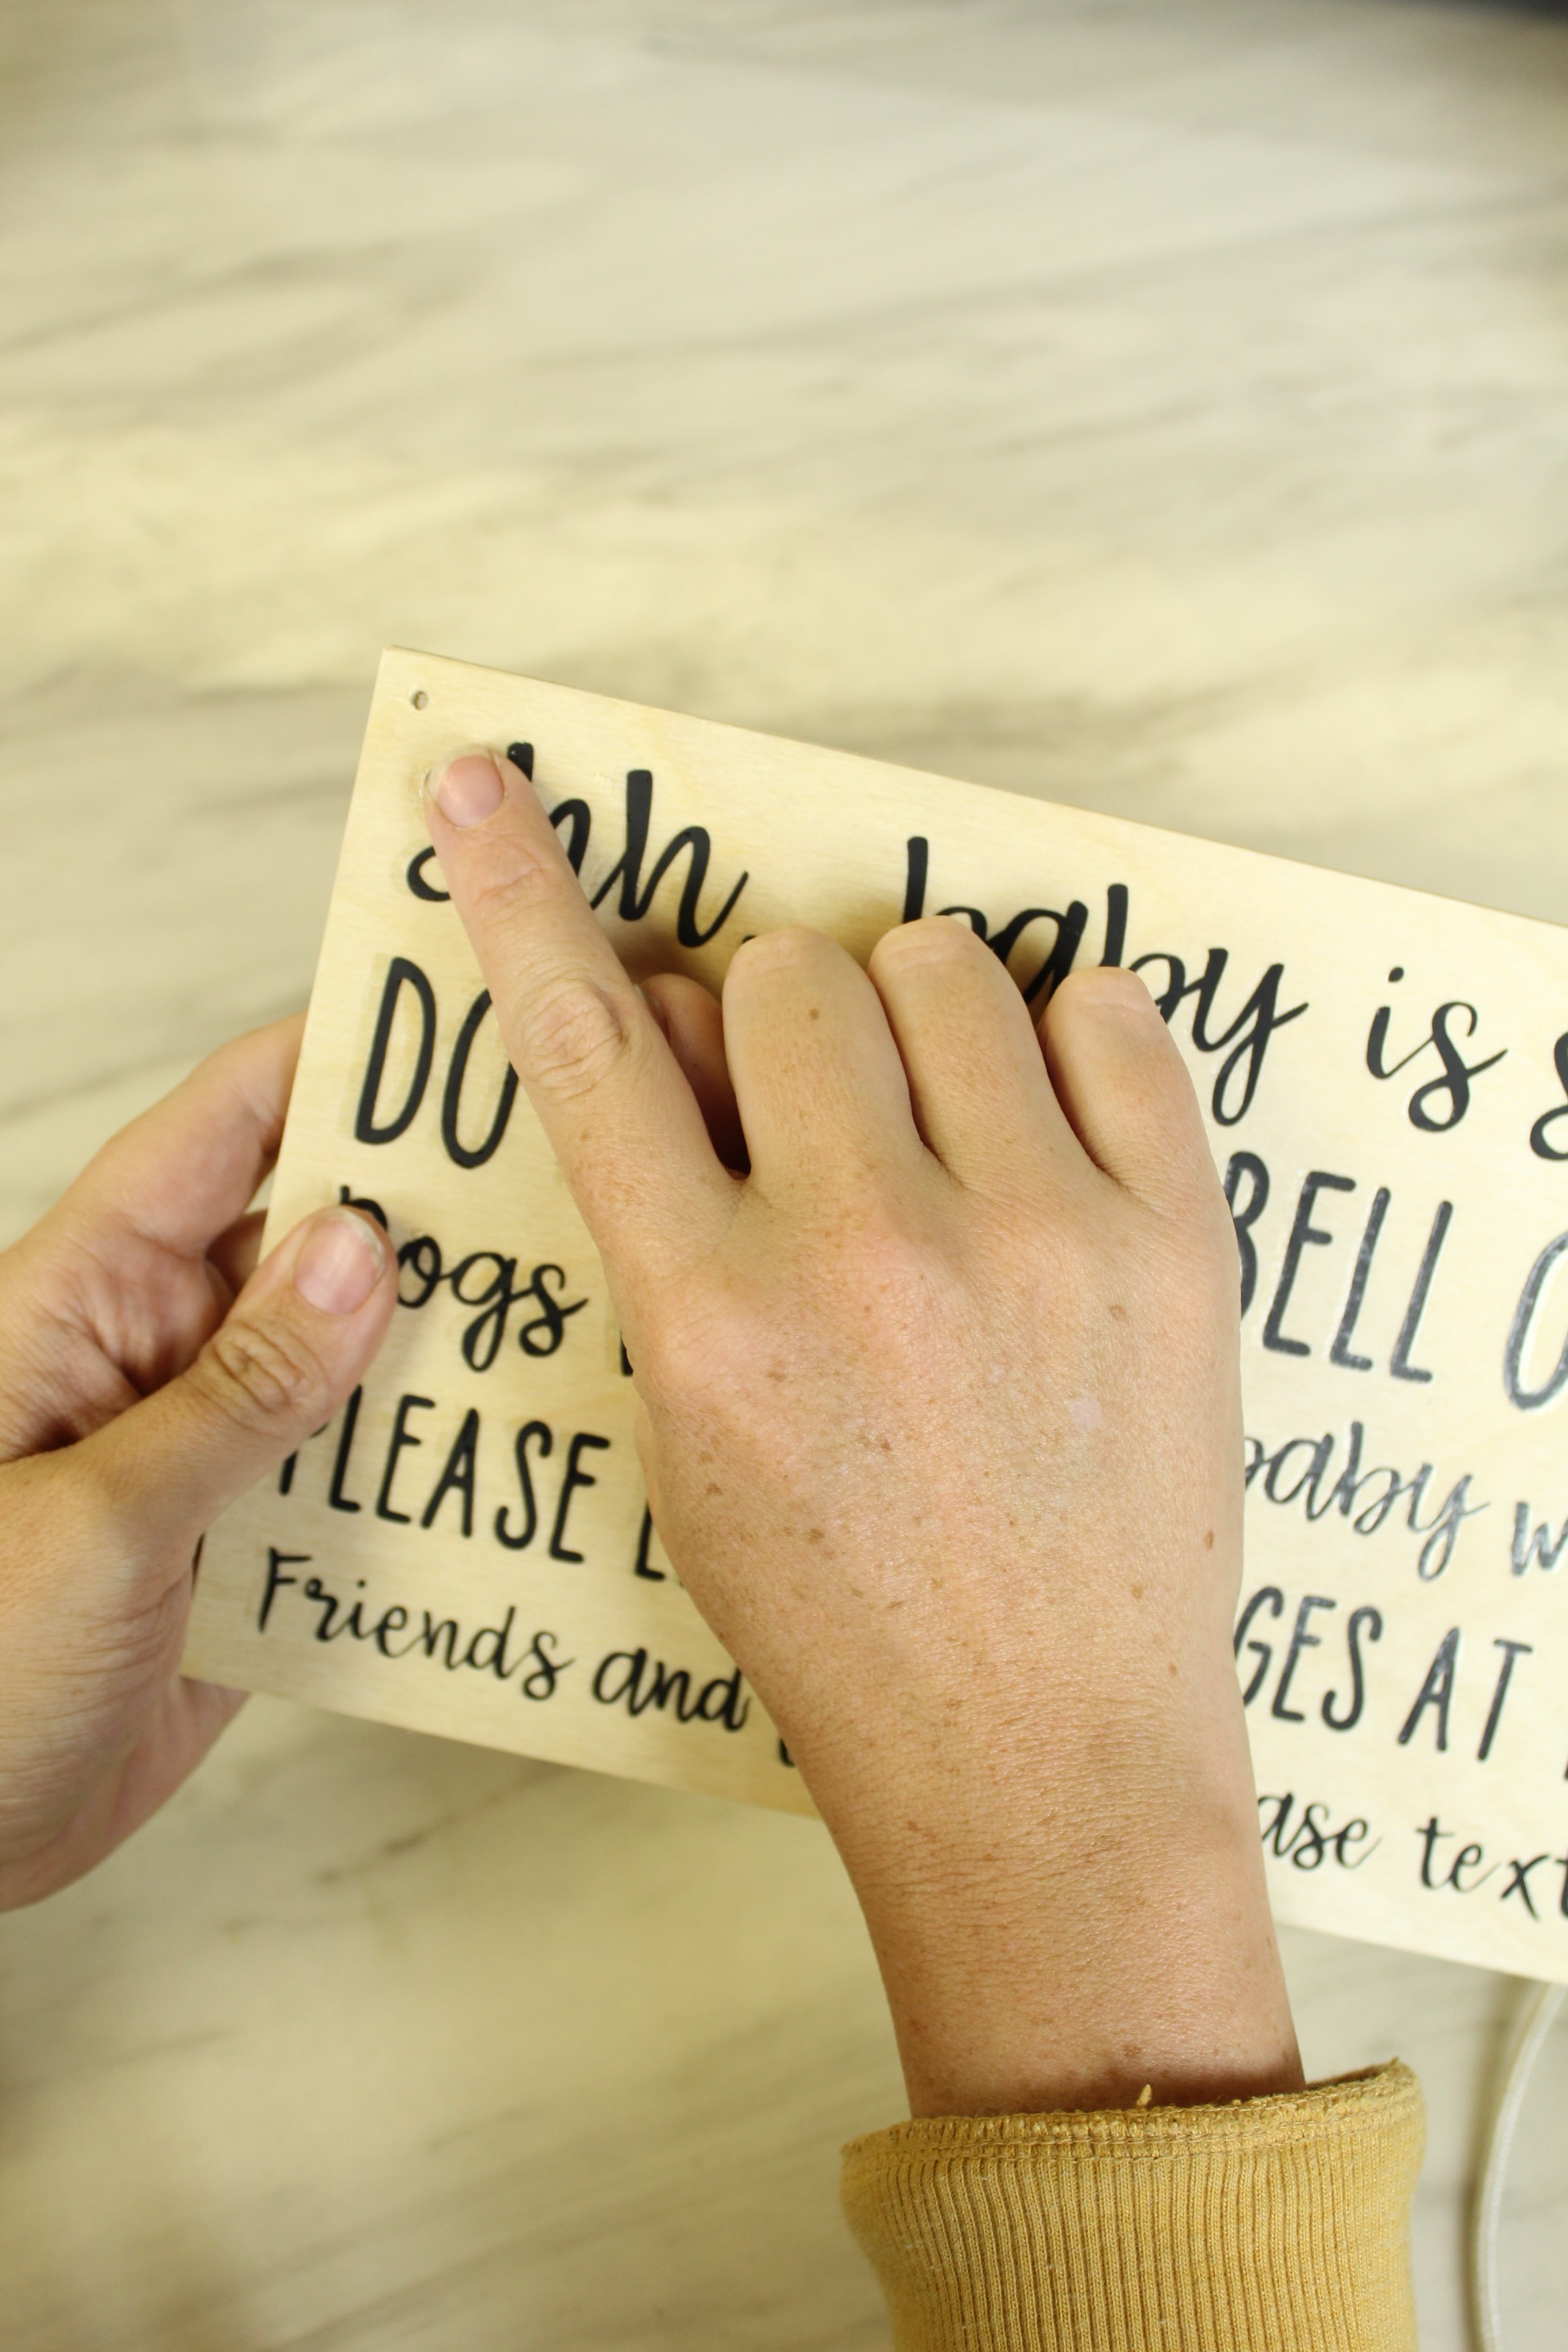
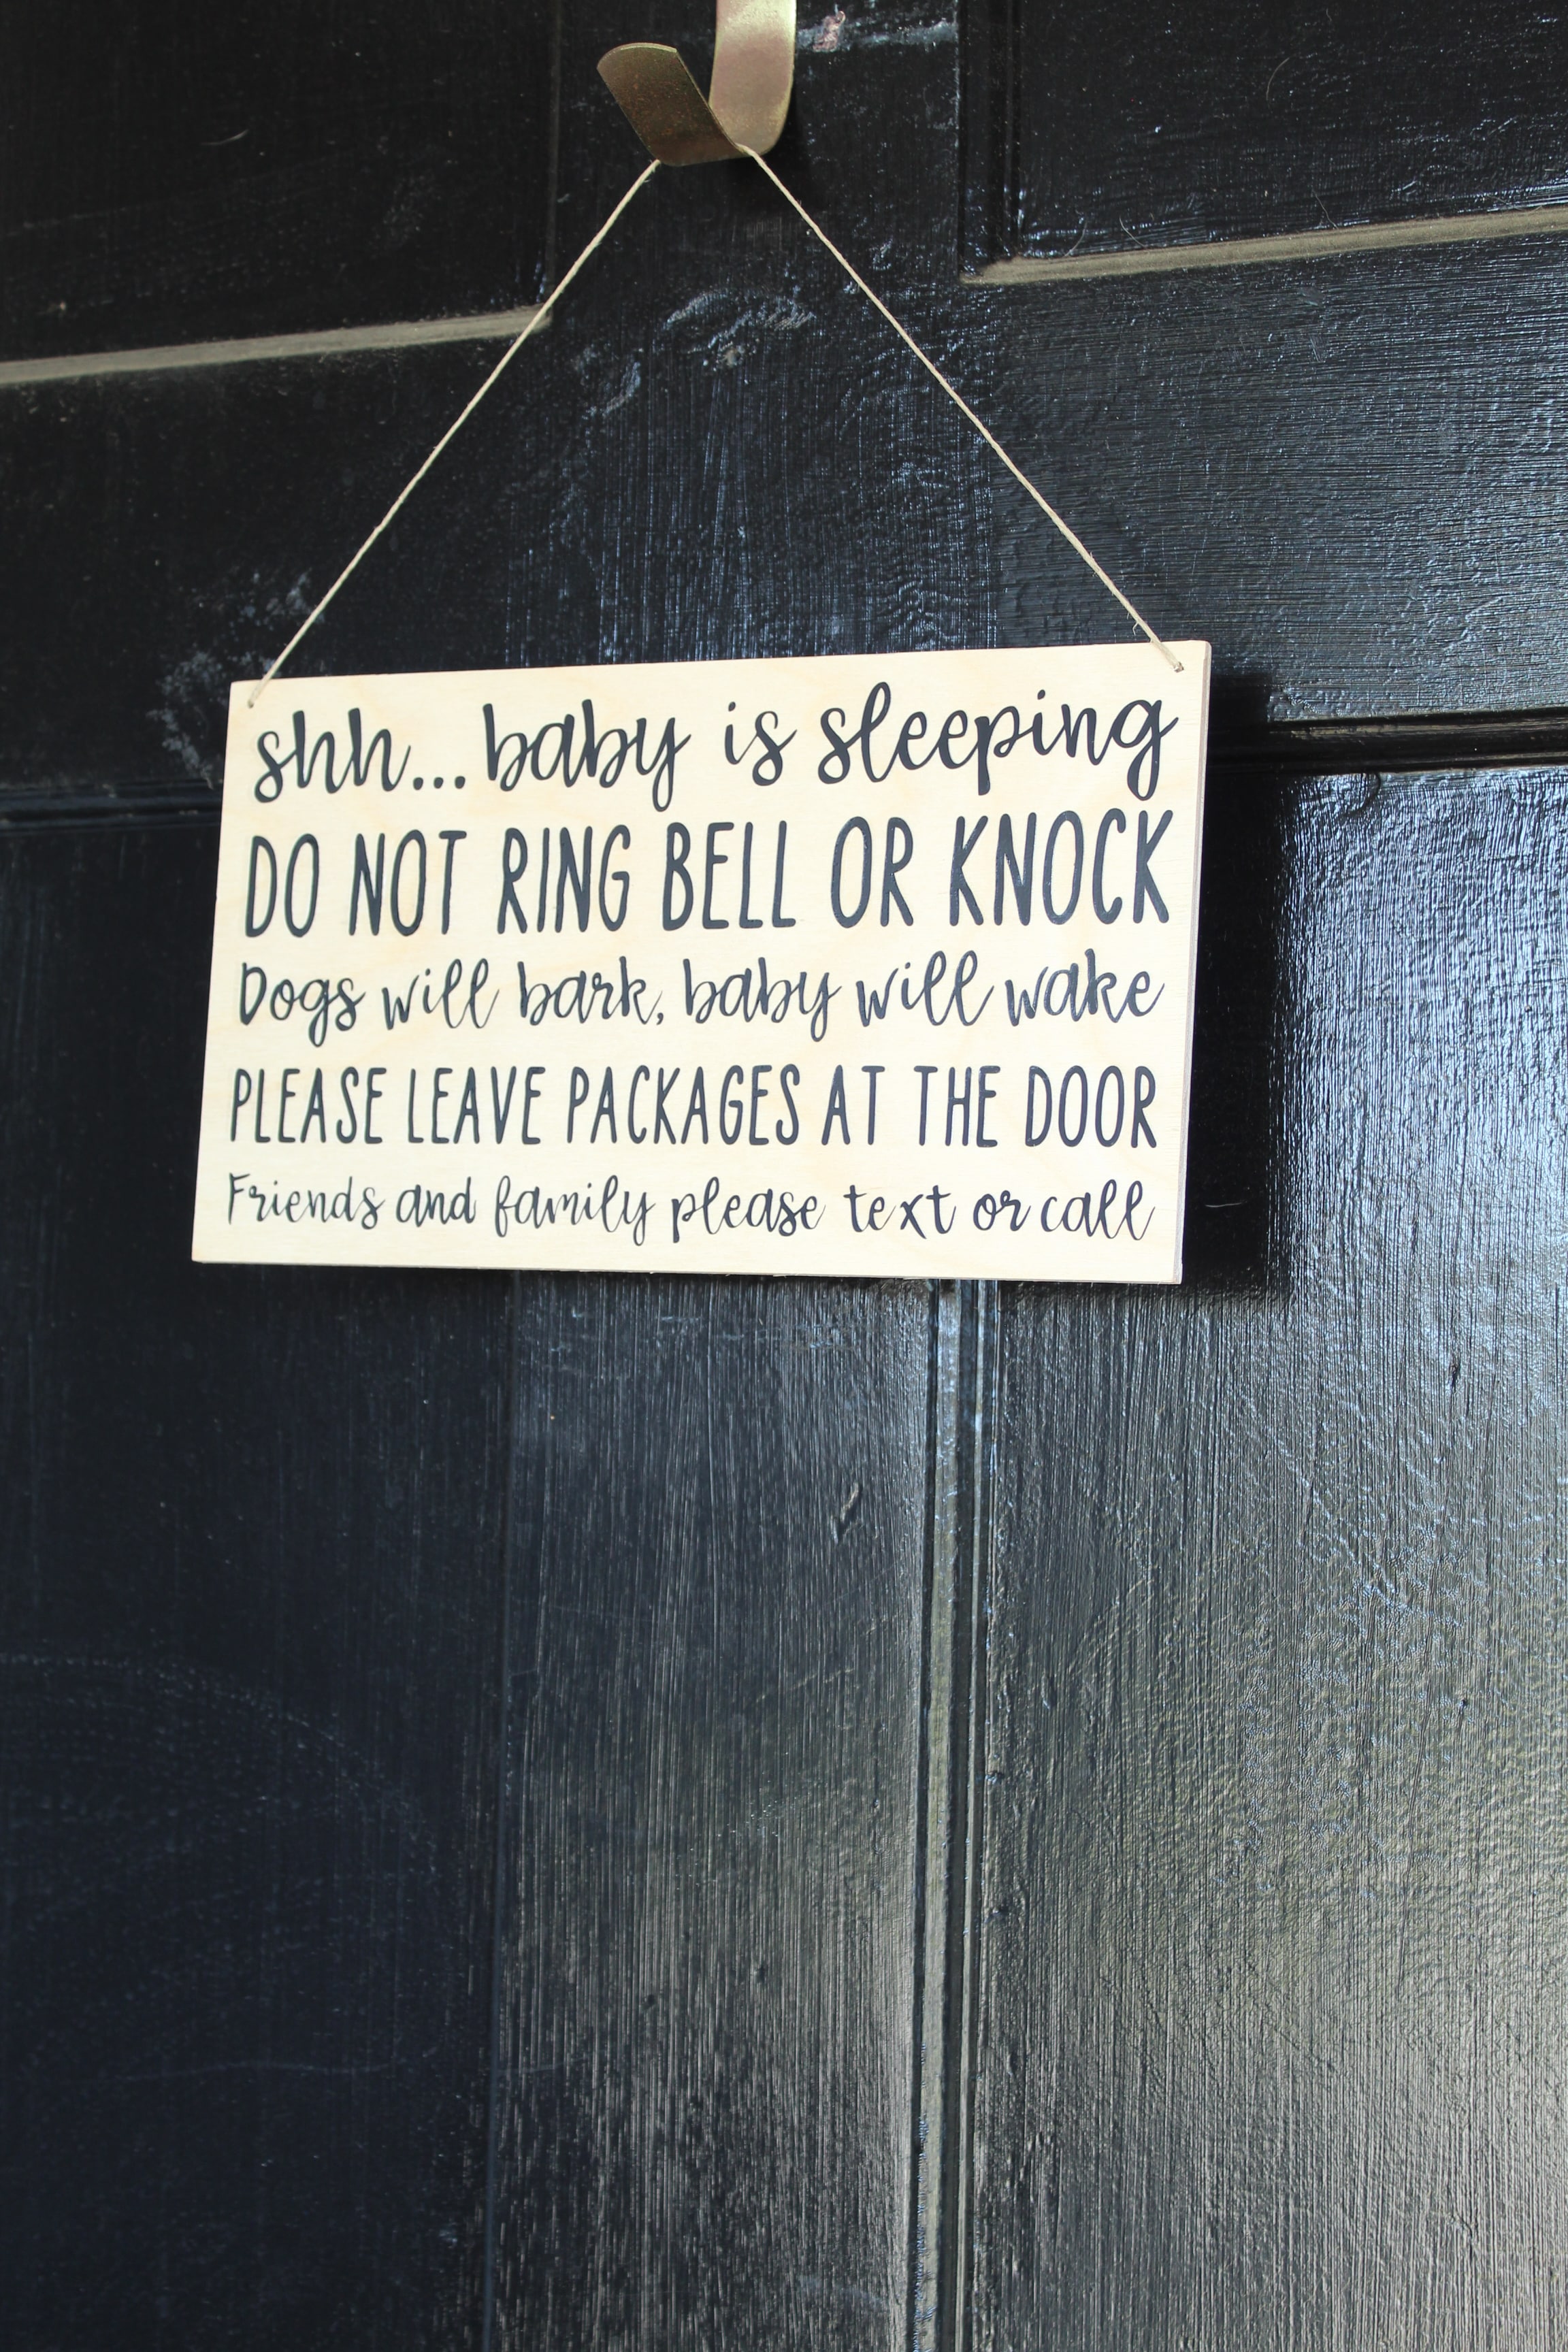
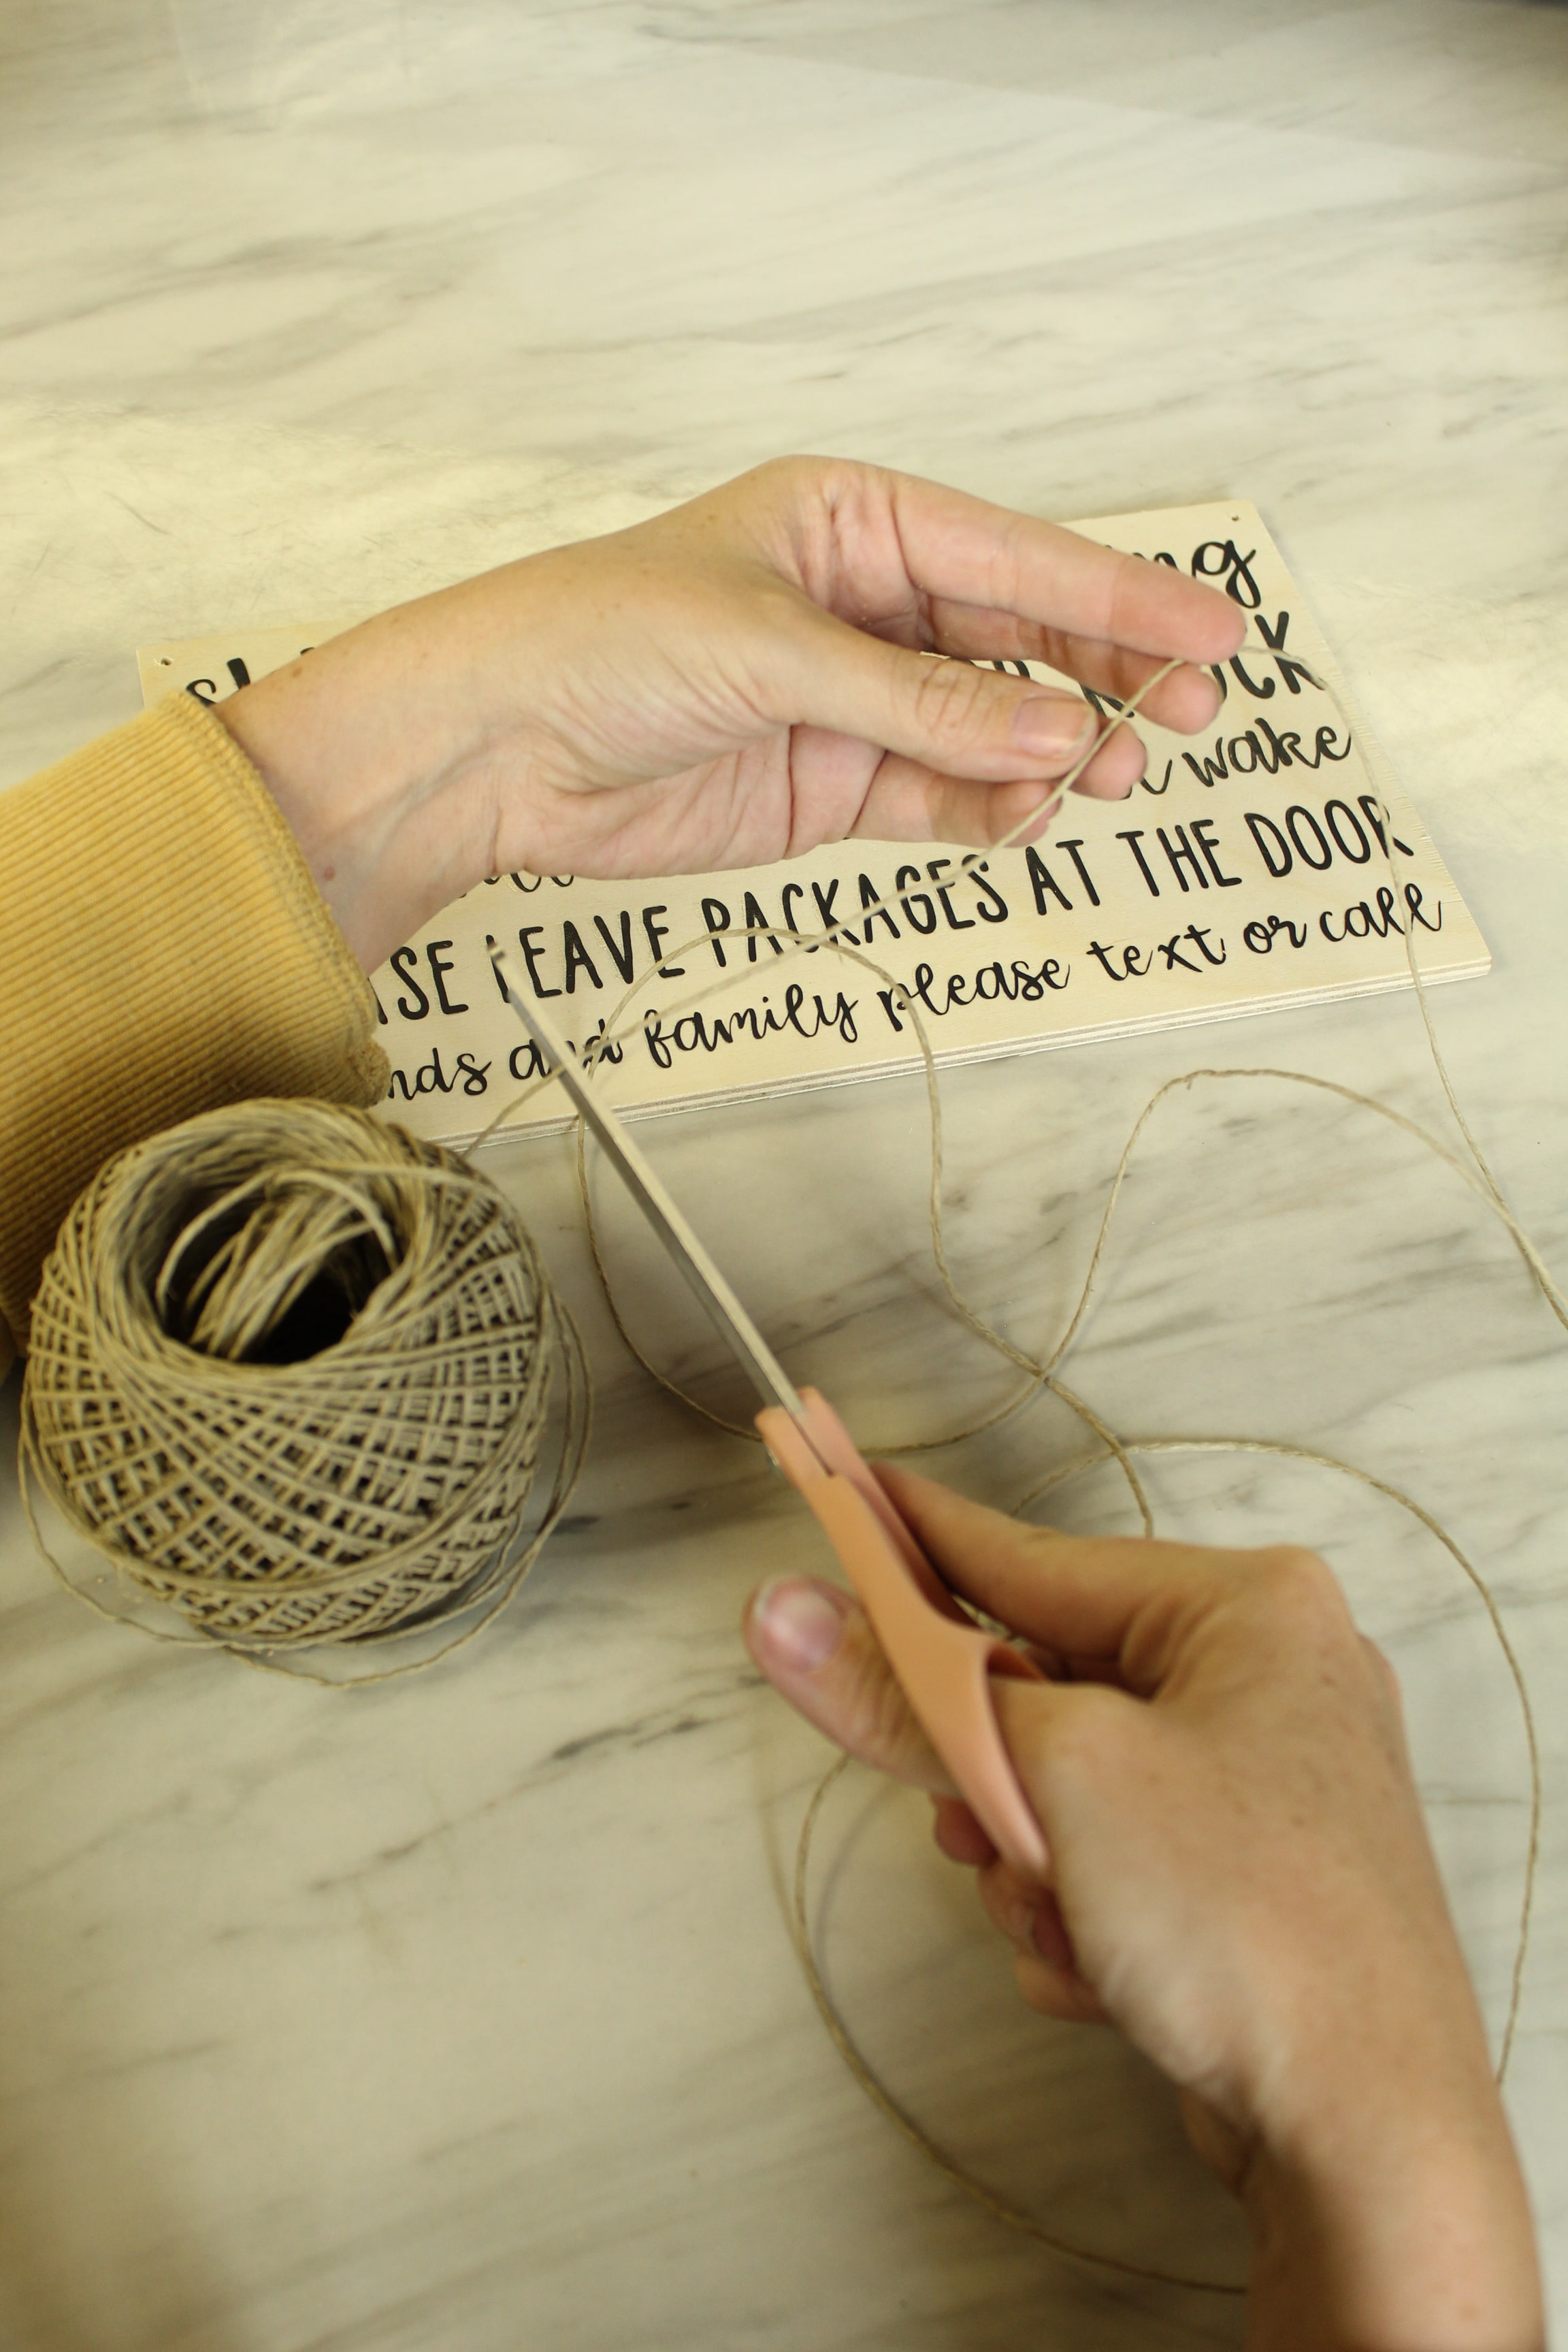
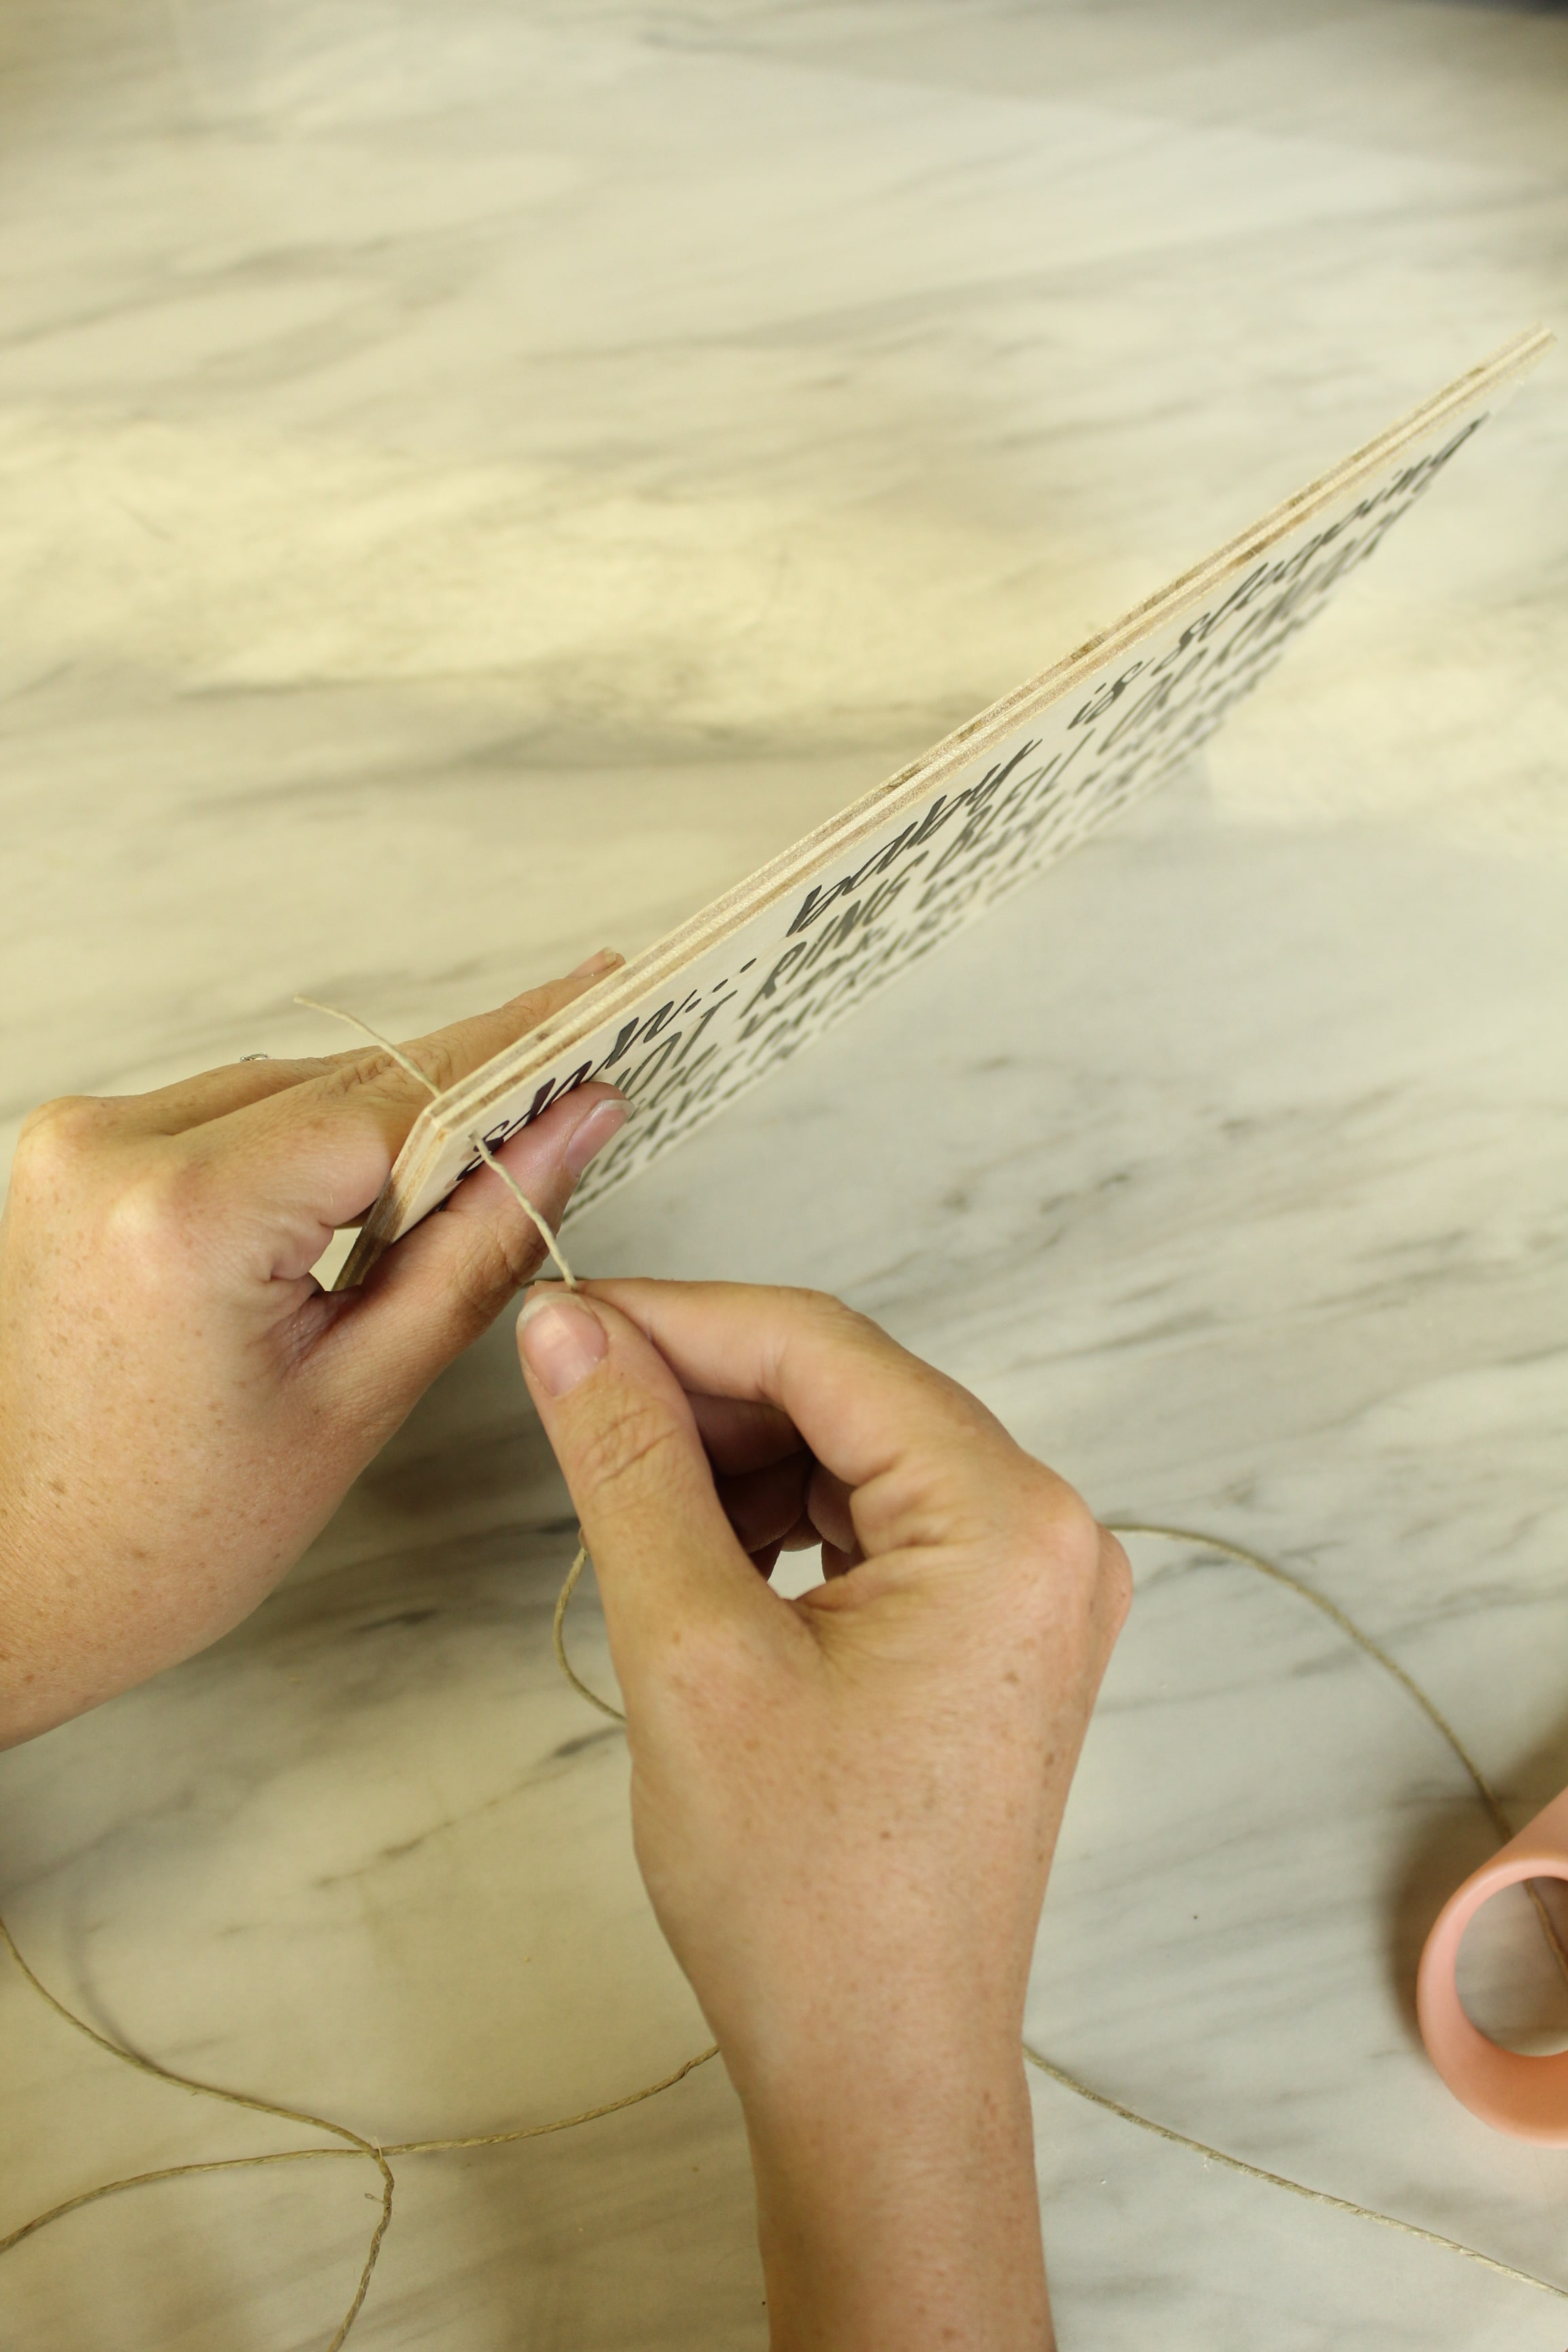
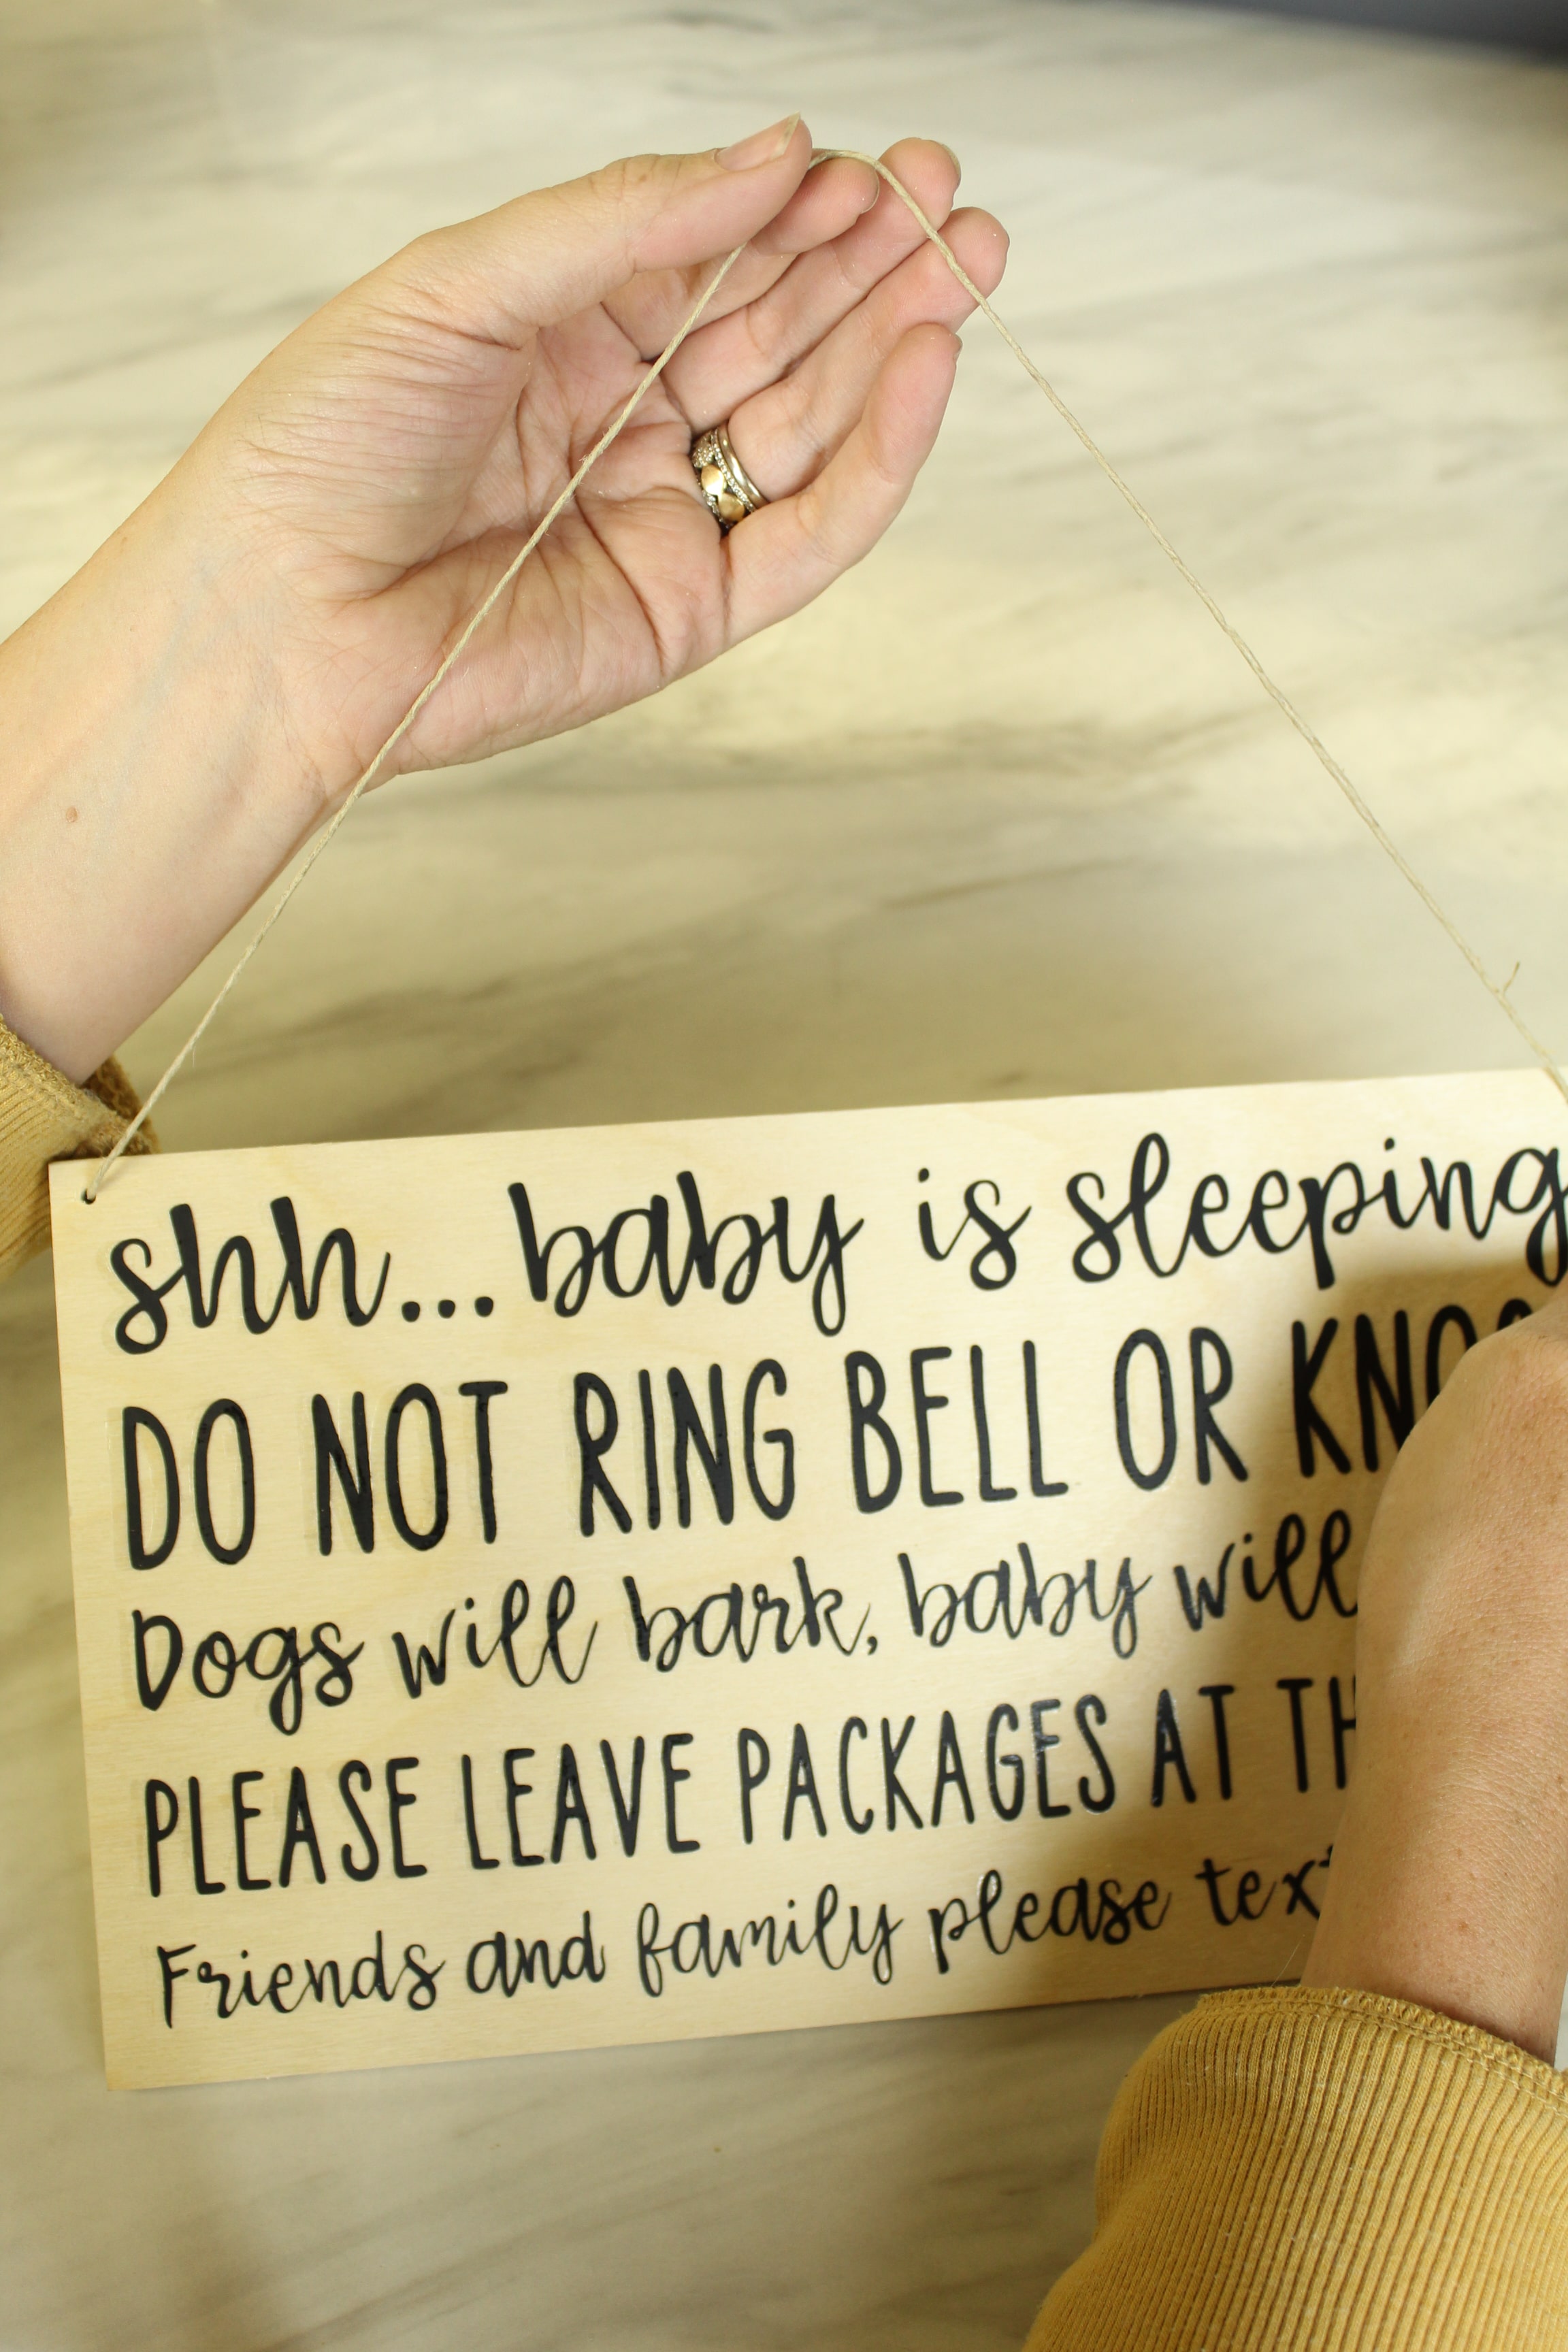
Add Your Twine
Trim your twine down to the appropriate size (which really depends on your sign size and how you’d like it to hang but mine ended up being about 13 inches. Insert it from the front size and knot on the back. Repeat on both sides.
Enjoy Your Handywork
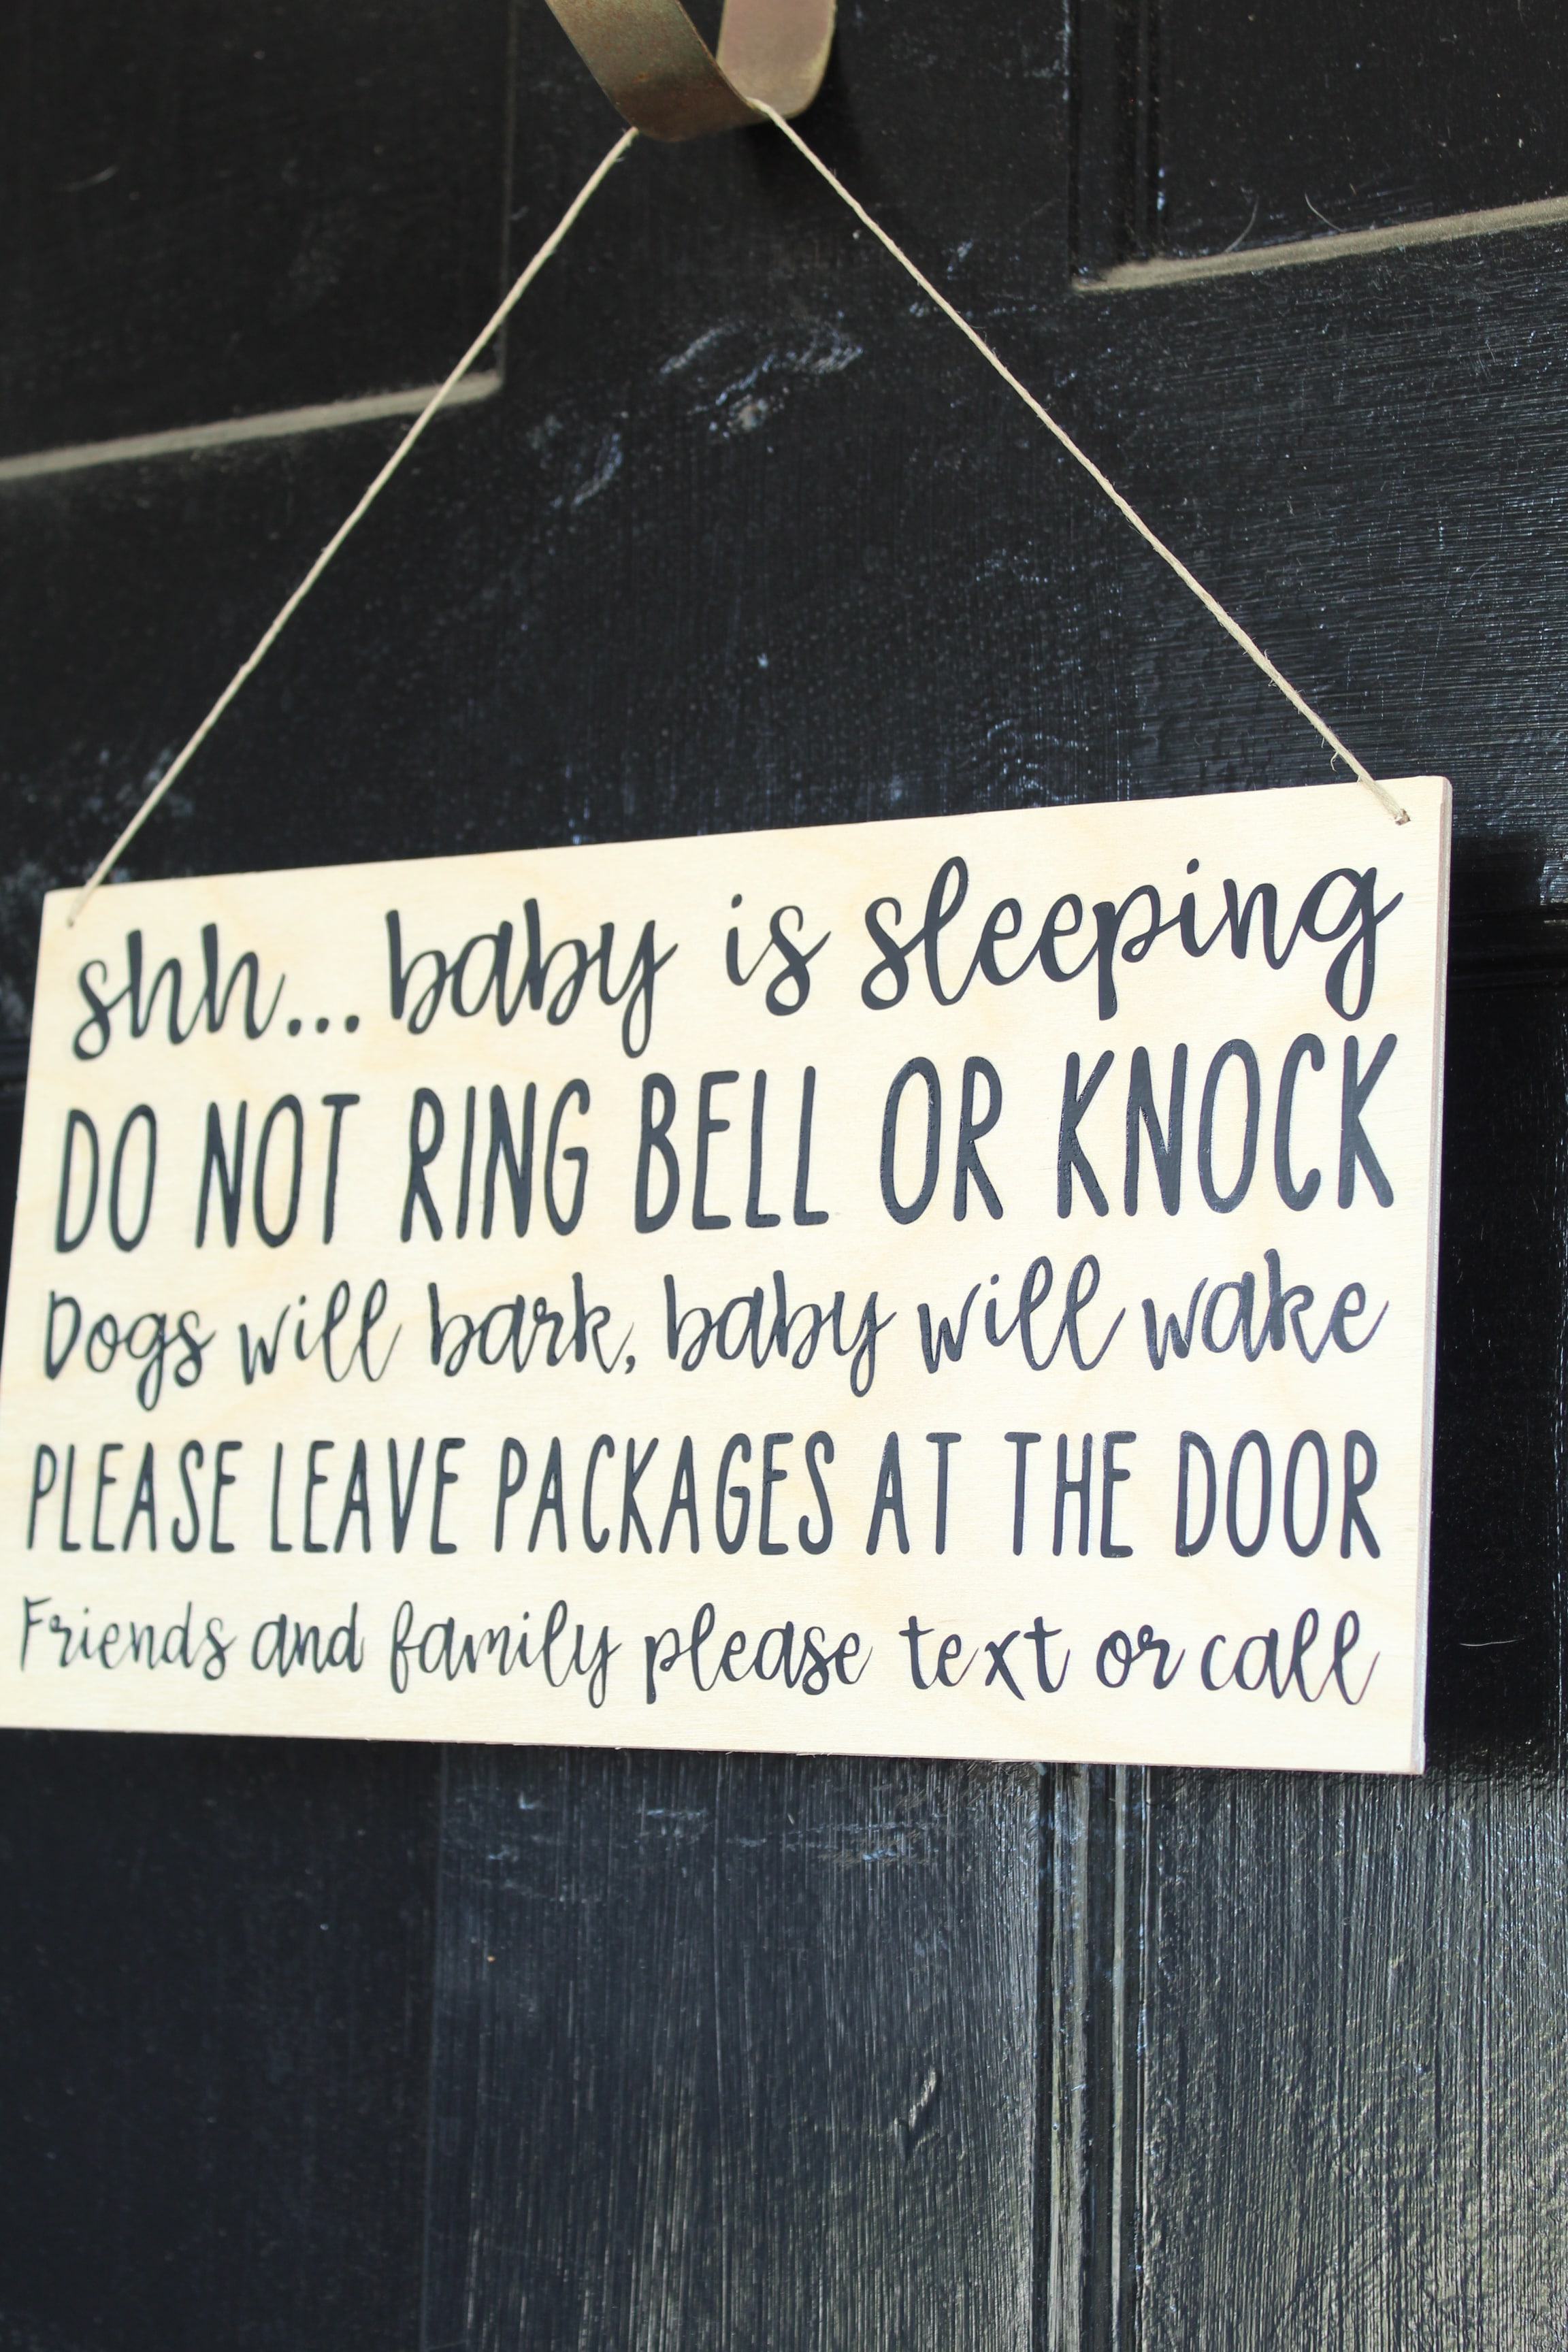
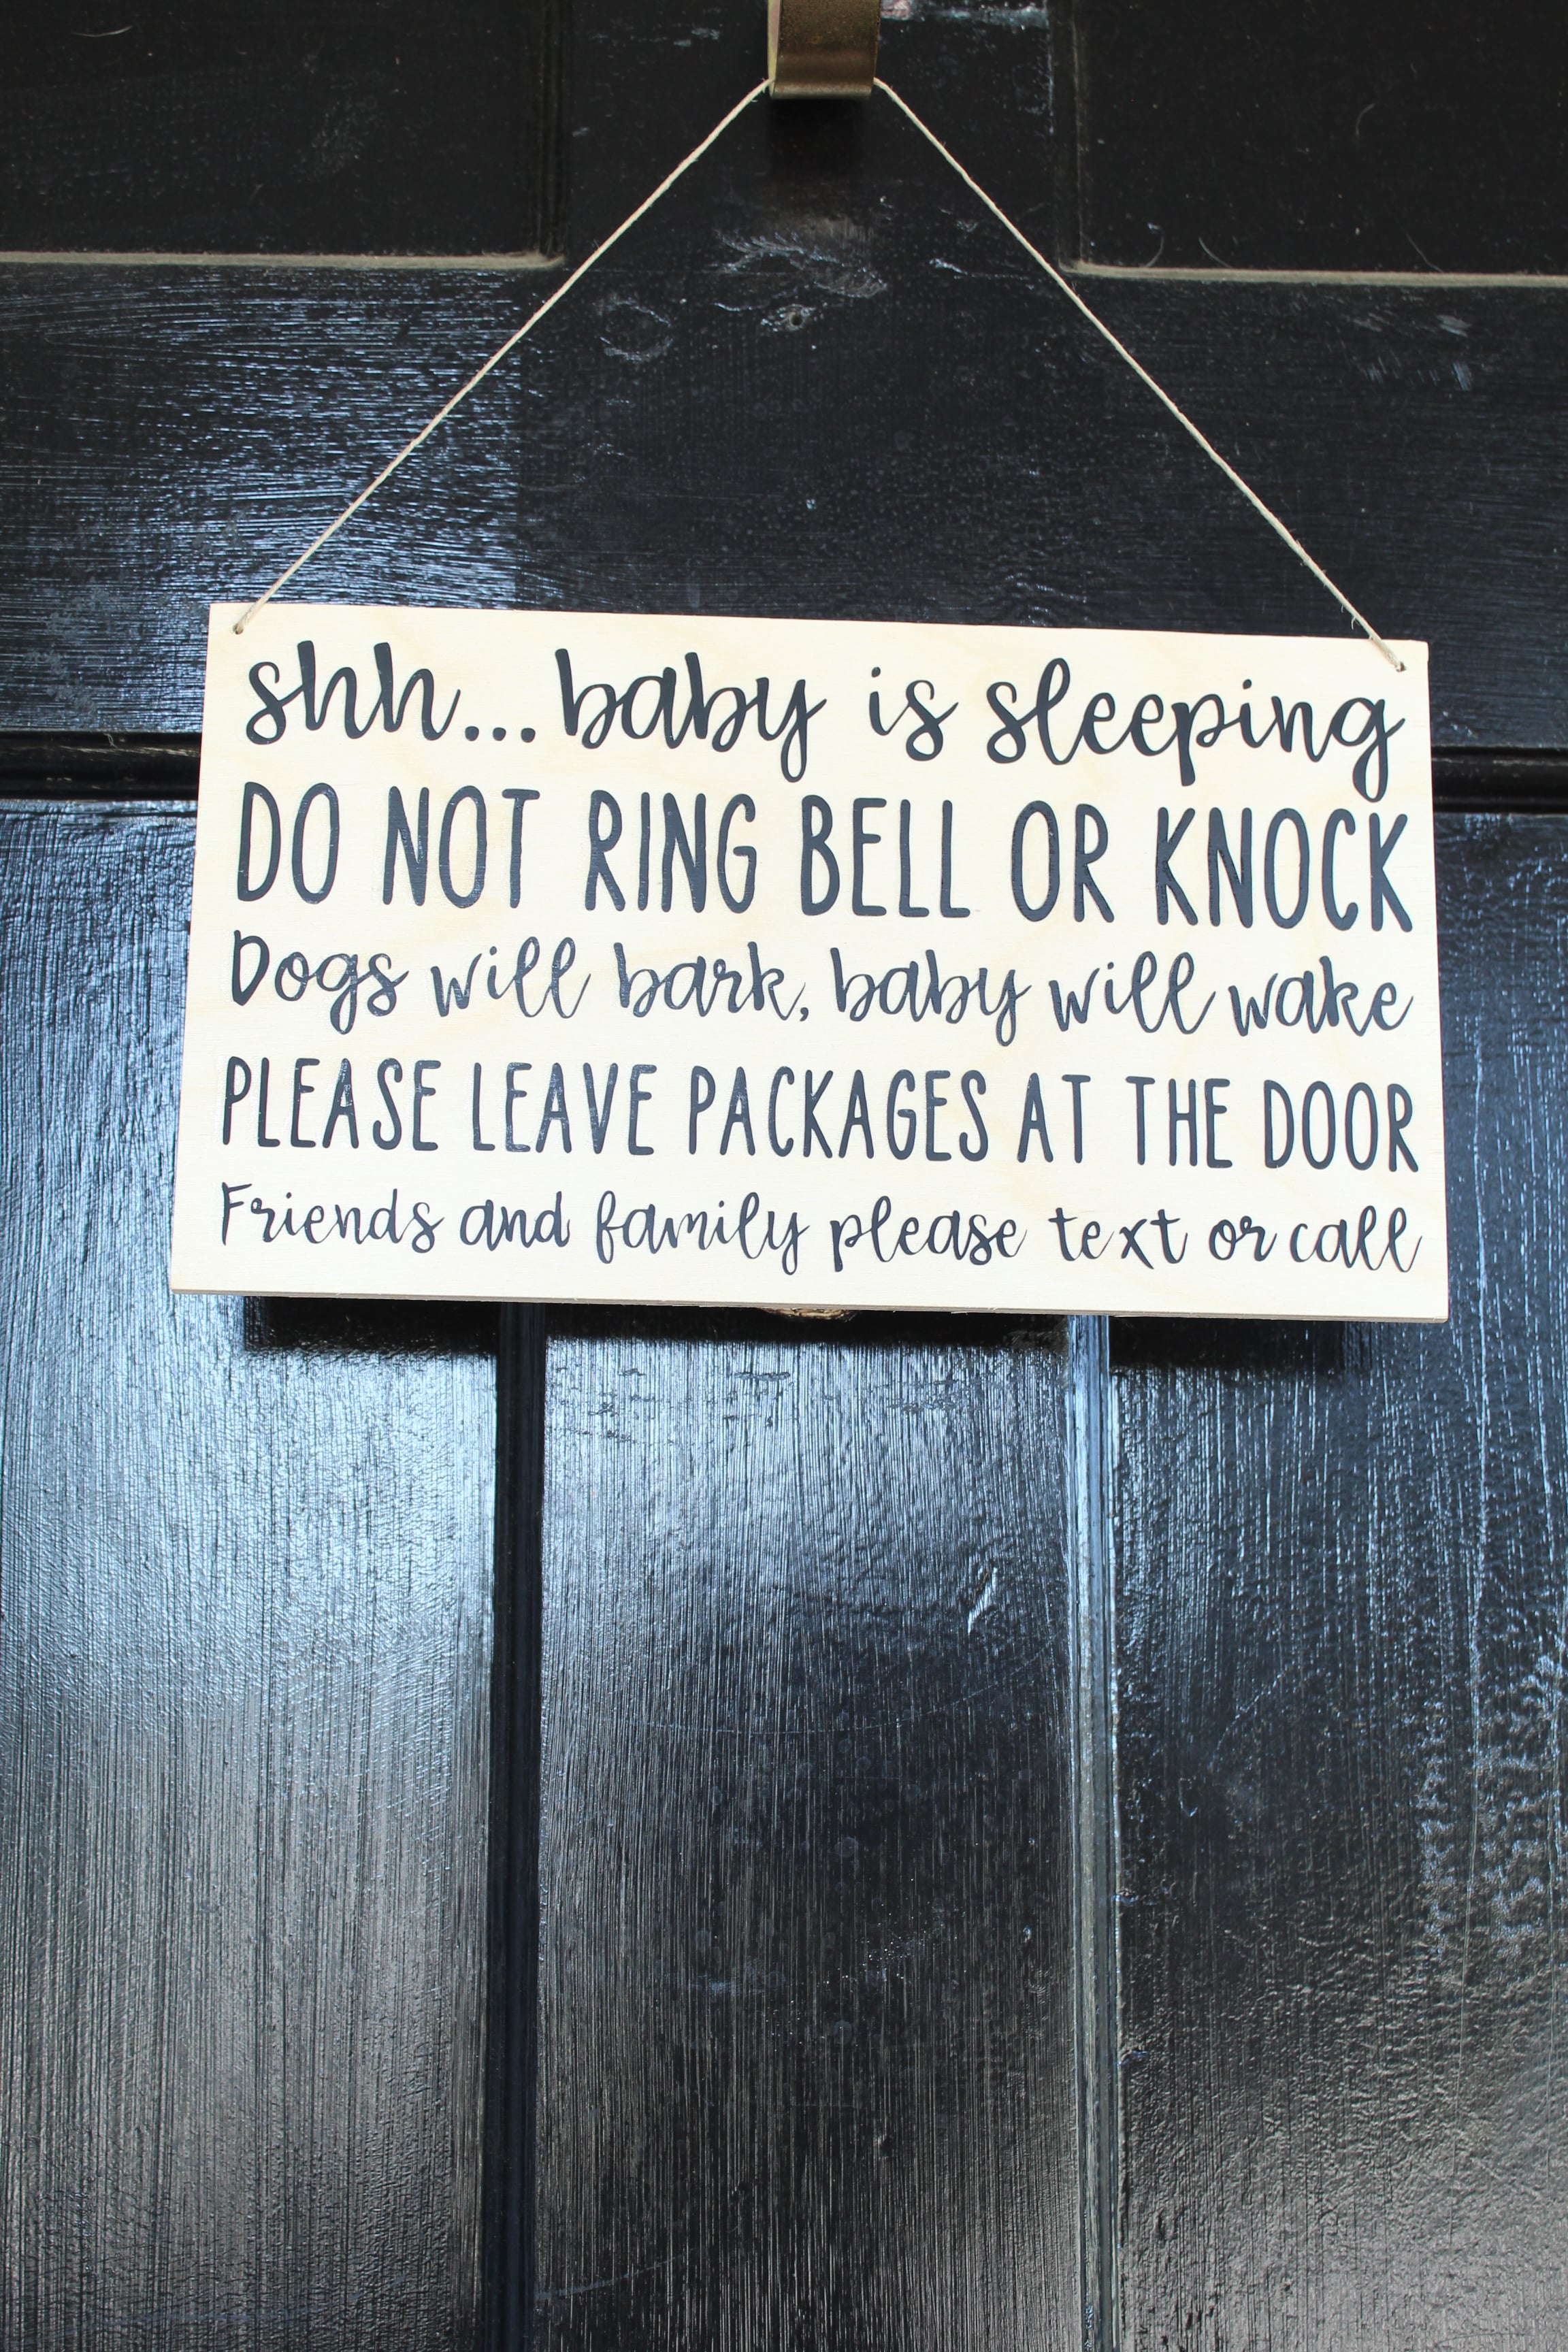
Voila! All finished! That was pretty painless right? Like I said, the weeding probably takes the longest of anything in this project, but throw a little Netflix on and it will go super quick. This project is great for yourself or great as a gift! I can’t wait to give mine to my friend!
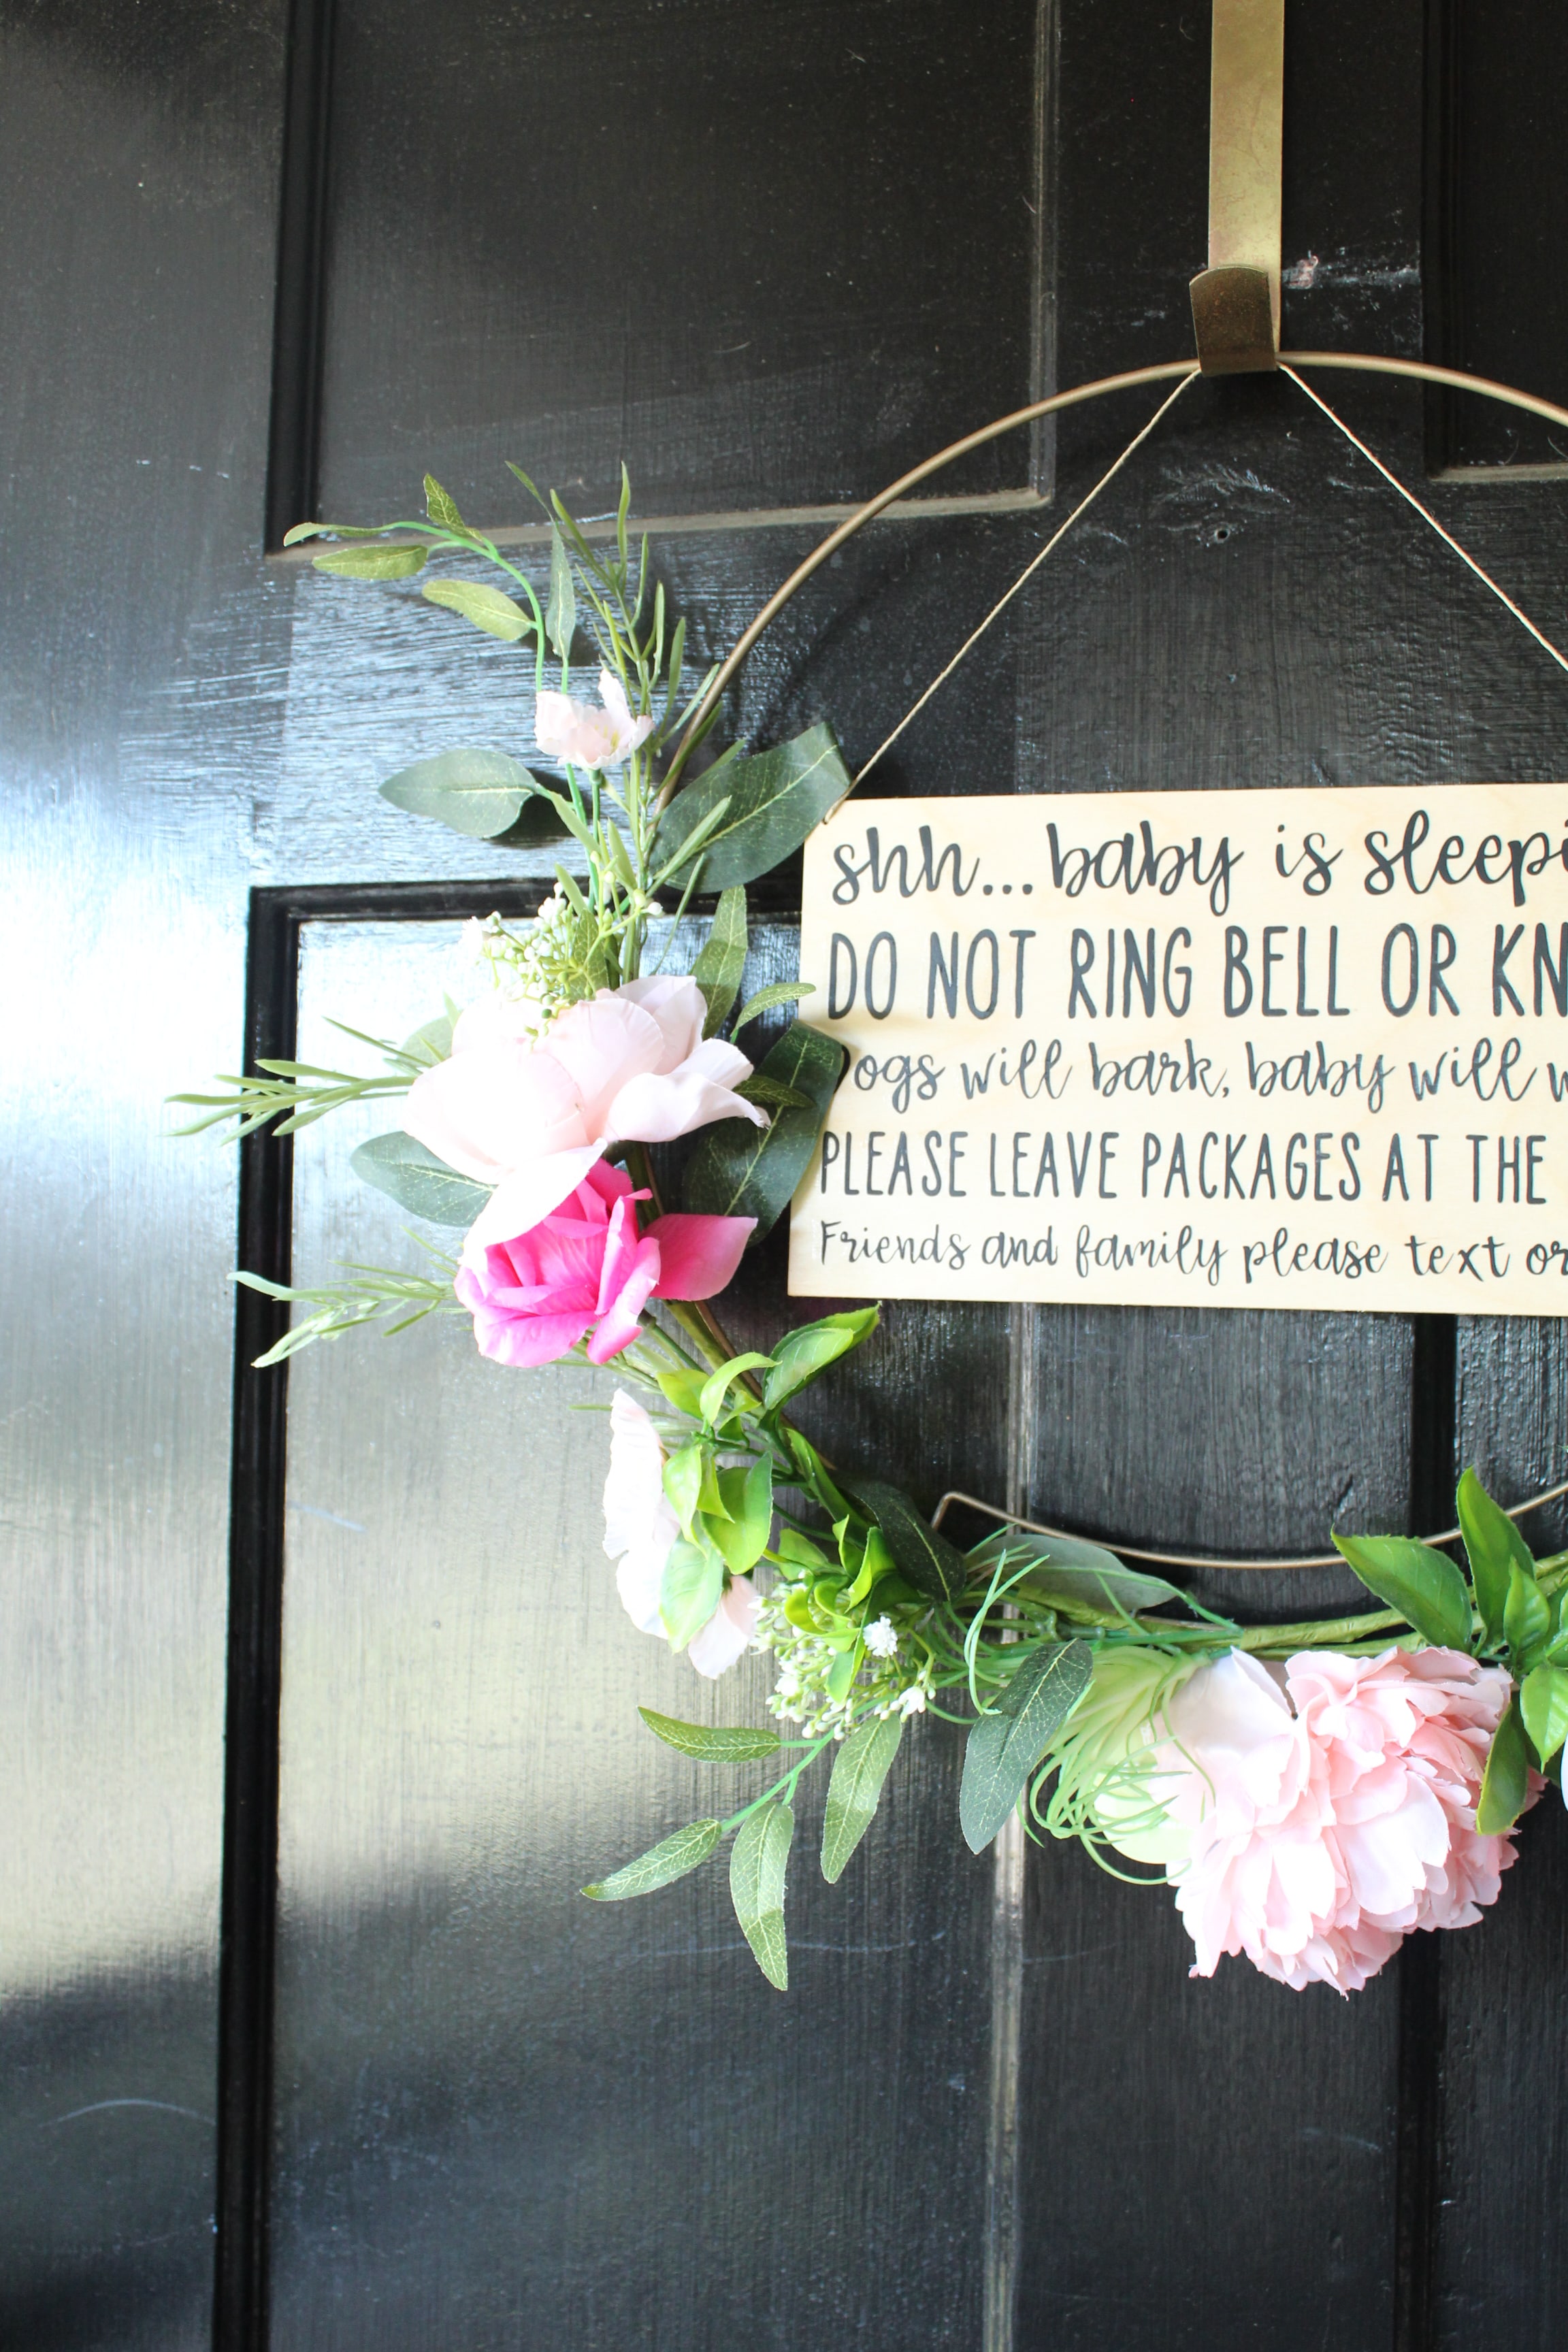
Hang Alongside Your Favorite Wreath
If you feel like your sign is missing a little something. Hang it alongside your favorite wreath for an extra touch. I love this springtime wreath I picked up at Joann (It’s currently 60% off if you love it too).
If you create one of our projects, please share a picture with us on Instagram or Twitter using the hashtag #somethingturquoisediy, we regularly reshare our favorites! Your profile will need to be public for us to see it otherwise, you can always DM us!
DIY Tutorial Credits
Photography + DIY Tutorial: Shea O’Quinn of Not So Cli-Shea // Cricut Products: Courtesy of Cricut // Wood: JoAnn // Scissors: JoAnn // Twine: similar // Fiskars Precision Hand Drill: Amazon
Shop The Supplies:
Find the supplies you’ll need for this project from our affiliate links below:


Comments