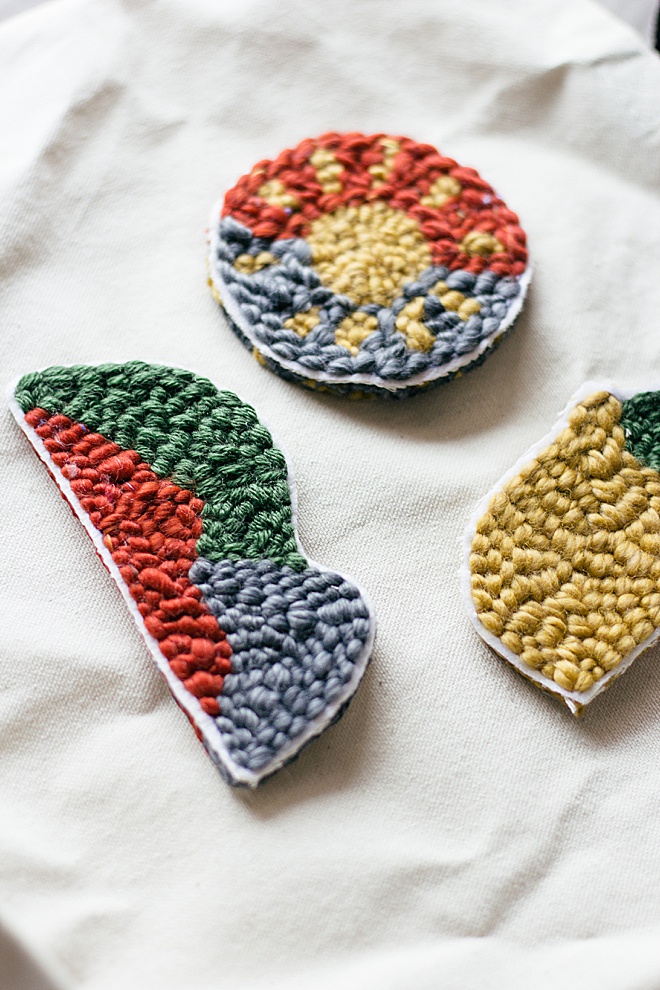

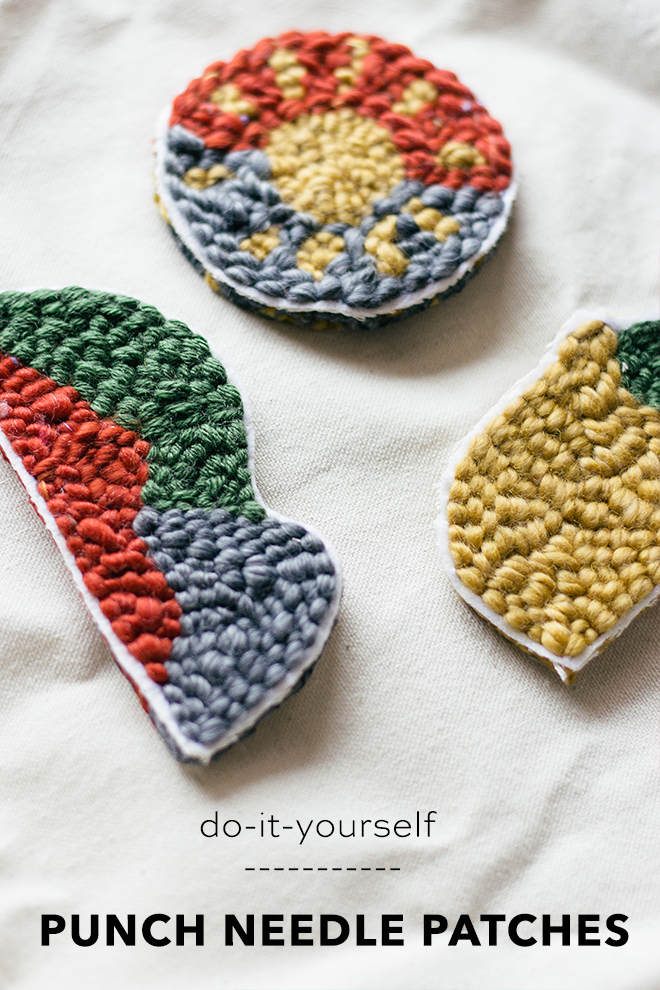
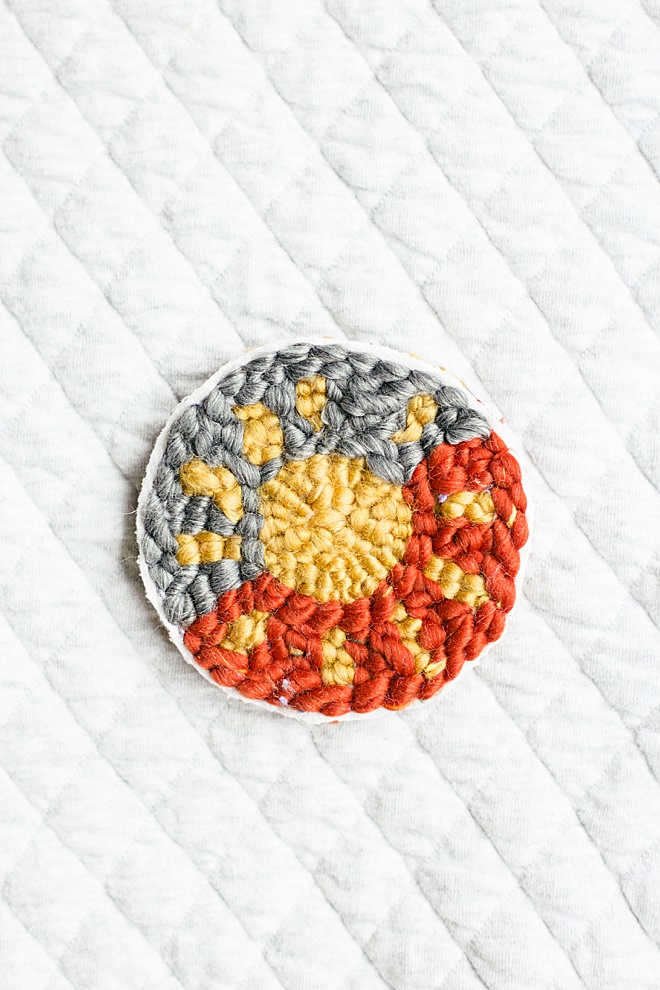
DIY Punch Needle Patches with FREE Patterns
I am Carli Hein from Hein & Dandy where I make crafts for everyday life. Recently I have stumbled upon a new fun craft, the punch needle! I have always loved embroidery and this is just a quicker way to get a similar result. The punch needle can be tricky at first but this tutorial is great for beginners, even I’m still a beginner! We have three FREE designs for you as we punch our way into these iron-on patches!
SUPPLIES:
- Yarn
- Punch Needle
- Scissors
- Heat n Bond
- Monks Cloth
- Embroidery Hoop
- Sharpie
- Fusible Interfacing
- Iron
- 3 FREE designs linked in this post
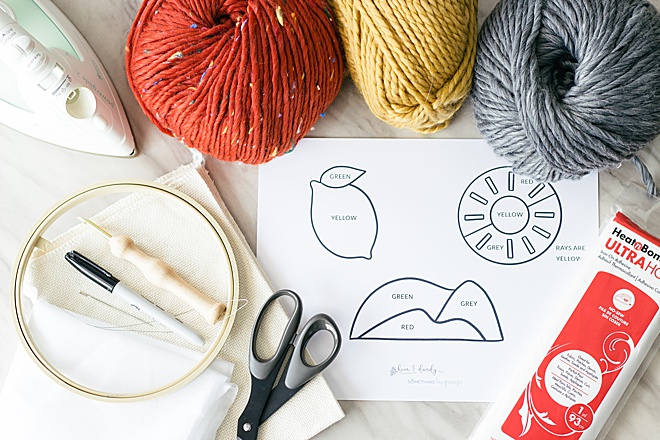
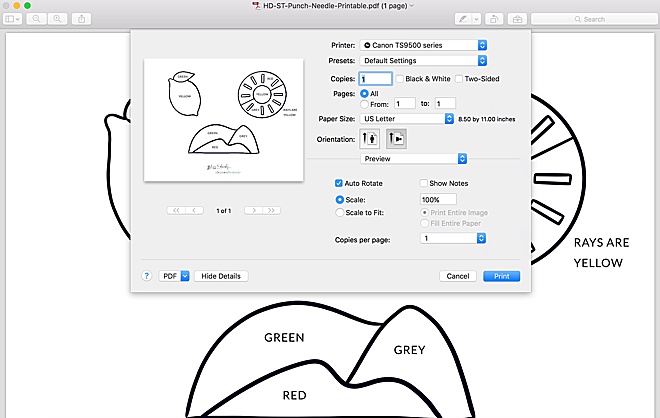
Print off the designs
Download the free printable PDF at the end of this post for your design template.
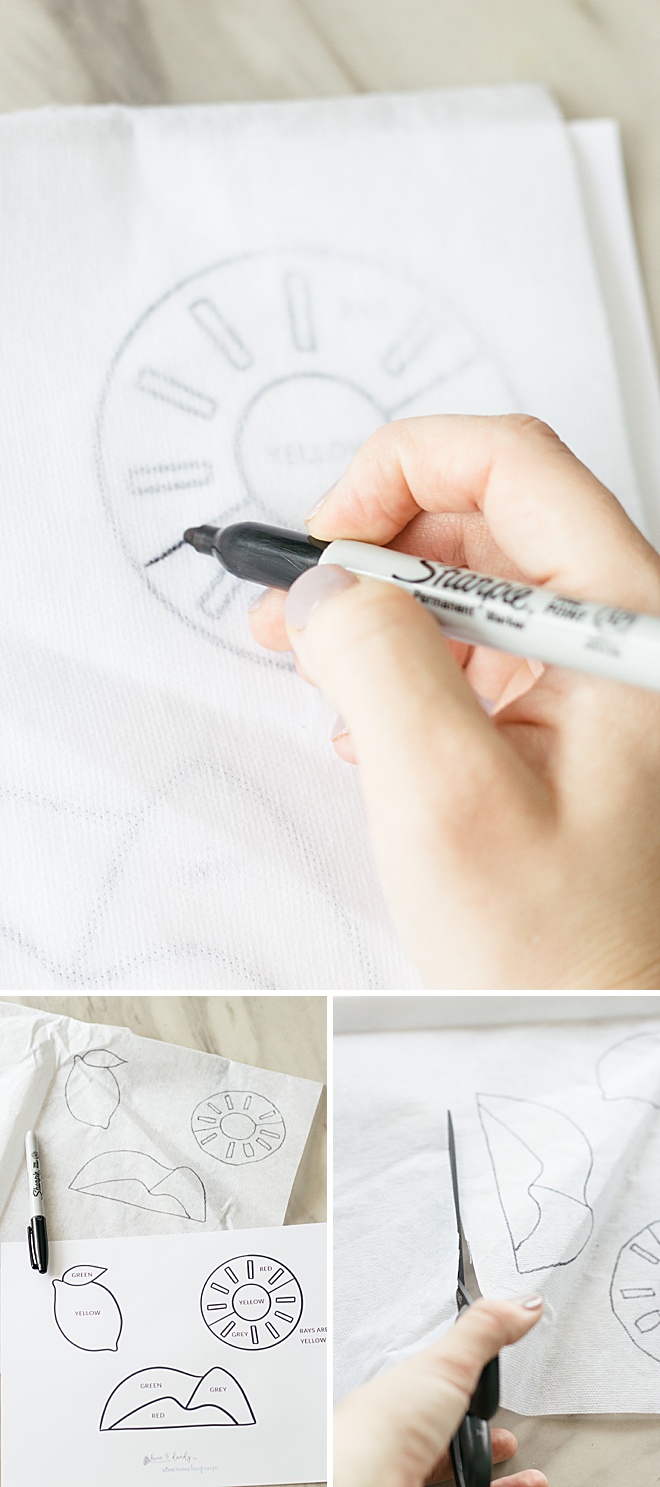
Lay the fusible interfacing over the printed PDF design and trace over it with Sharpie.
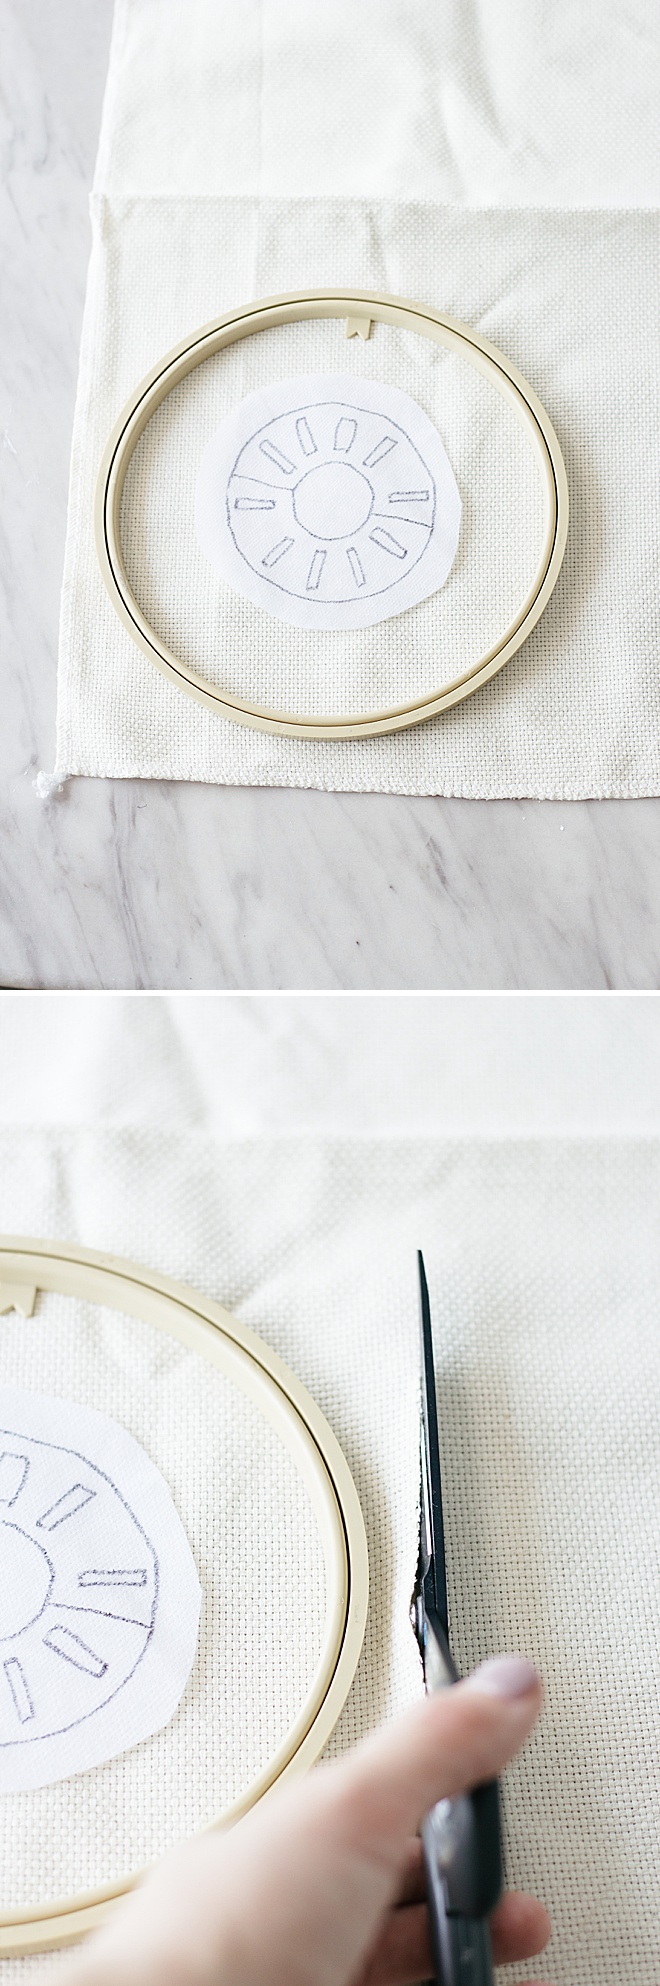
Load the monks cloth into the embroidery hoop.
Trace
Lay the fusible interfacing over the printed PDF design and trace over it with Sharpie. Cut the interface down to a little wider than the drawn design.
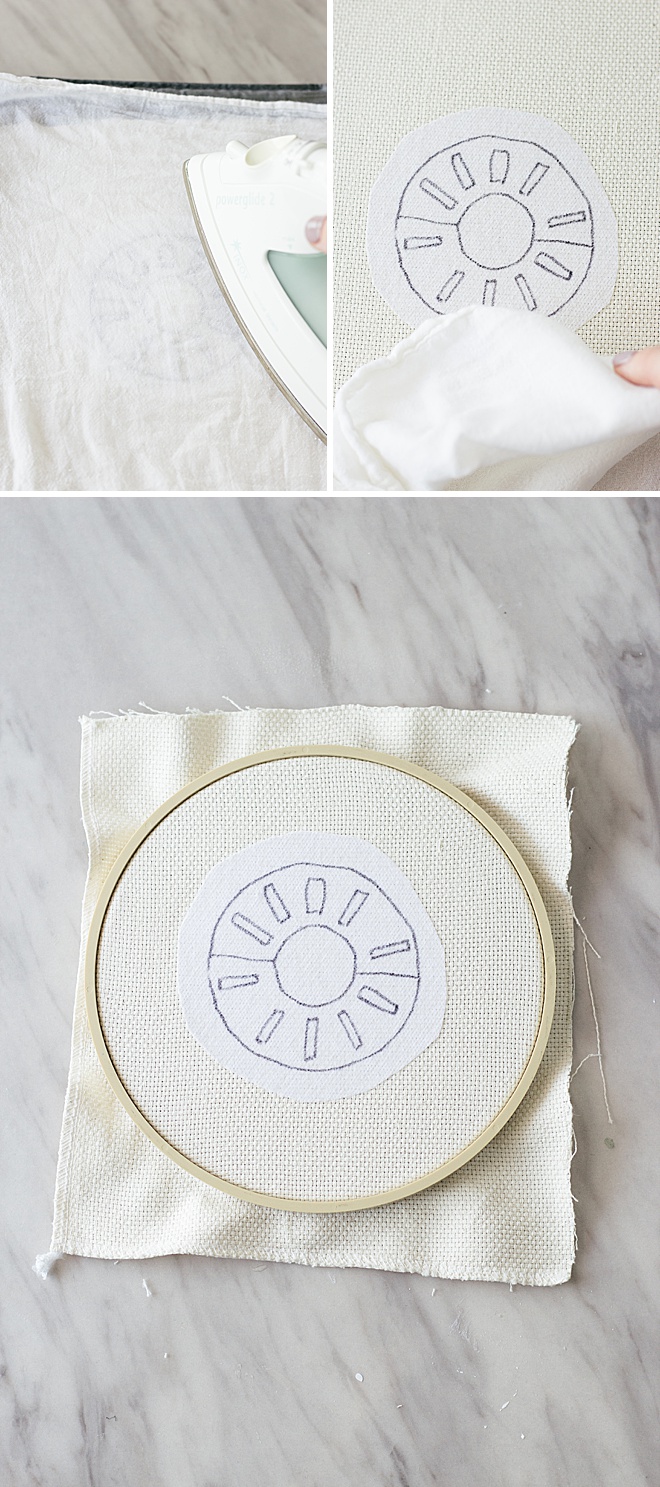
Iron on
Heat your iron to a medium heat with no steam. Place the design on the monks cloth. Lay a thin cloth over the design and press down for 5 seconds to fuse the interface to the monks cloth.
This is going to make punching through much more stable and easy to see the design. Also, the yarn stays in place better with the interface ironed on!
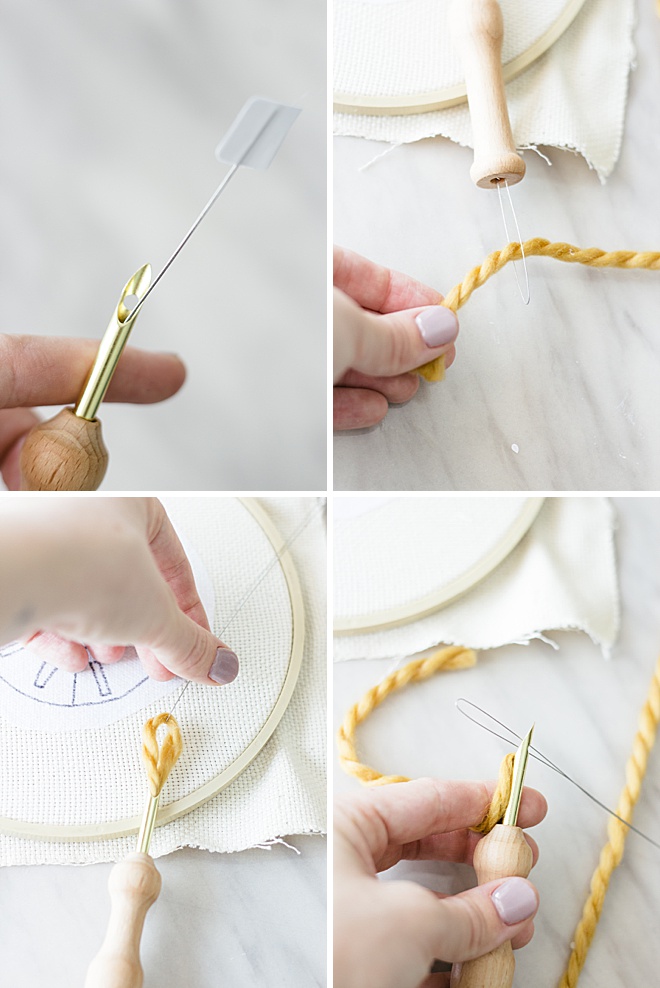
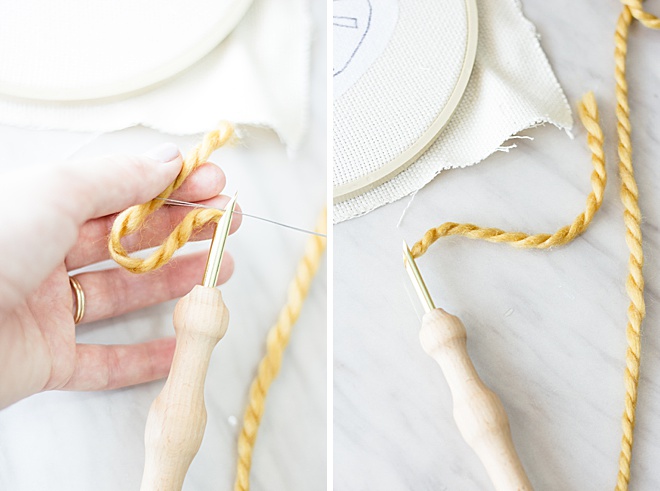
Thread
Bring the yarn through the bottom wood handle through the top of the needle then through the small hole.
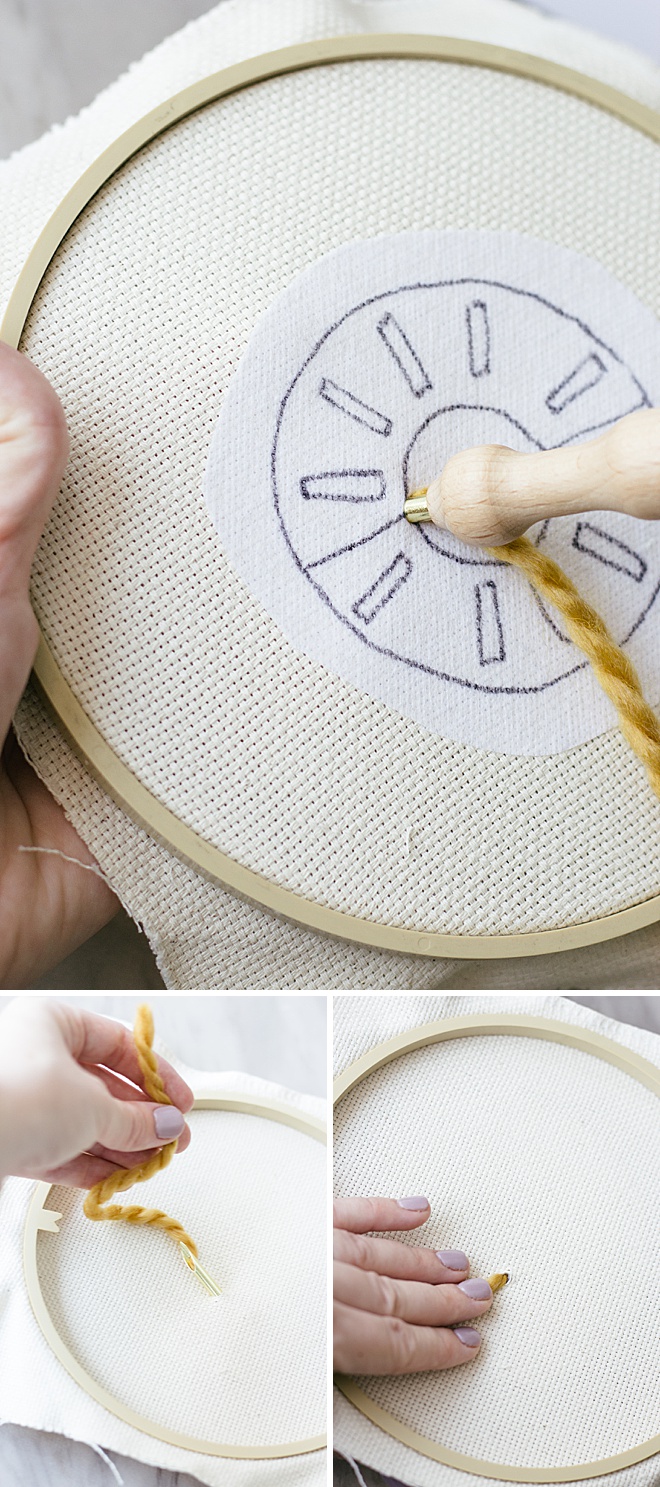
Punch
I watched a lot of punch needle tutorials to make sure I got it right. If you have never ever tried this craft before, check out one of my favorite videos HERE to learn some basics.
The biggest take-away I have is to keep your finger on the thread that is behind being pushed through. This will help your yarn stay in place.
Start with the outline and then continue punching in line until your space is filled.
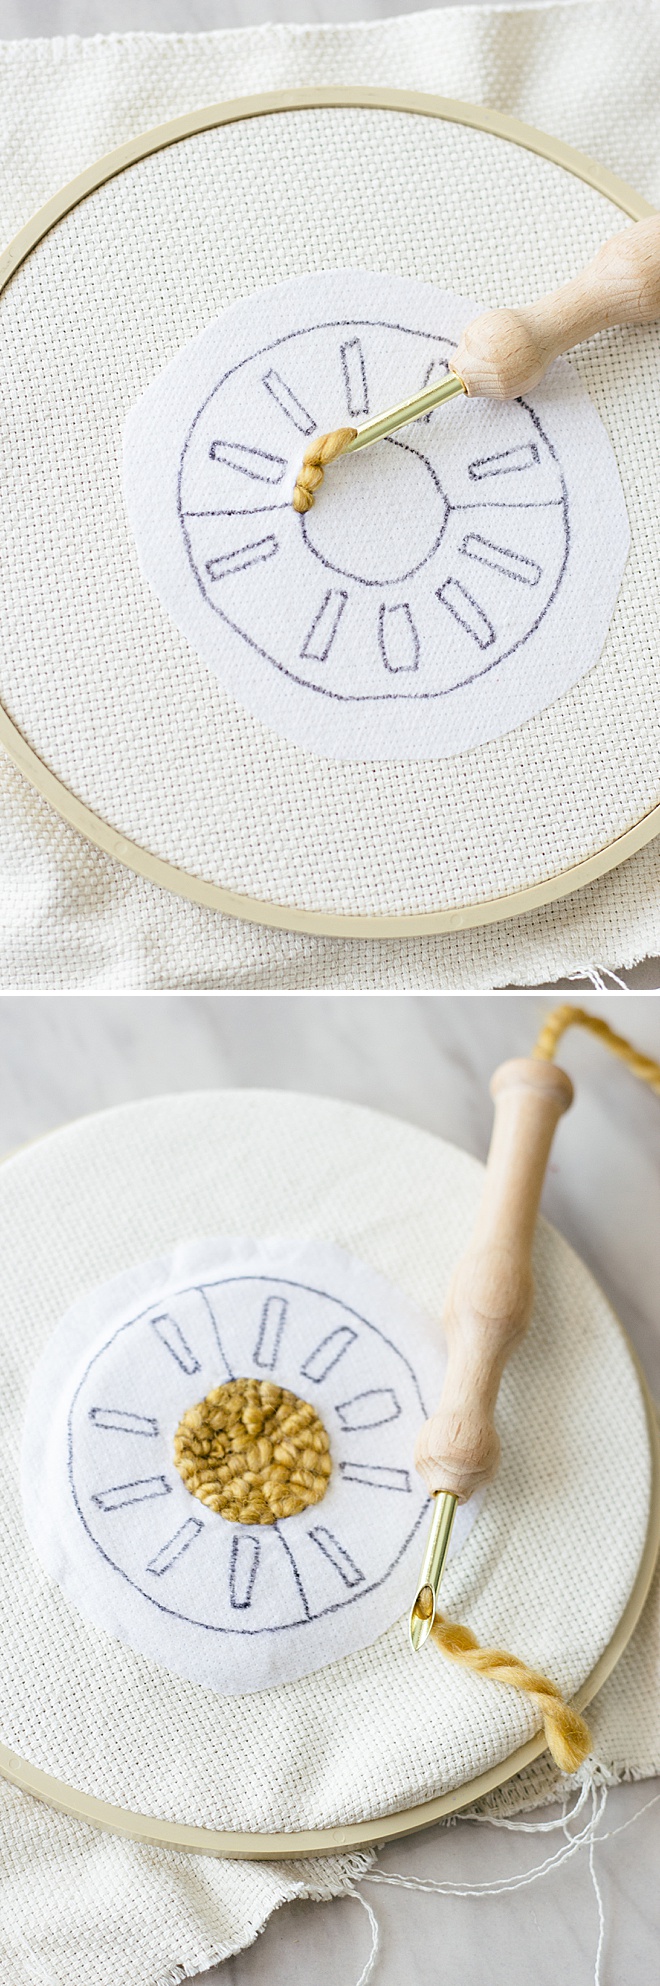
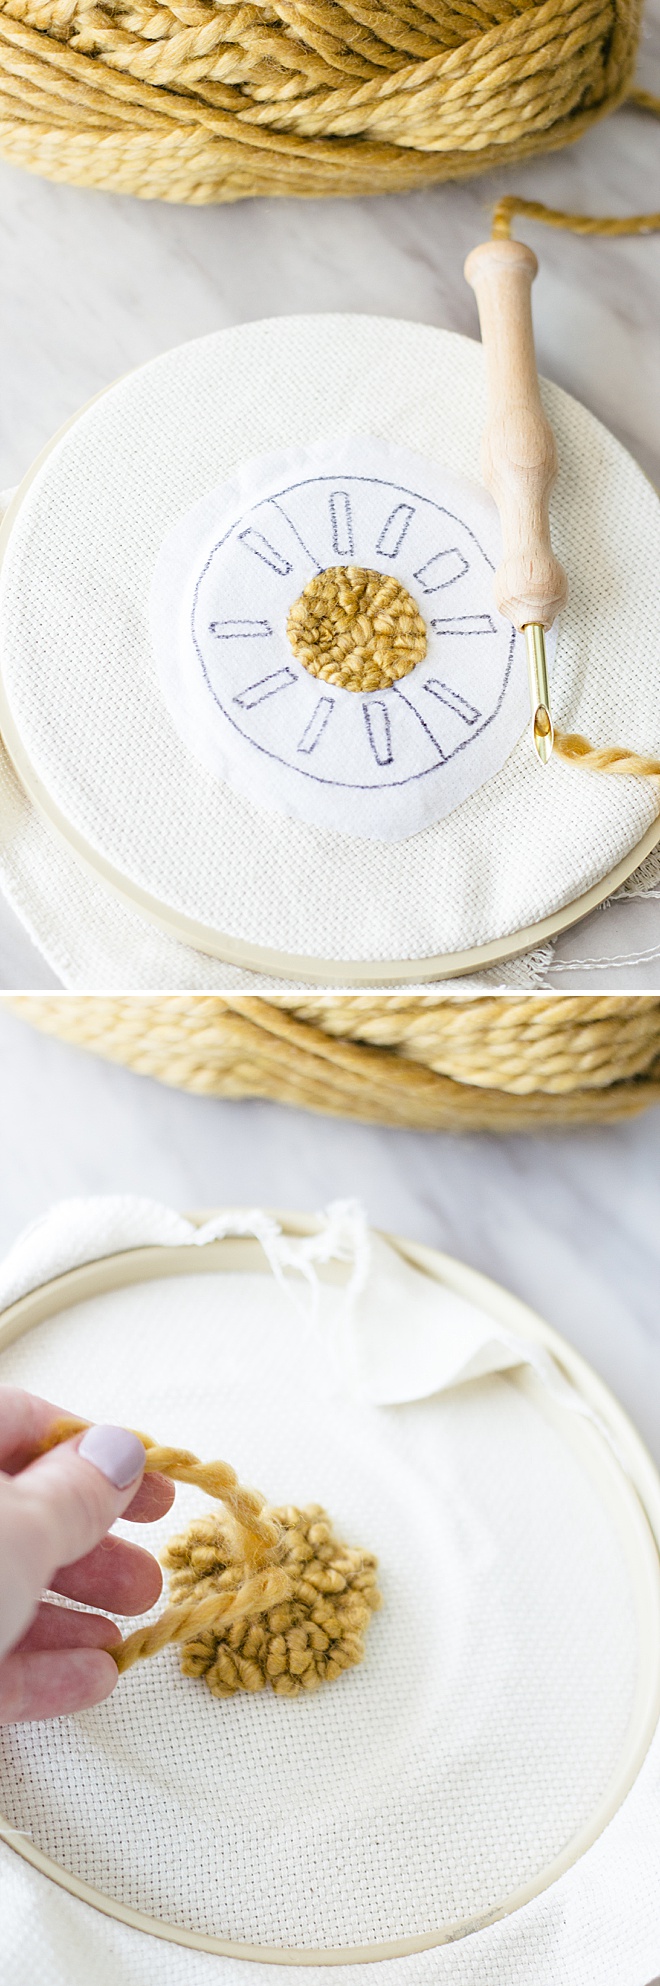
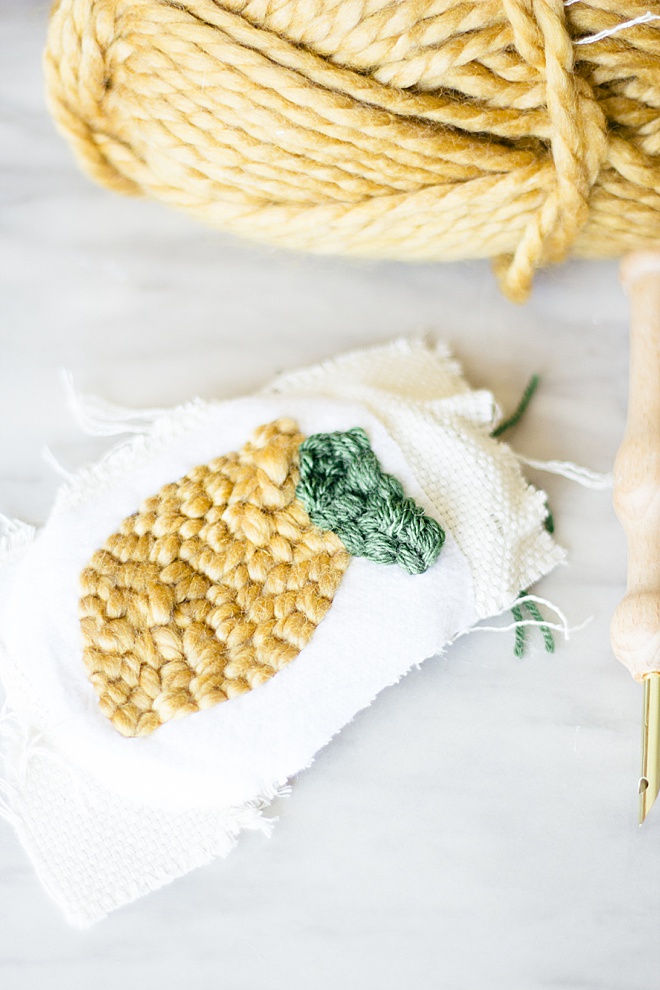
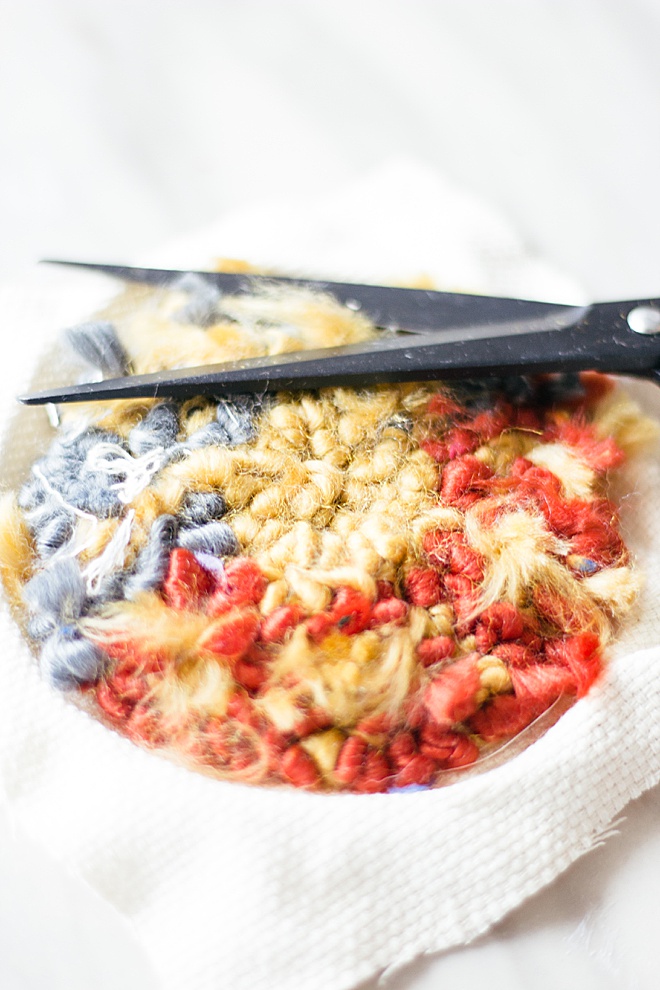
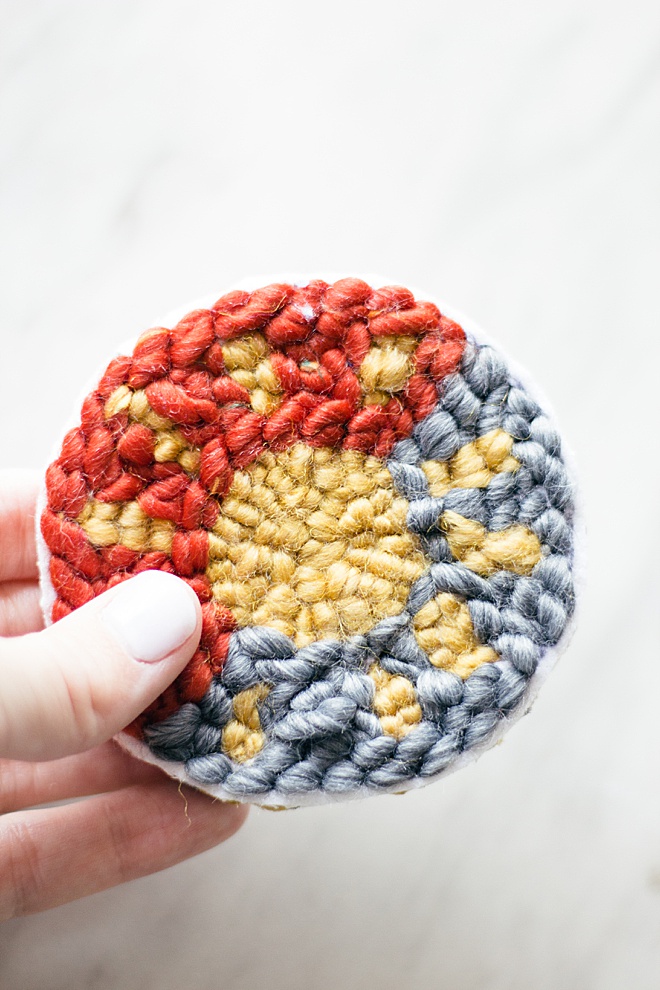
Clean up
When all your design in filled, flip it over and clean up all the lingering threads with a scissors.
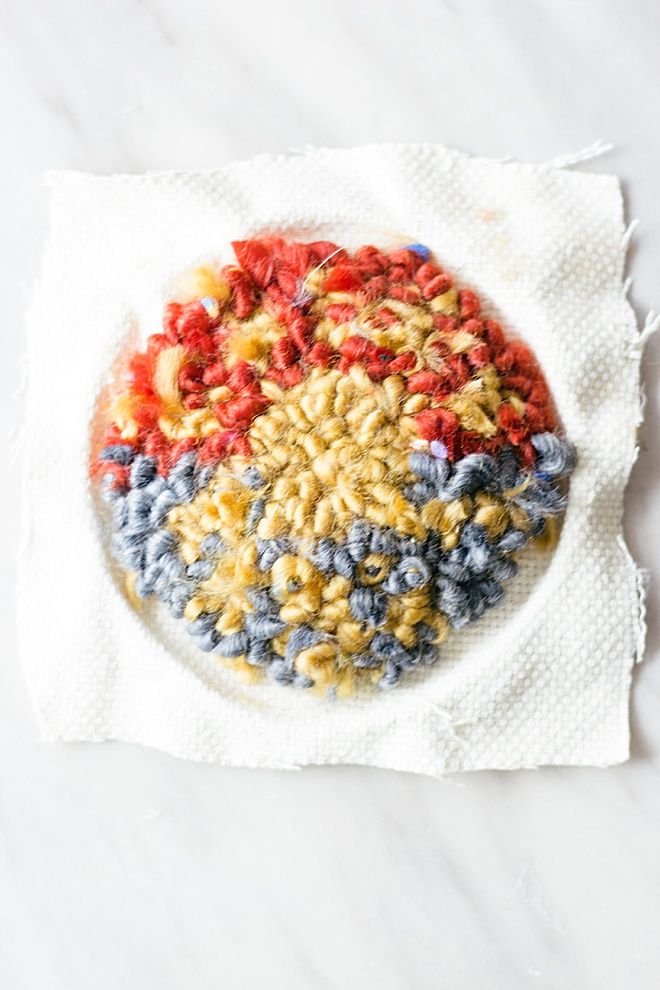
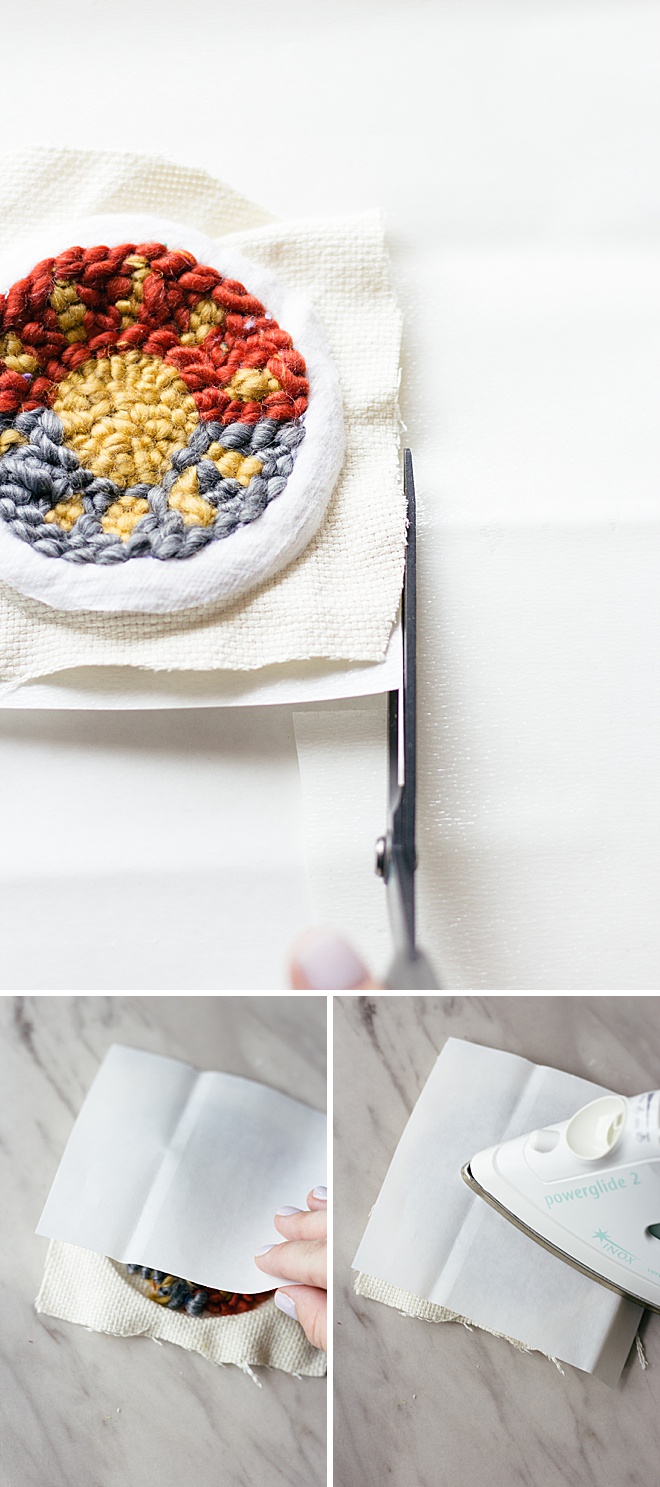
Heat Bond
Cut a piece of Heat n Bond to the size of your design. Flip it over and make sure the paper side is up on the Heat n Bond. Hold your iron down for 15 seconds until fully adhered.
Once cooled you can trim off the excess monks cloth so that the design is clean.

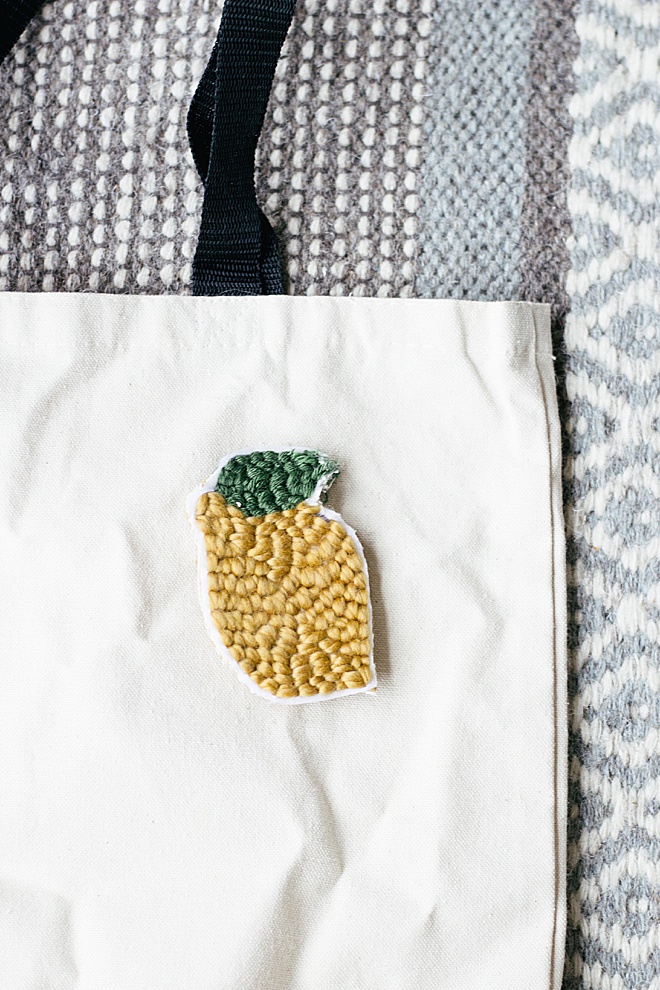
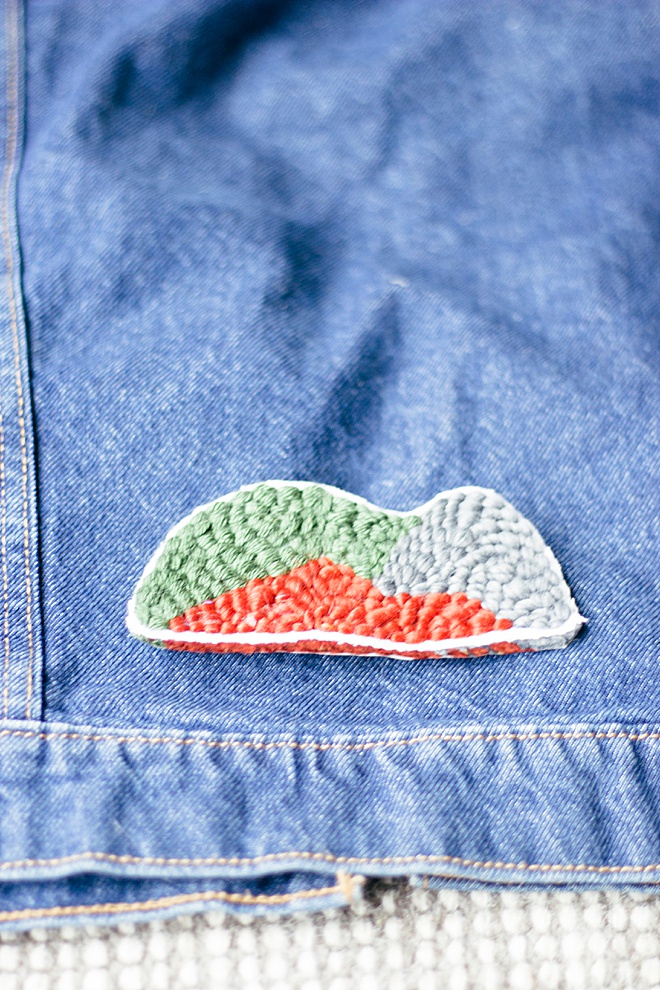
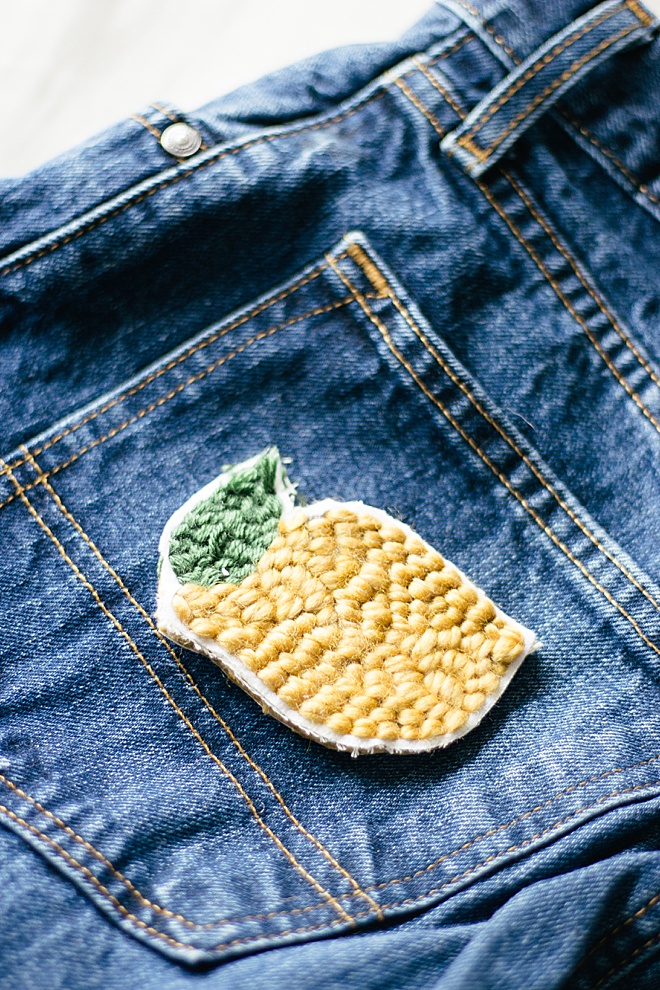
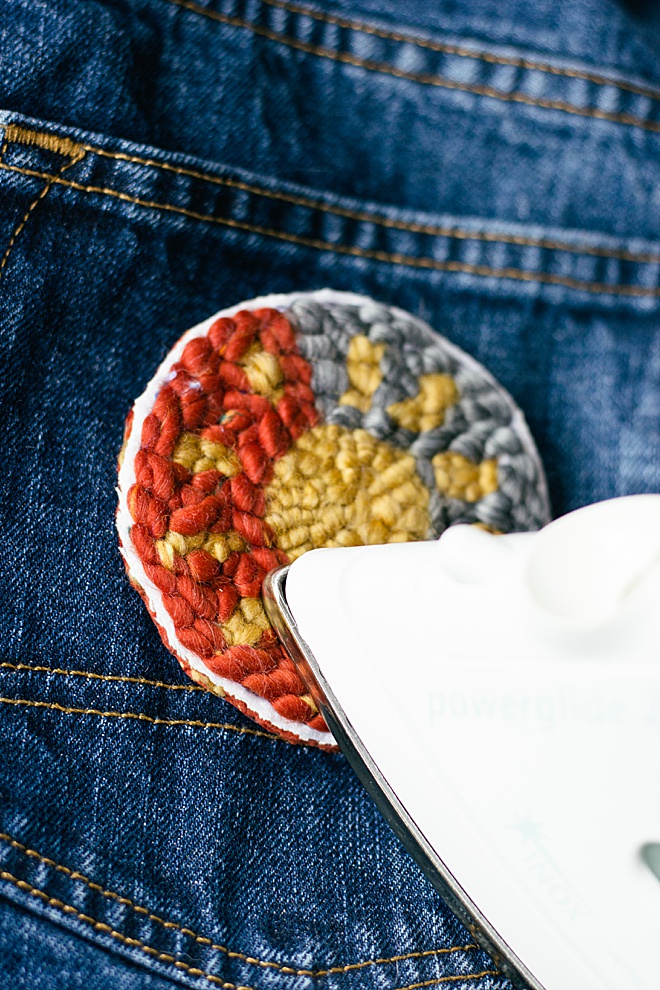
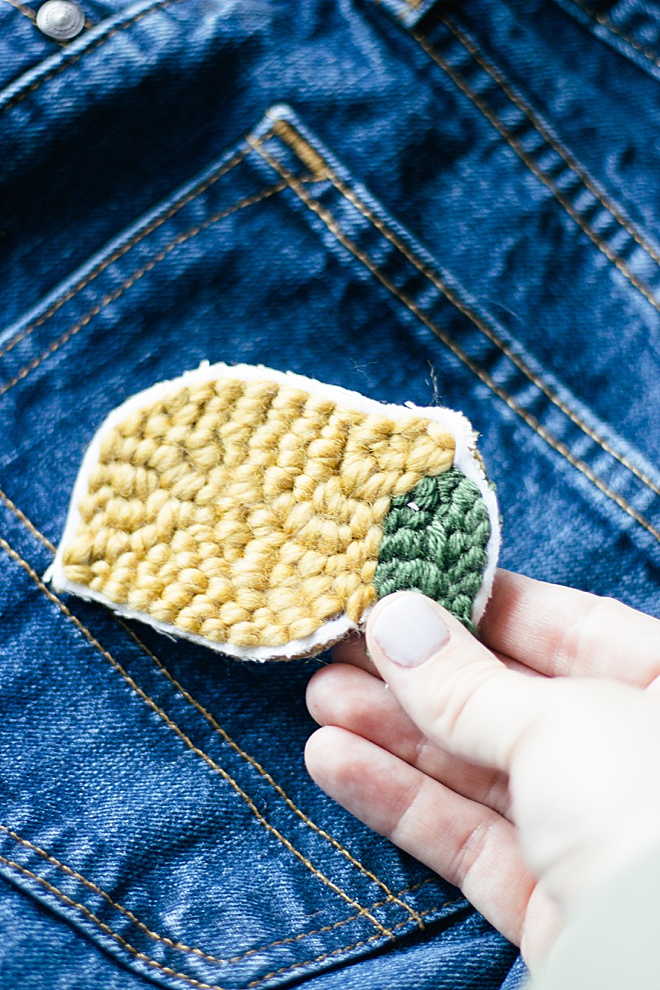
Add to anything
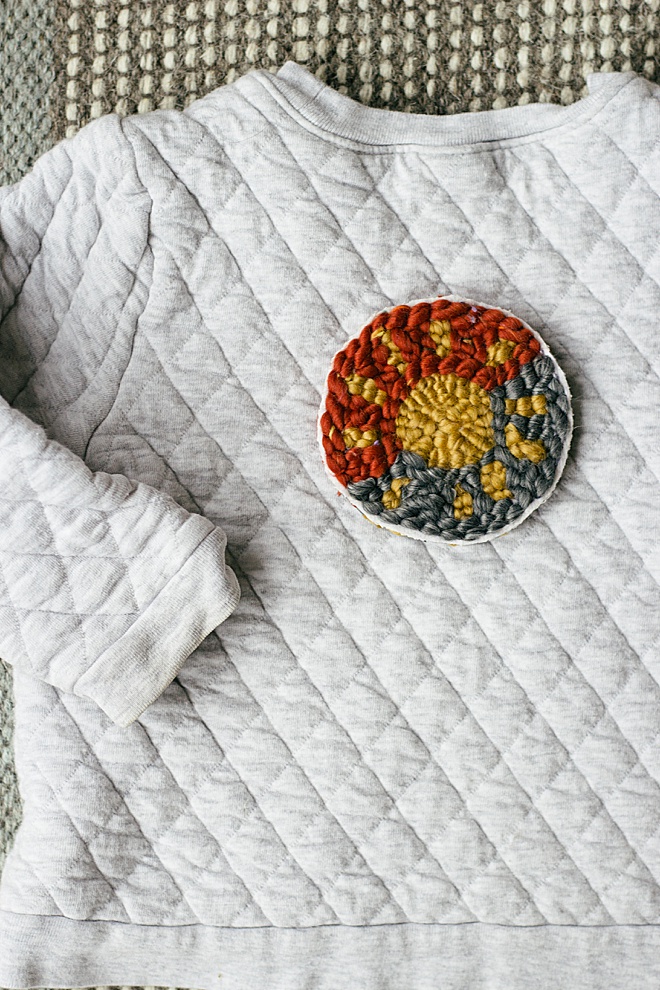
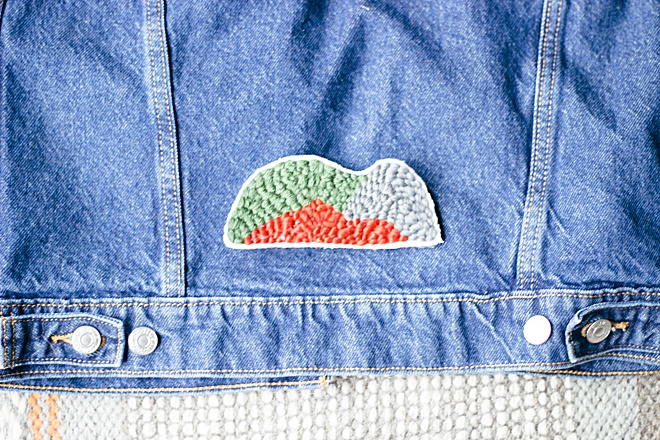
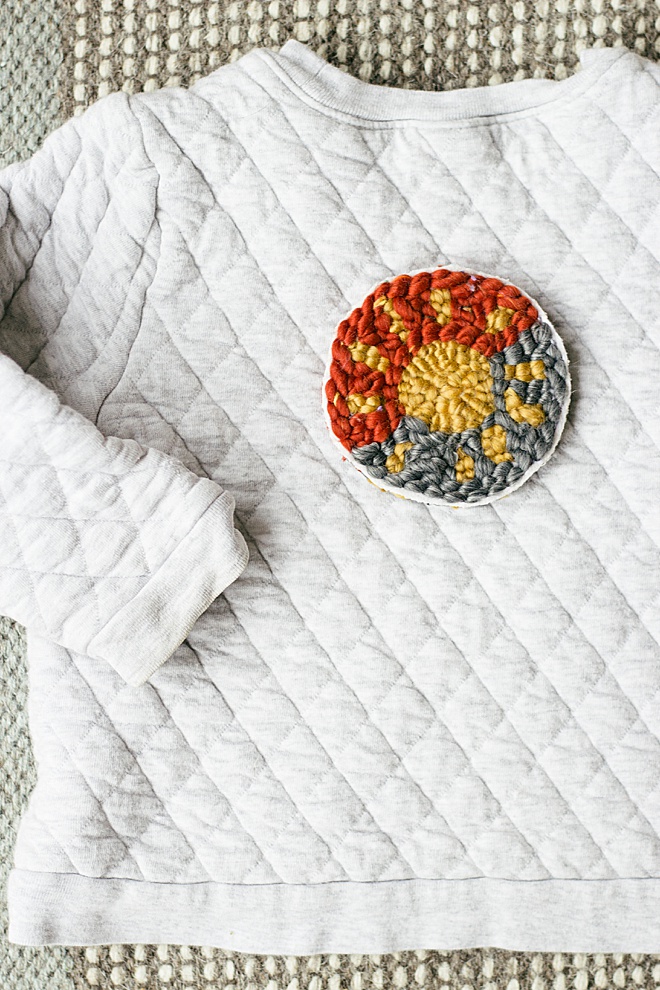
Peel off the paper back of the Heat n Bond and iron on to just about anything! We used some of our favorites here for this tutorial. A canvas bag, a jean jacket, mom jeans, and a baby sweatshirt!
Now you have these super cute patches that you can give as gifts or add to any items you want.

Hein & Dandy is a blog founded on crafts and creative writing, inspired by adventure and wellness. Make sure to check out our website for new projects and inspiration!
As with all our DIY tutorials, if you create one of our projects please send us a picture – We Love Seeing Your Creativity! If you use Instagram or Twitter please use the hashtag #SomethingTurquoiseDIY and it will show up on our Get Social page. Happy Crafting!

DIY Tutorial Credits
Photography + DIY Tutorial: Carli Hein of Hein & Dandy // Monks Cloth: Amazon // Iron-on Adhesive: Amazon // Punch Needle: Amazon // Yarn: Amazon // Embroidery Hoop: Amazon // Fusible Interfacing: Amazon
Shop The Supplies:
Find the supplies you’ll need for this project from our affiliate links below:


Comments