
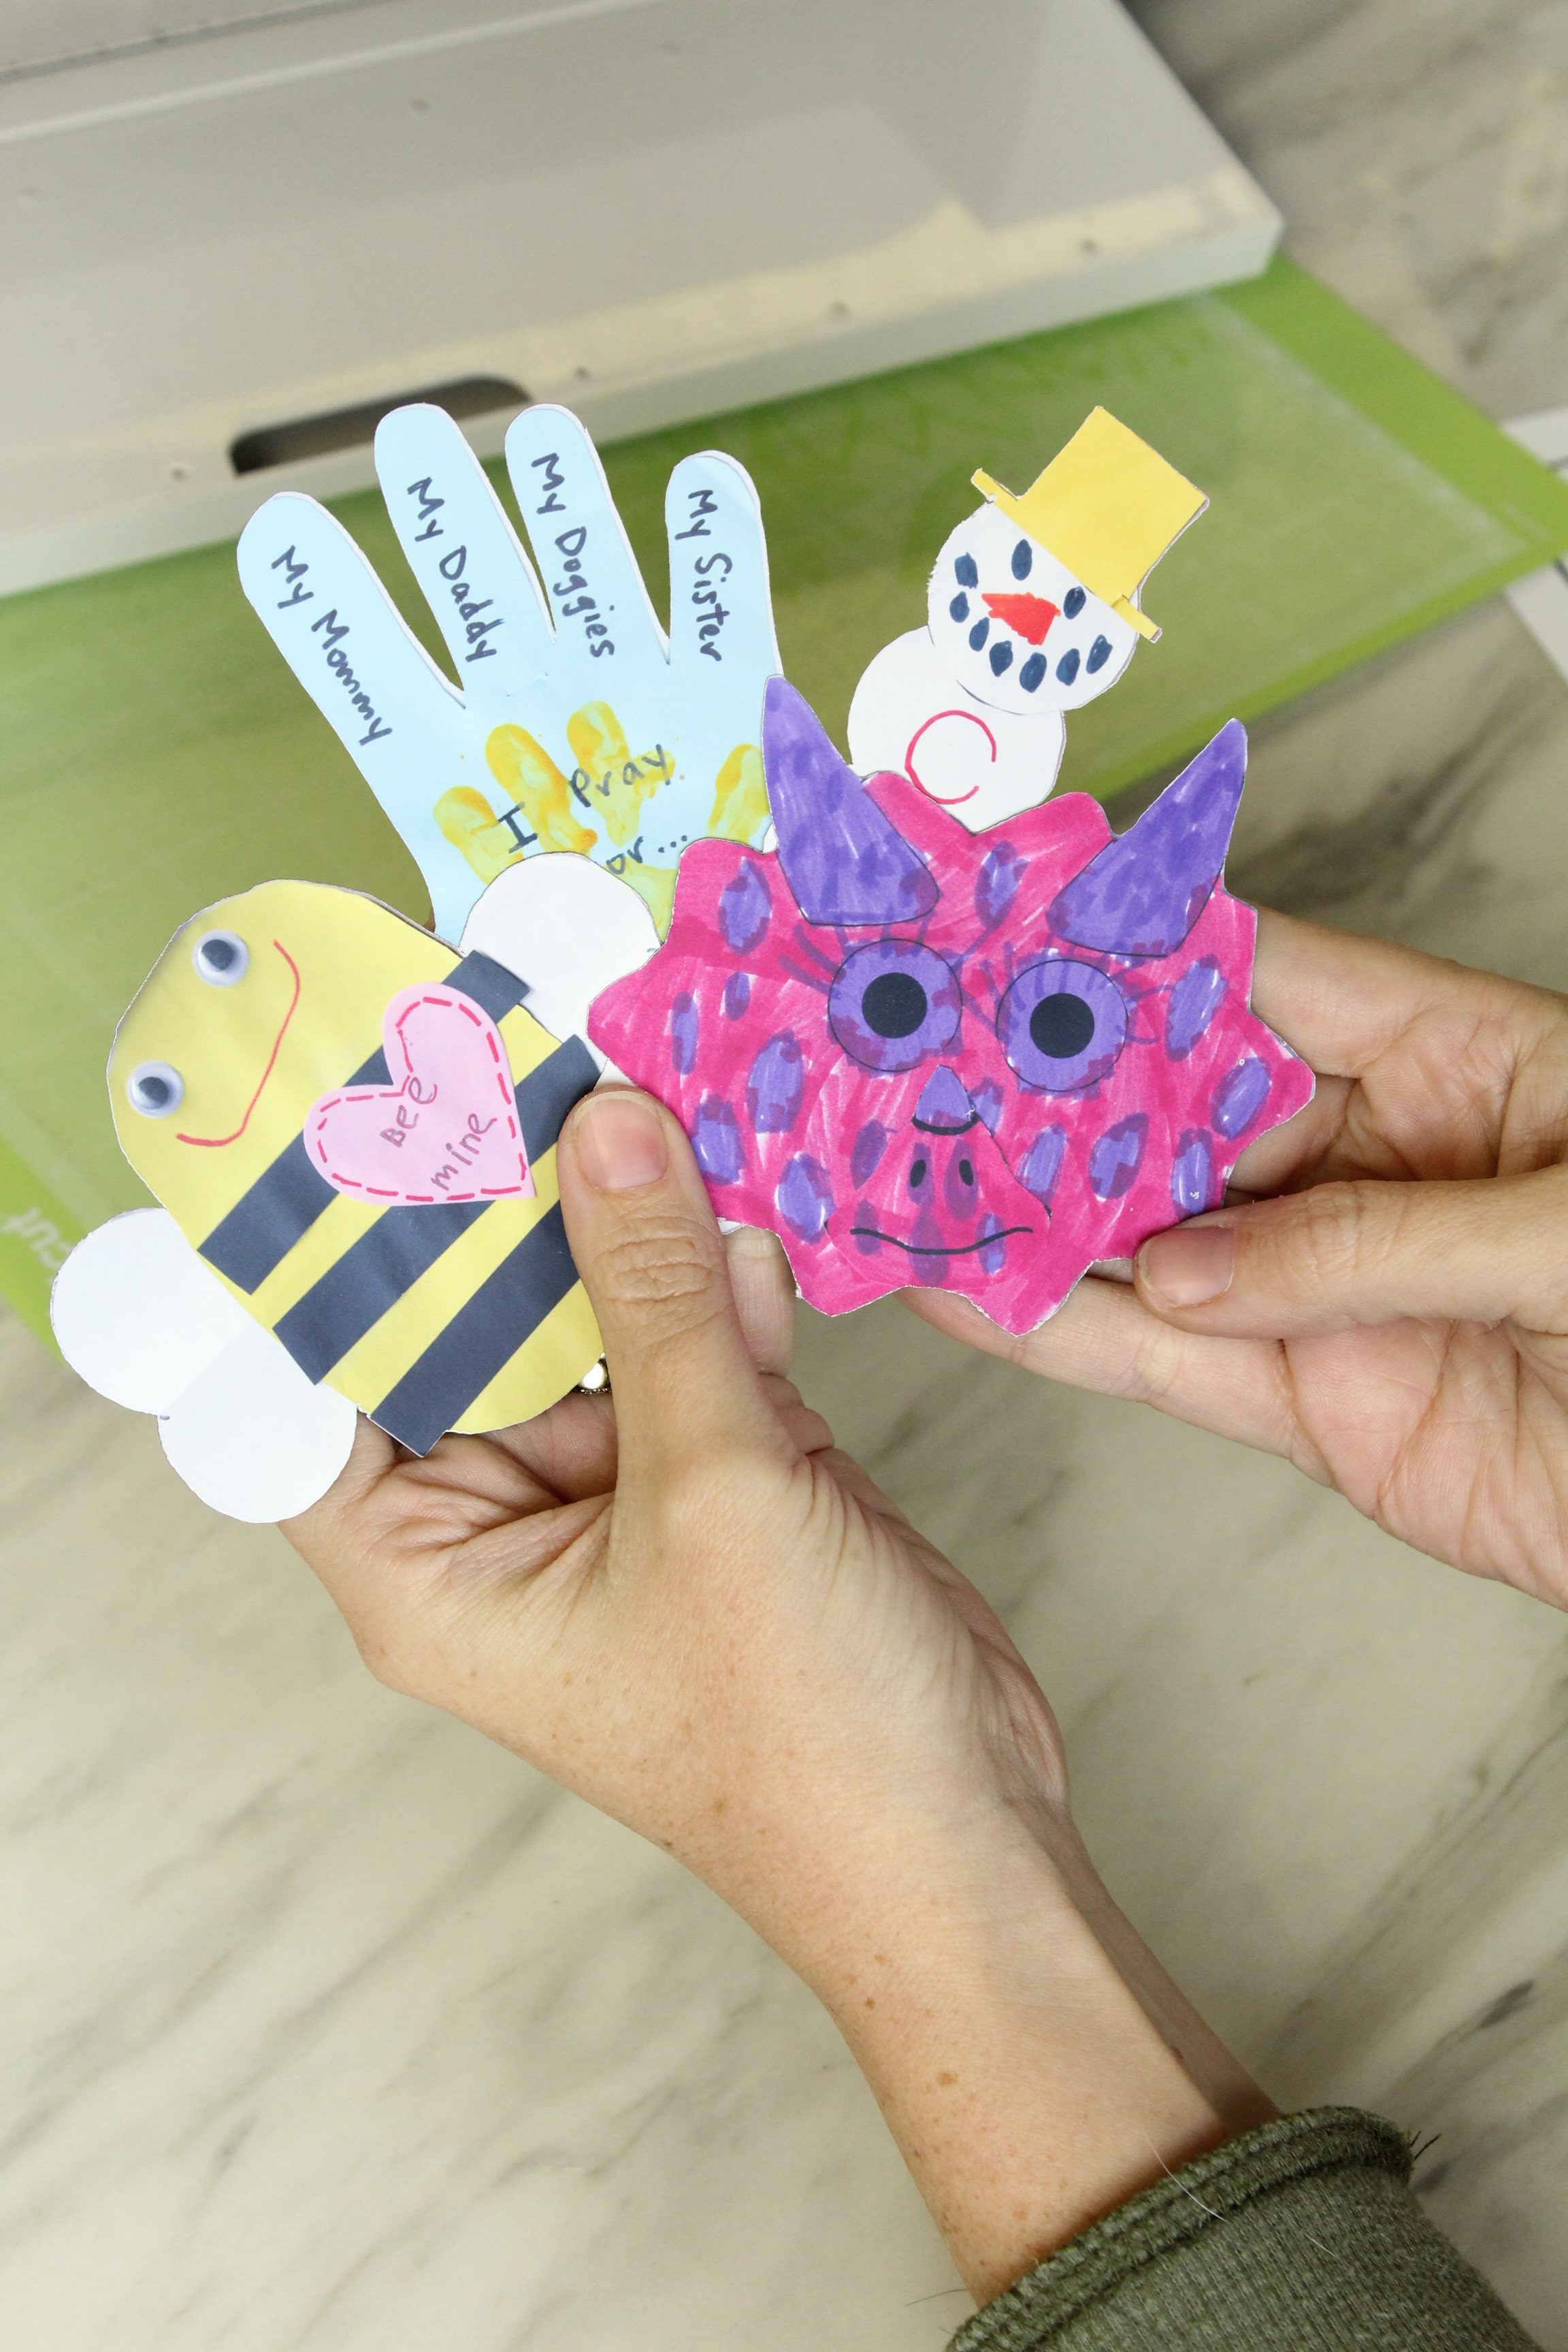
DIY Kids Art Magnets
If you’re a parent, you no doubt have a collection of “artwork”. No I don’t mean from a gallery or from your favorite artist, I mean made by your kid(s). It’s nice to have but WHAT do you DO with it all? I’ve seen lots of great ideas online but I wanted a more functional use. So that’s where the idea for today’s DIY was born! If you’re new around here, my name is Shea and I also blog over at Not So Cli-Shea, I’m a lover of crafts but recently my crafts have took on a more functional form, like today’s. I’ll be showing you how to make your own magnets using the artwork of your little Picasso.
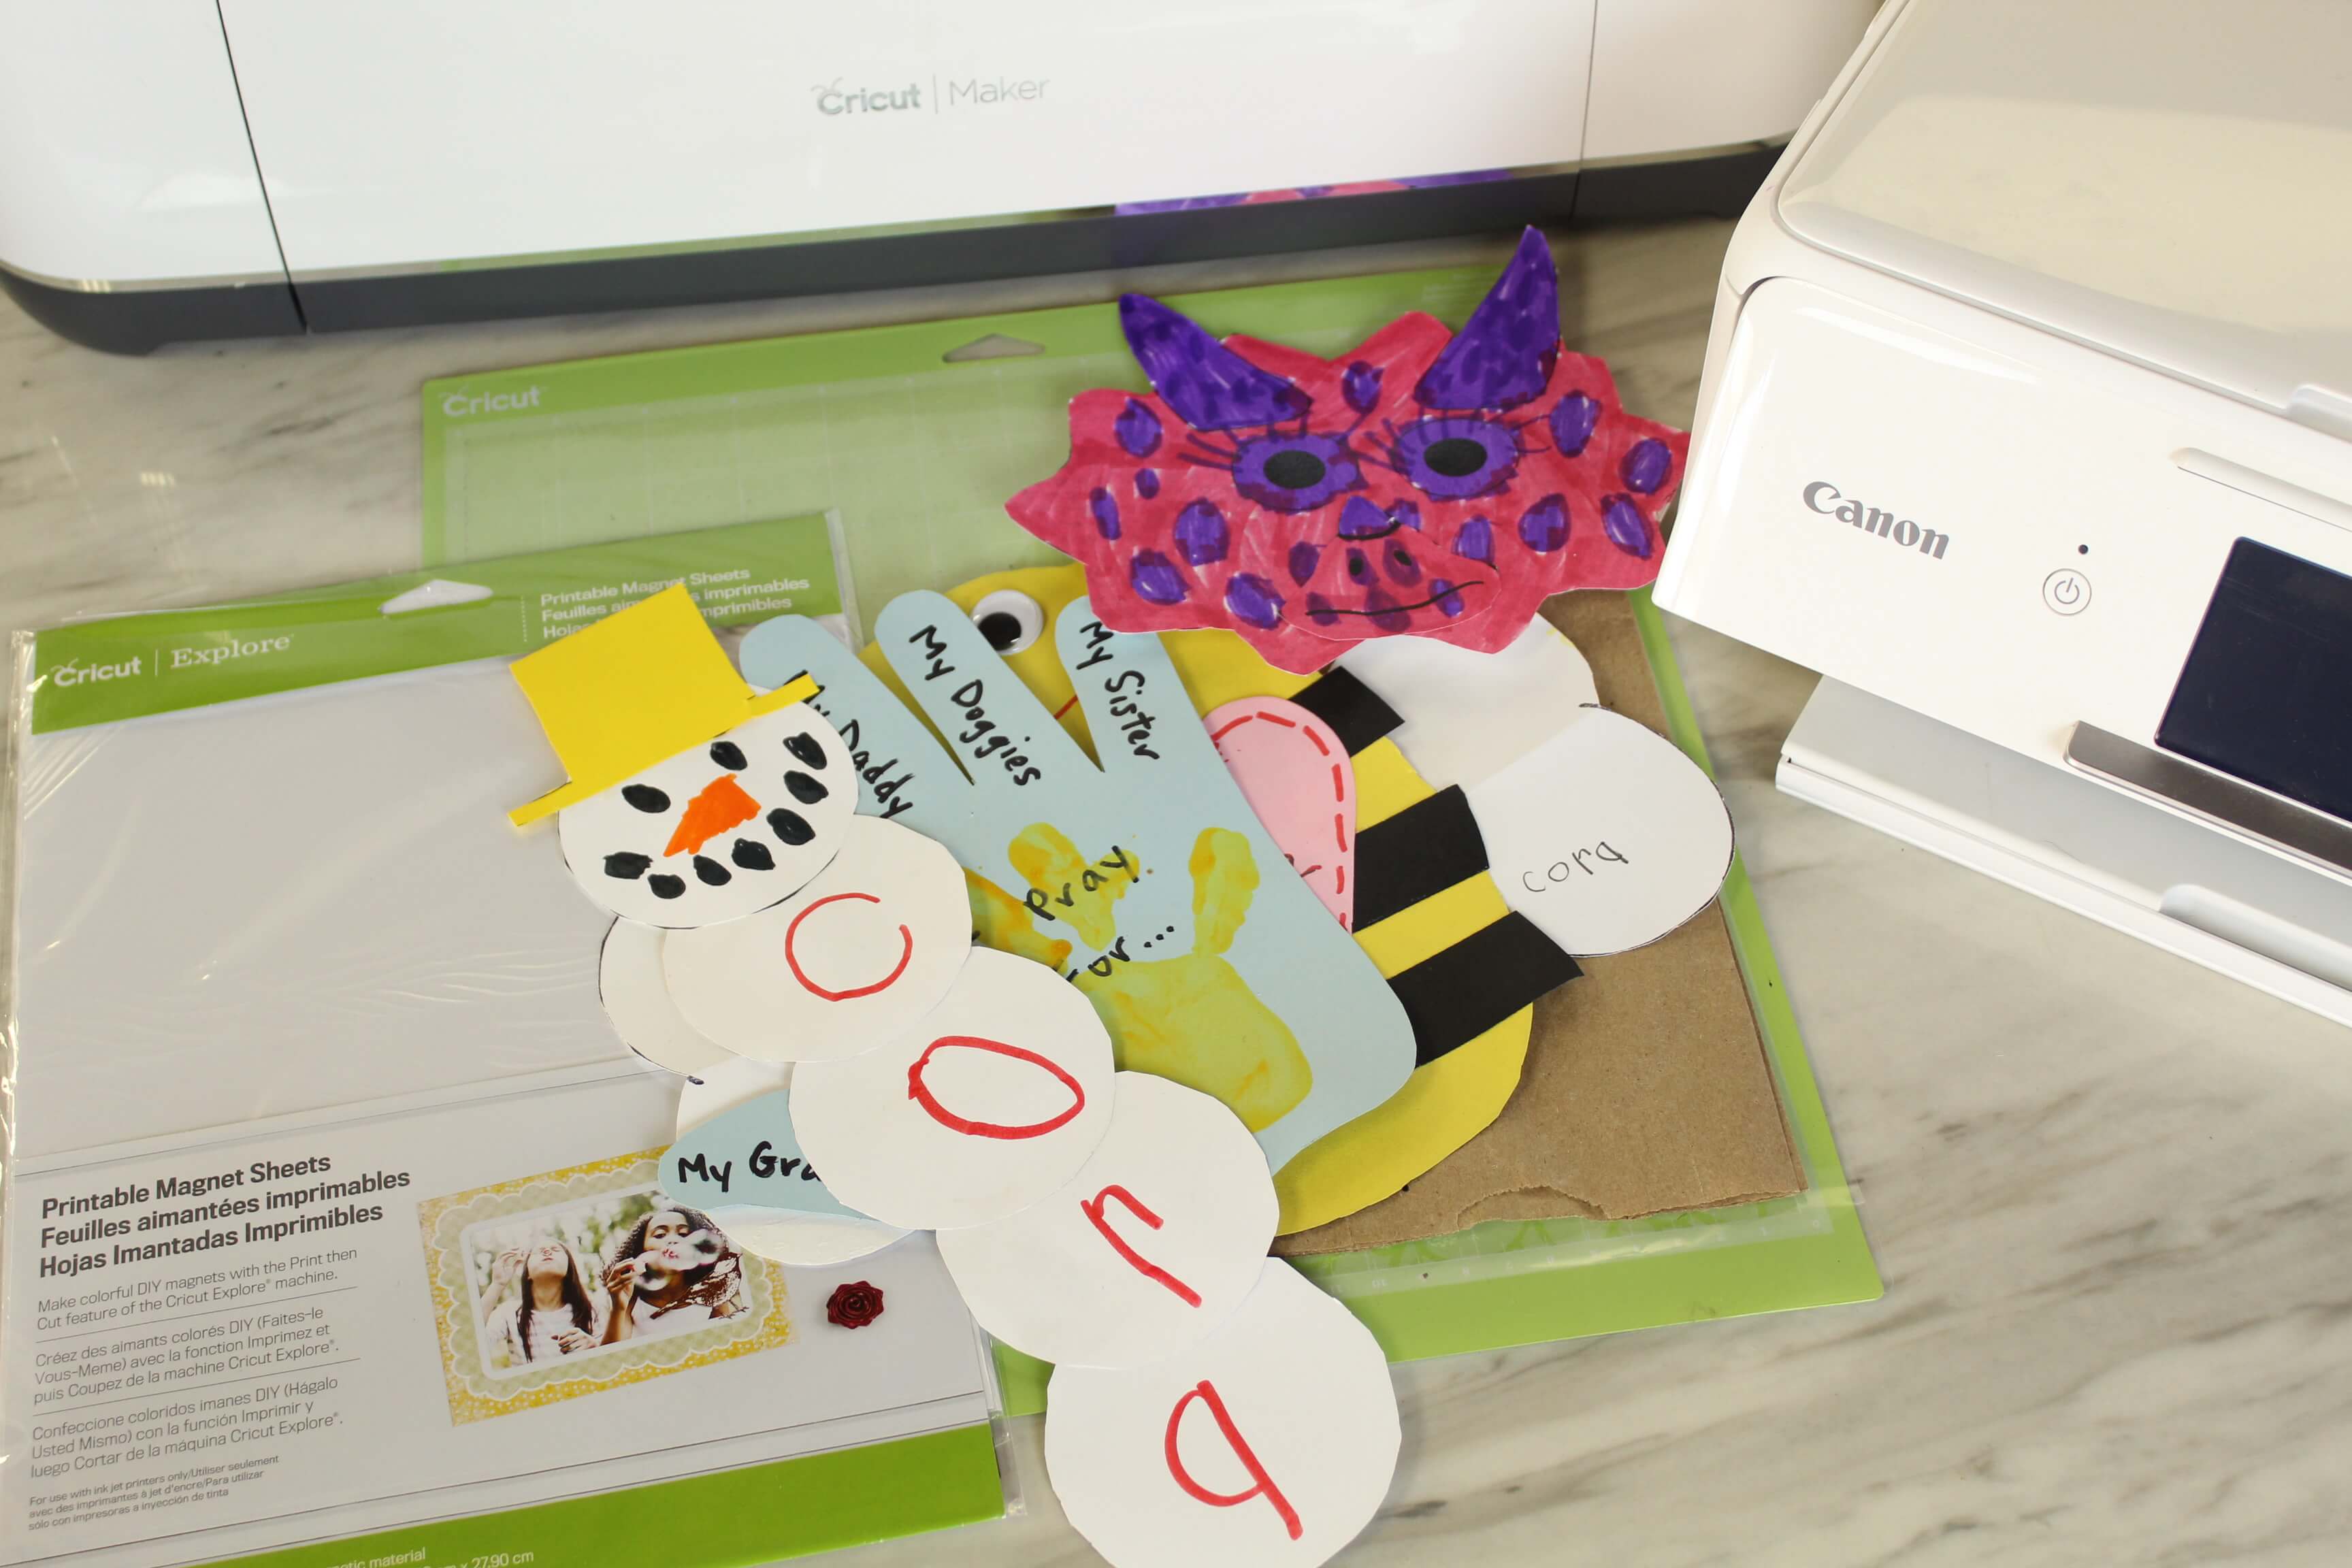
Supplies:
- Cricut Maker (or an Explore machine will work as well)
- Cricut Printable Magnet Sheets
- Cricut Standard Grip Mat
- Printer with a scanner function
- Some of your little one’s artwork!
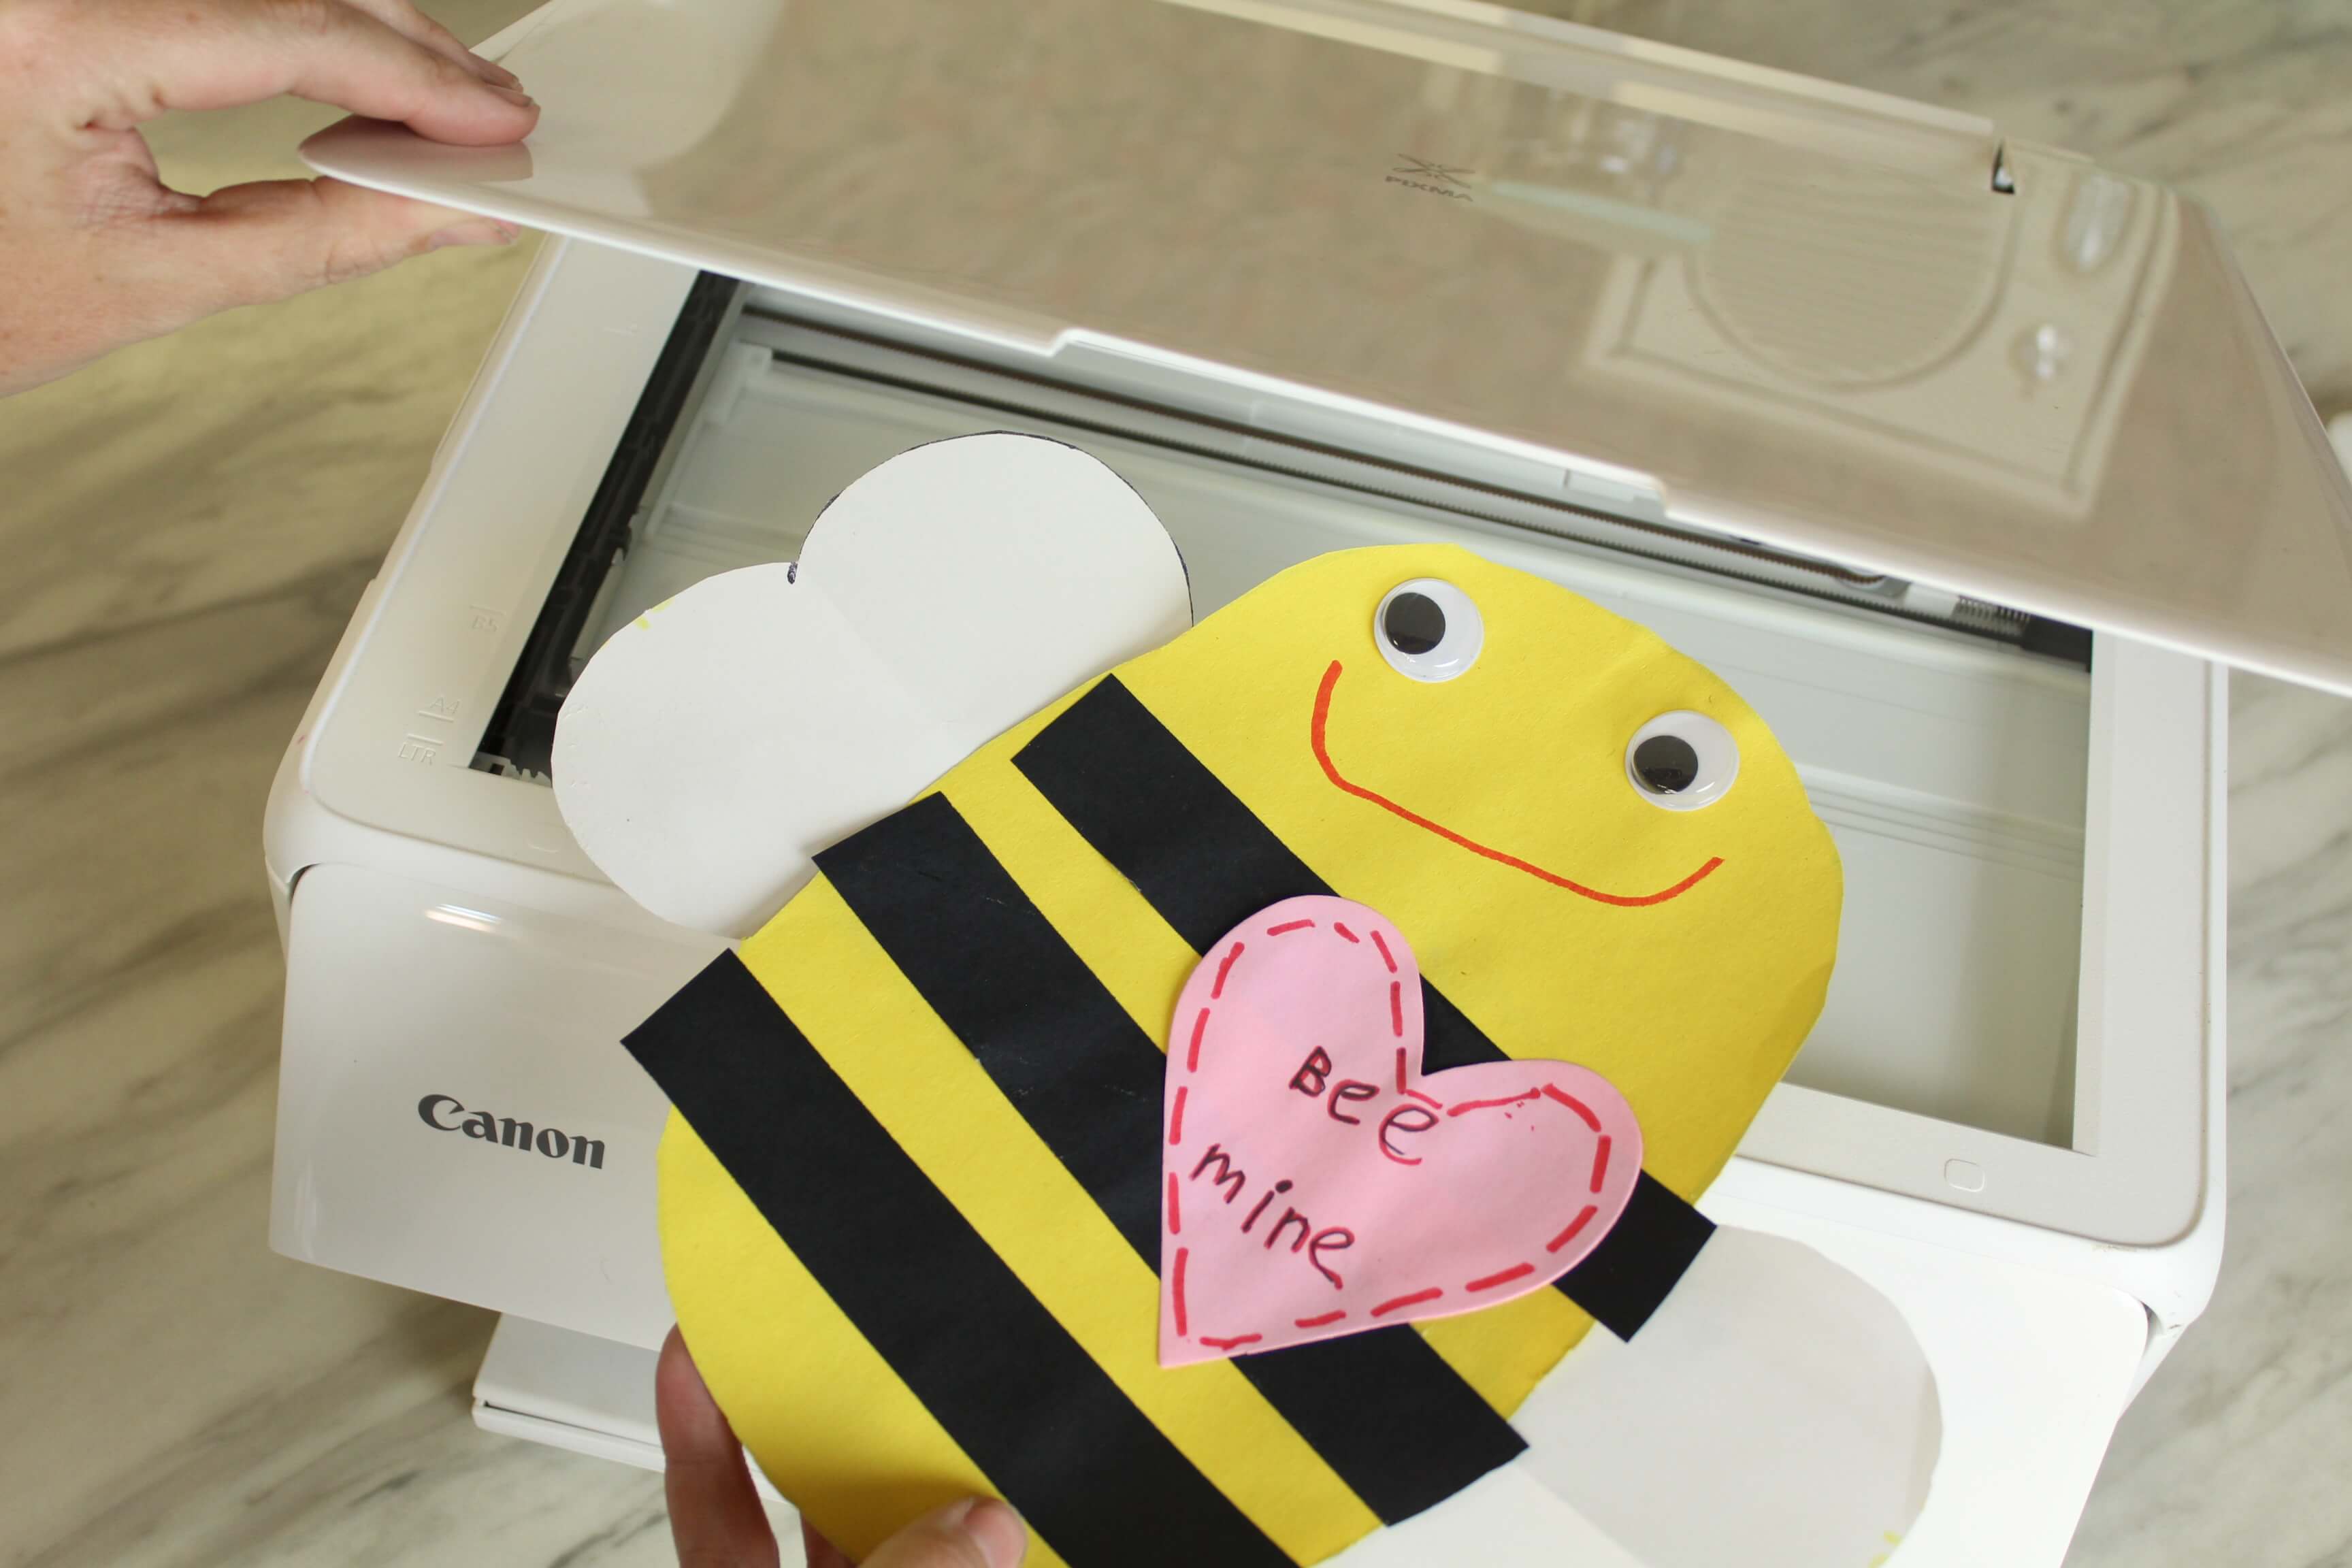
Scan the Artwork
Begin by scanning your artwork. I have found sometimes especially if the art is made with white paper you might want to put a contrasting color paper behind it. This will make the clean up in the design software later much easier.
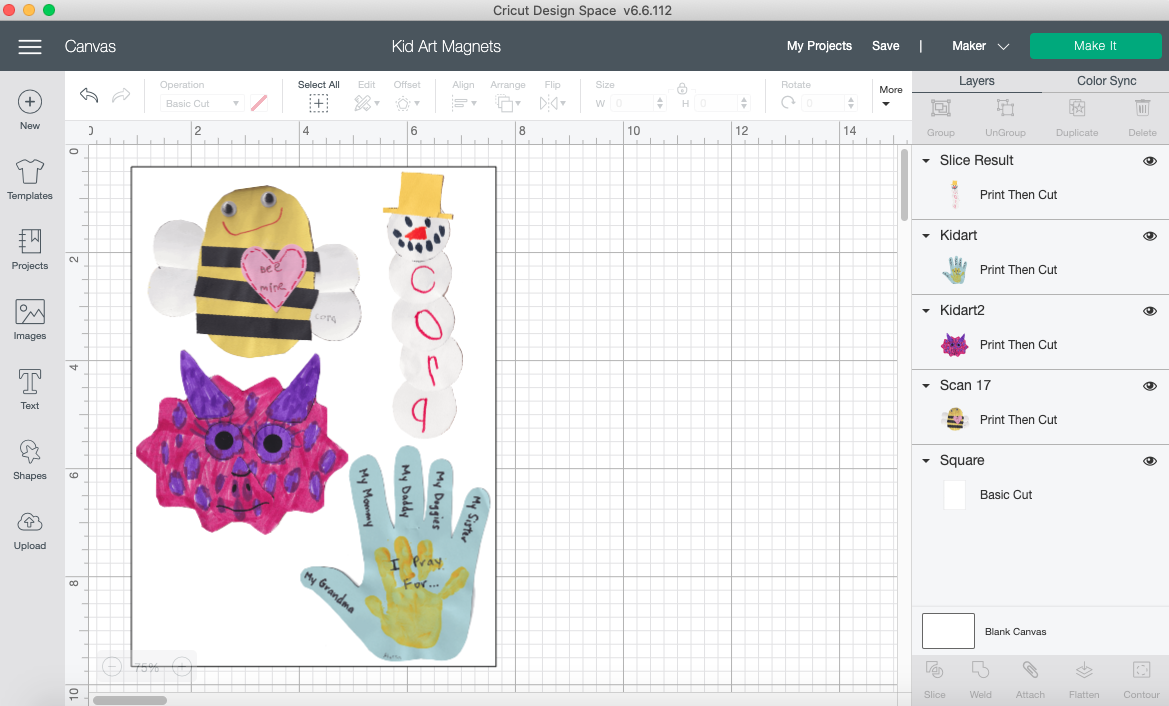
Upload into Design Space
Upload each image into Cricut’s Design Space. You may need to use the eraser tool to clean it up once it’s been uploaded to get a clean cut.
Maximize your Space
When using Cricut’s Print then Cut feature I almost always use this little trick. So if you didn’t know, the maximum print space that you can currently print is 9.25″ x 6.75″. For that reason I add a white rectangle to my canvas in those dimensions and play around with my images to make them fit perfectly. Then I select them all (less the rectangle) and attach them so that they print and cut exactly how they are laid out. For whatever reason sometimes Design Space will move the images around and you end up using two sheets of your printable magnet sheets when you really only needed one and as a frugal crafter, I want to make the most of my crafting supplies!
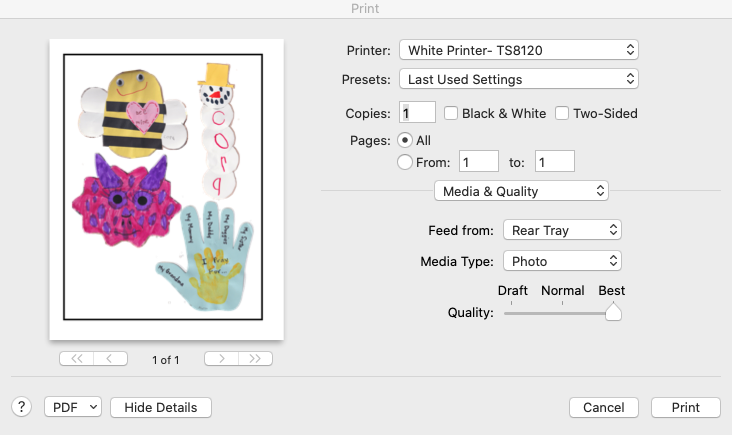
Print Your Project
Ideally you will do this project using a printer that has a rear tray since the magnet sheet is a bit thicker. I always turn on the toggle for “use system dialog” and switch my print settings to “photo” and “best” to get the very best print results for my projects.

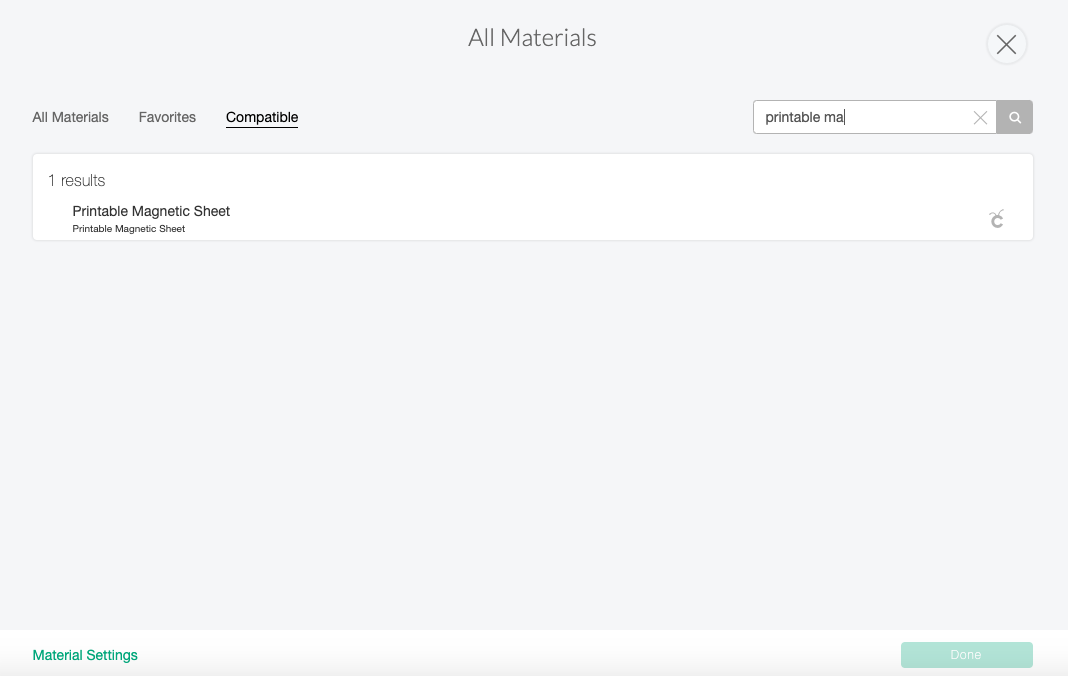
Cut Your Project
Once you’re done printing, you’ll load your magnet sheet onto your cutting mat, select “printable magnetic sheet” from the materials and let your machine do it’s magic!
Tip: Before unloading your project, lift to make sure that it cut all the way through. If it didn’t, you can hit the Cricut “C” button once more and it will cut your project again.
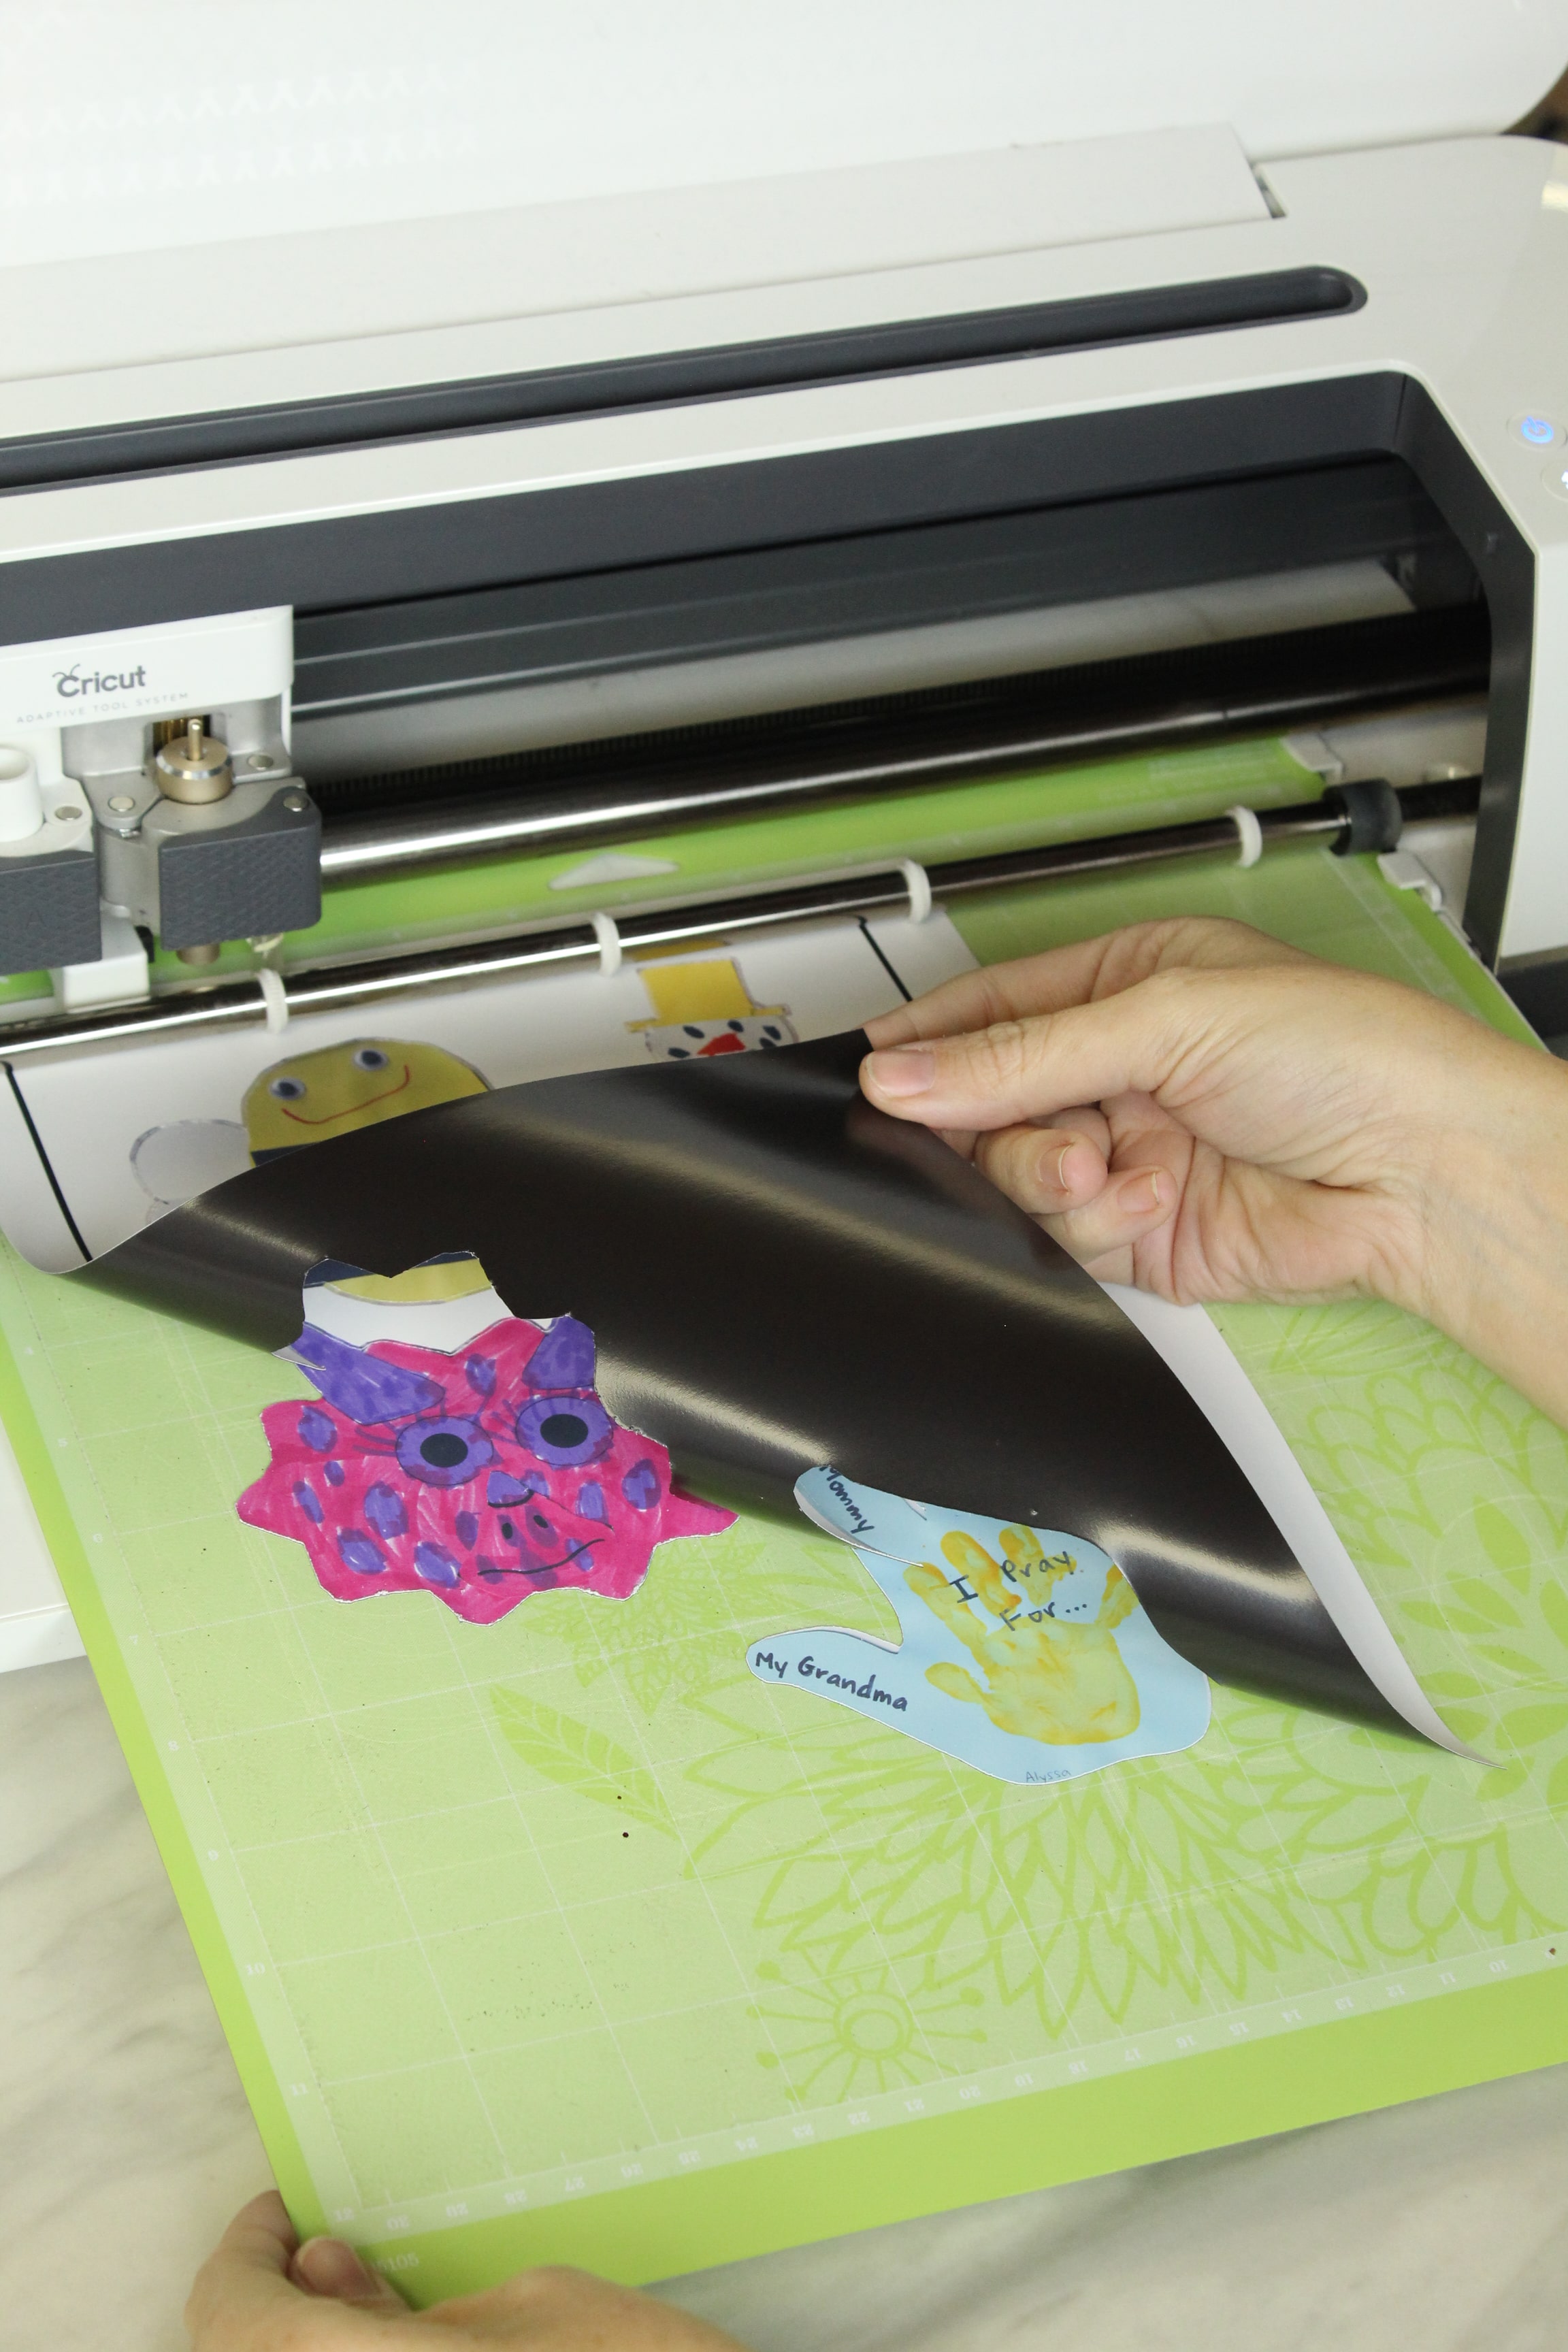
Mine cut beautifully in one pass though so I didn’t need to!
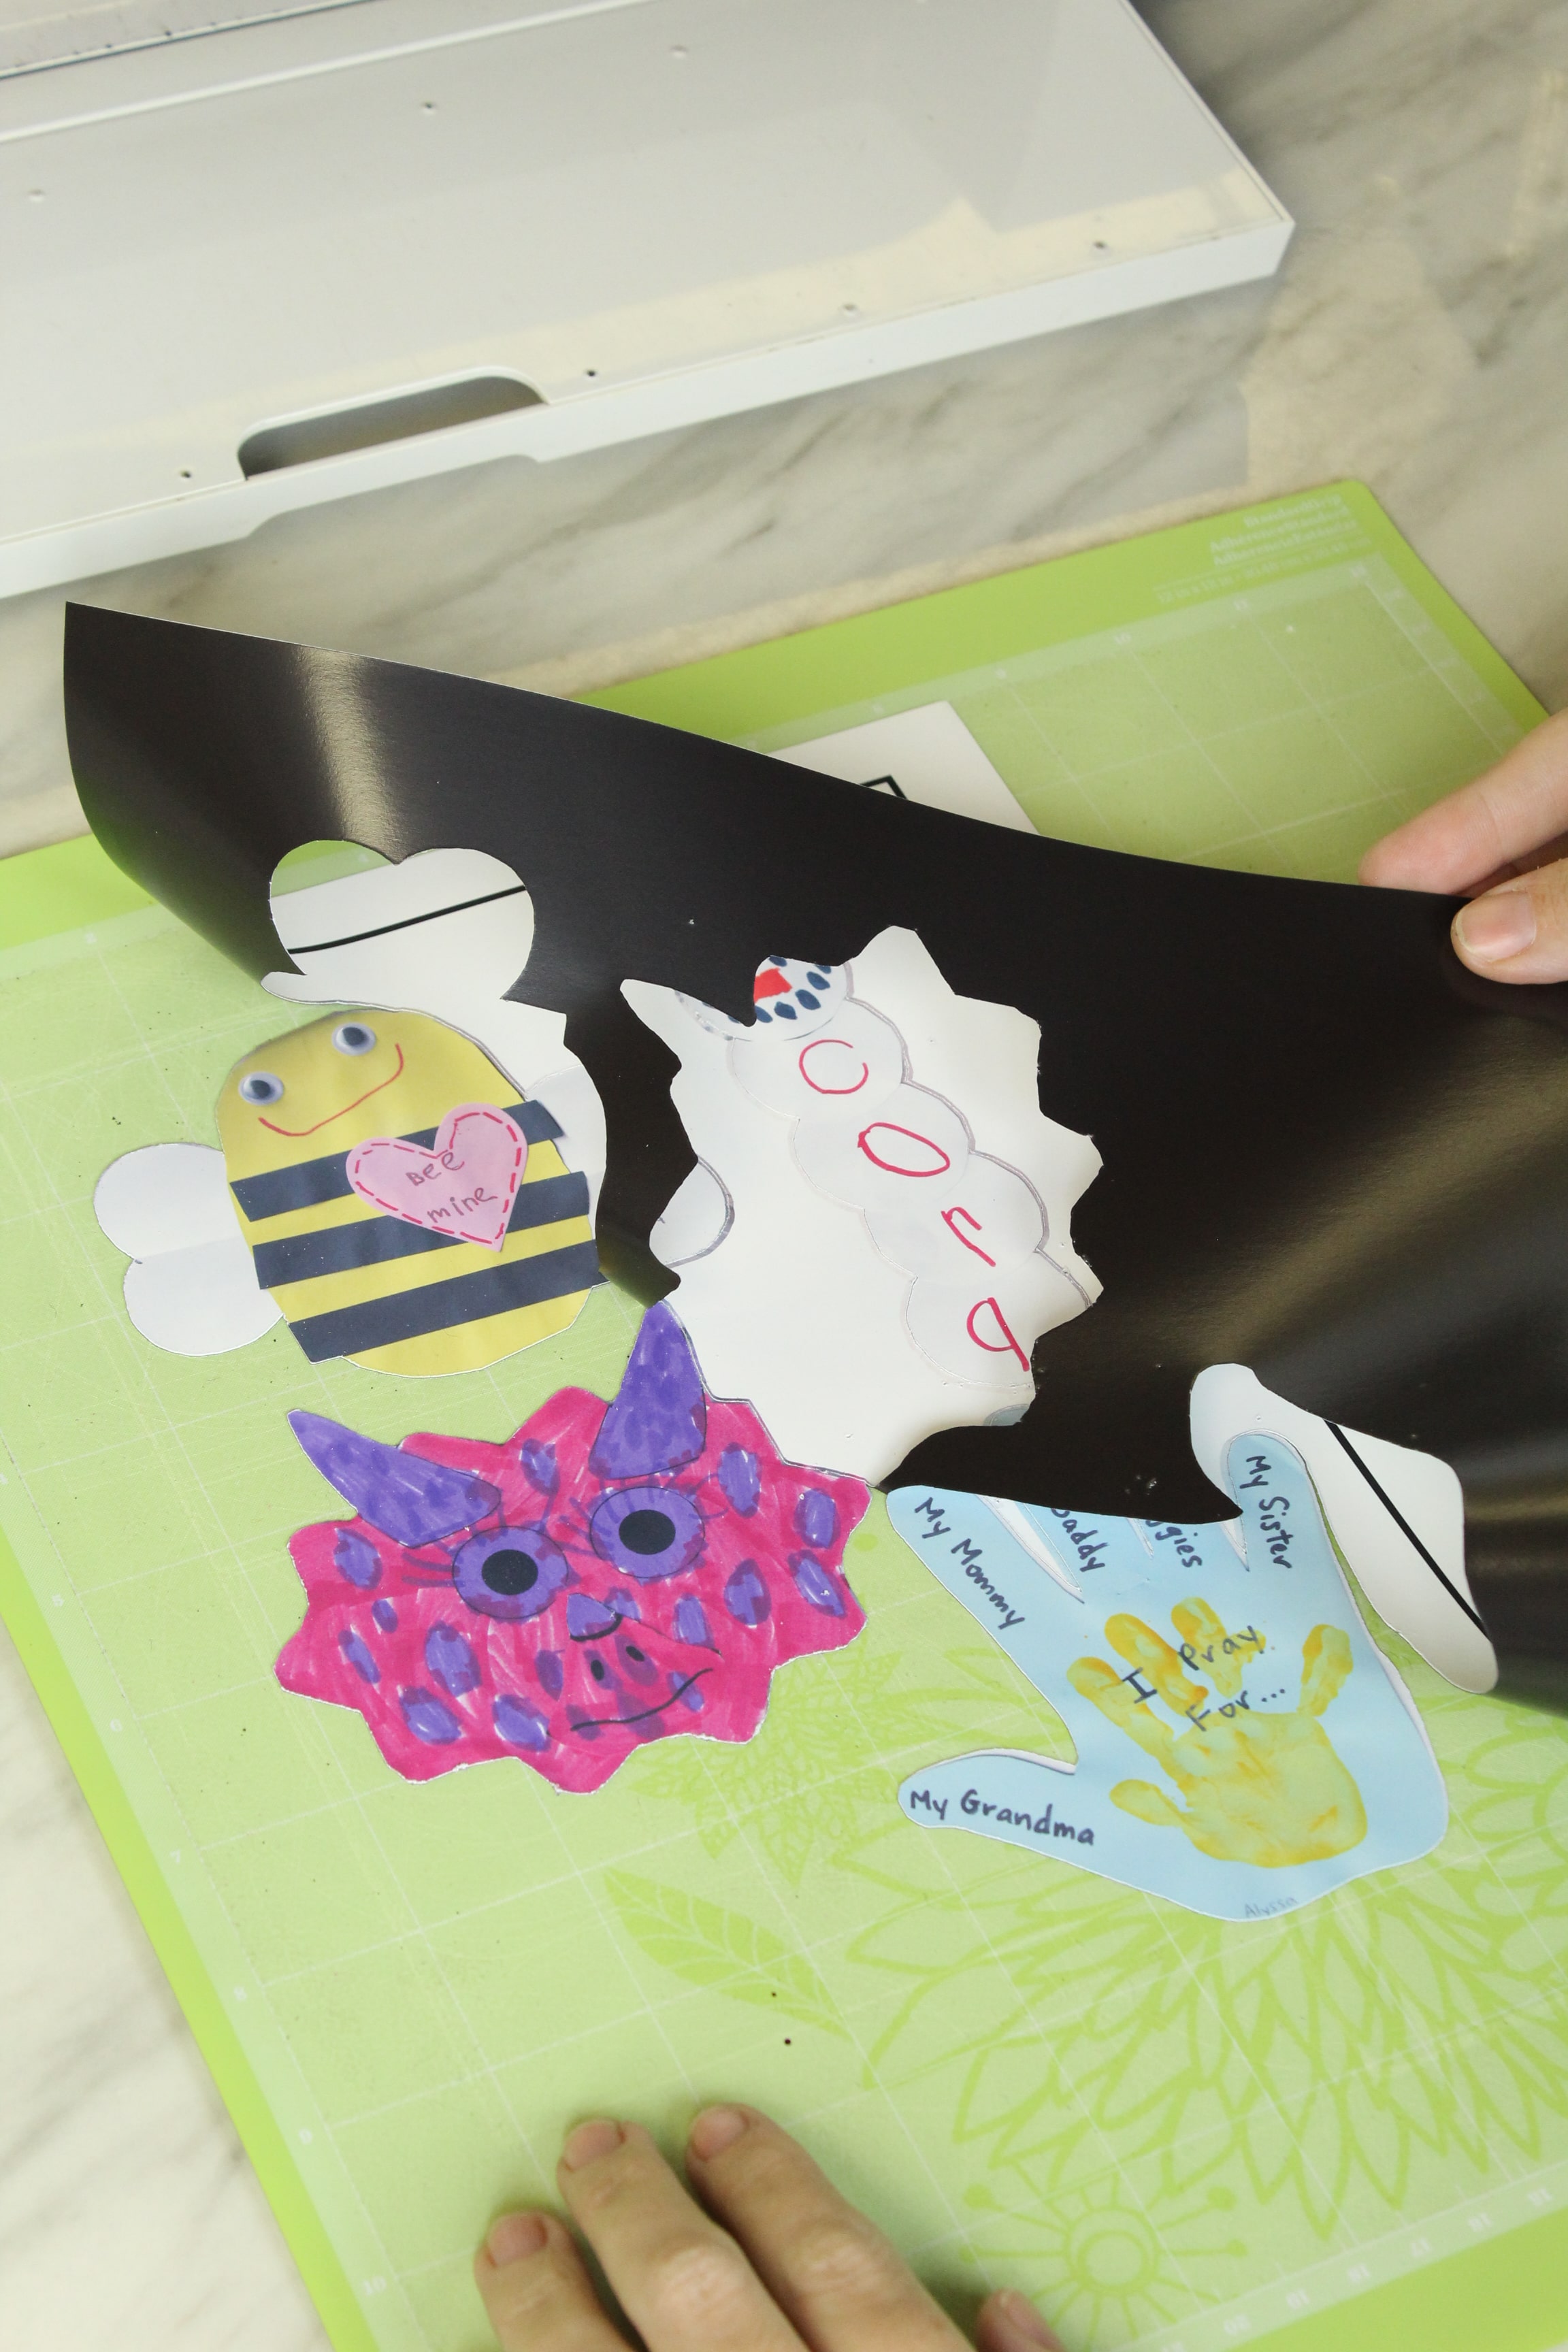

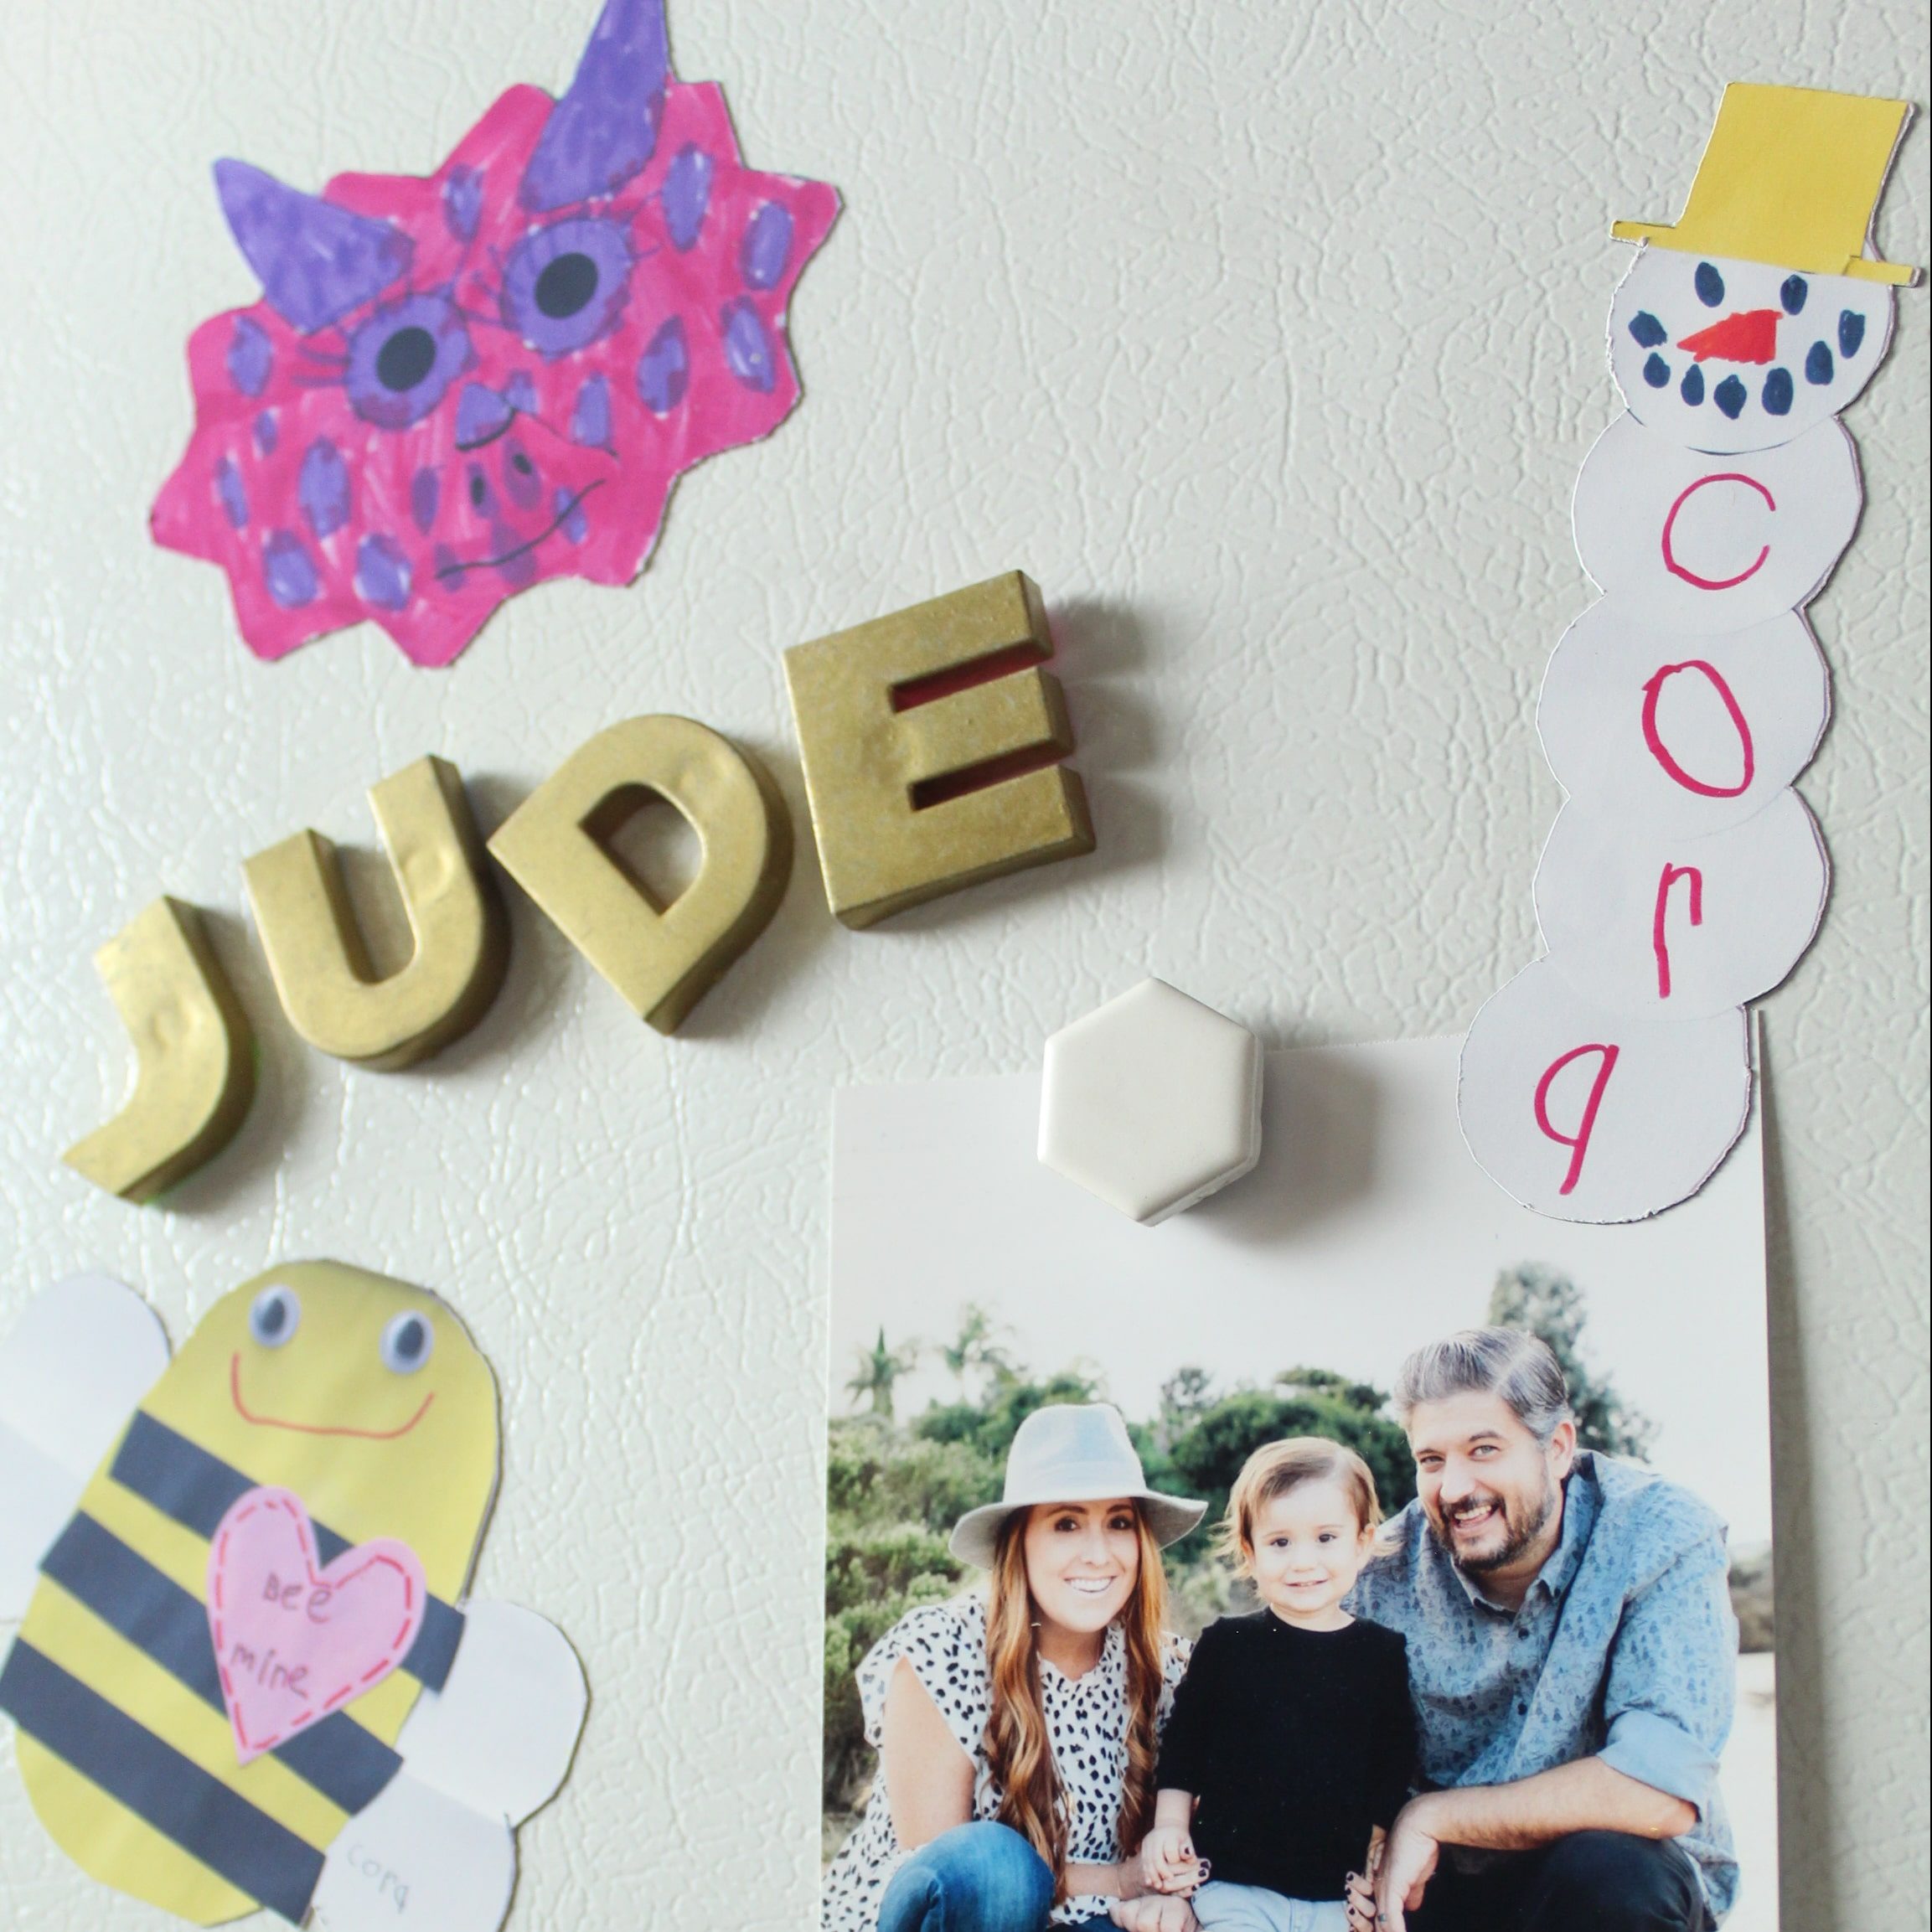
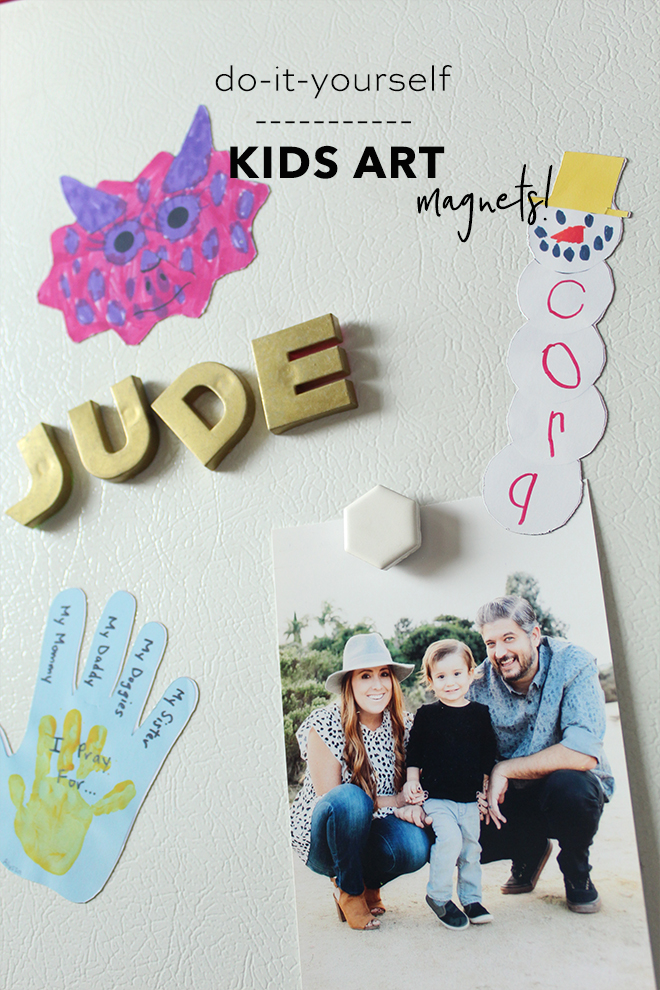
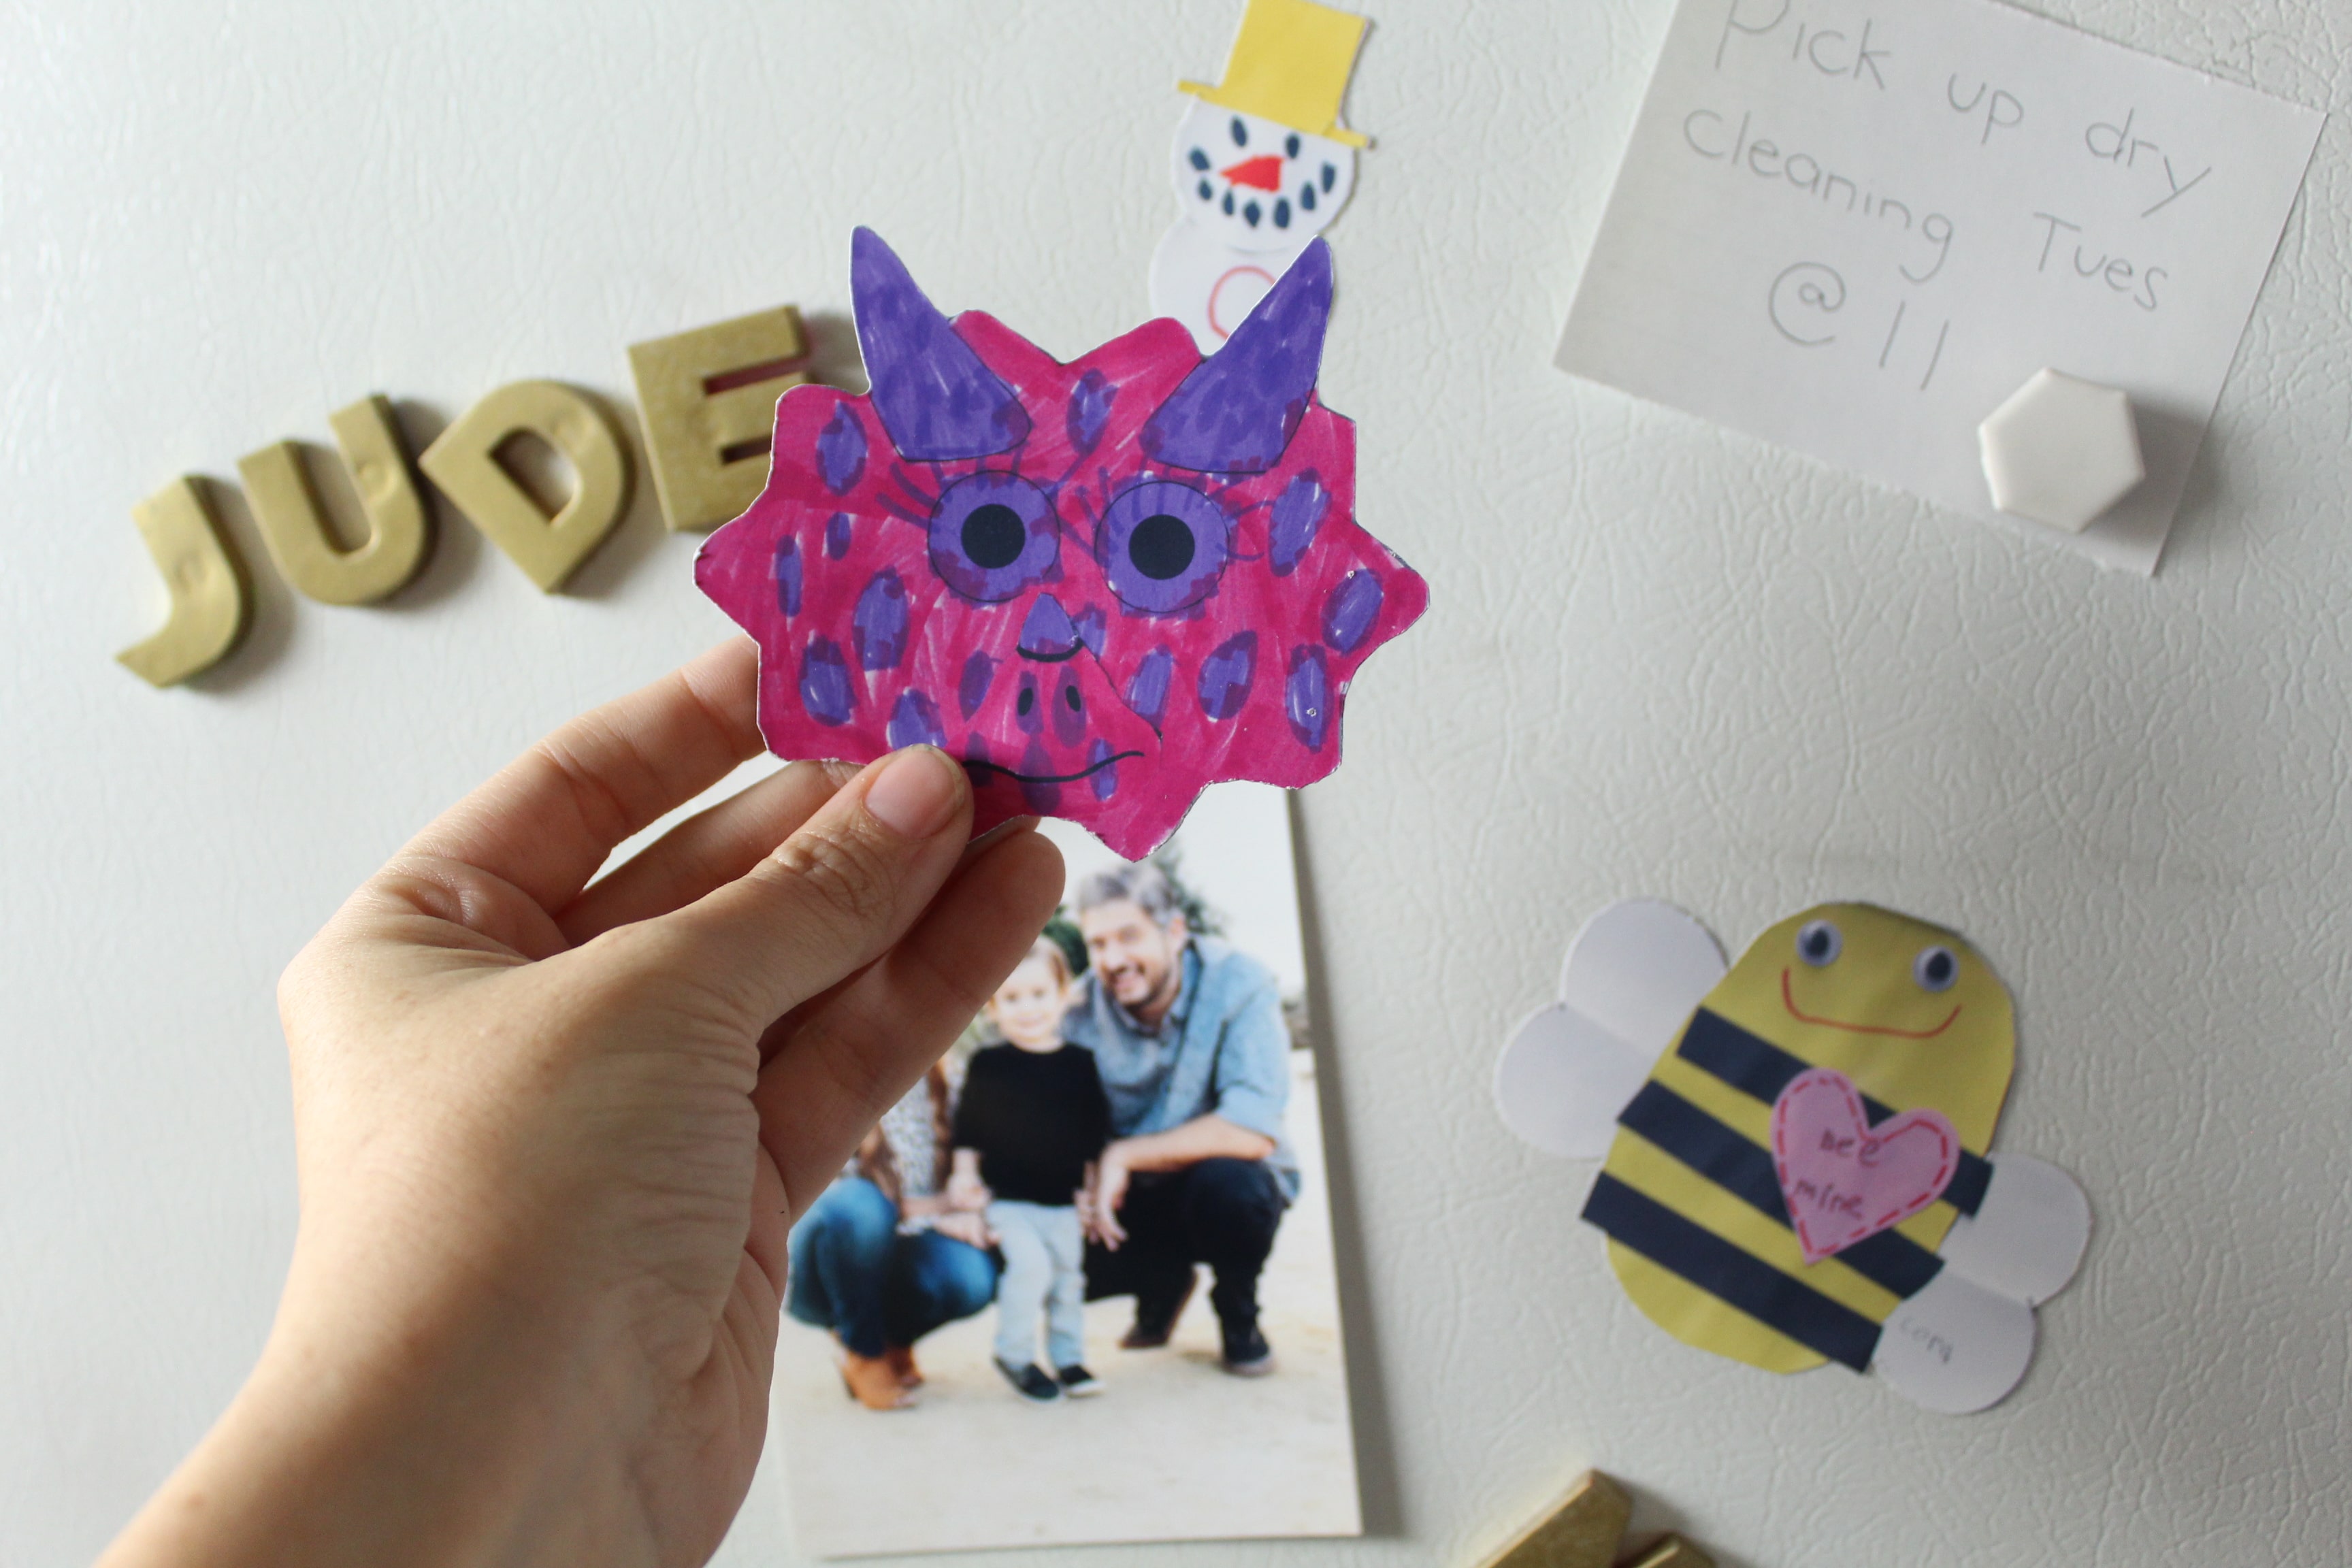
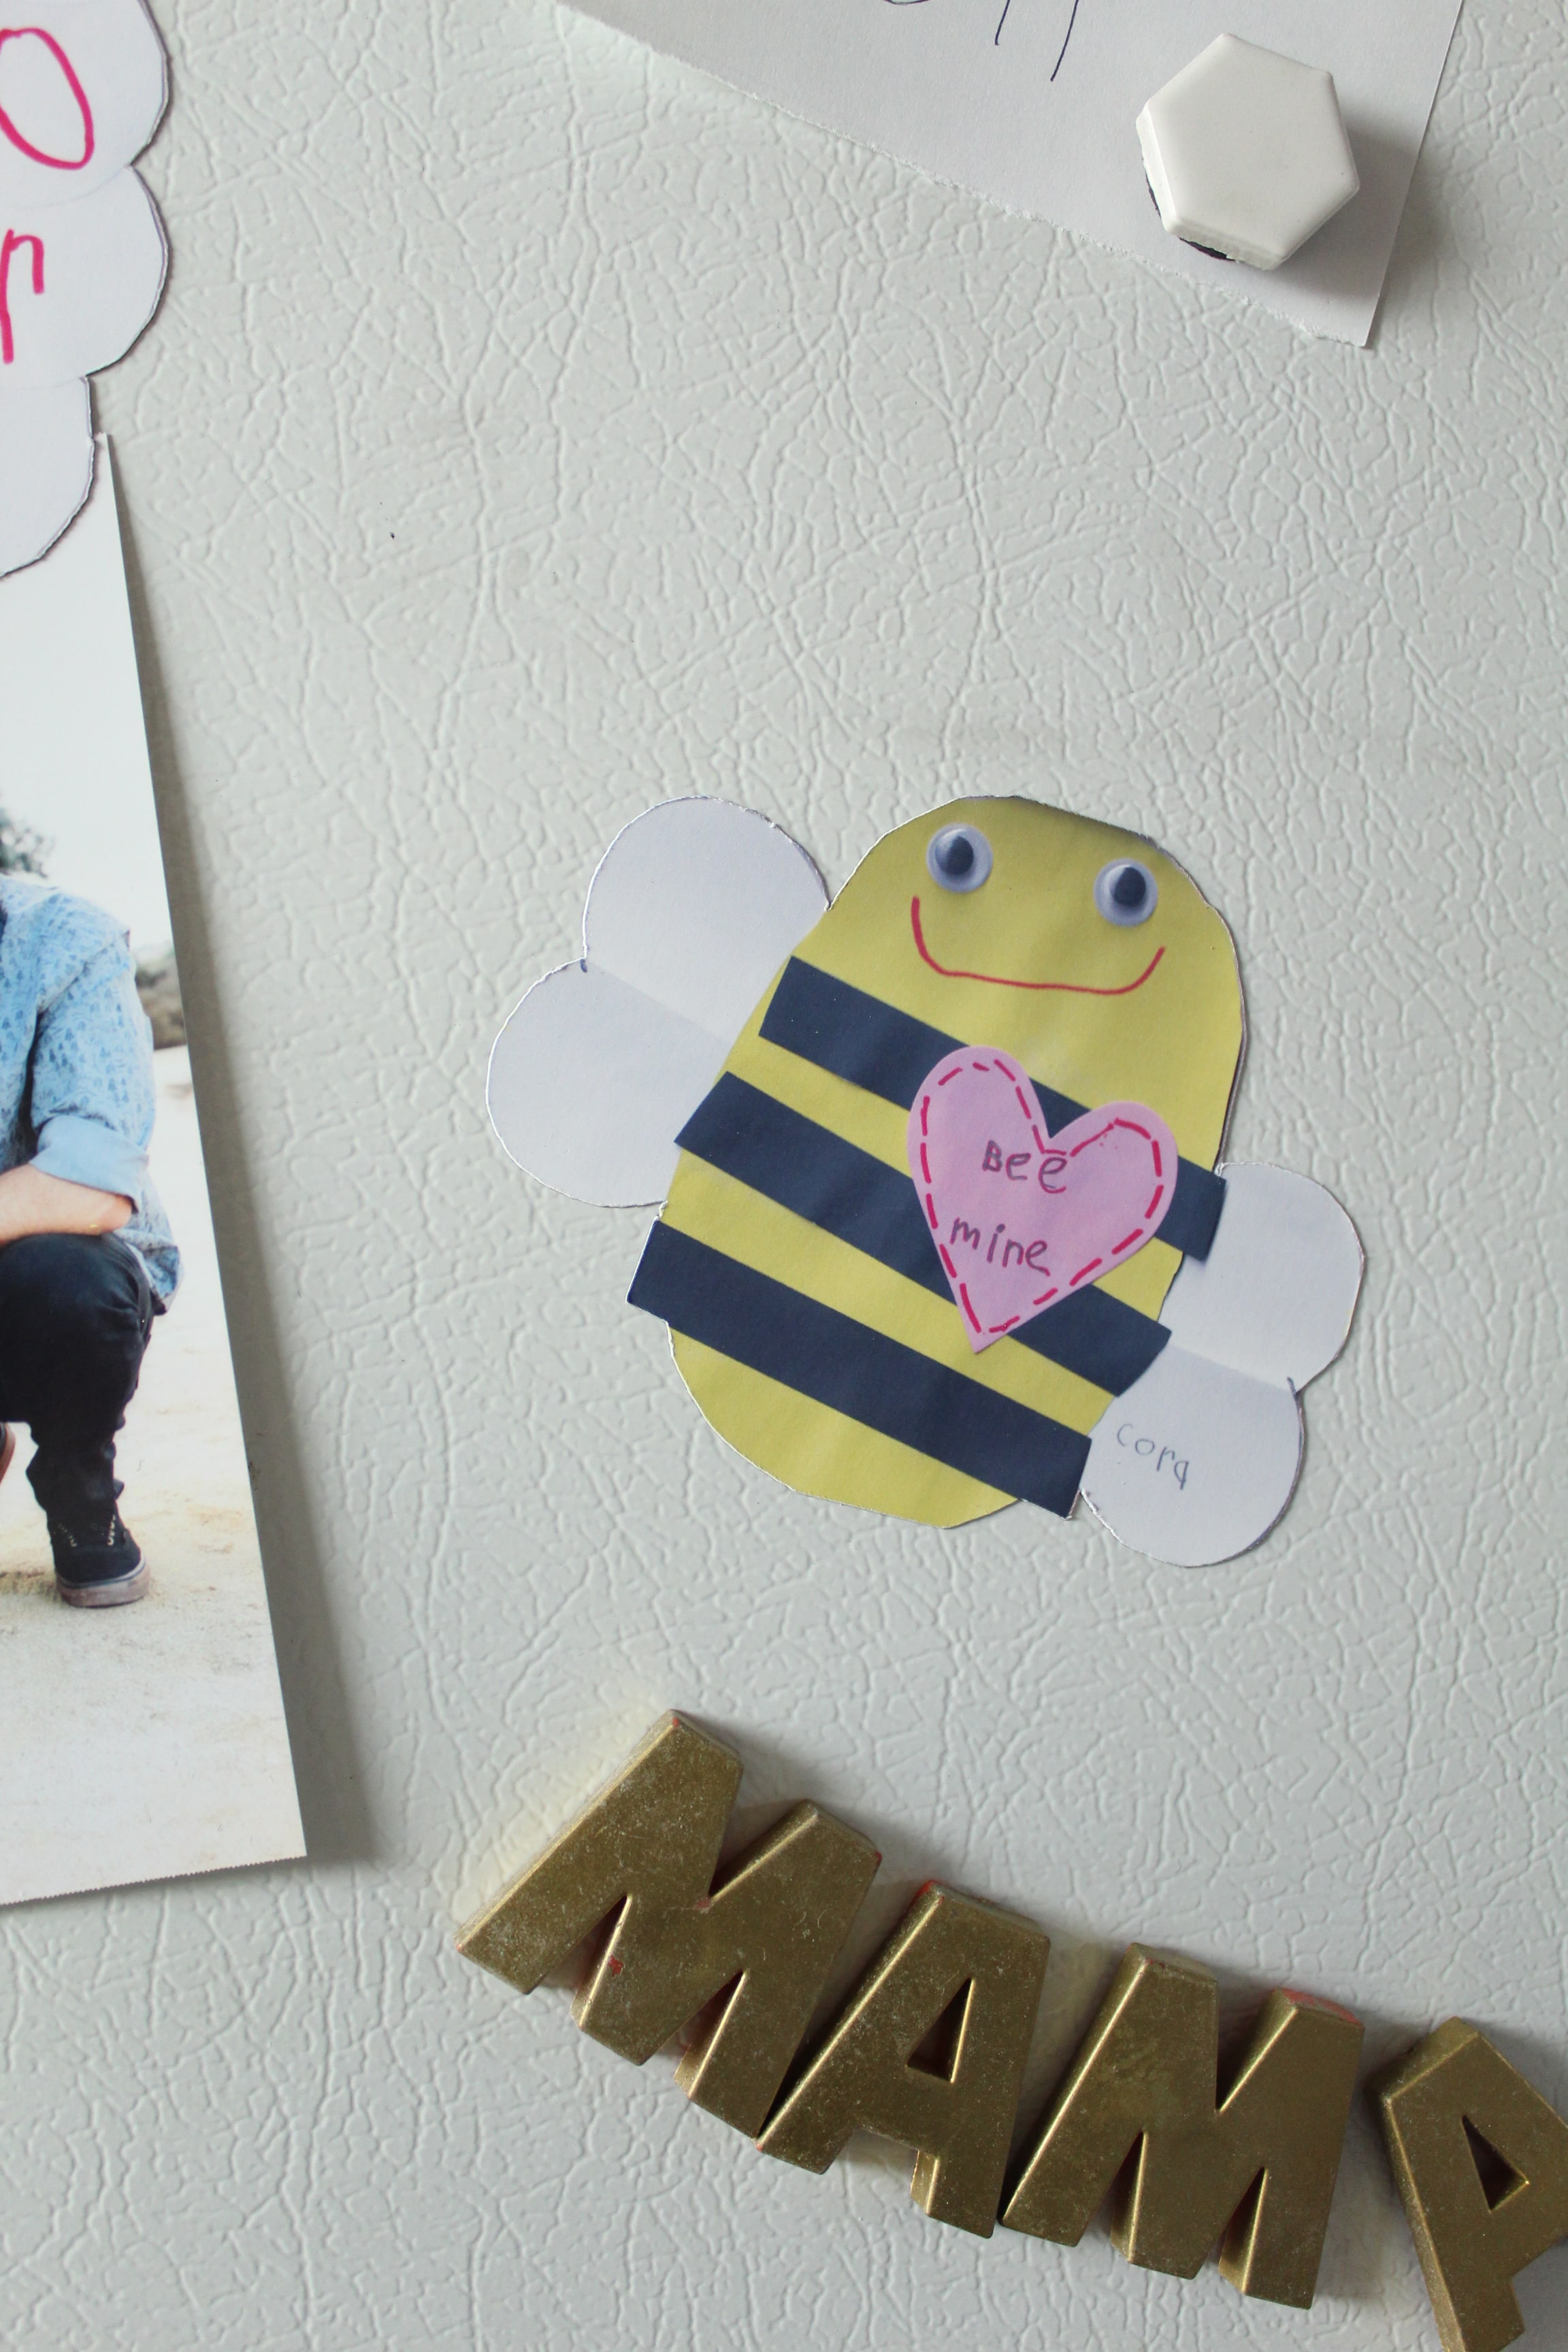
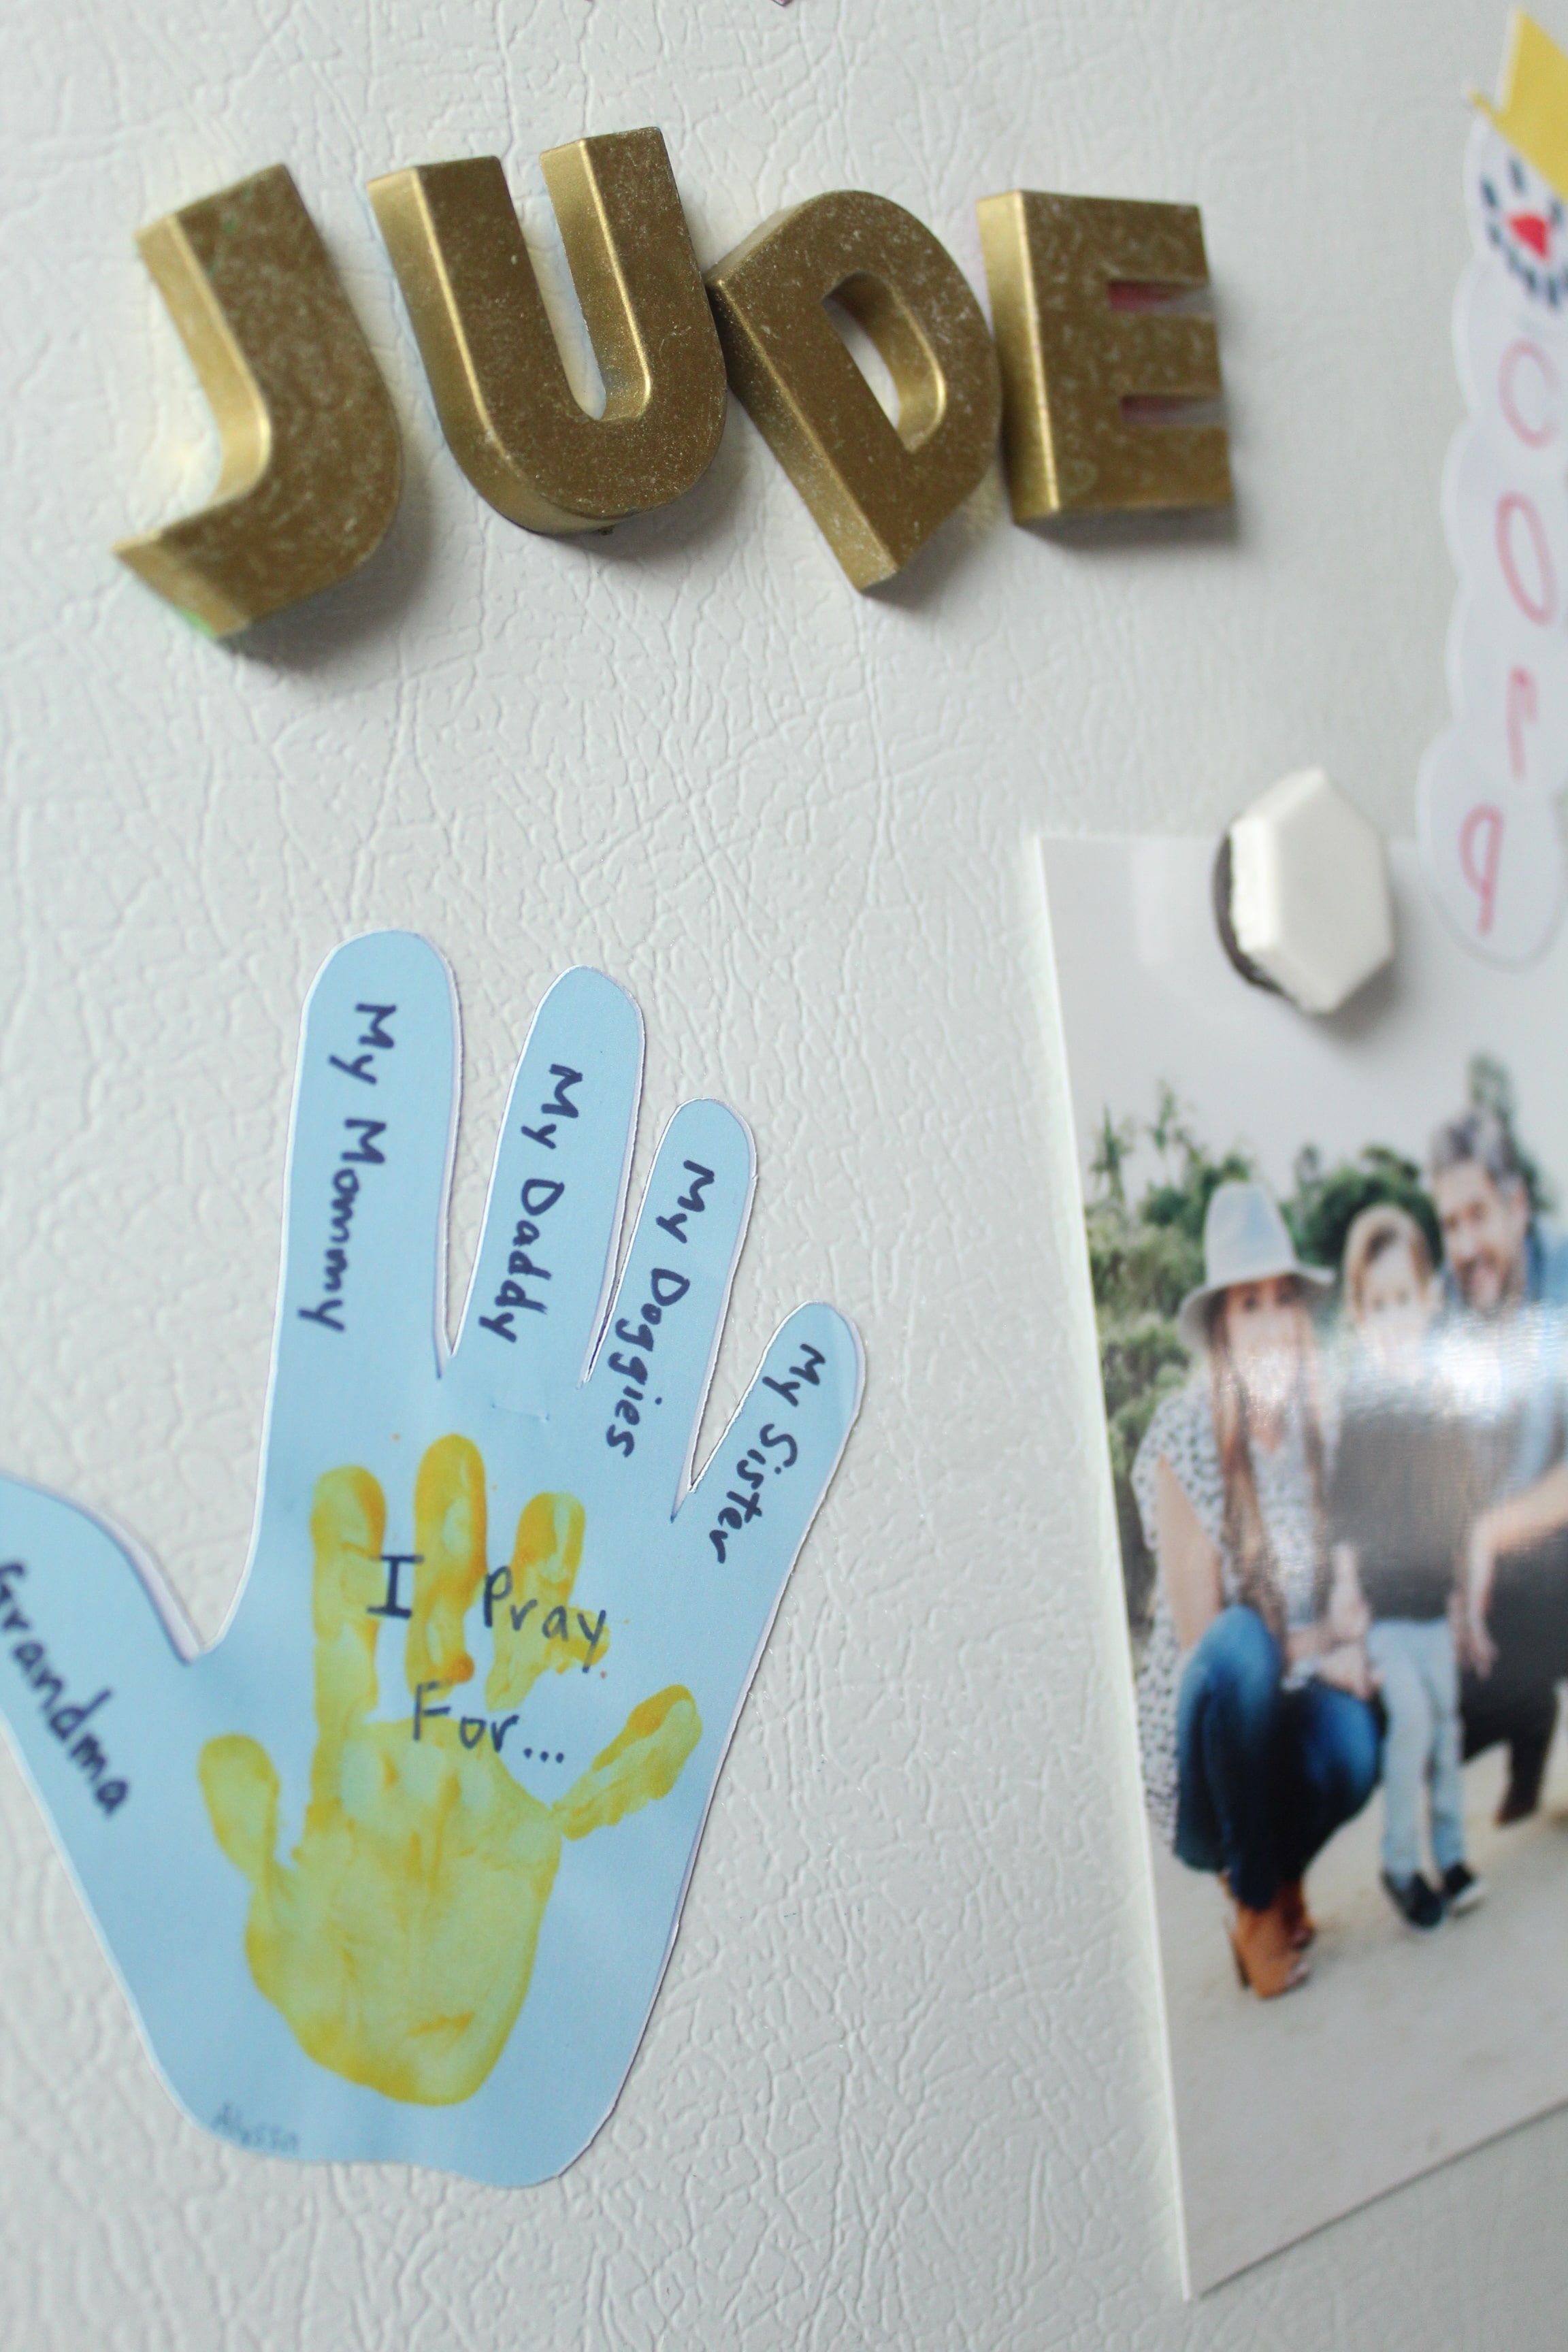
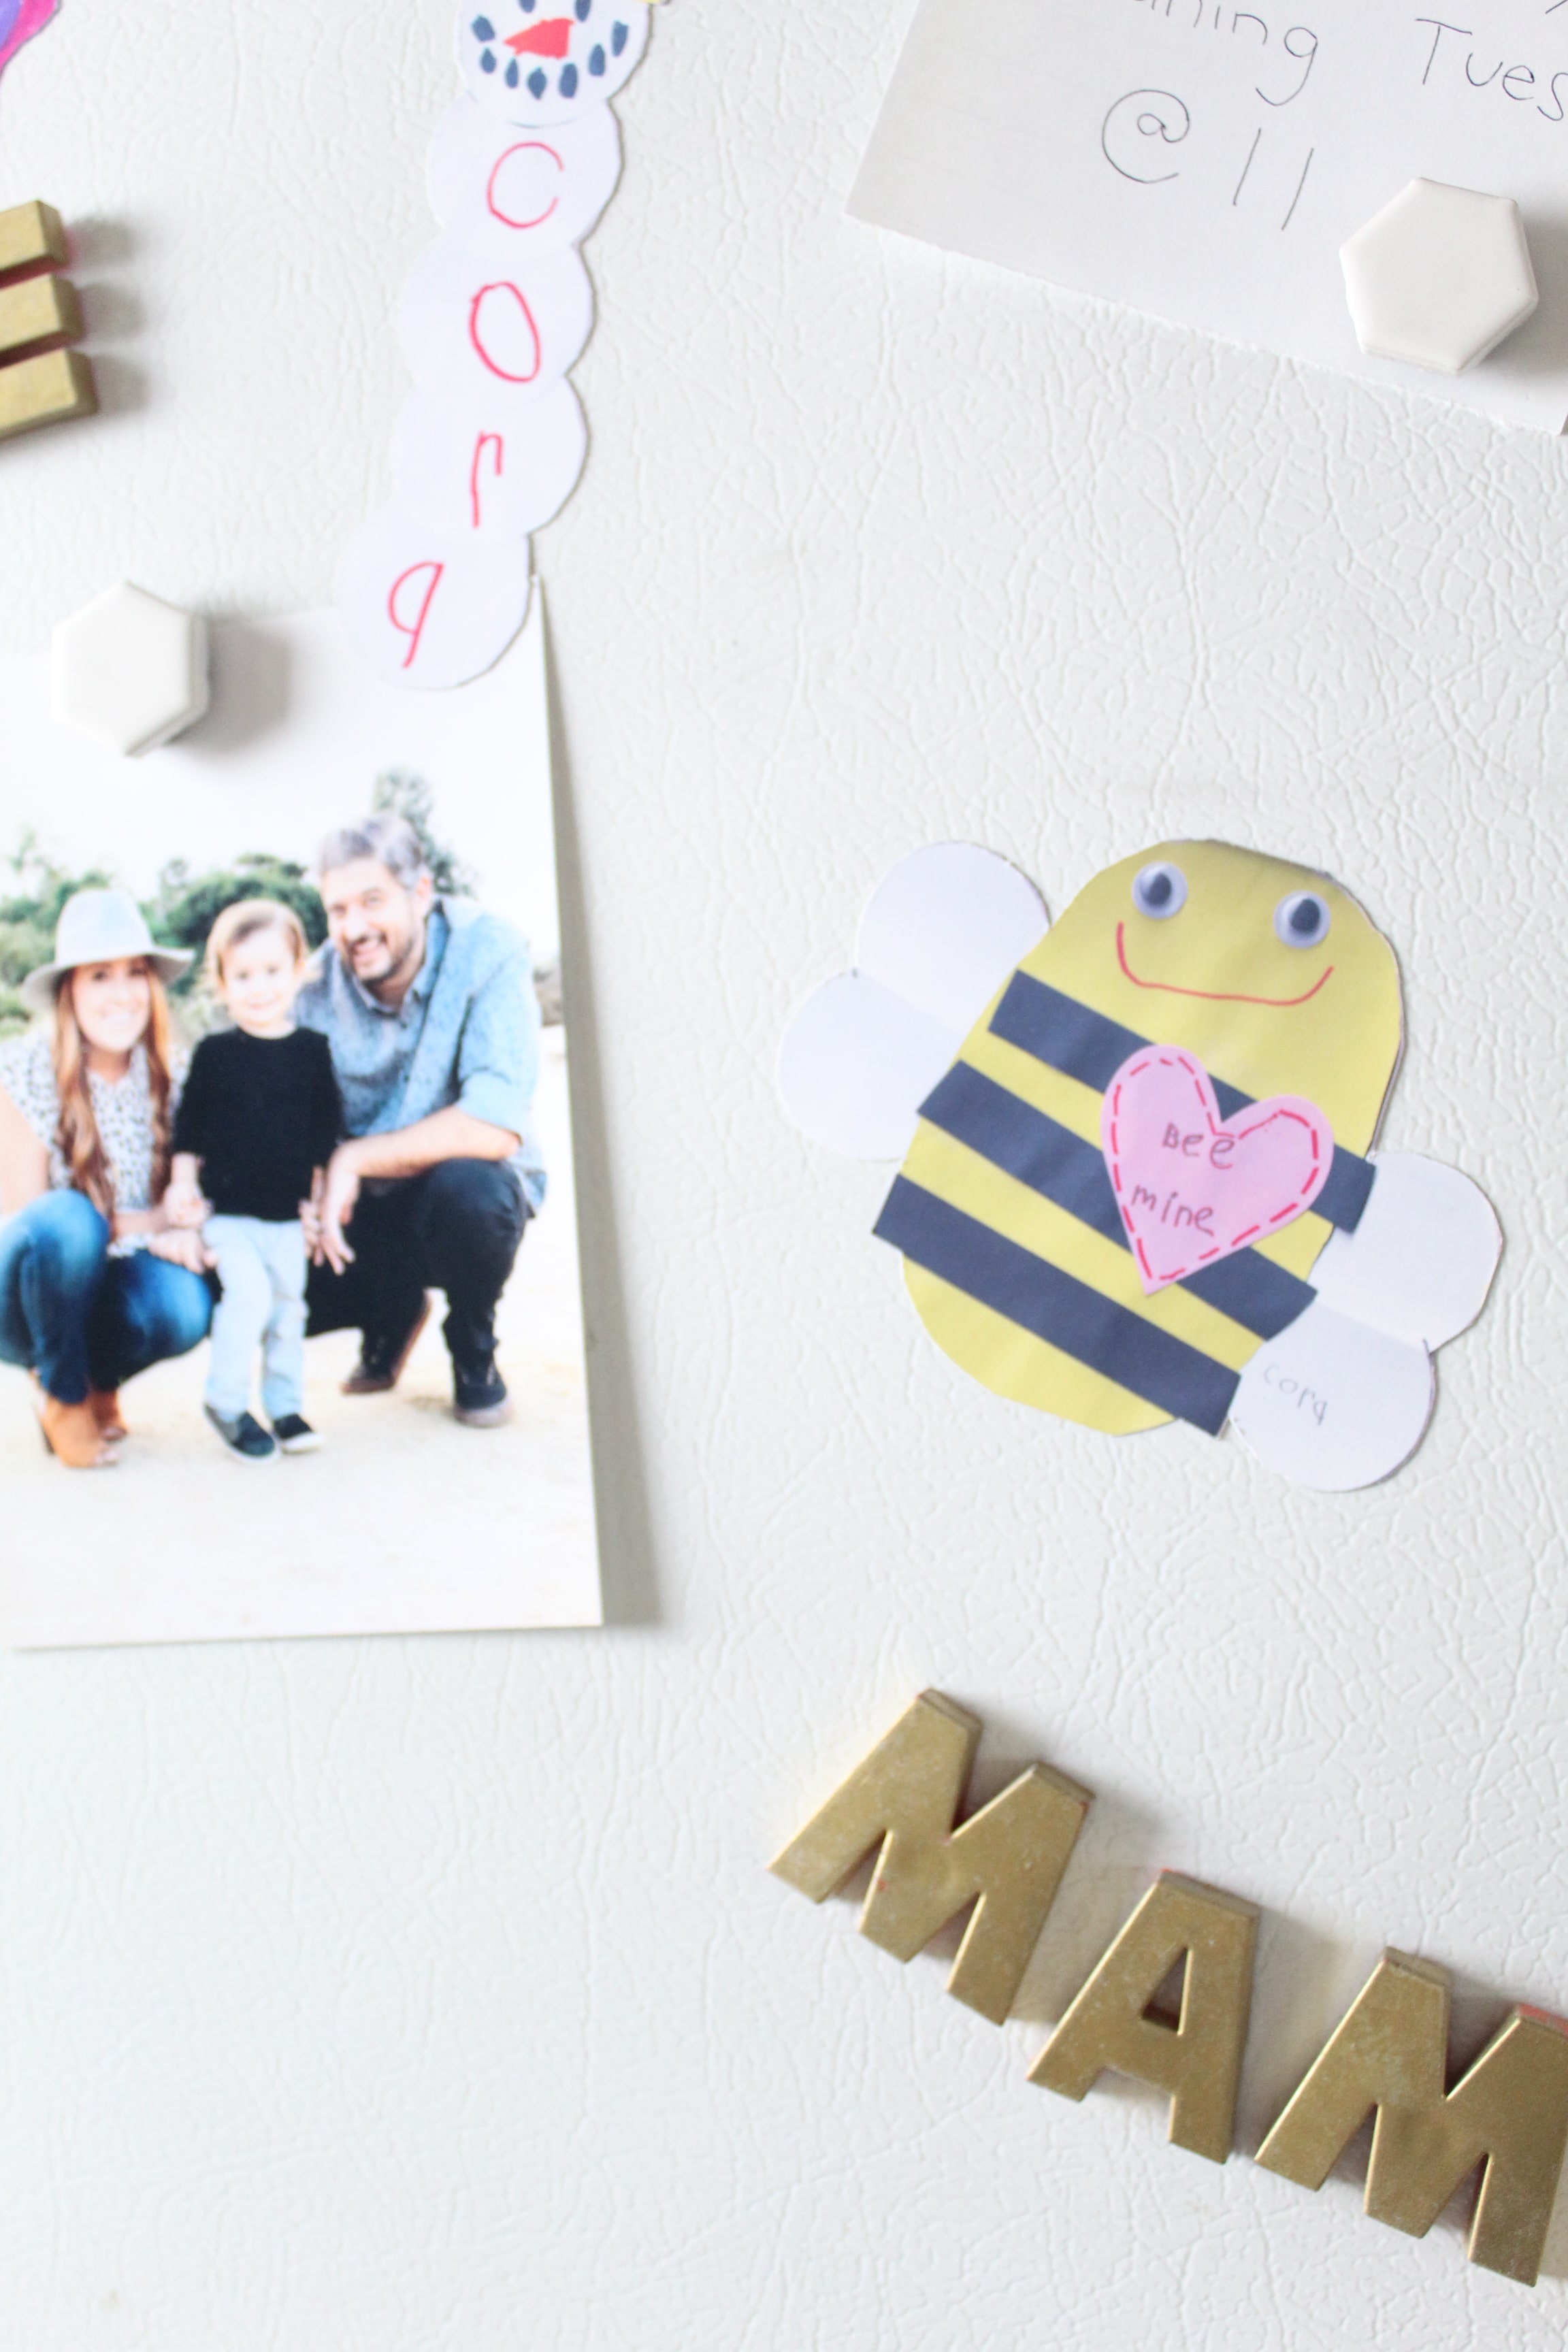
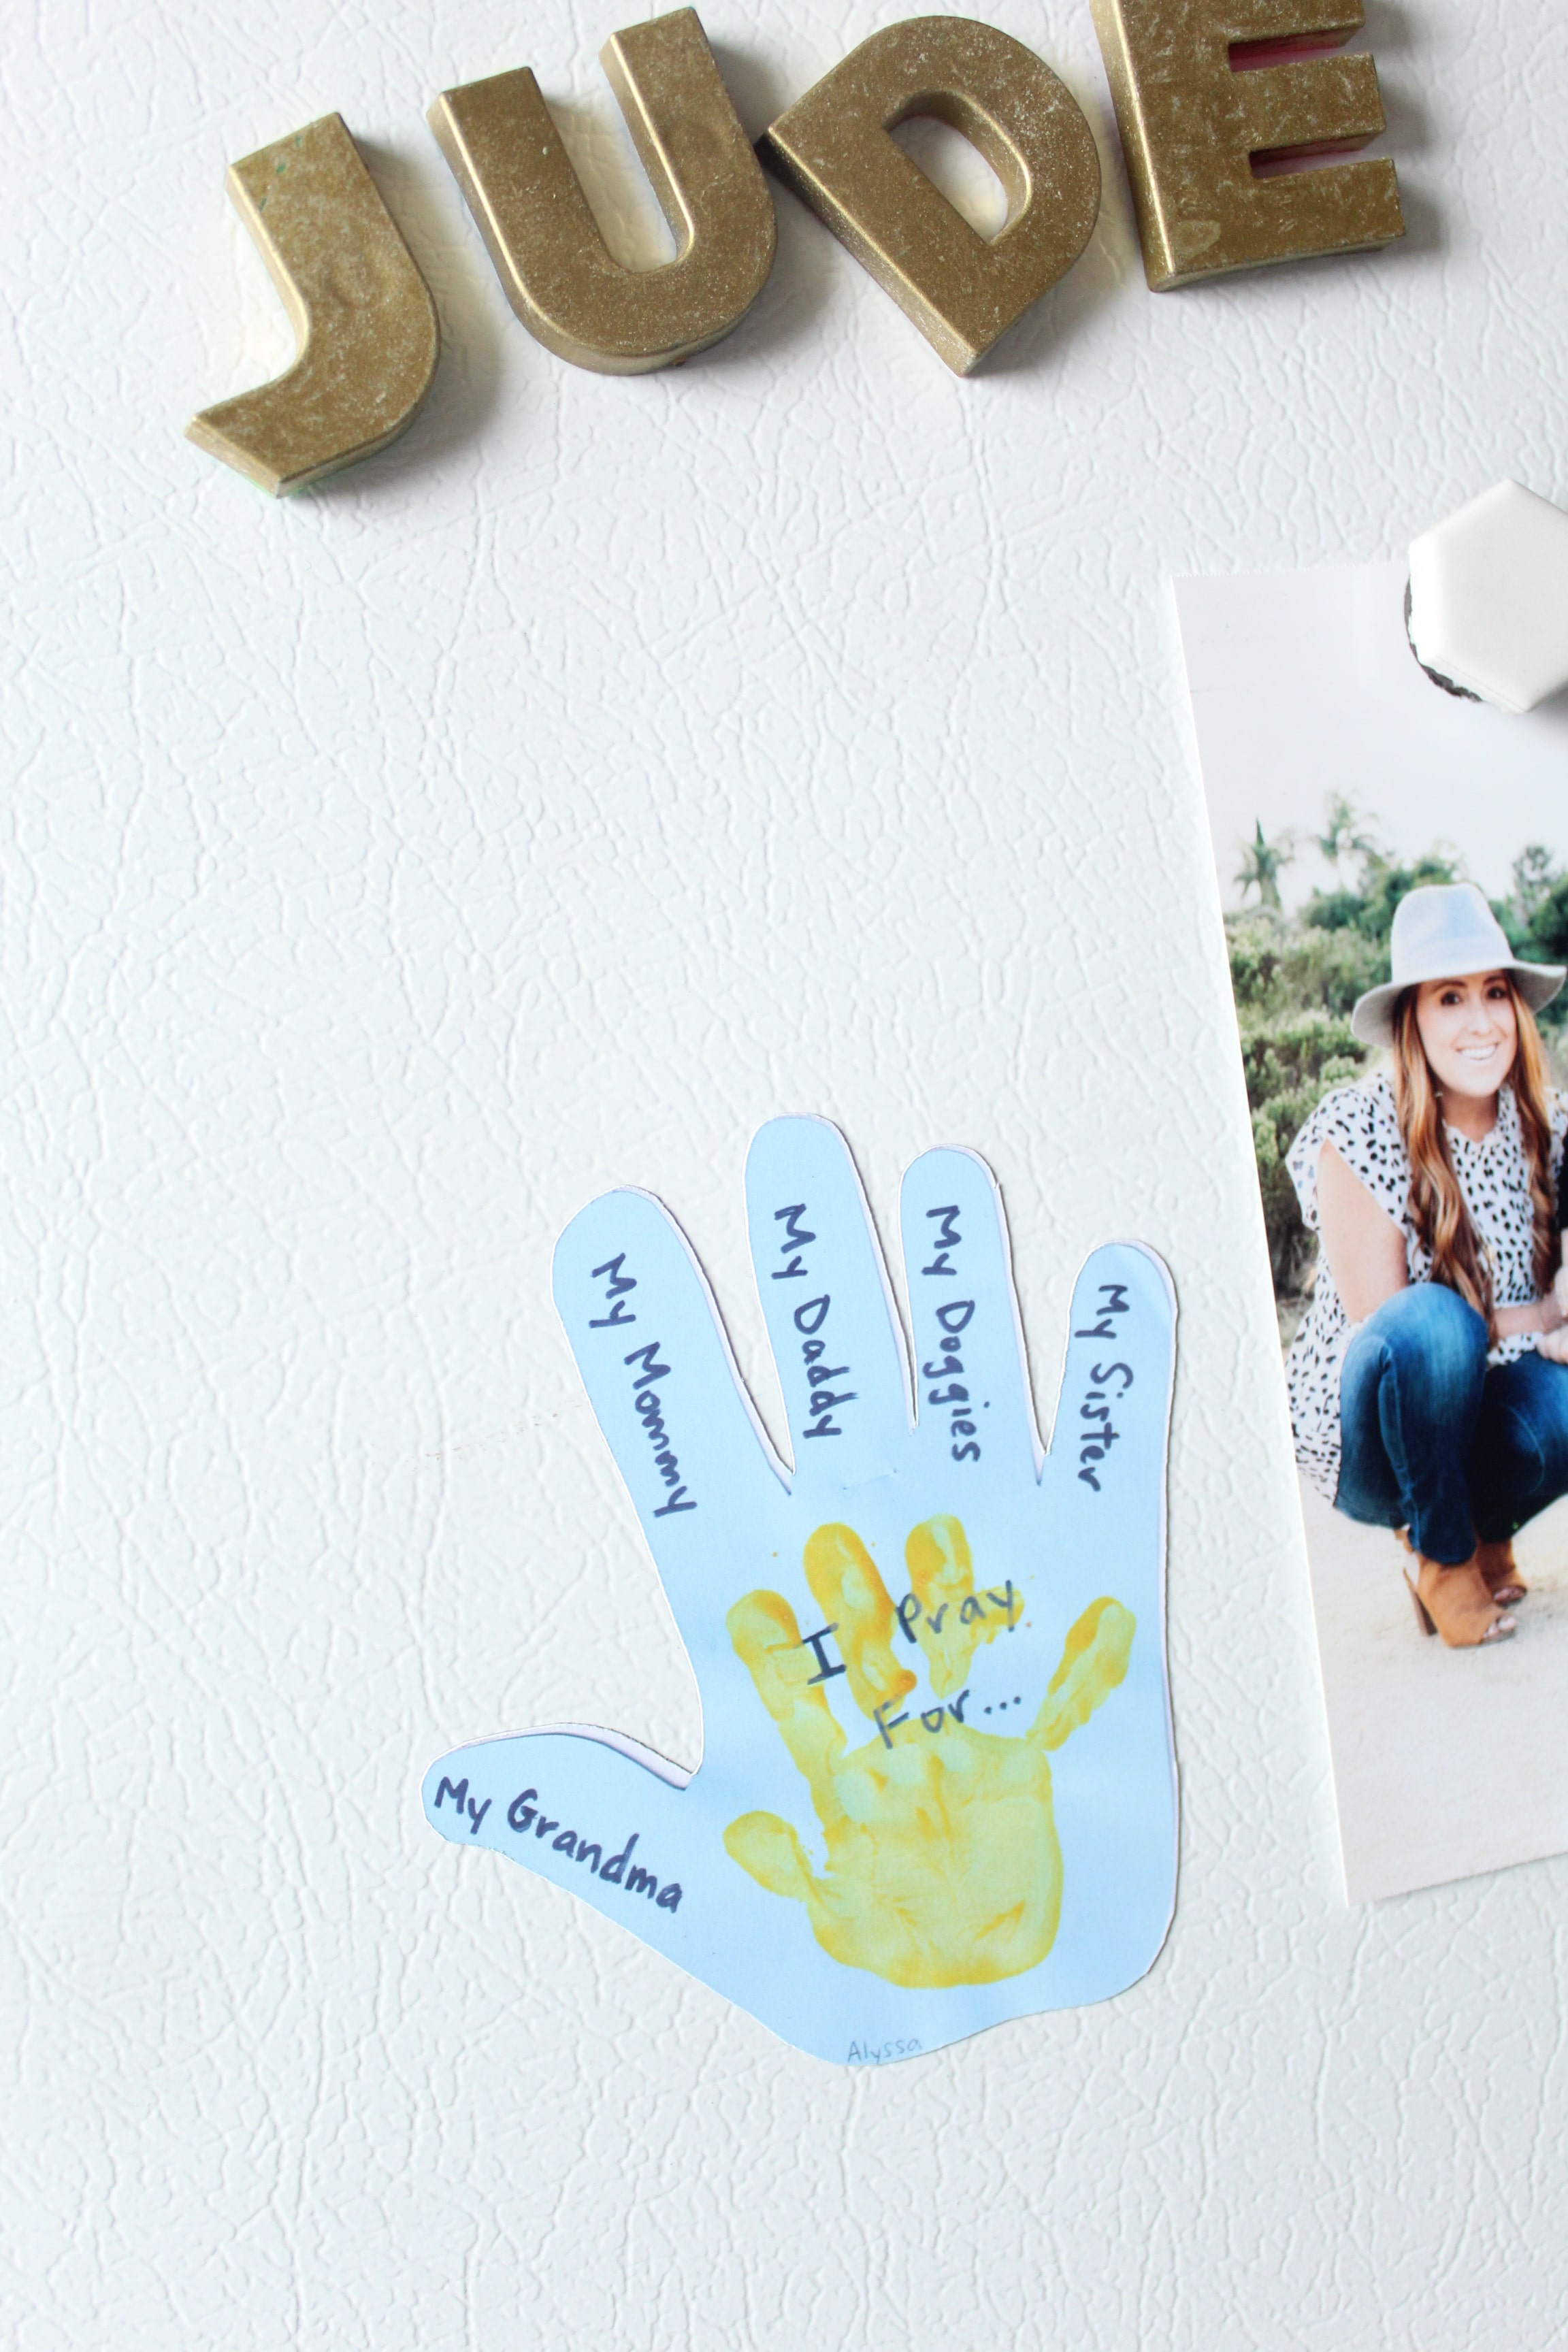
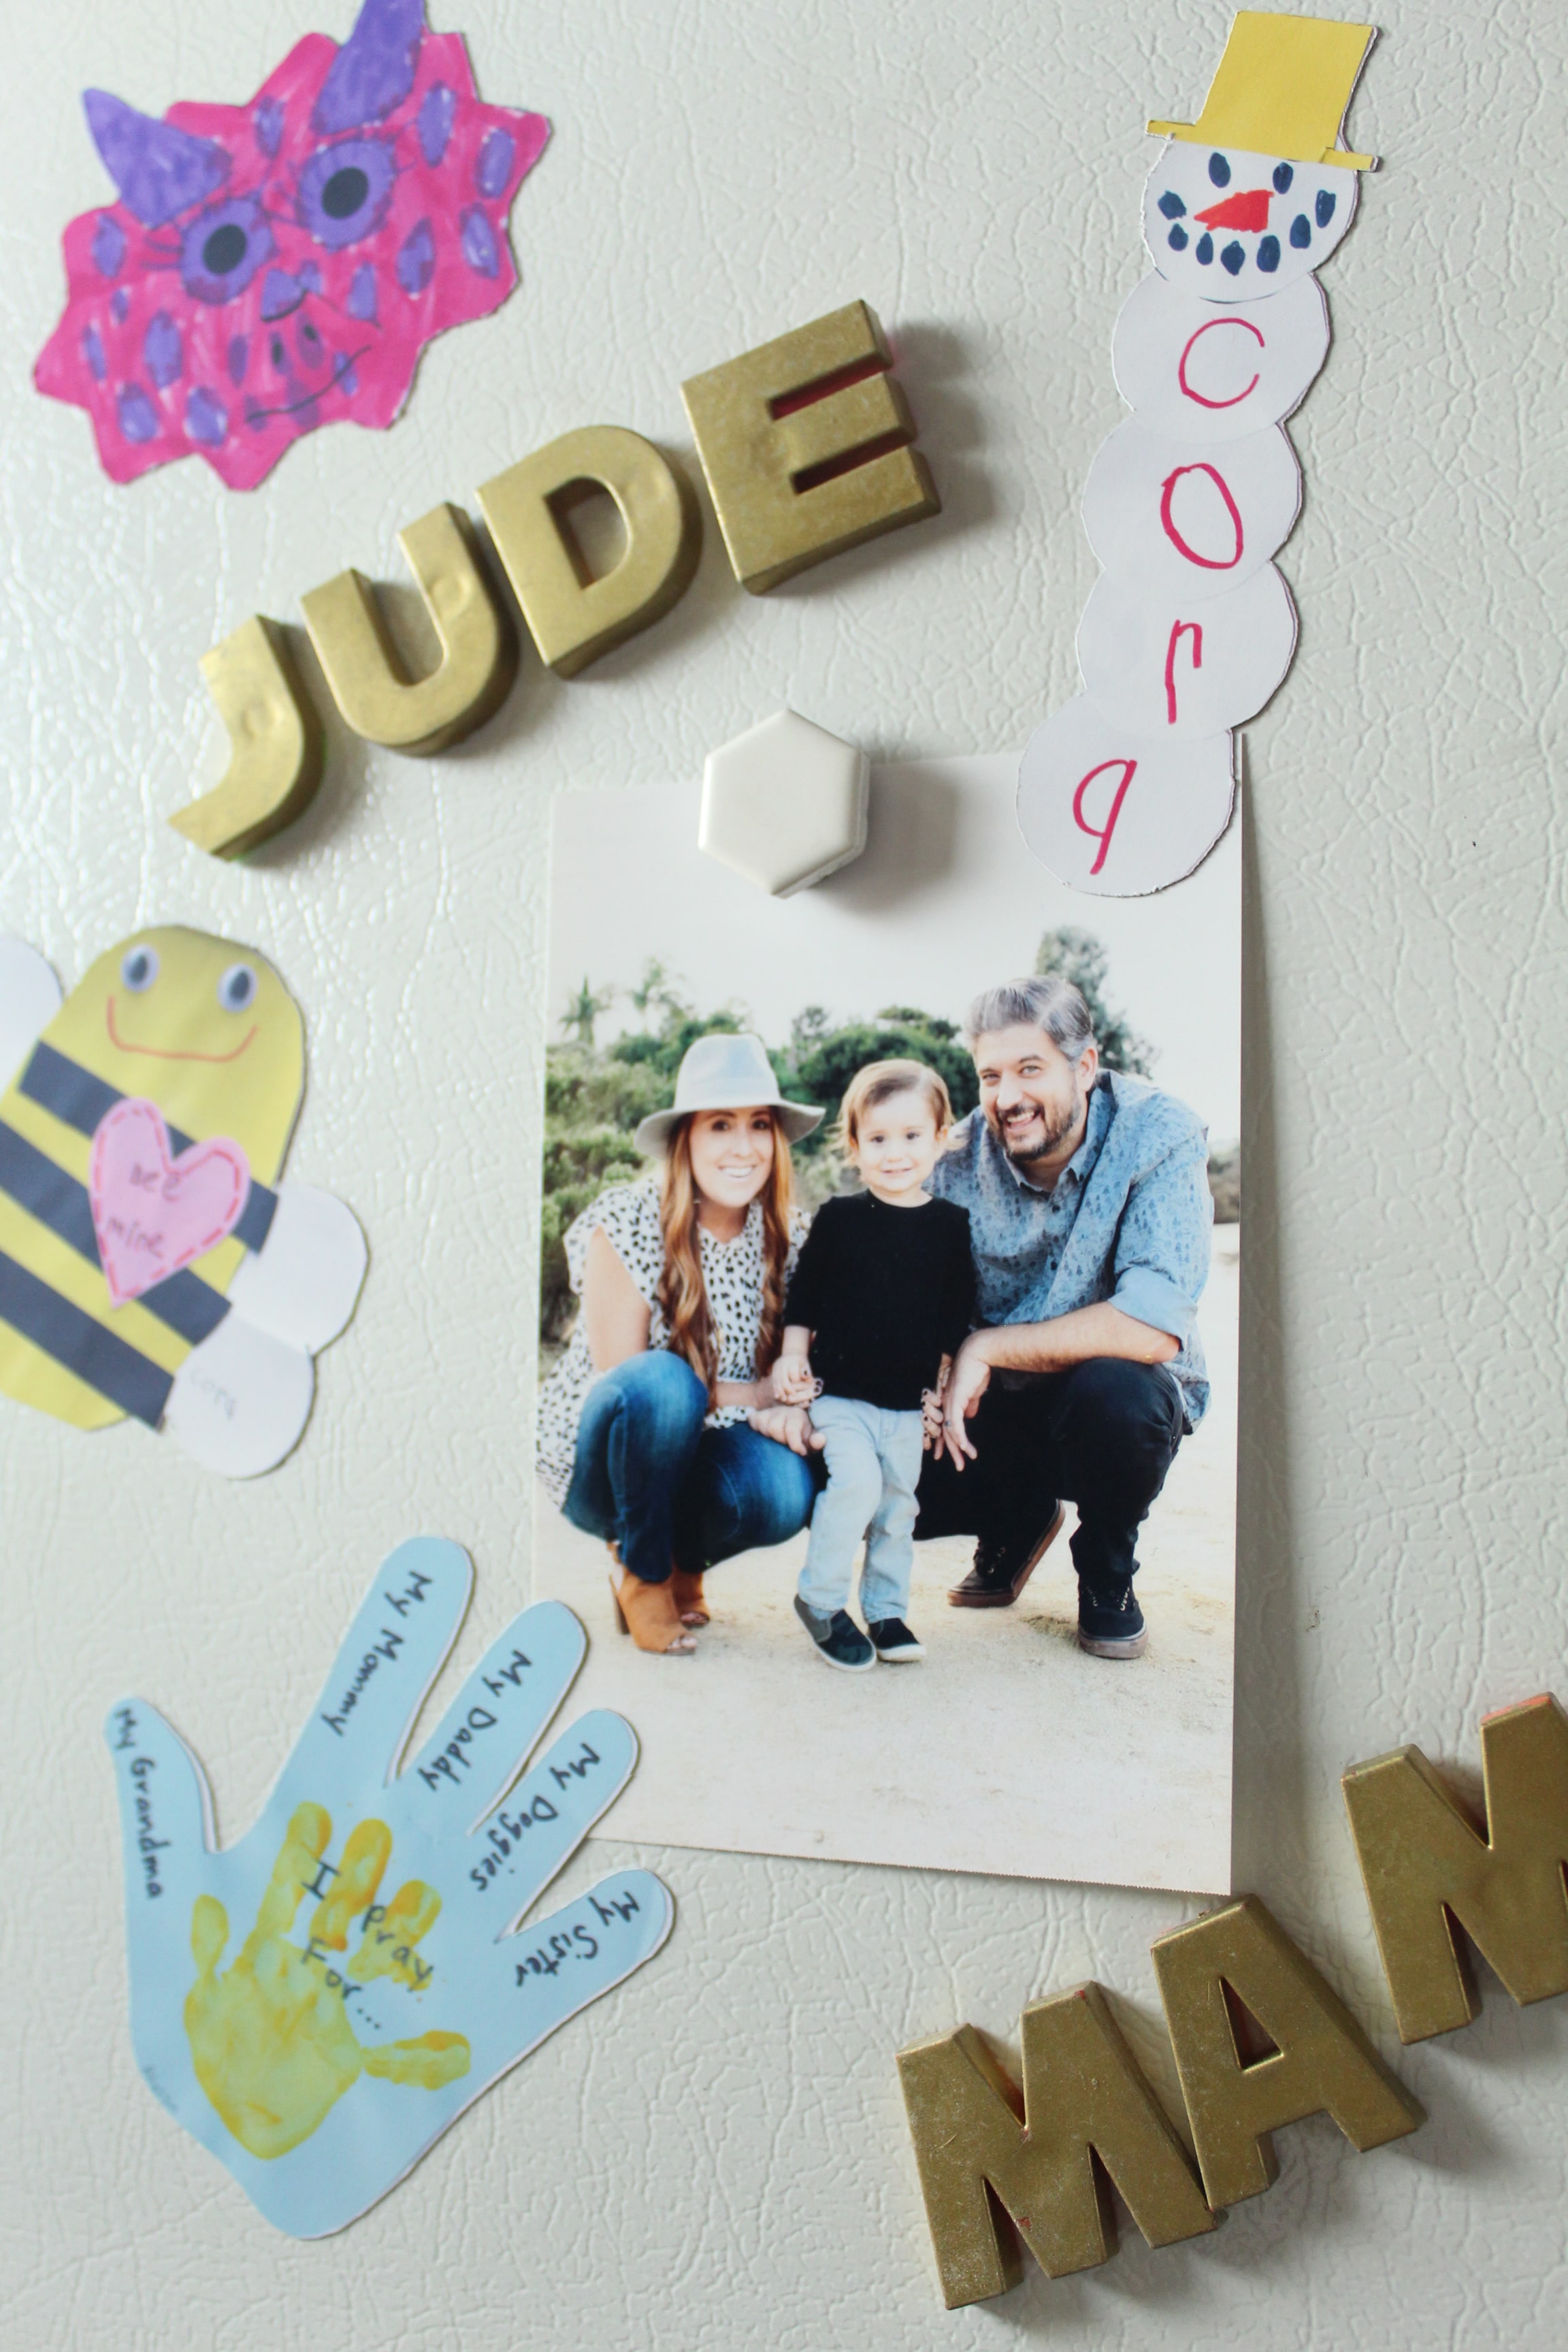
Aren’t they so fun?? It’s a great way to display your kids art without having a fridge full of paper. Plus I think it makes your little one feel extra special that their art is important enough to be made into a magnet!
No Cutting Machine? No Problem!
While I’m a huge lover of my Cricut, this project could totally be done without one. You can simply print and cut by hand. I can’t promise it will be as clean and professional looking as with your Cricut but it is definitely do-able.
If you create one of our projects, please share a picture with us on Instagram or Twitter using the hashtag #somethingturquoisediy, we regularly reshare our favorites! Your profile will need to be public for us to see it otherwise, you can always DM us!
DIY Tutorial Credits
Photography + DIY Tutorial: Shea O’Quinn of Not So Cli-Shea // Cricut Maker and accessories courtesy of Cricut //Printer: Courtesy of Canon
Shop The Supplies:
Find the supplies you’ll need for this project from our affiliate links below:


Comments