

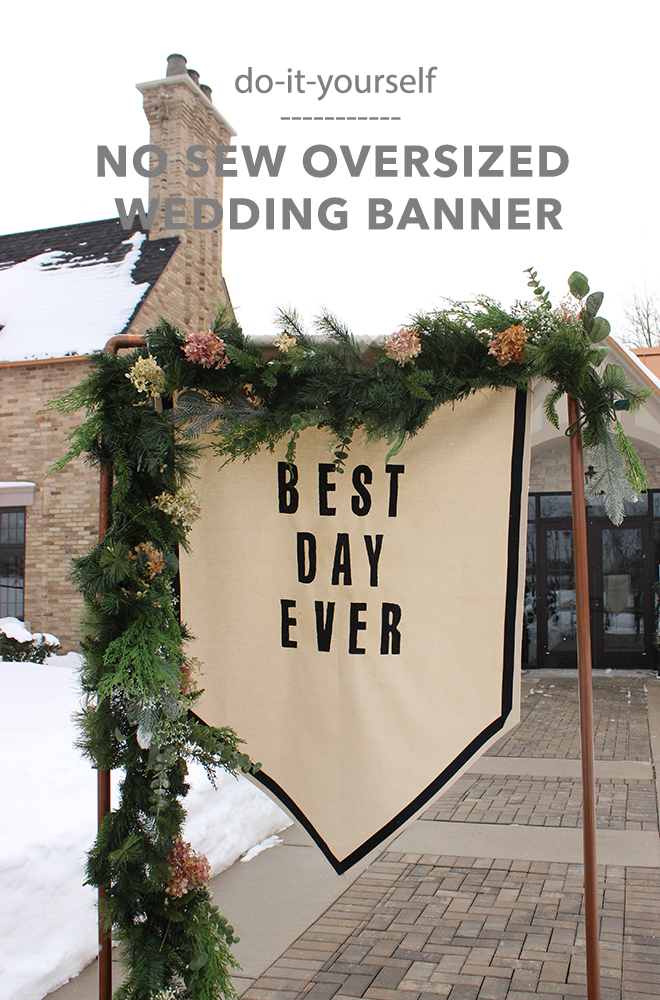
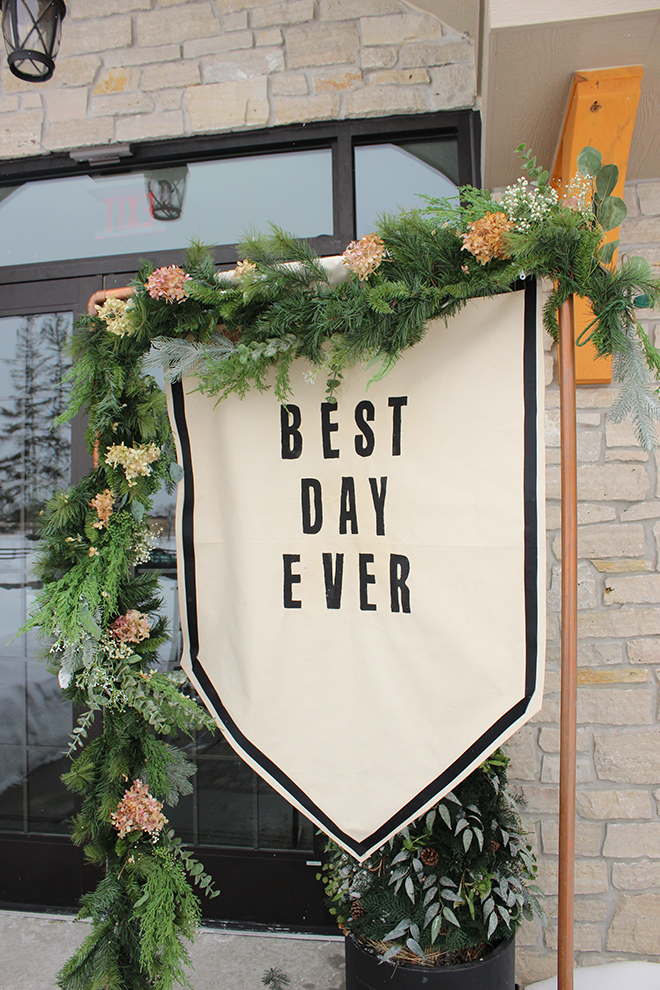
How To Make A “Best Day Ever” No-Sew Wedding Banner
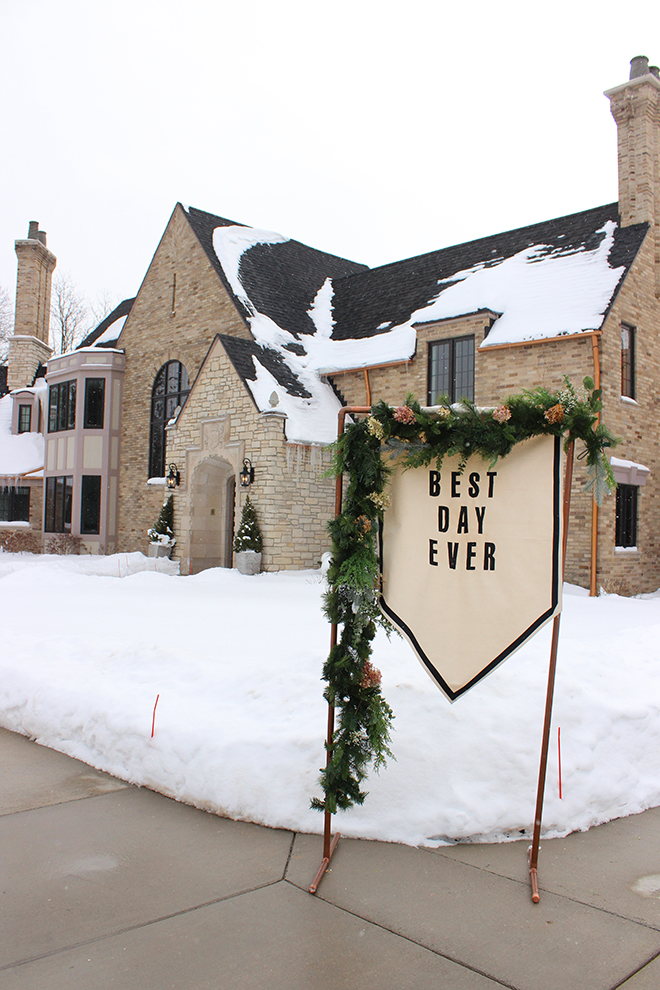
I love a DIY, I love love a low cost DIY, I love love love a simple, low cost DIY, and when that simple, low cost DIY adds big impact, let’s call it a win win win!! This over-sized wedding banner is so simple that I whipped it up in just over an hour. You don’t need to drag out your sewing machine and you barely need to use your scissors, but it’s impact is HUGE! This banner is perfect as a welcome to your guests, would be darling near the sweetheart table or look fabulous next to the bar. The size and simple design allows the bold message to shine! And once your wedding is over this banner would make a darling piece of art hung in your home. Scroll down to follow the simple steps to make this banner and easy copper pipe stand to hang it on.
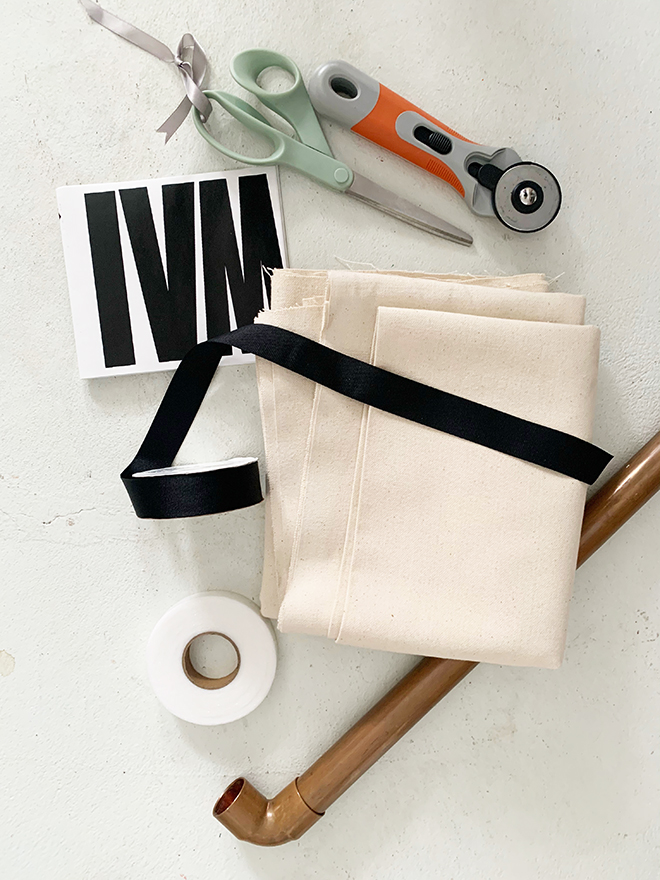
SUPPLIES:
- 1 yard of 60″ wide heavy canvas fabric
- ribbon color and style of choice, I used 1″ wide black grosgrain
- fusible bonding tape
- iron on letters, I used 5″
- scissors
- ruler
- iron
- 1″ copper pipes – cut 40″ (x1) // 80″ (x2) // 12″ (x4)
- pipe cutter
- 4 – 1″ copper pipe caps
- 2 – 1″ copper L joints
- 2 – 1″ copper tee fittings
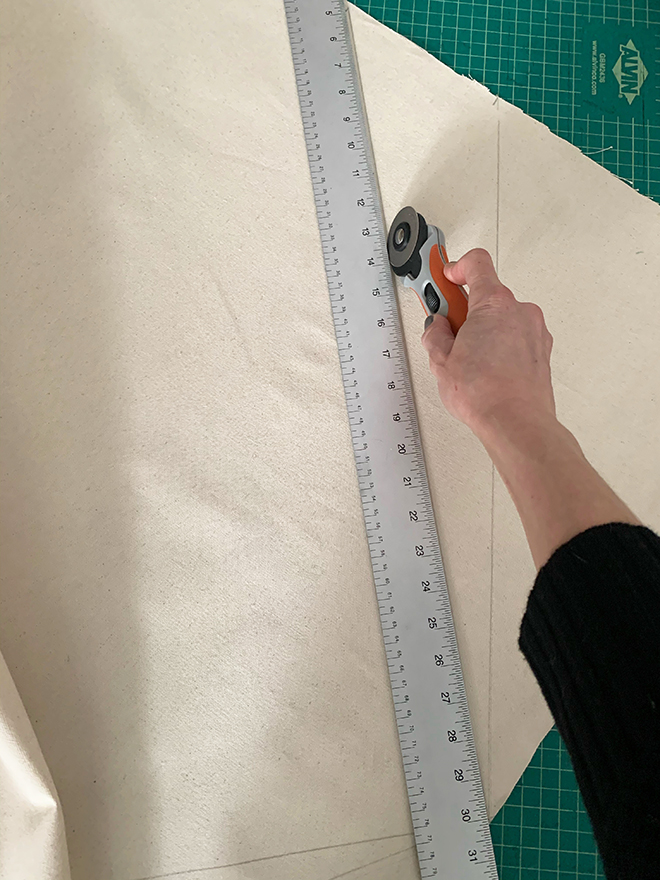
DRAW AND CUT BANNER SHAPE
I started with my 60″x36″ piece of fabric and did not cut the overall size down at all. I only cut the point for the shape of the banner. Measure the middle point of the bottom of the banner and make a mark. No measure 18″ up from the bottom on each side and cut that section off on each side.
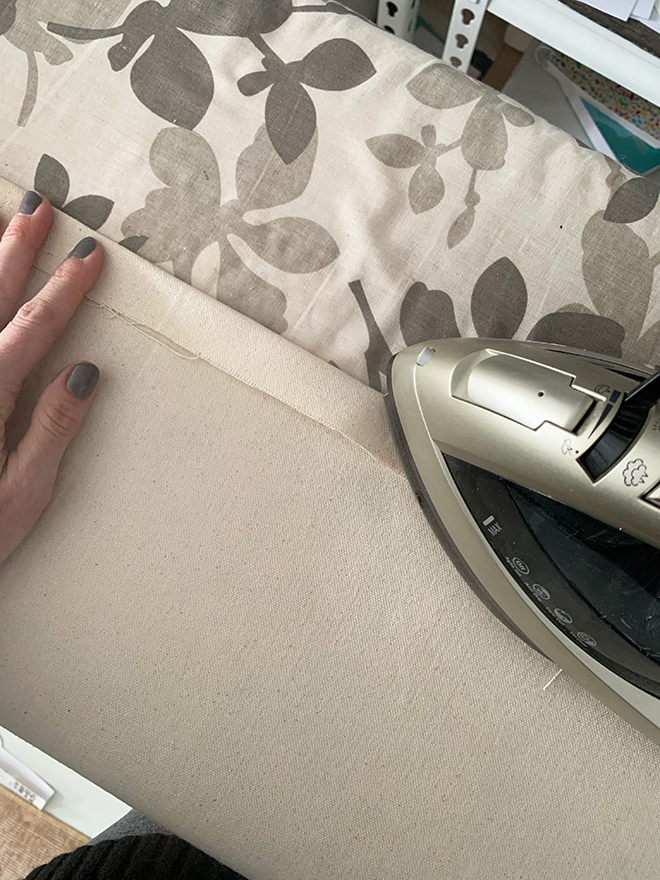
FOLD BACK EDGES
Fold and press back edges around the entire perimeter of the banner, about 1″.
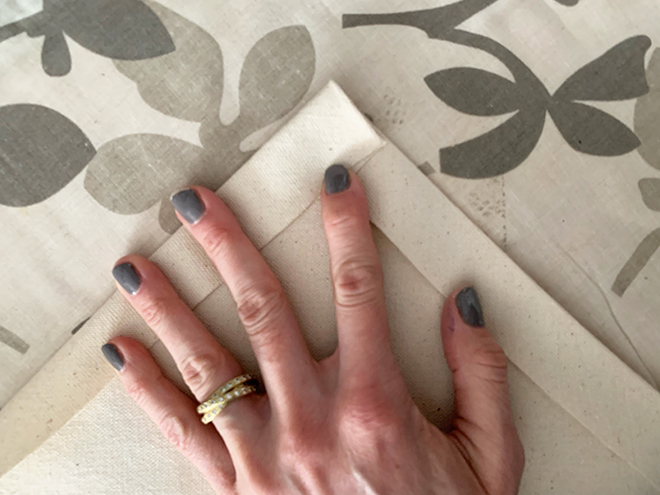
This is what the corners will look like.
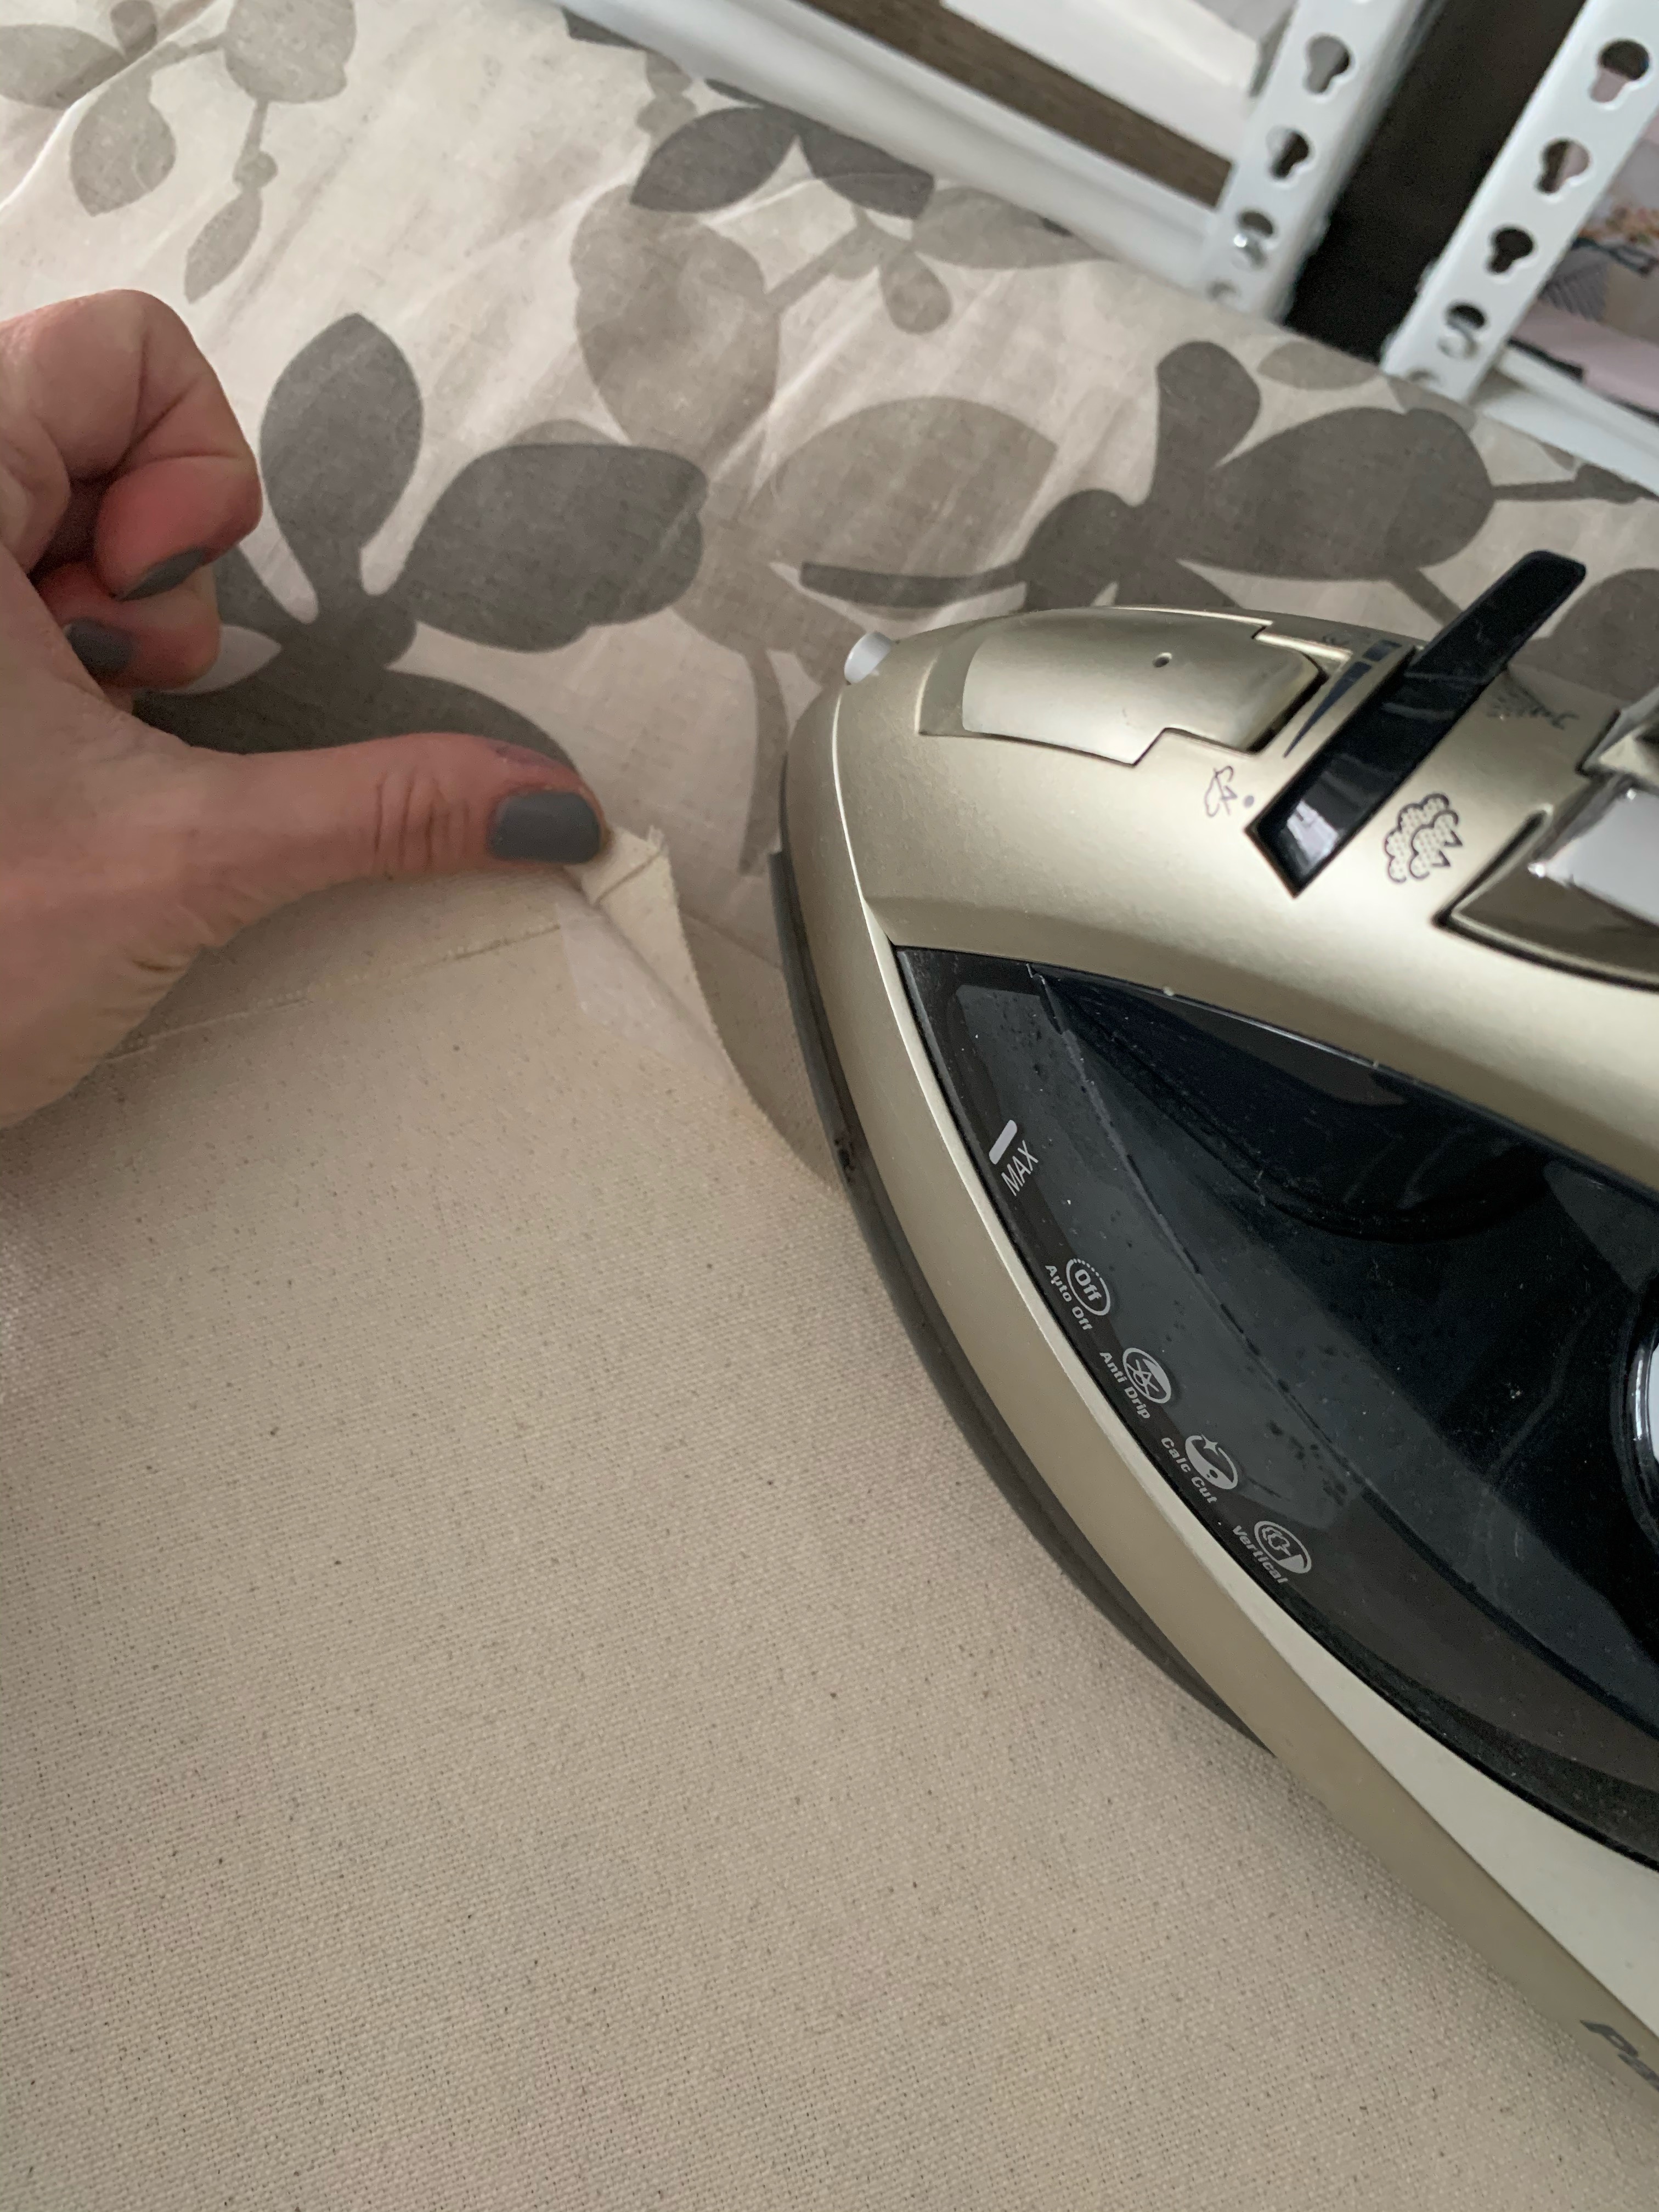
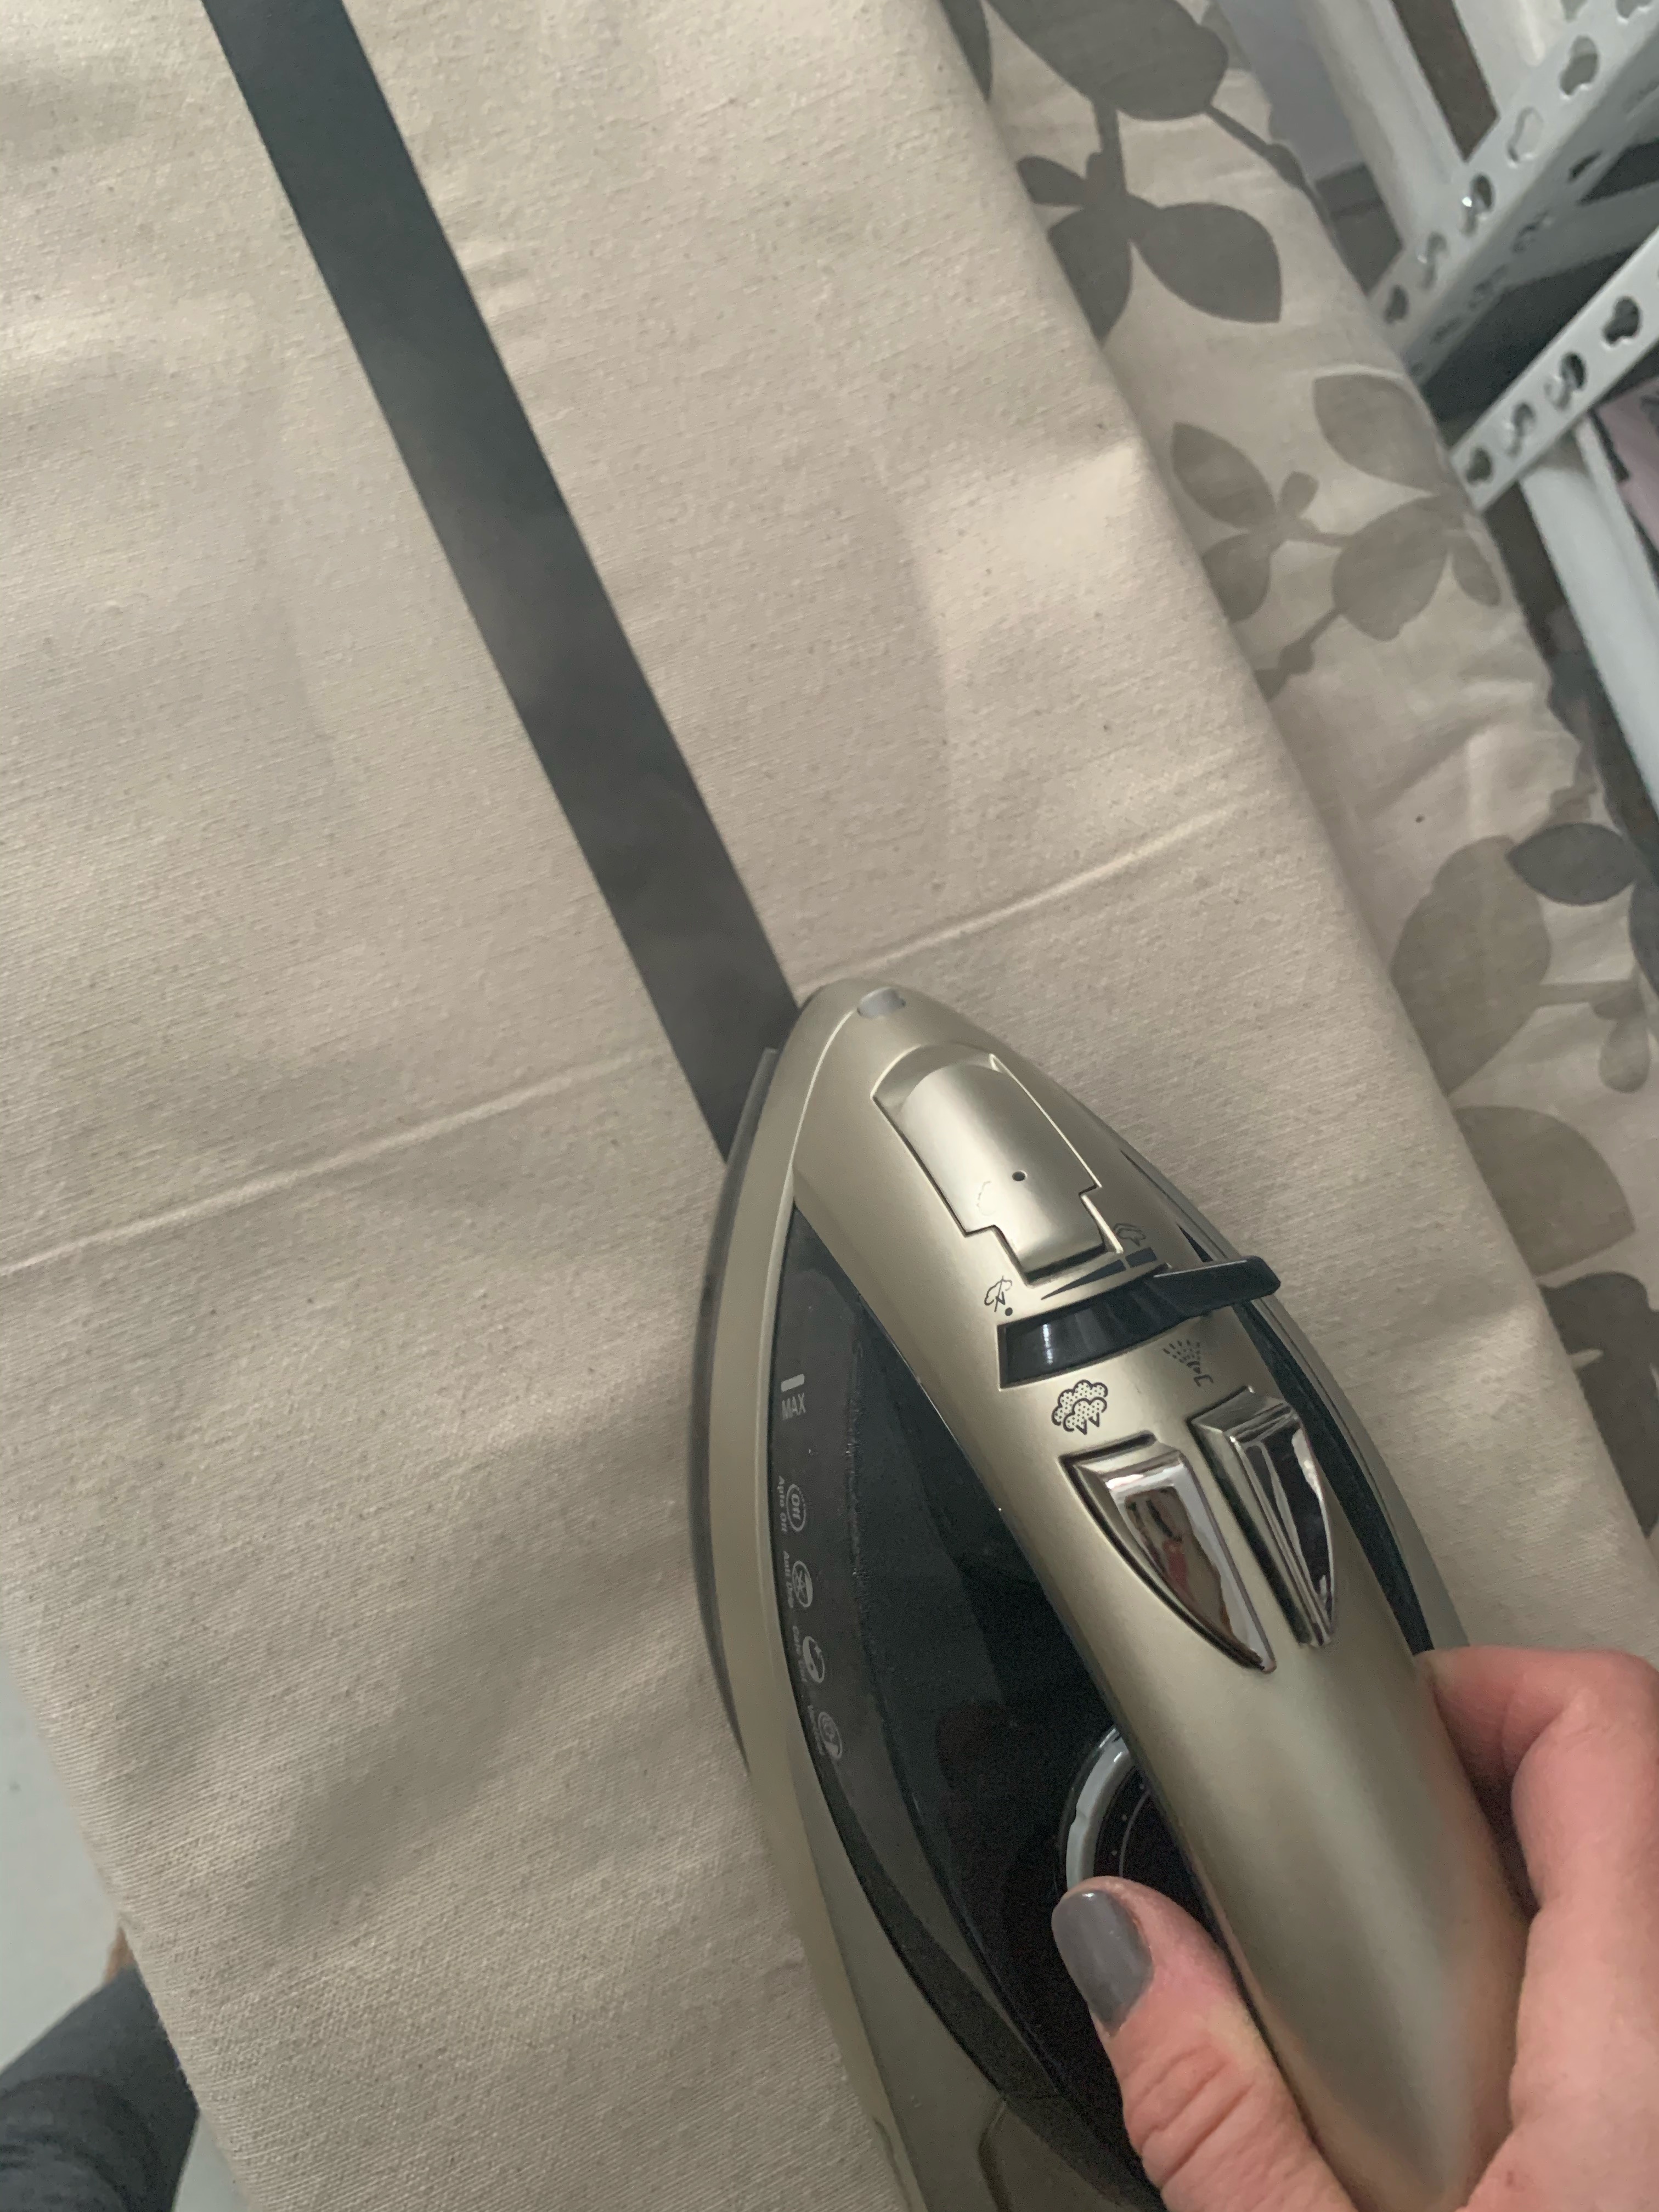
FUSE EDGES
Use the fusible tape to tack back the seam allowance. Iron the tape as close to the edge as you can to prevent fraying.

Be sure you get the fusible tape all the way into the corners.
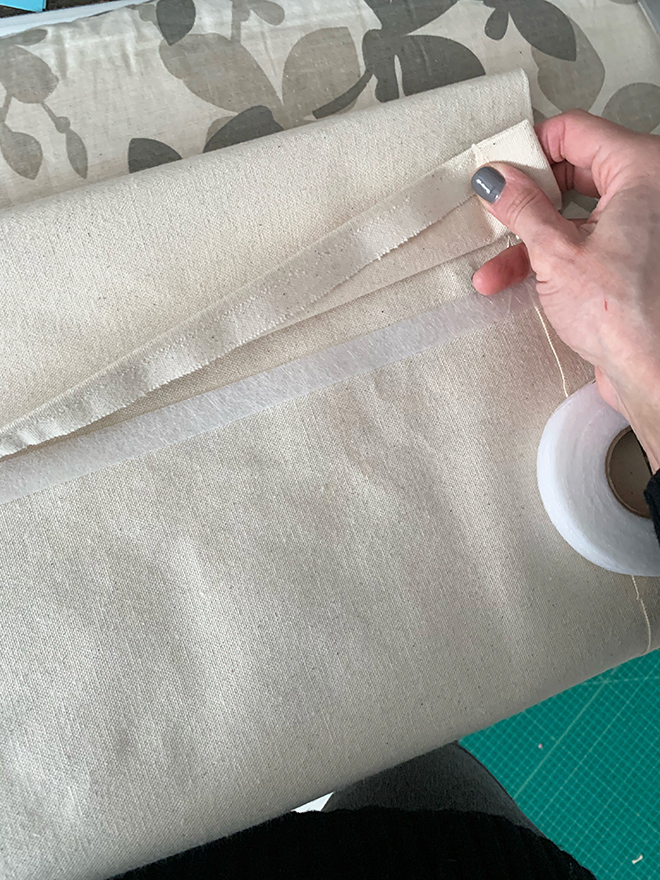
CREATE THE POCKET
Fold the top edge back about 4″ to create the pocket the banner will hang from, then use the fusible tape to tack down.
ADD CONTRAST EDGING
Use the fusible tape to add the ribbon around the edges and along the pocket seam. My ribbon is about 1/2″ from the edge and the top line runs along the pocket seam.
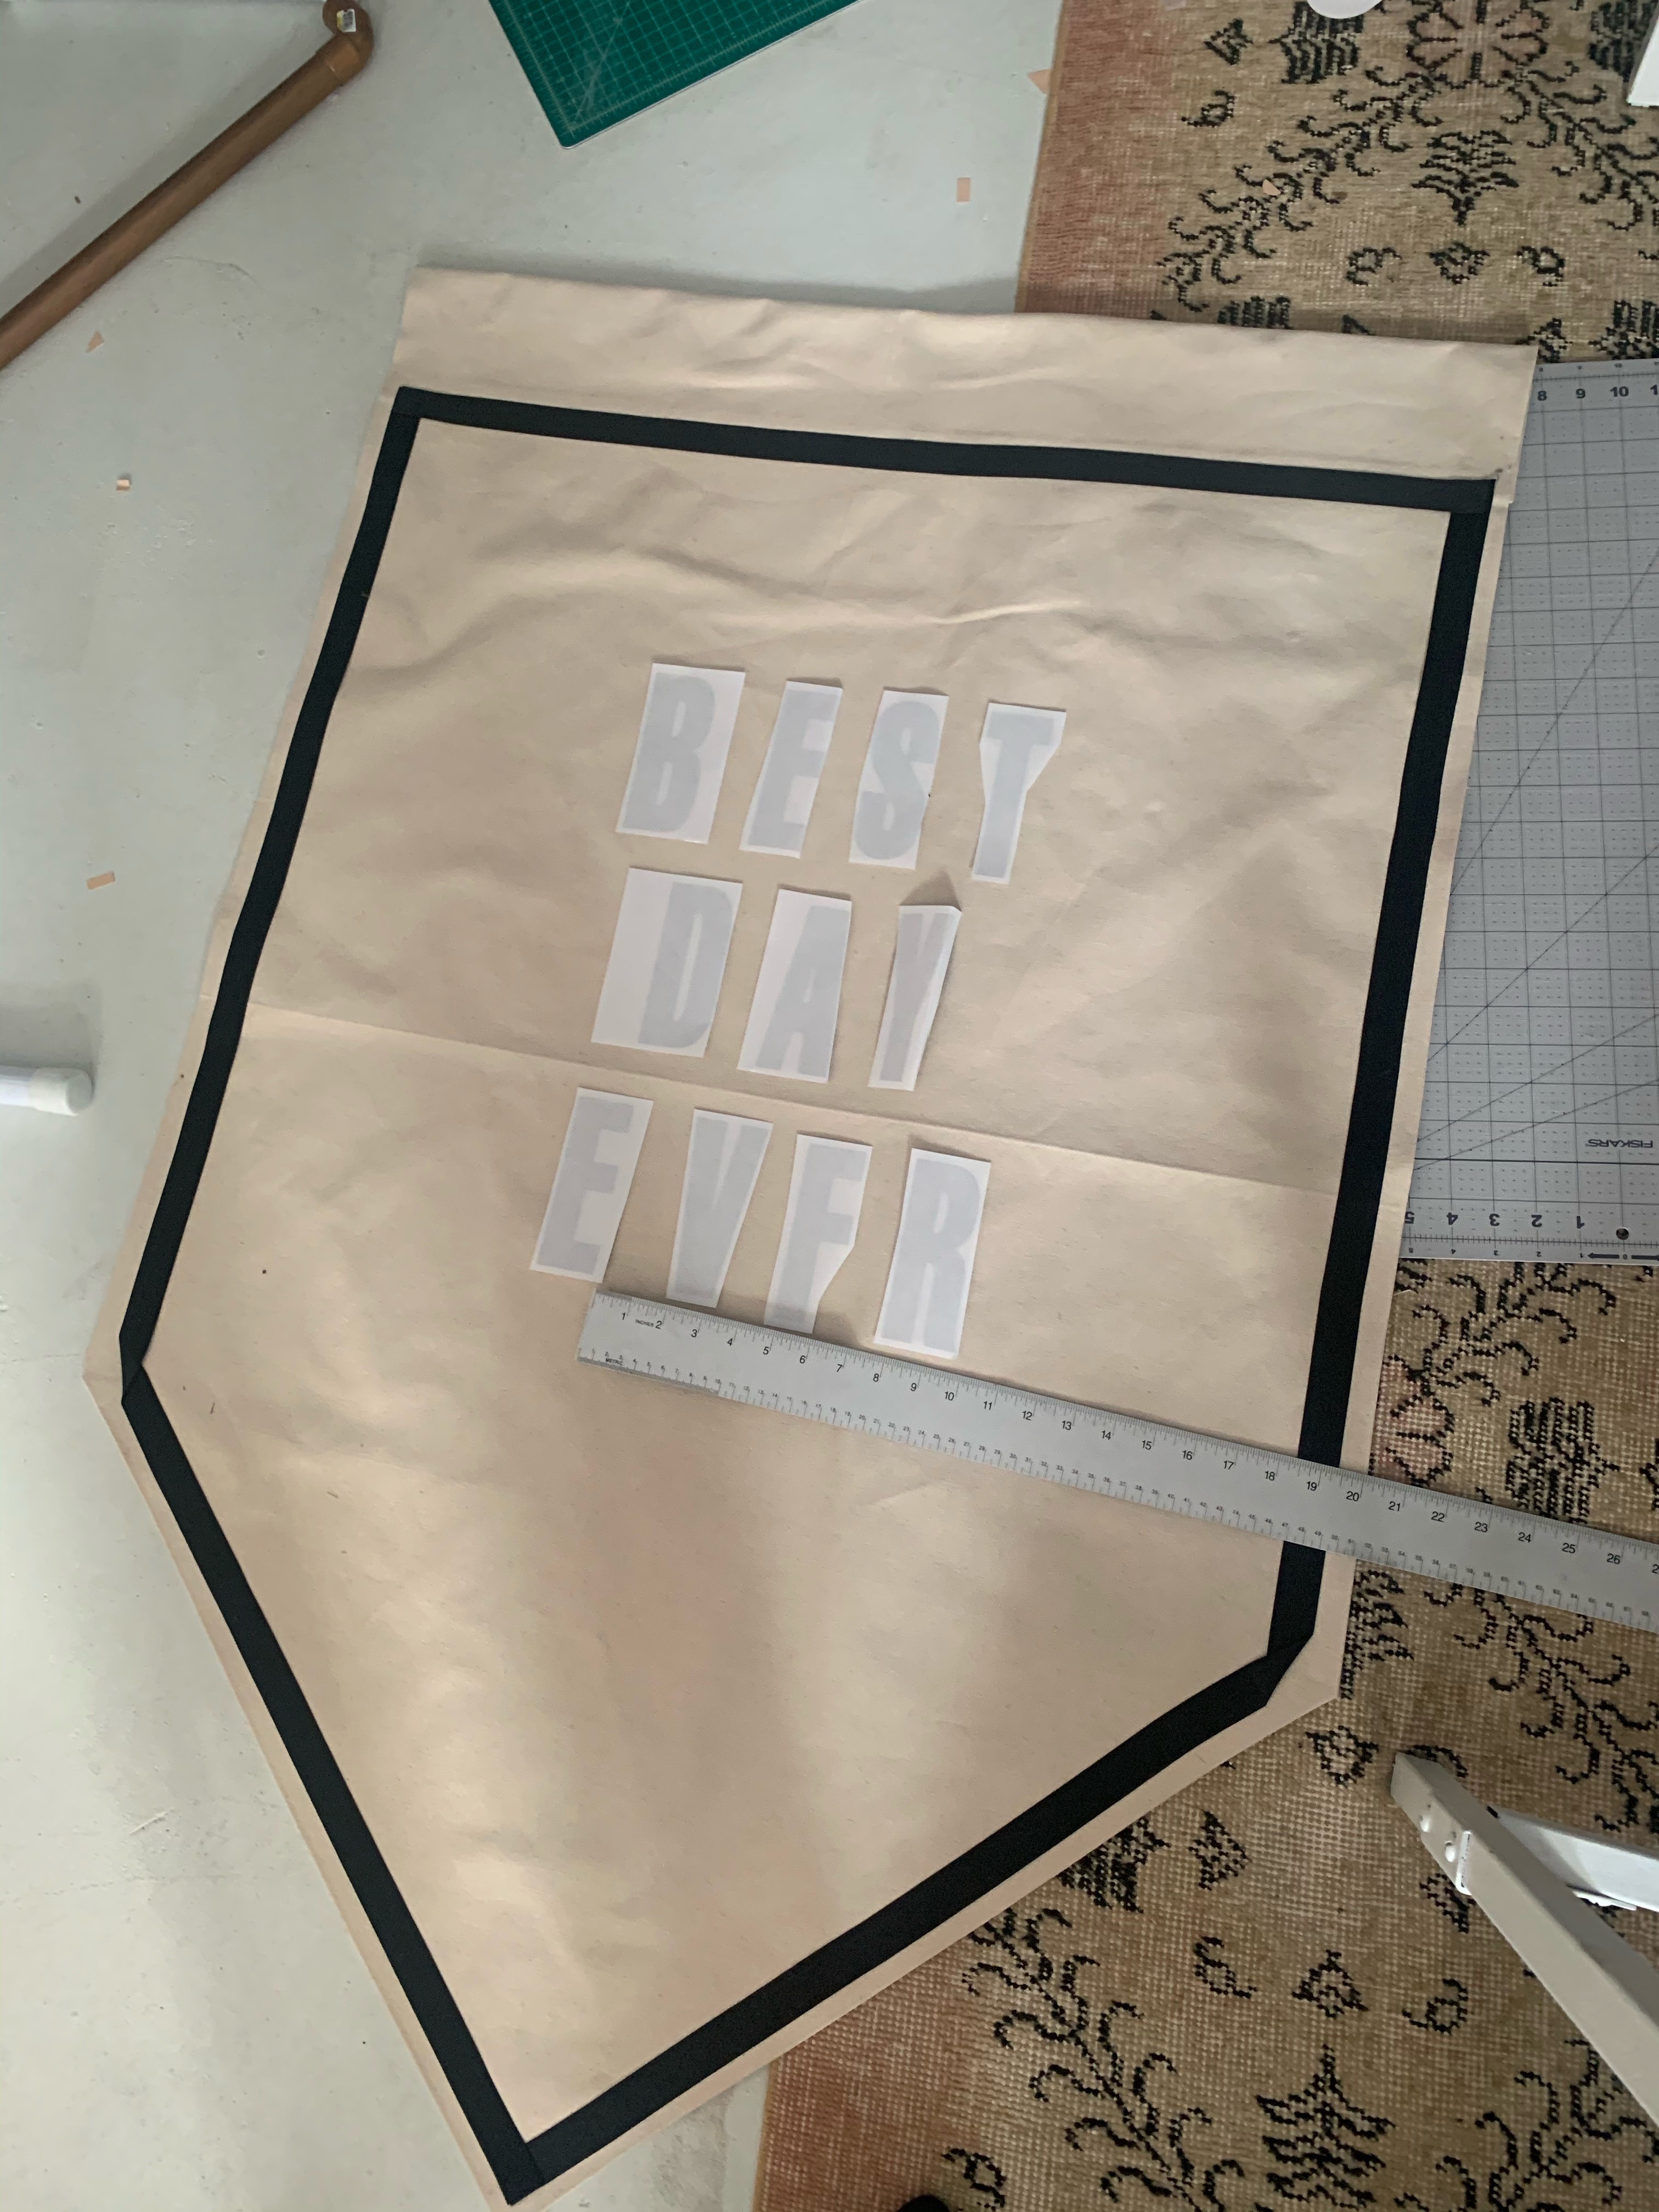
MAP OUT LETTERS
Map out your iron-on letters. You can use fabric chalk to draw guides or use a ruler and eyeball spacing like I did. Checking the space between letters before ironing.
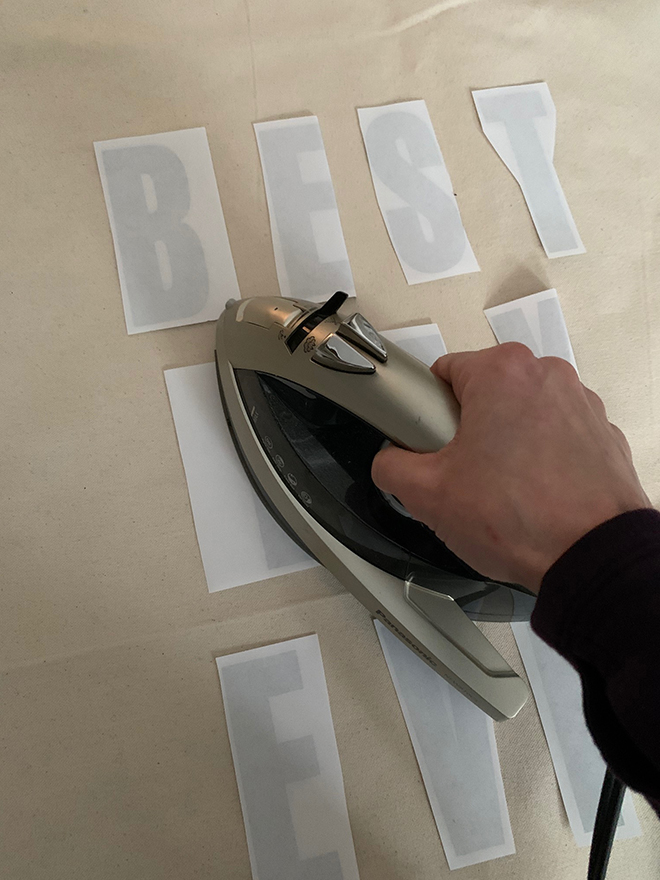
IRON ON LETTERS
Follow the instructions on your iron-on letters packaging to apply to fabric.
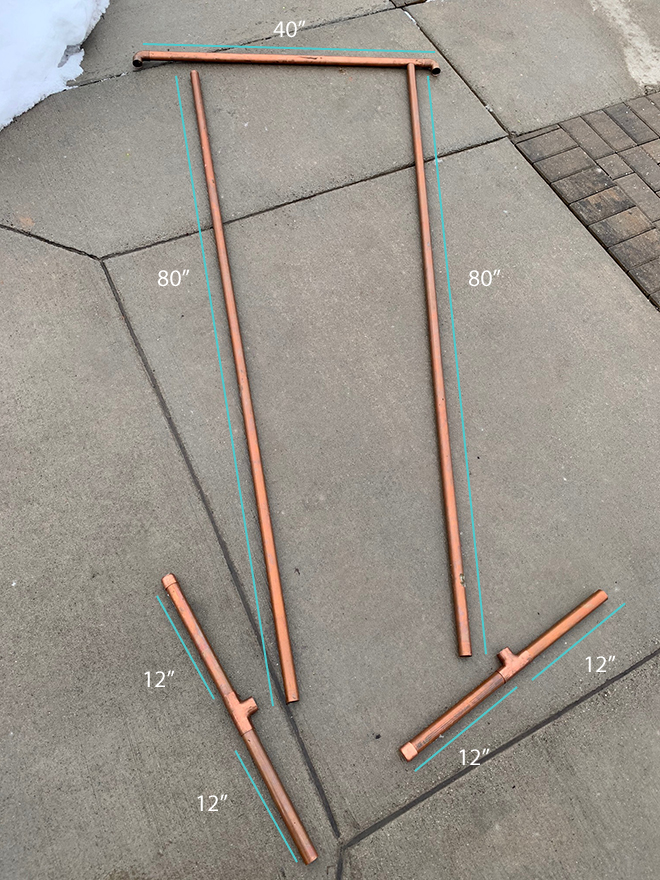
ASSEMBLE COPPER PIPE STAND
Use a pipe cutter, or have them cut 1″ copper pipes at the hardware store to the below size. Use the fittings to assemble the stand.
DIY TUTORIAL CREDITS
photography + DIY tutorial: Lauren Koster of Lauren Koster Creative // 1 yard of 60″ wide heavy canvas fabric // 5″ Iron On Letters // 1″ wide black grosgrain // fusible bonding tape // scissors // ruler // iron // 1″ copper pipes // pipe cutter // 1″ copper pipe caps // 1″ copper Elbow joints // 1″ copper tee fitting


Comments