
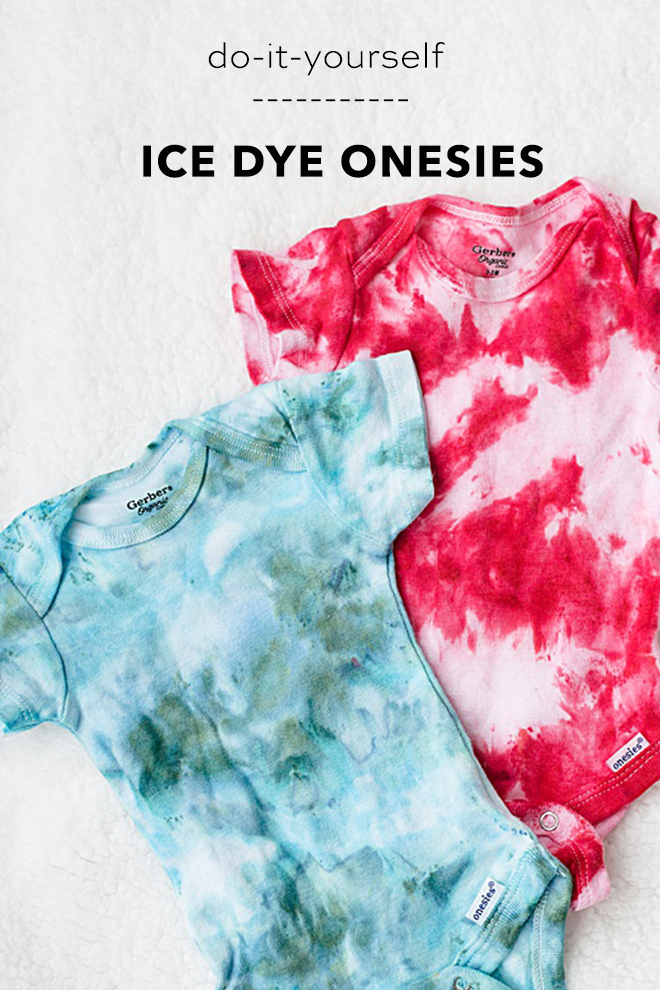
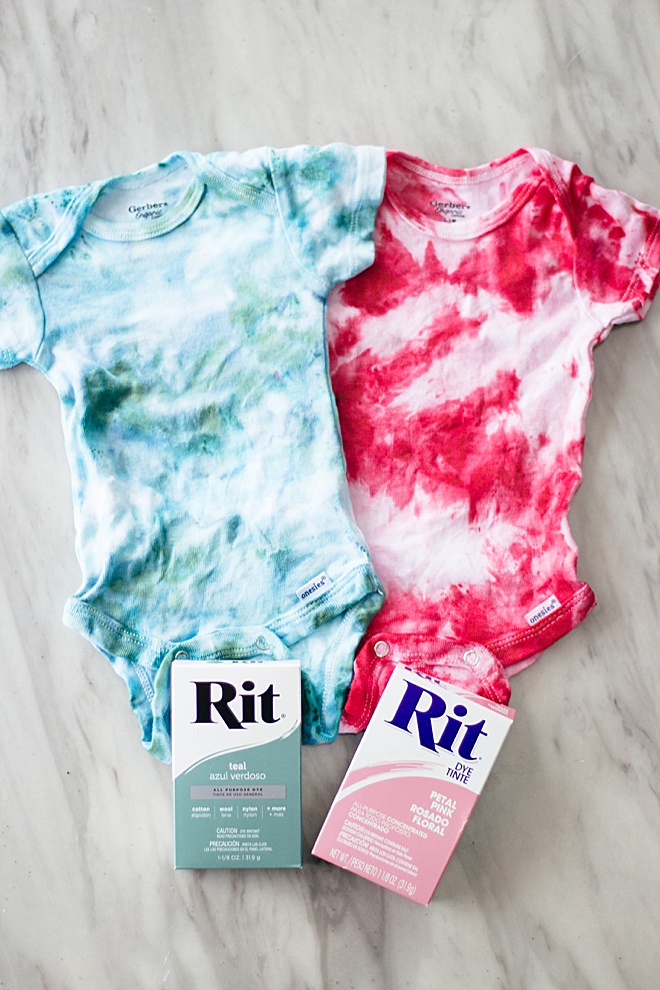
Gender Reveal Ice-Dye DIY
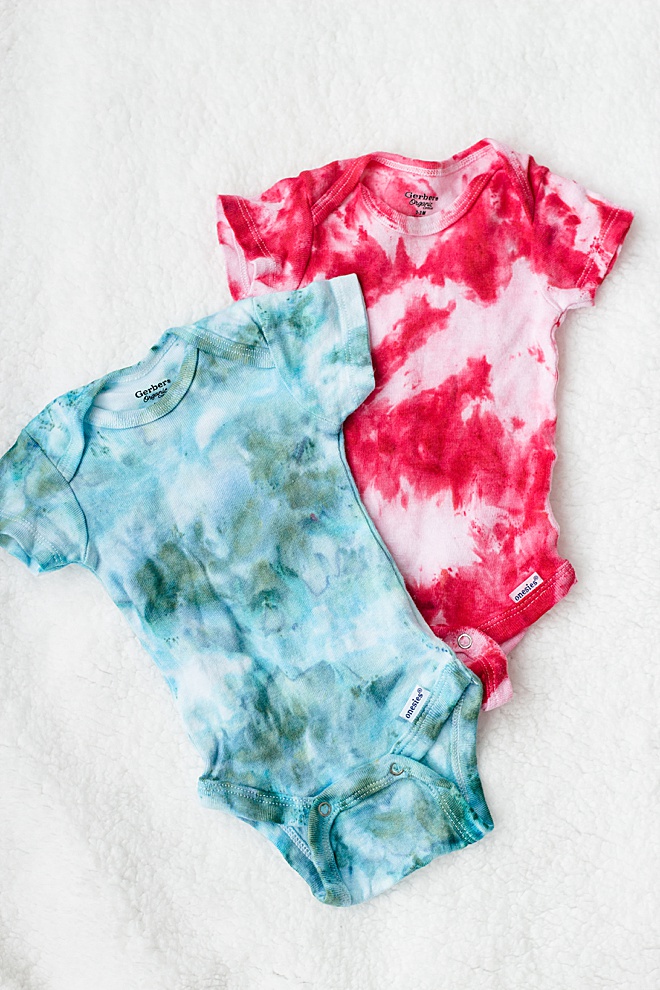
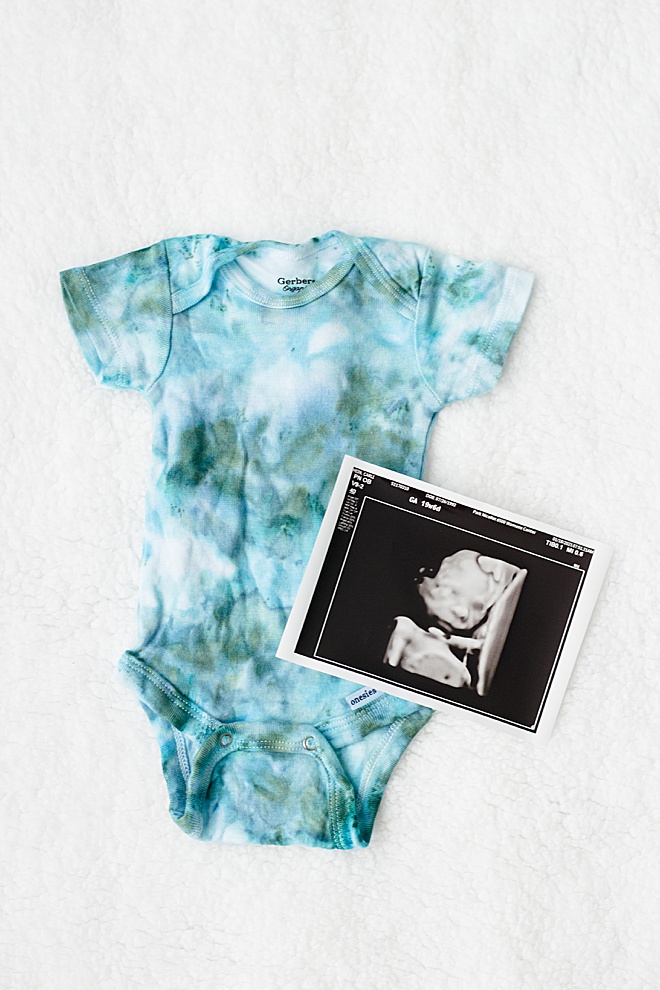
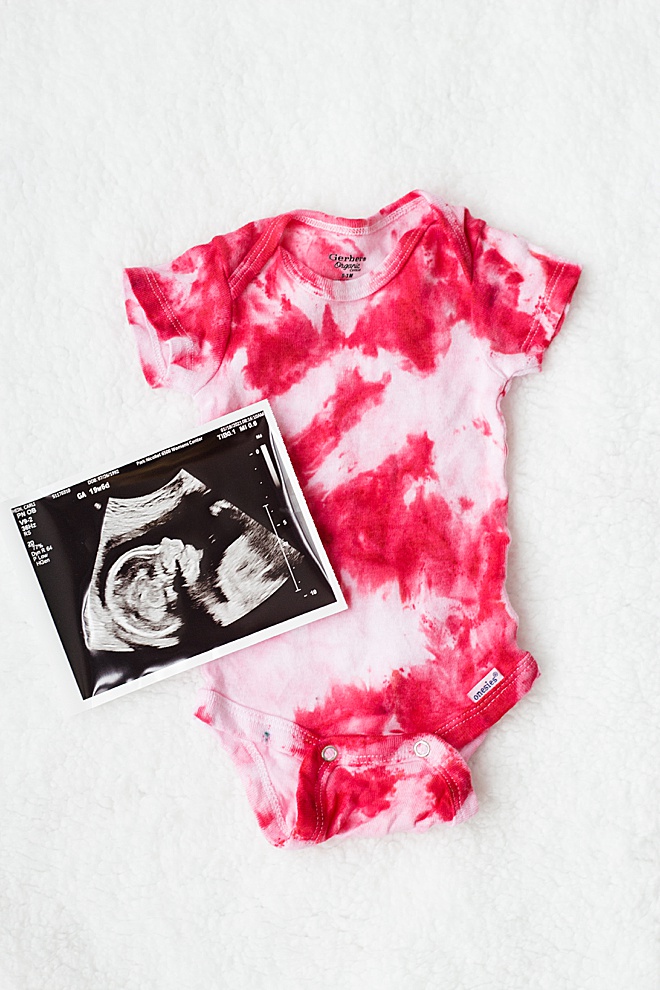
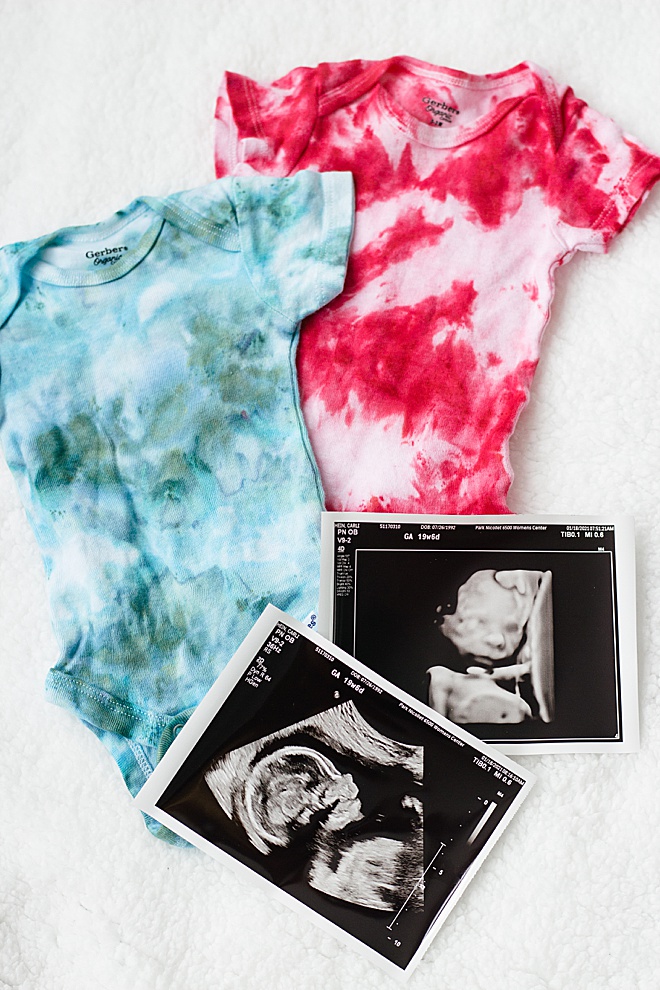
I am Carli Hein from Hein & Dandy! We are excited to welcome our second baby into the world this June and we just found out the gender! During this time my husband was not able to come to the ultrasound appointment so we decided to make a fun surprise! I just could not wait any longer, so the ultrasound technician told me during my appointment and Joe wanted to find out with our daughter, Bria. I had made two ice-dye onesies with RIT dye, one pink and one blue. I put them in a gift bag and had Bria and Joe open up the gift when I got home from my appointment and recorded their reaction to share with our families and friends. The most fun part? I am going to share with you how to make these onesies yourself! Let’s get started.
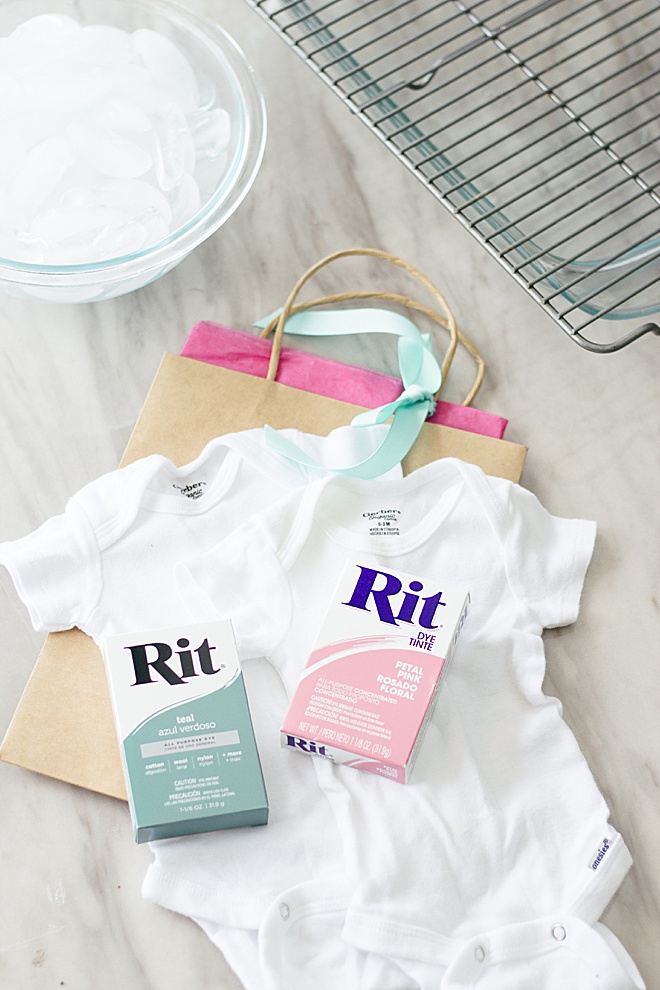
SUPPLIES:
- Rit Powder Dye
- White Onesie
- Cooling Rack
- Baking Dish
- Ice
- Bag and Tissue Paper
Wash
I bought a pack of white onesies off of amazon because I know you can never have enough onesies! Leave the rest white or you could die them all once you know what gender you are having! Start by washing all your onesies with cold water and leave them damp so that the dye runs through.
Crumple
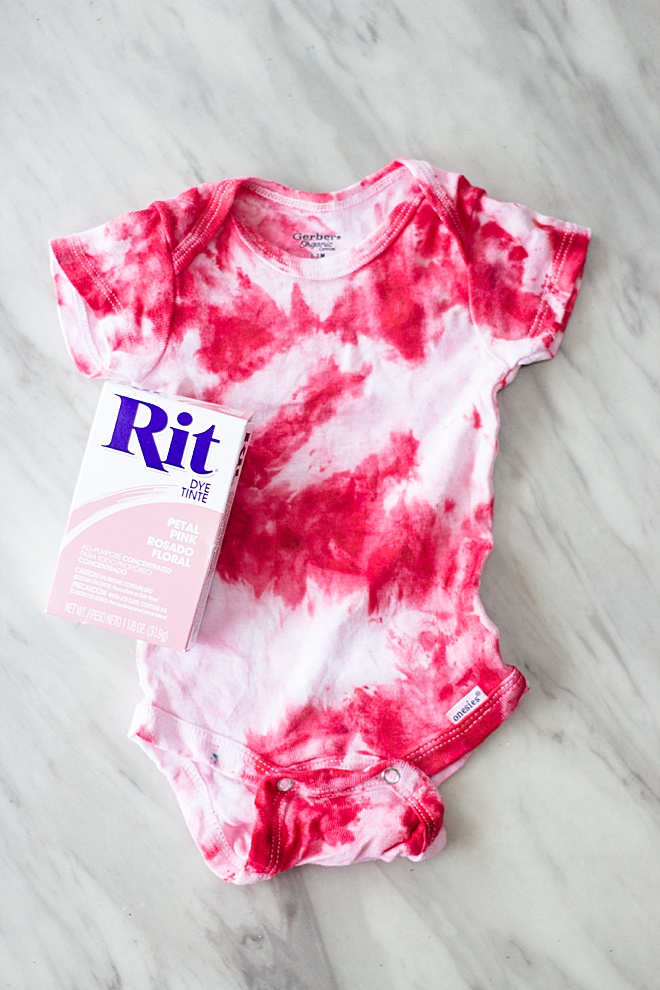
I decided to scrunch to do the scrunch technique for these onesies, it’s so simple! This will create a more watercolor look once dried. You don’t have to be so serious with scrunching, have fun with it! Take your hands and scrunch it up, but remember to keep it flat so all the color gets to the entire garment.
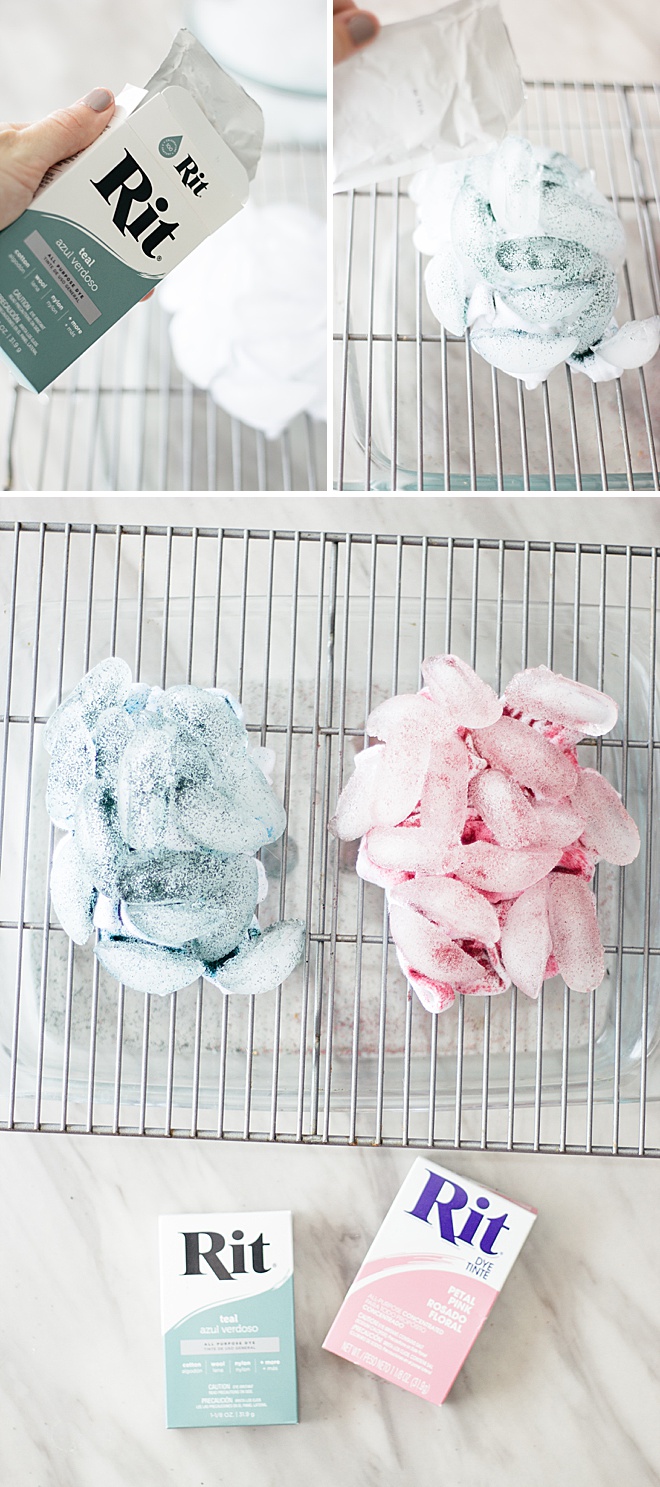
Cover in ice
Lay the onesies on the wire rack on top of the baking dish. The dish is there to catch the dyed water once the ice melts. Place the ice all over the onesies, leaving no spot untouched. Since the clothes are damp and the ice is frozen, it sticks right to them!
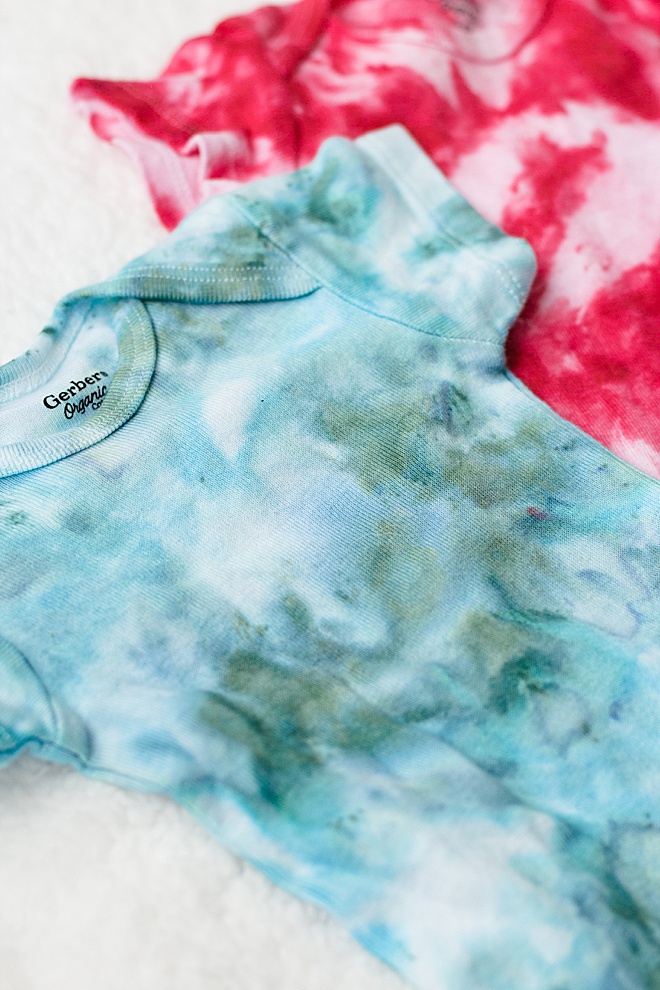
The kind of ice you use will change what the outcome of the dye will look like. I chose to use bigger ice, that came from my freezer. The bigger ice will make a more tie dye effect in the end.
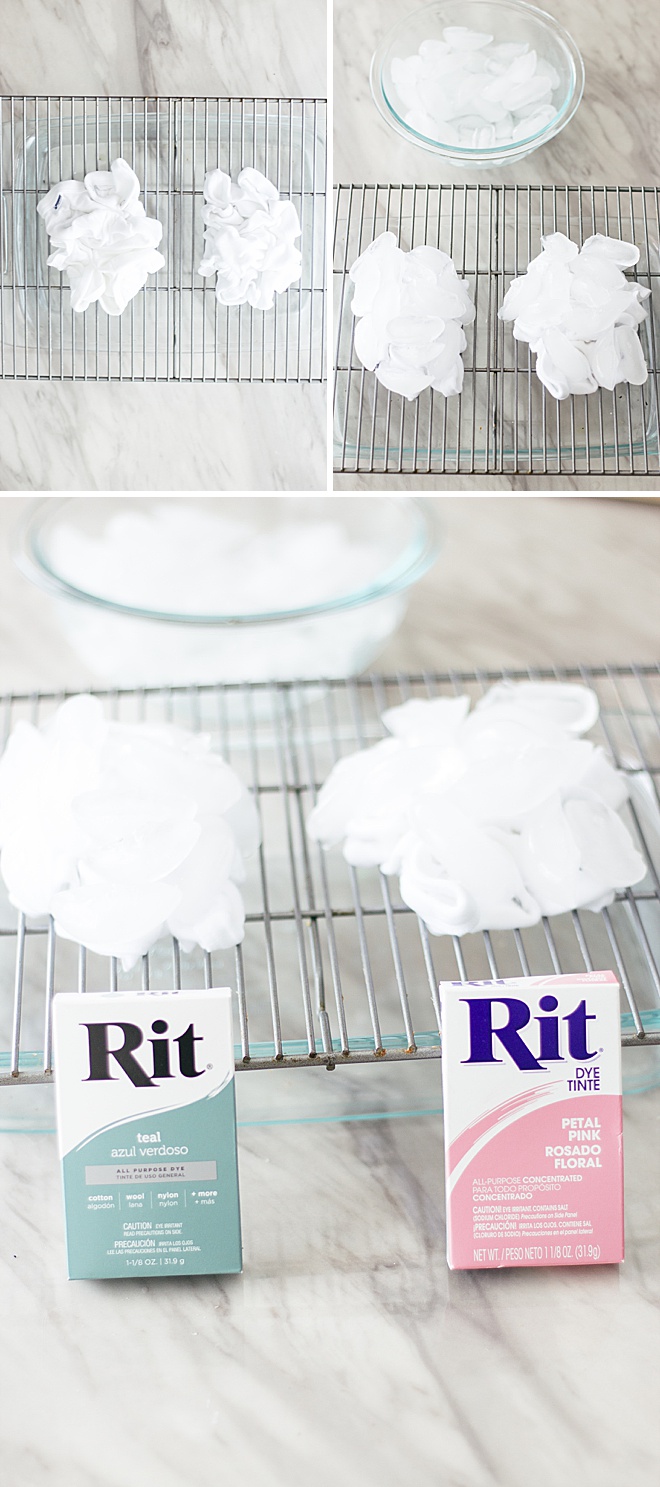
Sprinkle Spinkle
Cut a small opening in the corner of the dye. Sprinkle on top of the ice generously. The more powder on the ice, the deeper the colors will be.
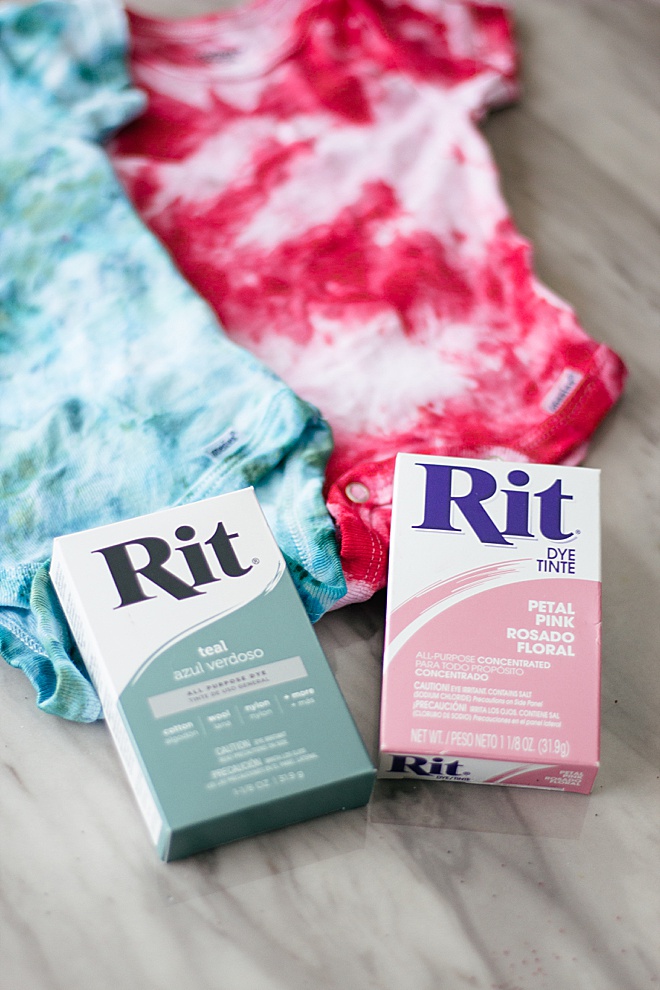
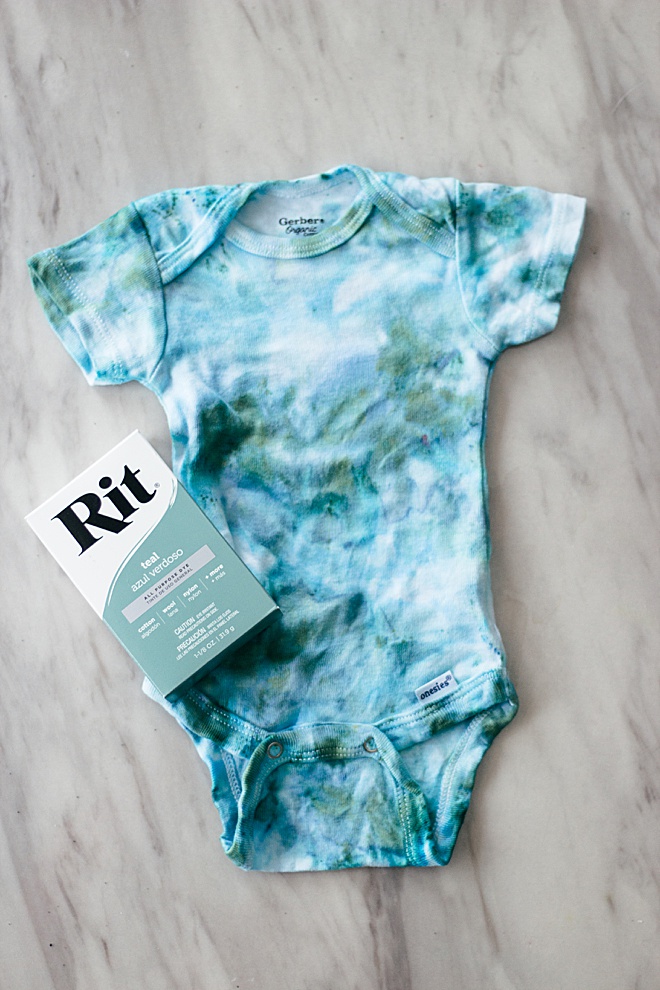
Melt
Let the ice melt on top of the clothes for 6 to 8 hours. Run the dyed garments under cold water until the water runs clear. Lay the damp onesies back on the baking dish to dry before putting them in your bag for the reveal.
Thank you to RIT dye for making these tutorials happen! They make it so fun to dye clothes and everything you can imagine.
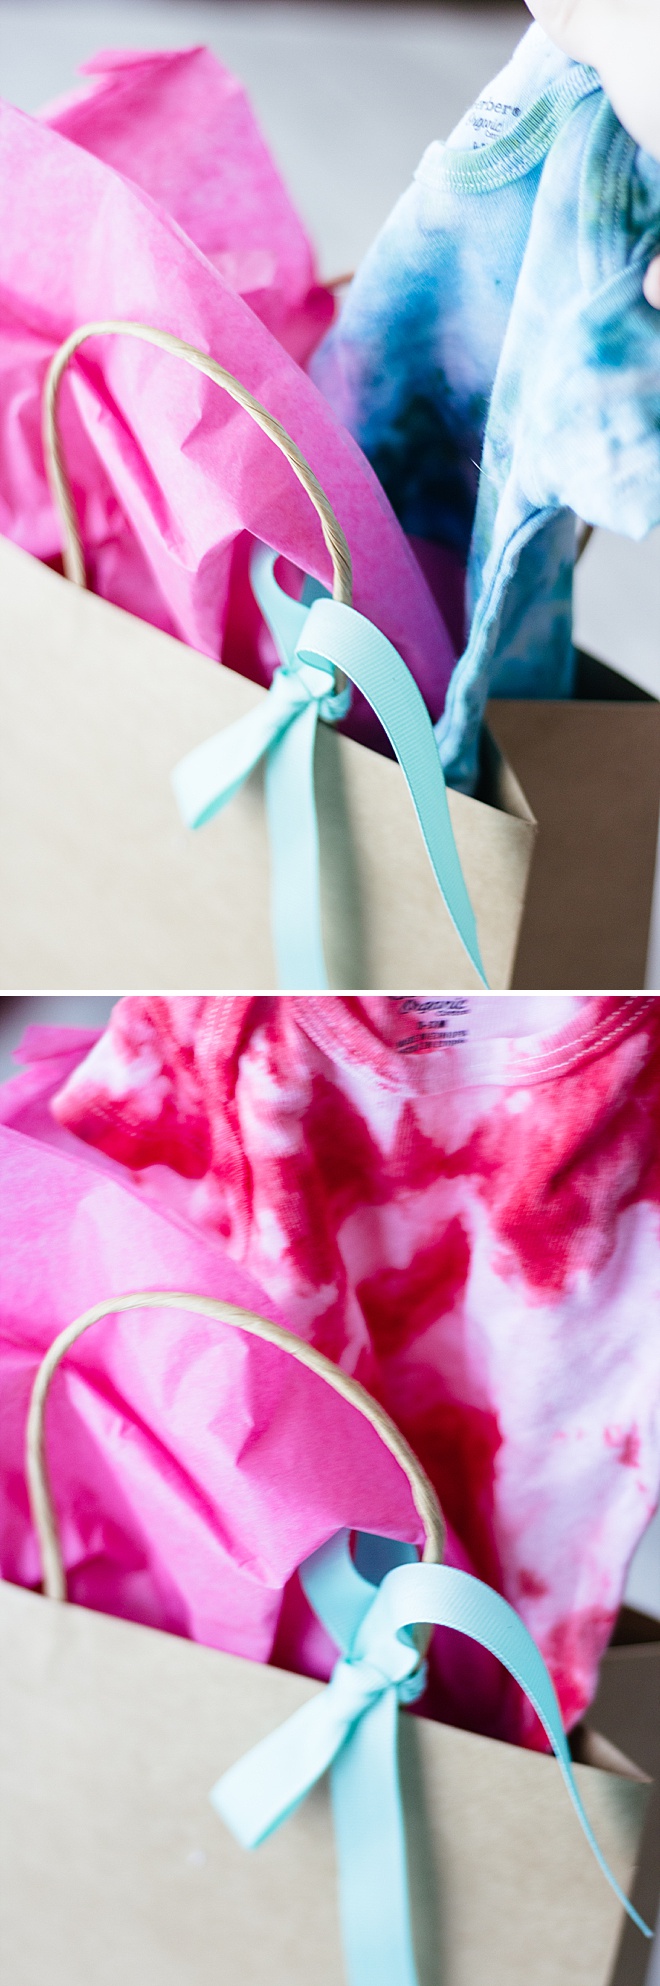
Reveal
Either have your doctor put the correct color onesie in the bag for you to find out when you are ready to reveal or you can put the onesie in there and reveal to your friends and family yourself!


Hein & Dandy is a blog founded on crafts and creative writing, inspired by adventure and wellness. Make sure to check out our website for new projects and inspiration!
As with all our DIY tutorials, if you create one of our projects please send us a picture – We Love Seeing Your Creativity! If you use Instagram or Twitter please use the hashtag #SomethingTurquoiseDIY and it will show up on our Get Social page. Happy Crafting!
DIY Tutorial Credits
Photography + DIY Tutorial: Carli Hein of Hein & Dandy // Rit Dye Teal c/o: Rit // Rit Dye Petal Pink c/o: Rit // Onesie: Amazon //
Shop The Supplies:
Find the supplies you’ll need for this project from our affiliate links below:


Comments