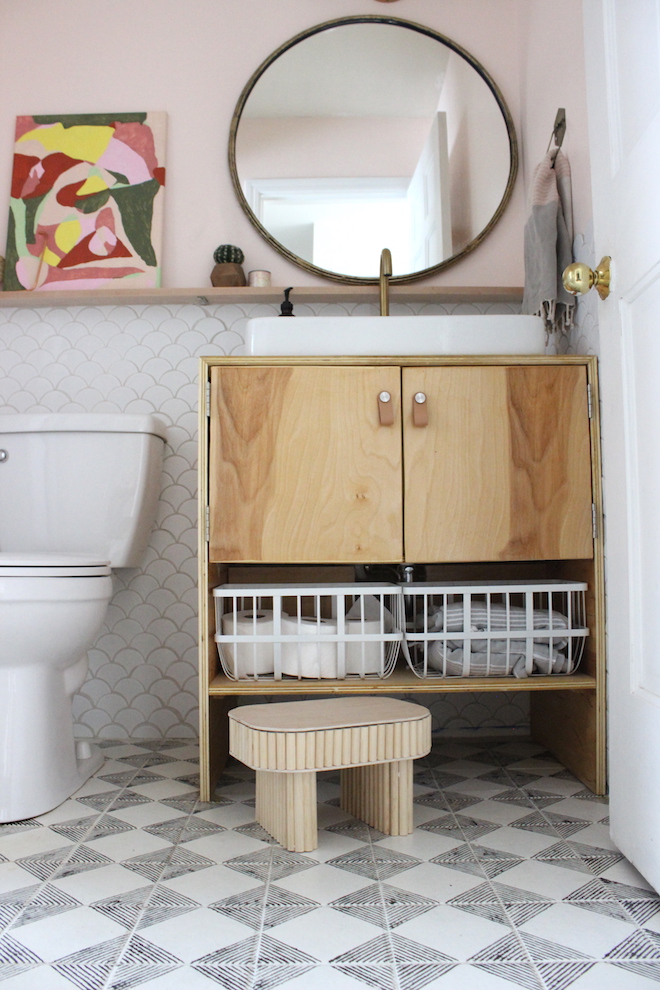
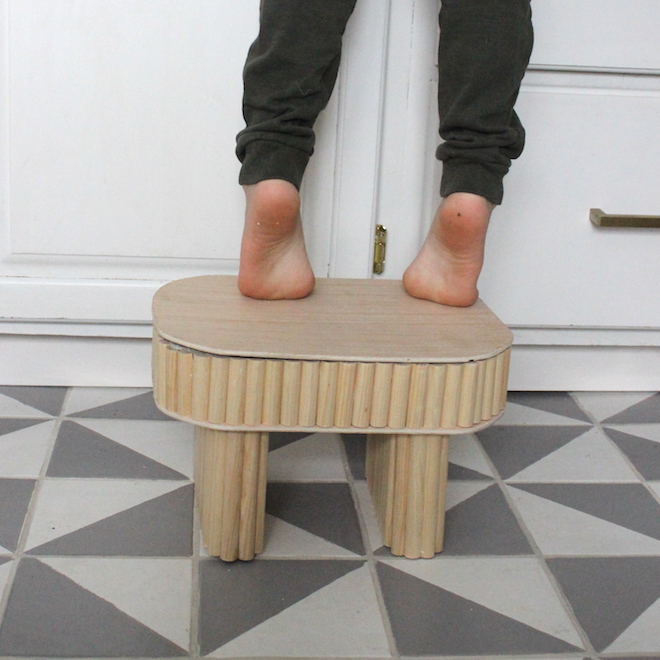
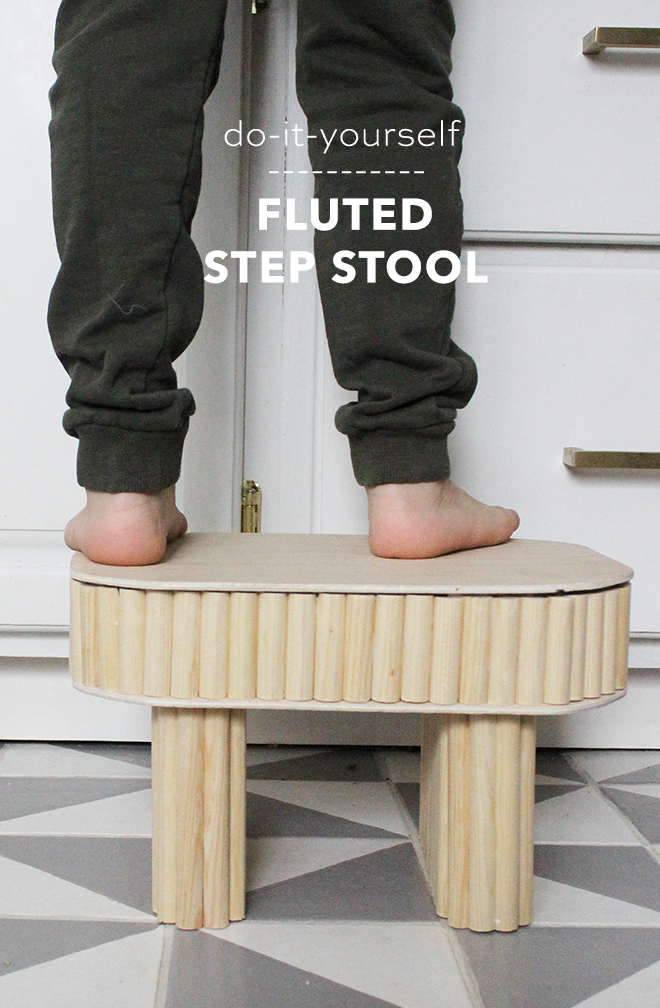
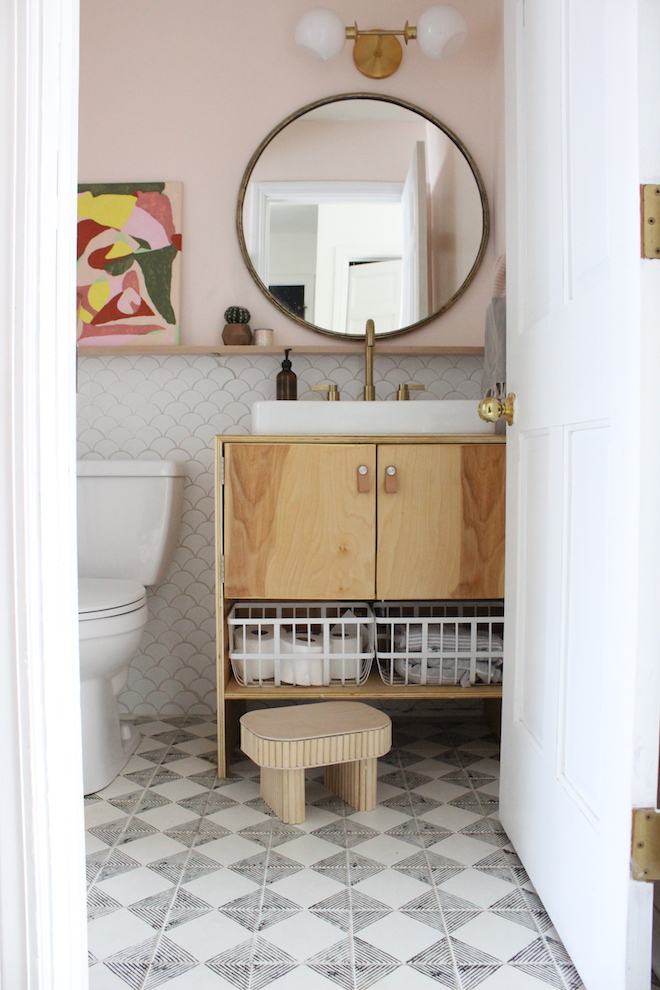
I’m excited to share this DIY fluted step stool, a great, on-trend and functional, weekend project! We have a couple large wooden Ikea steps stools floating around the house. They are attractive, but so big and bulky to move around, especially for the kids. I wanted to make a kid-friendly stool that matched the aesthetic of my home and fit perfectly in the nook under our vanity. My father-in-law helped me build my powder bath vanity, you can check out all the before and afters here. I actually designed the vanity with an open space under the sink specifically for a step stool. I hunted for something the perfect size that matched the room and my home. After coming up empty handed I decided to make the perfect stool myself. I was inspired by the fluted trend, and this table by designer Sarah Ellison in particular.
While this project is not super difficult, nor was it particularly time consuming, it does involve quite a few power tools. If you don’t already have the basics, you may need to ask a neighbor to cut a few things for you. The other great thing about this project is the versatility, you can tweak height and the size of the stool for your particular needs. Here is the template I made and used to trace the top.
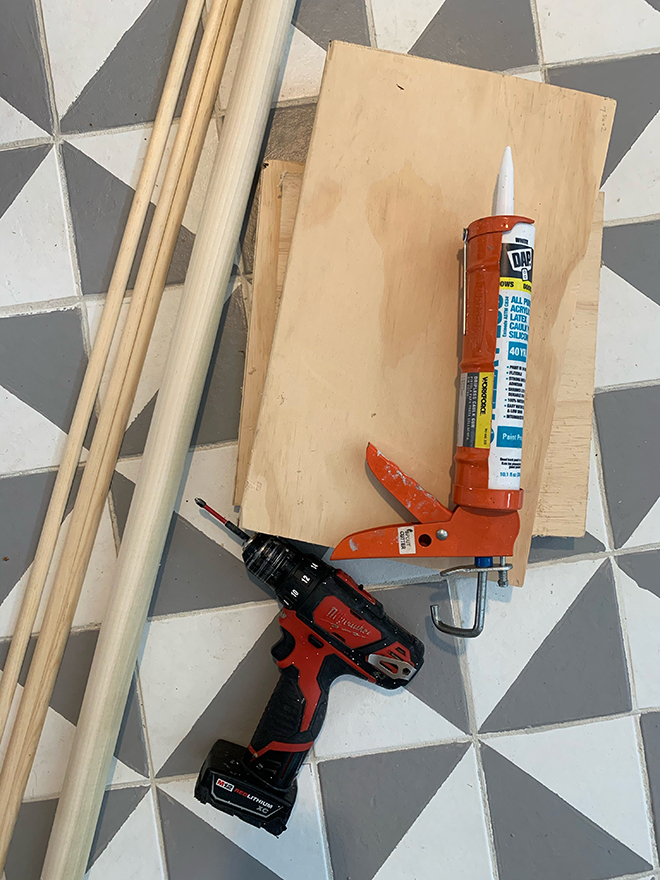
- 5/8″ half-round dowels, I used 6
- 3/4″ plywood – 2ft x 4ft is enough
- 1/4″ plywood – 2ft x 4ft is enough
- 1 1/2″ dowel, cut into half round sections
- 2×6 board cut 2 pieces to 5″
- construction adhesive
- sanding block
- jig saw
- miter saw
- drill
- 1 1/2″ screws
- table saw
- brad nailer (optional)
- polyurethane or stain (optional)
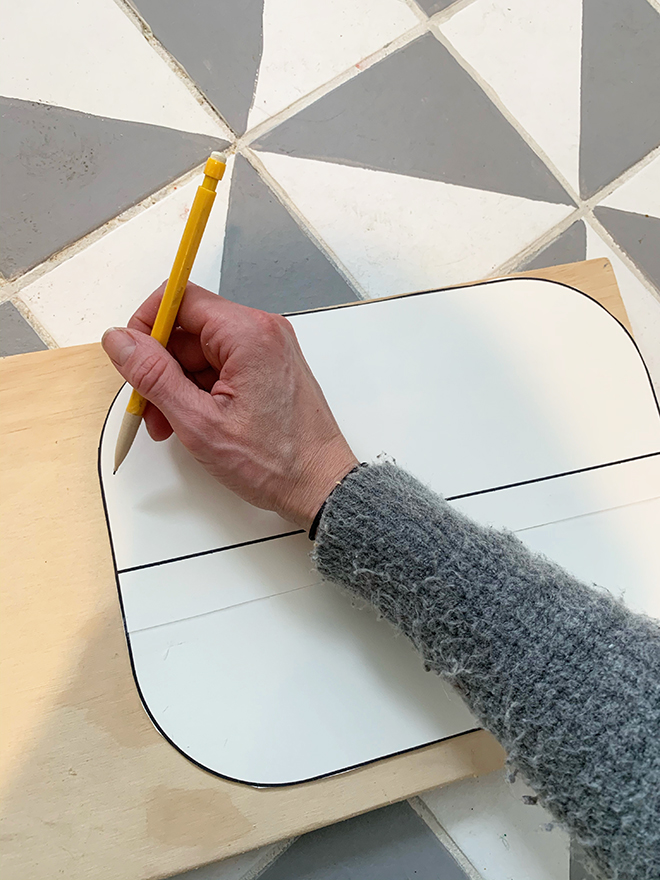
TRACE TOP TEMPLATE ON PLYWOOD
Use the printable template to trace top shape on to the plywood. You will cut 3 – 3/4″ in the smaller size and 2 – 1/4″ in the larger size.
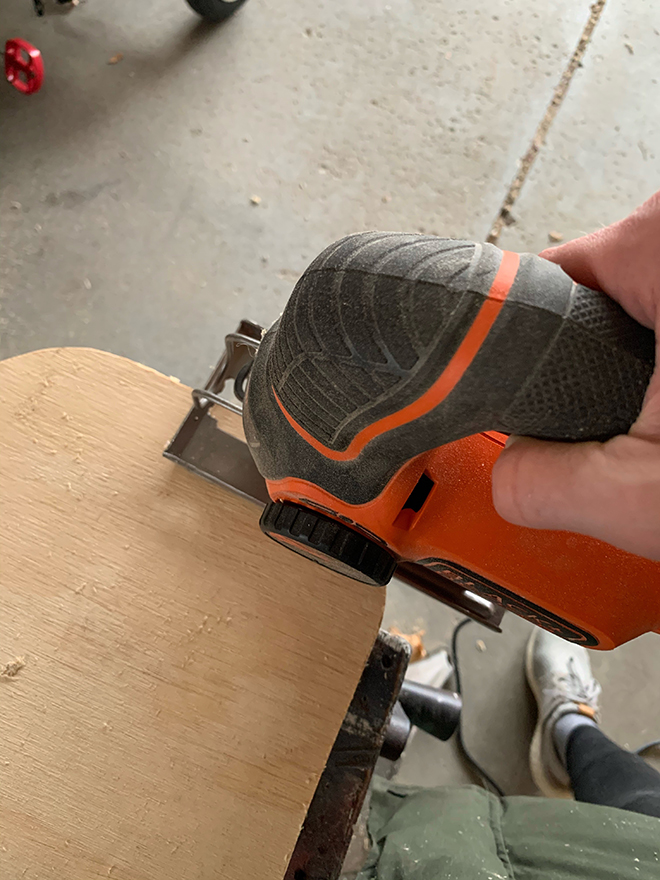
CUT SHAPES FROM PLYWOOD
Use your jig saw to cut the shapes from the plywood, and sand edges to round any areas necessary.
CUT DOWELS AND BASES TO SIZE
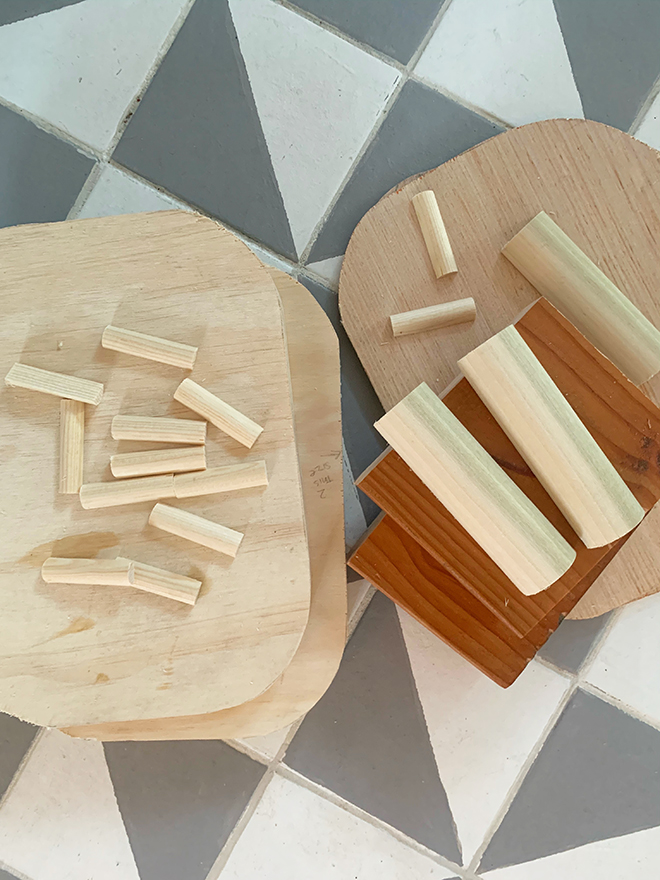
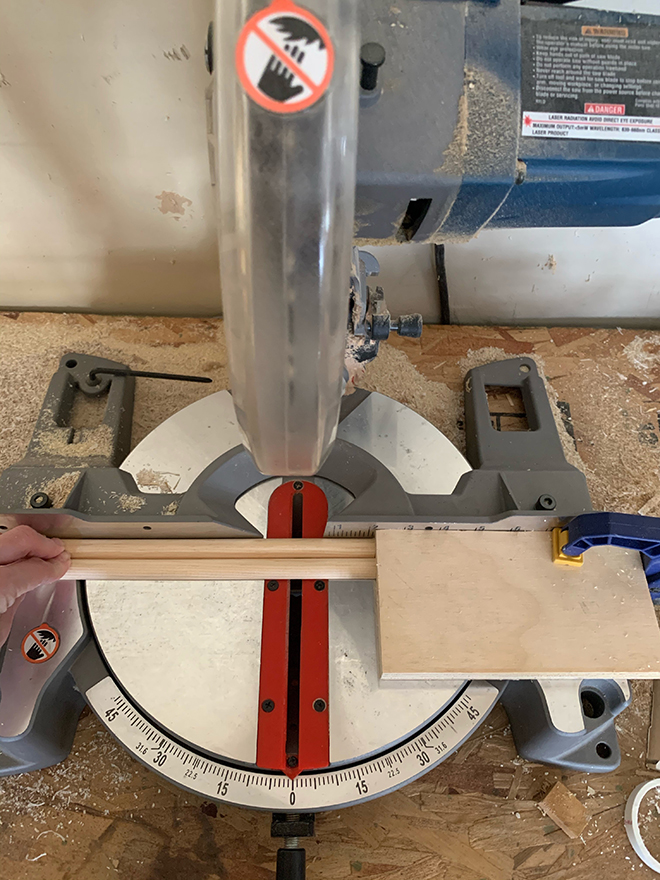
If you haven’t already, cut your feet to size. I cut my 2×6 board to 5″ (x2). Unfortunately I was unable to source you a 1.5″ half round dowel, I cut my round dowel in half on the table saw. You will need to cut about 60 pieces of dowel to 2 1/4″. Once you start cutting, be sure you stack neck to your 3 – 3/4″ plywood pieces to be sure the dowels are even. It’s better to error on the (very) slightly taller size to prevent large gaps at the top. I wish I had cut mine 1/8″ taller. You will also need to cut about 60 to the height of the feet.
CUTTING TIP
Since you will be cutting so many dowels, I advise doing multiple at a time. Use a clamp and a block to mark the exact height you want your dowels, for quick and efficient cutting.
ATTACH THE LARGE HALF ROUND DOWEL TO FEET
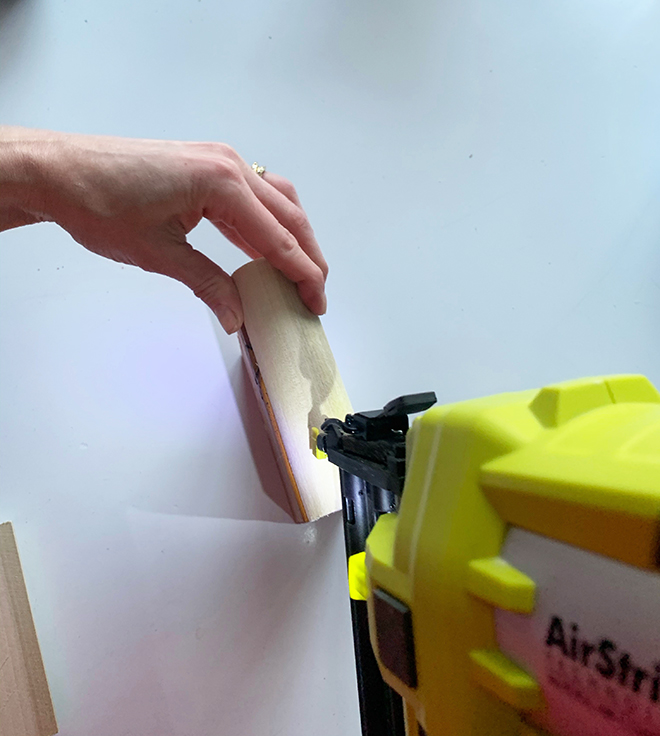
Once you have cut your half round to the height of the feet, use your brad nailer to attach to each side of the feet. If you don’t have a brad nailer you could also use the construction adhesive. This step will give you that lovely curved look on the feet.
GLUE FLUTED PIECES TO FEET
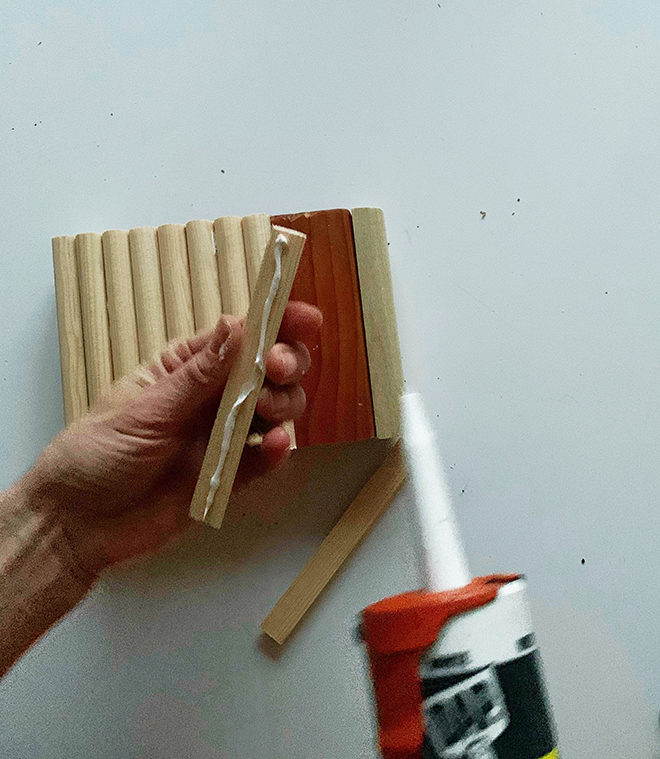
Use construction adhesive to adhere the 5/8″ half-round dowels to the feet. If spacing is off, spread ever so slightly in between each dowel on one side (this can be the inside you can hide). If spacing is off significantly, can can crowd the dowels slightly to fit in an extra.
START BUILDING THE TOP
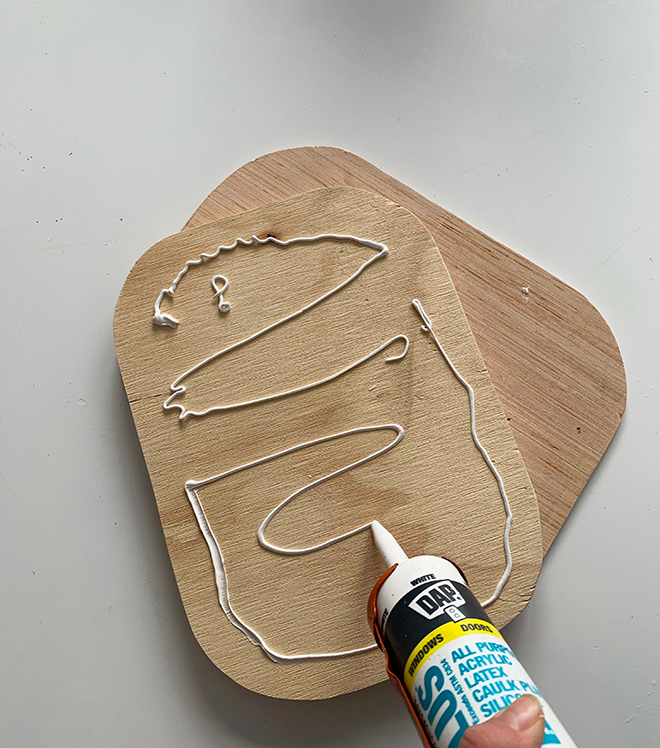
Glue one of the 3/4″ plywood pieces to one of the 1/4″ plywood pieces. This will be the bottom layer of the top of the stool.
SCREW TOP TO BASE
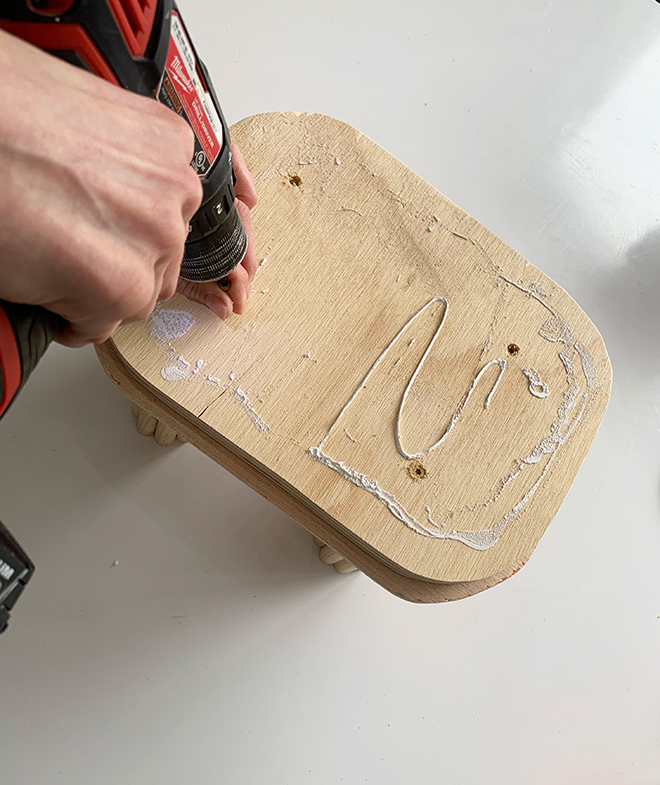
Use two screws on each side to attach the top to the base. Then glue the other 3/4″ plywood pieces to the stool. Glue the other two 3/4″ plywood layers on top.
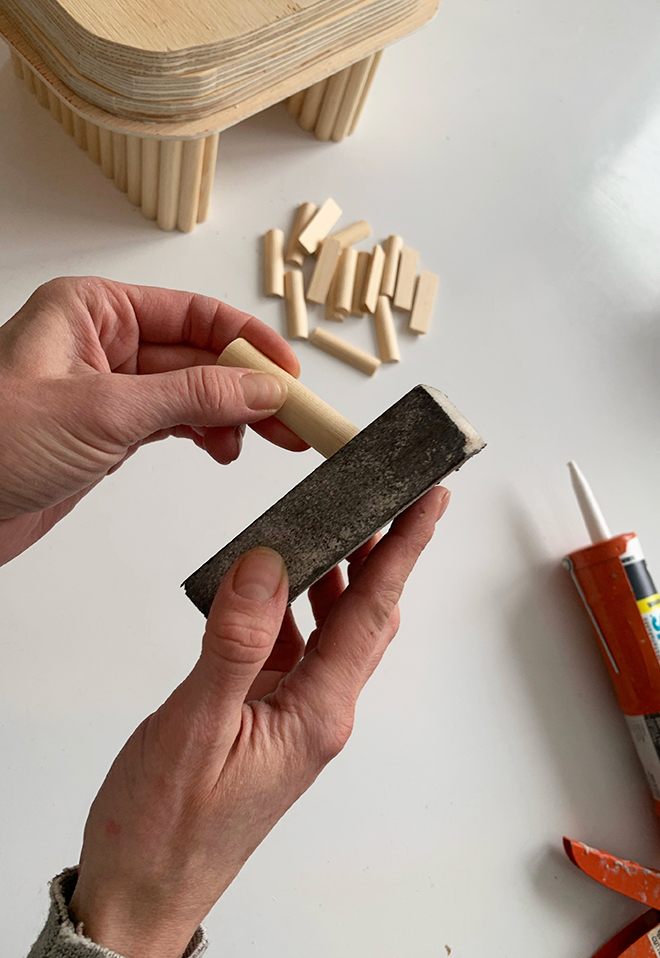
SAND DOWEL PIECES
Use a sanding block to give the dowels a quick sand before glueing.
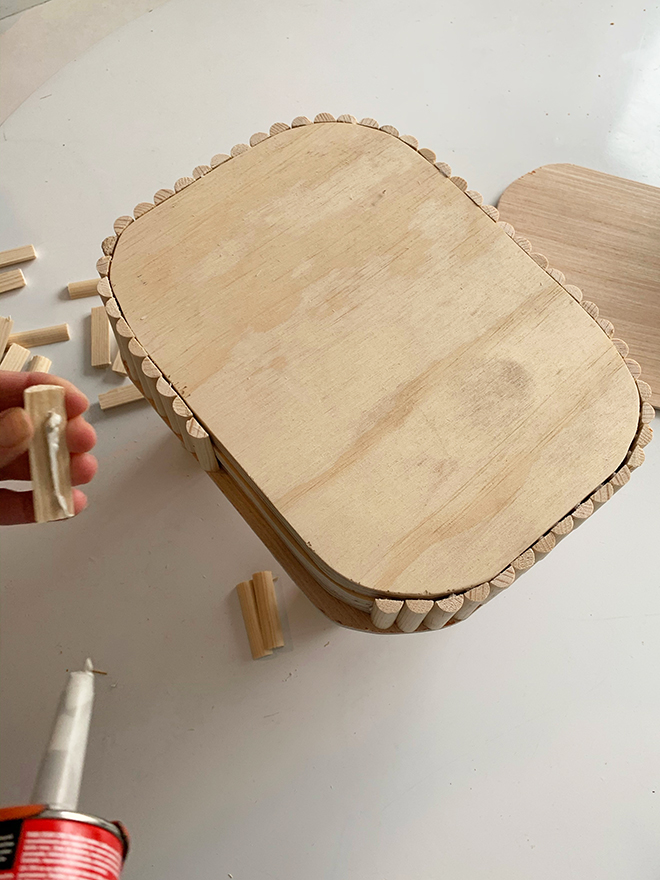
GLUE DOWELS TO TOP EDGE
Just as you did for the feet glue the shorter dowels all the way around the top edge. Finally glue on the last 1/4″ plywood piece and use clamps, straps or heavy objects to hold in place while the glue dries.
DIY TUTORIAL CREDITS
6 – 5/8″ half-round dowels // 3/4″ plywood // 1/4″ plywood // 1 1/2″ dowel // 2×6 board // construction adhesive // jig saw // miter saw // drill // 1 1/2″ screws // table saw // brad nailer // polyurethane



Comments