

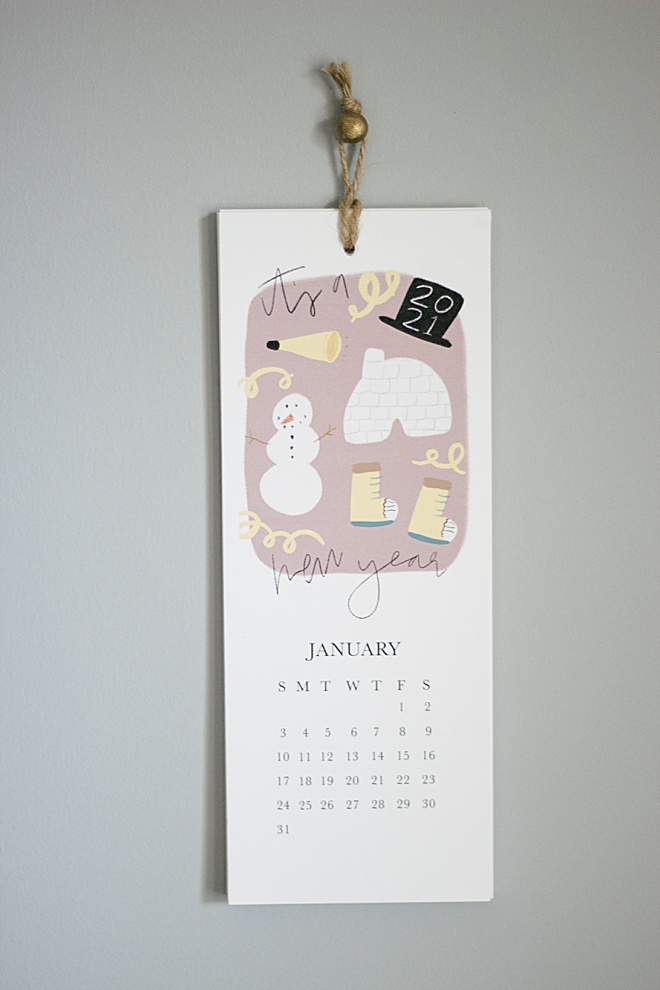
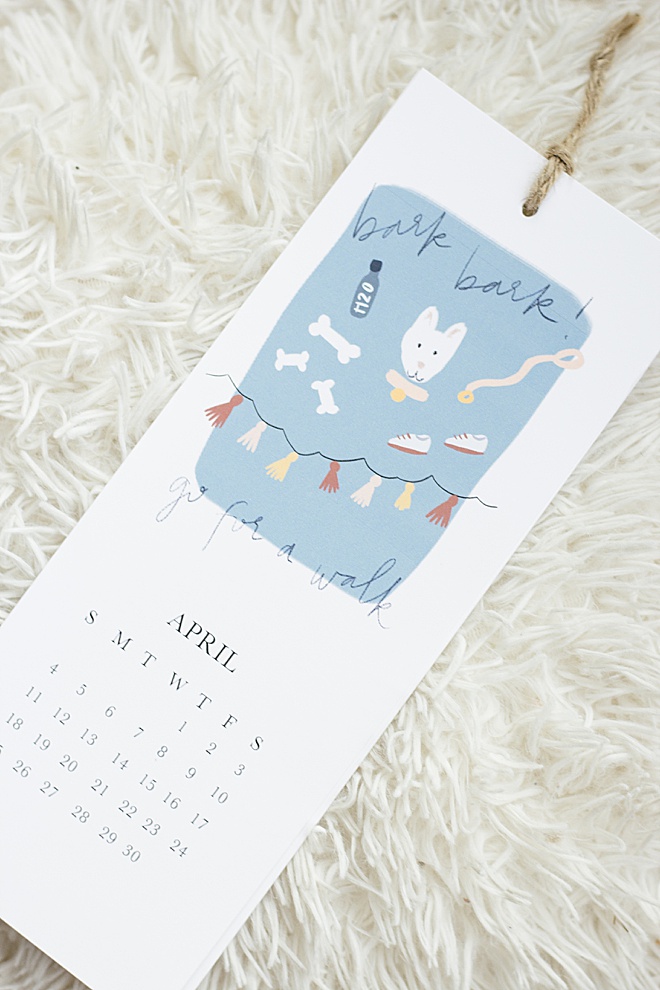
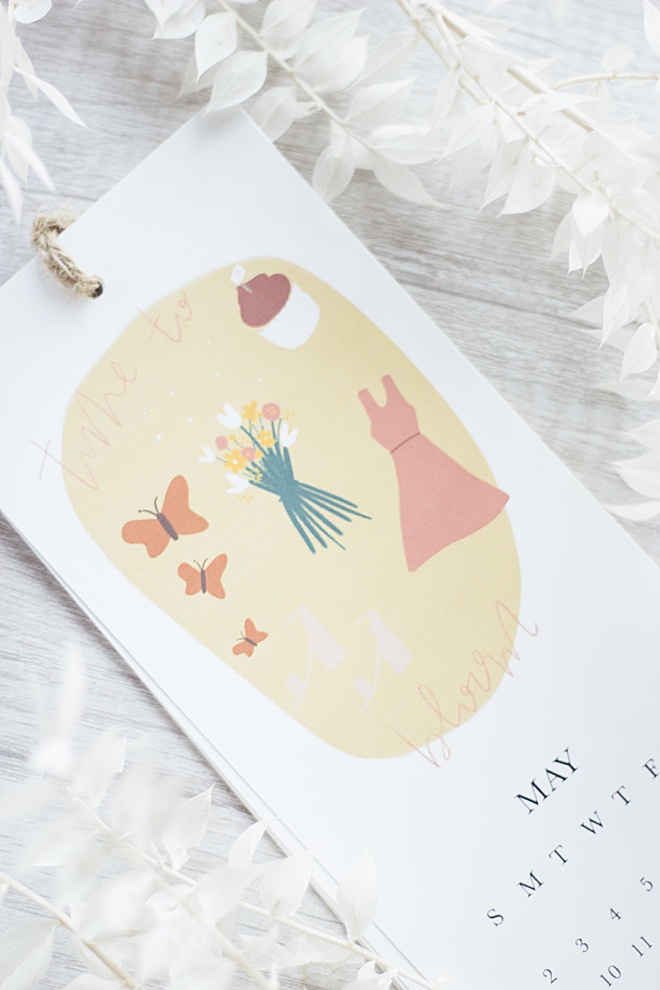
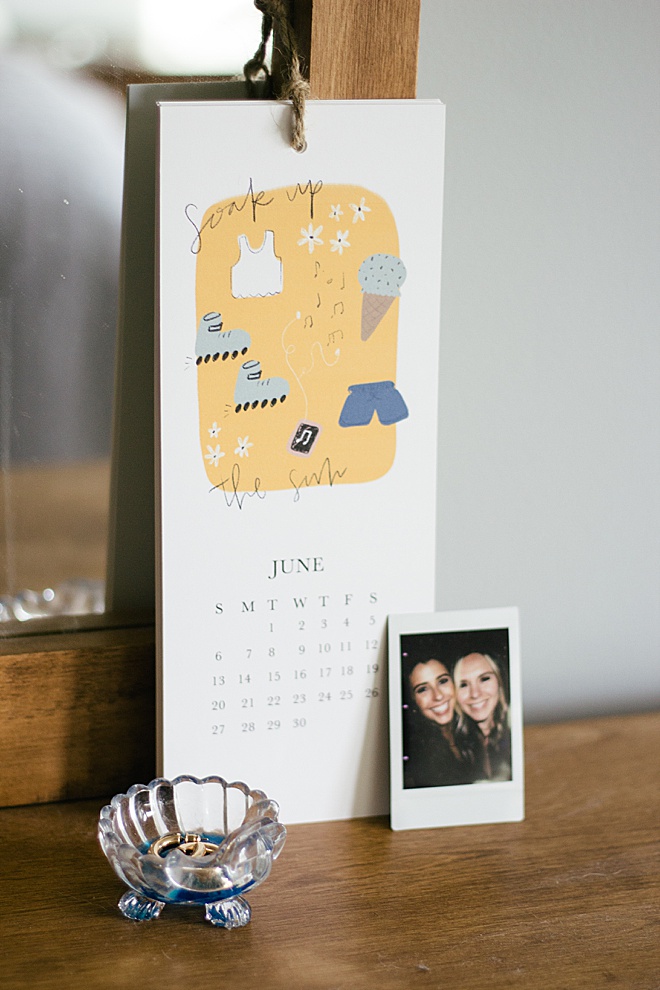
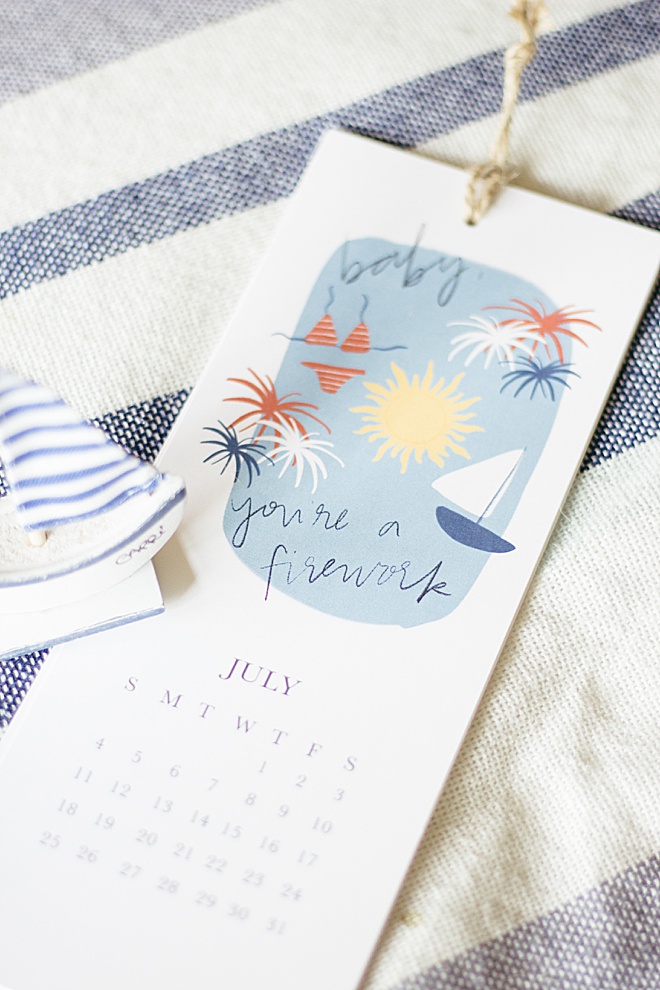
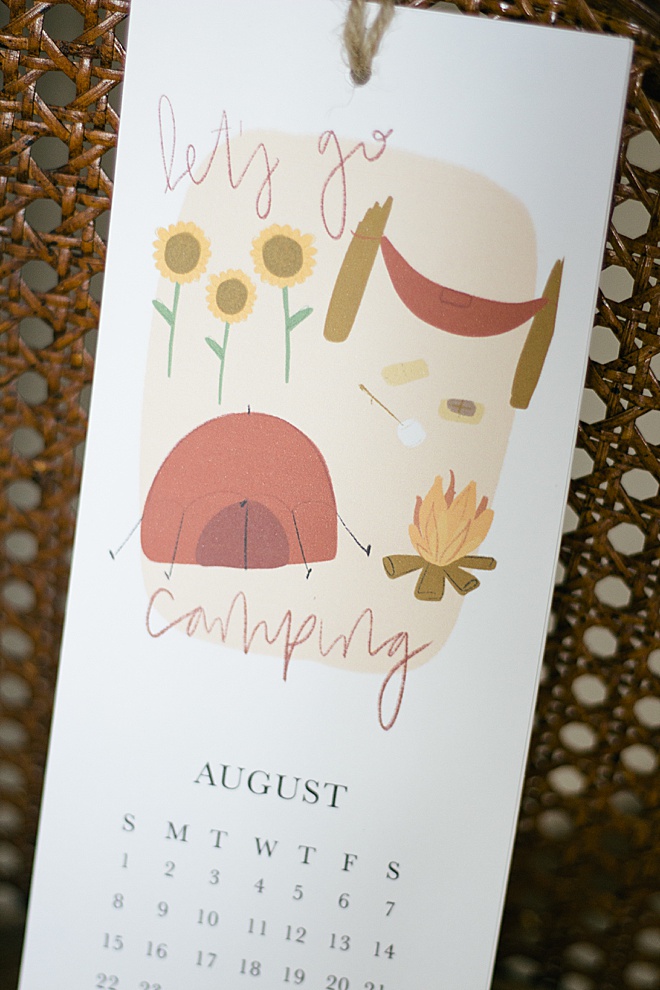
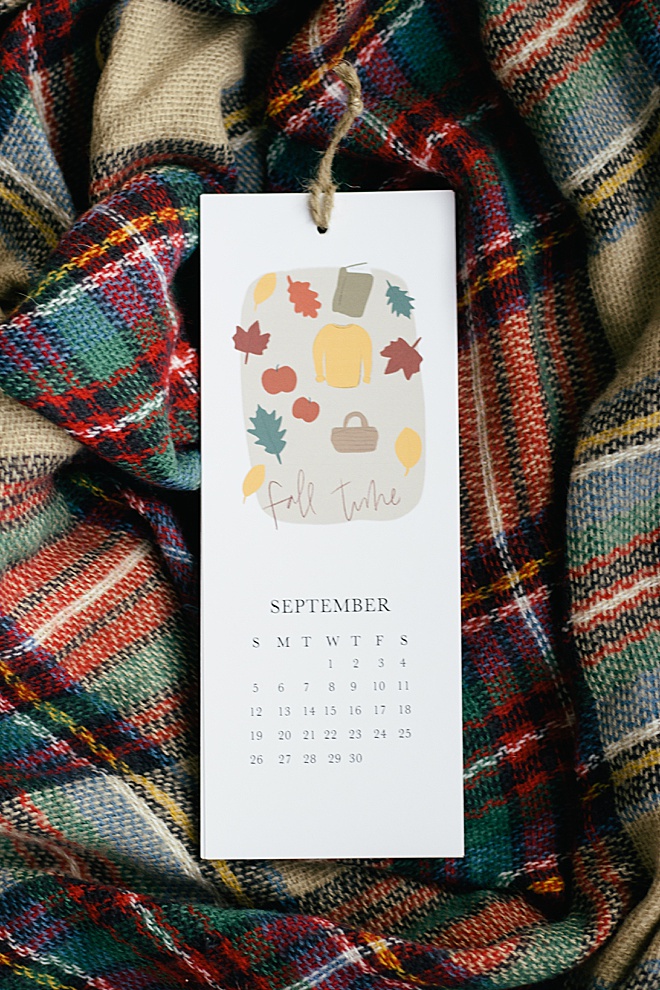
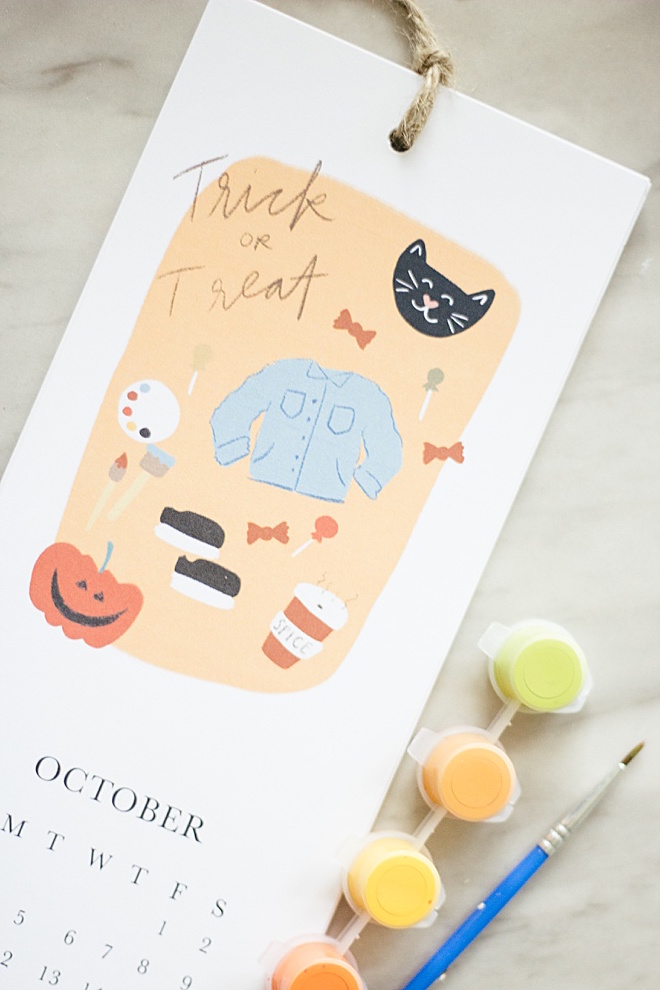
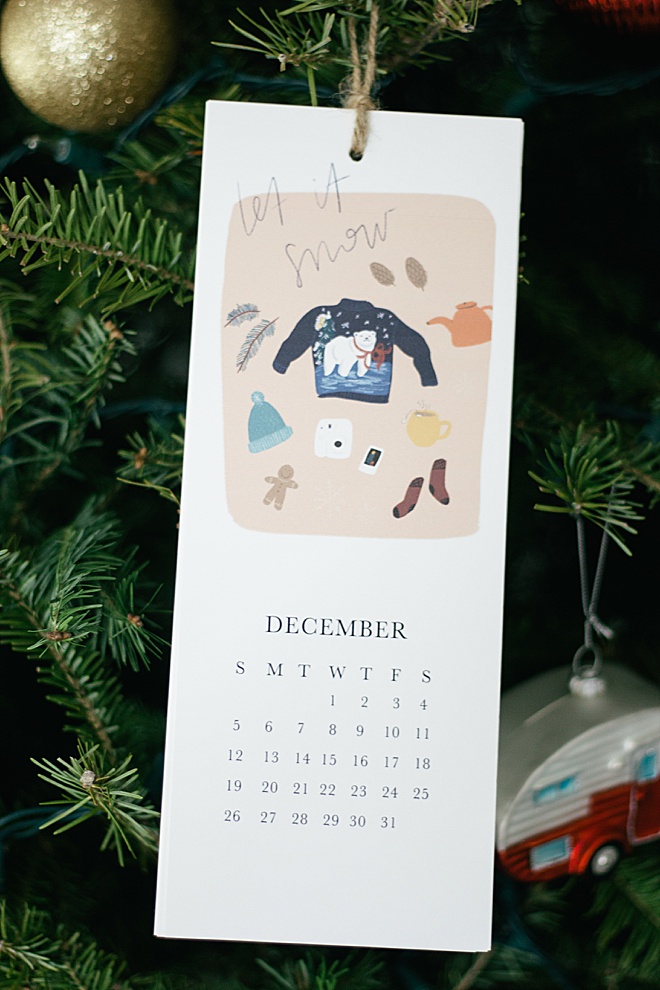
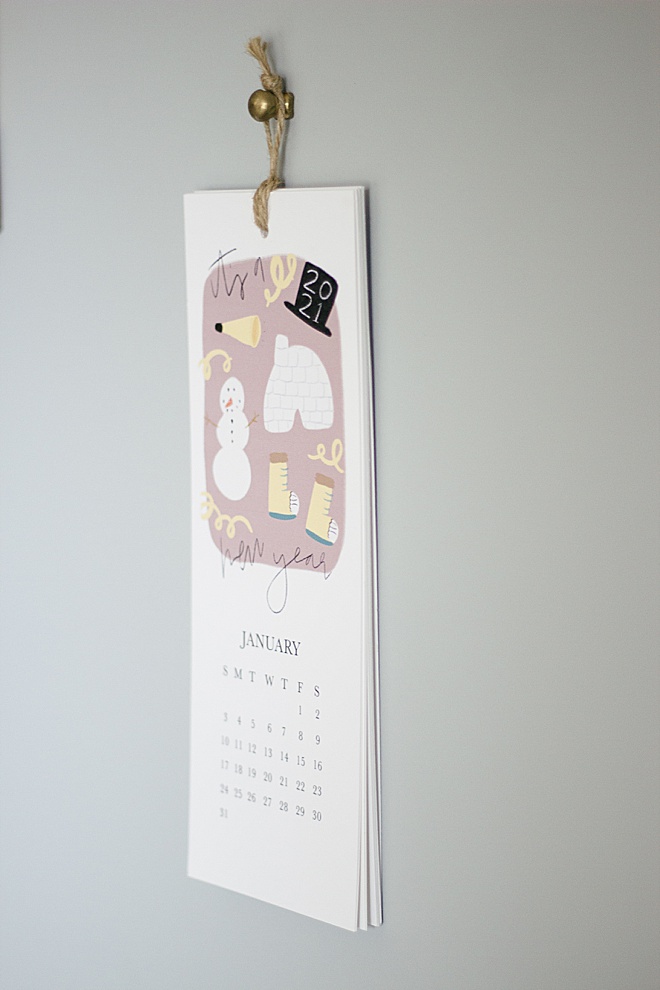
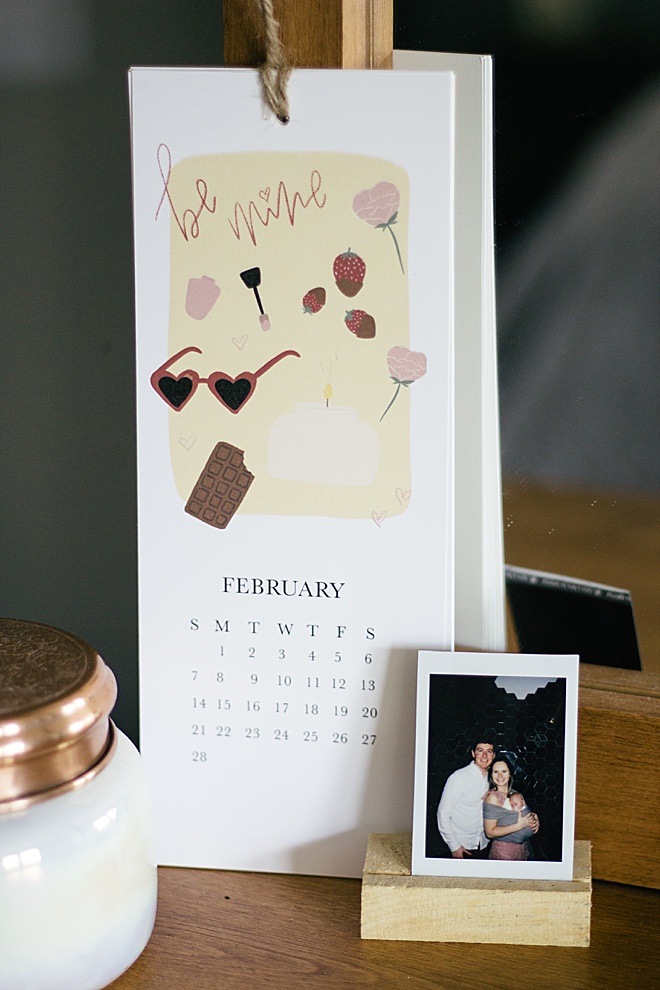
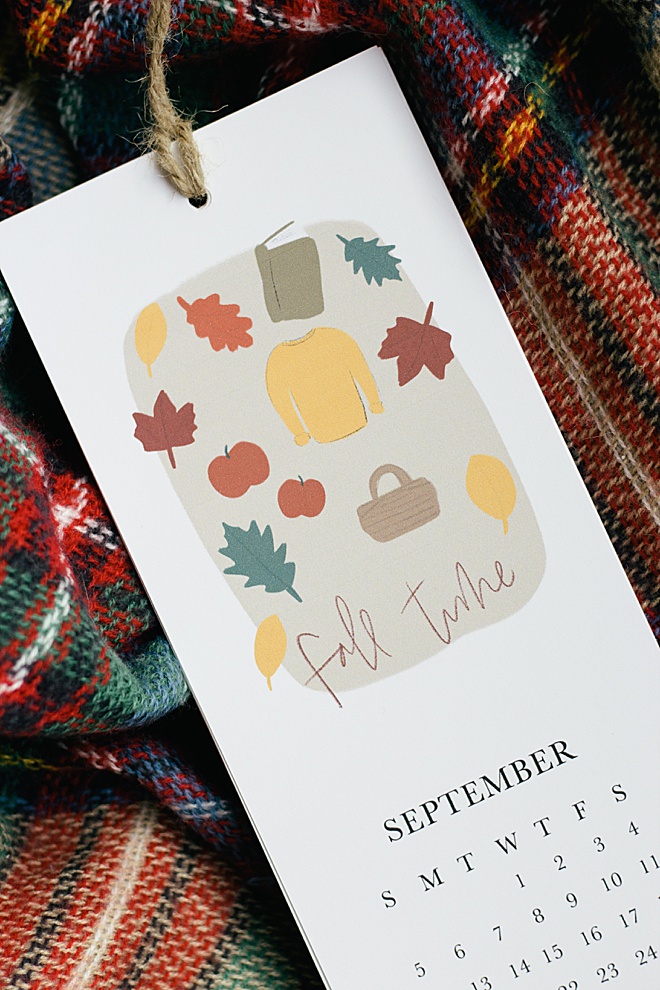
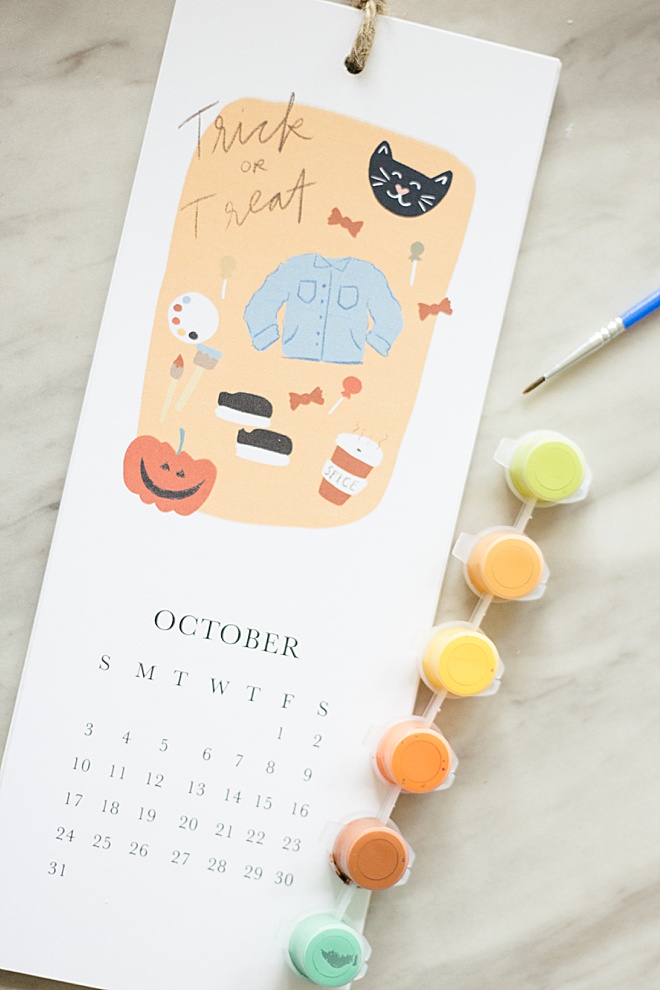
2021 Illustrated Printable Calendar
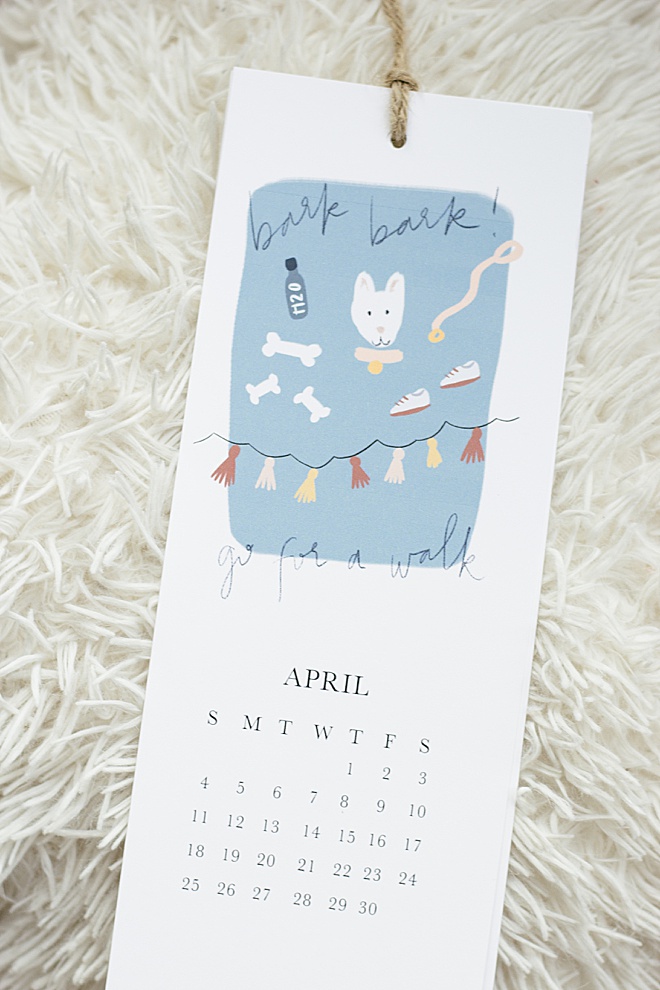
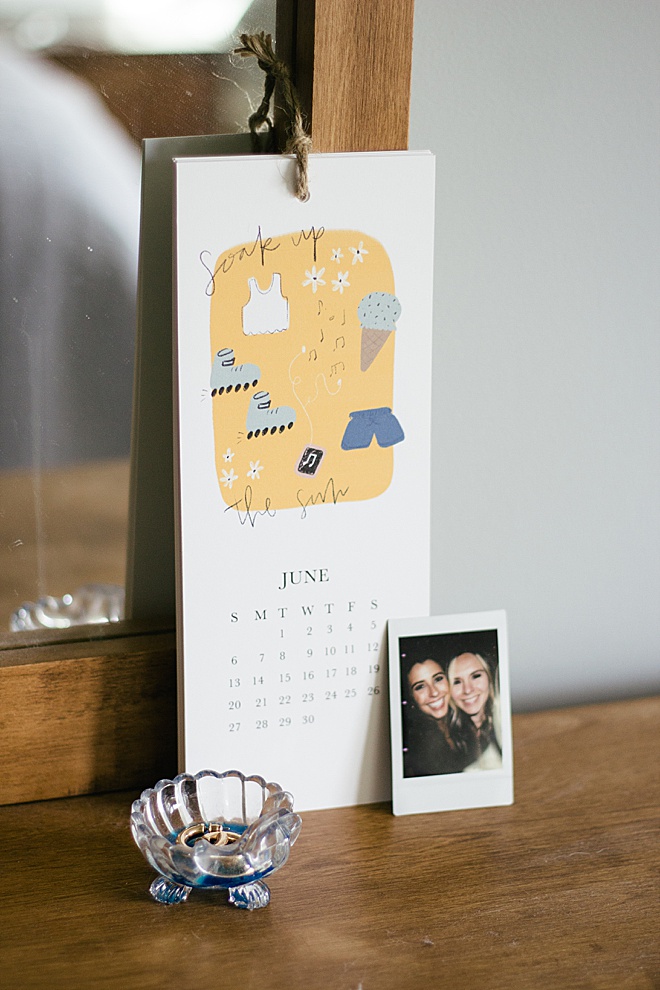
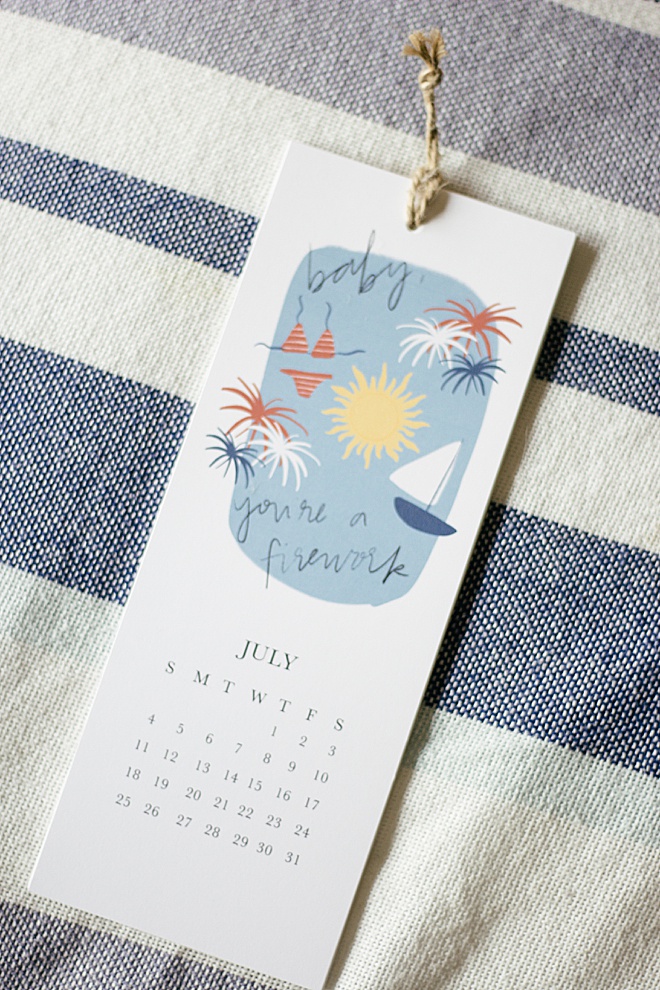
I am Carli Hein from Hein & Dandy, a DIY blog that is all things creative! I know we are all over 2020 and ready to start fresh in 2021. I spent the entire year making this adorable FREE printable calendar just for you. Each month is drawn individually based on all your favorite activities for that specific month. I made this tutorial super simple for you just to print at home on 8.5 x 11 paper, cut, hole punch, and hang! Let’s get started!


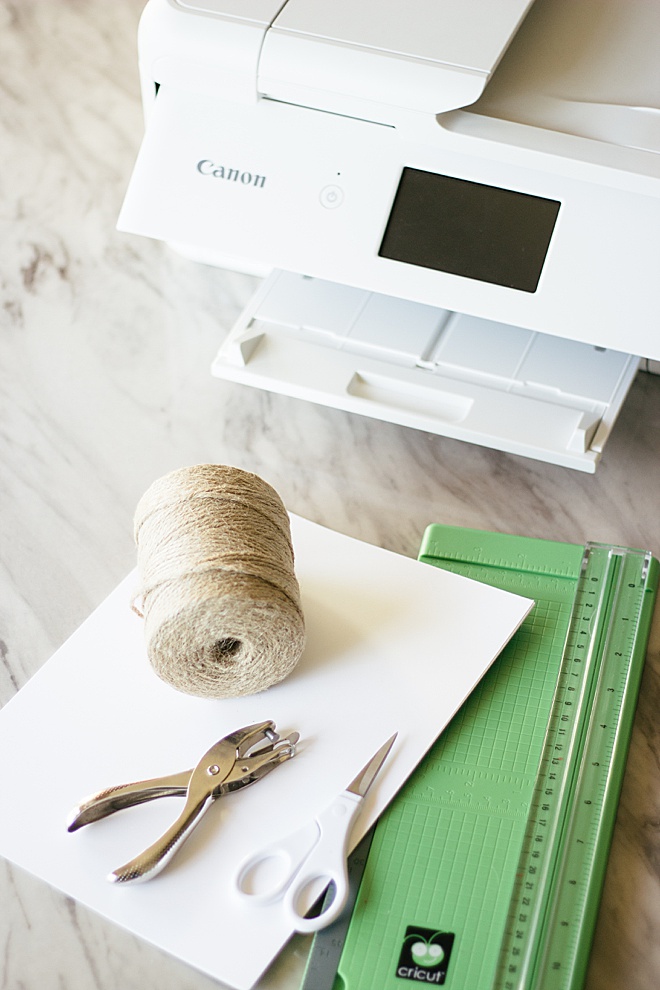
SUPPLIES:
- Cardstock
- Canon Printer
- Hole Punch
- Twine
- Scissors or Paper Cutter
- FREE PRINTABLE AT THE END OF THE POST
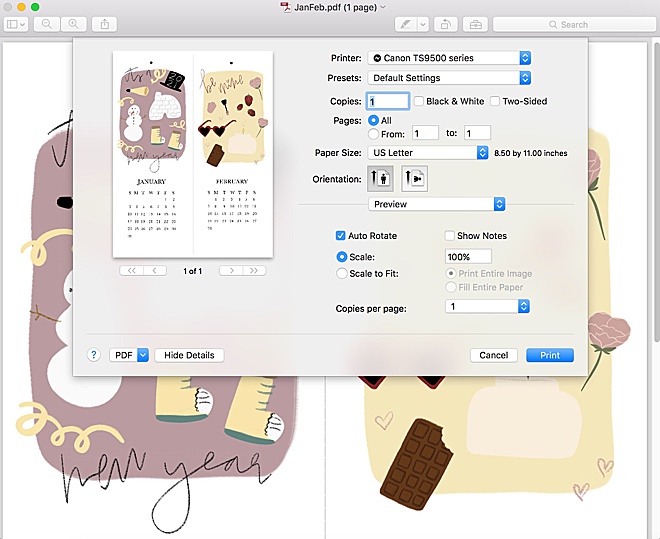
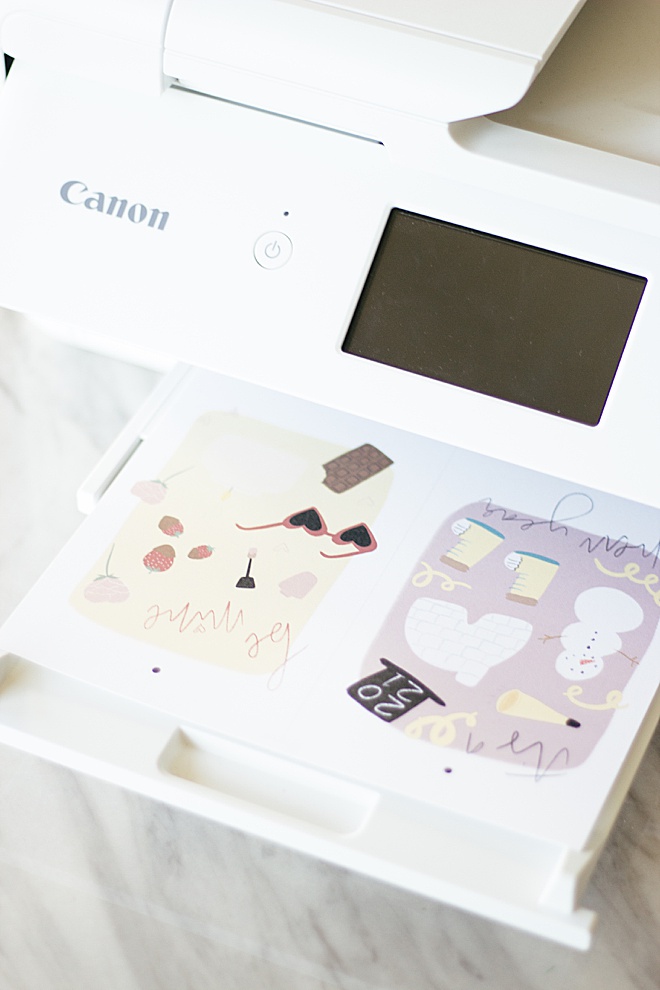
Download and Print
Head to the end of this post to download the 6 page PDF to print at home. Select your printer and the standard 8.5 x 11 paper size and load your card stock into the printer.
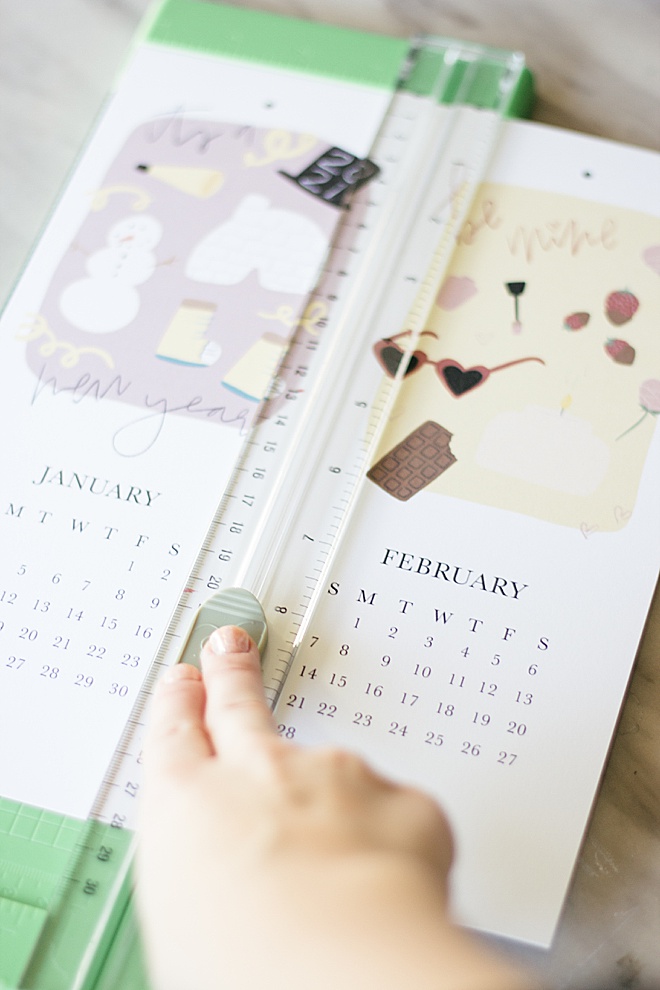
Cut
Using a paper cutter is going to be the easiest to get the most straight cut across all of your calendar pieces. Just cut straight on the light grey line for a perfect cut.
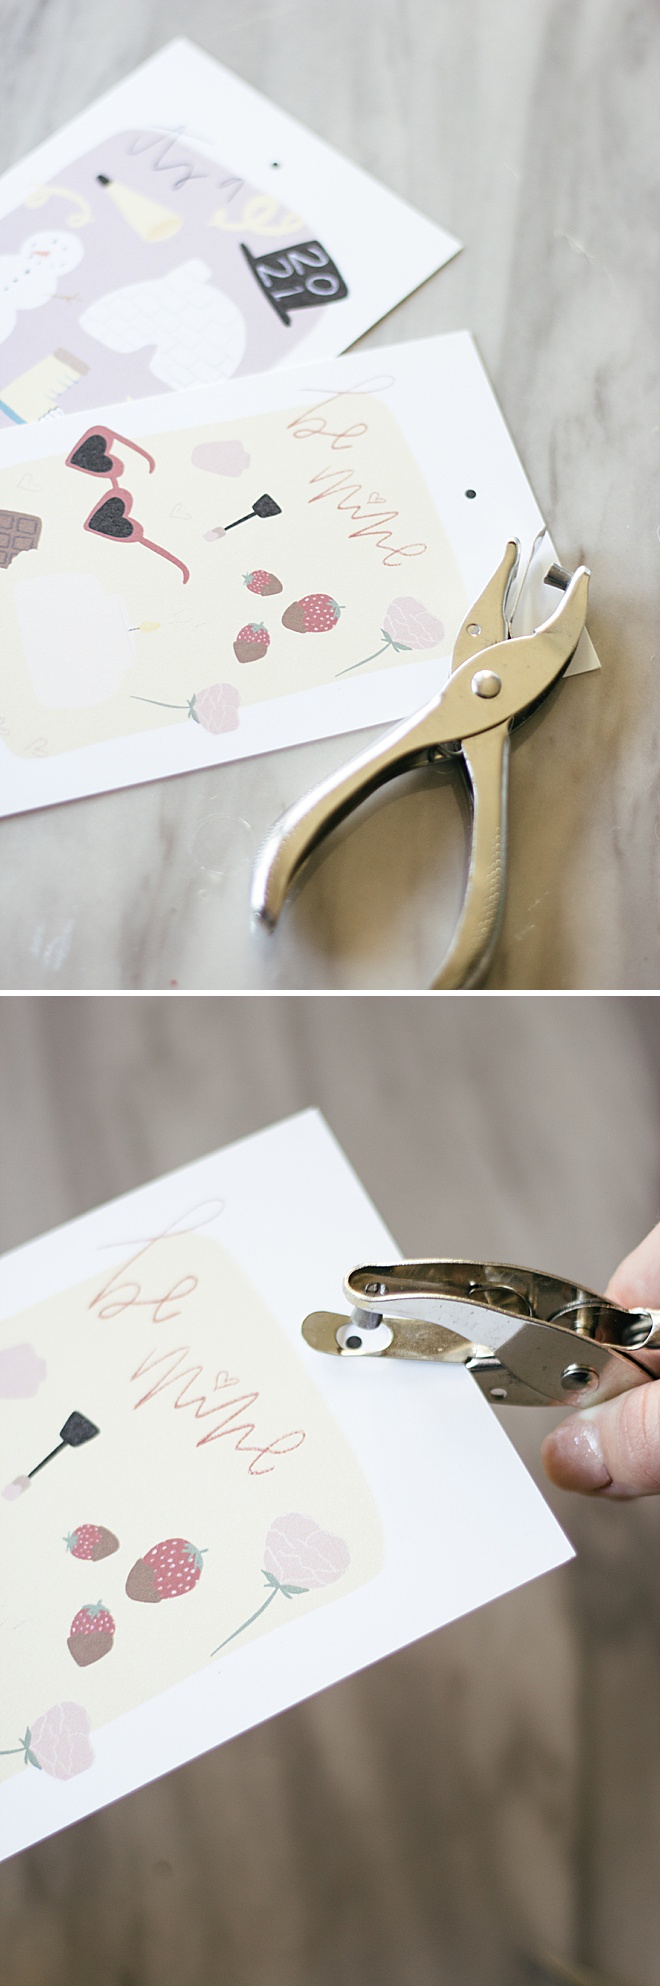
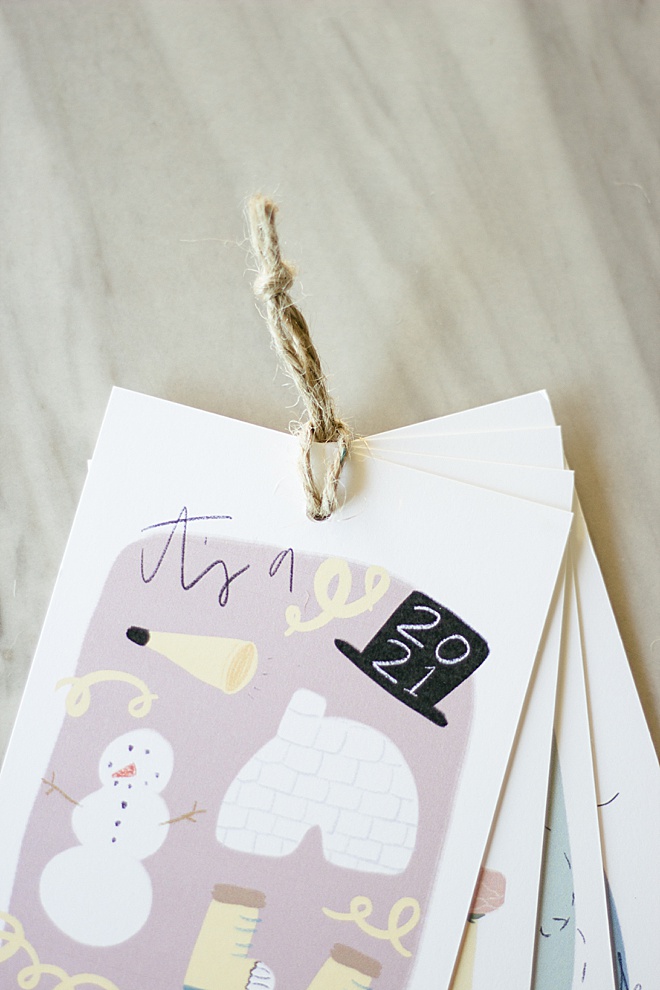
Punch
Once you have cut out each piece of calendar it’s time to punch. I made it super simple by adding a circle at the top where you just punch it out.
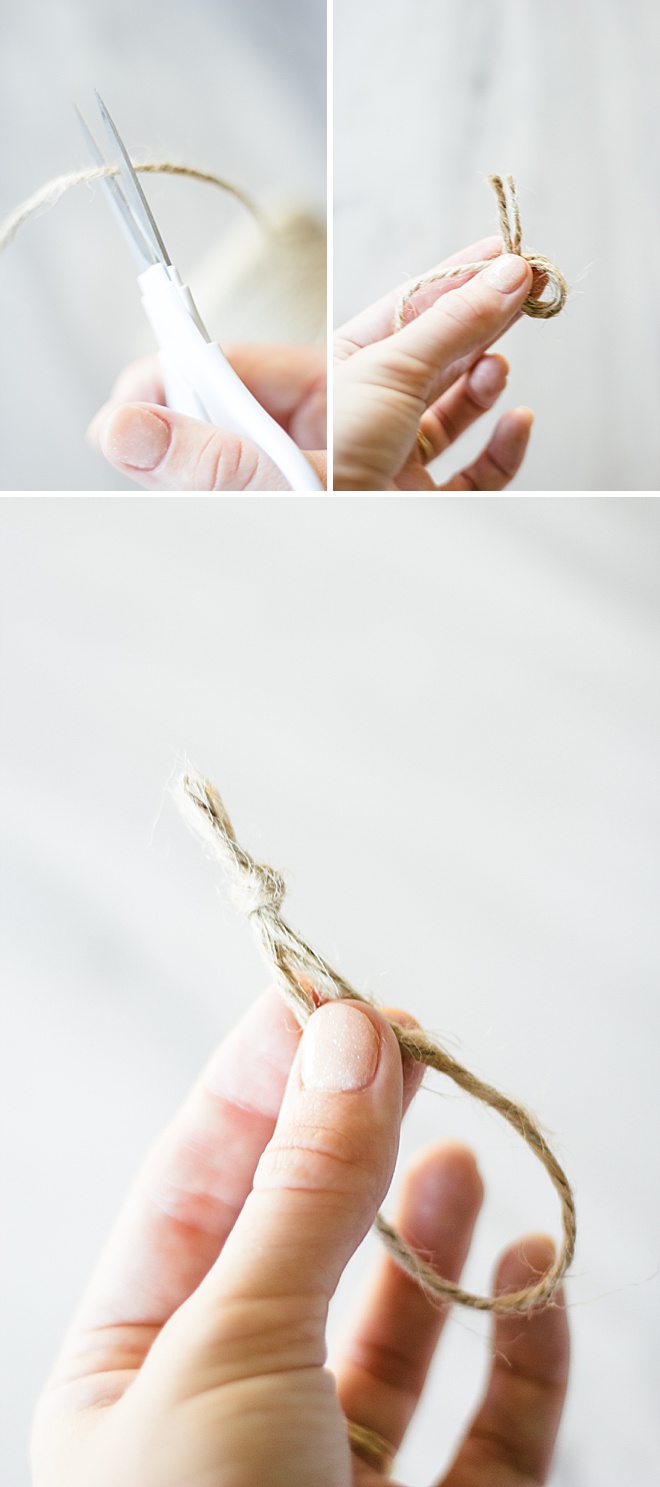
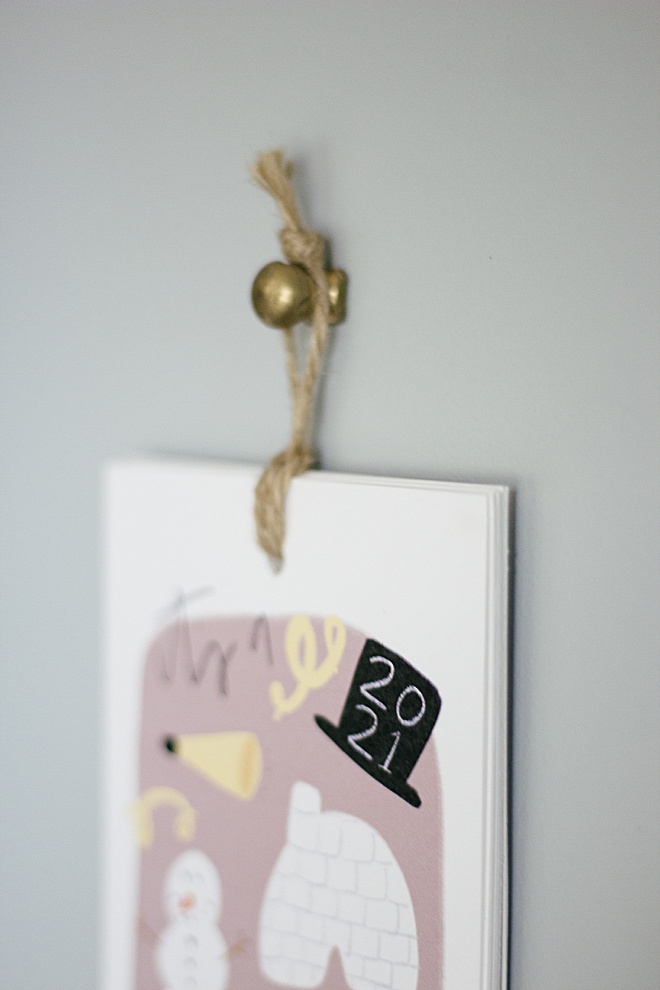
Hang
Cut your twine about 4 inches long. Fold it in half and tie knot at the end.
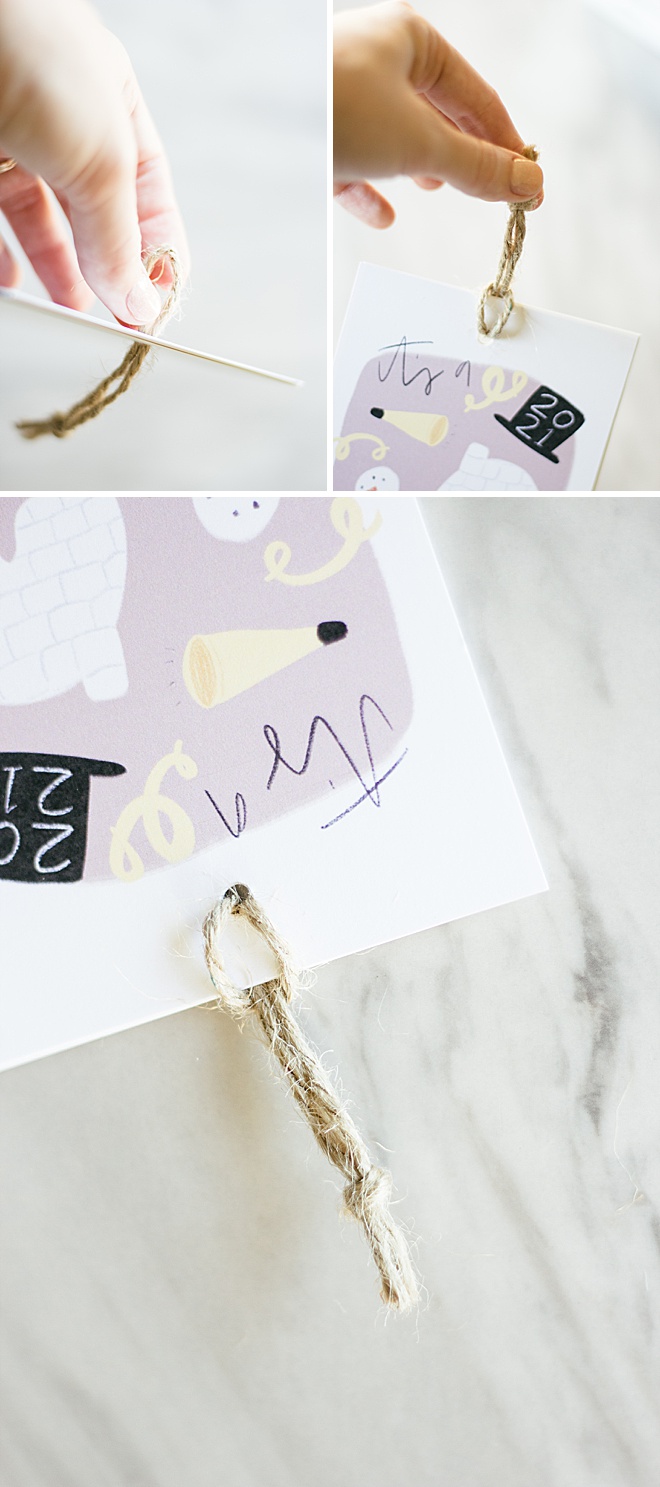
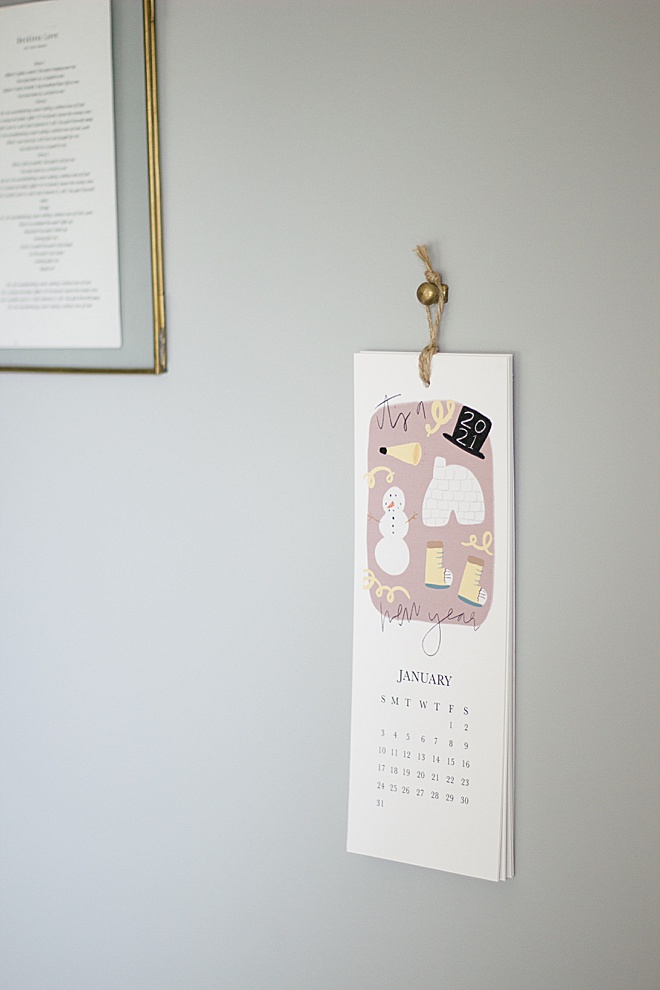
Arrange all the months in order from January-December and line up the punch holes.
Take the folded half through all the holes and bring the cut edge through the center and pull tight.


Hein & Dandy is a blog founded on crafts and creative writing, inspired by adventure and wellness. Make sure to check out our website for new projects and inspiration!
As with all our DIY tutorials, if you create one of our projects please send us a picture – We Love Seeing Your Creativity! If you use Instagram or Twitter please use the hashtag #SomethingTurquoiseDIY and it will show up on our Get Social page. Happy Crafting!
DIY Tutorial Credits
Photography + DIY Tutorial: Carli Hein of Hein & Dandy // Canon Printer: Amazon // Cardstock: Amazon // Hole Punch: Amazon // Twine: Amazon
Shop The Supplies:
Find the supplies you’ll need for this project from our affiliate links below:


Comments